Highlights
Third Riichi’s a Charm
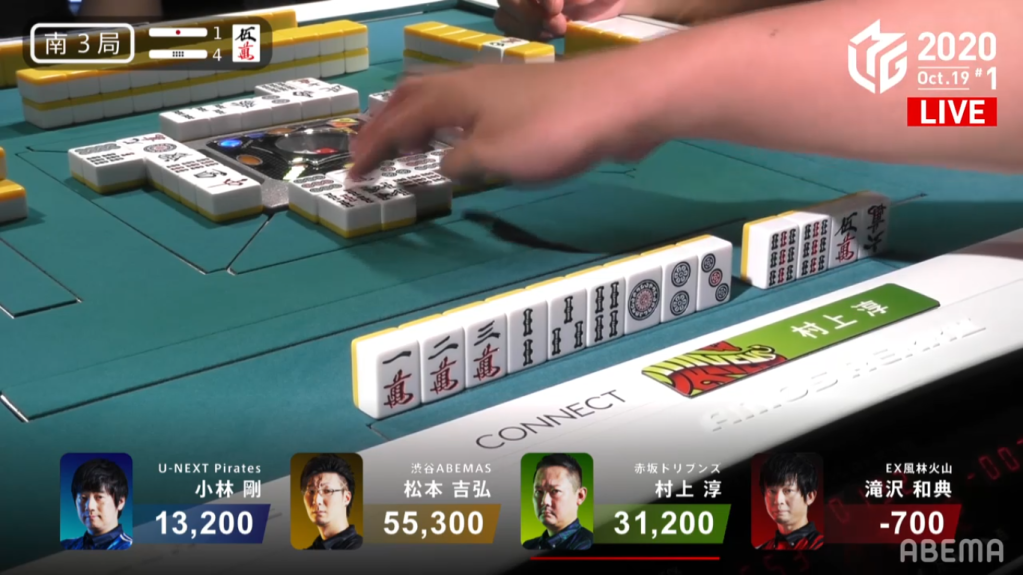
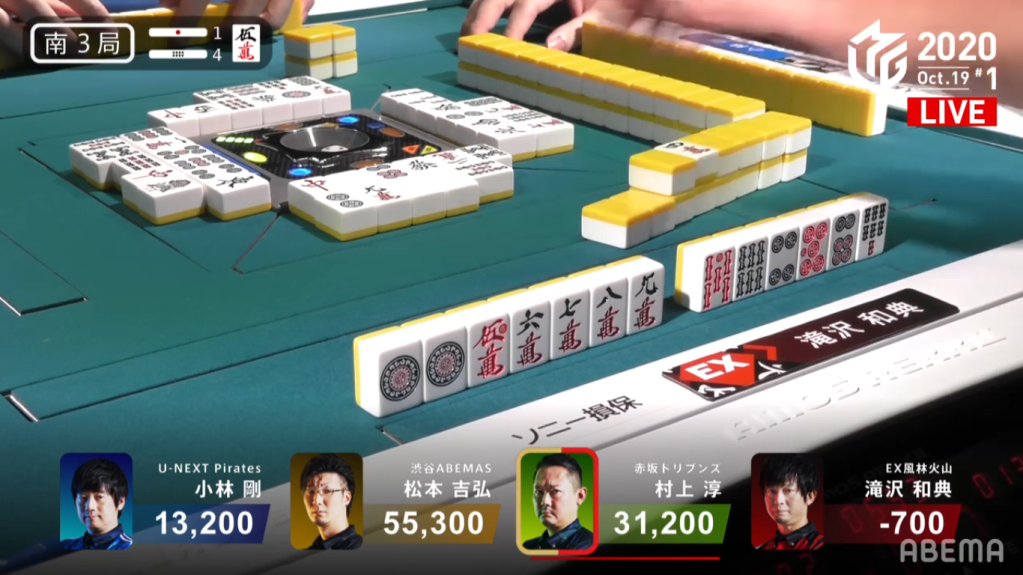
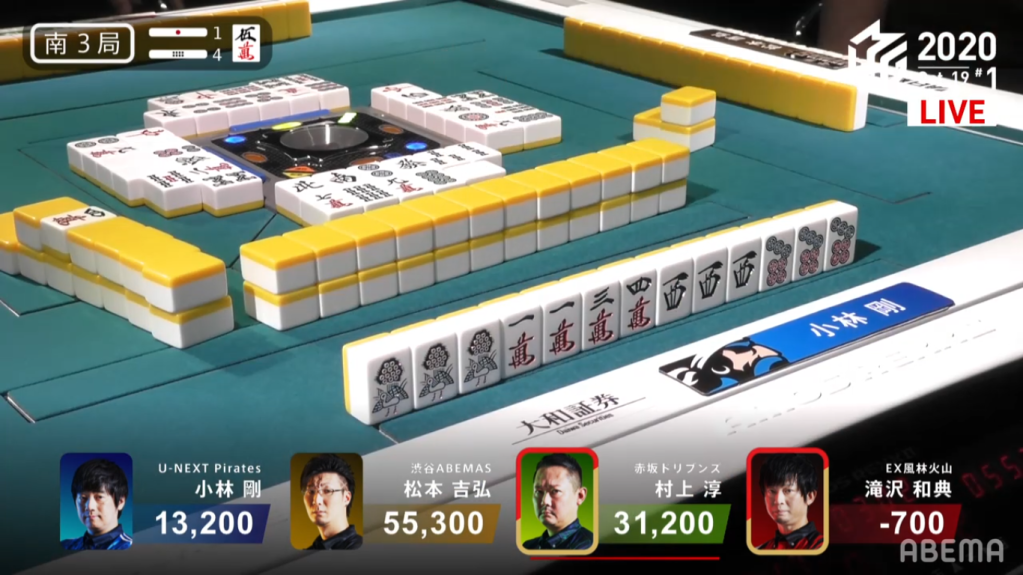
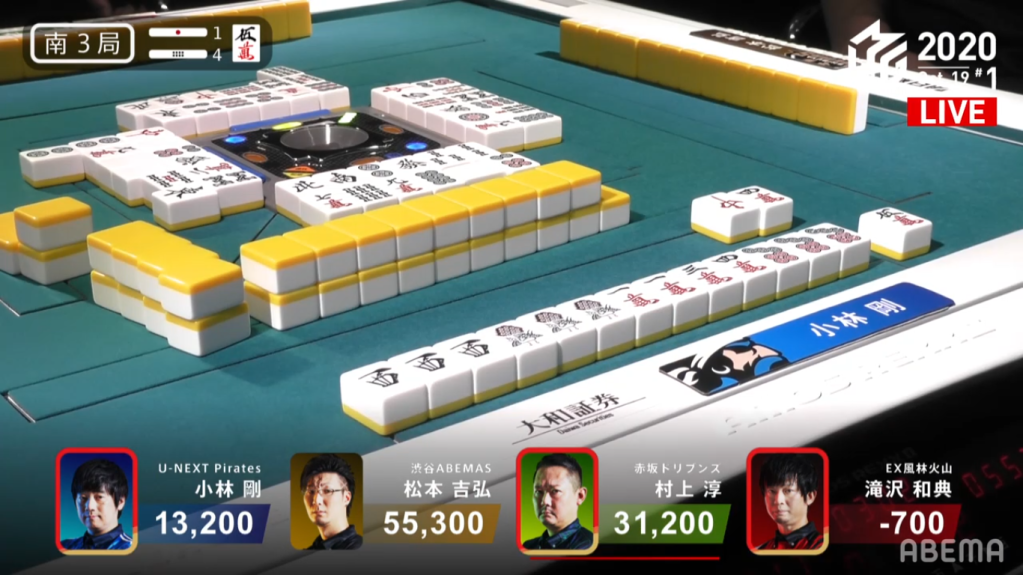
October 19, Game 1, S3-4
In S3-4, there is 2,200 in bonus sticks up for grabs and Takizawa, Kobayashi and Murakami all need big hands to change placement. At the end of the 1st row, all three of the chasers are iishanten, with Takizawa having the highest possible hand with two red dora and a normal dora. At the start of the 2nd row, Murakami gets to tenpai with a 5m dora tanki. He doesn’t riichi, however, as he can improve it to a better wait with a 4m or 6m. This decision pays off, as he draws the 6m and calls riichi on a 47m wait. On Takizawa’s next draw, he draws a red dora, giving him all three of them. On Kobayashi’s next draw, he gets to tenpai on a 25m. He stays dama, giving him a chance to switch to suuankou if given the opportunity. Two turns later, Takizawa calls riichi on the 47m, giving his hand a minimum of a haneman hand and enough to get out of 4th. With two riichi calls already on the table, Kobayashi calls the third riichi on the table, waiting on a 25m. At the start of the 3rd row, Kobayashi calls tsumo on the 5m, giving him Riichi/Tsumo/West/Sanankou/Dora 1 for 3000+400/6000+400, along with three riichi sticks to put Kobayashi to 2nd place.
Open Sanankou Baiman
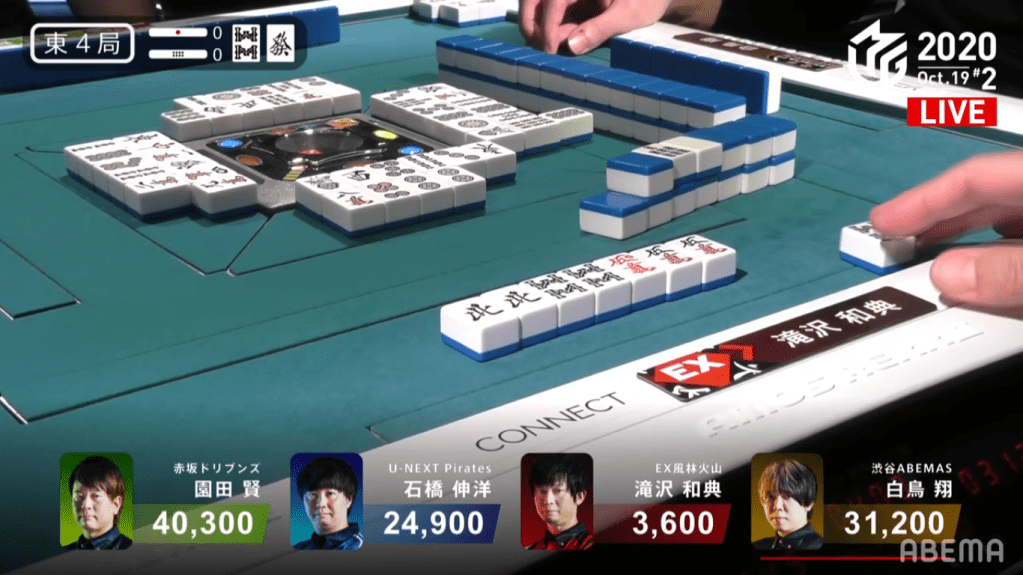
October 19, Game 2, E4-0
Video: https://abema.tv/video/episode/444-7_s30_p44
In E4-0, Takizawa was in 4th place and 21,300 behind 3rd place Ishibashi. He starts with a mediocre haipai, holding four pairs with a normal dora and a red dora. As the dealer holding a red dragon ankou, Shiratori looks to get a quick win, calling and early south pon and heads for a honitsu. In the middle of the 1st row, Takizawa draws a 5th pair, putting him iishanten for chiitoi. On turn 5, he makes an ankou, allowing him to pivot between toitoi and chiitoi. Drawing a fourth 3m on turn 6, Takizawa keeps it, being unable to discard it due to Shiratori’s honitsu. The next turn, Takizawa calls kan and pairs up the dora 8s at with the rinshan. Drawing another ankou in the middle of the 2nd row, Takizawa becomes iishanten, and calling pon on the 6s puts him tenpai on a north/8s wait. On the very next turn, Takizawa draws the 8s himself, giving him a Toitoi/Sanankou/Dora 3/Aka 1 for 4000/8000, the second baiman of the season.
Houtei Red 5p
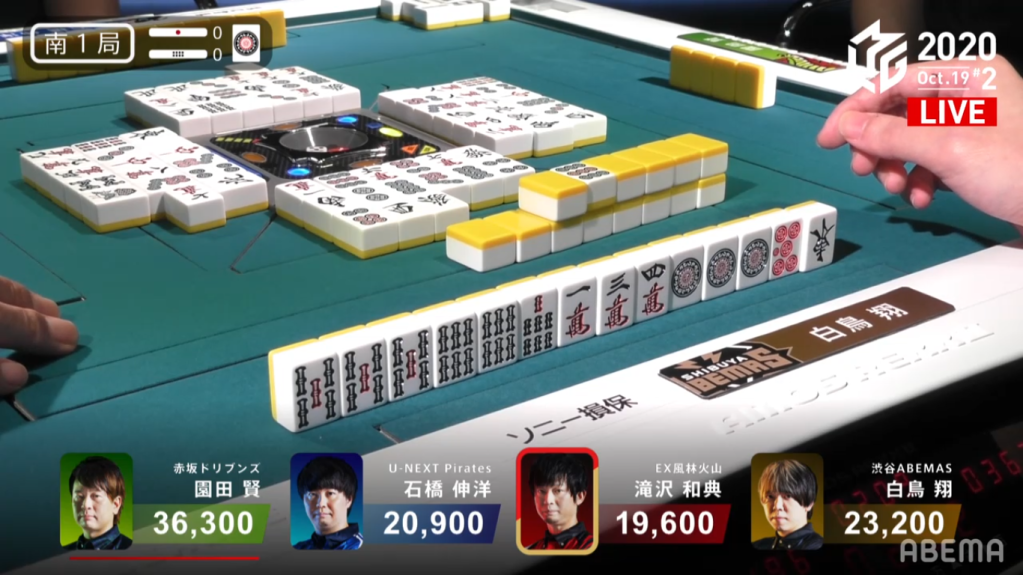
October 19, Game 2, S1-0
Video: https://abema.tv/video/episode/444-7_s30_p45
In S1-0, Takizawa is closing in on the pack after being down just the hand previous. Takizawa starts out with three pairs and a callable hand for tanyao. As Sonoda makes three calls on a hand that looks like chinitsu or honitsu and Shiratori gets to iishanten with 2 dora and a red dora. Takizawa continues to trudge along an push his hand. At the end of the 2nd row, Takizawa calls riichi, waiting on a 5p tanki. Both Sonoda and Shiratori try to advance safely, but end up failing in their attempts to get to tenpai. On the very last draw, Shiratori ends up without any safe tiles and must figure out which to discard.
Trying to tap into Shiratori’s head, here is an analysis of the possible discards:
5s/6s/7s/East: Dangerous against the possible honitsu or chinitsu from Sonoda. Since he’s the dealer, he definitely doesn’t want to deal in to that.
1p: Dora tanki isn’t unheard of. If he does deal in, it’s a least a mangan. He doesn’t want to deal that
1m/3m/4m: There are few tiles in manzu discarded, especially middle tiles. Since there’s no suji, a ryanmen is possible.
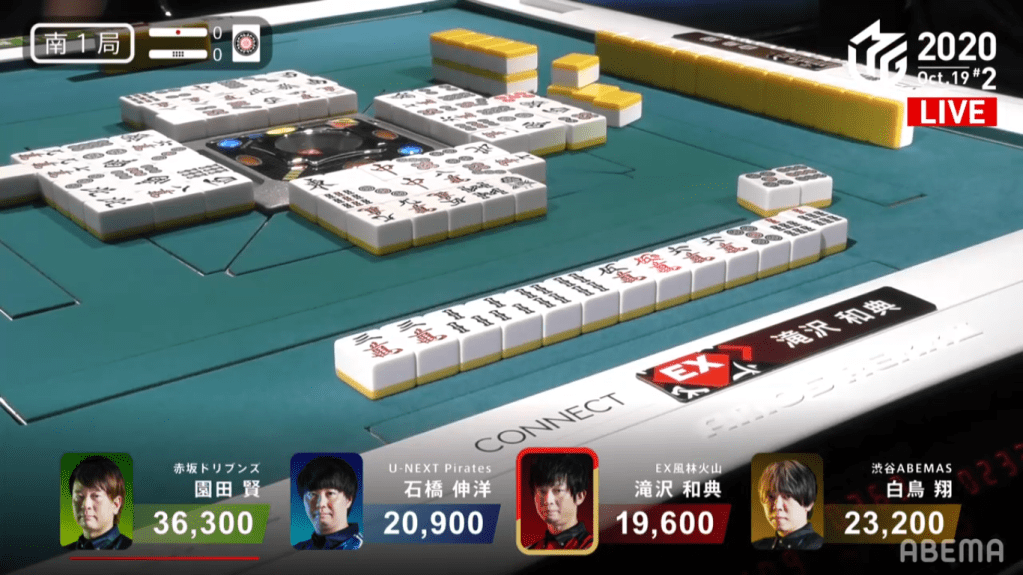
5p: You have suji on one side (8p) and a kabe on the other (3p), so it can’t be ryanmen. If it were a shanpon wait, why would Takizawa discard the 4p so early? If it were a kanchan, he would have been able to upgrade to a ryanmen early with the 3p/7p. Because of the 4p/7p/3p discards, why would it be tanki?
Shiratori ends up discarding the 5p, dealing in to Takizawa. Takizawa wins the hand with Riichi/Tanyao/Chiitoi/Houtei/Aka 1 for 12,000.
Started From the Bottom, Now We’re Here
October 20, Game 1
In the first 6 hands of the game, Maehara lost points. From tsumo loss to ryuukyoku to lost riichi sticks, Maehara lost points and kept losing points. Then his lucks started to change in S1-2.
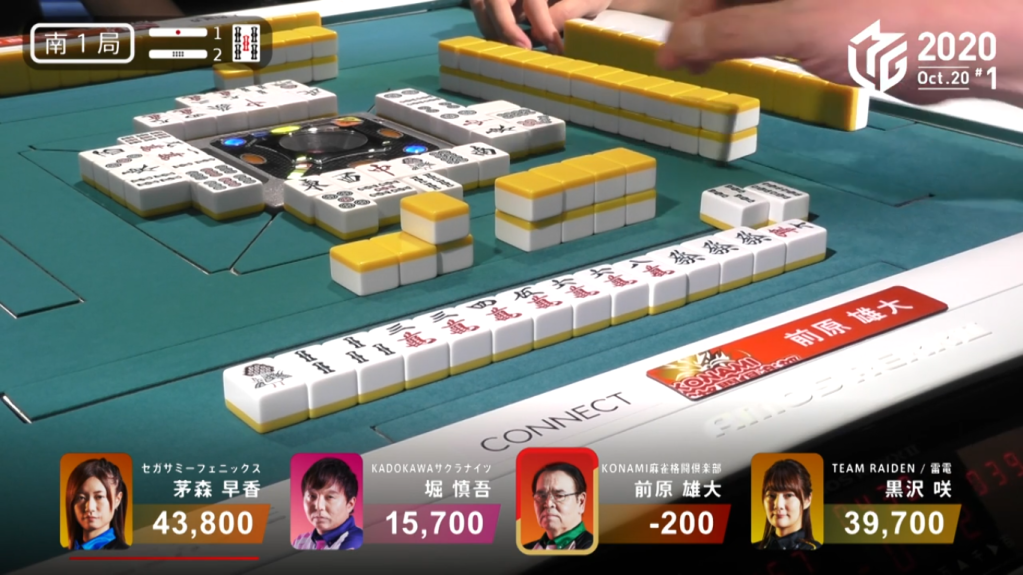
In S1-2, Maehara starts out with a dora and a green dragon pair. Not much on the value side, but enough to forge into a 3-han hand and make up at least some points. At the starts of the 2nd row, he makes an ankou of the green dragon and gets to tenpai. Maehara calls riichi, begin forced to discard the dora and left to wait on a 7m kanchan. Two turns later, Maehara draws the 7m to win with Riichi/Tsumo/Green Dragon for 1,300+200/2,600+200 and a riichi stick to bring his score up from -200 to 6,600.

After losing some points to ryuukyoku in S2-0, Maehara continued his journey upwards in S3-1. Maehara starts out with a pair of dora and a pair of easts, giving him a minimum of 3 han if he wins. On the first discarded east, Maehara calls pon to bring his hand to 2-shanten. At the end of the 1st row, Maehara calls chii to get to iishanten and at the start of the 2nd row, Maehara draws to tenpai on a 6m/West shanpon wait. After turns of waiting and a riichi call from Kurosawa, Maehara draws the winning west dora to give Maehara an important win. Maehara wins the hand with East/Dora 3 for 4,000+100 all and 2 riichi sticks. The hand brings Maehara up to 3rd place with 19,900 points.
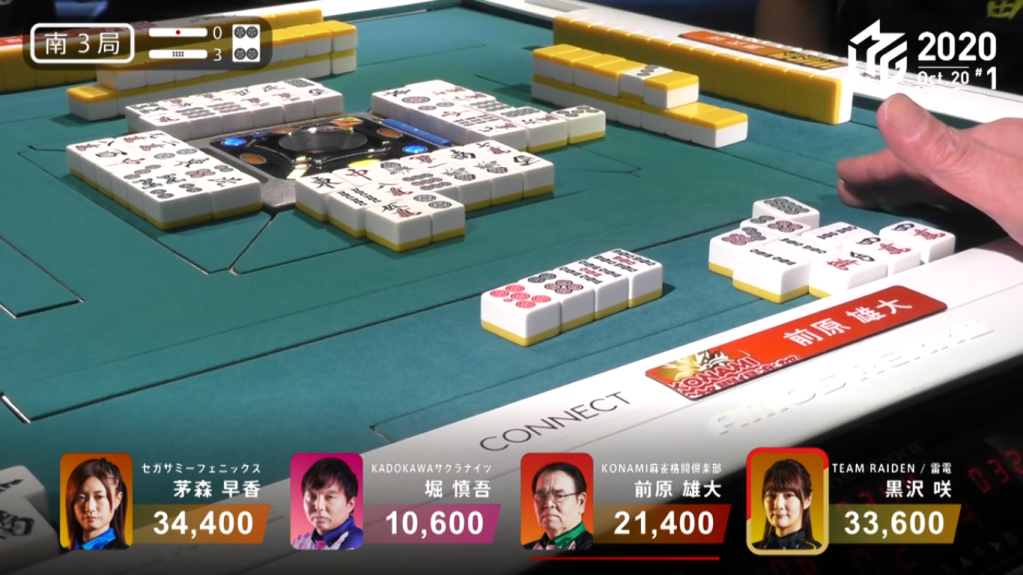
After a ryuukyoku in S3-2 and picking up 1,500 points, Maehara continued his journey up. In S3-3, Maehara make two early calls to go towards tanyao. Seeing this speed, everyone else tries to catch up by making early calls as well. Near the start of the 2nd row, Maehara calls another time, putting him in tenpai with a 47p ryanmen wait for a minimum of 2,900+900. With Hori discarding the winning 4p dora, Maehara wins the hand with Tanyao/Dora 1/Aka 1 for 5,800+900
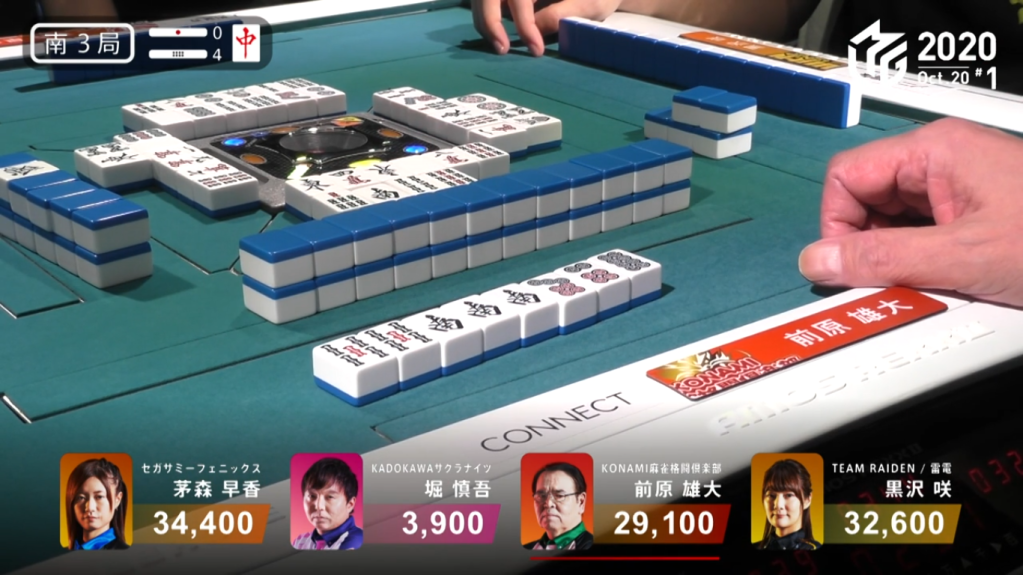
In S3-4, Maehara wins a simple Green Dragon/South for 1,300+400 all to put him at 34,200 and give him the lead.
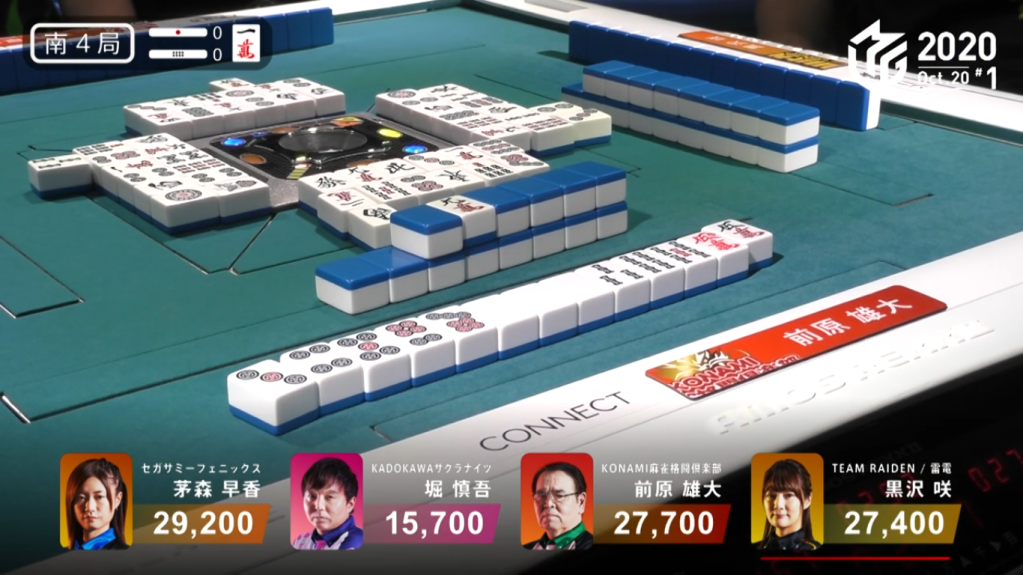
Losing 6,000+500 on Hori’s haneman tsumo on S3-5, Maehara was down to 2nd going into S4-0. In S4-0, Maehara starts out 3-shanten with a pair of white dragons and a red 5m, setting the hand up to surpass Kayamori with a 2-han hand. By the end of the 1st row, Maehara is struggling to advance his hand, still only 2-shanten while Kayamori is at tenpai and Hori is at iishanten. His luck turns on the 2nd row, completing a white dragon ankou and drawing to a sanmenchan tenpai waiting on the 258p. By staying dama, he is able to take Kurosawa by surprise by winning off her 2p for White Dragon/Aka 1 for 2,600 to take 1st place by only 1,100.
Dragons!
October 20, Game 2, S4-1
Video: https://abema.tv/video/episode/444-7_s30_p49
In S4-1, Sasaki is sitting as dealer looking to take 1st place away from Uotani. Starting out with two dragon pairs and holding a single of the third, the possibility of daisangen is sparked. Also in the haipai is a complete block and a ryanmen in manzu, setting the hand up for a honitsu mangan minimum if all else fails. On turn 2, Sasaki calls pon on the green dragon and starts discarding the pinzu pair, committing to a honitsu hand. On the next draw, he pairs up his singleton red dragon, getting to iishanten shousangen and 2-shanten from daisangen. At the start of the 2nd row, Sasaki draws a 6m to complete his 78m block, killing daisangen but giving him shousangen tenpai on the white/red shanpon. Three turns later, Sasaki draws the white dragon, giving him Shousangen/White Dragon/Green Dragon/Honitsu for 6,000+100 all, along with 2,000 in riichi sticks to put him into 1st place.
Slaying Monsters

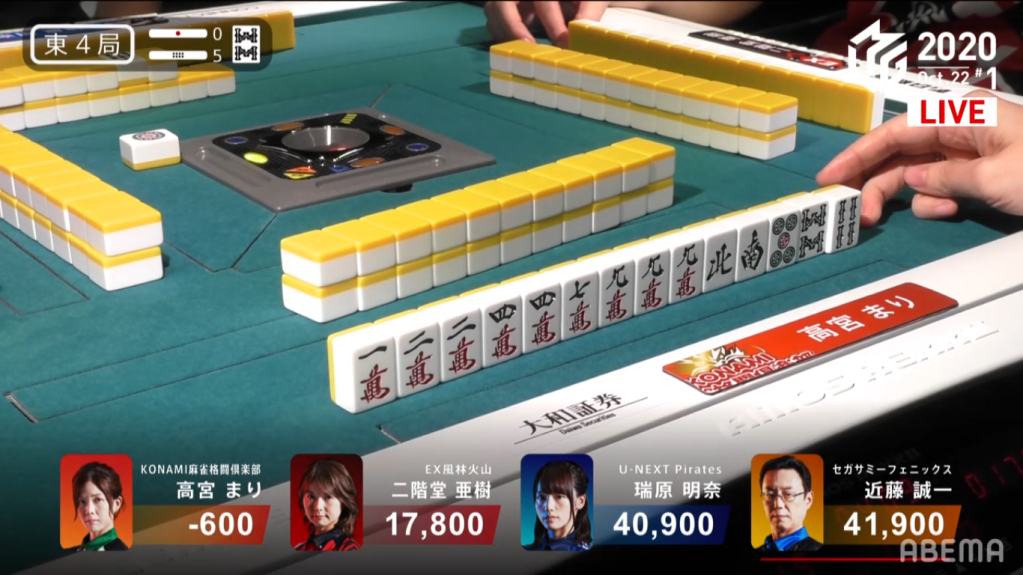
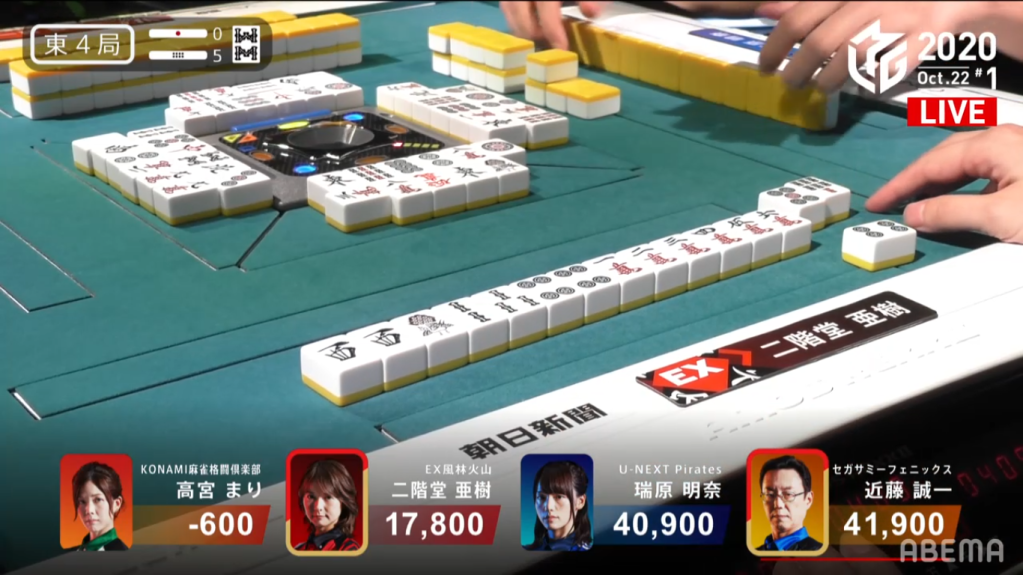
October 22, Game 1, E4-5
In E4-5, Kondo starts his hand with three ankous, setting his hand for a sanankou with a possible iishanten. After getting a dealer haneman last hand, it seems that some luck has been carried over. Takamiya has an outstanding hand as well, holding many manzu and giving her a chance at chinitsu. At the end of the 1st row, Takamiya has gotten to chinitsu iishanten, while Kondo is still trying to advance his hand. At the start of the 2nd row, Takamiya makes a call to get to iishanten. Aki, who has nothing much but a seat wind pair, manages to get to tenpai and calls riichi on a 4p/West shanpon, with the yasume being only worth 1,300. With a big hand, Kondo pushes and gets to tenpai a few turns later. Kondo calls riichi on a 578s wait, with the takame being a dealer mangan. With the threat of two riichi calls, Takamiya is forced to bail on her chinitsu. At the end of the 2nd row, Aki draws the 4p to win the hand with Riichi/Tsumo for 500+500/1000+500. With such a small riichi, Aki was able to kill two hands that could have changed the course of the game with such a small hand.
Attack From Behind
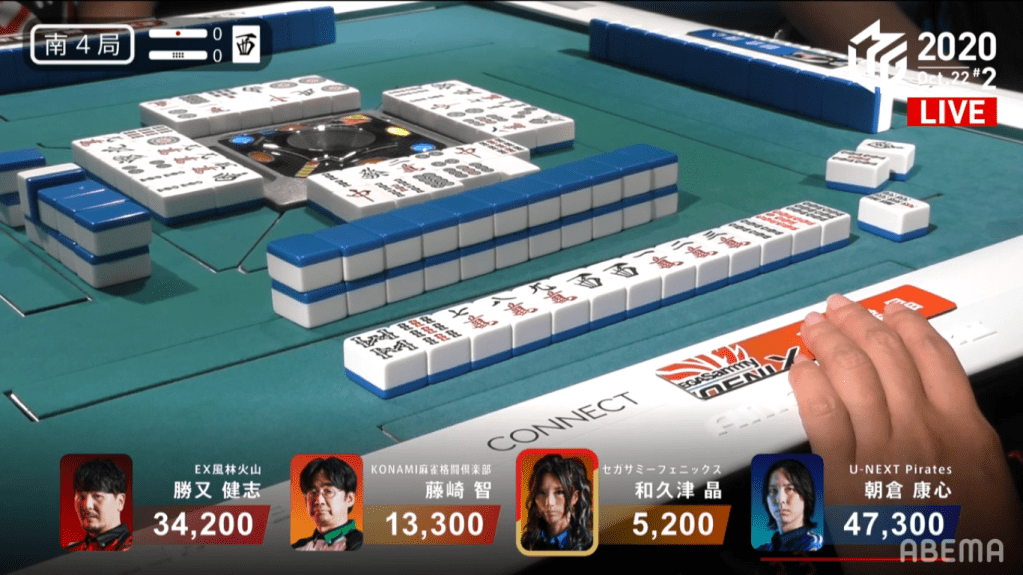
October 22, Game 2, S4-0
Video: https://abema.tv/video/episode/444-7_s30_p54
In S4-0, Wakutsu is in 4th place, 8,100 points behind 3rd place Fujisaki. Even a mangan ron from anyone other than Fujisaki wouldn’t be enough for her to get to 3rd. Wakutsu’s haipai doesn’t provide much help, with the only value being a red dragon pair. On turn 2, Wakutsu drew a dora west and on turn 3, Wakutsu draws a red 5s. If Wakutsu is able to utilize these tiles and win by tsumo, it would be enough to surpass Fujisaki. At the start of the 2nd row, Wakutsu manages to draw another west, bringing her 2-shanten. Soon after, she gets to iishanten and gets to tenpai a turn after that. Wakutsu decides to call riichi on a 7s penchan, holding mangan hand. Two turns later, she draws the 7s herself. Revealing one ura dora, Wakutsu wins with Riichi/Tsumo/Dora 2/Aka 1/Ura 1 for 3000/6000, finishing in 3rd place.
Double Riichi

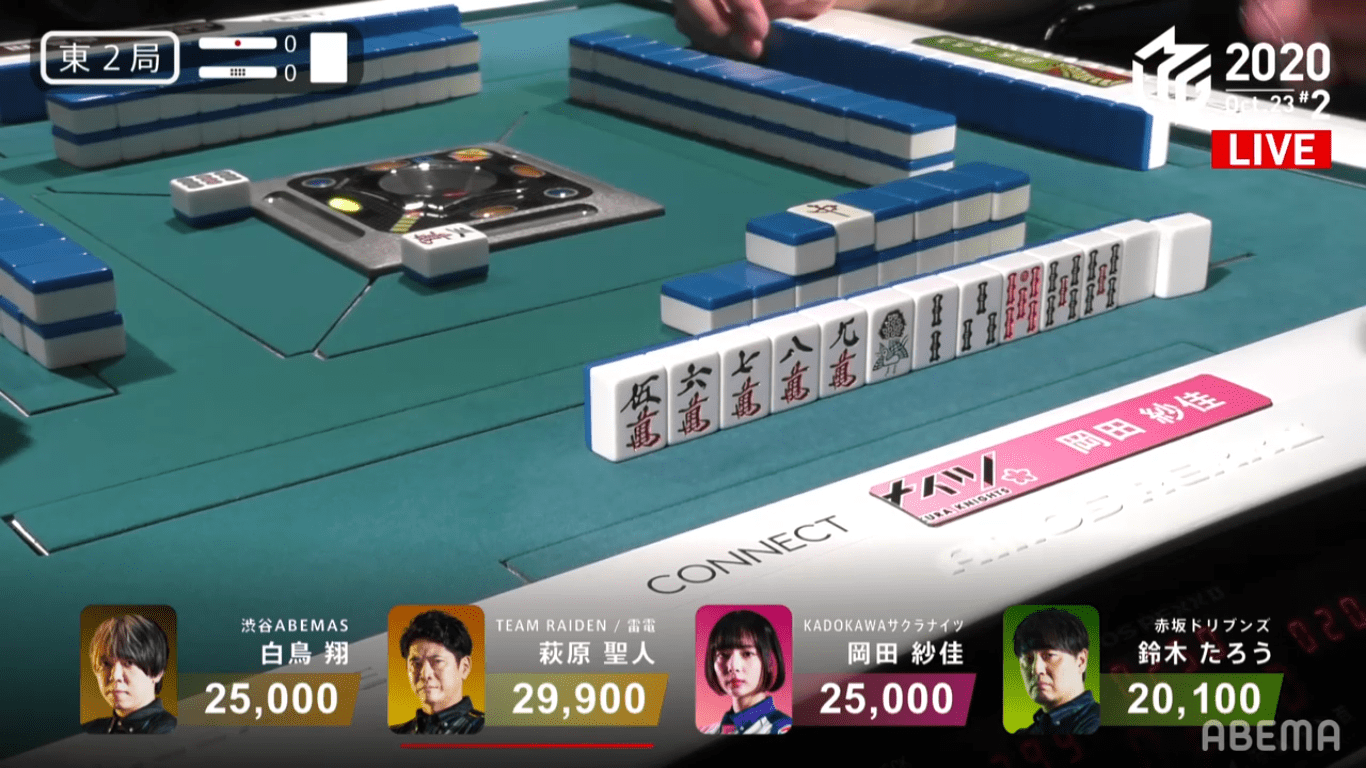
October 23, Game 2, E2-0
Video: https://abema.tv/video/episode/444-7_s30_p58
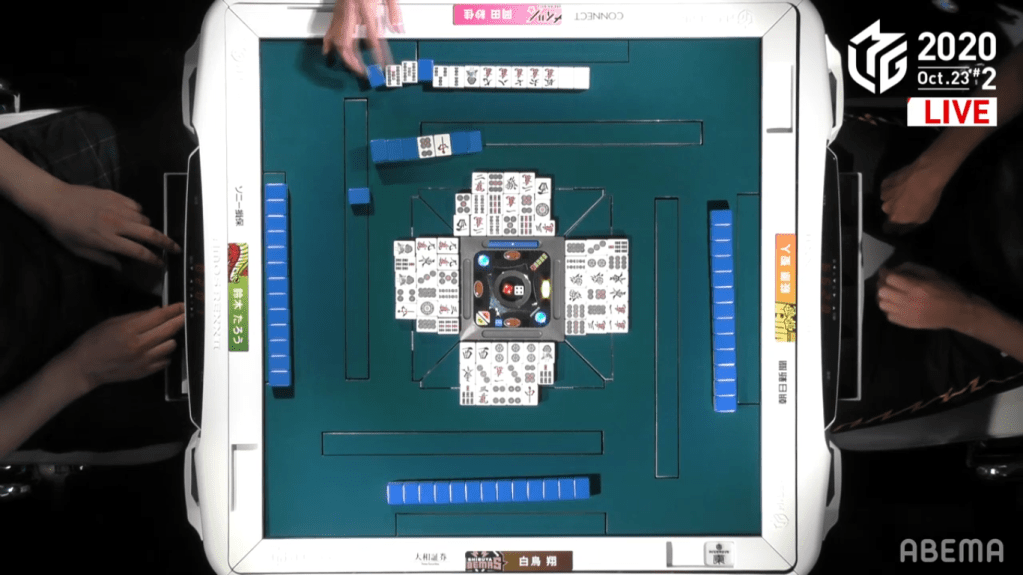
In E2-0, Okada starts out with one of the best hands possible, being iishanten and holding a dora and a red dora in her first 13 tiles. As she draws her first tile, she pairs up her dora and becomes tenpai on the very first turn. She calls riichi, waiting on the 47m, giving her double riichi and a minimum of mangan if she manages to win. With no indication of safe tiles, everyone else did their best to defend, discarding terminals and honours. Draw after draw, Okada is unable to get her tile and everyone just kept throwing safe tiles. With her seat placement, there would be a chance for her to get Ishinouenimosannen, though this was derailed when she called kan on the 5s and missing the rinshan. Even while discarding safely, Hagiwara was able to get as close as 2-shanten. In the end, the hand goes to ryuukyoku, with Okada the only one in tenpai.
Always Bet on Pei Tanki
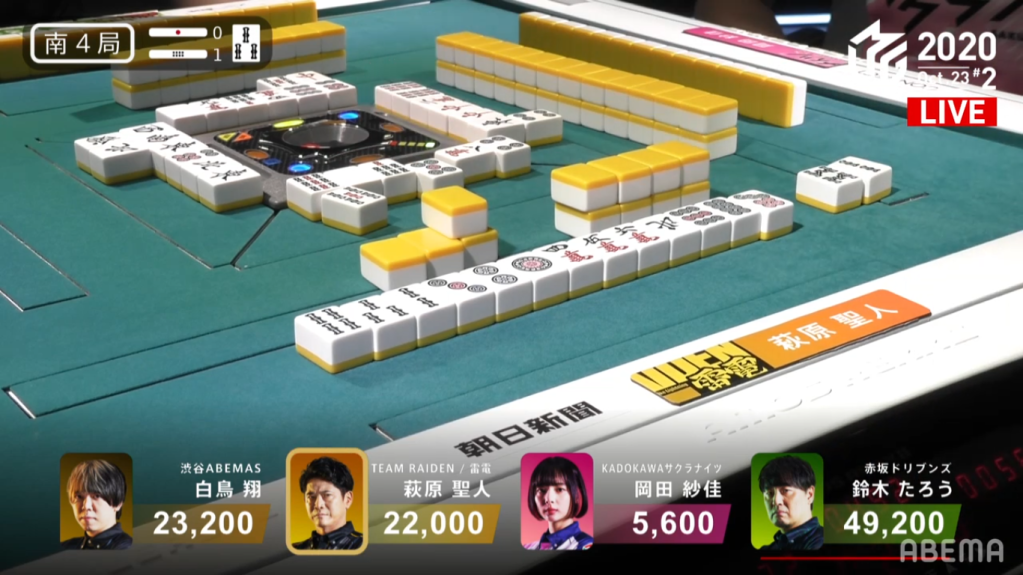
October 23, Game 2, S4-1
In S4-1 Hagiwara is sitting in 3rd and wanting to take a good placement after placing 4th in his last two games. Being only 1,200 behind 2nd place Shiratori, Hagiwara just needs to win any hand in order to make it to 2nd. Hagiwara’s hand starts out well, being 2-shanten with three complete blocks. By turn 5, Hagiwara has the choice to go to tenpai or have a better wait. He can choose to stay dama in order to draw any of the 12 different tiles to improve the wait, or riichi and wait on a tanki. Hagiwara chooses the latter, calling riichi and waiting on the north tanki. With the north being difficult to use, the north came out easily from Shiratori’s hand, giving Hagiwara the win. Hagiwara wins with Riichi/Dora 1 for 2,600+300 and takes 2nd place.
