
Highlights
Nice Try, Kondo
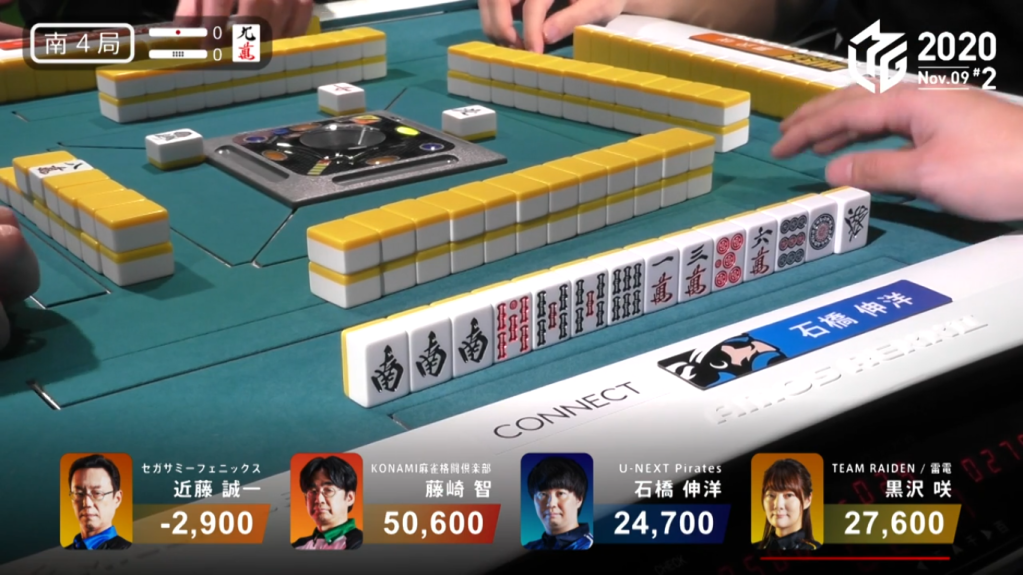
November 9, Game 2, E3-2
Video: https://abema.tv/video/episode/444-7_s30_p103
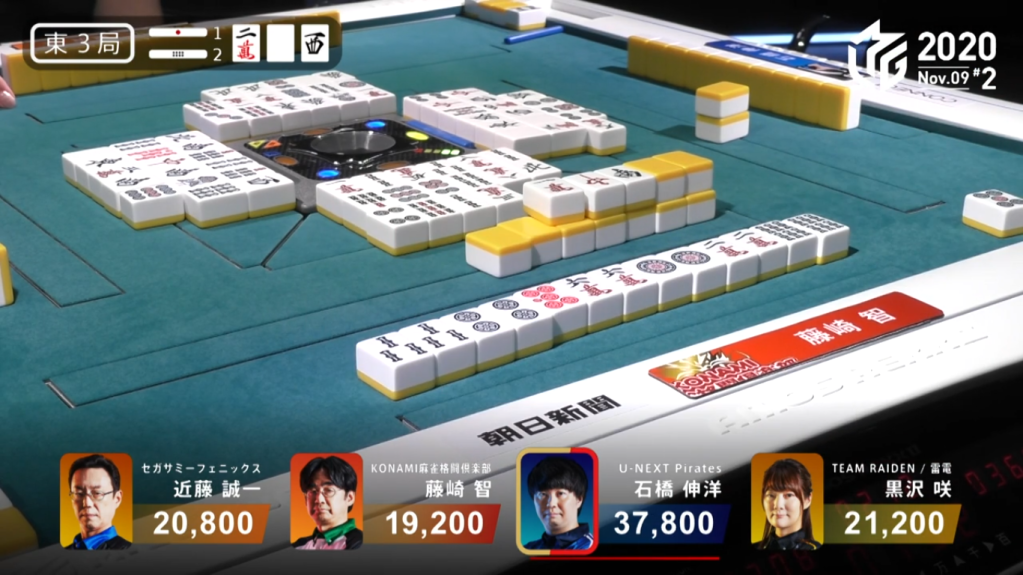
In E3-2, 4th place Fujisaki is chasing the 1st place Ishibashi, who is also the dealer. Fujisaki starts off with three pairs and an ankou, giving him chances for toitoi or chiitoi, while Ishibashi starts out with a quick hand that becomes iishanten at turn 3. With four 8s, Ishibashi calls kan to try to get to tenpai, but with no success. While Fujisaki confirms his iishanten, both him and Ishibashi wait to get to tenpai. at the start of the 3rd row, Ishibashi gets to tenpai and calls riichi on the 3s penchan. Immediately after, Fujisaki gets to tenpai, but stays dama, waiting on the 5p tanki for chiitoi. Both of them keep waiting to find their winning tile. With two tiles left, Kondo chooses to call kan to shift the haitei from dealer Ishibashi to Fujisaki. However, giving Fujisaki the haitei was a bad idea. On the haitei tile, Fujisaki finds the 5p to win the hand. Fujisaki wins the hand with Tsumo/Chiitoi/Haitei/Dora 2/Aka 1 for 3,000+200/6,000+200.
But There’s a Chance?
November 9, Game 2, S3-1
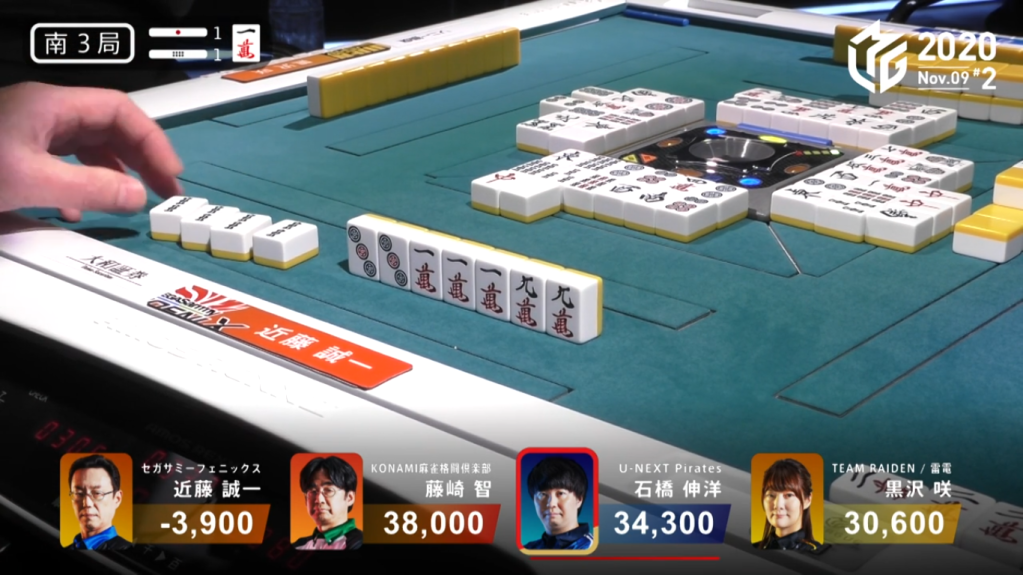
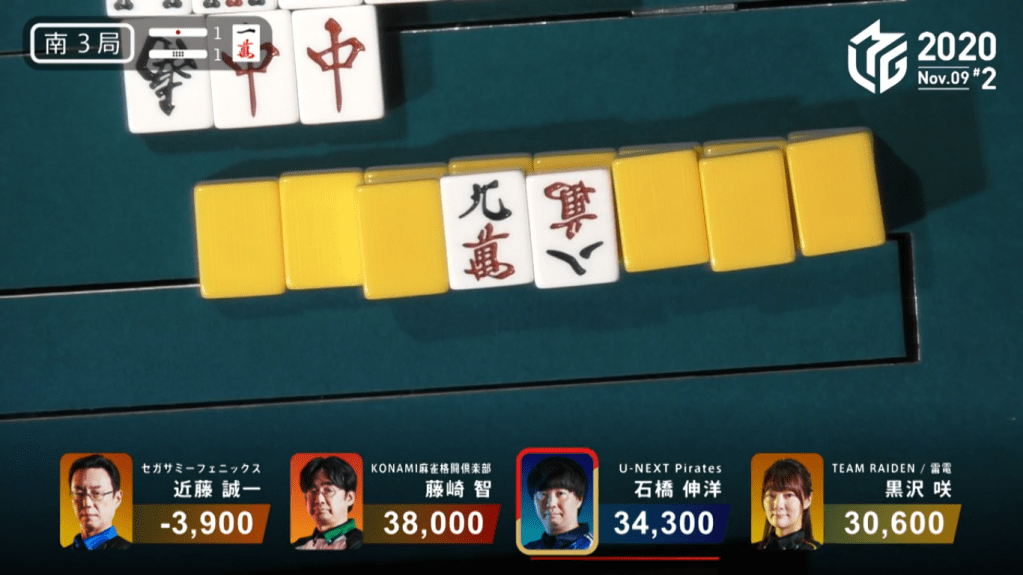
In S3-1, Kondo is in the negatives and 34,500 from 3rd place Kurosawa. Kondo starts out with an ankou and two pairs, but no value. On turn 2, Kondo draws another pair and throws an isolated 6s, fixing his hand to go for chiitoi or toitoi. Through the rest of the 1st row and halfway through the 2nd, Kondo is unable to find any more helpful tiles. Midway through the 2nd row, Kondo pairs up the a dora and becomes iishanten for chiitoi, but keeps the ankou for a chance to go for toitoi. To put pressure on Kondo and everyone else, Ishibashi decides to call riichi as dealer on the 69m ryanmen. The next turn, the dora pair becomes an ankou and Kondo becomes iishanten for toitoi and a chance at suuankou. Despite the suuankou chance, Kondo calls pon on the 2m and becomes tenpai on the 9m/3p shanpon for a guaranteed mangan. In the middle of the 3rd row, Kondo draws a 4th 2s and calls kan. With the 8m being revealed as the dora indicator, Kondo’s hand suddenly becomes becomes 2 han more expensive. If Kondo draw the 9m as the rinshan, he would have a Rinshan/Toitoi/Sanankou/Dora 6 for sanbaiman. However, it was not meant to be. He fails to draw either of his tiles during that turn or any turn afterwards, with the hand going to ryuukyoku with Ishibashi, Kondo and Fujisaki in tenpai.
No Guts, No Glory
November 9, Game 2, S4-0
In S4-0, 3rd place Ishibashi is behind 2nd place dealer Kurosawa by 2,900 points. In order to pass her, he would need a 3/30 general ron or a 2/30 tsumo or a 1/50 direct hit. Ishibashi starts out very well, holding a south and 5s ankou, as well as a two red dora. By turn 5, Ishibashi is iishanten with 21 total tiles that would get him to a good wait tenpai. However, he was unable to find any of them within the first two rows. Kurosawa develops her hand while Ishibashi waits and becomes tenpai before Ishibashi. Kurosawa calls riichi on a 47p ryanmen to put the fear of a dealer riichi on the table. Ishibashi continues to wait as Kondo, who is deep in 4th place, calls a chasing riichi waiting on a 3s/8m shanpon, putting Ishibashi under extreme pressure. Ishibashi calls chii soon after to get to tenpai on a 47p ryanmen. However, Ishibashi is faced with a big decision on the very next turn.

Throw the white dragon
- Discarding the white dragon puts him into tenpai
- There’s already 1 white dragon visible
- Considering the uma, the reward for 2nd place through pushing is greater than dealing in and staying in third, especially since it’s next to impossible to drop to 4th
Throw something else
- In the scenario that Kondo calls tsumo on a mangan or directly hits Kurosawa, Ishibashi would finish 2nd
- With only one white dragon so late in the game, it would mean that someone could have a pair for shanpon or a tanki wait on it
- If the hand goes to ryuukyoku, at least he has another chance to surpass Kurosawa
Ishibashi decides to go the safer route and throw the south. Unfortunately, Kondo throws the 4p and Kurosawa wins the hand for 5,800. If Ishibashi had thrown the white dragon, atamahane would be in place and he would have won instead of Kurosawa and end the game in 2nd.
Pon! Pon! Pon!
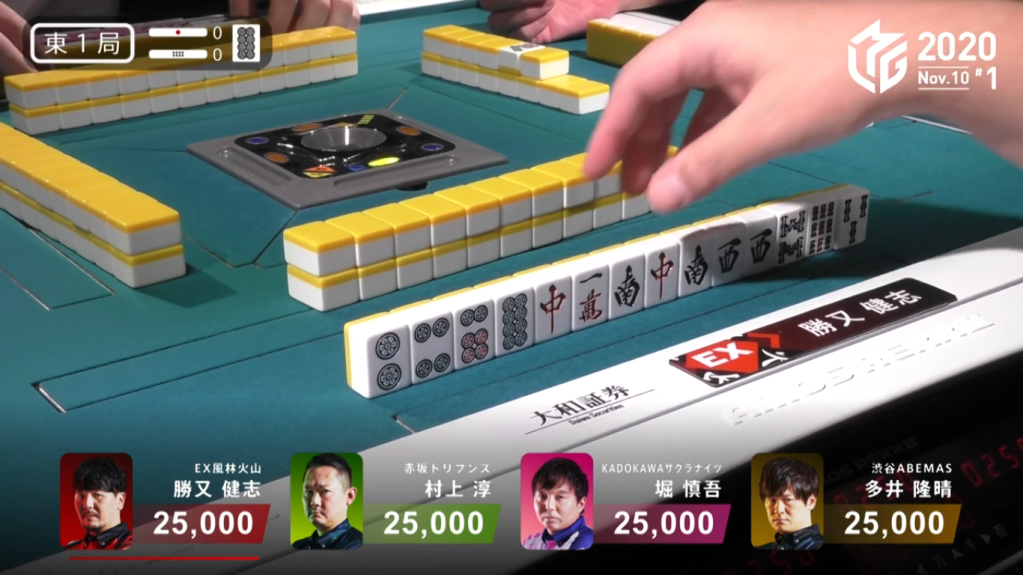
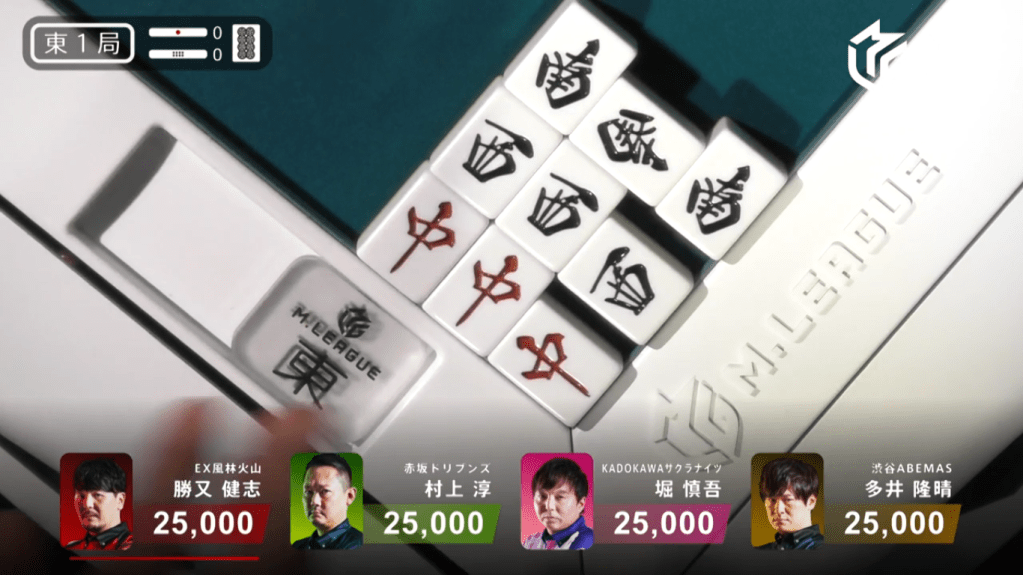
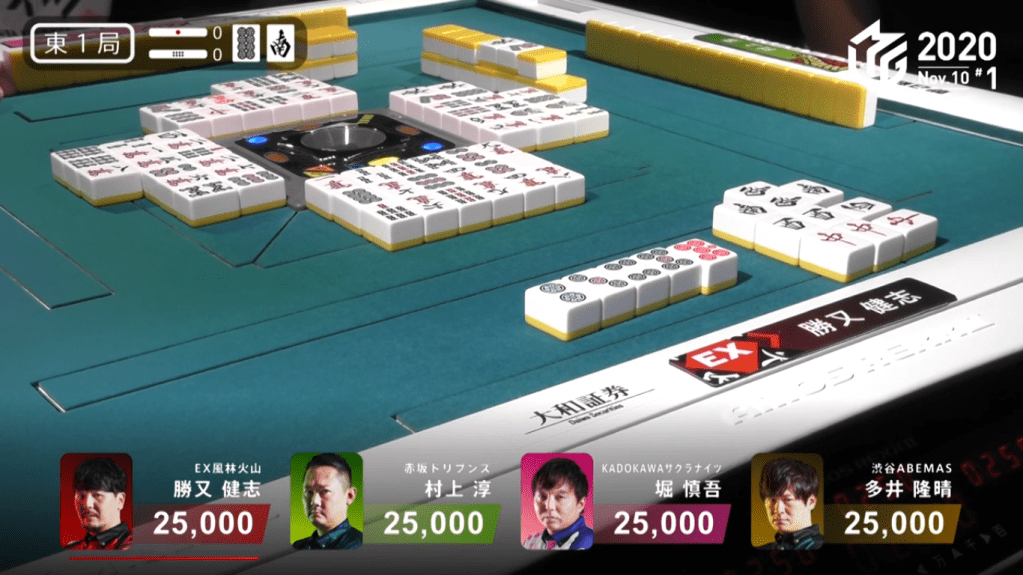
November 10, Game 1, E1-0
Video: https://abema.tv/video/episode/444-7_s30_p106
In E1-0, Katsumata starts out as the dealer. In Katsumata’s haipai, he starts out with a pair of souths, wests and red dragons. With those tiles being of little use to everyone, Katsumata calls pon in three consecutive turns, with a very scary situation for everyone. At this point, Katsumata has discarded 4 times and made three open calls while Ooi hasn’t discarded even once. By Katsumata’s 5th discard, he becomes tenpai waiting on a dora 8p tanki for mangan minimum. Katsumata discards the dora the next turn to hold the 9p tanki. Even with Katsumata’s calls, Murakami gets to tenpai, but stays dama to have a chance to bail in case he draws something dangerous.
At the start of Katsumata’s 2nd row, he draws the south, which he calls kan with. With the kan, the east kandora indicator is revealed, making the south that Katsumata called kan with become the dora. He misses the rinshan, but the next turn, he switches his 9p tanki wait to a 25p nobetan wait. As everyone else tries to proceed very carefully, Katsumata just draws and discards, waiting for either of his tiles to come out. Then, on Katsumata’s second-to-last tile, Katsumata finds the red 5p to win the hand. Katsumata wins it with Honitsu/Red Dragon/Dora 4/Aka 1 for 8,000 all. This baiman is the 8th baiman of the season and only the 2nd dealer baiman of the season.
Lots of Dora
November 12, Game 1, S3-0
Video: https://abema.tv/video/episode/444-7_s30_p111
In S3-0, Wakutsu is in 2nd place, but still 15,900 away from taking to spot. Her haipai is decent, holding a dora and a red dora, being 2-shanten for chiitoi. Within the first row, she converted her chiitoi 2-shanten to a standard hand iishanten. Since she was holding four 7p, she calls kan. Revealing the 6p as the kandora indicator, her hand’s potential value suddenly jumps up by 4 han. Through the 2nd row she waits to get to tenpai and finally gets to tenpai at the end of the row. She calls riichi on a 1m/9s shanpon wait, giving her at least 7 han if she wins. A few turns later, she finds the 1m to win the hand. She finds two ura dora for Riichi/Tsumo/Dora 5/Aka 1/Ura 2 for 4,000/8,000. With that hand, she goes to first place and becomes only the second 8 dora hand after Takizawa’s Red Dragon/Dora 7/Aka 1 hand back in 2018.
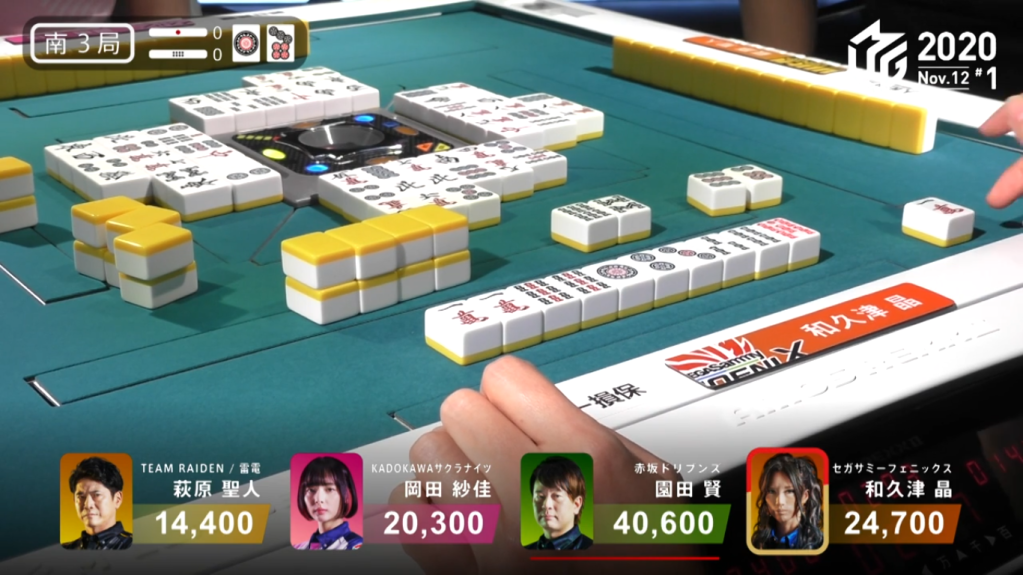
Against Three Riichi


November 12, Game 2, S1-3
In S1-3, everyone is tired and wanting the game to continue after having just played 14 hands. Murakami the dealer is in 1st place at 39,500, but with everyone else still waiting for their 2nd dealer turn, he wants to extend his lead further. His starting hand doesn’t start out very well, being 4-shanten and only has tanyao for value. All of Murakami’s opponents are all in a better position, holding 3-shanten, holding ryanmen shapes and dora. By the end of the 1st row, Murakami is 2-shanten with kanchan waits while both Uotani and Sawazaki are iishanten. The first player to get to tenpai is Sawazaki, who becomes tenpai on a 47p/7s wait (7p wait is dead) and stays dama because he already holds a mangan. The next player to get to tenpai is Uotani, who waits on a green dragon tanki. As Sawazaki draws another dora 5p into his 55667777p shape, Sawazaki calls kan on the 7p to change his wait to a 58s wait after drawing the 6s. With the kan and extra uradora chance, Uotani decides to call riichi with her green dragon tanki wait. Seeing the riichi, Sawazaki decides to riichi with his nice ryanmen wait. With the two riichi calls and being iishanten, Murakami decides to make a call for tenpai to wait on the 36m. Drawing to tenpai, Kurosawa joins the fray and calls riichi on a 3m/8s shanpon wait for a mangan minimum hand. A few turns later, Uotani draws the 6m and deals into Murakami’s open hand. Murakami wins the hand with East only for 2,000+900 and
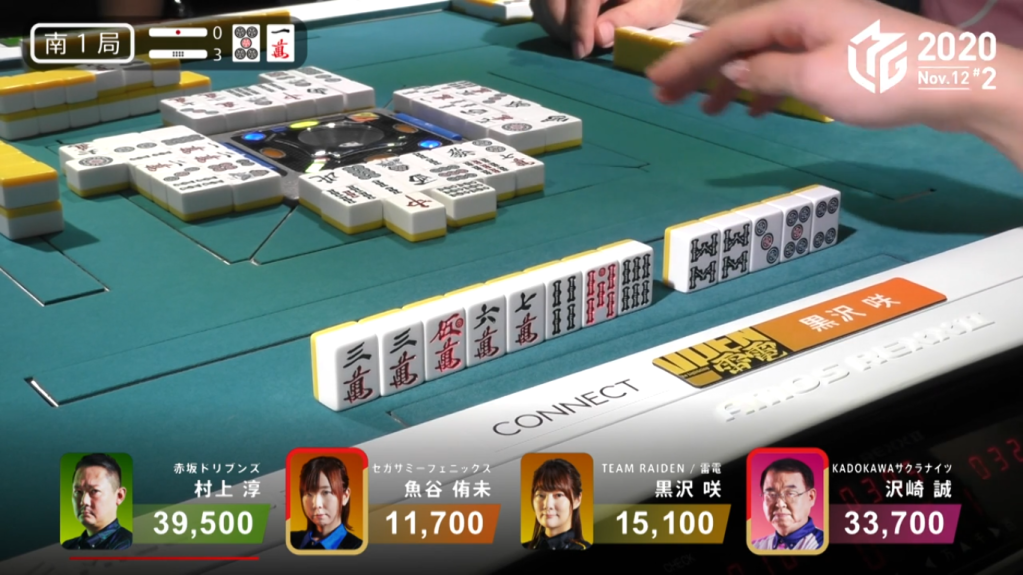
The Game That Went On Forever
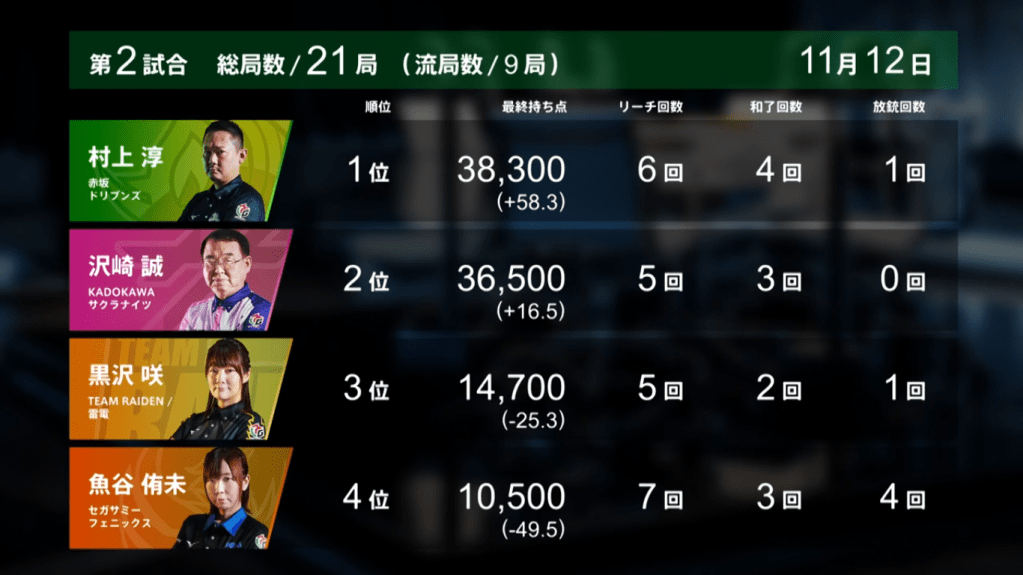
November 12, Game 2
Video: https://abema.tv/video/episode/444-7_s1_p46
After the game earlier that day had finished in just over an hour, most people usual expect the next game to finish quickly as well with plenty of time to spare. However, that wasn’t the case.
In the East round alone, there were 11 hands played. In comparison, the previous game ended after 8. Four hands in a row, the hand had gone to ryuukyoku with the dealer Kurosawa in tenpai every time. Even in the south round, 4th place Murakami had an outstanding dealer turn and ended up 1st after his run was done at 4 honba.
At 2 hours and 53 minutes going through 21 hands, it was the longest game in M-League history. With 9 hands going to ryuukyoku, it ties the record for most ryuukyoku in a single game.
One Man’s Haitei is Another Man’s Houtei
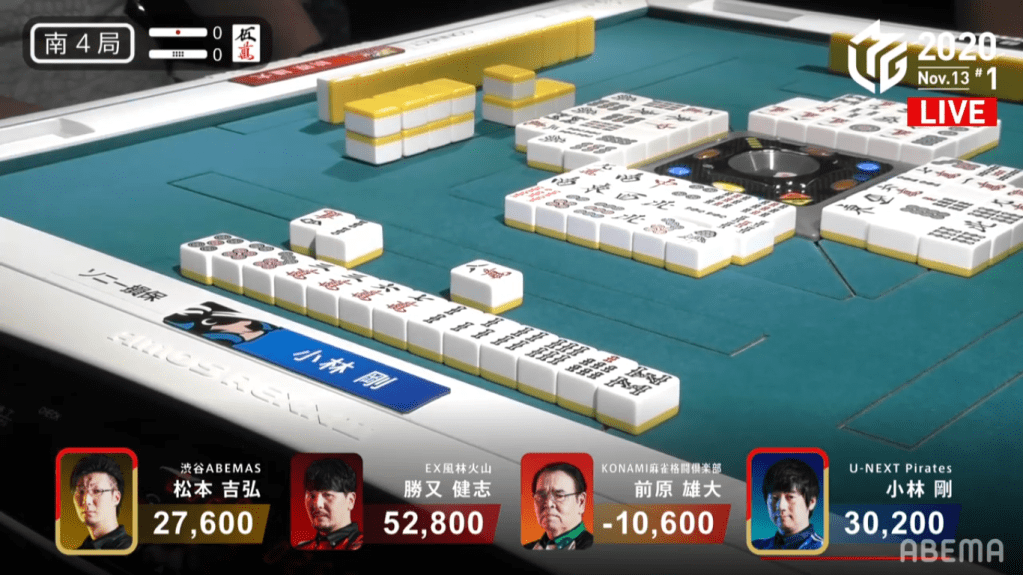
November 13, Game 1, S4-0
In S4-0, Matsumoto is trying to take 2nd place from Kobayashi, while dealer Kobayashi is looking to keep his 2nd and have a better chance at 1st. Kobayashi starts out with ryanmen shapes, but is 5-shanten from a regular hand with no value. Matsumoto, on the other hand, starts out 2-shanten but lack the value to overcome the 2,600 point difference he needs take 1st. By the end of the 1st row, Kobayashi is still a ways away at 3-shanten, but has his ryanmen waits set up. Matsumoto improves his hand as well to be at iishanten, but still lacking the value he needs. The first of the two to get to tenpai is Kobayashi, calling riichi on a 58m wait for a minimum 5,800 hand. Drawing a red 5 two turns after Kobayashi’s riichi, Matsumoto calls riichi himself and waits on a 25p ryanmen. The two of them wait turn after turn, with Matsumoto waiting for 2nd and Kobayashi waiting to extend his lead. On the last tile, Matsumoto draws the 8m. With the houtei discard, Kobayashi wins the hand with Riichi/Pinfu/Tanyao/Houtei/Ura 1for 12,000.
