Highlights
Fast and Speedy Wins the Yakuman

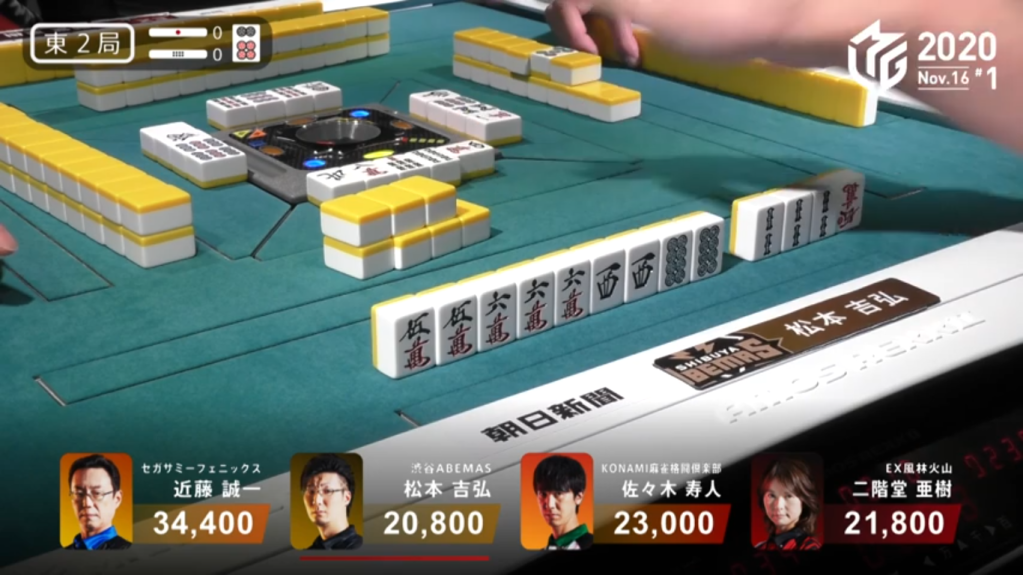
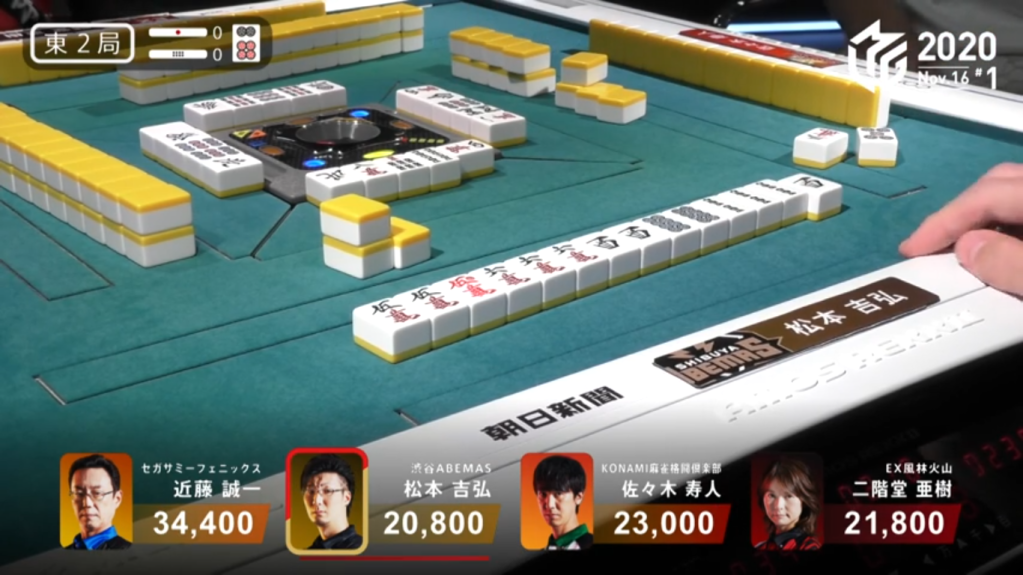
November 16, Game 1, E2-1
Video: https://abema.tv/video/episode/444-7_s30_p121
In E2-1, Matsumoto is in 4th place as the dealer. He starts out with a good haipai, holding an ankou and three pairs with the flexibility to go for either toitoi or chiitoi. On his second draw, he finds his 5th pair, putting him iishanten for chiitoi or 2-shanten for toitoi. On his 4th turn, he turns another pair into an ankou, putting him iishanten for toitoi and a chance at suuankou. On Matsumtoto’s 5th draw, he makes another ankou to put him into tenpai. Matsumoto calls riichi, waiting on a West/8p shanpon. If Matsumoto wins by tsumo, he wins with suuankou for a dealer yakuman.
As luck would have it, on Matsumoto’s first draw after riichi, only his 6th turn of the hand, Matsumoto finds the west. With the Suuankou win, Matsumoto wins the first yakuman of M-League 2020. Matsumoto’s yakuman win was influential to that and the next game, where players were seen going for yakuman such as kokushi when it would normally be inadvisable to.
The whole game in itself was actually very interesting. The game lasted for 21 hands, with the honba count going all the way to 7 honba at one point. There were also 16 hands won, with 10 of them by tsumo. This game is definitely on my must-watch list.
Honour Shanpon Riichi vs. Dealer Ryanmen Riichi
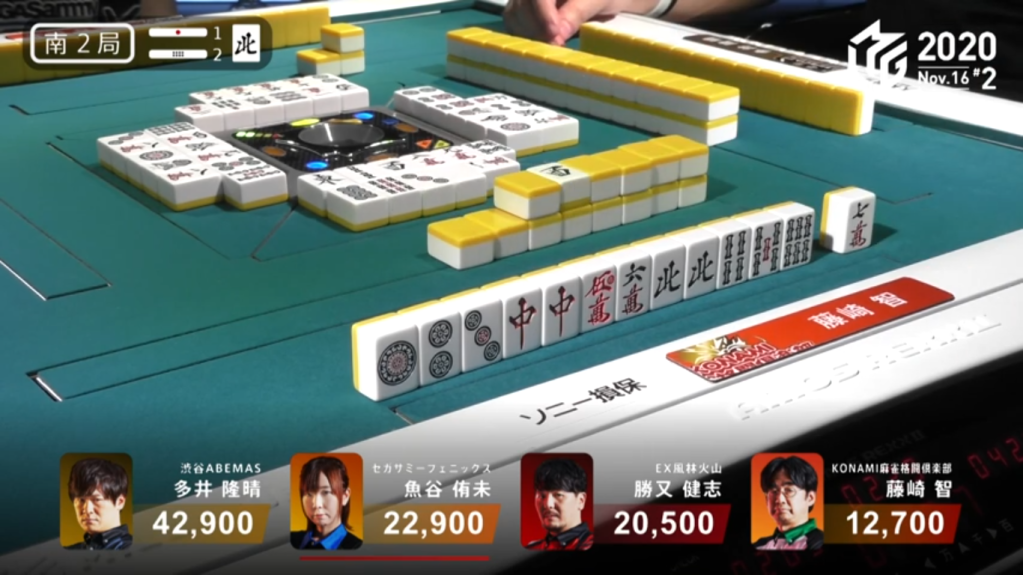
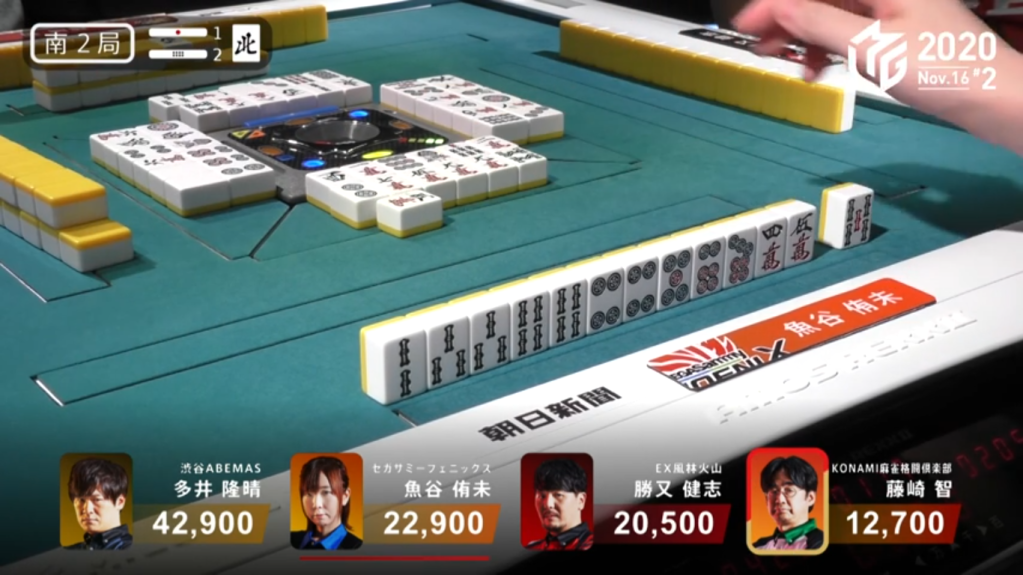
November 16, Game 2, S2-2
In S2-2, Uotani is in 2nd as the dealer, looking to chase 1st place Ooi, while Fujisaki is in 4th looking to improve his placement. Uotani starts out at 4-shanten, while Fujisaki has a 3-shanten hand with a yakuhai pair, a regular dora and a red dora. By the end of the 1st row, Uotani is 2-shanten holding lots of ryanmen and Fujisaki is iishanten, having paired up the north dora to have a mangan minimum hand if he wins. Near the end of the 2nd row, Fujisaki gets to tenpai and calls riichi waiting on the Red Dragon/North shanpon wait. Uotani continues to push forward despite the riichi, eventually getting to tenpai and calling riichi at the start of the 3rd row on a 36m ryanmen wait. The two of them, waiting for their winning tile to make the next step to greatness. In the end, it was Uotani dealing the red dragon to Fujisaki that finished the hand. Fujisaki wins the hand with Riichi/Red Dragon/Dora 2/Aka 1/Ura 1 for 12,000+600.
S4 Weirdness
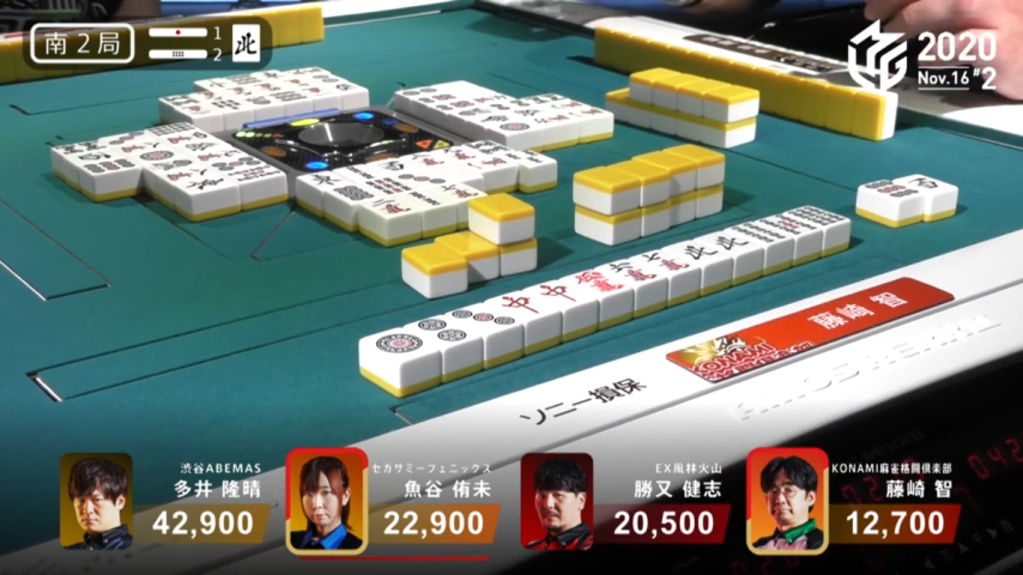
November 16, Game 2, S4-0
In S4-0, the last hand of the game ended in an odd way. 4th place Katsumata is 2,800 points behind 3rd place Uotani, who is 7,000 behind 2nd place Fujisaki, who is also the dealer. Fujisaki and Katsumata both have a 3-shanten haipai, though Katsumata lacks the value to surpass Uotani. By the end of the 1st row, Fujisaki is iishanten, while Katsumata and Uotani both struggle at 2-shanten. With Uotani and Fujisaki both drawing the south dora, both of their hands are stopped in their tracks, neither of them wanting to discard the dangerous tile. Katsumata is freely able to continue his hand without drawing dangerous tiles, getting to iishanten in the middle of the 2nd row. At the start of the 3rd row, Uotani starts to bail her hand, even though she would fall to 4th if the hand were to go to ryuukyoku and Katsumata was in tenpai. However, neither Katsumata nor Fujisaki were able to get to tenpai by the end of the hand. The game ends with nobody in tenpai, leaving everyone in the same place and the same score that they came into S4 with.
Uchikawa’s Chinitsu
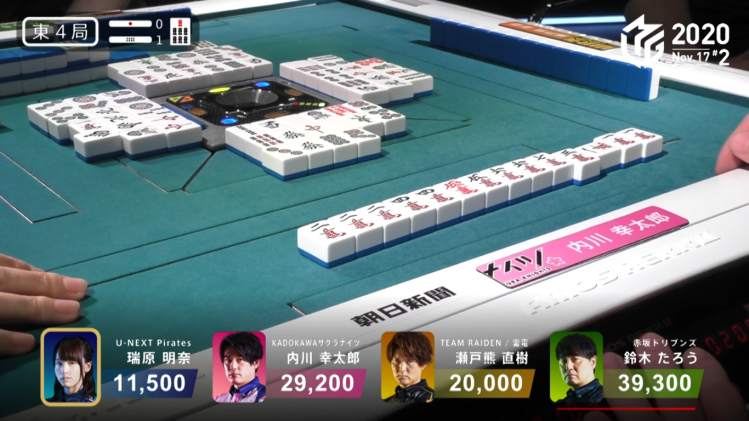
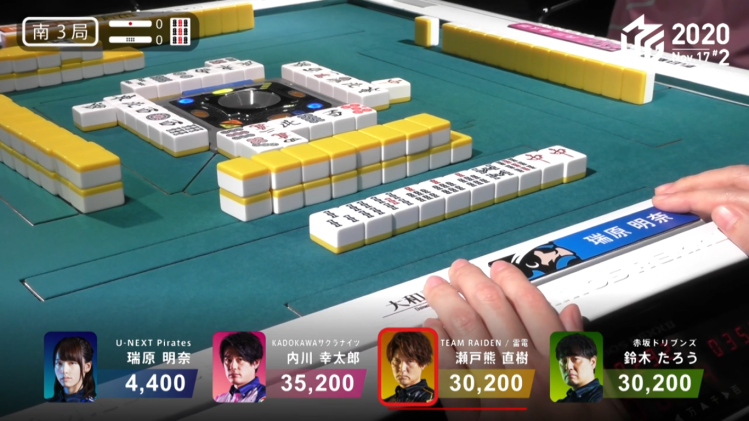
November 17, Game 2, E4-1
In E4-1, Mizuhara is in 4th place, wanting to get back into the competition. Uchikawa, on the other hand, is in 2nd place looking to get ahead of the leader Taro. Mizuhara starts her hand off at 2-shanten, while Uchikawa starts his hand 3-shanten chinitsu. On turn 5, Uchikawa calls pon on the 1m to put him iishanten for a chinitsu haneman. Through most of the 1st row and the 2nd row, Mizuhara struggles to find her tenpai while Uchikawa sits waiting on a 347m wait. Drawing honours and manzu tiles, Mizuhara is forced to change her hand a bit taking a longer route to tenpai as she tries to progress safely. Turn after turn, Uchikawa sits there waiting for his winning tiles. Near the end of the 3rd row, Mizuhara gets to tenpai and calls riichi waiting on a 3m/7s shanpon. However, her last-ditch does not come through, as Uchikawa ends up calling tsumo on the 3m after Taro made a call to get to tenpai and shift the wall. Uchikawa wins the hand with Chinitsu/Aka 1 for 3,000+100/6,000+100 and take the lead.
Comeback in Two Hands
November 17, Game 2
In S3-0, Mizuhara is in 4th place and 25,600 behind 3rd place Setokuma. Having already taken her second dealer turn, Mizuhara only has two hands to get out of 4th. Mizuhara starts out with a 4-shanten hand with souzu honitsu being the only visible path to mangan. Within the first few turns, Mizuhara drew souzu and honours and eventually got to iishanten with two dragon pairs and a dora by the end of the 1st row. At the start of the 2nd row, Mizuhara faces a riichi by the dealer Setokuma. However, the riichi is a blessing to her, as it coaxed the white dragon out of Uchikawa’s hand. Mizuhara calls pon and gets to tenpai with a 7s/Red Dragon shanpon wait. Immediately after, Uchikawa throws the red dragon to give Mizuhara the Honitsu/White Dragon/Red Dragon/Dora 1 for 8,000. With the win, it puts Mizuhara only 13,800 from 3rd place.
Video: https://abema.tv/video/episode/444-7_s30_p129
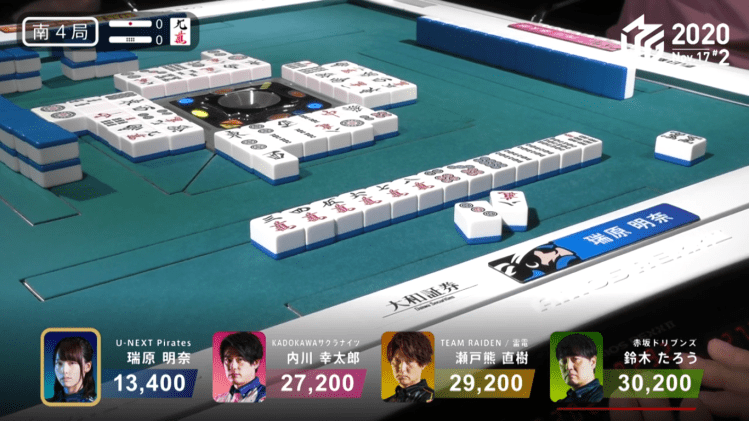
In S4-0, Mizuhara is within 13,800 of 3rd with only one hand to get there. Mizuhara would need a baiman general ron, a haneman tsumo or a mangan direct hit. Furthermore, if Mizuhara manages to get the haneman tsumo, she would finish the game in 2nd. Mizuharas haipai starts out being 2-shanten geared towards tanyao. With the first draw being a 7s, her hand has the flexibility to go for a sanshoku to bring her hand up to mangan range, though she will needs 8p/6s/8s to get there. On turn 4, she finds the 8p, but would be put in a takame/yasume situation if she draws either of the two other tiles she needs for sanshoku. At the end of the 2nd row, Mizuhara draws the 6s, calling riichi to wait on a 58s ryanmen wait. If Mizuhara wins off the 5s, it would only be 3 han, meaning she would need an ura dora or ippatsu and hit either Uchikawa or Setokuma to be 3rd. If Mizuhara wins off the 8s, it would be a guaranteed mangan, but winning on tsumo would bring her to the fabled 2nd place haneman tsumo. Two turns later, Mizuhara finds the 8s. Mizuhara wins the hand with Riichi/Tsumo/Pinfu/Tanyao/Sanshoku for 3,000/6,000.
In the end, the game ended with both Taro and Uchikawa tied for 3rd and with 1st and 3rd/4th only being 2,000 points away, one of the closest games in M-League history.
Full Straight Out of 4th
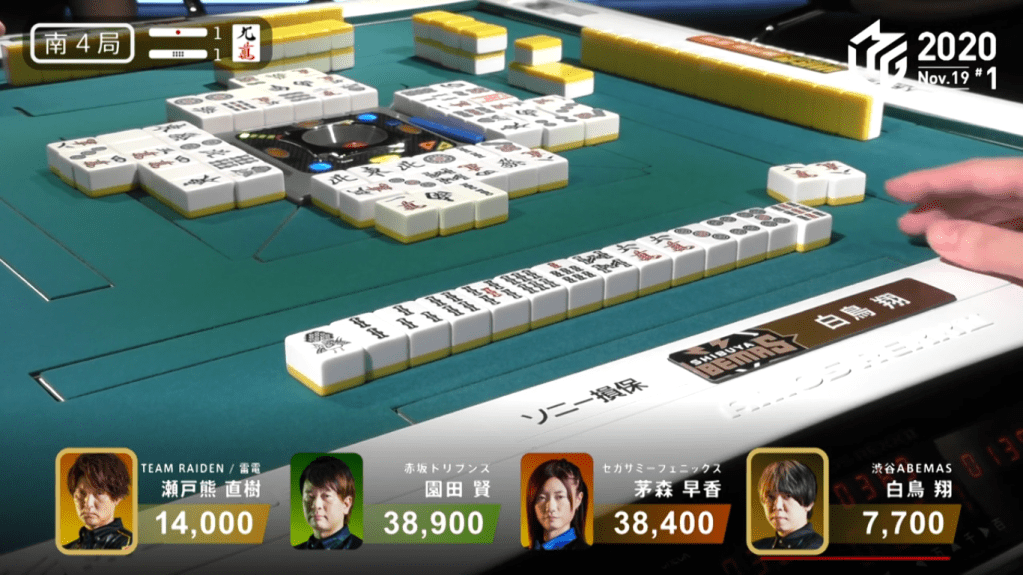
November 19, Game 1, S4-1
In S4-1, Shiratori is the dealer and in 4th place, 6,300 behind 3rd place Setokuma. With a riichi stick and a honba on the table, he would need a 3/30 han general ron, 2/40 tsumo or a 2/30 direct hit to take 3rd. Shiratori starts his hand at 3-shanten with a chance at sanshoku and a further possibility for ittsuu. On turn 4, Shiratori becomes iishanten for pinfu, not quite enough for 3rd. However his 123456s in souzu does have some promise of becoming ittsuu if he draws the 789s. On turn 6, Shiratori finds the 7s and on 7s, Shiratori draws the 8s to get to tenpai. Shiratori calls riichi to wait on the 369s sanmenchan, with 9s giving him ittsuu. Setokuma, who sees his 3rd place being threatened, makes a desperate effort to win the hand, calling riichi on a 7s kanchan just a few turns after Shiratori’s riichi. Many draws were taken, but it was Shiratori’s wide wait that prevailed. In the middle of the 3rd row, Shiratori finds his takame 9s to win with Riichi/Tsumo/Pinfu/Ittsuu for 4,000+100 all.
Right Number, Wrong Suit
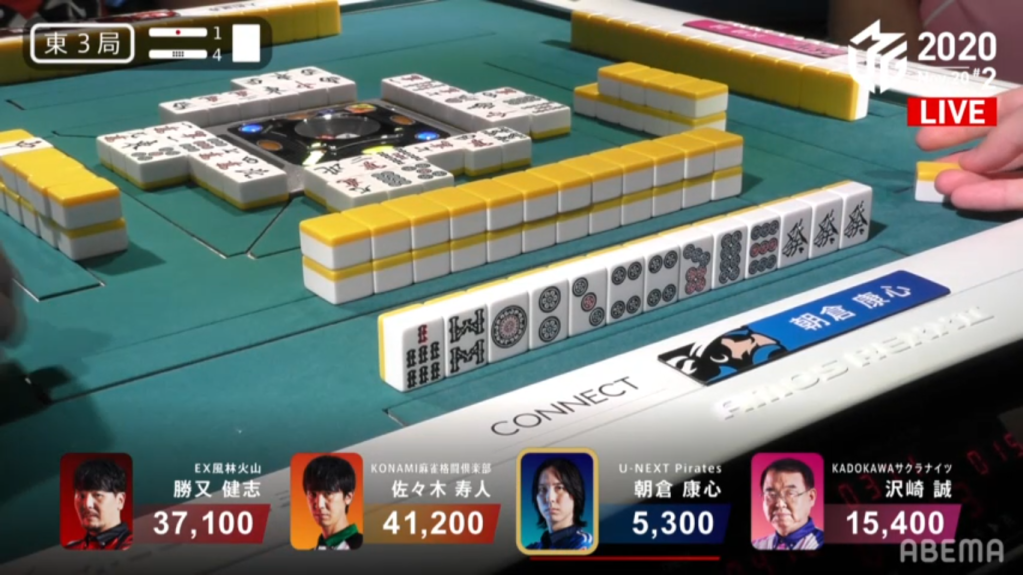
November 20, Game 2, E3-4
Even though Asakura was cosplaying as Toki from Hokuto no Ken (Fist of the North Star), he himself was the one who needed healing. In E3-4, Asakura got to tenpai quite early and called riichi on a 69s wait on turn 4. On turn 8, Asakura called tsumo. However, he had drawn the 6p and not the 6s. He realized his mistake before revealing his hand and promptly called for a referee decision.
According to M-League rules (and in WRC rules as well), if a player falsely calls tsumo or ron, but doesn’t show their hand, they are agari houki (commonly referred to as a dead hand in English). When a player has a dead hand, they are not allowed to make any calls and must declare themselves noten at ryuukyoku.
Under normal circumstances, a riichi hand at ryuukyoku being declared noten would be subject to chombo. However, because the noten was due to a dead hand, this is not the case. Instead, the player reveals their hand to prove that they were tenpai at riichi and then pay out any noten payments.
The game continued after the decision and the hand eventually went to ryuukyoku. He revealed his tenpai hand, called himself noten and paid the 1,000 points in tenpai payments. Because he was noten, Asakura was forced to pass his dealership.
This wasn’t the first time that Asakura was faced with a dead hand. In 2018, he called a 237s chii which resulted in a dead hand.
Shortcut to Baiman
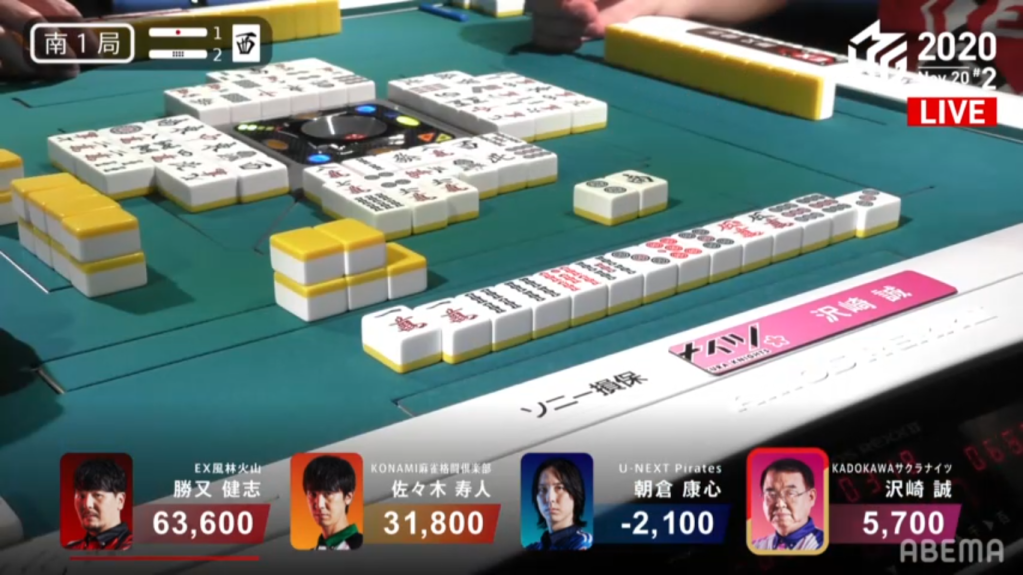
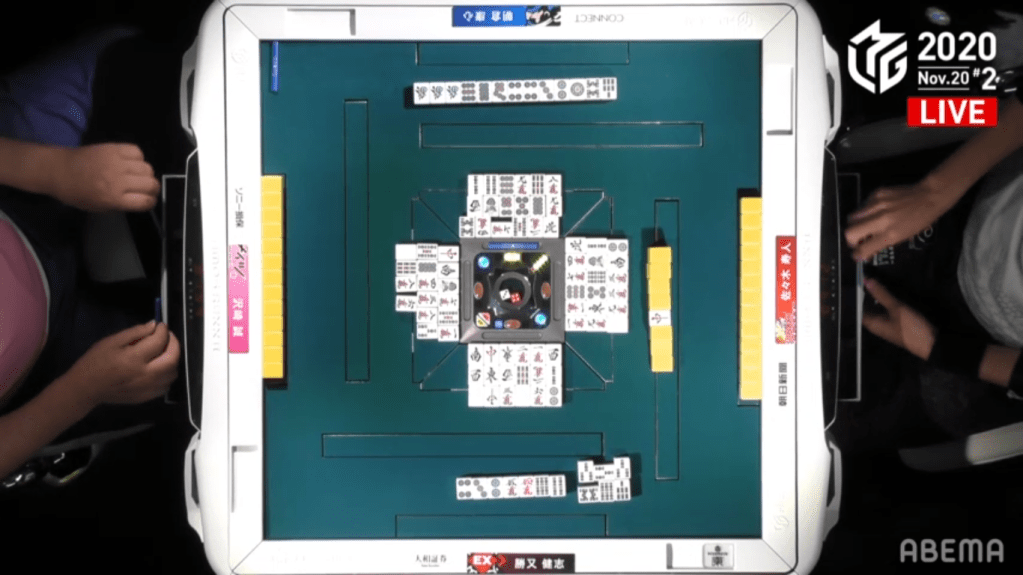
November 20, Game 2, S1-2
Video: https://abema.tv/video/episode/444-7_s30_p139
In S1-2, Sawazaki is in 3rd place with only 5,700 points. Being 26,100 behind 2nd place Sasaki and being only 7,800 ahead of 4th place Asakura, Sawazaki needs to start earning points now to get out of 3rd. Sawazaki’s hand starts out with promising value with all three of the red dora and 3-shanten. In his first two turns, he pairs up some inside tiles, giving him the potential to go for chiitoi. By the end of the 1st row, Sawazaki is iishanten for Chiitoi/Aka 3, locking in the chiitoi by discarding a tile from an ankou to keep it as a pair. In the middle of the 2nd row, Sawazaki draws his 6th pair and calls riichi to wait on the 3p. With the riichi, his hand is haneman minimum. In the middle of the 3rd row, Asakura called chii to get to tenpai and shift the haitei away from Sawazaki. However, Sawazaki’s draw right after the chii was the 3p. Revealing two uradora, Sawazaki wins the hand with Riichi/Tsumo/Chiitoi/Aka 3/Ura 2 for a 4,000+200/8,000+200 baiman, the 10th baiman of the season.
