Highlights
Kan
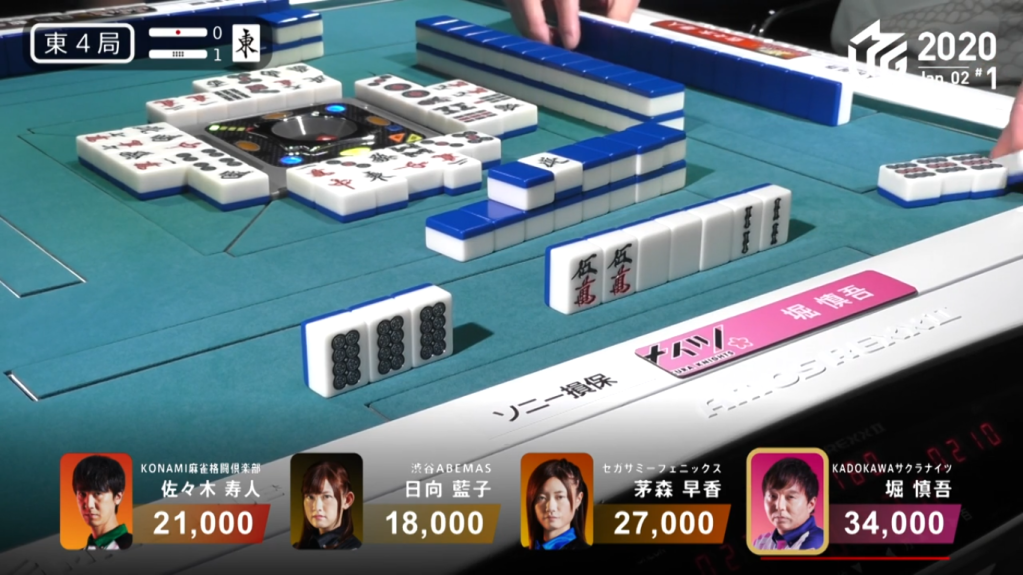

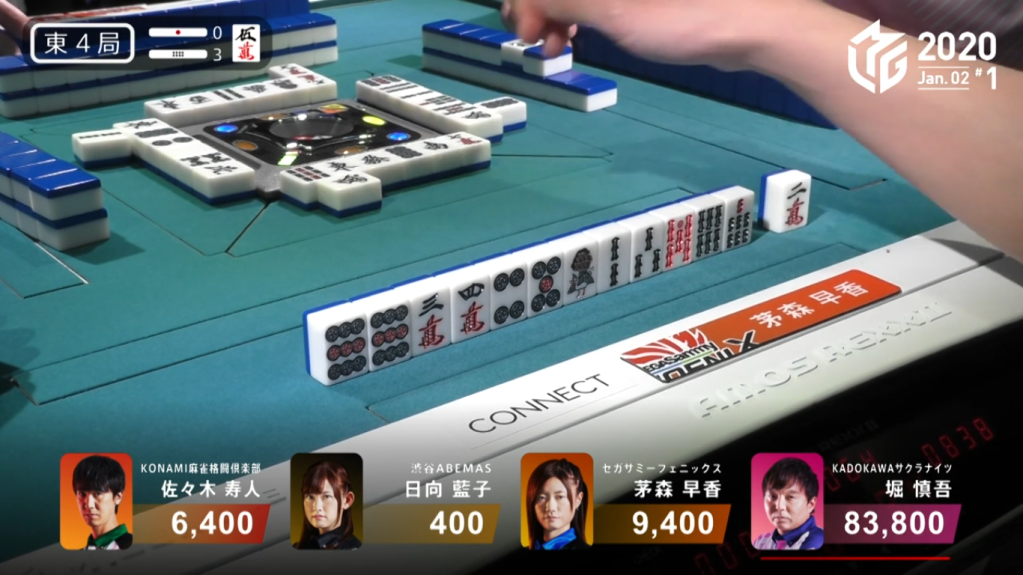
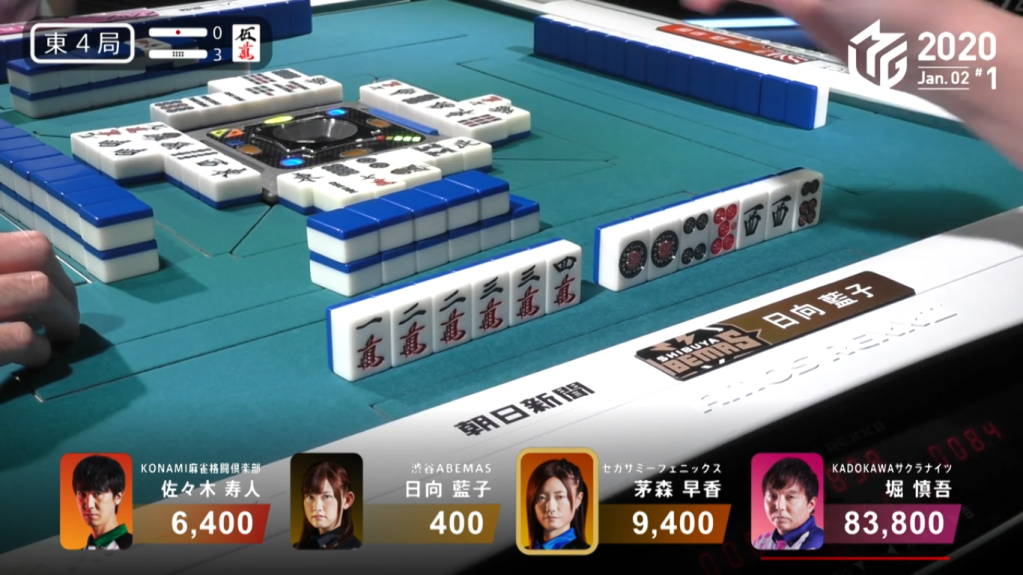
January 2, Game 1 E4-1
Video: https://abema.tv/video/episode/444-7_s30_p241
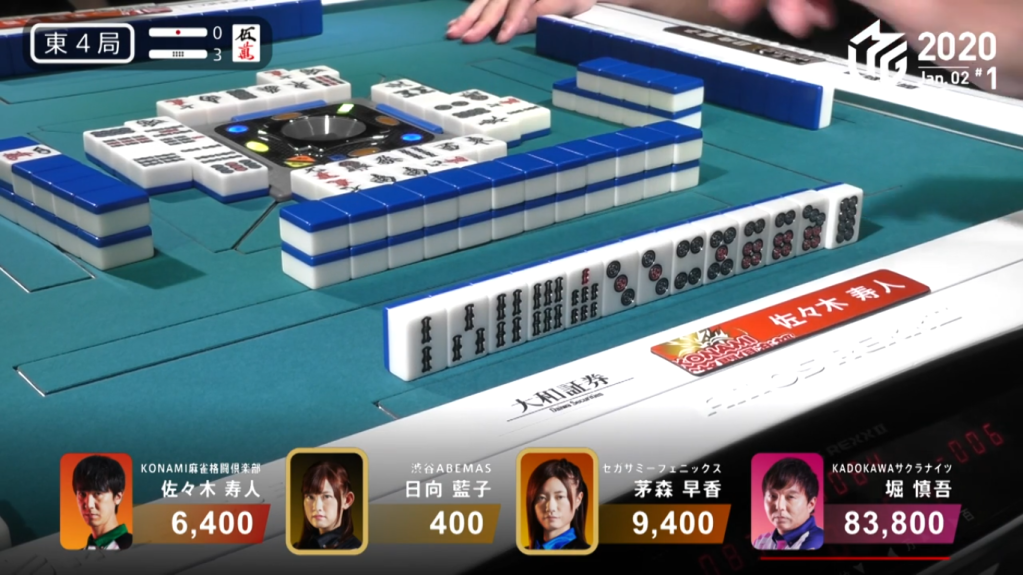
In E4-1, Hori is the dealer and in the lead with 34,000. His hand starts out with an ankou of 8p and two other pairs. On turn two, he pairs up his white dragon to put him 2-shanten from chiitoi and 3-shanten from toitoi. On turn 3, he picks up another pair to bring his hand forward. At the start of the 2nd row, he makes his white dragon into an ankou and brings his hand to toitoi and suuankou iishanten. In the middle of the 2nd row, he makes his 9p an ankou and calls riichi on a 5m/2s shanpon. Drawing a 9p two turns later, he calls kan. With his rinshan 2s draw, he calls tsumo and wins the season’s 2nd yakuman. Hori wins with Suuankou for 16,000+100 all, bringing his score up to 82,300.
Riichi Battle

January 2, Game 1, E4-3
Video: https://abema.tv/video/episode/444-7_s30_p242
In E4-3, Sasaki, Hinata and Kayamori are battling it out for 2nd place. All three of them start out at 3-shanten, with Kayamori in the best position with her ryanmens. However, it was Sasaki whose hand progressed the fastest, getting to a sanmenchan-ryanmen iishanten by turn 4. By the end of the 1st row, all three of them are iishanten. The first of the three to get to tenpai is Kayamori, who calls riichi on a 36p ryanmen wait. A few turns later, Hinata calls riichi on a 1p/west shanpon. Soon after, Sasaki calls the third riichi, waiting on a 58s ryanmen wait. Despite being the last to call riichi, Sasaki was the one who won the hand, winning on Hinata’s discarded 8s. Sasaki wins with Riichi/Pinfu/Tanyao/Ura 1 for 8,000+900, along with Kayamori’s and Hinata’s riichi sticks.
When 84,300 Just Isn’t Enough

January 2, Game 1, S3-2
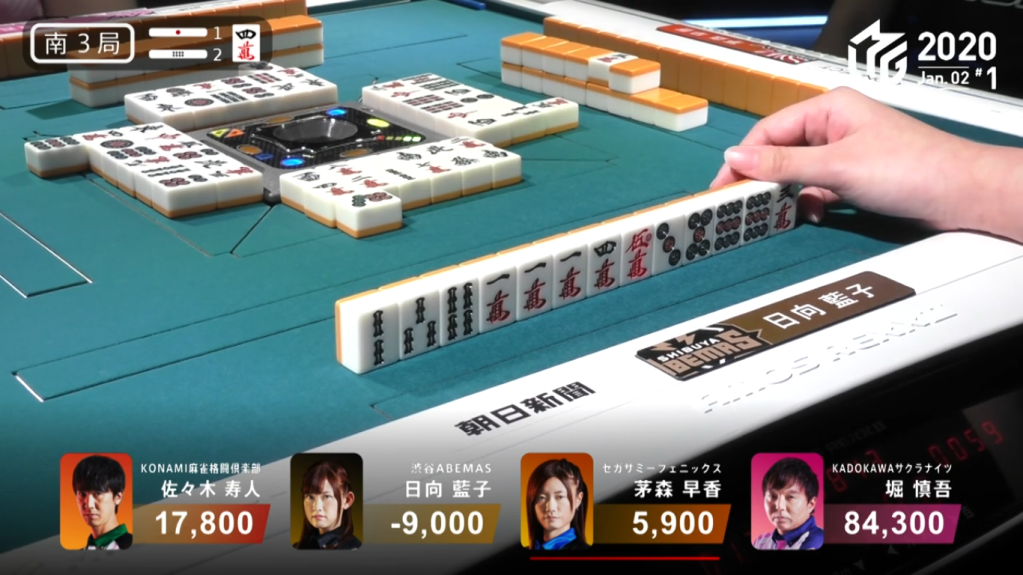
In S3-2, Hori is still way out in front after his suuankou in E4-1. He holds a very nice starting hand, being 2-shanten with a ryanmen. His hand develops fairly quickly, getting to tenpai with a 5p at the start of the 2nd row, but chooses not to call riichi even though he doesn’t have a yaku. In the middle of the 2nd row, he switches to a 25p wait and stays dama with a pinfu. A few turns later, he adds tanyao to his yaku list and continues to stays dama. As Hori waits for his winning tile to come out, Hinata gets to tenpai and calls riichi on a 4p kanchan wait. With no intention of folding and a good wait, Hori decides to call riichi. On Hori’s very next draw, he finds the 5p to win the hand. He wins the hand with Riichi/Ippatsu/Tsumo/Pinfu/Tanyao for 2,000+200/4,000+200 to bring his score up to 94,900.
Hori ended the game with 92,600, the highest score this season and the second-highest score in M-League history (topped only by Uotani’s 94,400 performance back in the 2019 season).
Just Throw It
January 2, Game 2, E2-1
Video: https://abema.tv/video/episode/444-7_s30_p243
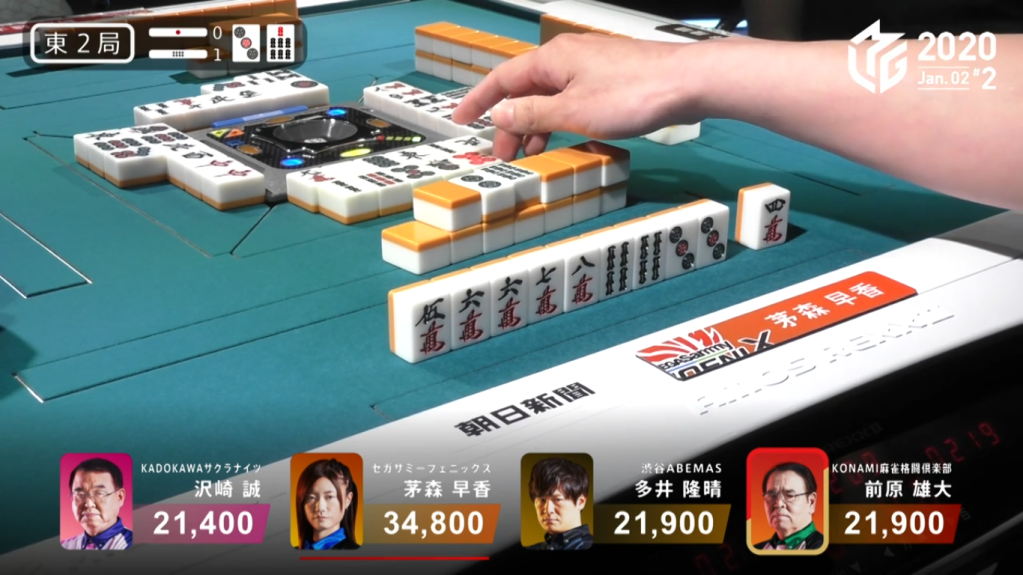
In E2-1, Kayamori is in the lead and taking advantage of her dealer turn. She starts the hand at 3-shanten with a pair of green dragons, a regular dora and a red dora. She gets to 2-shanten on turn 2 and she calls pon on the green dragon soon after to get to iishanten. Despite her speed, she stalls and stays iishanten through the rest of the 1st row and through most of the 2nd. She is faced with some pressure when Maehara calls kan and the calls riichi immediately after. While in Maehara’s ippatsu turn, Kayamori draws the 3p dora to get to tenpai, but would be forced to discard the dangerous red 5p. There wasn’t much hesitation as she confidently discarded the red 5p to wait on a 3p/4s shanpon. In the middle of the 3rd row, Kayamori finds the 3p to win the hand with Green Dragon/Dora 3 for 4,000+100 all, plus Maehara’s riichi stick.
But I Just Discarded That!
January 2, Game 2, E2-3
In E2-3, Ooi is in 4th place and looking to get into a better position. He starts out with a 4-shanten hand with three ryanmen. By the end of the 1st row, he is only at 3-shanten. When Ooi gets to 2-shanten a turn later, Kayamori applies pressure with a dealer riichi. Ooi continues to push his hand, getting to iishanten soon after. Near the end of the 2nd row, Ooi gets to tenpai on a 69s wait, stayind dama since it’s a safe tile against Kayamori. Sawazaki, who had discarded a 9s the turn before and a 6s before that, discards another 9s and deals into Ooi. Ooi wins the hand with Pinfu/Dora 1/Aka 2 for 8,000+900, plus Kayamori’s riichi stick.
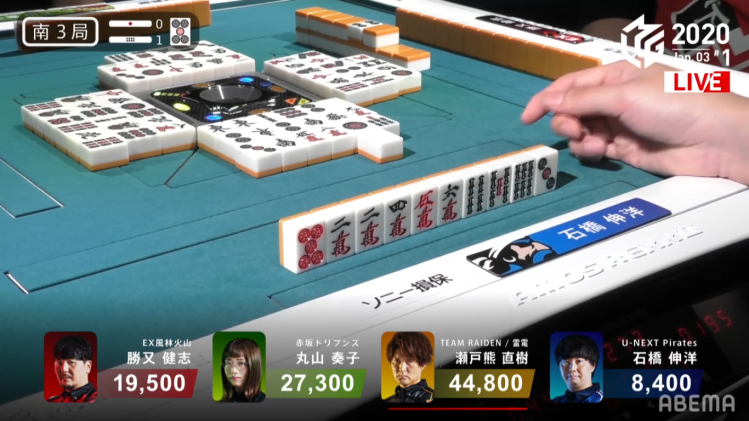
Yakuman Tenpai???
January 3, Game 1, S1-2
In S1-2, Maruyama is in 1st place. She starts out with a 3-shanten hand with two doras, but a bit slow because of some penchans. By the end of the 1st row, she has 5 pairs accumulated, making her chiitoi iishanten. Nearing the end of the 2nd row, she draws to an ankou and a turn later, she draws a second ankou to put her into toitoi and suuankou iishanten. Right after that, Setokuma gets to tenpai and calls riichi on a 147s wait. During Setokuma’s ippatsu turn, Maruyama gets to tenpai and has a chance to get suuankou if she draws the tile herself. However, Setokuma wins on his ippatsu draw and wins with Riichi/Ippatsu/Tsumo/Pinfu/Aka 2 for 3,000+200/6,000+200, ruining the chance for a second yakuman in two days.
Winning is a Choice
January 3, Game 1, S3-1
Video: https://abema.tv/video/episode/444-7_s30_p247
In S3-1, Maruyama is in 2nd place and looking to chase down the Setokuma. She starts out with a 3-shanten hand with a pair of white dragons. By the end of the 1st row, Maruyama is 2-shanten and still holding the white dragon pair. Near the start of the 2nd row, she gets to iishanten and stays there for a bit. In the middle of the 3rd row with time running out, she chooses to call chii in order to get to tenpai, having a White Dragon/7m shanpon wait, with the white dragon the only wait giving a yaku.
With Ishibashi being in tenpai, Ishibashi draws the white dragon and discards it from his hand. However, Maruyama chooses not to call ron on the houtei and instead lets the hand go to ryuukyoku.

Though it may seem a bit odd, it was actually a high level play. If Maruyama had called ron, she would have won with Houtei/White Dragon for 2,000+300, putting her 2,300 points closer to 1st place Setokuma. However, since she let the hand go to ryuukyoku, Maruyama gains 1,500 points and Setokuma loses 1,500 points, meaning that she’s 3,000 points closer. Furthermore, it puts her 3,000 points further from 3rd place Katsumata, allowing her to have a more secure position in 2nd place.It goes to show that sometimes not winning is the best option.
Baiman for Hagiwara
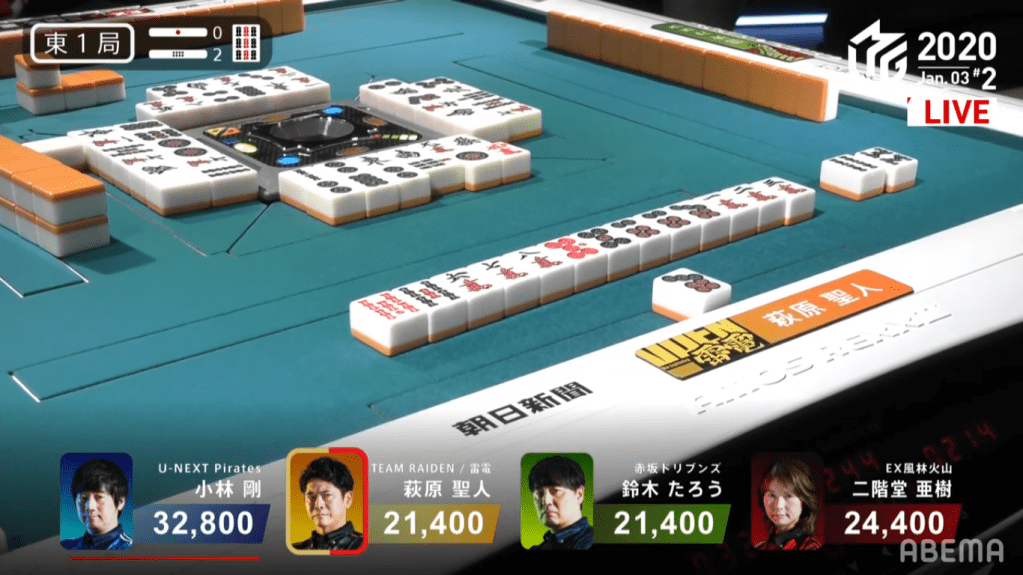
January 3, Game 2, E1-2
Video: https://abema.tv/video/episode/444-7_s30_p248
In E1-2, Hagiwara is tied for 4th place, but it’s still early in the game. Hagiwara starts out with an incredible iishanten hand with two red doras and a chance at pinfu and iipeikou. Within the first row, his hand fails to advance. It wasn’t until the middle of the 2nd row that he manages to get to tenpai, but the wait was worth it. Through his waiting, he got the guaranteed pinfu wait and called riichi on a 47p ryanmen wait for a mangan minimum hand. Two turn later, he draws the takame 7p to win the hand. Revealing two uradora, Hagiwara wins with Riichi/Tsumo/Pinfu/Iipeikou/Aka 2/Ura 2 for 4,000+200/8,000+200 to take the early lead.
Full of Dora
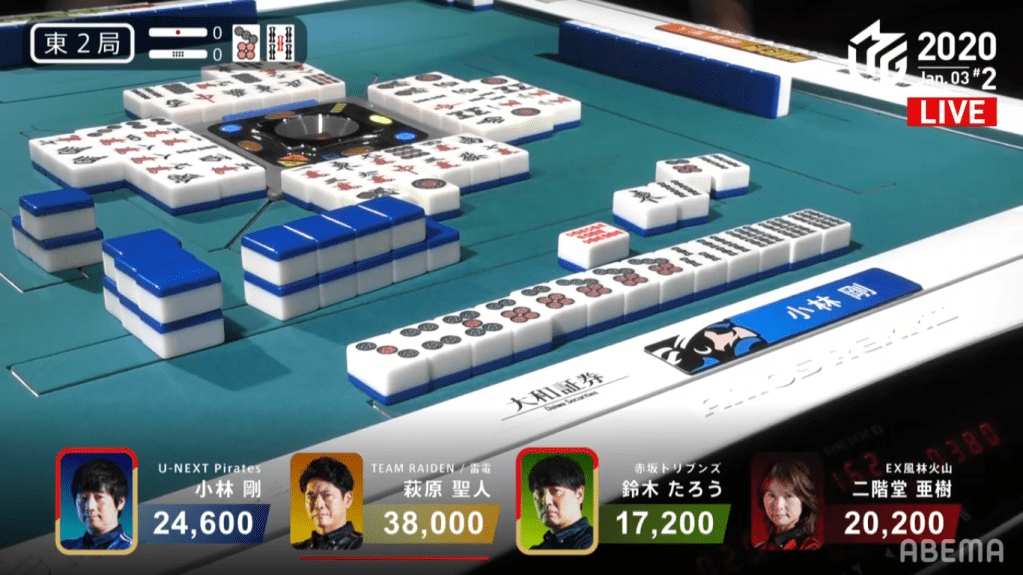
January 3, Game 2, E2-0
Video: https://abema.tv/video/episode/444-7_s30_p249
In E2-0, Kobayashi is still healing after suffering the pain of being the dealer during Hagiwara’s baiman. He starts out with a fairly unimpressive hand, being 4-shanten with one dora. As Kobayashi discards his terminal honours, Taro calls an early kan to create another dora indicator. Though it didn’t help Kobayashi in the meantime, it did mean that a riichi would give him extra chances at improving his hand. By the end of the 1st row, Kobayashi is 2-shanten with three dora and a guaranteed good wait. In the middle of the 2nd row, he gets to iishanten and keeps his hand open for the chance of a 5-sided wait. His pursuit for greatness becomes more dangerous when Taro calls riichi soon after, but Kobayashi continued to push through. More pressure is put when Hagiwara calls pon to advnace his hand to tenpai and waiting on a 3p/5s shanpon wait. However, Kobayashi’s waiting and patience pays off, as he gets to tenpai at the start of the 3rd row and calls riichi on a 25s ryanmen wait for mangan minimum. A few turns later, Taro discards the red 5p dora. With Kobayashi earlier in turn order than Hagiwara, Kobayashi shuts Hagiwara out of the win. Revealing the 5s as an uradora, Kobayashi upgrades his hand to a baiman. Kobayashi wins the hand with Riichi/Tanyao/Dora 4/Aka 1/Ura 1 for 16,000, plus Taro’s riichi stick.
Ura San
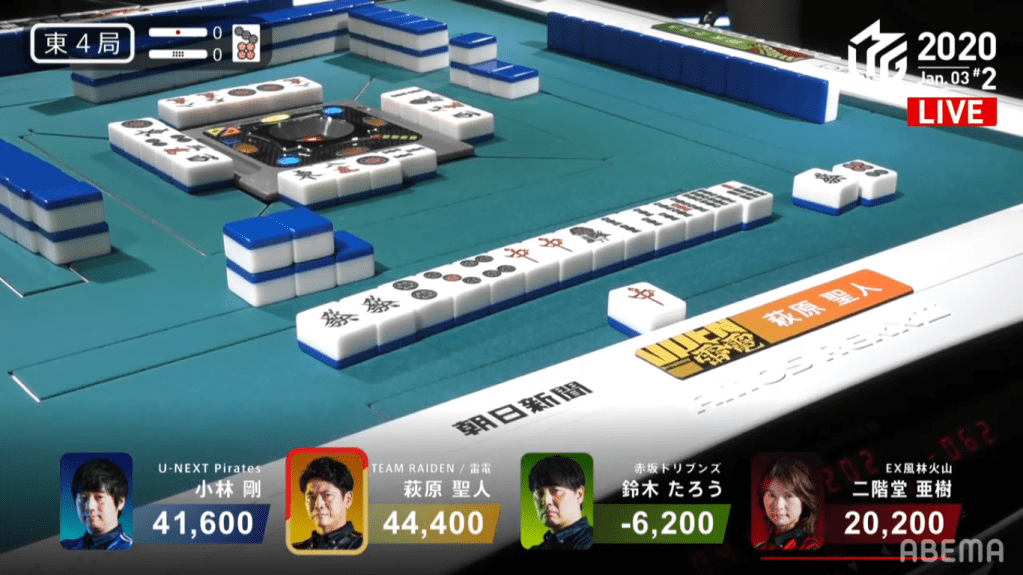
January 3, Game 2, E4-0
In E4-0, Hagiwara is still in 1st place, but his lead is shrinking. He starts out with a hand with very high potential, being 2-shanten with two dragon pairs. On turn 2, he gets himself to iishanten, still allowing for a double dragon trap wait. On turn 4, he gets to the optimal tenpai and calls riichi, waiting on a red dragon/green dragon shanpon wait. On Hagiwara’s ippatsu draw, he finds the red dragon to win the hand. Revealing the green dragon as the uradora indicator, Hagiwara adds three uradora to win the hand with Riichi/Ippatsu/Tsumo/Red Dragon/Ura 3 for 3,000/6,000 to widen his lead.
