Highlights
Bad Luck
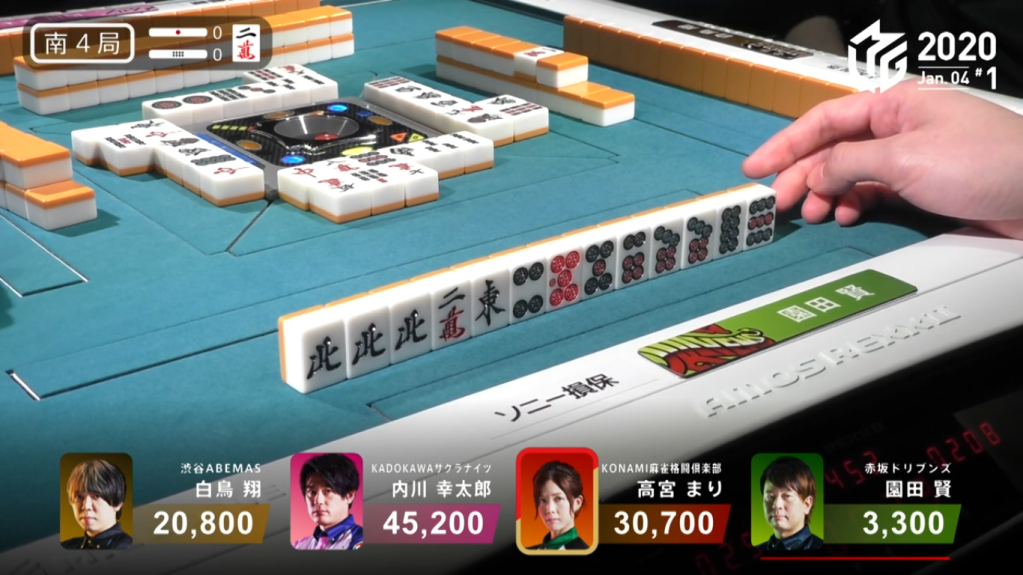

January 4, Game 1, S4-0
In S4-0, Sonoda Ken is in 4th place as the dealer with 3,300. He starts out with a 4-shanten hand with a red dora and a regular dora. In the first row, he drew multiple pinzu tiles, moving his hand closer to a honitsu. In the second row, he gets to iishanten, still closed for a chance to riichi and a possibility of haneman with uradora. However, Takamiya puts a wrench in the works by calling riichi. With Sonoda being the dealer and close to a big hand, he continues to push. Unfortunately, Sonoda draws and discards Takamiya’s winning 7m on her ippatsu turn. Takamiya won the hand with Riichi/Ippatsu/Pinfu/Tanyao/Dora 1/Aka 1 for 12,000. With that hand, it brought Sonoda to -8,7000, his worst result.
All Four Dora
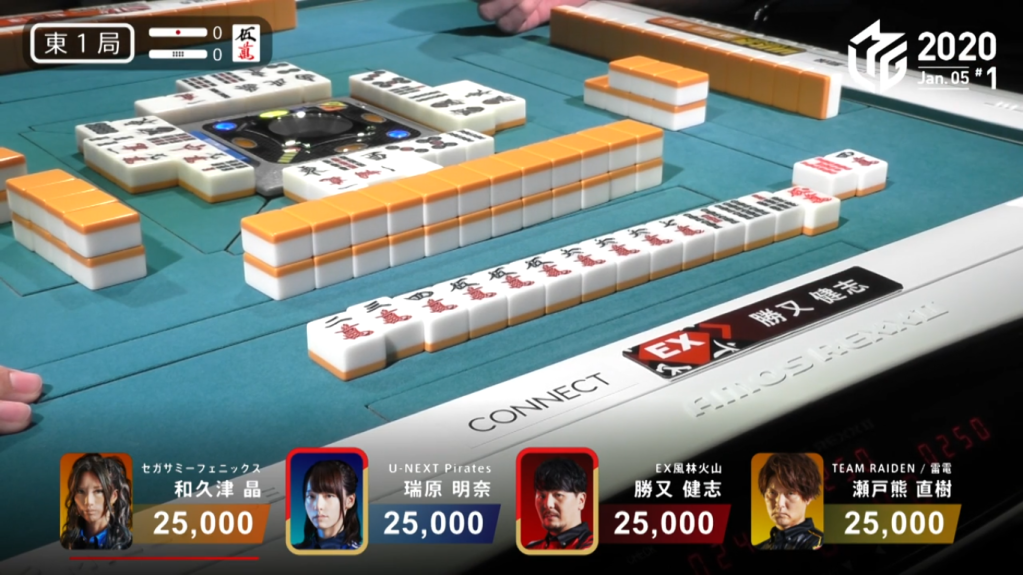
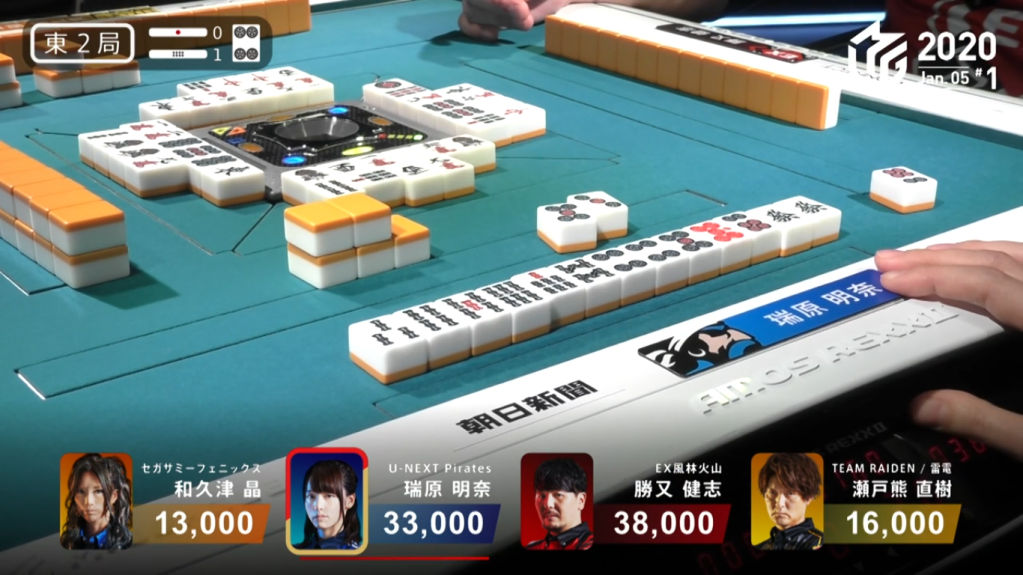
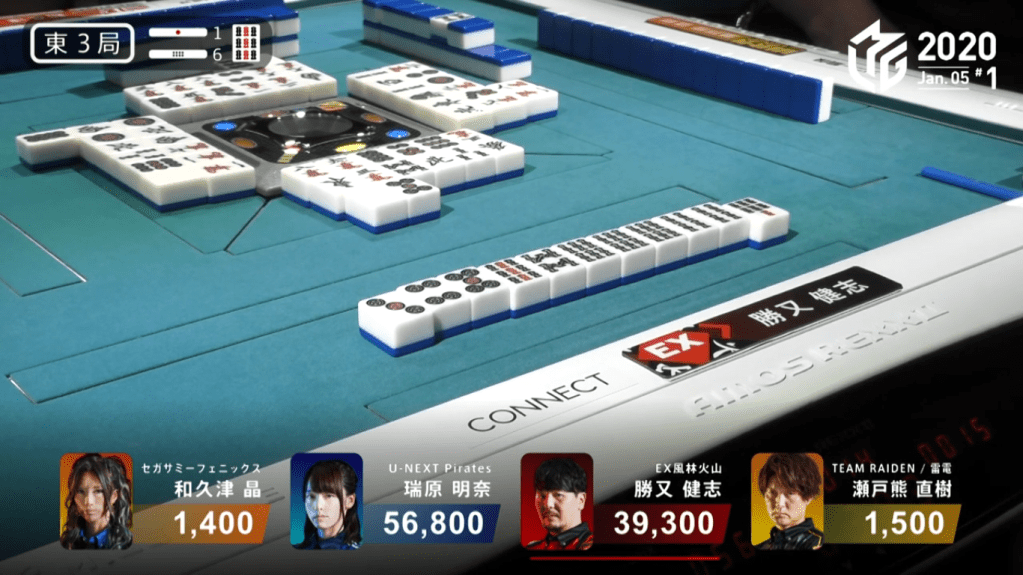
January 5, Game 1, E1-0
Video: https://abema.tv/video/episode/444-7_s30_p256
In E1-0, Katsumata starts out in the west seat and begins the hand with a 2-shanten hand with two dora. His hand allows him the flexibility to call and go for pinfu. His hand progresses quite quickly at the start, getting to iishanten by turn 3. By turn 5, Katsumata is damaten on a 58m wait and holding three of the dora 5m, giving him a mangan minimum. He is faced with a small challenge from Mizuhara, who calls riichi at the start of the 2nd row. A few turns later, Katsumata improves his wait and calls riichi on a 5678m wait. Two turns later, Katsumata draws the red 5m, the last of the regular dora, and wins the hand. Katsumata wins with Riichi/Tsumo/Tanyao/Dora 4/Aka 1/Ura 1 for 4,000/8,000 all.
7 Honba!?!
January 5, Game 1
Over the course of E2 and E3, 7 honba were accumulated.
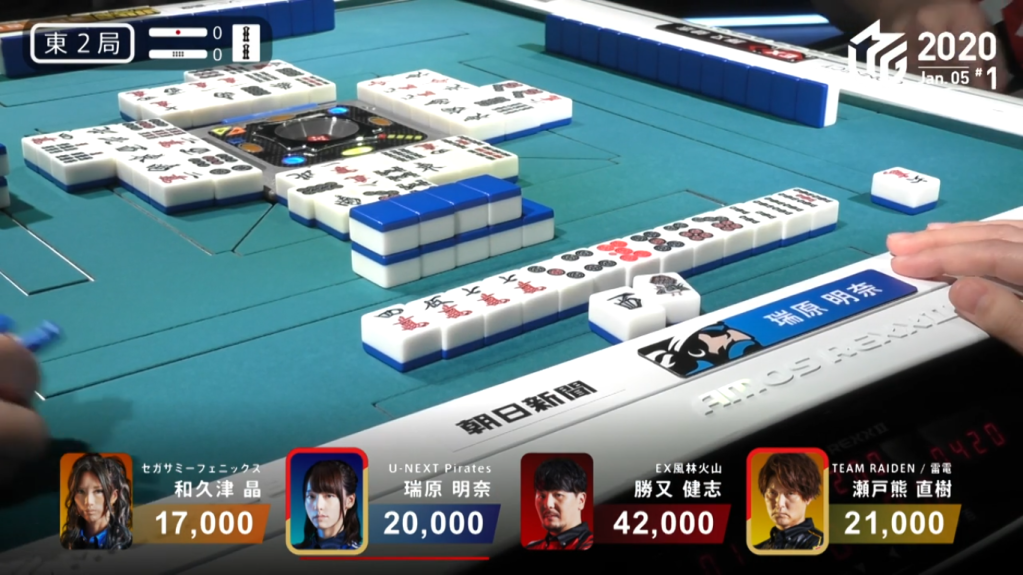
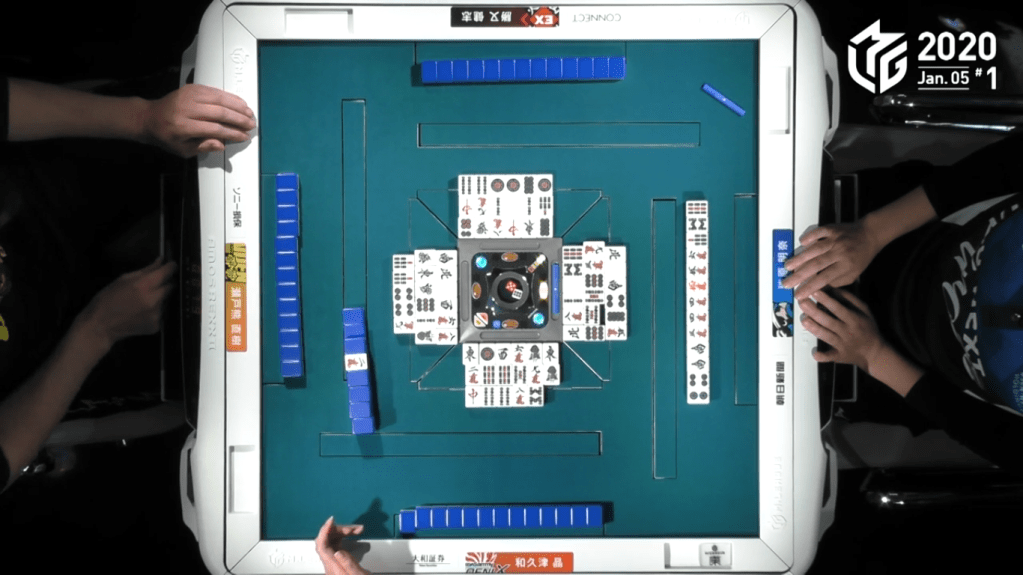
In E2-0, Mizuhara is the dealer and starts out with a 3-shanten hand with a red dora. Her hand developed fairly quickly, incorporating tanyao and iishanten by turn 4. At the start of the 2nd row, Mizuhara adds pinfu to her hand and calls riichi on a 36m wait, with 3m giving her sanshoku. With the threat of a dealer riichi, all her opponents folded their hands, which meant that Mizuhara’s only hope of winning is to draw it herself. In the middle of the 3rd row, Mizuhara draws the 6m to win the hand. Mizuhara wins the hand with Riichi/Tsumo/Pinfu/Tanyao/Aka 1 for 4,000 all.
Video: https://abema.tv/video/episode/444-7_s30_p257
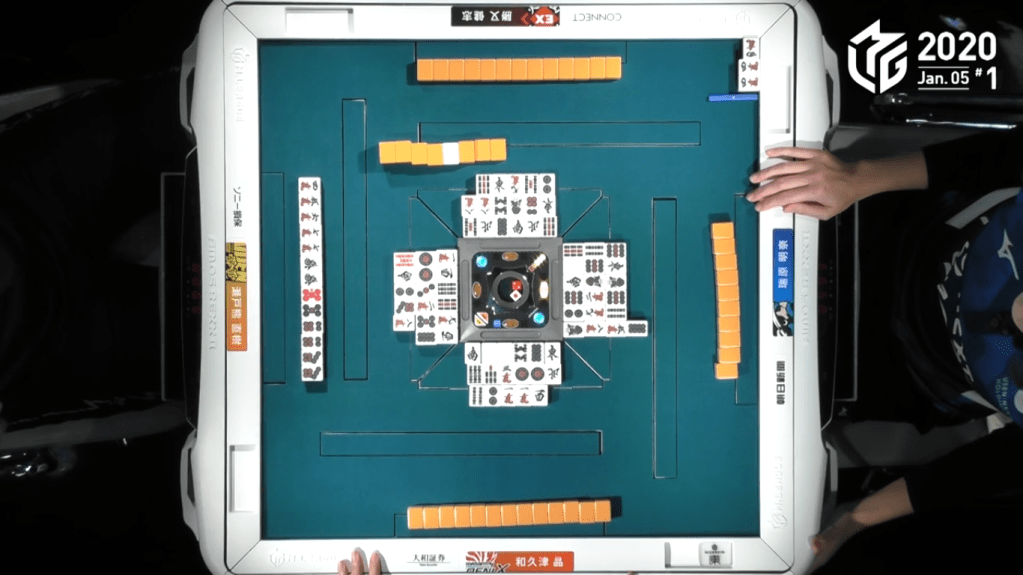
In E2-1, Mizuhara starts out with a3-shanten with a pair of green dragons, a regular dora and a red dora. At the start of the 2nd row, she draws another dora to get to iishanten and has a chance at iipeikou. A turn later, she gets to tenpai and calls riichi on a 36p ryanmen wait, with 6p giving her iipeikou. Near the end of the 2nd row, Mizuhara draws the takame 6p. Finding two uradora, she upgrades her hand to a baiman and wins with Riichi/Tsumo/Iipeikou/Dora 2/Aka 1/Ura 2 for 8,000+100 all.
In E2-2, Mizuhara calls another dealer riichi, forcing everyone to fold. Mizuhara is the only one tenpai when the hand goes to ryuukyoku.
In E2-3, the hand goes to ryuukyoku, with Setokuma the only one tenpai. With Mizuhara being noten, she passes the dealership to Katsumata.
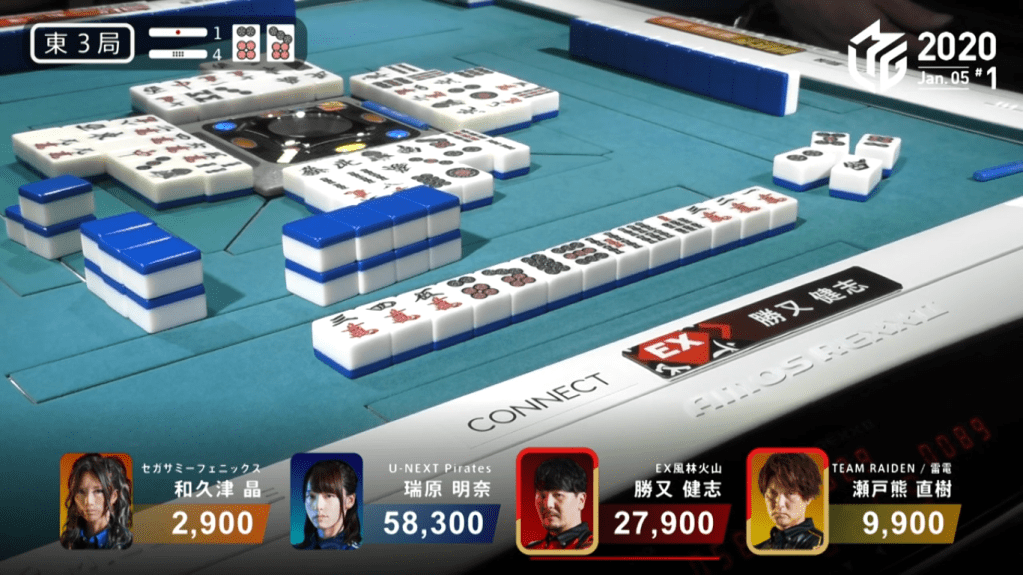
In E3-4, Katsumata starts out with an incredible iishanten with his first 13 tiles. He misses getting to a double riichi with his first draw and continues to stay iishanten until the middle of the 2nd row. In the middle of the 2nd row, Katsumata gets to tenpai, but holds a tanki wait. One turn later, he draws to a nobetan wait and calls riichi on the 69p. Despite facing a dealer riichi, Setokuma calls riichi on a 36s ryanmen wait for mangan minimum. Setokuma draws a fourth 4p on his ippatsu turn and calls kan. With the kan, he increases Katsumata’s potential hand value to 3 han. Setokuma’s chase eventually fails with him discarding the 9p to deal into Katsumata. Katsumata wins the hand with Riichi/Dora 2 for 7,700+1,200 along with a leftover riichi stick and Setokuma’s riichi stick.
In E3-5, a Katsumata dealer riichi put fear again in his opponents. Both he and Setokuma were tenpai when the hand went to ryuukyoku.
In E3-6, Katsumata makes an early red dragon pon and aimed to make his hand as quickly as possible. Katsumata ends up winning the hand in the middle of the 3rd row to win with Red Dragon/Dora 1 for 1,300+600 all, plus a riichi stick from the previous hand.
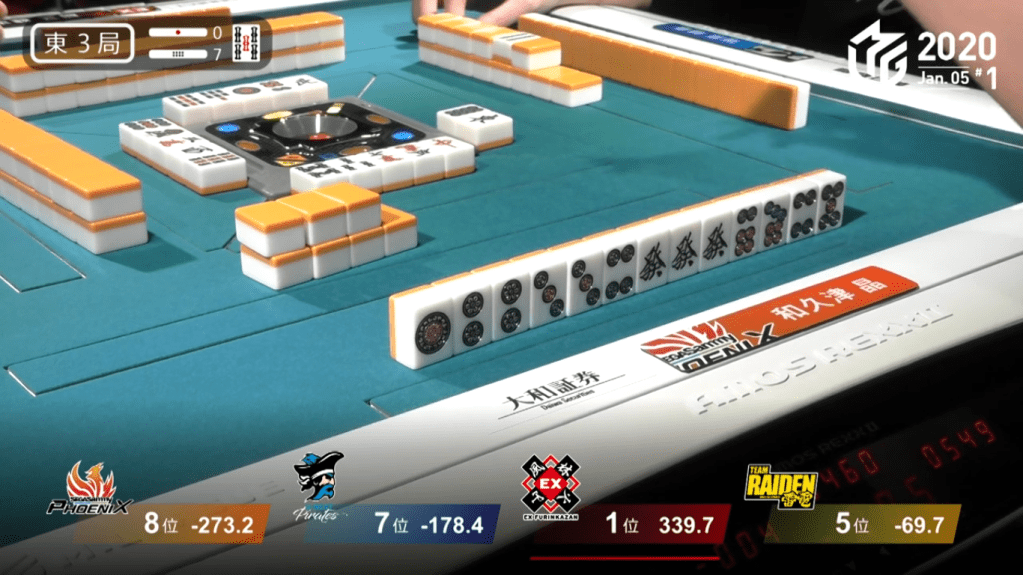
The honba count stops at seven when Wakutsu wins an early Honitsu/Green Dragon/Iipeikou off of Mizuhara for 8,000+2,100. This isn’t the highest honba count of all time in M-League. In the 2019 season, the honba count reached 10 honba.
When Kurosawa Calls, Be Afraid
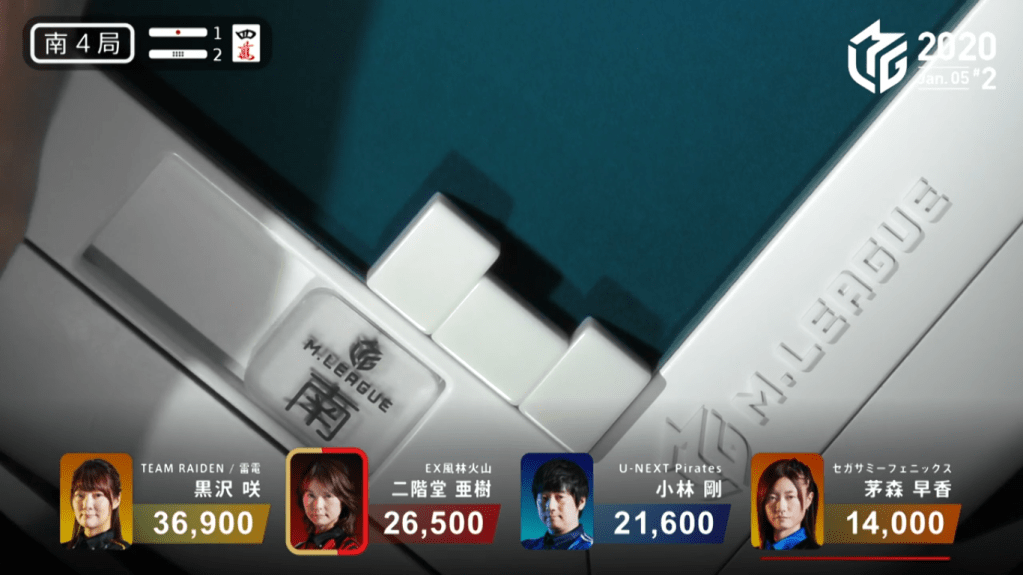
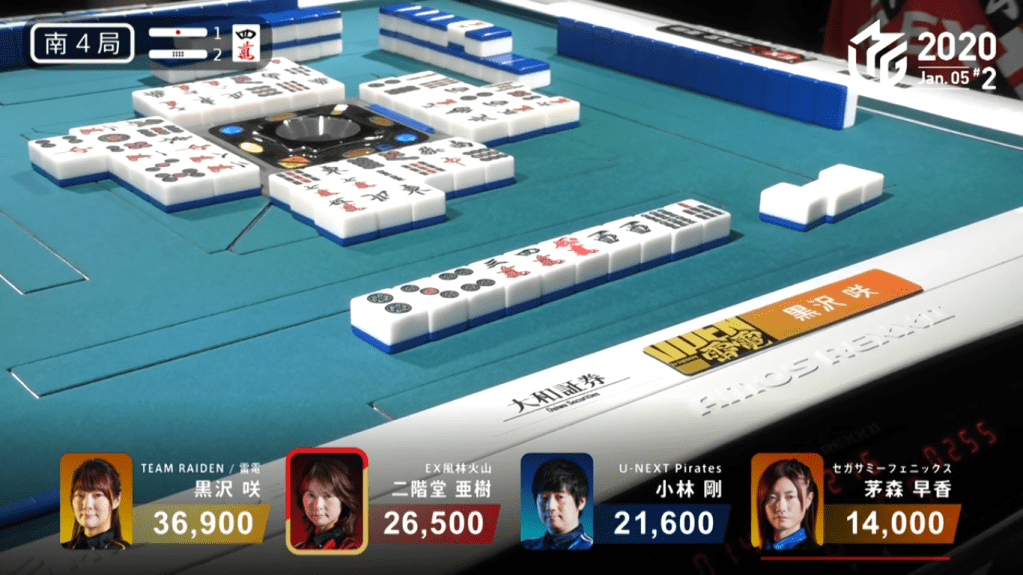
January 5, Game 2, S4-2
Video: https://abema.tv/video/episode/444-7_s30_p259
In S4-2, everyone has something at stake. Kurosawa wants to keep her 1st, Aki wants to chase her down, Kobayashi wants to avoid 4th and dealer Kayamori wants to avoid being 4th. Kayamori starts out with the most interesting hand of the bunch, being 3-shanten with two dora. Kurosawa also has good potential, with a pair of white dragon for easy calling. However, when a white dragon is discarded, Kurosawa chooses not to call. By the end of the 1st row, both Kayamori and Aki are iishanten, while Kurosawa and Kobayashi linger at 2-shanten. In the middle of the 2nd row, all four players are in iishanten. The first one to get to tenpai is Aki, who does so near the start of the 3rd row with a 147s sanmenchan wait. The very next turn, Kobayashi discards a white dragon. Kurosawa calls pon on the white dragon to get to tenpai with a 58s.
Kurosawa calling is a very rare occurrence, only happening for 8.1% of her hands. In comparison, most other players are between 15%-25%.
On Aki’s very next draw, she discards the 8s and deals into Kurosawa. Kurosawa wins with White Dragon/Dora 1/Aka 1 for 3,900+600. With Aki’s riichi call, it puts her into 3rd place by 600 points, moving Kobayashi to 2nd.
Ryanpeikou!
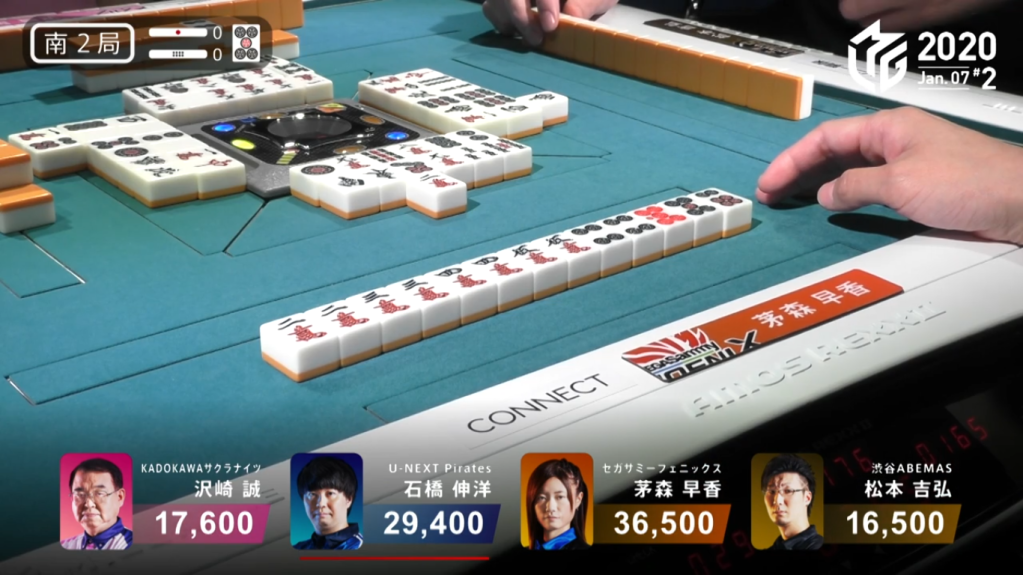
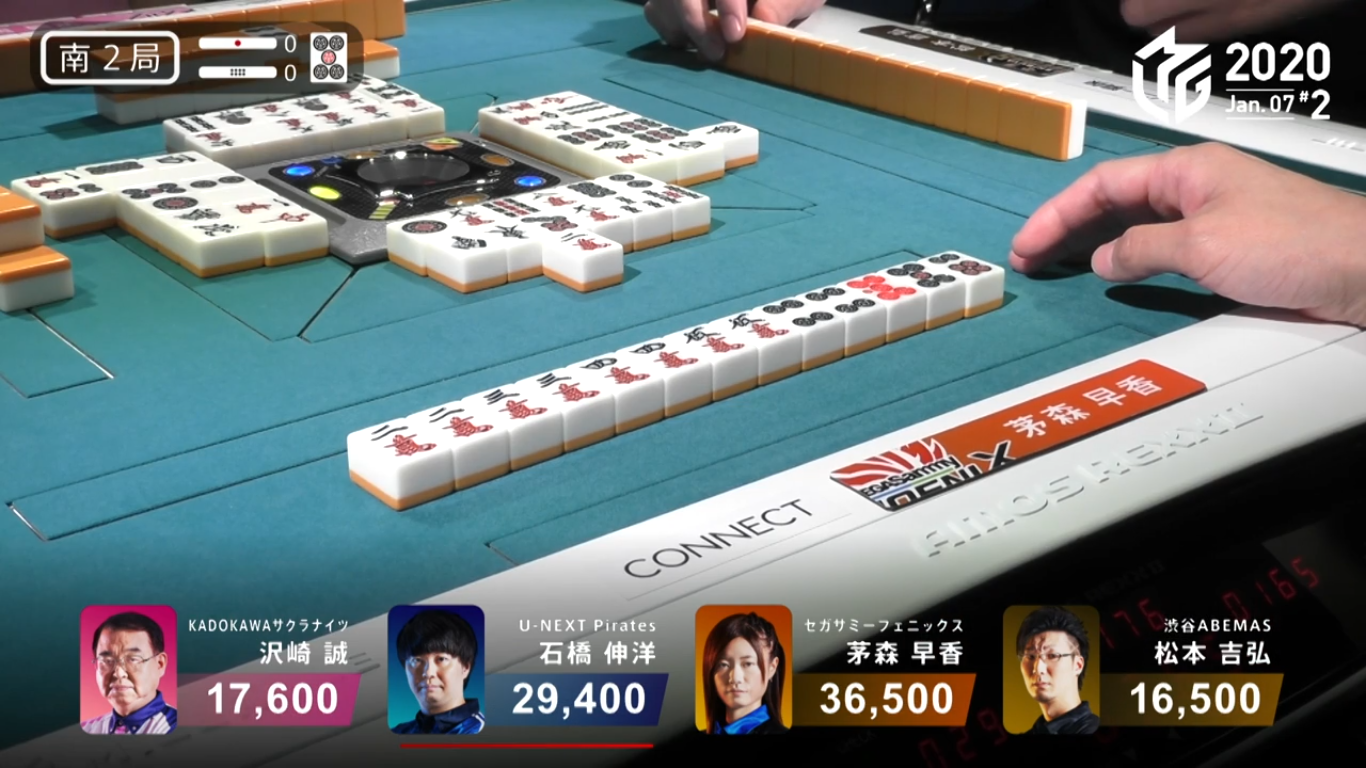
January 7, Game 2, S2-0
Video: https://abema.tv/video/episode/444-7_s30_p263
In S2-0. Kayamori is in 1st place and looking to protect her lead from dealer Ishibashi. Kayamori starts out with a 3-shanten hand with a red dora 5p, which is also a regular dora. On turn 2, she draws another 5p to bring the hand up to mangan minimum if it wins. By the end of the 1st row, Kayamori is 2-shanten from both chiitoi and a standard hand. At the start of the 2nd row, she draws a 5th pair. With two distinct connected groups of pairs, the possibility of ryanpeikou is not out of the question. Near the end of the 2nd row, the idea of ryanpeikou becomes quite likely when Kayamori draws a 6p to connect the 4p and 5p pairs, The very next turn, Kayamori draws a 4m to create two identical sequences (either 234m or 345m, depending on interpretation) and stays dama on a 36p ryanmen wait, with the 6p giving the fabled ryanpeikou. Two turns later, Ishibashi discards the 6p and deals into Kayamori. Kayamori wins the hand with Pinfu/Tanyao/Ryanpeikou/Dora 2/Aka 1 for 16,000.
This marks the first ryanpeikou in M-League history. With the win, it only leaves sanshoku doukou and sankantsu as the only non-yakuman yaku that haven’t been won.
It also marks the 3rd rare yaku that Kayamori has won this season, with her winning chankan in week 2 and winning shousangen in week 12.
Kurosawa Strikes Again
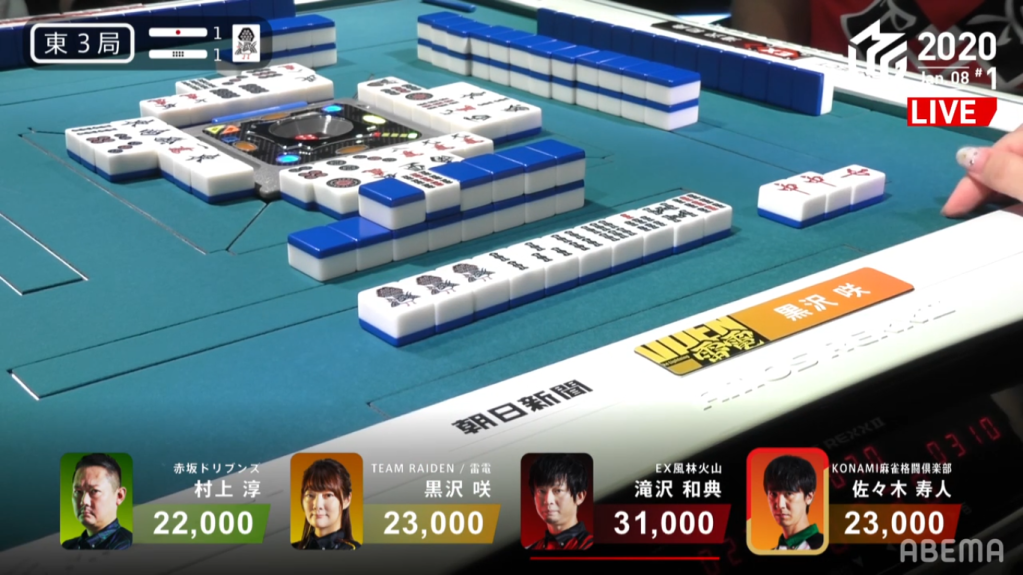
January 8, Game 1, E3-1
Video: https://abema.tv/video/episode/444-7_s30_p266
In E3-1, Kurosawa is tied for 2nd place and holds a pair of red dragon and a pair of dora at 3-shanten. Her hand develops well, picking up another dora and getting to iishanten by turn 4. On turn 5, Kurosawa has the option to be tenpai, but chooses to discard her 9m pair to go for a souzu honitsu. In the middle of the 2nd row, Kurosawa makes a rare pon call on the red dragon to put her into a 569s tenpai for haneman. Sasaki tries to chase Kurosawa with a 147p riichi, but he ends up discarding the 9s on his ippatsu turn. Kruosawa wins the hand with Red Dragon/Honitsu/Dora 3 for 12,000+300, along with a leftover riichi stick and Sasaki’s riichi stick.
Dora Kan and Riichi Don’t Scare Me
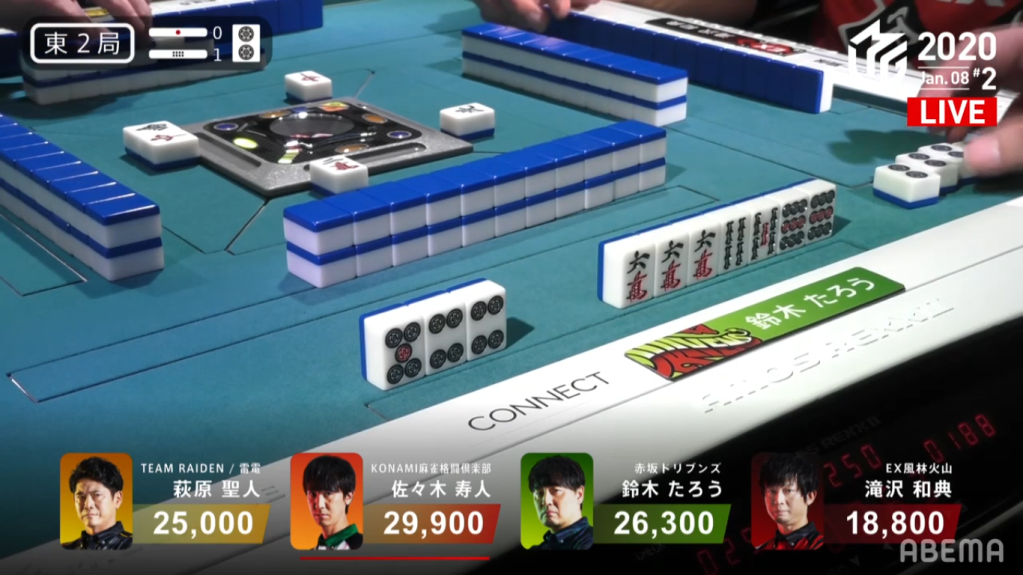
January 8, Game 2, E2-1
In E2-1, Sasaki is the dealer and starts out with a 3-shanten chiitoi hand, 4-shanten for a standard hand. Scary events start early, with Taro calling a kan on the dora on turn 2. Even with the dora kan, Sasaki’s position as dealer gives him incentive to push. Near the end of the 1st row, he calls pon on the green dragon, despite it putting him only at 3-shanten. At the end of the 1st row, Taro calls riichi on a 36p ryanmen wait, with a good change at being upgraded to haneman with the uradora chances. Even with the riichi, Sasaki continued to push. Near the end of the 2nd row, Sasaki gets to tenpai on a 25s ryanmen wait and, a turn later, draws his winning 5s. Sasaki wins the hand for Green Dragon for 500+100 all.
Big Baiman Time
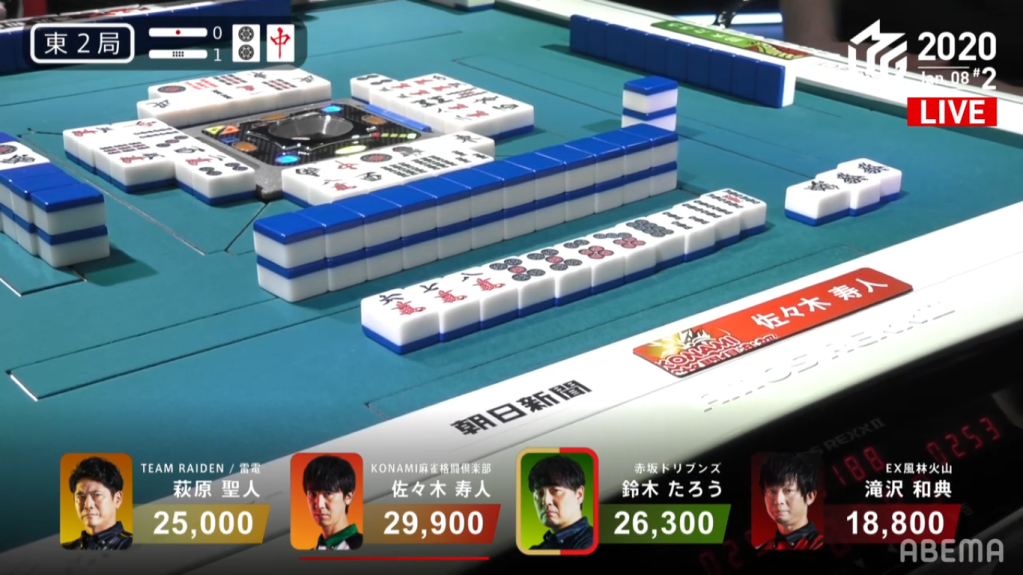
January 8, Game 2, S4-0
Video: https://abema.tv/video/episode/444-7_s30_p269
In S4-0, Sasaki is in 4th place and 5,600 behind 3rd place Takizawa. He starts out with a poor hand, being 4-shanten and holding no valuable tiles. For the first few draws, Sasaki draws some souzu tiles, leaning his hand towards honitsu. By the end of the 1st row, he is 2-shanten for honitsu and has a decent chance at iipeikou and ittsuu. Near the start of the 2nd row, he gets to honitsu iishanten, but with only two isolated honours in his hand, the prospect of chinitsu isn’t out of the question. Near the end of the 2nd row, he gets to iishanten for both honitsu and chinitsu and gets to chinitsu tenpai two turns later on an 8s wait. With both iipeikou and ittsuu, he holds a confirmed baiman in hand, enough to get him to 2nd, 1st if Taro discards it or if he draws it himself. Hagiwara, who was in 2nd place and 10,000 points behind Taro, gets to tenpai soon after. Seeing that he could tie for 1st if he draws the 7m or win outright if he draws the south, Hagiwara calls riichi by discarding the 8s. Sasaki calls ron on it to win with Chinitsu/Ittsuu/Iipeikou for 16,000 to escape 4th and make his way to 2nd place.
