
Highlights
Fear What You Do Not See
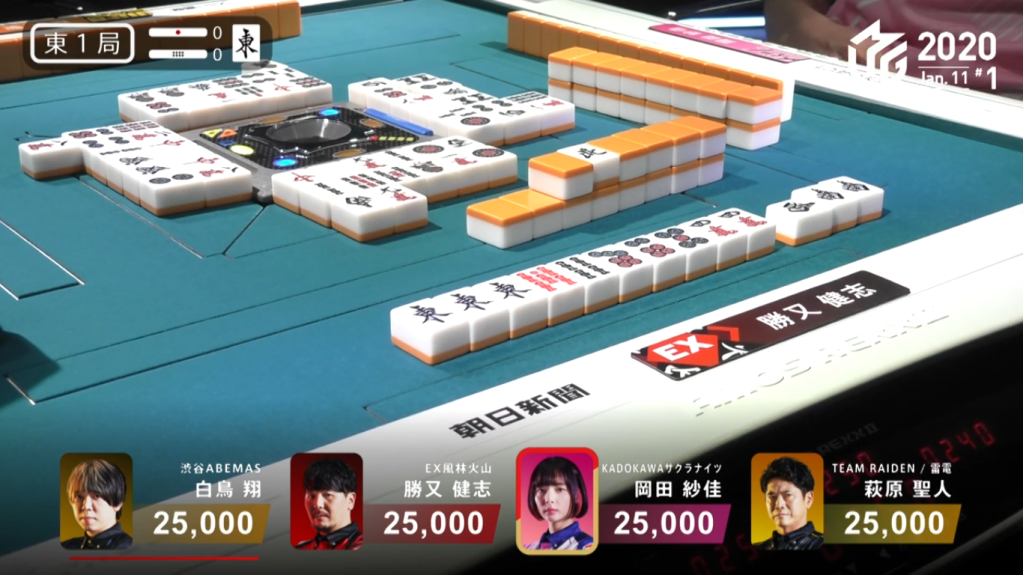
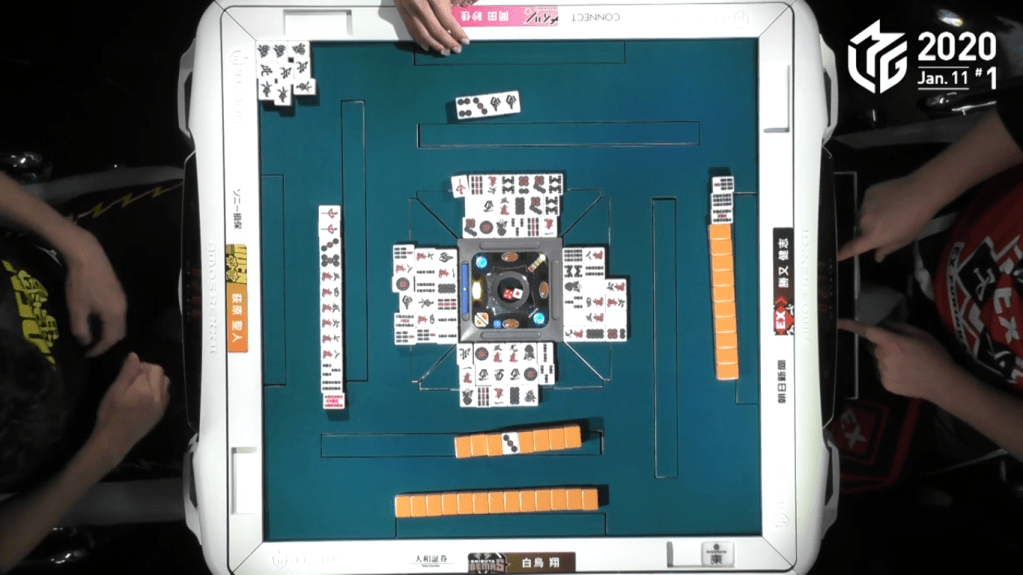
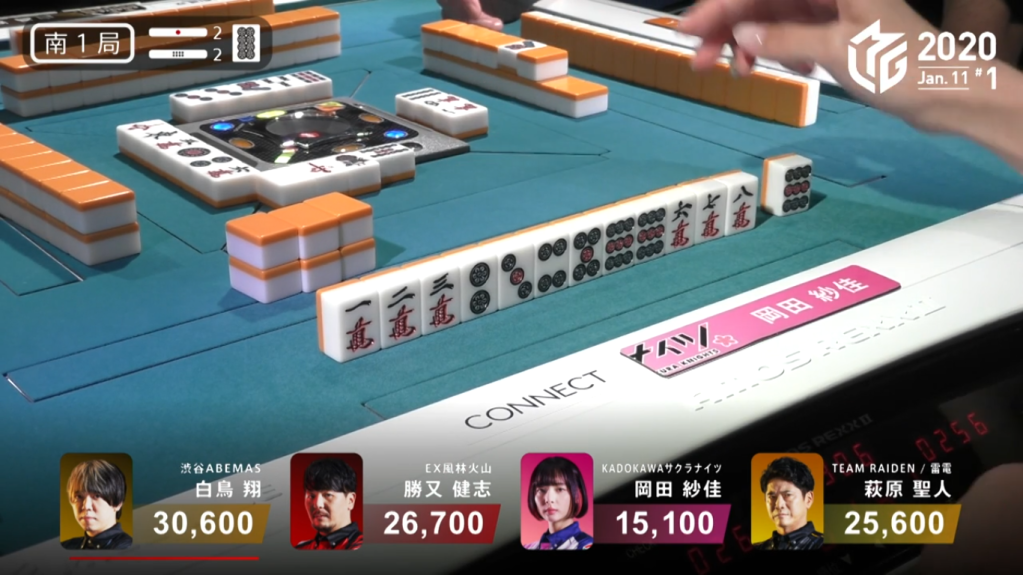
January 11, Game 1, E1-0
In E1-0, Katsumata starts out 3-shanten with an ankou of east dora, while Okada starts out 3-shanten with no significant value. Okada’s hand develops very quickly, with her getting to tenpai and calling riichi by turn 5 with a 3p kanchan wait. However, unknown to her, Katsumata had a monster hand waiting to develop. Katsumata, who had called pon on his south yakuhai a turn early, was puching every tile, waiting for his iishanten to get to mangan tenpai. Approaching the middle of the 2nd, row, Katsumata reached mangan tenpai, waiting on a 36s ryanmen wait. A turn later, he switches out a regular 5s for a red 5s to upgrade his hand to a haneman. In the 3rd row, Okada discards the 6s to give Katsumata the win. Katsumata wins the hand with East/South/Dora 3/Aka 1 for 12,000 and takes Okada’s riichi stick.
Honourable
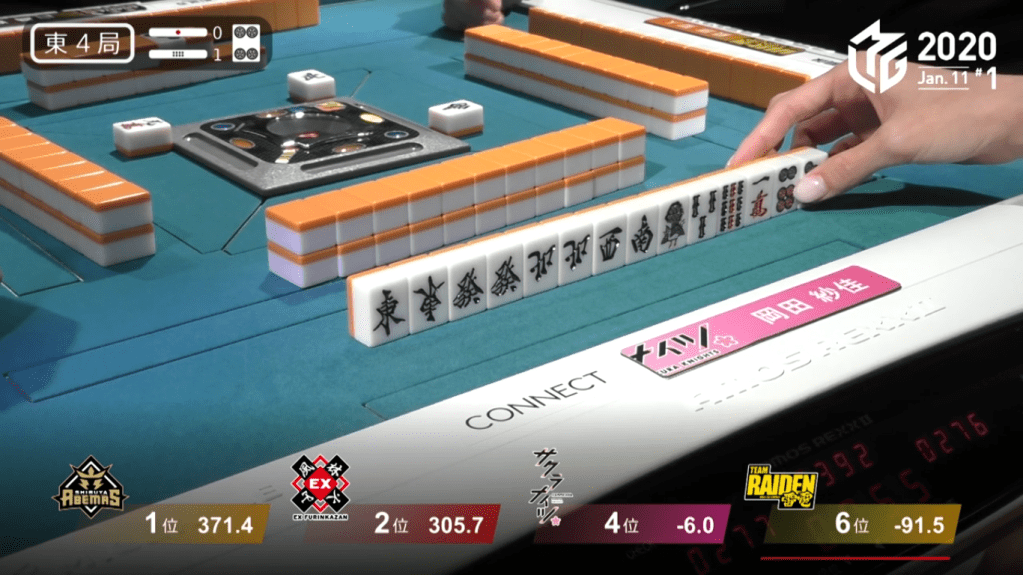
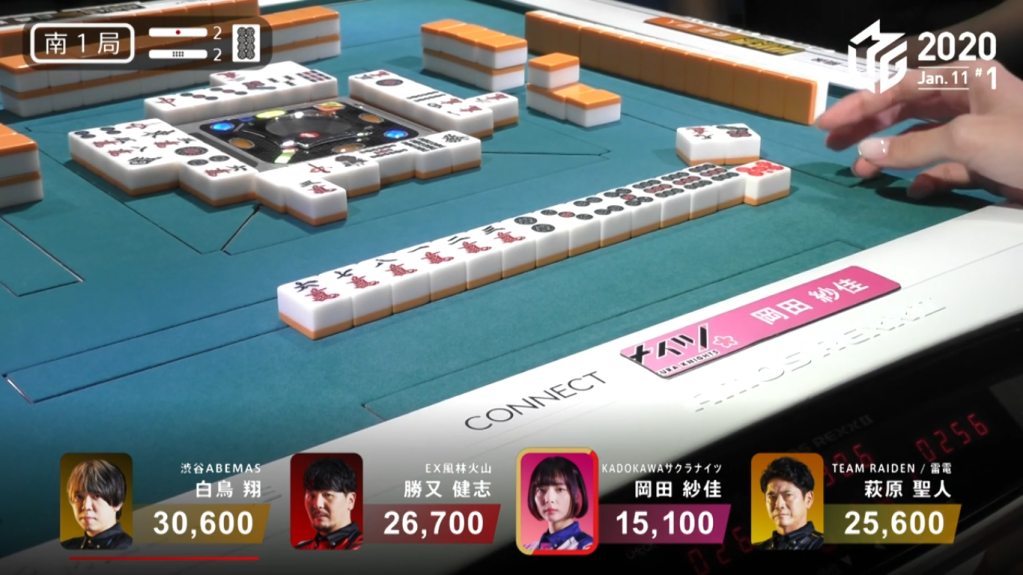
January 11, Game 1, E4-1
In E4-1, Okada is in 4th place and looking to lessen the 22,100 point gap between her and 3rd. She starts out with an incredible starting hand, holding three pairs of honours and two single honours, give potential to shousuushii, tsuuiisou, or both.
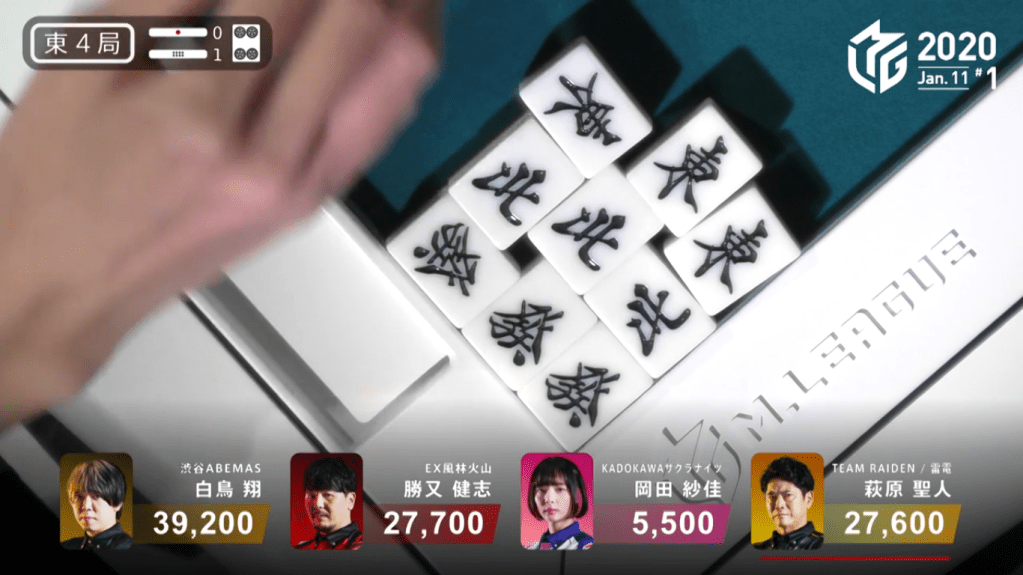
Within the first row, she calls pon on the green dragon, the south and and the east. With Okada showing a dangerous hand, Shiratori did something that was surprising to many people: he discarded the west.
Though discarding the west seemed like a death wish, there was good logic behind the throw. A few turns earlier, Okada had tsumogiri‘d the 7p, then she tedashi‘d the 7p in her hand. Since Shiratori could see three wests, it meant that Okada’s only wait on west would be a tanki. Now, if the 7p tedashi were to switch the tanki, she would have instead won on the first 7p she got (the one she tsumogiri‘d). Therefore, it is extremely unlikely for Okada to be waiting on a tanki. Shiratori ended up discarding his ankou of west, making the west that Okada had hoped to wait on useless.
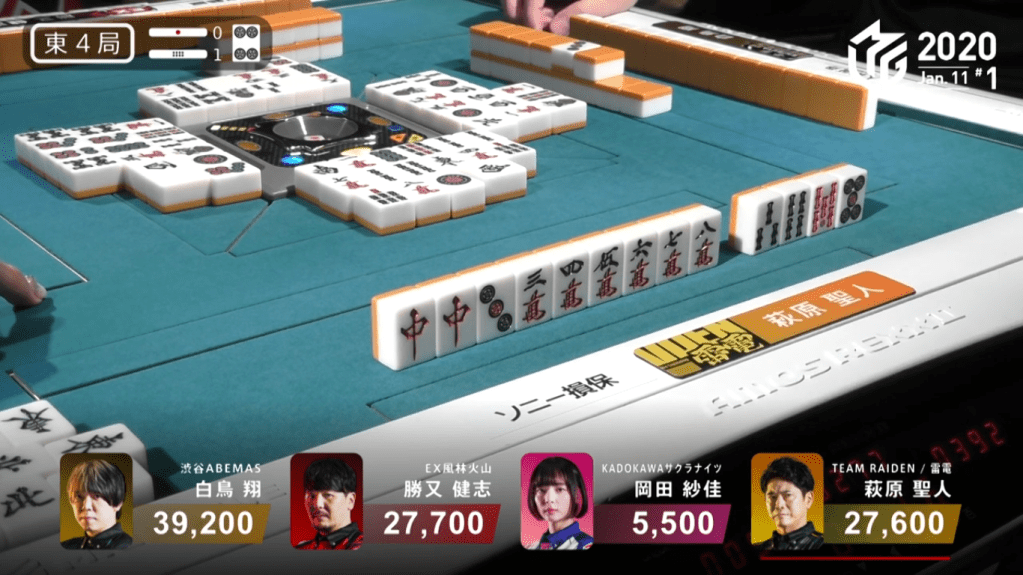
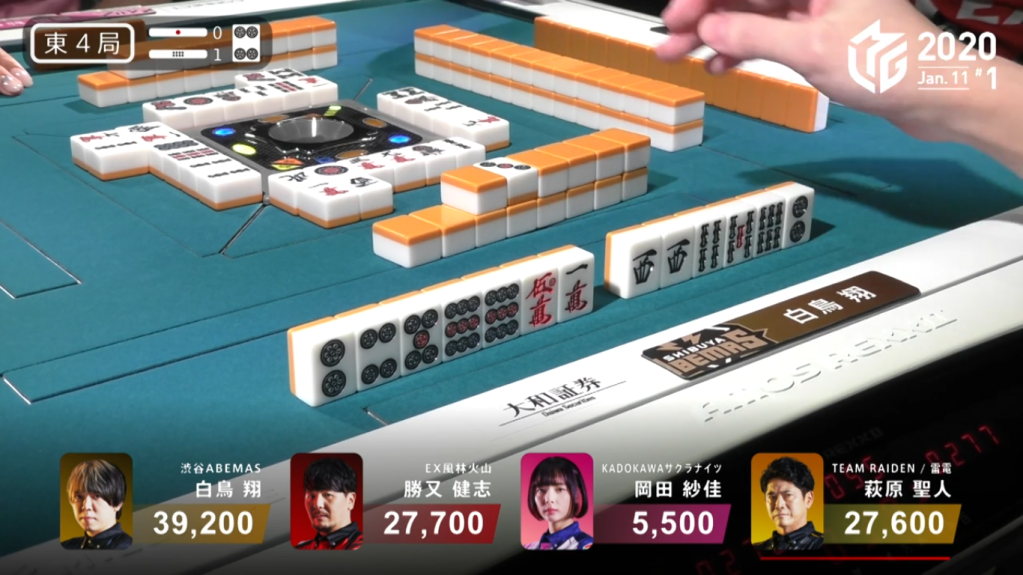
The next player to flirt with danger is Hagiwara. In the 3rd row, Hagiwara got to tenpai on a 2p kanchan wait, staying dama in case danger or a better wait came about. Drawing a south the very next turn, he went back a step to iishanten. On the very next turn, he draws a 5p to get him to tenpai again, this time with a dealer mangan minimum hand with sanshoku and a wait on the 4p dora. Even with the potential danger, Hagiwara called riichi and discarded the south. Despite Okada having a pair of south, she didn’t call pon and favoured instead her 25p ryanmen wait.
In the end, the hand went to ryuukyoku with Hagiwara and Okada in tenpai.
A Lot of Stuff
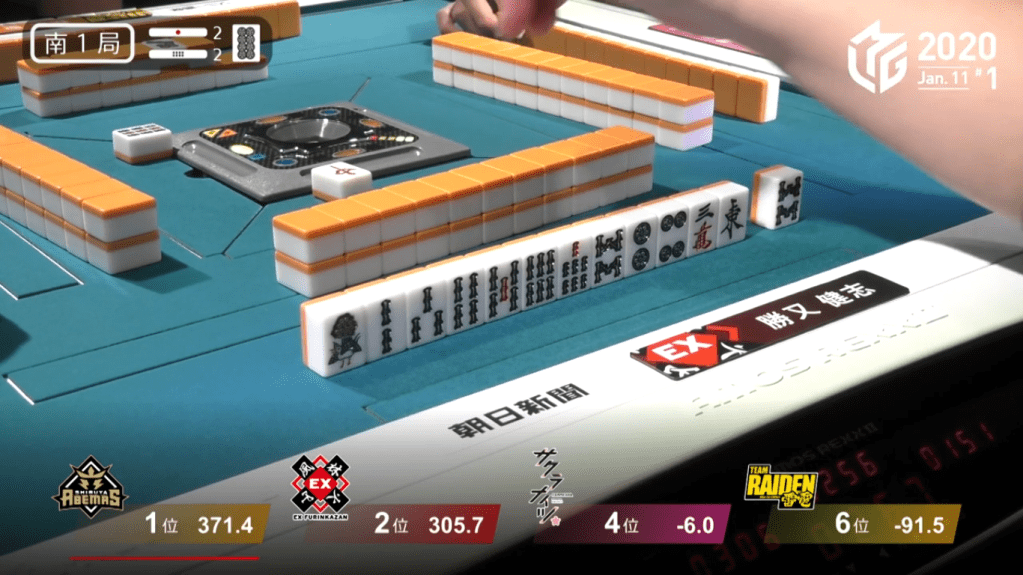
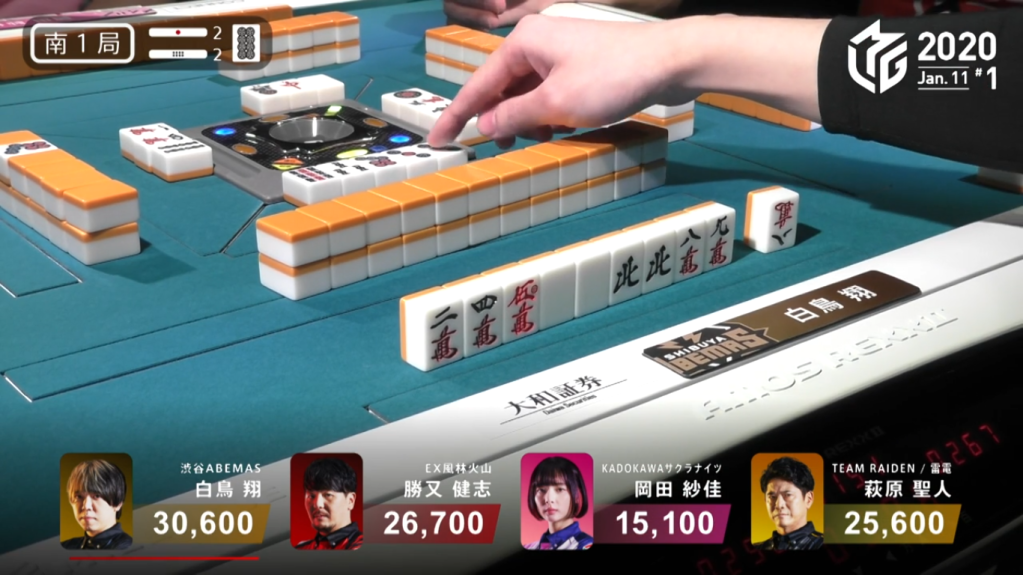
January 11, Game 1, S1-2
In S1-2, the hand started out with a lot of excitement with 2,600 in bonus stick up for grabs. Dealer Shiratori starts out 4-shanten poised for honitsu, Katsumata’s hand look like chinitsu, Okada has a 3-shanten hand with lots of ryanmen potential and Hagiwara is 2-shanten with a pair of dora. In the first quarter of the game, Okada gets to 2-shanten, Shiratori gets to honitsu mangan iishanten and Katsumata being 3-shanten from chinitsu and Hagiwara becomes iishanten. By the end of the 1st row, Katsumata calls pon to get to iishanten and Okada calls riichi on a 25p nobetan wait. Soon after, Katsumata gets to tenpai with a 147s sanmenchan wait. All players soon after reached iishanten for mangan chance or higher. In the end, Okada drew the red 5p herself to win the hand with Riichi/Tsumo/Aka 1/Ura 1 for 2,000+200/4,000+200 and the two leftover riichi sticks.
Yellow Card
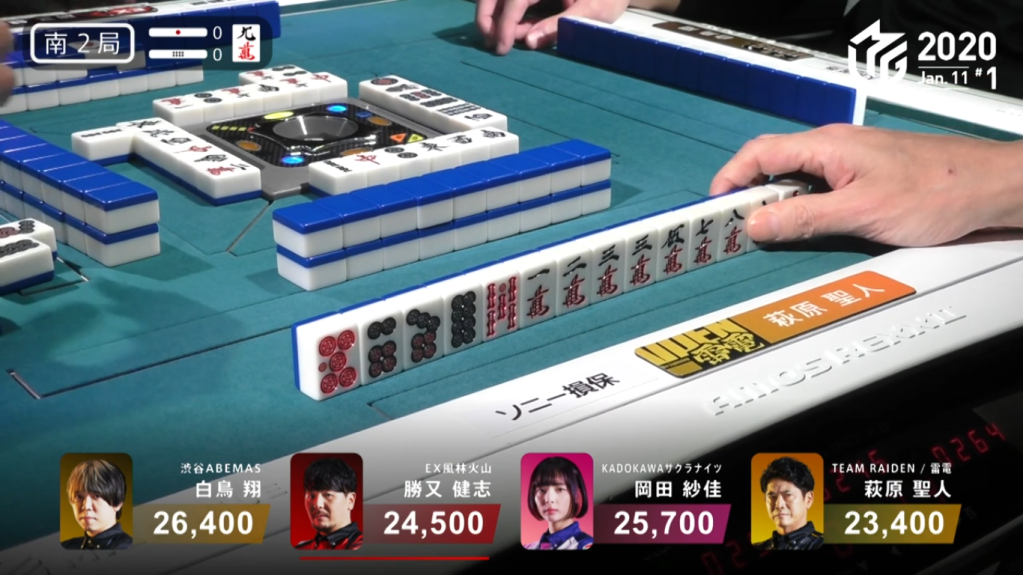
January 11, Game 1, S2-0
In S2-0, a small and largely unnoticed incident occurred. As Okada was organizing her hand in the at the start of the 2nd row, two tiles from her hand were revealed. As the rules state if two or more tiles are revealed from the player’s hand or the wall, the player receives a yellow card. If a player receives two yellow cards, then the player receives a red card, which holds the equivalent punishment of a chombo (-20 from a team’s score). At the end of the hand, an announcement was made to say that Okada had received a yellow card.
Crazy End
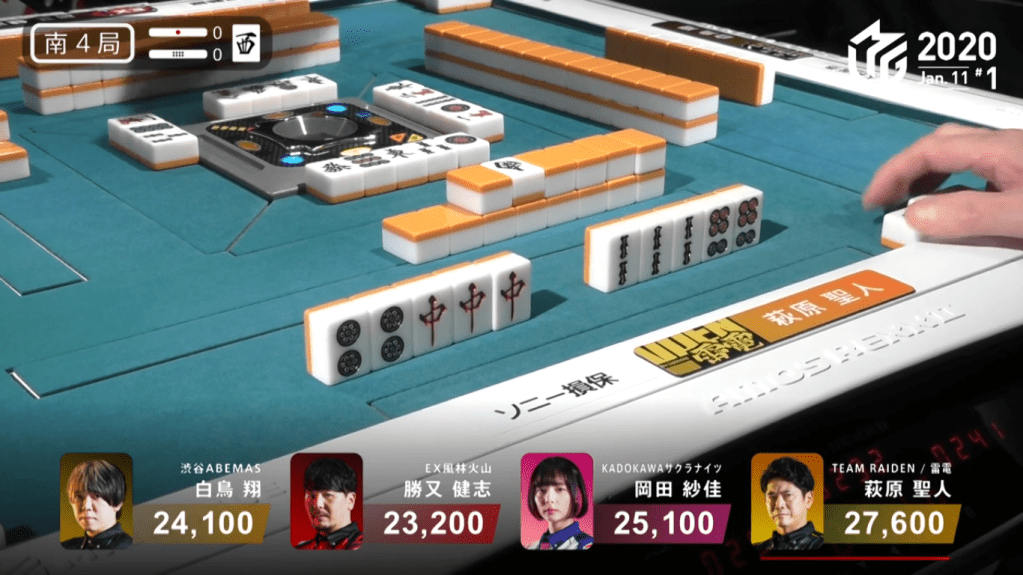

January 11, Game 1, S4-0
Video: https://abema.tv/video/episode/444-7_s30_p272
In S4-0, only 4,400 points separate 4th place Katsumata and 1st place Hagiwara. Hagiwara starts out with a chiitoi iishanten hand with a pair of dora while Shiratori holds a pair of double south. On turn 2, Shiratori gets to chiitoi iishanten, which he rejects by calling on on the 9m. With two pairs of 9s and the pair of double south, any combination of pons will give him a yaku. Okada, who is in 2nd place, calls pon soon after to rush her hand. On Hagiwara’s 4th draw, he completes a 2nd ankou to get to suuankou and toitoi iishanten. Almost immediately after, Katsumata discards the south and Shiratori calls pon to get to tenpai on a 9s/9p shanpon wait. Within the go-around, Okada discards the west and Hagiwara calls pon on it to get to haneman tenpai on a 2p/6p shanpon. Immediately after, Shiratori draws his winning 9s to win the hand and end the madness. Shiratori wins the hand with Double South/Aka 1 for 1,300/2,600
4 Scores and 21 Round To Go
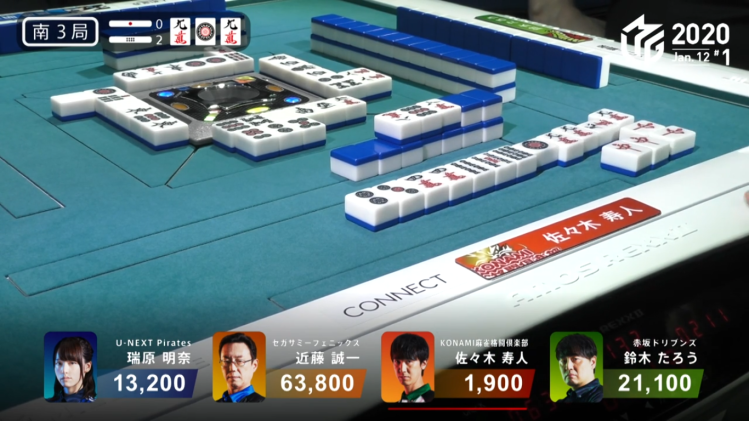
January 12, Game 1
Video: https://abema.tv/video/episode/444-7_s1_p111
The first game on January 12 was crazy. So many things happened that it deserved it’s own article: January 12, 2021 (Game #1): A Game for the History Books
Avoiding Death
January 14, Game 1, S3-1
Video: https://abema.tv/video/episode/444-7_s30_p282
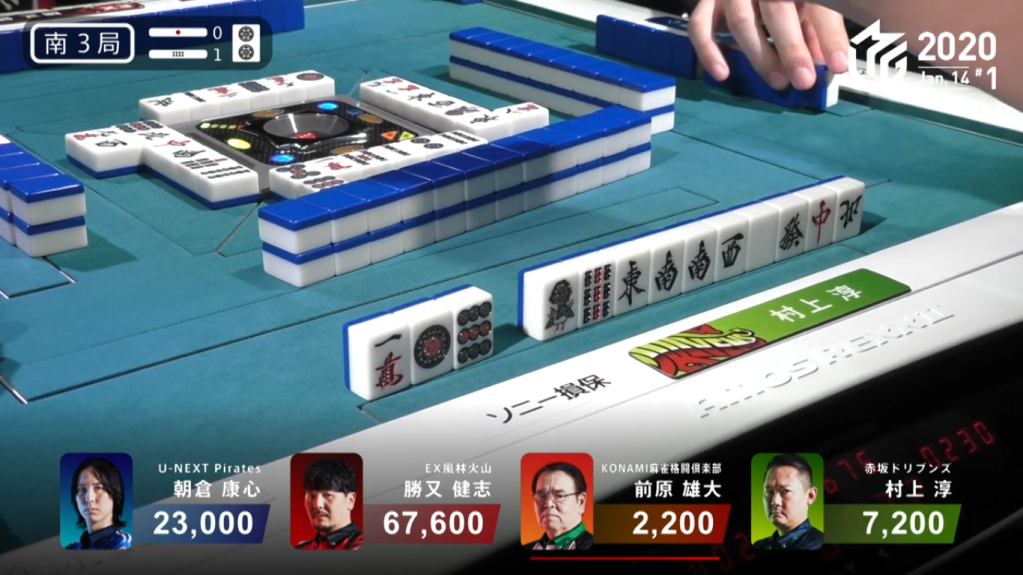
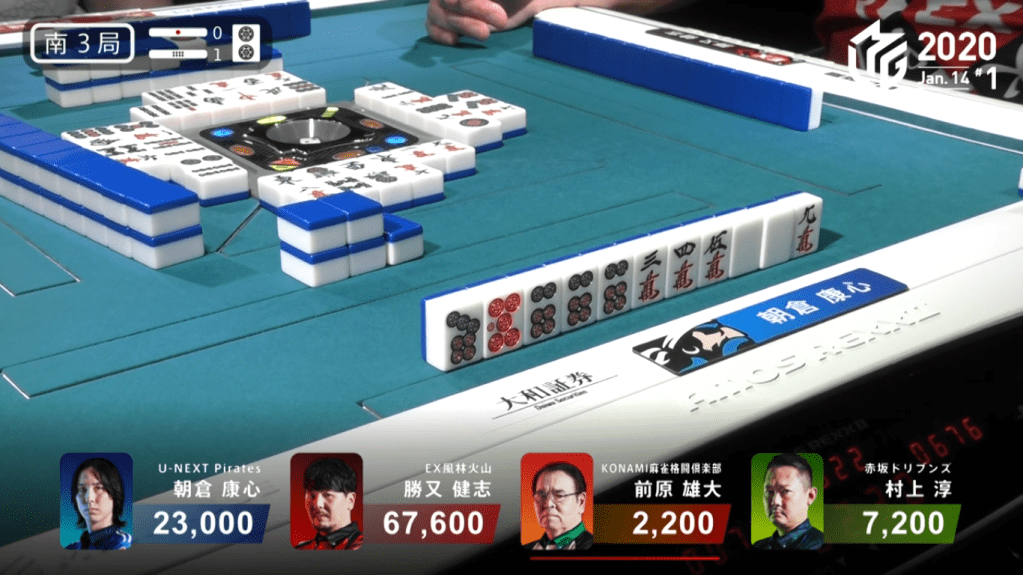
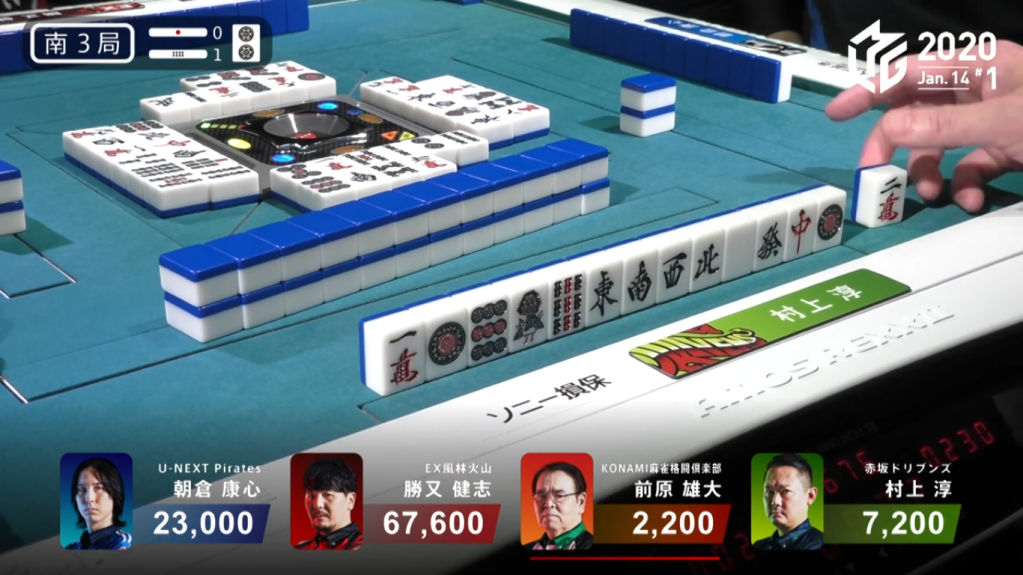
In S3-1, Murakami is in 3rd place at 7,200 and Asakura is in 2nd place at 23,000. Murakami’s starting hand has 9 different terminals and honours, one of which is paired. With his current score and being 3-shanten from kokushi, he decides to pursue the yakuman dream. On turn 2, Murakami draws another unique terminal, making him 2-shanten and waiting for the 9m, west and north. On turn 5, Murakami draws the west and becomes iishanten. Near the end of the 1st row, dealer Maehara makes a call to get himself tenpai on a 25m ryanmen wait. At the start of the 2nd row, Asakura gets to tenpai on a 6p/White Dragon shanpon, with the white dragon the only tile giving a yaku. On the same turn that Asakura gets to tenpai, Murakami draws the north to get to kokushi tenpai, waiting on the 9m.
Nearing the end of the 2nd row, Asakura draws the 9m. There was a lot of hesitation from Asakura, possibly from noticing the possible kokushi.
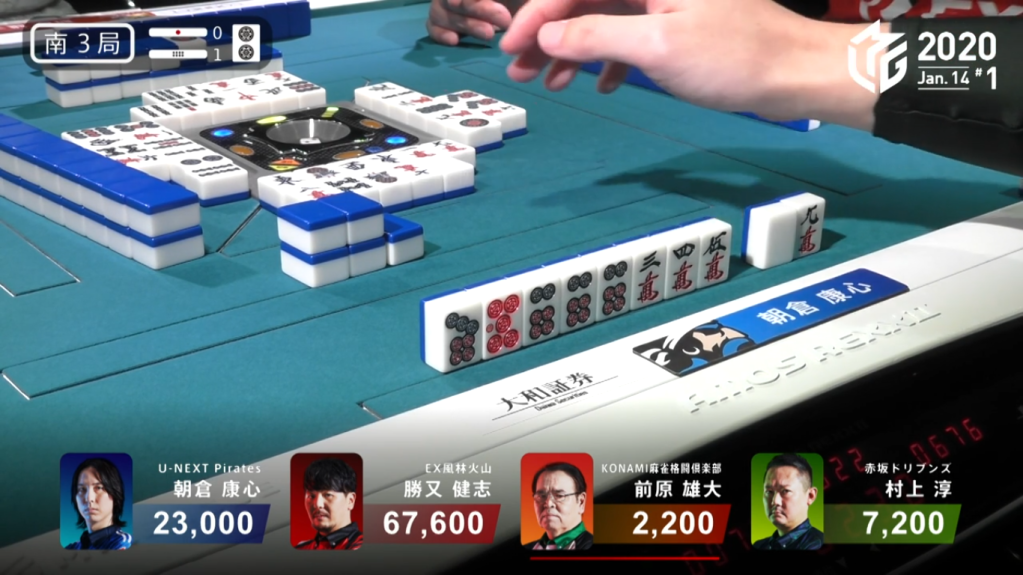
After 20 seconds of deciding, Asakura safely escapes the situation by discarding the white dragon.
On Murakami’s next draw, he draws the 2m and deals into Maehara.
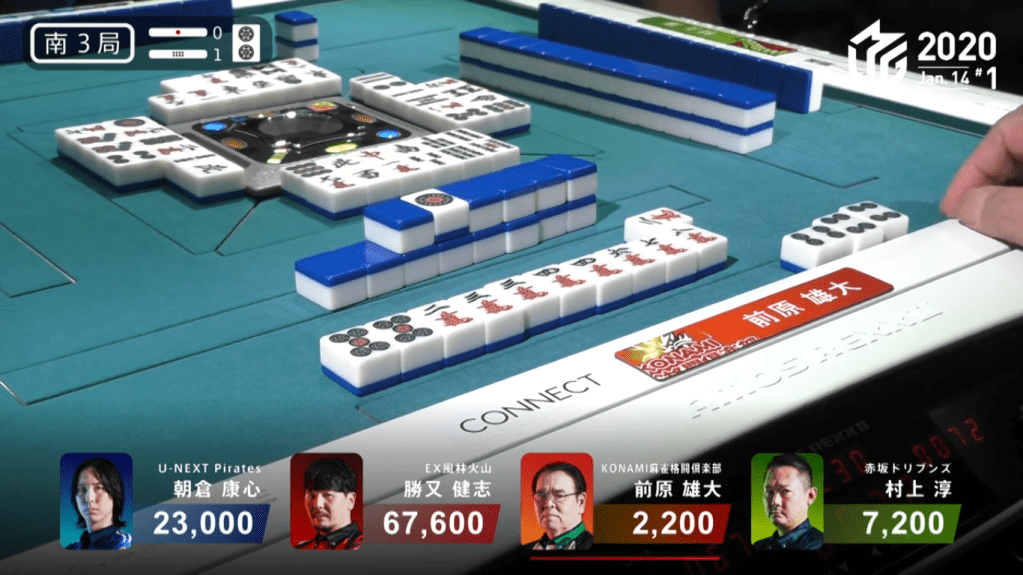
Maehara wins with Tanyao only for 1,500+300.
Chiitoi vs. Chiitoi
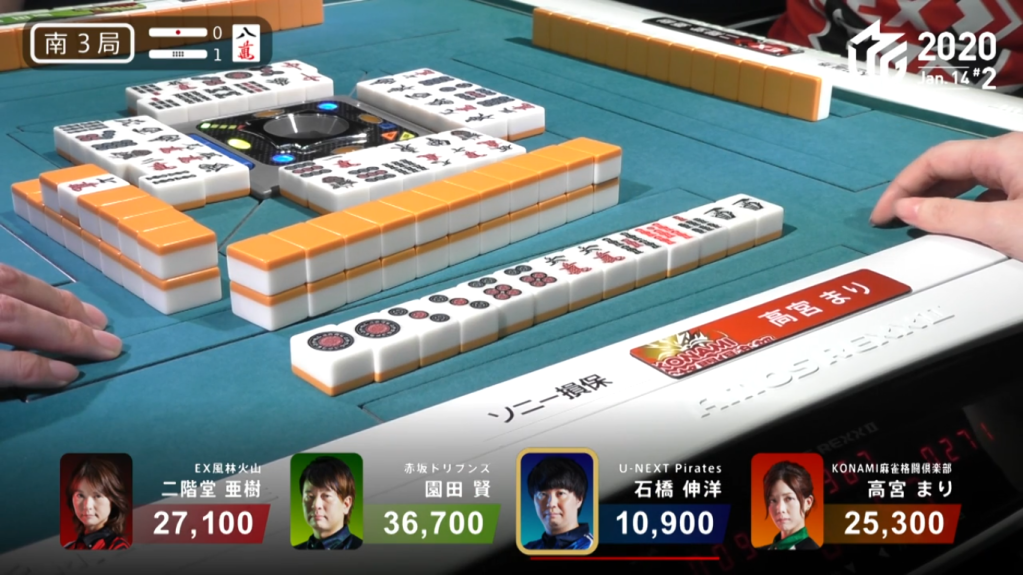
January 14, Game 2, S3-1
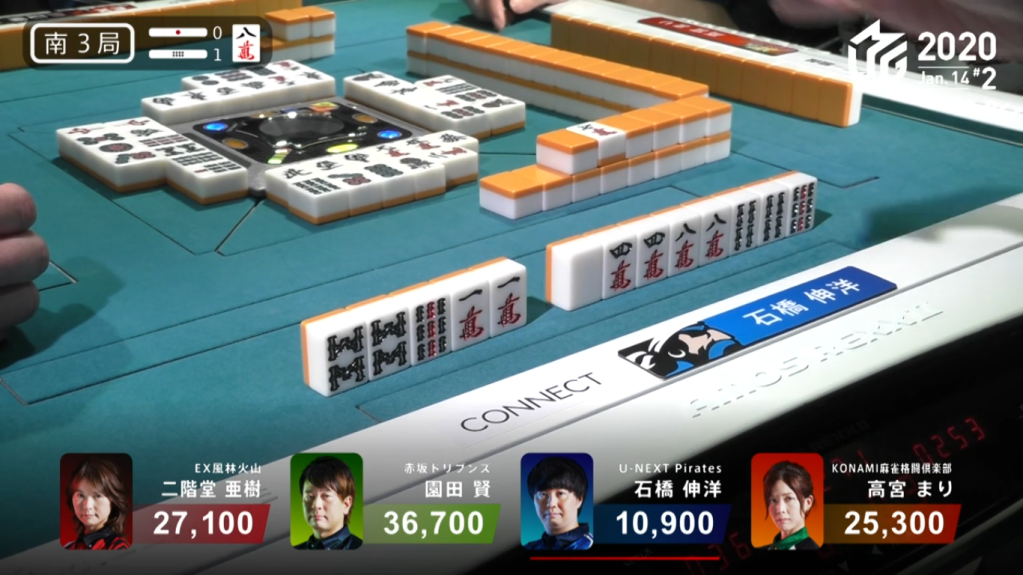
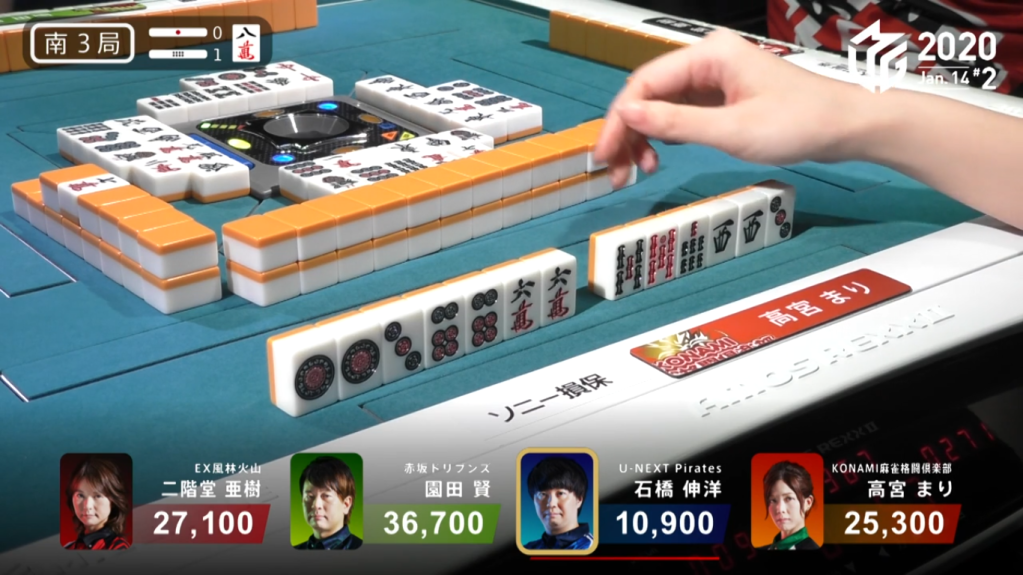
In S3-1, Ishibashi starts out 2-shanten for chiitoi with two dora, while Takamiya start with a 3-shanten standard hand. On turn 4, Ishibashi gets to iishanten. With the long chiitoi wait for tenpai, it allowed Takamiya to advance her hand. On turn 5, Takamiya gets to 2-shanten for both a standard hand and chiitoi. In the middle of the 2nd row, Takamiya gets to iishanten and discards to confirm chiitoi. A few turns later, Ishibashi calls riichi for chiitoi with a white dragon wait. Immediately after, Takamiya gets to chiitoi tenpai and stays dama on a 7s. When Ishibashi discards the 4s, it coaxes Sonoda to discard the 7s and deal into Takamiya. Takamiya wins with Chiitoi/Aka 1 for 3,200.
Hagiwara’s Hidden Honitsu
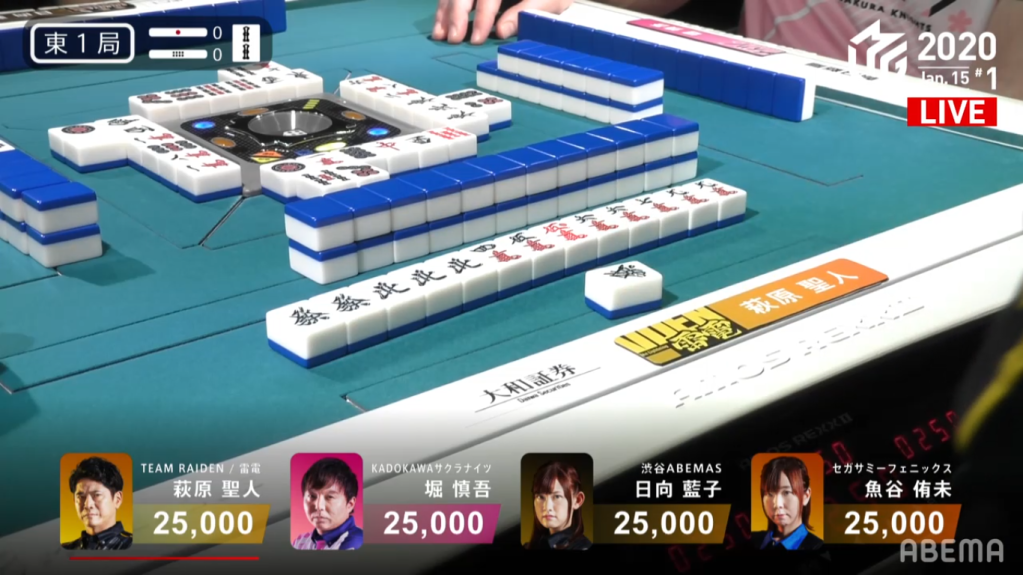
January 15, Game 1, E1-0
In E1-0, Hagiwara starts out the dealer and starts out with two red dora at 4-shanten. In Hagiwara’s first 6 turns, Hagiwara draws only manzu and honours, naturally guiding his hand towards honitsu. Even with Hagiwara’s souzu pair with a red dora, he discards it in order to advance towards honitsu. By the end of the 1st row, Hagiwara is already at iishanten. Near the start of the 2nd row, Hagiwara gets to tenpai and stays dama on a Green Dragon/9m shanpon wait. The very next turn, Hagiwara draws the green dragon to win the hand. Hagiwara wins with Tsumo/Honitsu/Green Dragon/Aka 1 for 6,000 all and take a big lead early in the game.
