
Highlights
No Fear Riichi
Febraury 1, Game 1 , S1-1
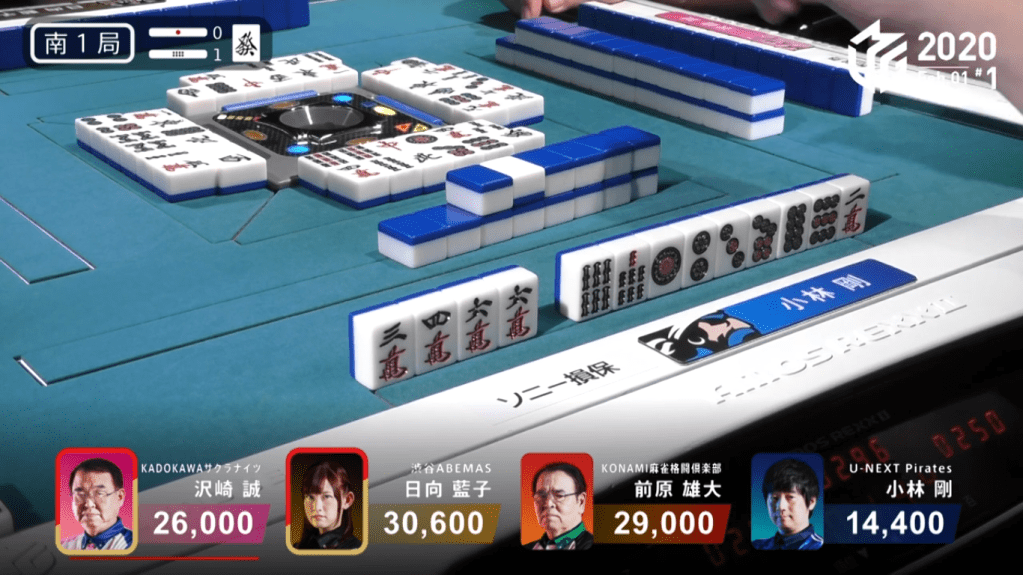
In S1-1, Kobayashi is in 4th place and looking to make his way up. His starting hand starts out 3-shanten with very little value besides a lone green dragon dora. By the end of the 1st row, Kobayashi is 2-shanten with two ryanmen. In the middle of the 2nd row, Kobayashi becomes iishanten and is holding the green dragon dora in case he can pair it up. Kobayashi faces an obstacle named Sawazaki when he calls riichi on a 5p tanki wait. Immediately after, Hinata calls riichi on a 47m ryanmen wait. Within the go-around, Kobayashi draws to tenpai. However, Kobayashi would need to throw the green dragon dora on both their ippatsu turns. Being behind and having a good wait, Kobayashi decided to go ahead and call riichi on his 58s ryanmen wait by throwing the green dragon.
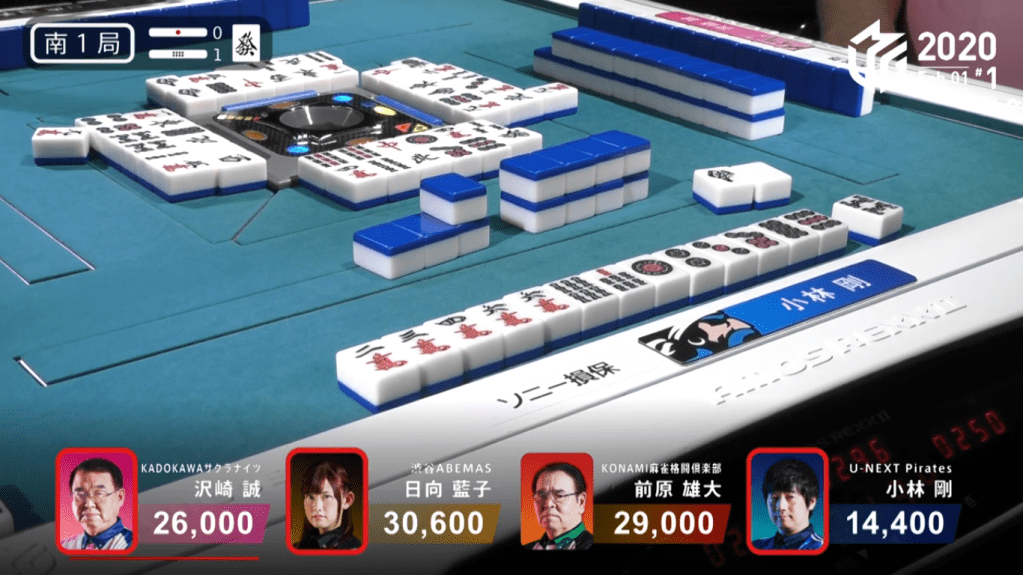
On Kobayashi’s ippatsu draw, he finds the 8s and wins the hand. Kobayashi wins the hand with Riichi/Ippatsu/Tsumo/Pinfu for 1,300+100/2,600+100, plus the riichi sticks from Sawazaki and Hinata. this hand helped turn around Kobayashi’s score and was the biggest factor in Kobayashi’s win that day.
Ooi’s Comeback
February 1, Game 2
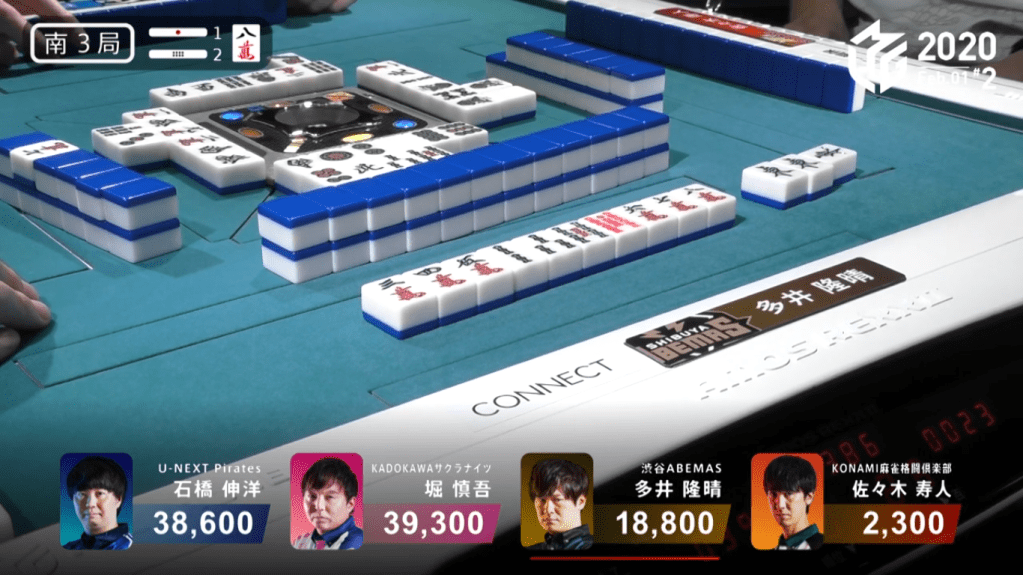
In S3-2, Ooi is the dealer in 3rd place and 19,800 points behind 2nd place Ishibashi. Ooi starts out with a 3-shanten hand with a pair of easts and a dora. By the end of the 1st row, Ooi is in 2-shanten with some good ryanmen shapes. With both Ishibashi and Hori making calls, Ooi becomes impatient for tenpai. When Sasaki discards the east in the 2nd row, Ooi calls pon and gets to tenpai on a 14s ryanmen wait. On his next turn, Ooi draws a red 5s to bring his hand up to 3 han. Soon after, Sasaki discards the 1s and deals into Ooi. Ooi wins the hand with East/Dora 1/Aka 1 for 5,800+600, plus a leftover riichi stick from the previous hand.
Video: https://abema.tv/video/episode/444-7_s30_p334
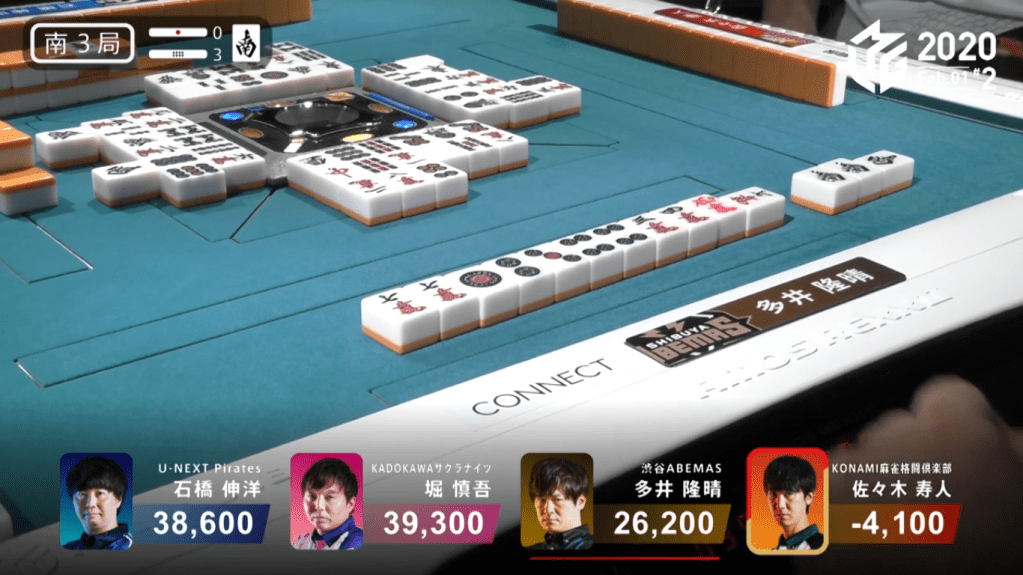
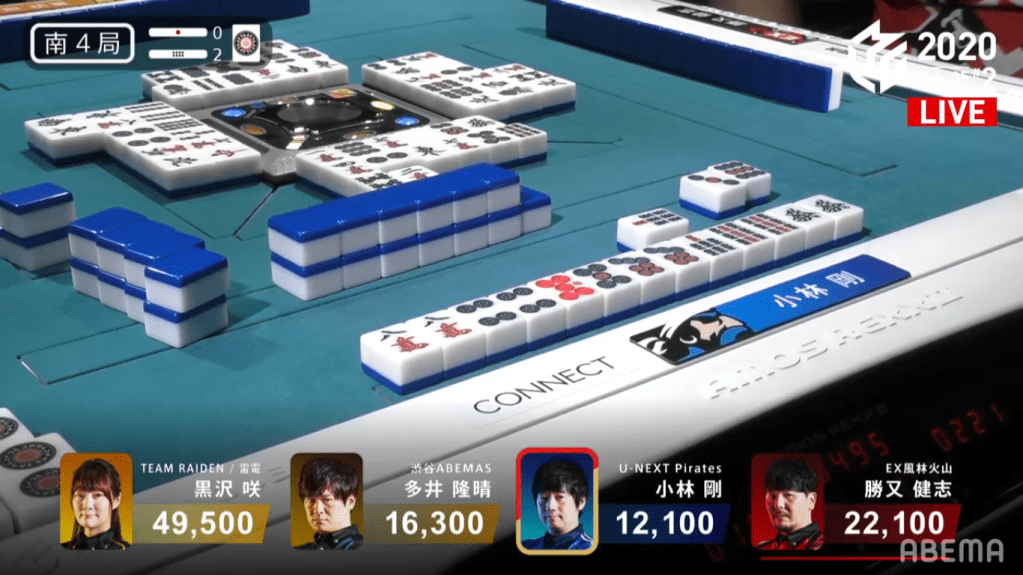
In S3-3, Ooi starts out with a 4-shanten hand with a lone south dora for value. By the end of the 1st row, Ooi gets to 2-shanten and still unable to utilize the south dora. Nearing the end of the 2nd row, Ooi draws a 2nd south dora, allowing him to call it if someone discards it. Soon after that draw, last place Sasaki calls riichi on a north tanki. With so much potential value, Ooi continues to push his hand. When Sasaki discards the south, Ooi calls pon to get to tenpai on a 4p/7m shanpon. Two turns later, Ooi draws the 7m to win the hand. Ooi wins the hand with South/Dora 3/Aka 1 for 4,000+300 all, plus Sasaki’s riichi stick. With the win, it brings Ooi up to 1st place.
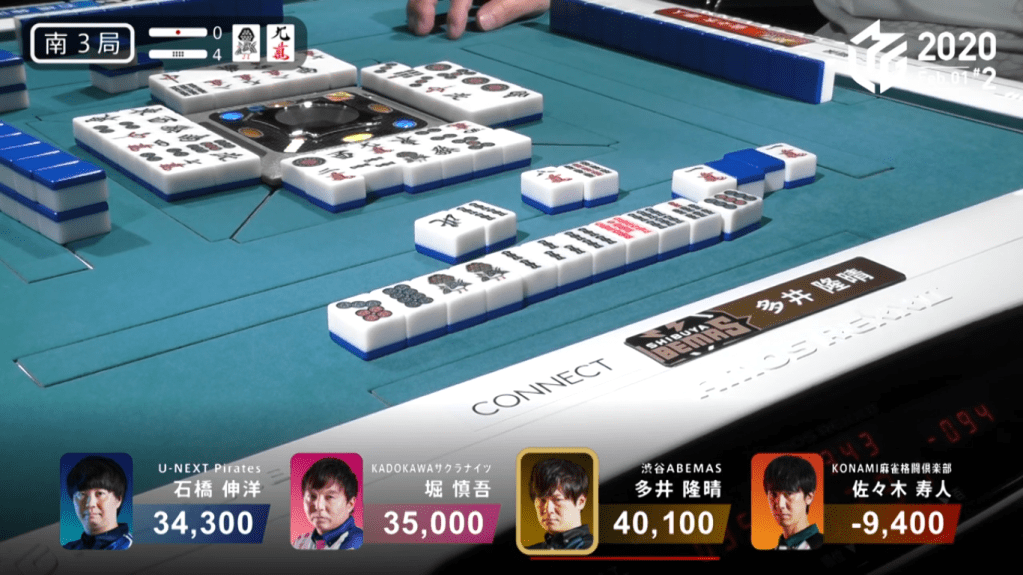
In S3-4, Ooi starts out with a 4-shanten hand with a pair of 1s dora. By turn 4, Ooi gets to 2-shanten with two ryanmen shapes. Near the start of the 2nd row, Ooi gets to tenpai by drawing the red 5s and calls riichi on a 69p ryanmen wait for mangan minimum. Two turns later, Ooi draws the 1m and calls kan. Neither the rinshan nor the kandora gave any value, but it does give the potential for more uradora. At the start of the 3rd row, Ooi draws the 9p to win the hand. Revealing one uradora, Ooi upgrades his hand to a dealer haneman. Ooi wins the hand with Riichi/Tsumo/Dora 2/Aka 1/Ura 1 for 6,000+400 all.
Over those three hands, Ooi earned 40,500 points and allowed him to eventually win the game. With the win, it also brough the Abemas above +600.0pts, a new M-League record.
Houtei
February 2, Game 1, E1-0
Video: https://abema.tv/video/episode/444-7_s30_p336
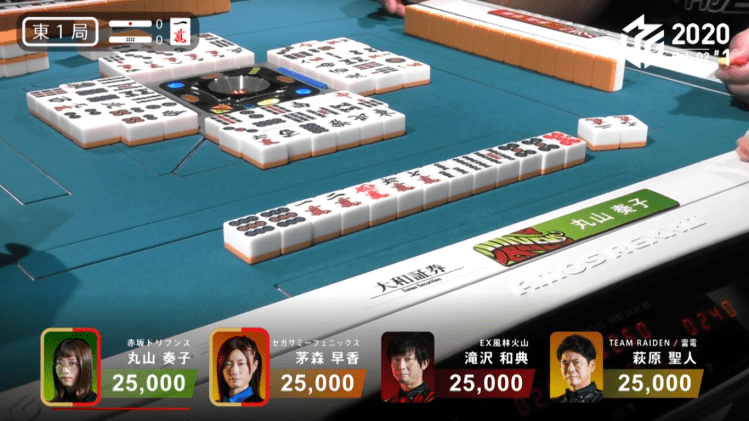
In E1-0, Maruyama the dealer starts of her first game since January 3 with a 3-shanten hand with a 5p ankou with a red dora and a lone 1m dora. By the end of the 1st row, she is iishanten with a ryanemn and a penchan waiting to be completed. Near the start of the 2nd row, Maruyama draws a red 5m to complete her ryanmen and calls riichi on a 3m penchan for mangan minimum. With a good wait and a need to get their team ahead of the Drivens, Kayamori calls a chasing riichi in the middle of the 2nd row on a 14s ryanmen wait. Both Hagiwara and Takizawa begin to fold their hands, making it a waiting game for Maruyama and Kayamori. On the very last tile, Kayamori draws the 3m and deals the houtei to Maruyama. Maruyama Win the hand for Riichi/Hotuei/Dora 1/Aka 2/Ura 1 for 18,000, plus Kayamori’s riichi stick.
Chinitsu Haneman
Febraury 4, Game 2, S1-0
Video: https://abema.tv/video/episode/444-7_s30_p344
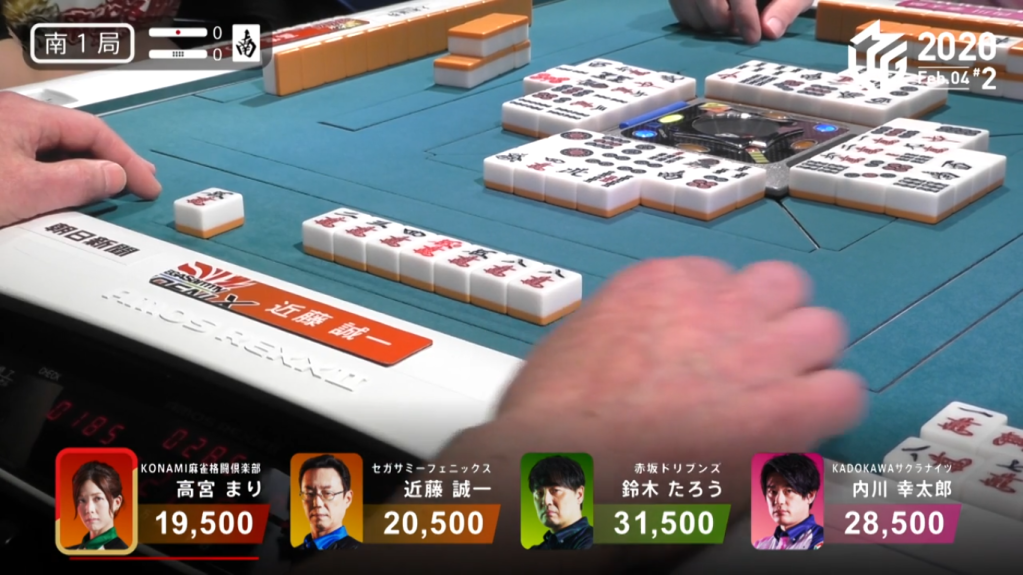
In S1-0, Kondo is in 3rd place and starts out with a 3-shanten hand. With more than half his hand being manzu, there is a distant chance of chinitsu. Through the first row, Kondo didn’t make much ground on the shanten side, but did pick up a few manzu to lean his hand to chinitsu. By the end of the 1st row, he had 9 manzu in his hand. With 11 manzu in his hand by the middle of the 2nd row, Kondo broke up his pinzu block to secure chinitsu. When Takamiya discarded the 8m, Kondo called chii to put him at iishanten. Soon after, he called pon on the 1m to be tenpai on a 5m/8m shanpon wait. Having a red dora, he was tenpai for haneman to put him in the lead. At the start of the 3rd row, Takamiya tries to challenge Kondo by calling riichi on a 47m ryanmen wait. With an expensive hand, Kondo kept pushing against the dealer riichi. On Kondo’s second-to-last draw, he draws the 5m and calls tsumo. Kondo wins the hand with Chinitsu/Aka 1 for 3,000/6,000, plus Takamiya’s riichi stick.
Anyone’s Game
February 4, Game 2, S4-1
Video: https://abema.tv/video/episode/444-7_s30_p344
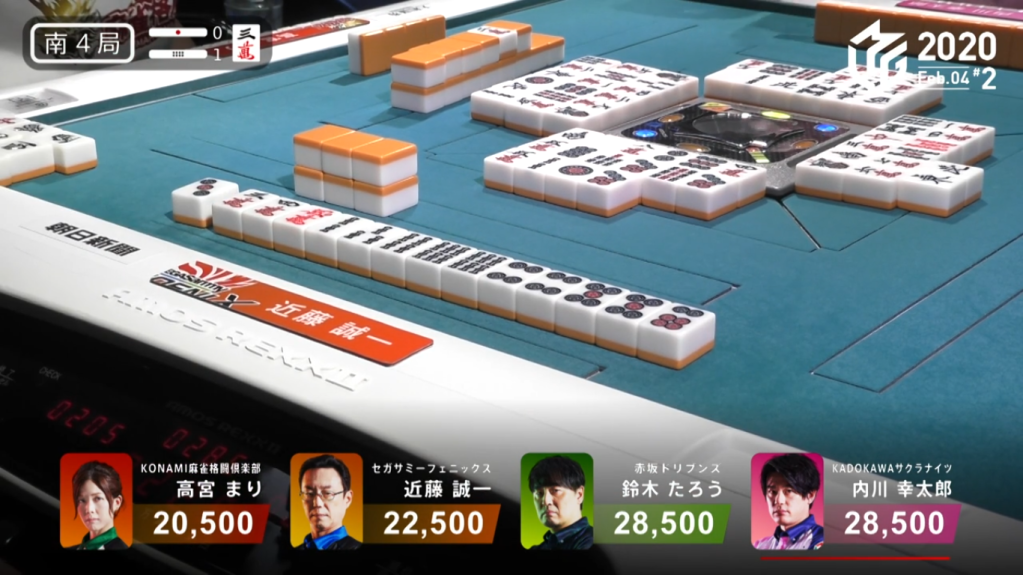
In S4-1, only 8,000 points separate 4th place and 1st place. With such a close game, all the players had a chance to win the game. Takamiya discards her souzu block from her haipai in order to go for either a pinzu or manzu honitsu. Uchikawa appeared to have a quicker hand than the rest, being 2-shanten with a flexible shape for ryanmen. However, Takamiya changed the trajectory of the whole hand when she called pon on the red dragon, the green dragon and west, making all pinzu dangerous. Even so, everyone continued to push. In the 2nd row, all the players were 2-shanten or better. However, all three of Takamiya’s opponents sweat profusely when they draw any pinzu. In the middle of the 2nd row, Kondo draws to tenpai, but would have to discard a pinzu in order to push. With a chance at first place, Kondo decides to stay dama on his mangan hand with a 36p wait. With Taro draws two isolated honours, he is forced to fold his hand. Soon after Taro folds, Uchikawa gets to tenpai, but stays dama with no yaku in case he needs to fold. When Uchikawa draws a pinzu near the start of the 3rd row, Uchikawa is forced to fold, leaving him to hope that Kondo and Takamiya don’t win. On Kondo’s second-to-last draw, Kondo draws the 3p to win the hand. Kondo wins the hand for Tsumo/Pinfu/Tanyao/Dora 1/Aka 1 for 2,000+100/4,000+100 to win the game.
Never Too Late to Riichi
February 5, Game 1, E1-2
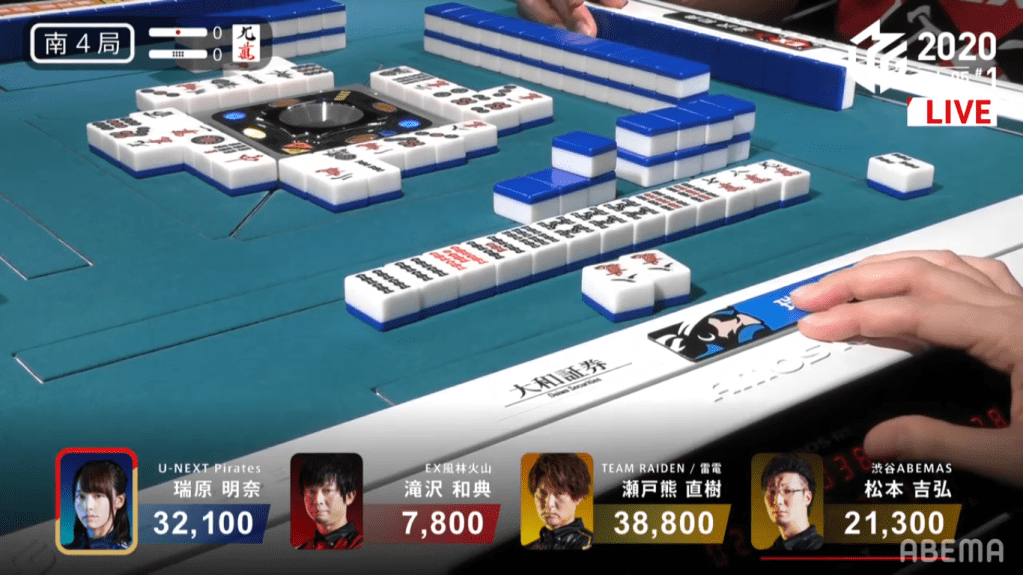
In E1-2, Mizuhara is in the lead as dealer and starts out with a 3-shanten hand with a dora. Her hand develops fairly quickly, but still holding kanchan shapes at her iishanten at the end of the 1st row. At the start of the 2nd row, Mizuhara gets to tenpai, but chooses not to take it in order to get a higher value or wider wait than a riichi only hand. While she waits, Takizawa builds his hand and eventually gets to a damaten haneman waiting on a 7m tanki (which he later switches to a 5p tanki). Turn after turn, Mizuhara looks to draw any tile to tenpai. In the middle of the 3rd row, Mizuhara finally gets to tenpai. With her being the dealer and a chance at a big hand at tsumo, Mizuhara decides to throw the 6s dora and call riichi on a 58m ryanmen wait.
On her very next draw, Mizuhara draws the 8m to win the hand. Despite Matsumoto’s call interrupting ippatsu, Mizuhara still wins the hand with Riichi/Tsumo/Pinfu/Tanyao/Iipeikou for 4,000+200 all to further increase her lead.
Hidden Honitsu Haneman Highlight
Febraury 5, Game 1, S2-0
In S2-0, Matsumoto is in 2nd place and looking to chase 1st place Mizuhara. He starts off with a 3-shanten hand with a dora. In his first 6 draws, he picked up only pinzu and honours, naturally pulling his hand towards honitsu. By the end of the 1st row, Matsumoto is iishanten for chiitoi and honitsu with two dora. On his very next turn, he gets to tenpai and says dama on a 3p tanki wait. With Mizuhara being very close to tenpai, she discards the 3p and deals into Matsumoto. Matsumoto wins the hand with Honitsu/Chiitoi/Dora 2 for 12,000. Directly hitting Mizuhara, it brings Matsumoto into 1st place.
Double Dealer Mangan
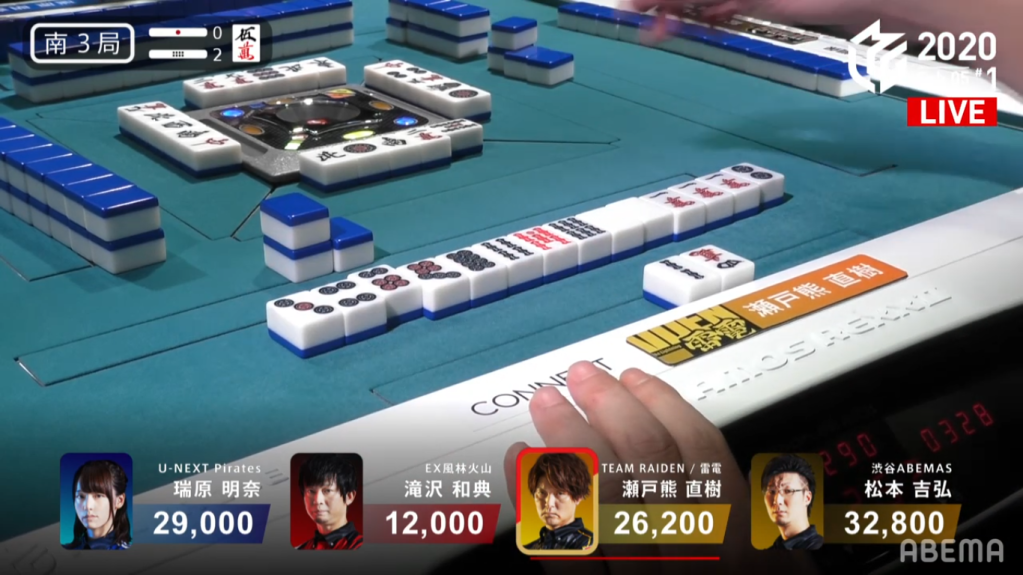
February 5, Game 1
In S3-1, Setokuma is in 4th place and the dealer. He starts out with with a very quick 2-shanten hand with an embedded dora and a pair of easts. On turn 3, Setokuma draws a third east to bring his hand to iishanten. At the start of the 2nd row, Setokuma gets to tenpai and calls riichi on a 25p ryanmen wait. Two turns later, he draws the 2p to win the hand. Setokuma wins the hand with Riichi/Tsumo/East/Dora 1 for 4,100 all to put him into 3rd place.
In S3-2, Setokuma starts out with a 3-shanten hand with an embedded red 5s. His hand develops quickly this time as well, getting to tenpai on turn 5 with a 25p ryanmen wait again. On the very next draw, he finds the 2p again to win the hand. Setokuma wins with Riichi/Ippatsu/Tsumo/Aka 1 for 4,200 all to take the lead.
Mizuhara’s Leap to First
February 5, Game 1, S4-0
In S4-0, 2nd place Mizuhara is 6,700 behind 1st place Setokuma. She would need a 3/40 direct hit, a 3/50 tsumo or a mangan general ron to get to 1st. Mizuhara’s hand starts out well, being 3-shanten with an embedded dora and red dora. With a pair of 9s in her hand, all she can do is hope and wait to call riichi. By turn 5, her hand has lost of flexibility and has a good chance of a good wait at tenpai. The very next turn, she gets to tenpai and calls riichi on a 36s wait. If the 6s comes she can call ron or tsumo to give here the iipeikou and get to first. If she gets the 3s, she would have to hope to tsumo it or get an ura dora. Seeing that all the 6s are in people’s hands, Pirates fans put their hopes in the wall for the tsumo. In the middle of the 2nd row, Mizuhara finds the 3s and wins the hand. Mizuhara wins with Riichi/Tsumo/Dora 1/Aka 1/Ura 1 for 2,000/4,000 to win the game.
Shortcut to Haneman Saves the Day

February 5, Game 2, S4-2
Video: https://abema.tv/video/episode/444-7_s30_p349
In S4-2, Kobayashi is 4,200 behind 3rd place Ooi and 10,000 behind 2nd place Katsumata. With the team in last place, the playoffs approaching and wanting to maintain his last-place avoidance rate. Even before Kobayashi gets his first draw, Ooi puts on the pressure by calling pon on the 9m. When Kobayashi does get his first draw, he is 2-shanten for chiitoi, but lacks any value. On turn 5, he draws his fifth pair and keeps the 2p, 5p and 7s as other pair options. Though the 5p is generally a bad choice for chiitoi, it allows him to make use of the red 5p if it comes to him. As Kobayashi waits, Ooi makes a pon call on the 1p dora to put him iishanten for chanta. Near the start of the 2nd row, Kobayashi draws the red 5p to get to tenpai. Kobayashi calls riichi and decides to go for the 7s tanki instead of the 2p tanki. Though it seems like it’s the worse wait, there is some method to the madness. Because Kurosawa is in 1st place and doesn’t want Katsumata to catch up in any way, Kurosawa may be more willing to discard the 7s to intentionally deal into Kobayashi to keep her first place safe. At the end of the 2nd row, Ooi gets to tenpai and waits on a 2s kanchan for mangan.
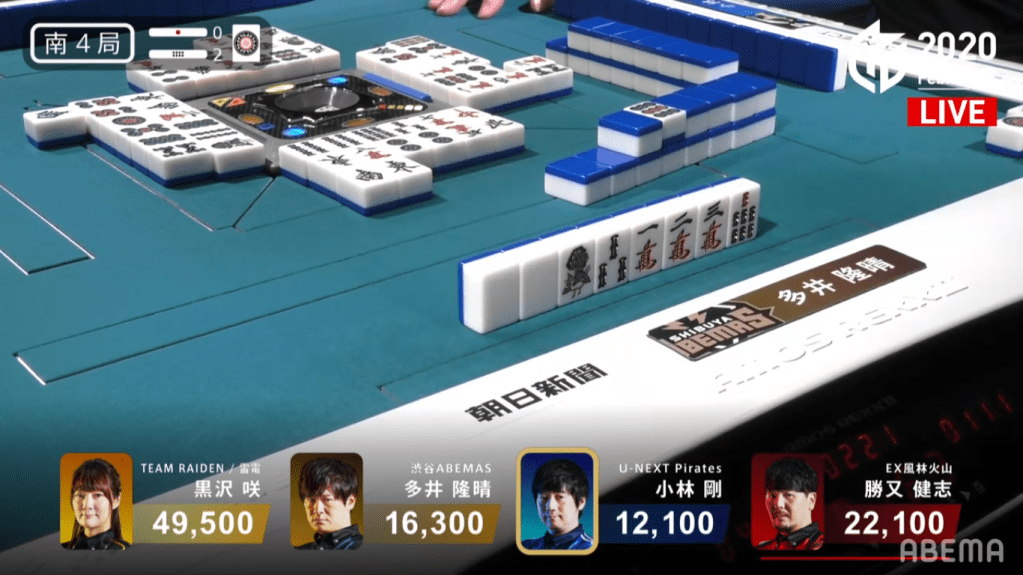
In the middle of the 2nd row, Ooi draws the 7s. With a mangan minimum hand and his team already in first, Ooi decides to just push the hand and ends up dealing into Kobayashi.
Revealing two uradora, Kobayashi brings his hand up to haneman to make a surprise comeback. Kobayashi wins the hand with Riichi/Chiitoi/Aka 1/Ura 2 for 12,000+600.
