
Highlights
Dora Houtei
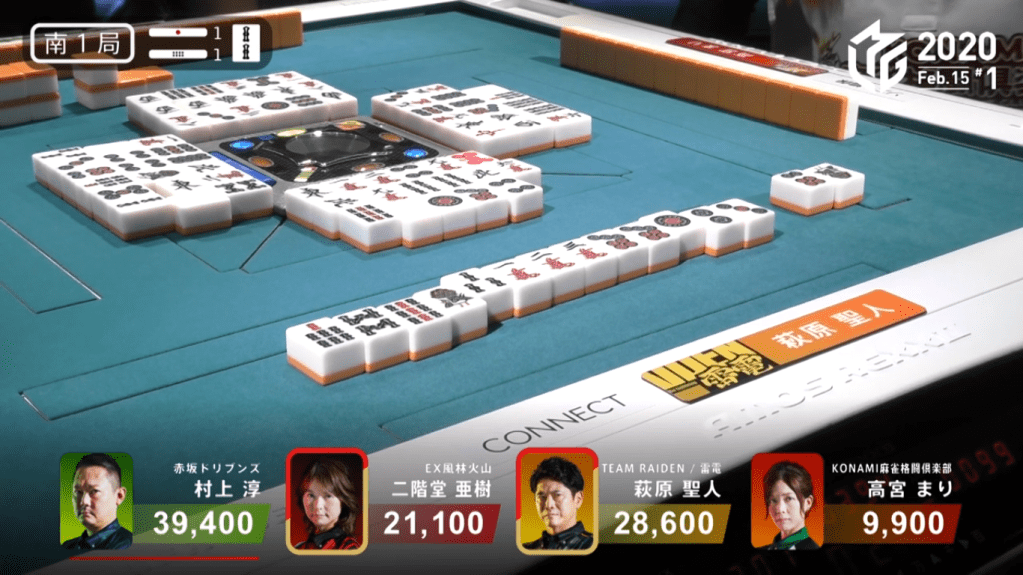
February 15, Game 1, S1-1
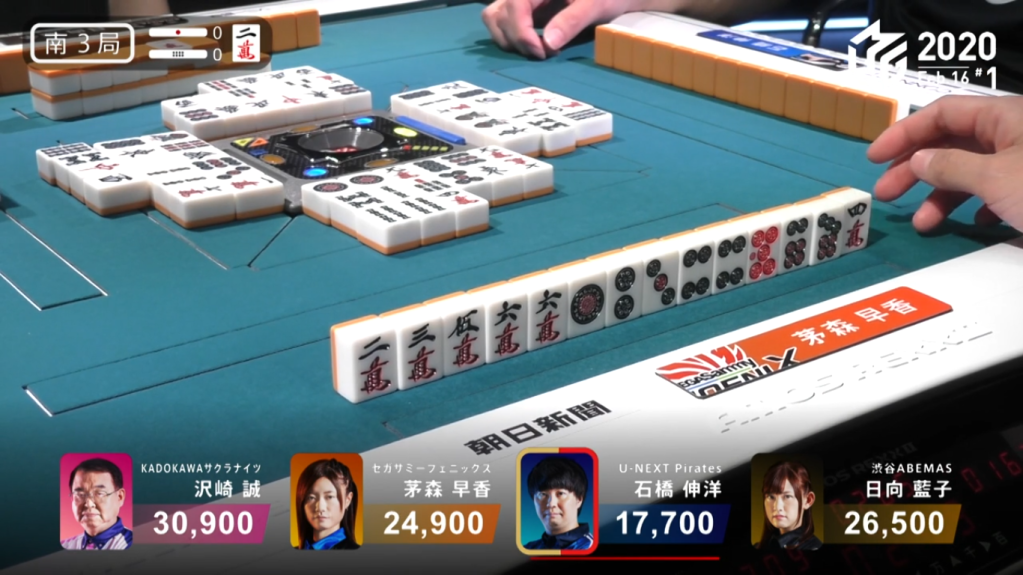
In S1-1, both Aki and Hagiwara are trying to chase 1st place Murakami. Aki starts out with a 4-shanten hand with a red dora pair, while Hagiwara starts out with a 2-shanten hand with obvious sanshoku potential. By the end of the first row, Aki is at 3-shanten while Hagiwara has advanced to iishanten. At the start of the 2nd row, Hagiwara calls riichi on 2s dora kanchan wait with a guaranteed sanshoku mangan. Even with the riichi, Aki is still able to progress her hand while discarding only safe tiles. Near the end of the 2nd row, Aki gets to tenpai and calls riichi on a 2s/red dragon shanpon wait. With Takamiya and Murakami both discarding safely, it was just a waiting game for the two riichi players. On the very last tile, Aki draws the 2s and deals the houtei to Hagiwara. Hagiwara wins the hand with Riichi/Houtei/Sanshoku/Dora/Ura 2 for 12,000+300, along with a leftover riichi stick and Aki’s riichi stick.
Yakuman Chance vs. Sanbaiman Chance
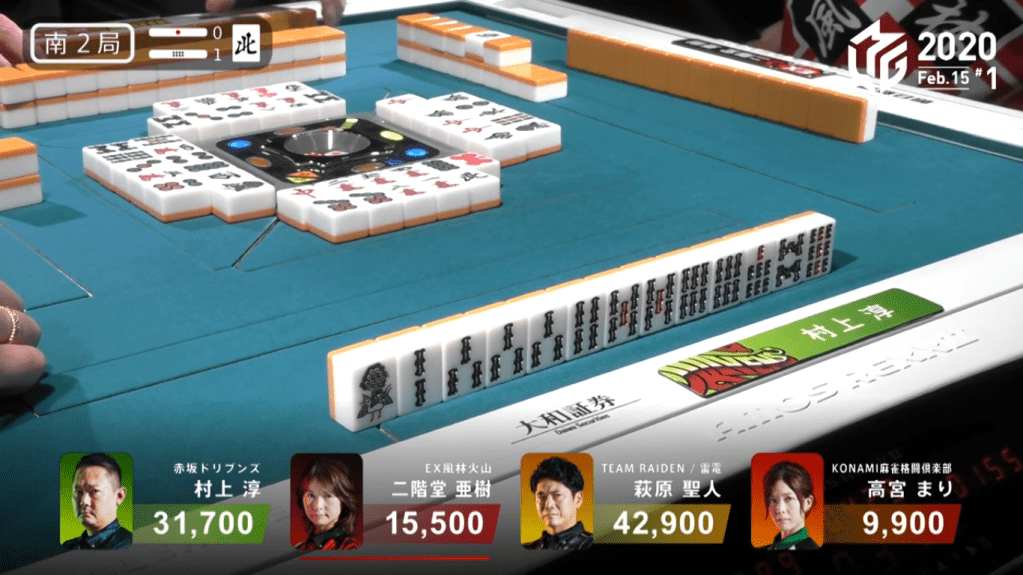
February 15, Game 1, S2-1
Video: https://abema.tv/video/episode/444-7_s30_p372
In S2-1, Hagiwara and Murakami are 1st and 2nd, respectively. Hagiwara starts out with 4 pairs and Murakami has a hand with 8 souzu. On Hagiwara’s 2nd draw, he makes one of the pairs an ankou, giving him to potential for both chiitoi and toitoi. By turn 3, Murakami has 10 souzu, making chinitsu a very real possibility. By the end of the 1st row, Hagiwara is 3-shanten from toitoi and Murakami is 2-shanten from a chinitsu. At the start of the 2nd row, Hagiwara draws his 2nd ankou and Murakami becomes iishanten for chinitsu. The very next turn, Hagiwara pairs up the white dragon to get him to toitoi and suuankou iishanten. Despite three straight souzu discards from Takamiya on Murakami’s left, Murakami still doesn’t call. This patience pays off for him, for he draws to tenpai on a 47s ryanmen wait near the end of the 2nd row. If Murakami wins on the 4s on tsumo, he would win with Chinitsu/Tsumo/Pinfu/Ittsuu/Iipeikou for 11 han for a sanbaiman.
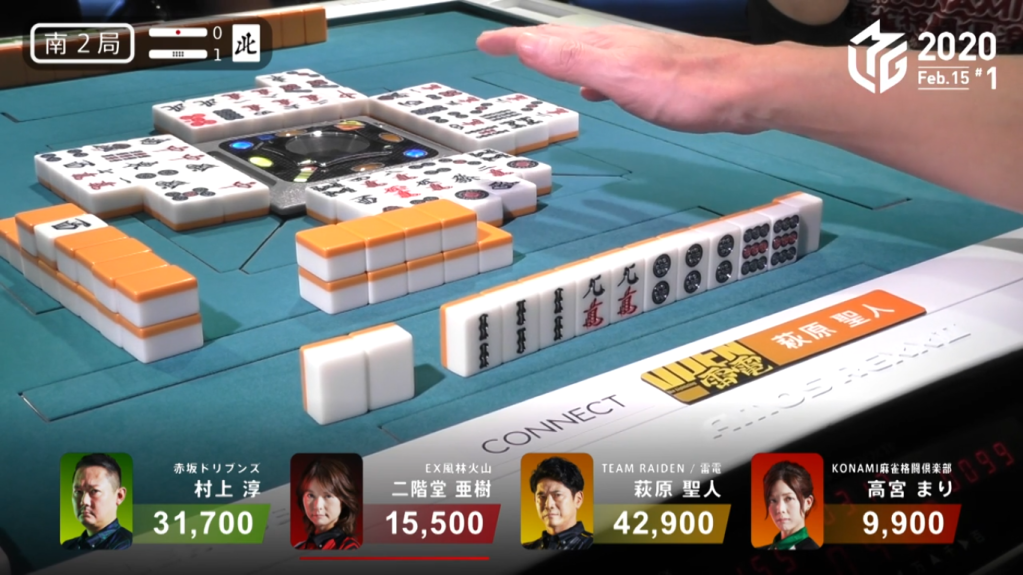
In the middle of the 3rd row, Hagiwara makes his white dragon pair an ankou and calls riichi on a 9m/9p shanpon wait. If Hagiwara were to win by tsumo, it would give him suuankou for yakuman. On Murakami’s very last draw, Murakami decides to call riichi, a very interesting move. Under most rulesets, calling riichi without another draw is illegal. However, because it’s legal in M-League, Murakami tries to take advantage of the fact that Hagiwara’s will be unable to defend. (In fact, this would have worked and Hagiwara would have dealt in the 4s if Aki hadn’t called a few turns earlier.)
Unfortunately for both Hagiwara and Murakami, neither of the hands pan out. The hand end in ryuukyoku with only Takamiya noten. With the potential of a 32,000 point hand and a 24,000 point hand, the 1,000 point gain was a very unfortunate consolation prize
Just One Hand
February 15, Game 2, E1-0
In E1-0, Setokuma is the dealer and coming off of a Hagiwara win the previous game. Setokuma starts out with a pair of dora and a red dora. With a tanyao based hand, Setokuma has the easy possibility of calling the hand and does so on the 7p to get to a 36p ryanmen tenpai. In the middle of the 2nd row, Setokuma draws his winning 3p. Setokuma wins the hand with Tanyao/Dora 2/Aka 1 for 4,000.
Though the hand itself isn’t incredible, how it changed the game is. This was the only hand that Setokuma won in this hand. Even with only this one hand won, it gave him enough points to sustain him to the end of the game to take the win. Even while dealing in twice, he was still able to hold on.
Given a Chance
February 16, Game 1, S3-0
Video: https://abema.tv/video/episode/444-7_s30_p376
In S3-0, dealer Ishibashi is in 4th place and Kayamori is in 3rd place. Ishibashi and Kayamori both start out with a 2-shanten hand, Ishibashi having a south pair and Kayamori with a pinfu-looking hand. By the end of the 1st row, both of them are iishanten. At the start of the 2nd row, Ishibashi draws to tenpai and calls riichi on a 5s/south shanpon wait. With a dealer riichi on the table, Kayamori needed to be careful. In the middle of the 2nd row, Kayamori gets to tenpai on a 6m kanchan. When she draws the dangerous 5p the very next turn, she has to decide whether to push or fold.
She pushed that hand, but she becomes hesitant two turns later when she draws the 4p. She thought the danger was too high and decided to fold.

The very next turn, Kayamori draws what would have been her winning 6m.
She had the option to call a furiten 3-sided wait, but decided to keep folding.
The turn after, she draws back to a 3-sided 147m wait. She draws a dangerous 6m after and decides to keep folding. The very next turn, she draws what would have been her winning 4m. She tsumogiris it and keeps folding.
The madness ends when Ishibashi draws his winning south on his last draw. Ishibashi wins the hand with Riichi/Tsumo/South/Ura 2 for 4,000 all.
Pivotal South 4
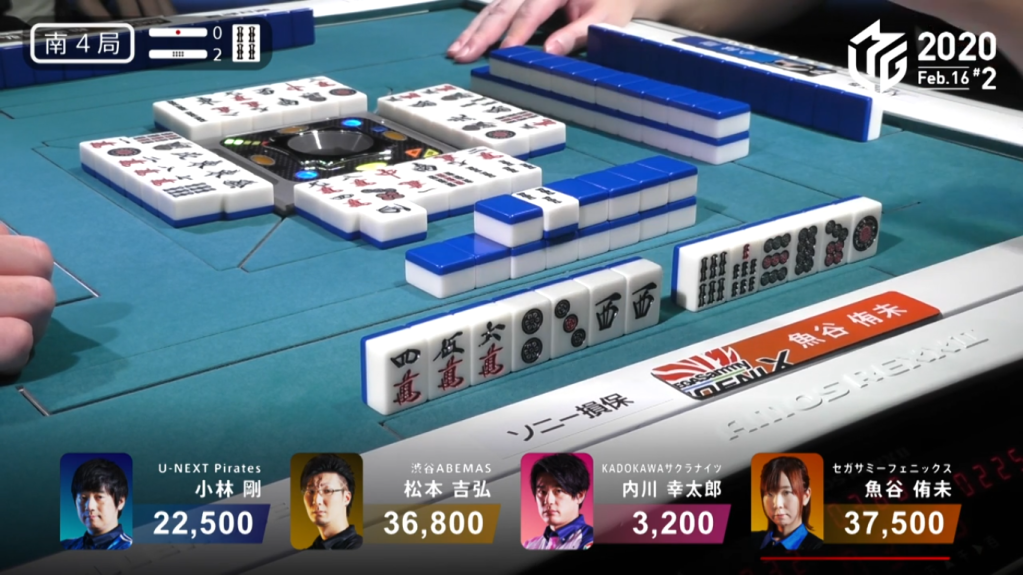
February 16, Game 2, S4-2
In S4-2, only 700 points separate 1st place dealer Uotani and 2nd place Matsumoto. With 3rd place Kobayashi trying to help his team get to the semis, he has multiple options. Since the Pirates are in 8th place and the Phoenix are in 7th place, he really doesn’t want Uotani to place 1st. Kobayashi can prevent this by getting a 3/30 or higher tsumo or any ron. If Kobayashi were to tsumo a haneman, it would put him into 1st place and Uotani in 3rd. However, he has another option: deal into Matsumoto. Because Matsumoto is so close to 1st, he will be aiming for it. Since the difference in placement bonuses is +40 for 1st and 2nd (compared to the usually +20 for all the other placements), having Matsumoto in 1st would considerably reduce the difference between Uotani and Kobayashi (20 point difference instead of 60 points).
Uotani starts out the hand with a 2-shanten hand, Kobayashi with a 4-shanten hand and Matsumoto with a 3-shanten hand. By the end of the 1st row, All three of them are iishanten, with Kobayashi and Matsumoto with callable hands. Even with the callable hand, Kobayashi stays hidden to aim for 1st place. At the start of the 3rd row, Uotani gets to tenpai and calls riichi on a 58s ryanmen. With both Matsumoto and Kobayashi so close to tenpai, they both push.
When Uotani discards the dora 4s, Matsumoto instantly calls pon and wait in tenpai with a 58p ryanmen wait. With no way to continue safely and Matsumoto likely in tenpai, Kobayashi discards tiles that are safe against Uotani.
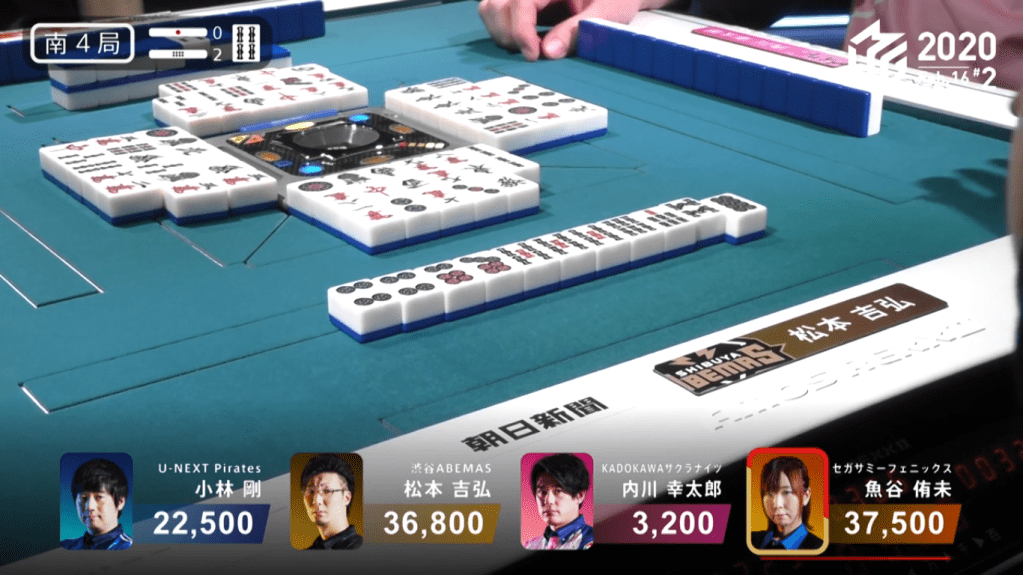
On Matsumoto’s last draw, he gets the 8p to win the hand. Matsumoto wins with Tanyao/Dora 3 for 2,000+200/4,000+200, plus Uotani’s riichi stick.
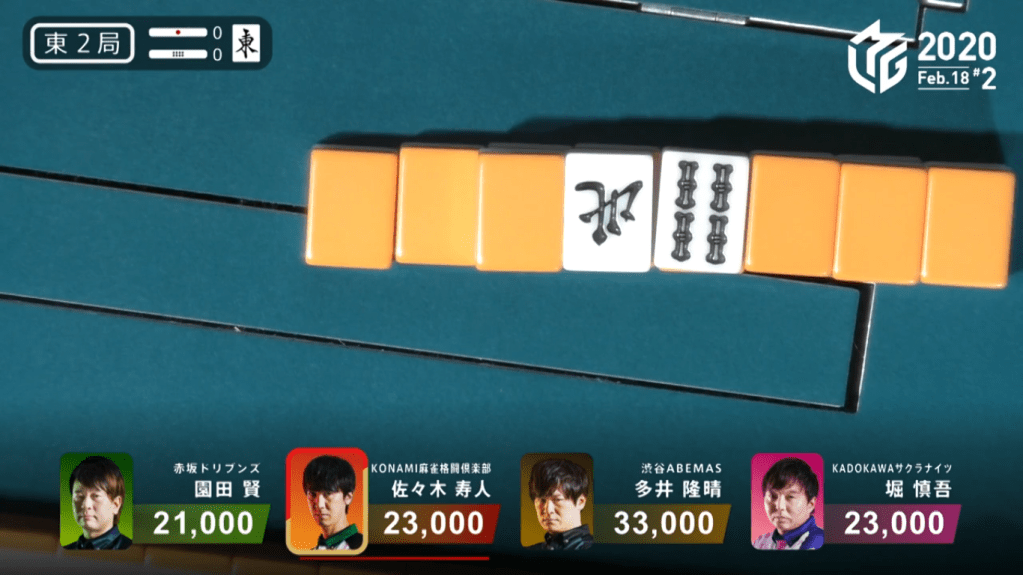
The Demon King Strikes Again
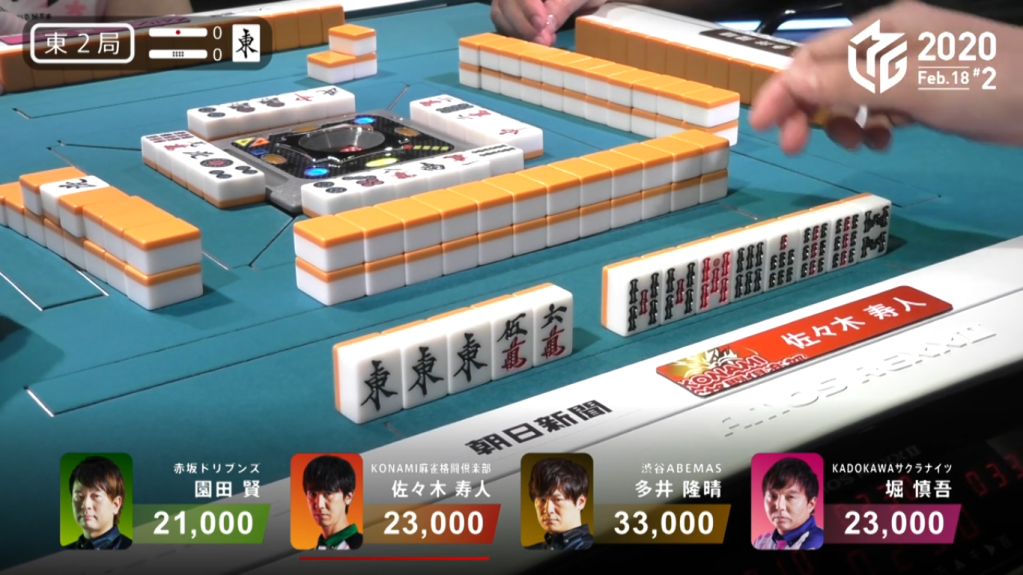
February 18, Game 2
Video: https://abema.tv/video/episode/444-7_s30_p383
In E2-0, Sasaki is the dealer and had just come off of a win last game. He starts out his hand with an incredible iishanten, holding a red 5 and a double east ankou which is also the dora. Having a guaranteed 18,000 starting hand, it is truly a hand that he wants to win. Through his first 5 discards, he just waited for the right tile to come, changing his hand just a little to make it more efficient. On turn 6, Sasaki gets to tenpai and calls riichi on a 47m ryanmen wait. With tsumo or even a single uradora, his hand would upgrade to a baiman for 24,000.
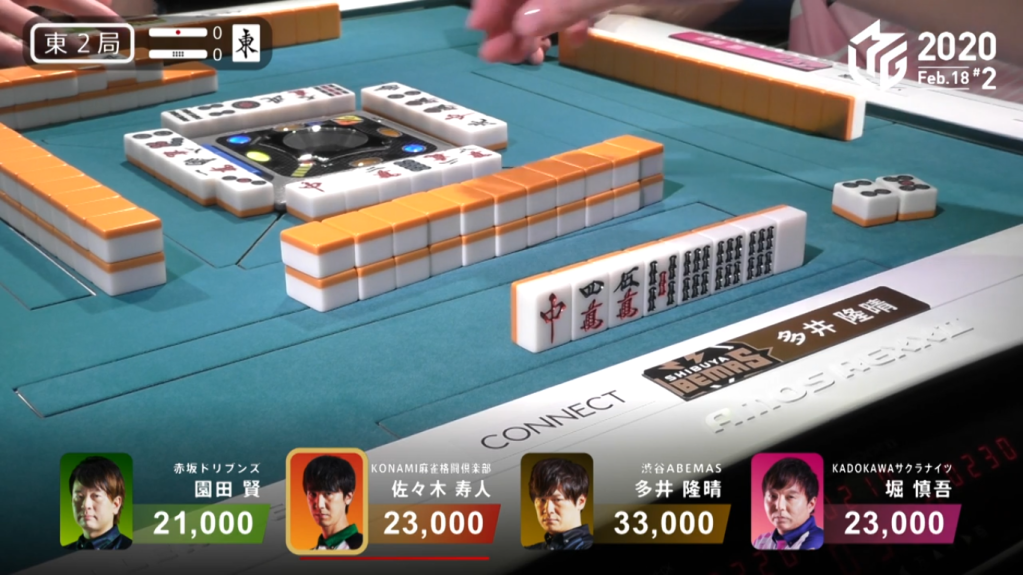
With Ooi wanting to stop Sasaki from going on one of his rampages, Ooi calls chii to put him 2-shanten for tanyao. On Sasaki’s next discard, Ooi calls chii again to put him iishanten.
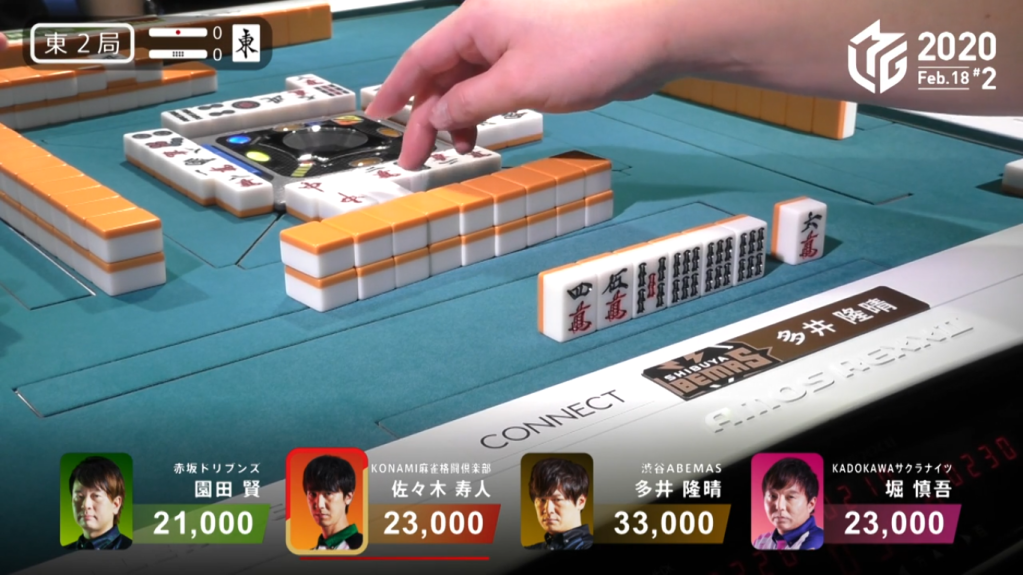
On Ooi’s very next draw, he gets to tenpai and waits on a wide 457s wait.

When Sasaki draws the east two turns later, he calls kan, guaranteeing a baiman if he wins.
The kandora is flipped to reveal the 4s, making Sasaki’s 5s ankou a dora and upgrades his hand to a sanbaiman for 36,000.
With Sasaki’s rinshan draw, he finds the 7m and wins this incredible hand. Amounting to 13 han, Sasaki wins with Riichi/Tsumo/Rinshan/Double East/Dora 7/Aka 1, a new M-League han record. Because M-League doesn’t use kazoe yakuman, Sasaki’s hand was a sanbaiman valued at 12,000 all
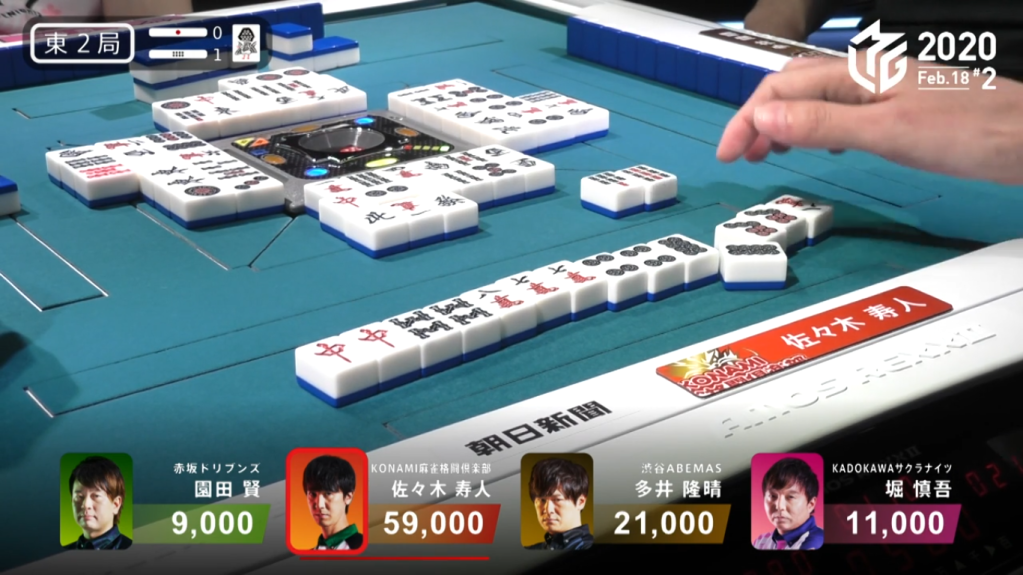
In E2-1, Sasaki starts out with a 2-shanten hand for both a standard hand a chiitoi with a red dragon ankou. On turn 2, Sasaki draws his 5th pair to put him iishanten for chiitoi. At the start of the 2nd row, Sasaki draws the 6th pair and stays dama on a 8m tanki wait. On the very next turn, Sasaki calls a tsumogiri riichi, an interesting and odd decision. It took quite a few turns, but Sasaki eventualy drew his winning 8m in the middle of the 3rd row, revealing two uradora, Sasaki wins the hand with Riichi/Tsumo/Chiitoi/Dora 2 for 6,000+100 all. With the win, it puts him to 77,300 with the game not even a quarter of the way through.
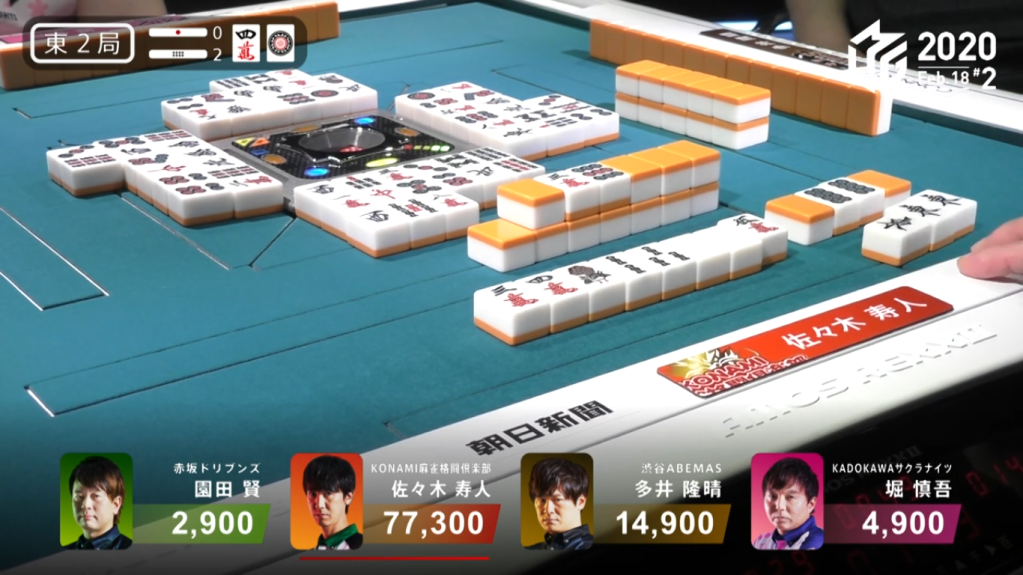
In E2-2, Sasaki start out with another 2-shanten, this time with a dora and a pair of white dragons. The first row wasn’t very kind to Sasaki, giving him only useless tiles. Near the start of the 2nd row, Sasaki is still iishanten, but now has a pair of easts to go along with his white dragon pair. When Sonoda discards the east, Sasaki calls pon on it to get to iishanten. The very next turn, Sasaki gets to tenpai and waits on a 25m ryanmen wait. When Sasaki draws the 4th 8p, he calls an ankan, but misses the rinshan. In the middle of the 3rd row, Sasaki draws his winning 5m to win the hand. Sasaki wins with Double East/Dora 1 for 3,200+200 all. The hand brings his score to 87,500 and is still the dealer going into E2-3.
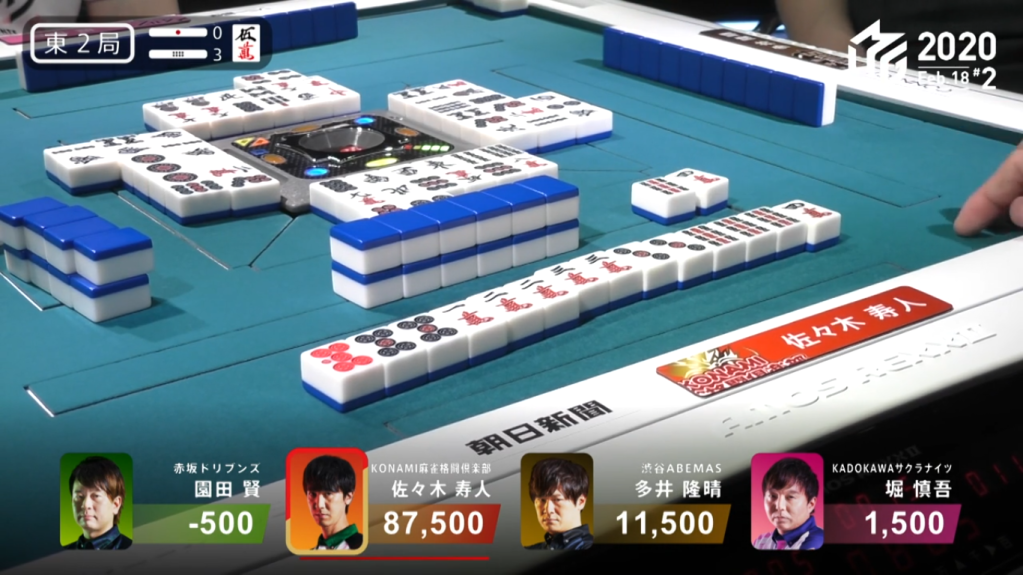
In E2-3, Sasaki starts out with a 3-shanten hand that lacks value. In the first row, his hand transforms to an iishanten with nice ryanmen waits. At the start of the 2nd row, Sasaki draws a red 5p to give his hand value. It takes his hand a long time to move beyond it, btu Sasaki eventually gets to tenpai and calls riichi near the start of the 3rd row. The very next turn, Sasaki draws the 4m and wins the hand. Sasaki wins with Riichi/Ippatsu/Tsumo/Aka 1 for 4,000+300 all. With the win, it gives Sasaki 100,400 points, the first player to ever break the 100,000 point barrier.
Sasaki ended up winning the game with 94,000 points, the second highest final score in M-League history. He also ended the day 1st in the individual standings with +460.6.
Courtesy of @mleague_results, here is the list of records that Sasaki broke that day:
- First 13-han hand (also the highest han value in M-League history)
- First dealer sanbaiman
- Highest score reached of 100,400
- New season record of 94,000 (2nd highest in M-League history)
- Highest single day score of 169.2
- 5th time Sasaki has won twice in one day
Not Seven Pairs
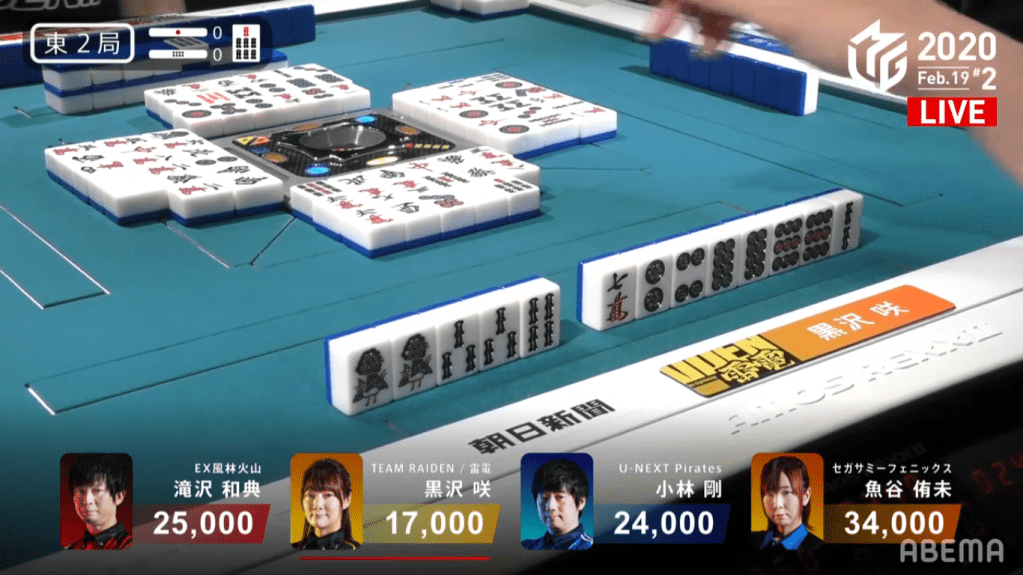
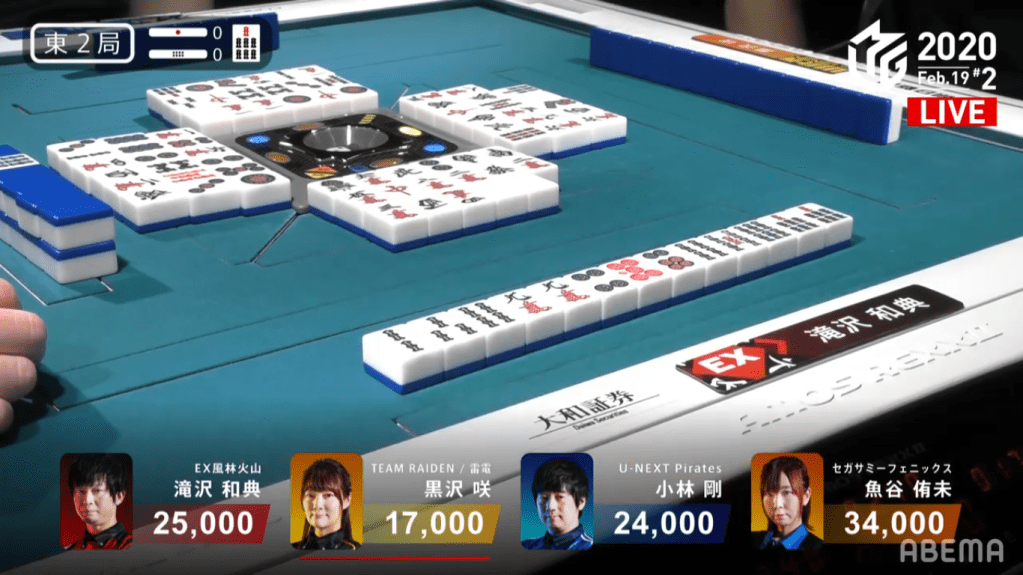
February 19, Game 1, S3-0
Video: https://abema.tv/video/episode/444-7_s30_p387
In S3-0, Takizawa has a slim lead as the dealer. Takizawa starts out with a poor 5-shanten hand, but has two red dora and a regular dora to give his hand value. Through the first row, he cleans out all the useless honours in his hand and ends up. As he does this, Asakura calls a very quick riichi on the first discard on a 3s/red dragon shanpon. By that point, Takizawa was already 2-shanten with a possible pinfu and even a ryanpeikou chance. With no tiles to fold with, Takizawa continues to push his hand. At the end of the first row, Hagiwara gives Takizawa even more trouble by calling riichi on a 69p ryanmen wait. getting to ryanpeikou iishanten on Hagiwara’s ippatsu turn, Takizawa continues his push. Three turns later, Takizawa draws to tenpai. Even though he needed to discard the dora, he pushes the hand and waits on a 14m ryanmen wait, with the 1m giving him ryanpeikou. At the start of the 3rd row, Asakura draws the 1m and deals into Takizawa. Takizawa wins with Pinfu/Ryanpeikou/Aka 2 for 18,000 and a big lead.
This ryanpeikou is the 2nd ryanpeikou made in M-League history. Earlier this year, Kayamori won the league’s first ryanpeikou.
But It Just Passed!
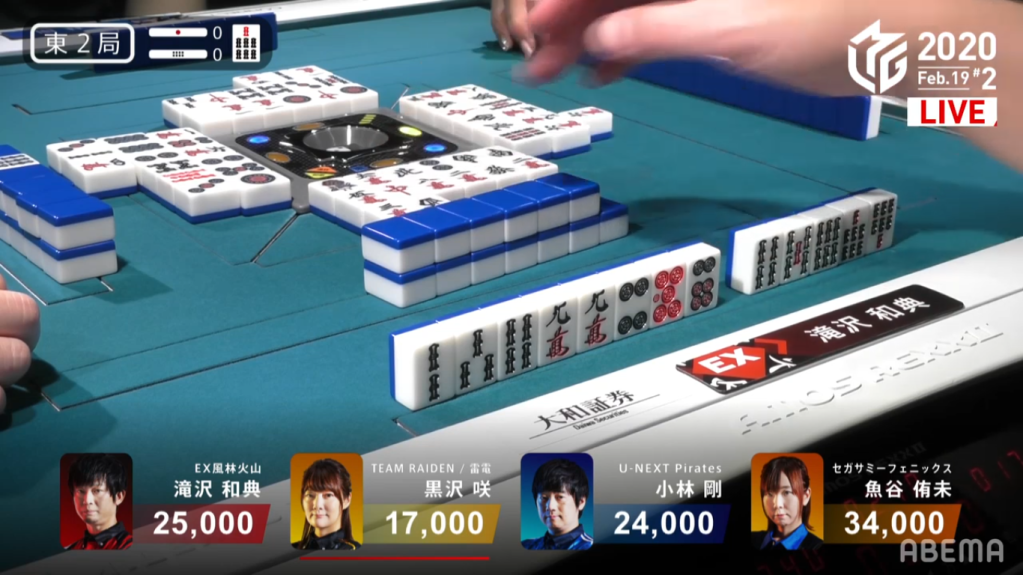
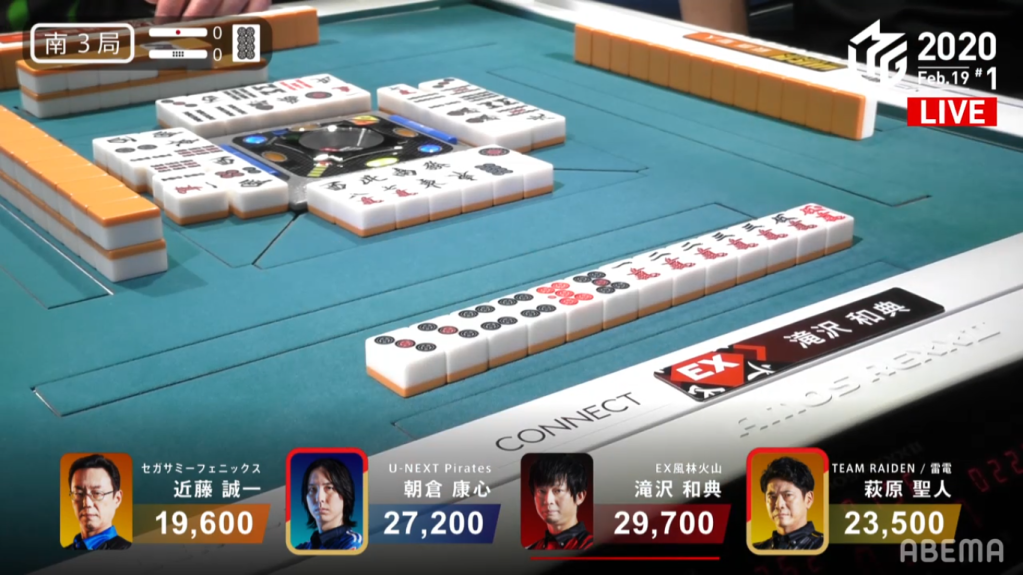
February 19, Game 2, E2-0
In E2-0, the game is still early and Kurosawa is the dealer for the round. Looking around the table, Takizawa has the most promising hand of the group with a 2-shanten pinfu hand with a dora and a red dora. Kobayashi joins the group of potential hand winners when he calls pon on the east to get to iishanten at the end of the 1st row. Through the 2nd row, progress was slow for both of them. The first of the two to get to tenpai is Kobayashi, who does so by calling a 789 chii near the end of the 2nd row. Seeing Kobayashi with two calls and a lack of manzu in his hand, Takizawa was forced to partially fold when he drew the west. Takizawa is able to get back to tenpai and doesn’t call riichi on a 9m/7s dora shanpon wait.
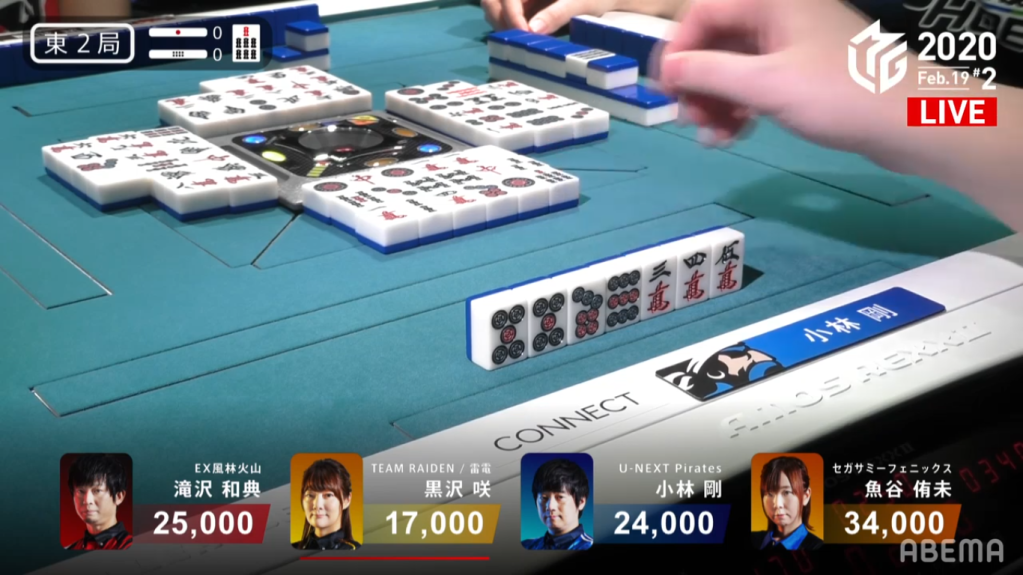
When Kobayashi draws a 7s dora with three tiles left in the wall, he discards it to keep his tenpai. Takizwawa looked unhappy since he couldn’t call ron and had to let the tile pass by.
With Kurosawa having the last draw, she had to figure out what safe tile to thro out. Having seen Kobayashi discard the dora 7s and Takizawa with a tsumogiri discard, she figured that the 7s must be safe.
Unexpectedly, Takizawa calls ron on the supposedly “safe” tile and wins the hand. Takizawa wins the hand with Houtei/Dora 3 for 8,000.
