Highlights
Shortcut to Baiman
March 8, Game 1, S3-0
Video: https://abema.tv/video/episode/444-7_s30_p431
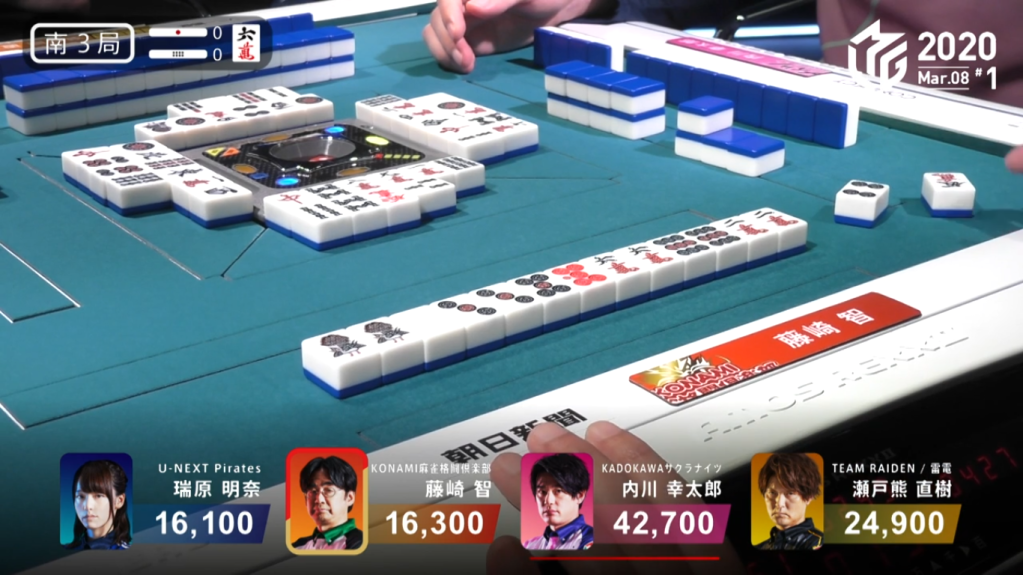
In S3-0, Fujisaki is in 3rd place and 200 points away from falling to 4th. He starts out with a 4-shanten hand with two red dora. During his first three turns, he pick up a pair with each draw, getting him from 1 pair to 4 pairs in three draws to put him 2-shanten from chiitoi. At the start of the 2nd row, Fujisaki pairs up his red 5p to put him iishanten. In the middle of the 2nd row, he draws the dora 6m and discards the red 5m, making it seem like the 6m is safe because of the 9m that was discarded earlier. The very next turn, he pairs up the 6m dora to get to tenpai and calls riichi on a white dragon tanki wait of haneman minimum. With one white dragon already discarded, 1st place Uchikawa discards the white dragon on Fujisaki’s ippatsu turn and deals in. Revealing two uradora, Fujisaki wins the hand for Riichi/Ippatsu/Chiitoi/Dora 2/Aka 1/Ura 2 for 16,000. With that hand alone, it took Fujisaki from 200 point from 4th to 5,600 points in the lead.
Double Riichi
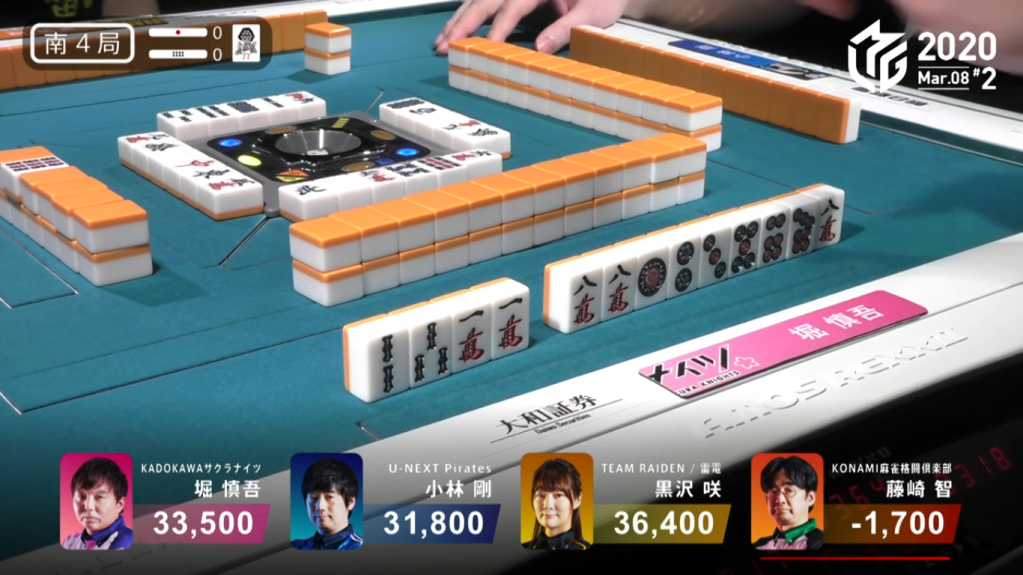
March 8, Game 2, S3-2
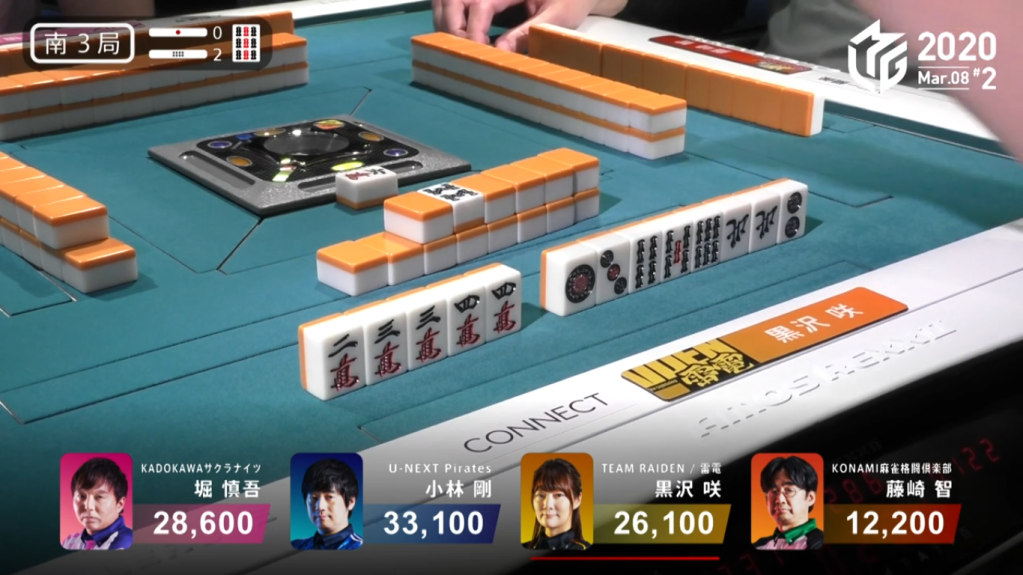
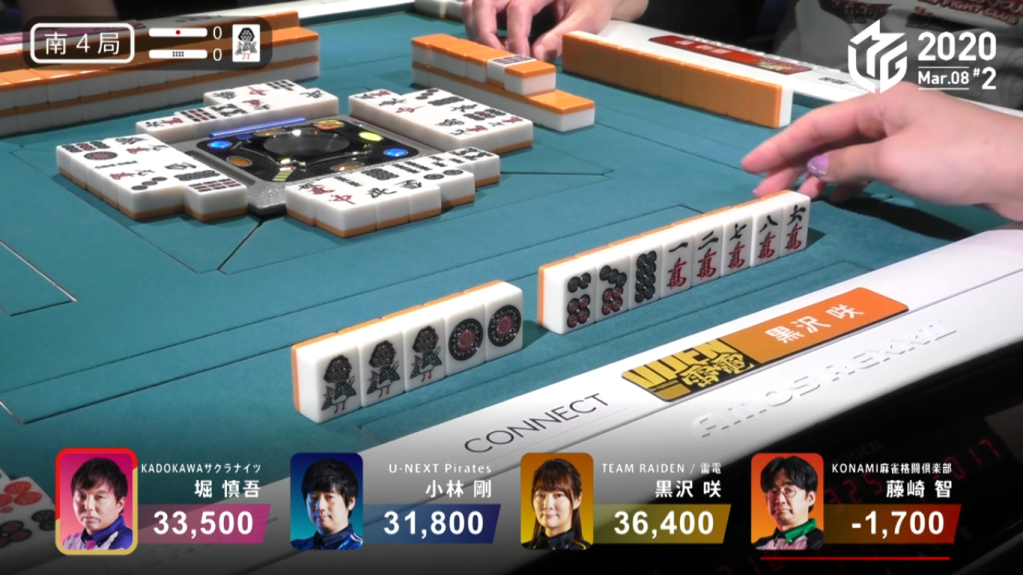
In S3-2, Kurosawa is the dealer in 3rd place and 7,000 points behind the lead. Before Kurosawa takes her first draw, she is already iishanten, with a 25m ryanmen and a 2p kanchan the only blocks that need to be completed. As luck would have it, Kurosawa drew the 2p to complete her worst block and she calls a double riichi on a 25m pinfu wait (with the 2m also giving iipeikou). For Hori and Kobayashi, they decided to take the defensive approach and bail. However, last place Fujisaki pushes his hand.
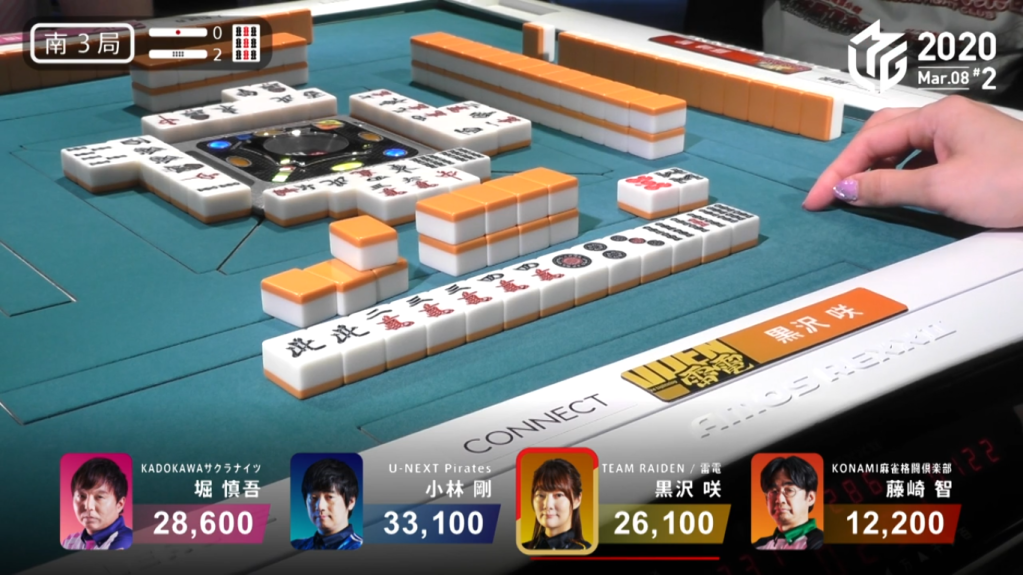
He gets his hand all the way to iishanten in the middle of the 2nd row, but ends up discarding Kurosawa’s takame 2m in the process. Kurosawa wins the hand with Double Riichi/Pinfu/Iipeikou for 12,000+600 and the lead.
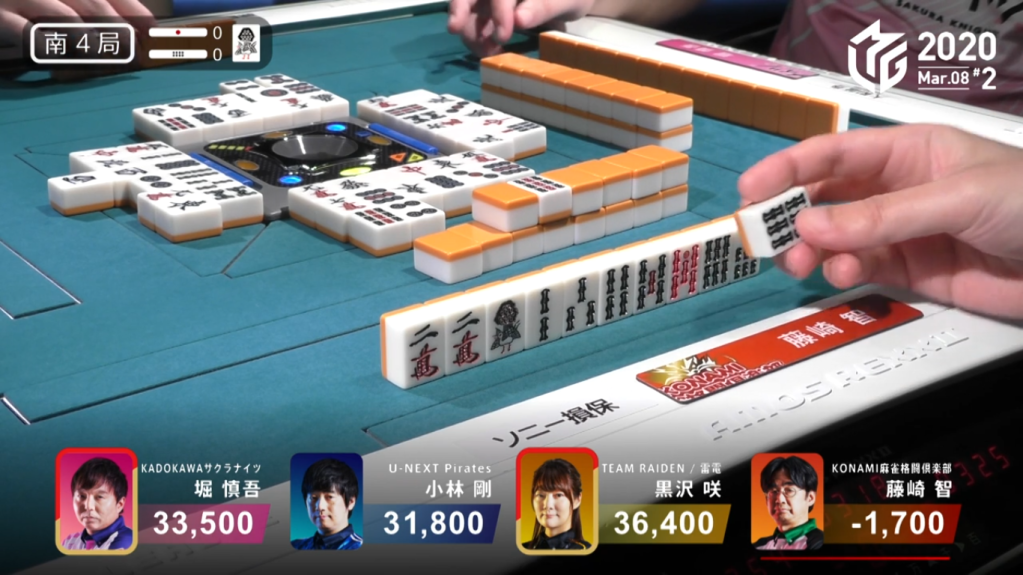
South 4
March 8, Game 2
Video: https://abema.tv/video/episode/444-7_s30_p434
In S4-0, Fujisaki is the dealer in 4th place and in the negatives. He starts out with a fairly tame hand, being 5-shanten and holding a dora and a pair of souths. Through the first row, his hand struggles to get any ryanmen shapes or additional value. By the end of the 1st row, he is 2-shanten with a penchan and a kanchan. Soon after, Hori puts pressure on the table by calling a riichi on a 14s ryanmen wait. With Kobayashi and Kurosawa so close to taking the game, they push their hands along with Fujisaki. Soon after the riichi, Fujisaki gets to iishanten with ittsuu in hand. When Kurosawa discards the south, Fujisaki calls pon to get to tenpai on an 8s kanchan for 3 han.
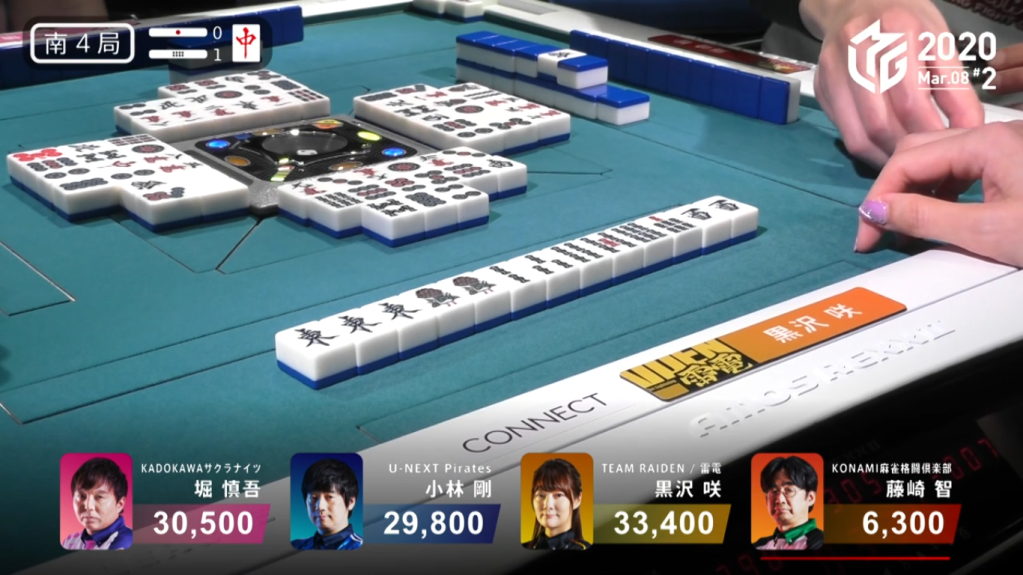
In the middle of the 2nd row, Kurosawa gets to tenpai and calls riichi on a 3m penchan wait. With two riichi calls on the table, Fujisaki aims to be efficient instead of aiming for value. When Fujisaki draws the red 5s, he gets rid of the ittsuu chance to go for a better 36s wait.
In the middle of the 3rd row, Fujisaki draws his winning 6s to win the hand. Fujisaki wins with South/Dora 1/Aka 1 for 2,000 all, plus the two riichi sticks. With the hand, it brought Fujisaki out of the negatives.
In S4-1, the difference between the other three players is close, with only 3,600 separating 1st and 3rd. 2nd place Hori starts out with a 3-shanten hand and doesn’t quite have enough value in his hand to overcome the 2,900 point difference from 1st. 3rd place Kobayashi holds a 2-shanten hand with a red dora and a pair of souths in his hand, but it’s just short of the 3 han he needs. 1st place Kurosawa holds a 3-shanten starting hand with riichi the only visible way to win the hand. By turn 2, Kobayashi was already iishanten. By the end of the 1st row, Hori struggles at 3-shanten while Kobayashi and Kurosawa wait at iishanten. When Kurosawa discarded the dora red dragon to get to the iishanten, Fujisaki called pon in order to get to iishanten. With the dangerous dora pon from dealer, both Kurosawa and Kobayashi got wary and started to half fold their hand. However, Kurosawa managed to convert her hand to a much more expensive closed honitsu hand and got to tenpai at the end of the 2nd row on a west/1s shanpon wait. Soon after, Fujisaki got to tenpai and sits waiting on a 25m ryanmen wait. As the wall approached its end, Fujisaki drew the 1s. With him being in tenpai, he instantly discarded the 1s and dealt into Kurosawa. Kurosawa wins the hand with Honitsu for 6,400+300 to hold onto the lead and win the game.
Open Haneman Under Pressure
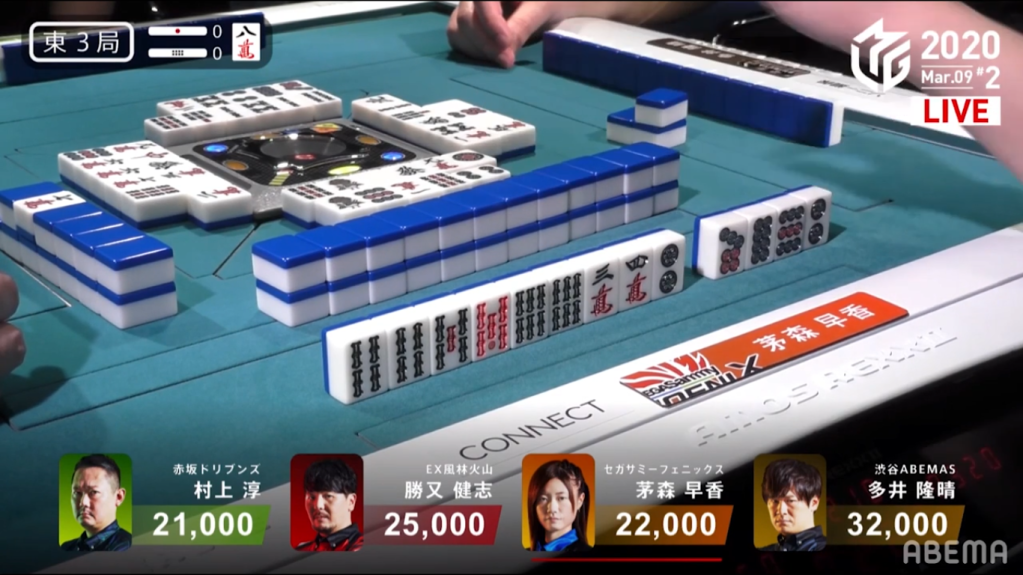
March 9, Game 2, E3-0
Video: https://abema.tv/video/episode/444-7_s30_p438
In E3-0, Murakami is in 4th place and 11,000 behind the lead. He starts out with a 2-shanten hand with a pair of the east round wind and west seat wind. With a complete group in manzu and good flexibility potential, Murakami breaks one of his souzu blocks to aim for a honitsu in manzu. By the end of the 1st row, Murakami has discarded only souzu and is 2-shanten from honitsu. When Kayamori discards the east, Murakami calls pon to get to iishanten. While Murakami waits to get to tenpai, dealer Kayamori gets to tenpai and calls riichi on a 25m ryanmen wait for mangan minimum. Even with the dealer riichi Murakami continues to push his hand. At the start of the 3rd row, Murakami draws the west to get to tenpai on a 58m nobetan wait.
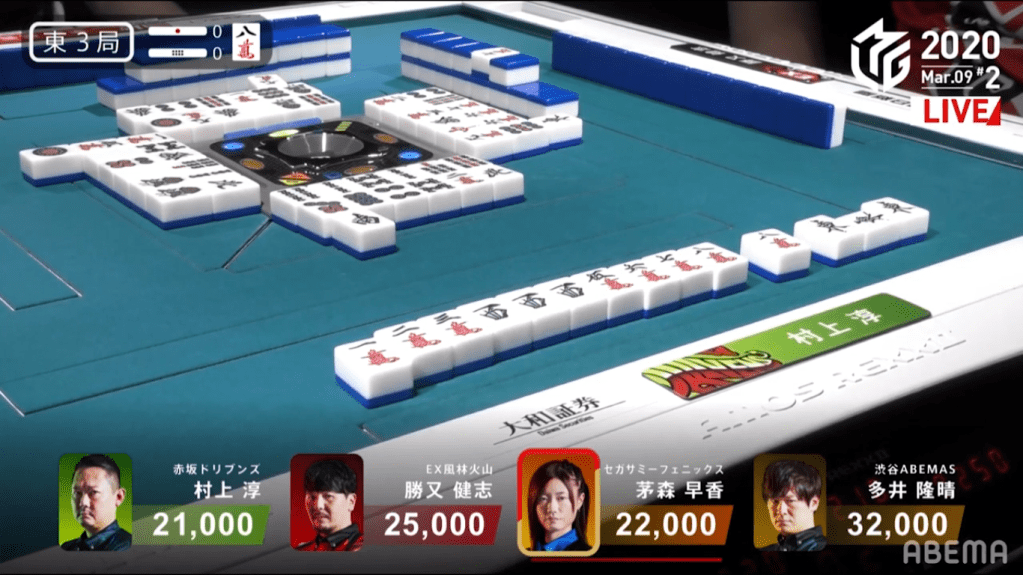
The very next turn, Murakami draws the winning 8m dora to win the hand. Murakami wins with East/South/Honitsu/Dora 2 for 3,000/6,000, plus Kayamori’s riichi stick.
The Dama Shortcut to Haneman
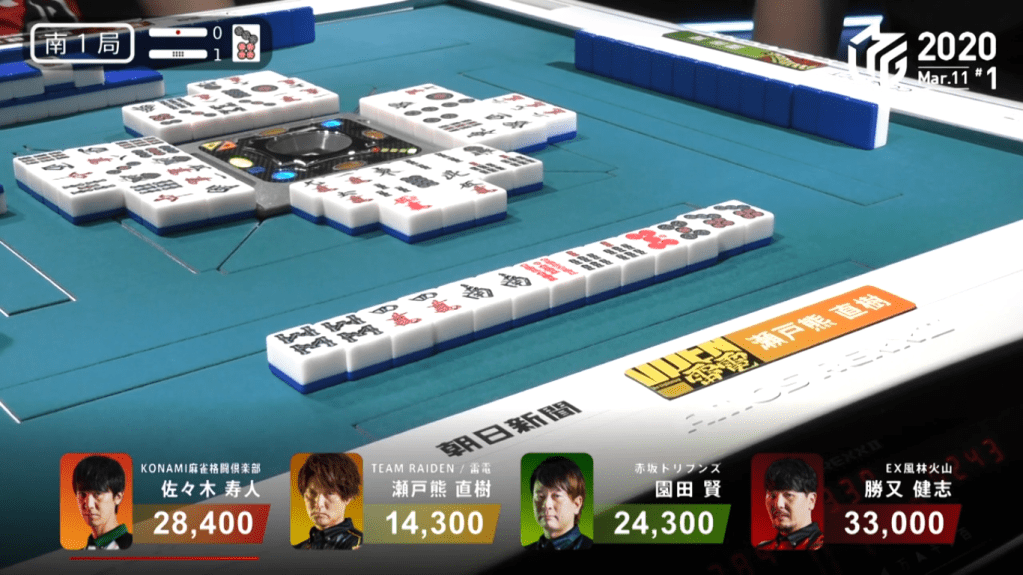
March 11, Game 1, S1-1
Video: https://abema.tv/video/episode/444-7_s30_p441
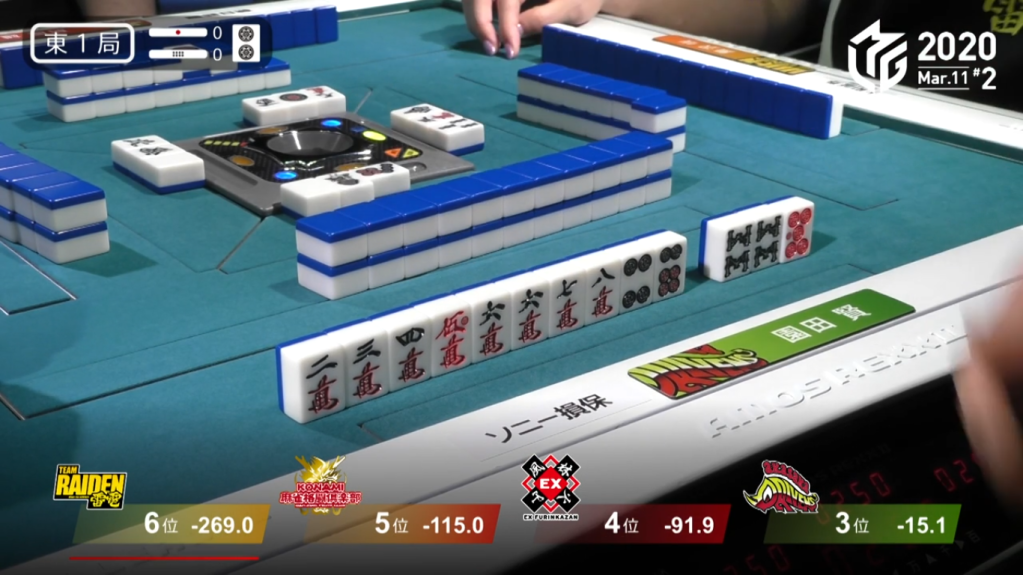
In S1-1, Setokuma is in last place and 10,000 points behind 3rd place. He starts out with a 2-shanten chiitoi hand with two dora and a red dora. On turn 2, he drew another red dora to bring his hand to 4 dora. At the start of the 2nd row, he draws a 5th pair to get him iishanten for chiitoi. As with most chiitoi hand, Setokuma was stuck at iishanten for many turns. However, near the start of the 3rd row, Setokuma draws a 6th pair to get to tenpai on a 5s tanki. With the hand already haneman, Setokuma decides to stay dama. Two turns later, dealer Sasaki draws and discards the 5s and deals into Setokuma. Setokuma wins the hand with Chiitoi/Dora 2/Aka 2 for 12,000. With the win, it send Setokuma to 2nd place.
No More Ura San
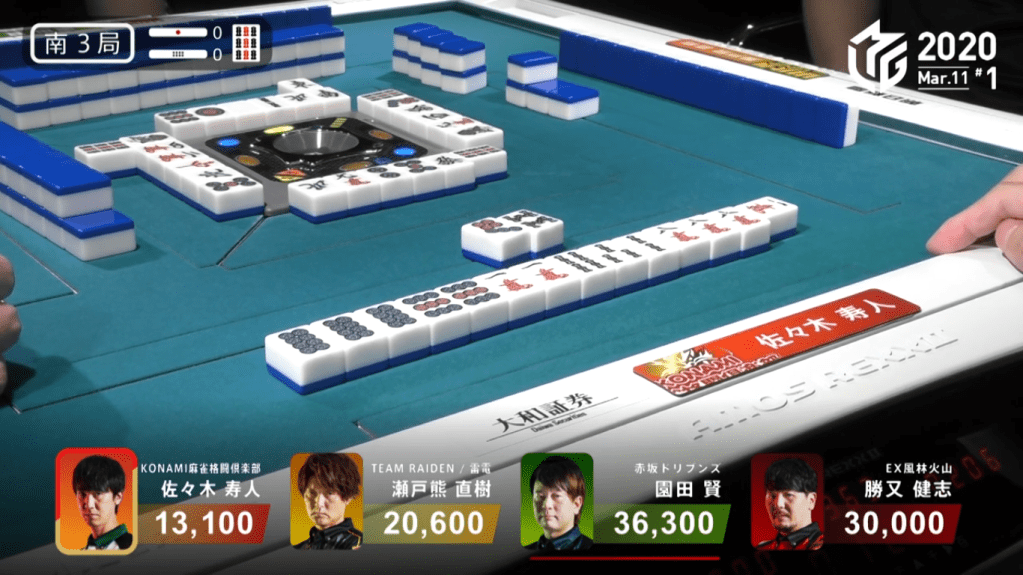
March 11, Game 1, S3-0
Video: https://abema.tv/video/episode/444-7_s30_p441
In S3-0, Sasaki is in 4th place and 7,500 behind 3rd place Setokuma. Sasaki starts out with a 4-shanten hand with no value in sight. Through the first row, he converts pairs to ankous and draws dora. By the end of the 1st row. he is already tenpai for a 1 han hand and calls riichi by discarding the dora and waiting on a 9p/1m shanpon wait. If he manages to get it by tsumo, he would also add sanankou to the mix for mangan. On Sasaki’s ippatsu draw, he gets his wish and draws his winning 1m. Revealing the 7p as the uradora indicator, it makes his 8p ankou into a three dora increase. Sasaki wins the hand with Riichi/Ippatsu/Tsumo/Sanankou/Ura 3 for 4,000/8,000. In an incredible turn of events, Sasaki manages to turn his 1 han hand to an 8 han hand and gets him to 1st place. He would later go on to win the game.
Sanmenchan vs. Tanki
March 11, Game 2, E1-0
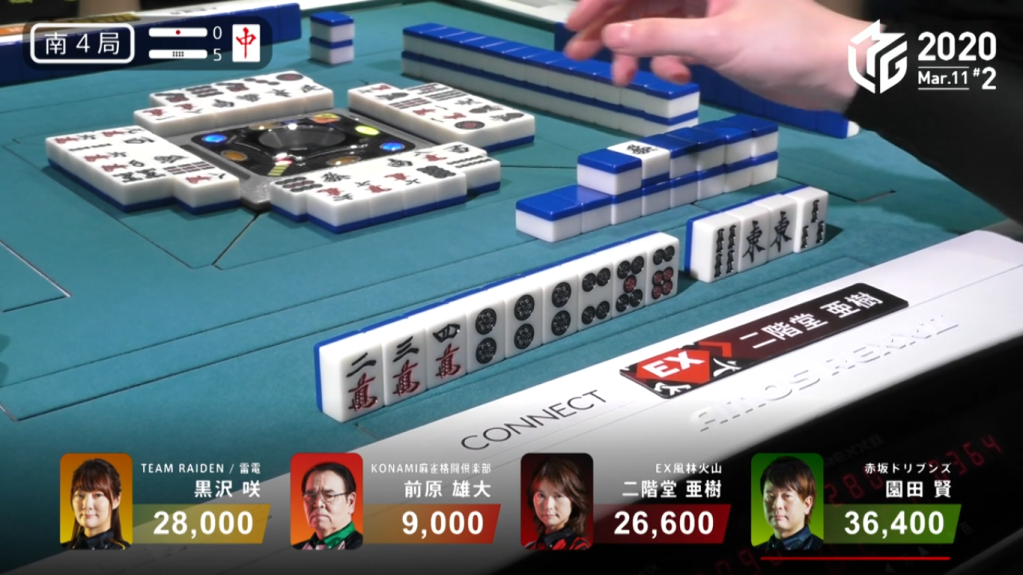
In E1-0, Kurosawa starts the game after a 4th place from Setokuma and knowing that the game may be the deciding factor on whether her team gets to the semifinals. She starts out as the dealer and holds a 3-shanten starting hand that looks like honitsu. Thought Kurosawa had a very good looking hand, Sonoda ruined the optimism when he called riichi on turn 3 on a 147 sanmenchan wait. With such an early riichi, Kurosawa started out by discarding her isolated honours. As Kurosawa continued to bail, she managed to make a pair in manzu and put her into iishanten for chiitoi. As she continued to half-push, she draws her 6th pair in the middle of the 2nd row. with the tenpai, she stays dama and waits on an 8p.
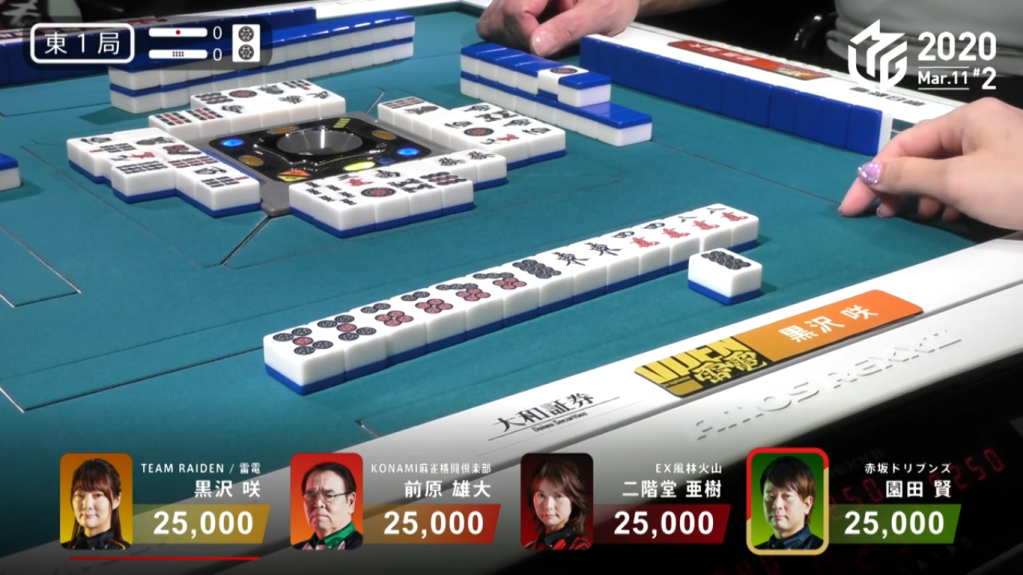
One turn later, she draws another 8p to beat out the sanmenchan and wins the hand. Kurosawa wins with Tsumo/Chiitoi for 1,600 all, plus Sonoda’s riichi stick.
South 4 Skirmishes
March 11, Game 2
Video: https://abema.tv/video/episode/444-7_s30_p443
In S4-2, Sonoda is in 3rd place as the dealer and 500 points away from falling into 4th place. He starts out with a chiitoi 3-shanten (4-shanten for a standard hand) with no value. Through the first row, his hand starts to turn into a pinzu honitsu hand, though his hand is still 4-shanten from it by the end of the row. In the 2nd row, he draws more pinzu made a call to get to iishanten. When Sonoda calls the red dragon, he gets to tenpai on a 1p/north shanpon wait. A few turns later, he draws the north to win the hand. Sonoda wins with Honitsu/Chanta/Red Dragon for 4,000+200 all and to put him into 2nd place.
In S4-3, Sonoda starts out with an iishanten hand with a chance at pinfu. By the end of the 1st row, he is still iishanten, but has confirmed pinfu as part of his hand. In the middle of the 2nd row, Sonoda gets to tenpai and calls riichi on a 47s ryanmen wait. With a dealer riichi, everyone struggled to put their hands together, even when they were still half-pushing. The hand ended in ryuukyoku with Sonoda the only one tenpai.
In S4-4, Sonoda has just taken the lead because of the ryuukyoku the previous hand, but is still 3,300 from dropping to 3rd. He starts out with a 4-shanten hand with no value. Through the first row, he draws some ryanmen and gets to 2-shanten from a pinfu opportunity by the end of the row. Near the end of the 2nd row, Sonoda gets to tenpai for his Pinfu/Iipeikou and stays dama on a 69m ryanmen wait. Soon after, Aki discards the 6m and deals into Sonoda. Sonoda wins the hand with Pinfu/Iipeikou for 2,900+1200 and takes back his riichi stick from the previous hand.
Video: https://abema.tv/video/episode/444-7_s30_p444
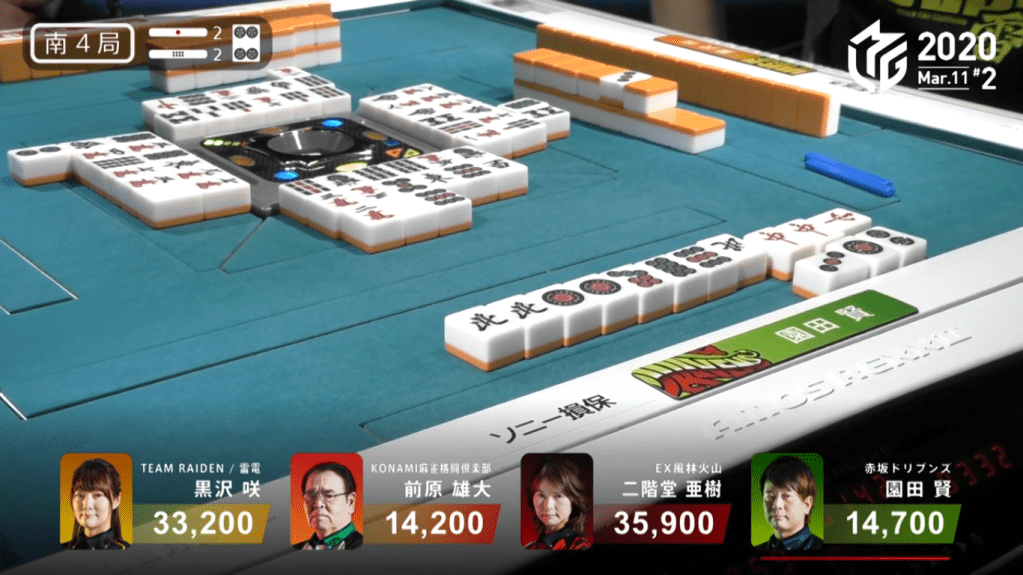
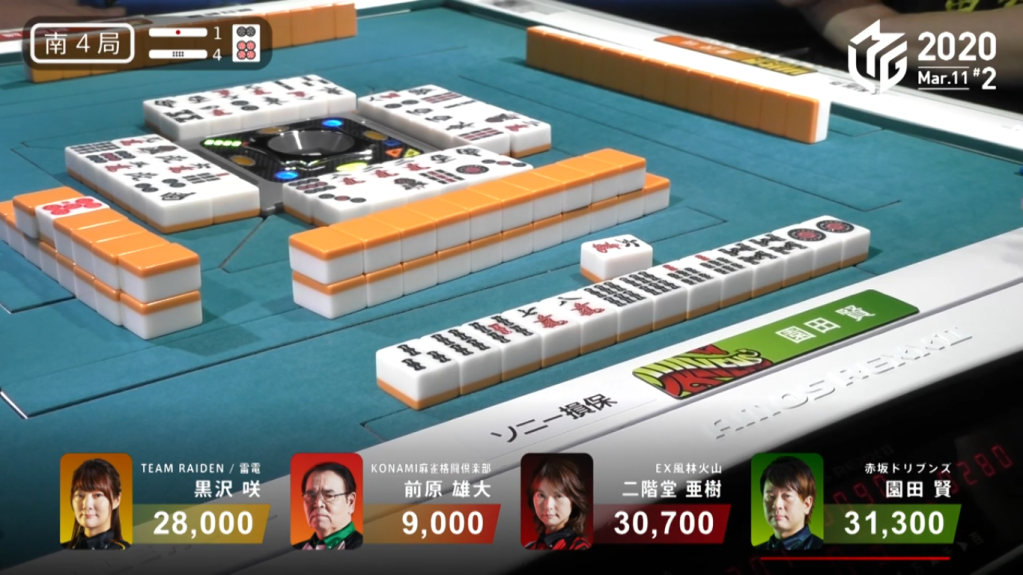
In S4-5, Sonoda is 8,400 ahead of 2nd place Kurosawa. Sonoda starts out with a 2-shanten hand, while Kurosawa starts out 4-shanten with a red dora and a red dragon dora. With Kurosawa needing a mangan to overtake Sonoda, she holds onto the lone red dragon through the first row. By the end of the row, Sonoda is still 2-shanten and Kurosawa has caught up to him with a 2-shanten hand of her own. At the start of the 2nd row, Kurosawa gets to iishanten and still holds onto the red dragon in case she can pair it up. Even as more efficient choices kept presenting themselves, Kurosawa kept choosing to hold the red dragon. Kurosawa’s slow speed took a tool, as it allowed Aki to catch up and call riichi on a 25s ryanmen wait near the end of the 2nd row. With the team being in a dangerous position in the standings, Kurosawa continued to push. Near the start of the 3rd row, Kurosawa’s red dragon gamble paid off, as she was able to pair it up to get to tenpai. However, she was furiten with her 47p ryanmen wait, meaning that her only chance is to get it by tsumo.

Two turns later, Kurosawa and the whole Raiden team got their wish, as Kurosawa drew the winning 7p to take the game. Kurosawa wins the hand with Tsumo/Dora 2/Aka 1 for 2,000+500/4,000+500, plus Aki’s riichi stick.
With the win, it gave Team Raiden +58.5 to put them in a good position to go to the playoffs. All that they could do is watch and wait for the results of Friday’s game to see if they move on.
Shiratori’s Rampage
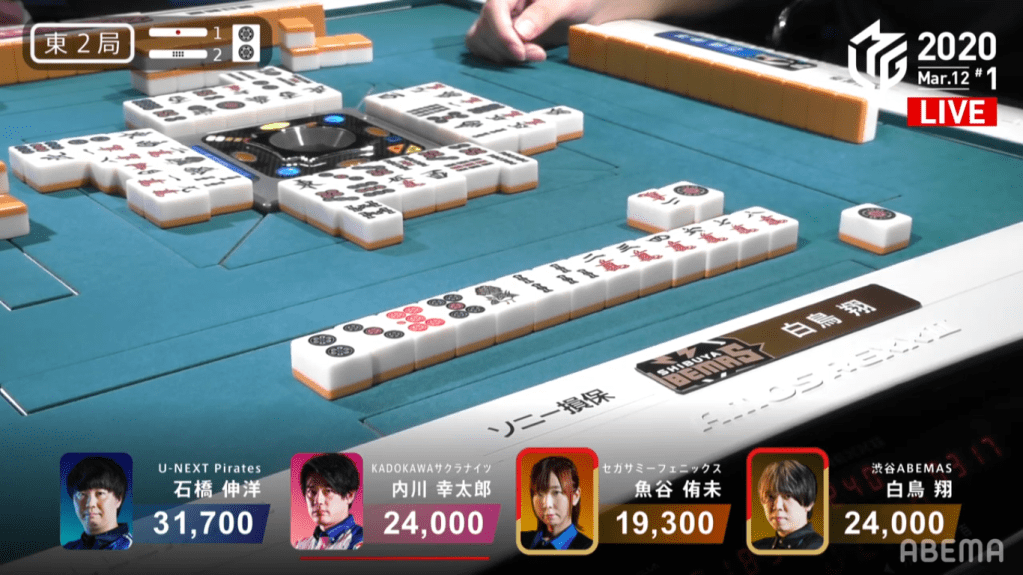
March 12, Game 1
In E2-2, Shiratori is trying to prevent the Kadokawa Sakura Knights from catching up to them in the standings and give them a bigger head start in the semifinals. He starts out with a 2-shanten hand with a dora and a red dora. On turn 3, Shiratori fills his only kanchan and has a ryanmen-ryanmen iishanten. As with a lot of iishanten hands, he had to wait a while to get to tenpai. In the middle of the 2nd row, Uotani calls riichi on a 36s/7s wait.
It wasn’t until near the end of the 2nd row, almost 10 turns since he got to iishanten, that Shiratori gets to tenpai and calls a chasing riichi on a 14p ryanmen wait for mangan minimum.
Near the start of the 3rd row, Shiratori draws his winning 1p to win the hand. Shiratori wins with Riichi/Tsumo/Pinfu/Dora 1/Aka 1/Ura 1 for 3,000/6,000 plus Uotani’s riichi stick to take the lead.
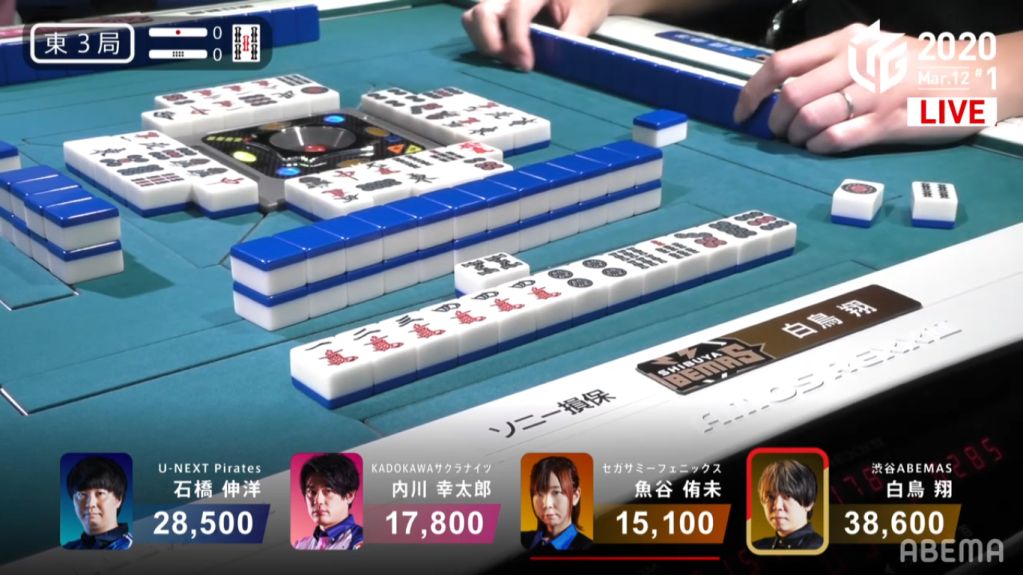
In E3-0, Shiratori starts out with a 3-shanten hand with a red dora. Drawing some ryanmen and making an ankou out of a pair, Shiratori manages to get to a perfect iishanten by the end of the 1st row. Two turns later, Shiratori gets to tenpai and calls riichi on a 58s ryanmen wait. With Uotani and the Sega Sammy Phoenix in a desperate situation to go for a big 1st place, Uotani pushes her hand. At the end of the 2nd row, Uotani discards the 8s and deals into Shiratori. Shiratori wins the hand with Riichi/Ura 2 for 5,200.
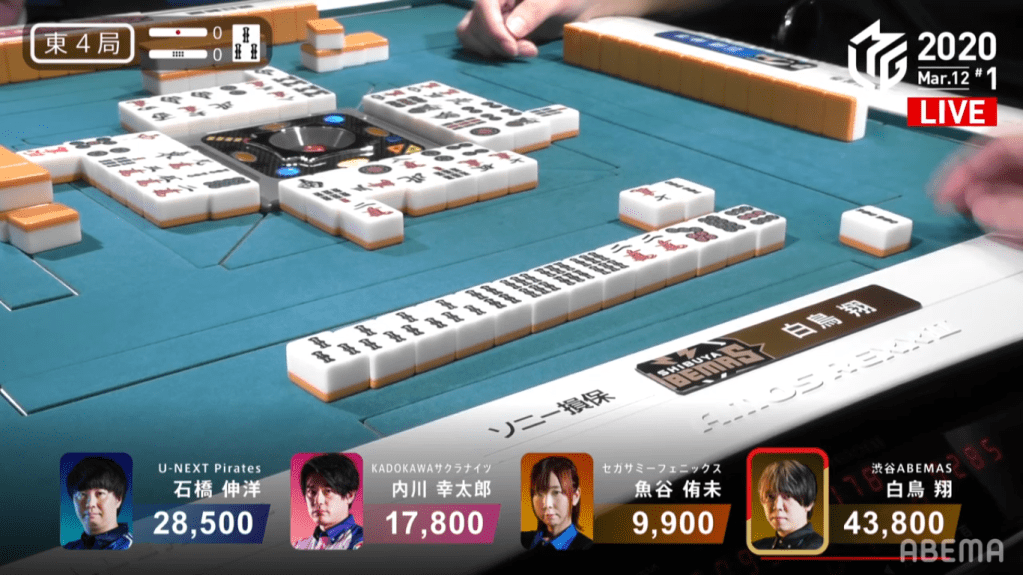
In E4-0, Shiratori is the dealer and starts out with all 4 of the 3s dora and 3-shanten. On turn 2, he fills in a kanchan and gets to iishanten by turn 4. Near the start of the 2nd row, Shiratori gets to tenpai and calls riichi on a 25s ryanmen wait. With the unknown state of the dealer riichi, even Uorani started to fold her hand. Near the start of the 3rd row, Shiratori draws his winning 2s to win the hand. Shiratori wins with Riichi/Tsumo/Dora 4 for 6,000 all. With the win, it brought his score above the 60,000 point mark and gave him the clear lead.
Never Give Up
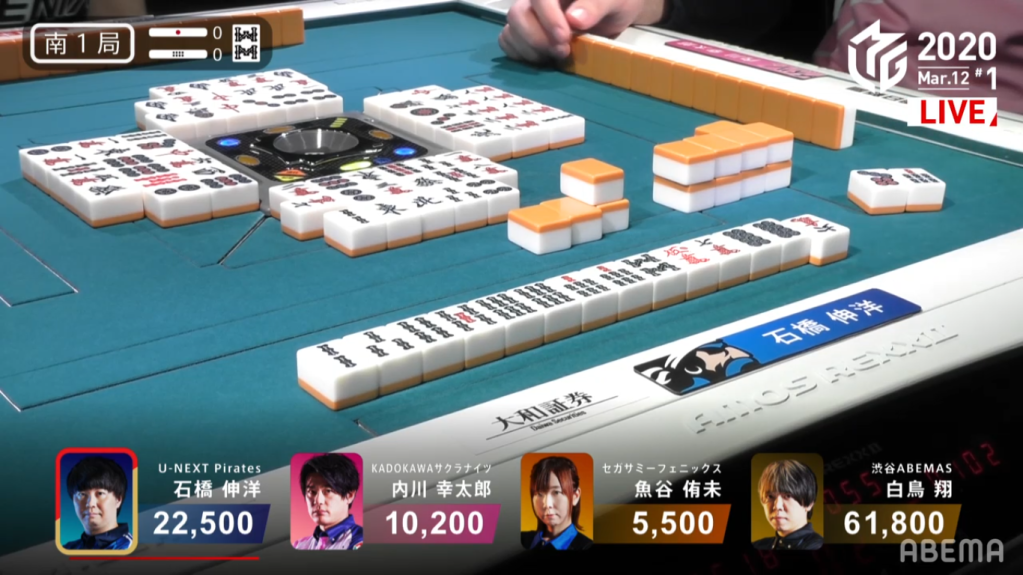
March 12, Game 1, S1-0
Video: https://abema.tv/video/episode/444-7_s30_p447
In S1-0, Ishibashi is in 2nd place and trying to chase Shiratori who is far in the lead. Ishibashi starts out with a 3-shanten hand (2-shanten fo chiitoi) with a regular dora and a red dora. On turn 2, he draws a 5th pair to get him iishanten for chiitoi. On turn 5, he rejects the prospect of chiitoi to take the faster iishanten for a standard hand. At the start of the 2nd row, Ishibashi draws to tenpai and calls riichi on a 6m kanchan wait for 7,700 minimum. With the danger of a dealer riichi, all the players started to fold their hands. With each draw, the Pirates fans were on the edge of their seat, knowing that their playoff chances hang in the balance with this hand. As the wall started to get smaller, the commentators counted how many more draws Ishibashi had left to find his winning tile. With each draw, they counted down and Ishibashi kept missing. With Ishibashi’s final draw, he finds his winning 6m to win the hand. Ishibashi wins the hand with Riichi/Tsumo/Tanyao/Dora 1/Aka 1/ura 1 for 6,000 all. With the hand it brought Ishibashi to 40,500, bringing him within 15,300 from 1st place.
By the end of the game, Ishibashi finished the game in 2nd place with 34,900pts. With a successful 2nd from Ishibashi, it was all up to Kobayashi to get a 35,700 1st place to get them in the playoffs.
Back-to-Back Mangan

March 12, Game 2
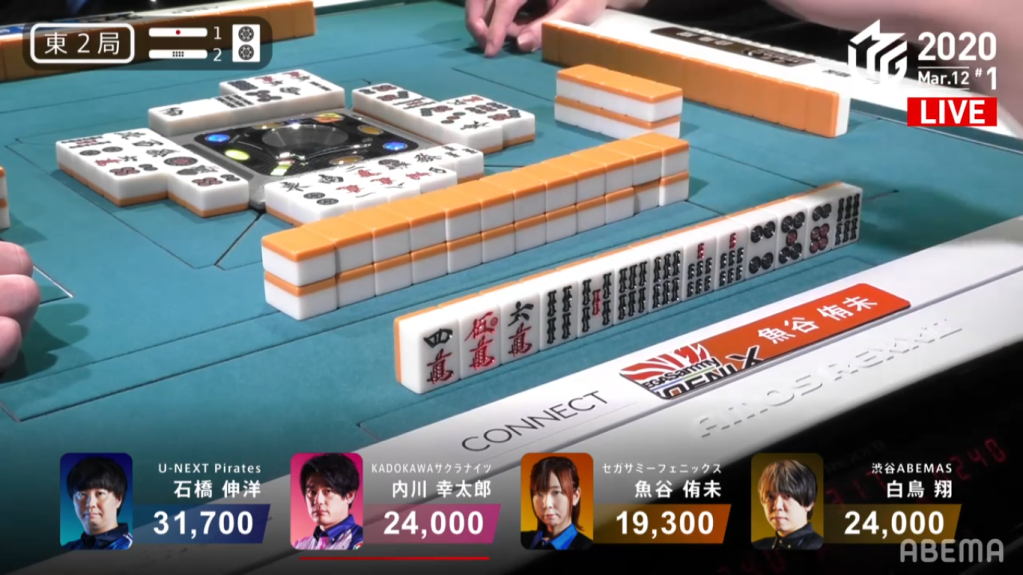
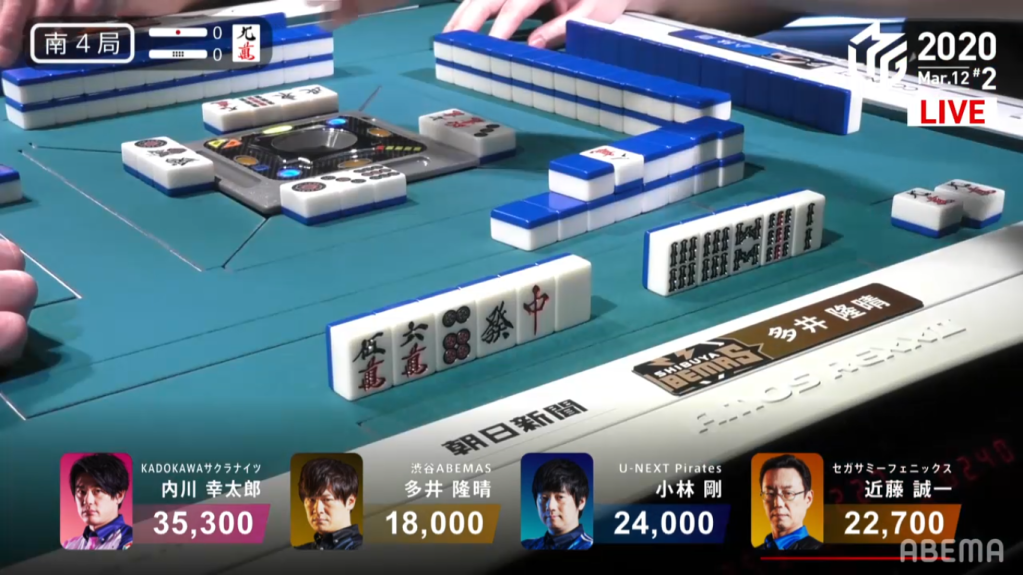
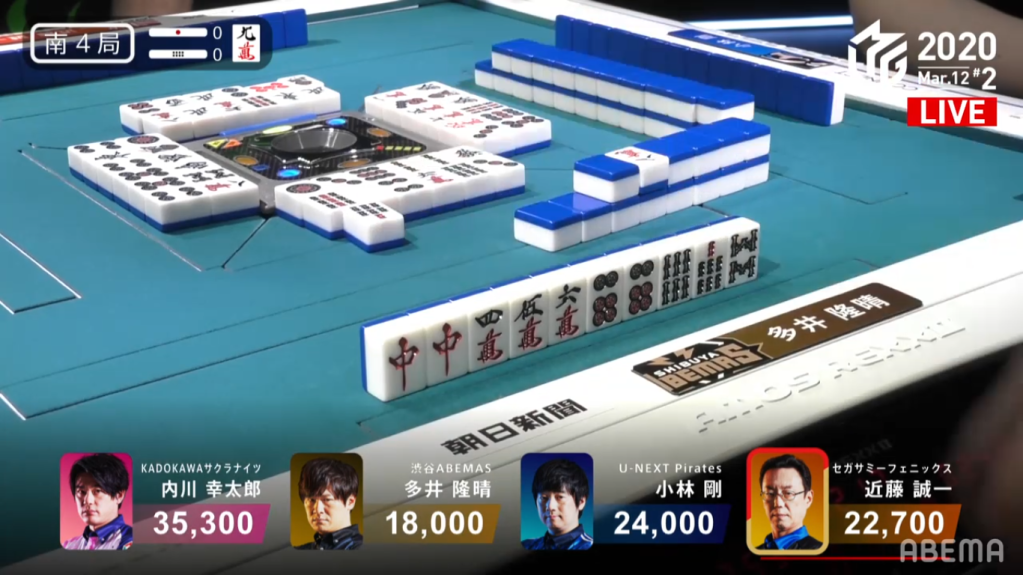
In E4-1, Kobayashi is in 4th place after dealing into two straight hands. With a playoff spot on the line, Kobayashi knows that he has to win the next hands in order to bring his team to the semis. He starts the hand with a pair of easts and souths at 4-shanten. Through the first few draws, he drew pinzu and honours, naturally bring his hand towards honitsu. When Kondo discards the white dragon, Kobayashi calls pon on it. Immediately after, Kondo discards the south and Kobayashi calls pon again. A few turns later, Kondo discards the east and Kobayashi makes his third honour pon. With the pon, it put Kobayashi into tenpai, waiting on a 7p kanchan.
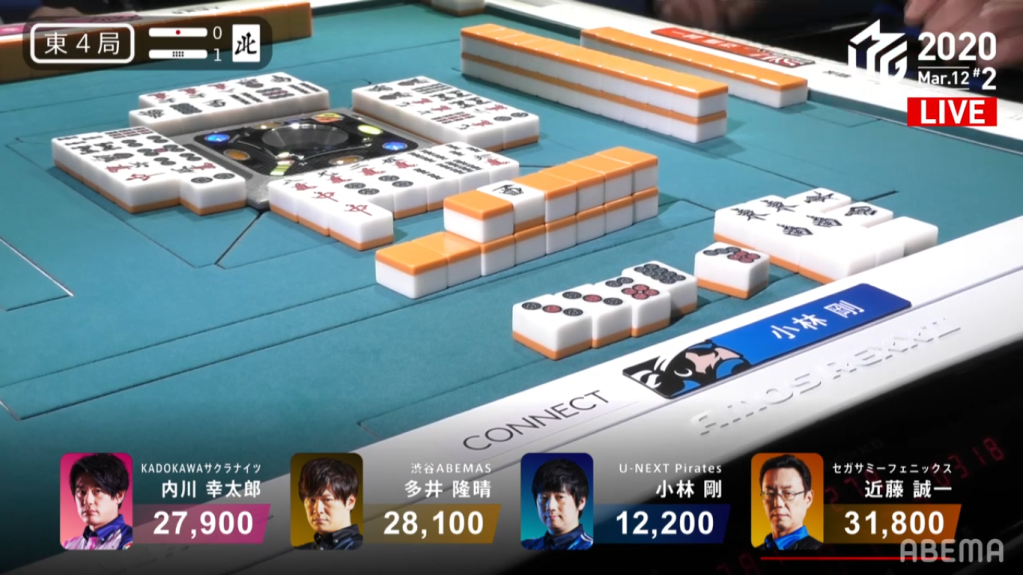
Near the start of the 3rd row, Kobayashi finds his winning 7p to win the hand. Kobayashi wins with Honitsu/East/White for 2,000+100/4,000+100. Though it didn’t change his placement, it did put him back in the running.
Video: https://abema.tv/video/episode/444-7_s30_p449
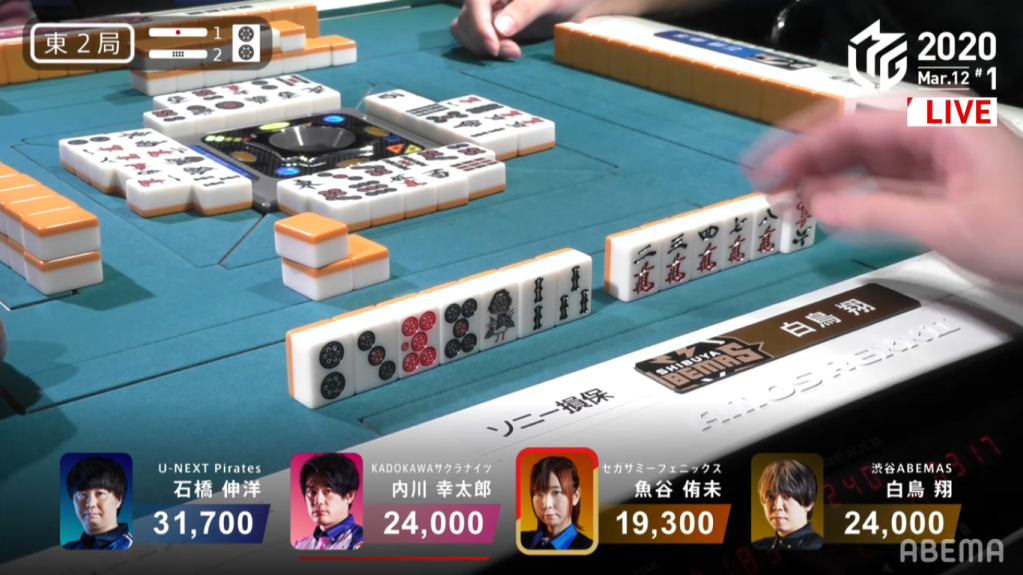
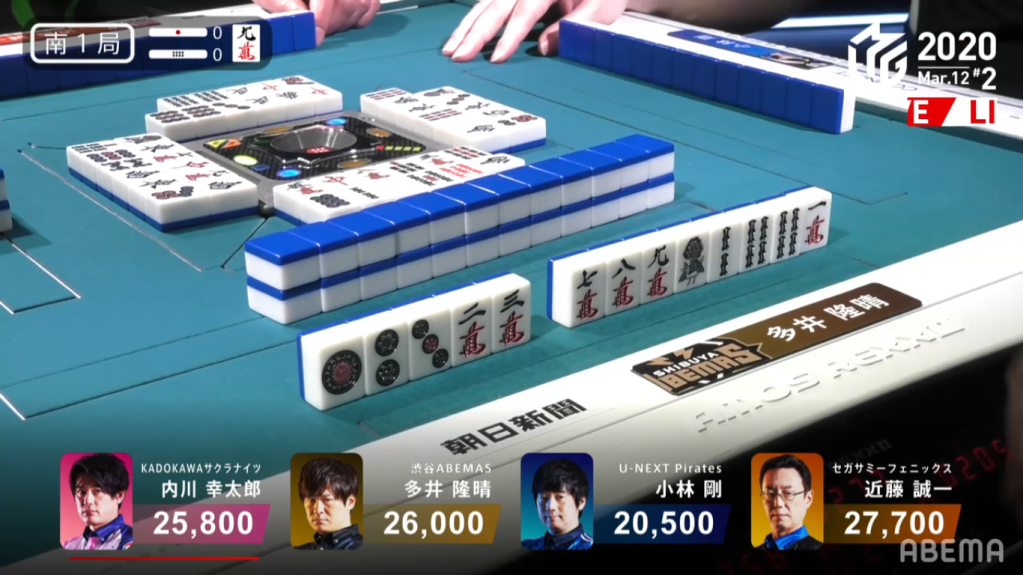
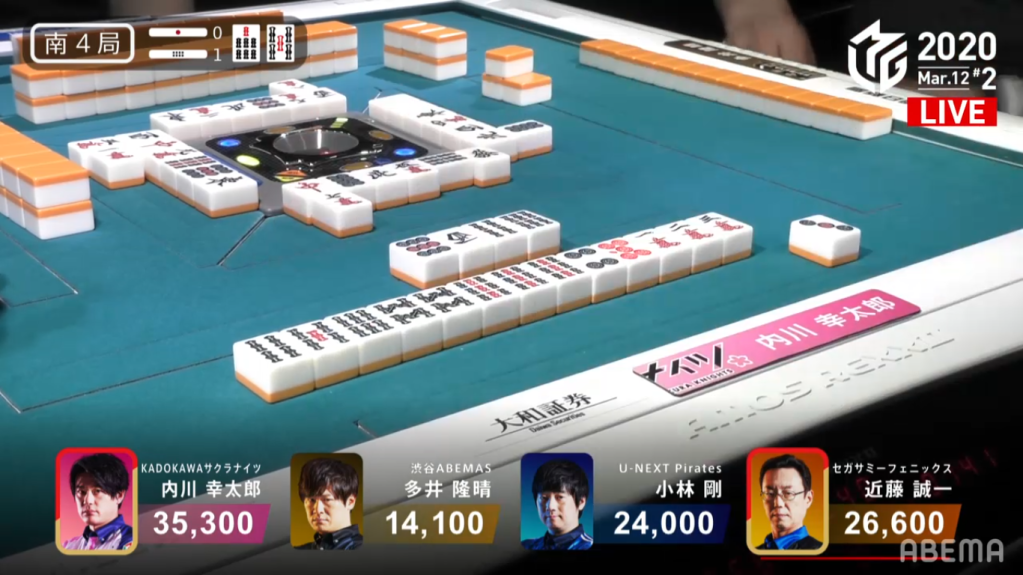
In S1-0, Kobayashi starts out with a 3-shanten hand with a red dora. Through the first row, Kobayashi switched his honours out for simple tiles, giving him the flexibility go for tanyao and/or pinfu. By the end of the 1st row, Kobayashi is 2-shanten. The very next turn, Kobayashi draws to iishanten. Near the end of the 2nd row, Kobayashi gets to tenpai and waits on a 3m kanchan for 5,200 minimum. While Pirates fans waited for the 3m to be found, all the others closely watched their own players. Soon after Kobayashi got to tenpai, Ooi got to tenpai and called riichi on a 3s penchan wait for mangan minimum. With the importance of the game, Kobayashi held the line and kept pushing.
A few turns later, Uchikawa draws to tenpai with sanankou and waits on a dama 36m wait.
Soon after Uchikawa gets to tenpai, Kobayashi is able to draw the 3m he was searching for to win the hand. Kobayashi wins the hand with Tsumo/Tanyao/Iipeikou/Aka 1 for 2,000/4,000, plus Ooi’s riichi stick. With the win, it put Kobayashi into 1st place and within 6,200 of the 35,700 he was searching for.
The Final South 4
March 12, Game 2
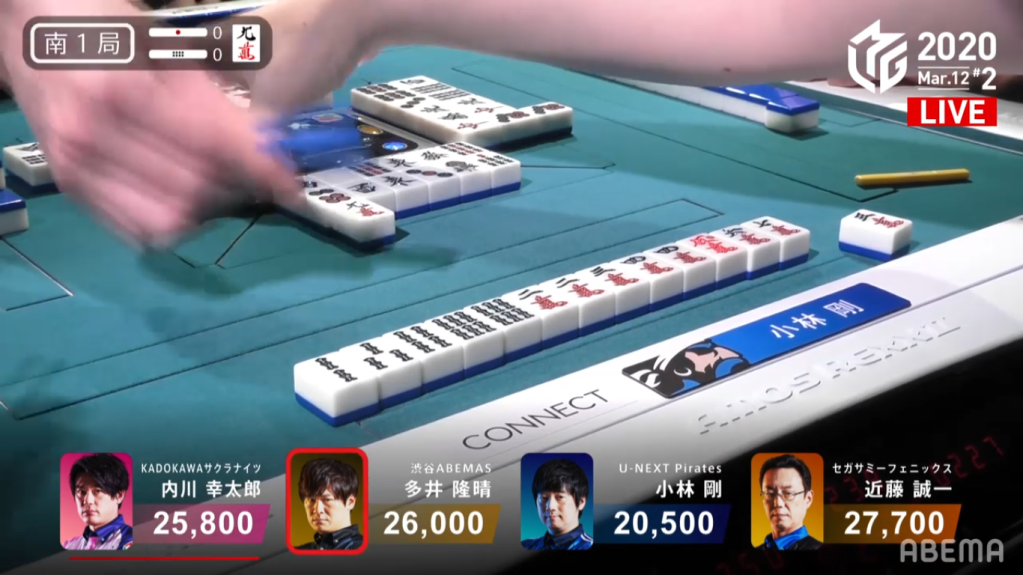
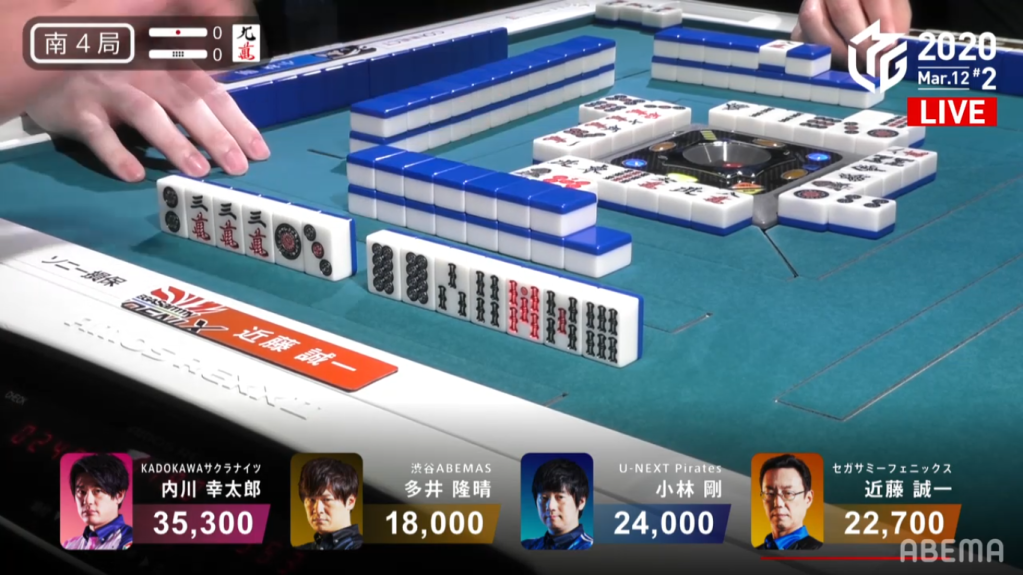
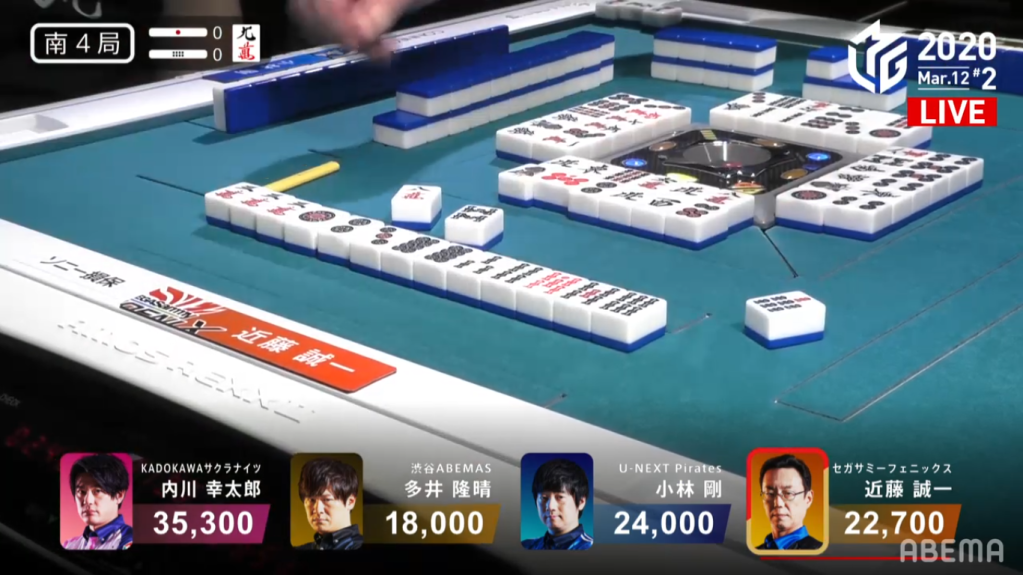
In S4-0, U-Next Pirates fans and Team Raiden fans around the world watched as their team’s fate was about to be decided. With Kobayashi being 11,700 from the 35,700 he wants, he would need to get a haneman to make the semis. Kobayashi starts out with one hands possible, being 5-shanten and only holding a red dora for value. With Kobayashi’s hand being a lost cause, the fans Looked at Kondo’s hand for safety. If dealer Kondo wins off of another player or or Kondo calls riichi and the hand goes to ryuukyoku, then Kobayashi is still within haneman range in S4-1. With Kondo’s hand being 3-shanten by turn 2, Pirates fans still had hope. There is trouble early for both Kondo and Kobayashi, as Ooi calls pon on the 9m dora to rush his hand. By turn 4, Kondo was already iishanten for a 3 han hand.
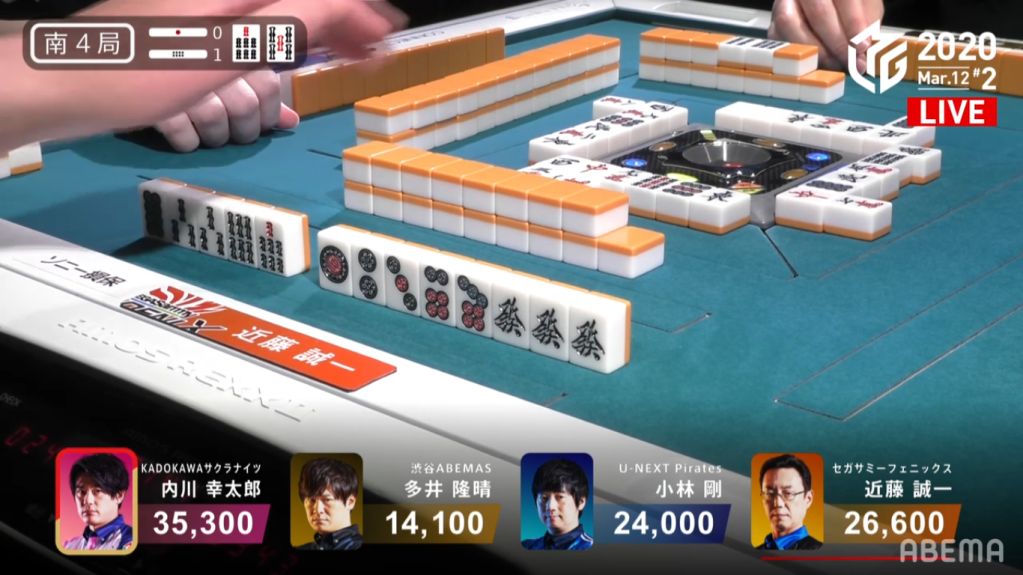
Near the start of the 2nd row, Kondo gets to tenpai and calls riichi on a 47s ryanmen wait by throwing a red 5. With Ooi continuing to push as he tried to get out of 4th, it was worrying for Pirates fans. Near the end of the 2nd row, Ooi draws a 7s to get to tenpai on a red dragon/6p wait, with the red dragon being the only tile that it can get a yaku with.
When Ooi draws an extra 7s, he discards it and deals into Kondo.
Kondo wins the hand with Riichi/Aka 1 for 3,900 and brings the game to S4-1 to give Kobayashi another chance.
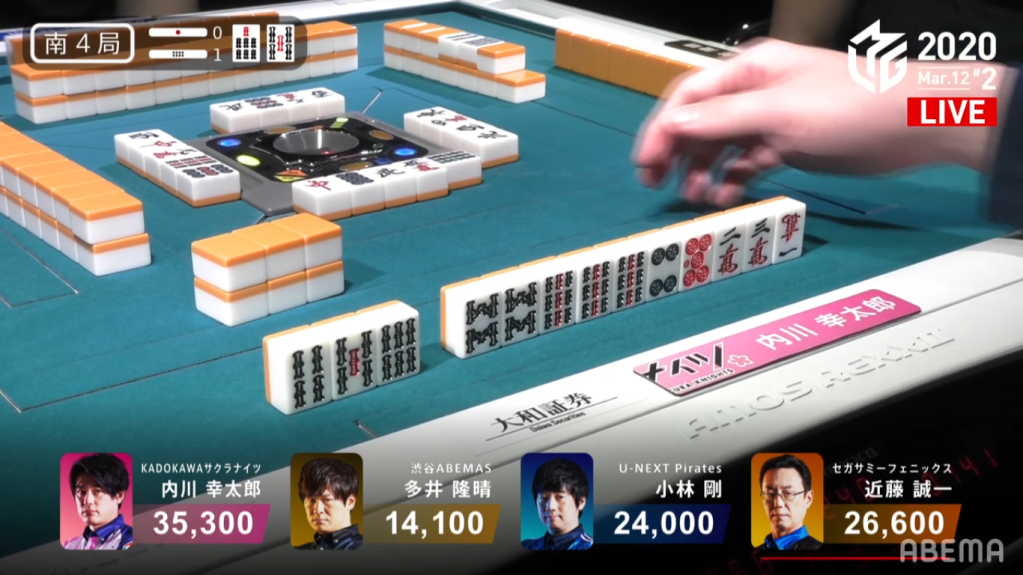
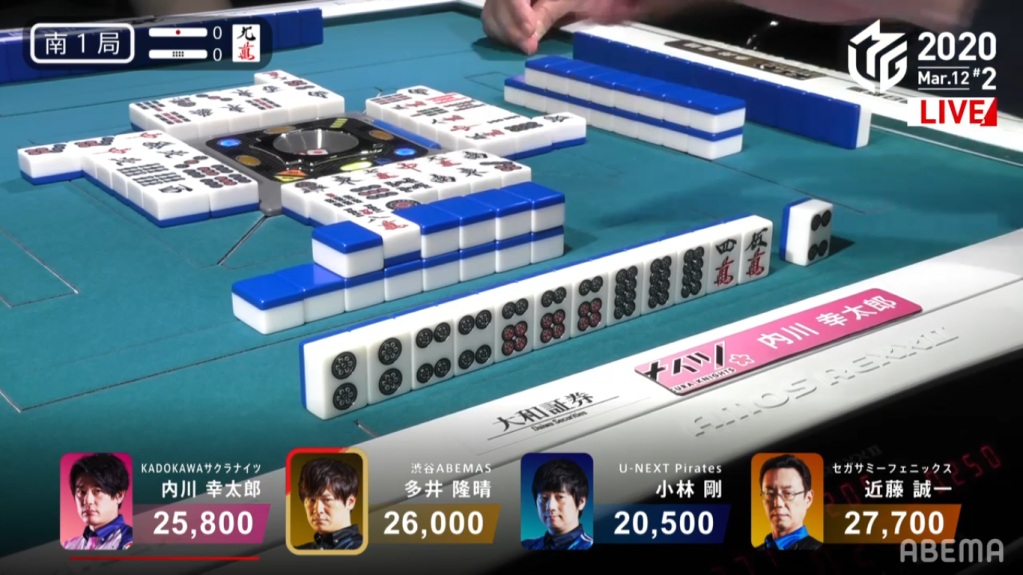
In S4-1, Kobayashi is still looking for a haneman to get his team to the semis. Before we even see Kobayashi’s starting hand, we see that Uchikawa is already 2-shanten with a good chance at a ryanmen wait. When we do see Kobayashi’s starting hand, we notice that he’s 4-shanten holding 4 souths as his sole value. In order to try to get closer to tenpai and add potential value to his hand, he calls kan on the south. The kandora made Kobayashi’s lone 5s a dora, but it still isn’t enough for haneman. None of Kobayashi’s draws helped his cause, making it frustrating. On turn 5, Uchikawa was already tenpai and called riichi on a 36p ryanmen wait. As Kobayashi’s hand was painfully slow, we looked again at Kondo’s hand. Kondo continued to push his hand and was iishanten by the start of the 2nd row.
A turn later, Kondo gets to tenpai and calls riichi on a 58s ryanmen wait.
However, immediately after, Uchikawa draws his winning 3p to end the Pirates’ and Phoenix’s M-League 2020 journey. Uchikawa wins the hand with Riichi/Tsumo/Dora 1/Aka 1 for 2,000+100/4,000+100 to win the game.
