
Highlights
Takizawa’s Triumphs
April 27, Game 1
Going into the games on April 27, Takizawa knew that his hand his teammates’ M-League careers are on the line. Being in 5th place, Takizawa knew that they needed to get into 4th place or better in the standings so that they don’t get taken off the team. And boy, did he come through.
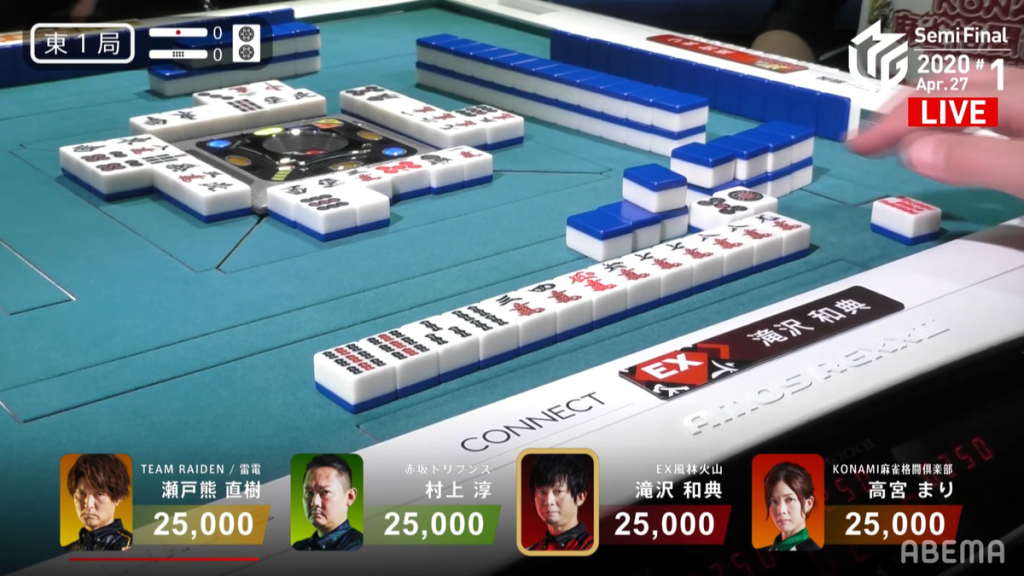
In E1-0, Takizawa starts out with an iishanten hand that has a chance to be a double riichi. The double riichi misses, but the good hand does help him quite a bit. On turn 4, Takizawa gets to tenpai and calls riichi on a 25s ryanmen wait. The hand went quite straightforward, with Takizawa drawing the red 5s in the middle of the 2nd row. Takizawa wins the hand with Riichi/Tsumo/Pinfu/Aka 2 for 2,000/4,000.
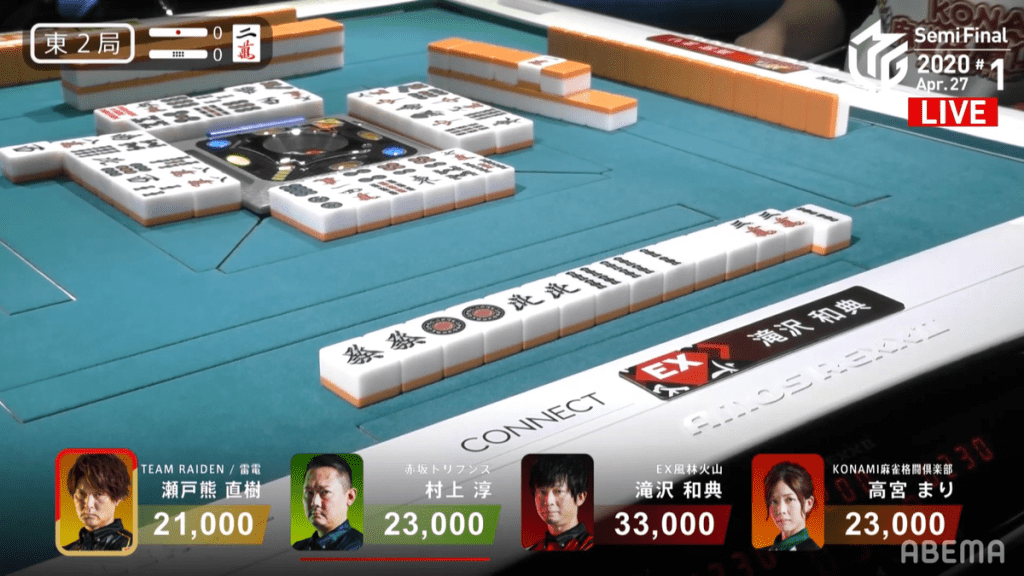
In E2-0, Takizawa starts out with 4 pairs, including a pair of green dragons and a norths. With the generally slow hands all around, allowing Takizawa to develop his chiitoi hand. The first player to get to tenpai is Setokuma, who calls riichi on a 3m penchan in the middle of the 2nd row. Immediately after, Takizawa gets to tenpai and waits dama on an 8s tanki. He later switches to a 5s, then a 2s. At the start of the 3rd row, Takizawa draws another 2s to win the hand. Takizawa wins with Tsumo/Chiitoi for 800/1,600, plus Setokuma’s riichi stick.
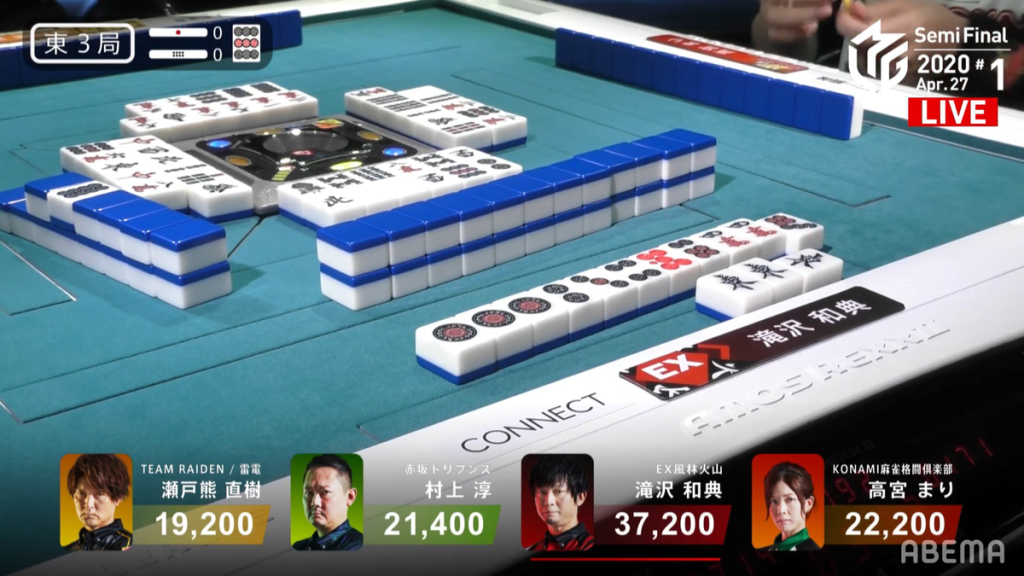
In E3-0, Takizawa makes an early pon of the double to get to iishanten. Though he had a choice to push for honitsu, he took a direct path to a 3-han hand and ended up tenpai on a 147p wait by the end of the 2nd row. At the start of the 3rd row, Takizawa draws the 7p to win the hand. Takizawa wins with Double East/Aka 1 for 2,600 all. With the win, it puts him over the 40,000 mark and gives him a more than 25,000 point buffer between him and 2nd place.
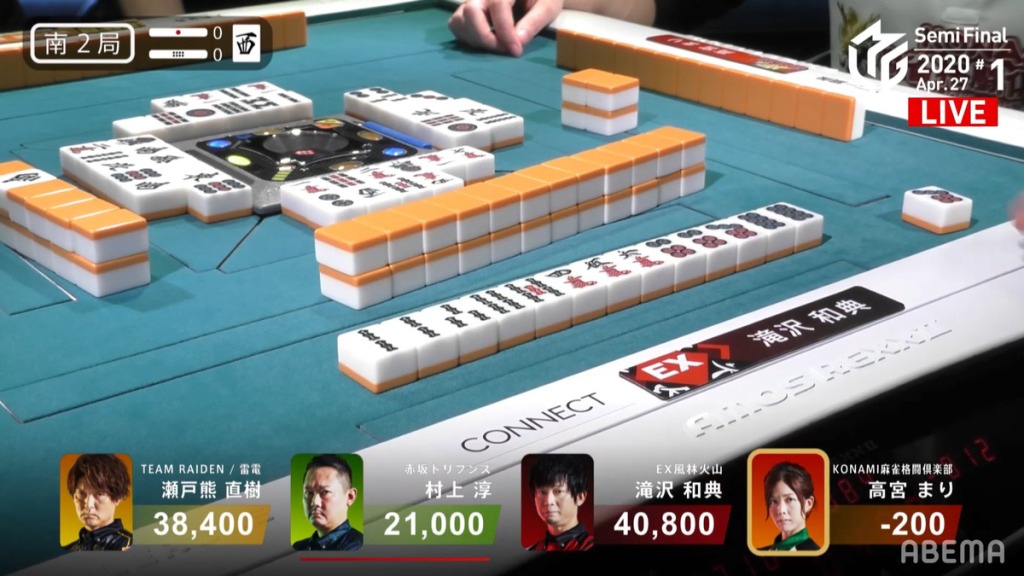
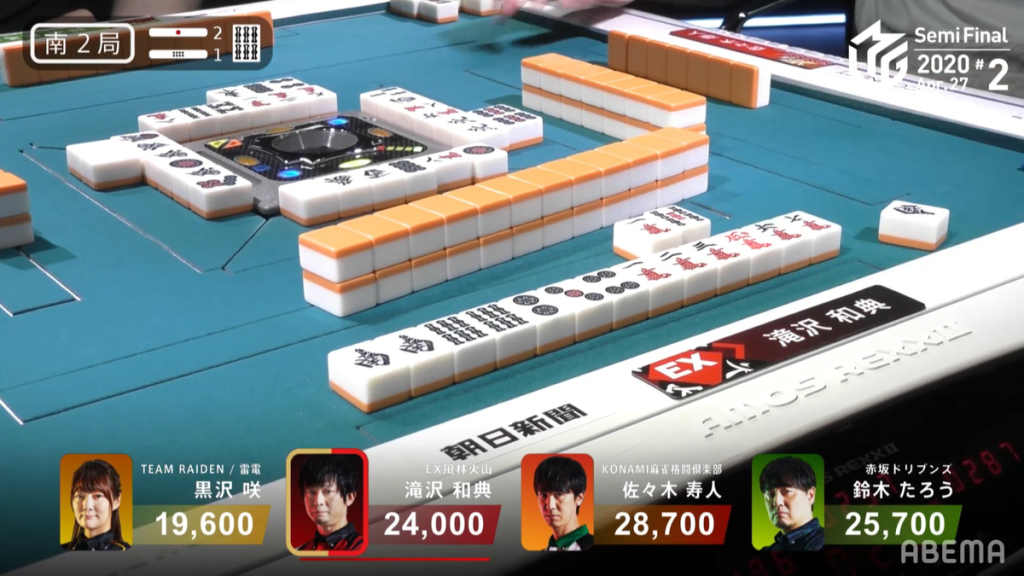
Skipping forward to S2-0, Takizawa is in 1st place, but 2nd place Setokuma is only 2,400 away. At the start of the hand, it doesn’t look like Takizawa was going to win the hand, as Takamiya starts out with a chiitoi iishanten by turn 5. In the middle of the 2nd row, Takamiya gets to tenpai on a 7p tanki. Takizawa manages to sculpt his hand and gets to tenpai on a 7p kanchan as well. See the movement around the table, Takamiya decides that the 7p is a good enough wait and calls riichi at the end of the 2nd row. However, within the first go-aound, Takizawa draws the 7p to win a Tsumo/Tanyao/Iipeikou hand for 1,000/2,000.
With these four hands, it gave Takizawa enough points in order to take 1st place, earning +60.1 for the team. That win puts the team 51.3pts from 4th place.
Takizawa’s Triumphs (Again!)

April 27, Game 2
After solidly winning the previous game, the EX Furinkazan put their trust in Takizawa once again to play in the 2nd game.
After winning a 1,500 point hand in E2-0 and subsequently dealing into a mangan in E2-1, Takizawa starts to build up speed in E4-1. In this hand Takizawa stays closed in order to try to get some points with riichi. By the end of the 2nd row, Takizawa calls riichi and waits on a 369m sanmenchan wait. Three turns later, Takizawa draws the winning 6m for Riichi/Tsumo/Pinfu/Tanyao/Aka 1 for 2,000+100/4,000+100, plus the riichi stick from the previous hand. The mangan brought Takizawa up from 4th to 3rd.
Going to S2-1, Takizawa is the dealer and looking to capitalize on the opportunity. With a pair of dora, a red dora and a pair of souths at 2-shanten, his hand looks very promising. Looking to take the 2,300 in sticks and wanting to prevent Takizawa from going on a dealer rampage, Sasaki makes a quick pon of the red dragon and draws a dora to give him a mangan potential hand. Even after another chii from Sasaki and a pon from Taro, Takizawa gets to tenpai before the open hands and calls riichi on a 6s/south shanpon wait. Two turns later, Takizawa draws the south to win the hand. Takizawa wins with Riichi/Tsumo/South/Dora 2/Aka 1 for 6,000+100 all, plus the two riichi stick from the hand before. With the win it puts Takizawa over the 40,000 mark and in a comfortable 1st place.
These two hands were the driving factors in Takizawa 2nd win in as many games. Takizawa earned the team a total of 123.4pts and brought the team up to 4th place with 2 more games for the team to play.
Master Matsumoto
April 29, Game 2, E1-1
Video: https://abema.tv/video/episode/444-7_s30_p558
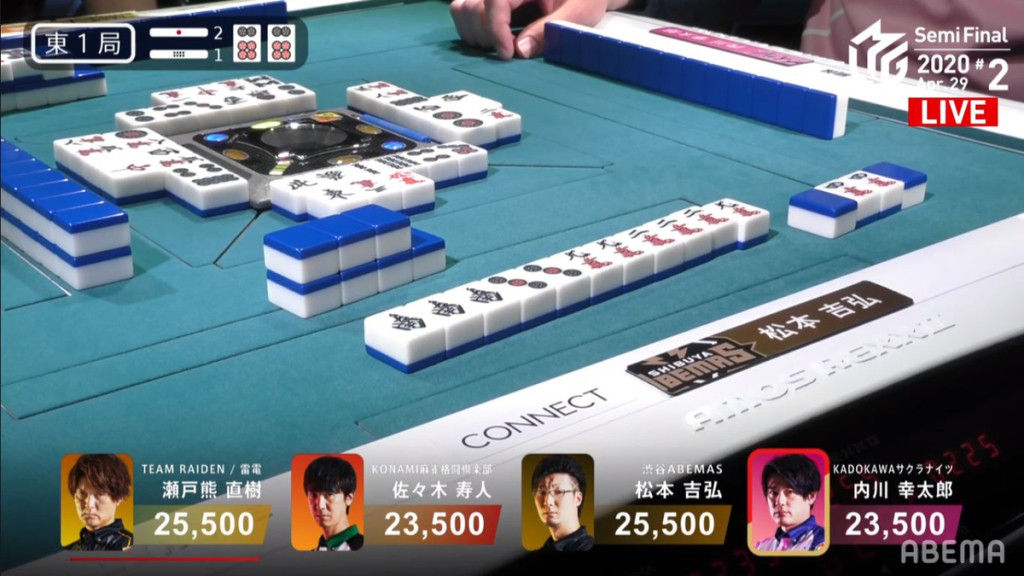
In E1-1, everyone starts out with interesting hands. Setokuma, the dealer, has an ankou of norths, Sasaki has pair of red dragons, Matsumoto has an ankou of souths and Uchikawa is 2-shanten with dora. By the end of the 1st row, Sasaki is iishanten with a honitsu and chiitoi hand, while Matsumoto is iishanten for toitoi with a chance at suuankou. In the 2nd row, Matsumoto calls an ankan to get an extra draw. His gamble succeeds and he gets to tenpai on a 9m/3p shanpon wait, staying dama. However, the kan also makes Uchikawa’s 6p a double dora, giving him incentive to push and calls riichi on a 47p ryanmen wait. As we see everyone’s hand, we see that Matsumoto’s only chance at the suuankou is to draw the last 9m himself. In the middle of the 2nd row, Matsumoto draw that last 9m and wins the hand with a suuankou for 8,000+100/16,000+100. This suuankou is the 2nd suuankou for Matsumoto this year and makes him the 2nd person in M-League history to get two yakuman (the other one being Uotani Yuumi).
An Unfortunate Houtei
April 29, Game 2, S4-1
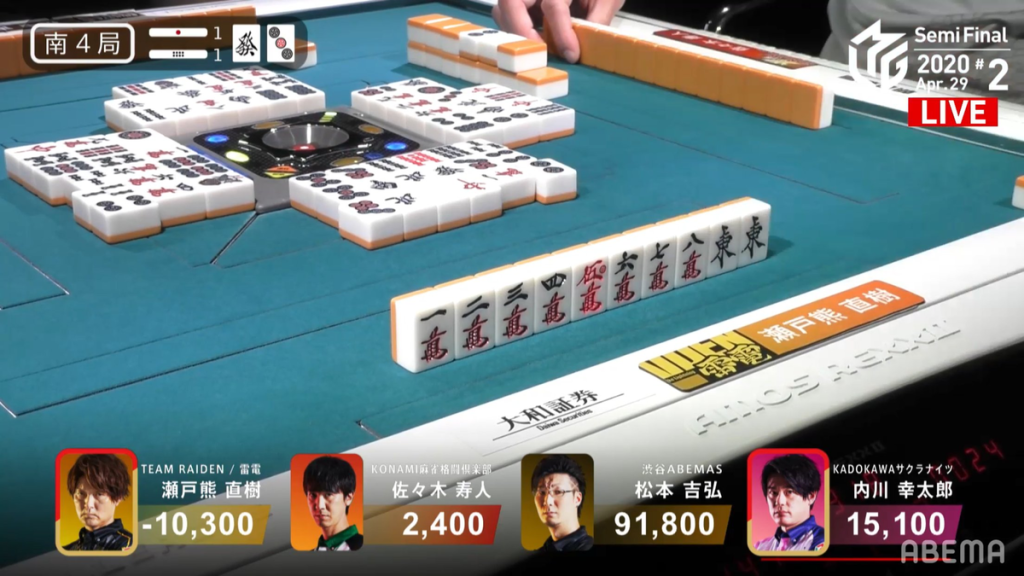
In S4-1, Setokuma is trying desperately to get a good result for his team. He is already at -10,300 after suffering from the dealer penalty of Matsumoto’s suuankou and a few other mishaps. Being 12,700 from 3rd place Sasaki and there being a riichi stick and one honba on the table, a haneman is just enough for him to maintain his dignity. He starts out his hand at 2-shanten. The wall isn’t too kind to him, as he struggles to get closer to tenpai. Setokuma does call an ankan on the wests in the 2nd row, but it wasn’t much help. Looking at Matsumoto, he is within a mangan away of beating Sasaki’s all-time score record of 98,200. With an open Junchan/Sanshoku/Dora 1, he would achieve that success. In the 3rd row, Matsumoto is tenpai on the 2p kanchan. While our focus was on Setokuma and Matsumoto, it was actually Uchikawa that we had pay attention to. Soon after Matsumoto got to tenpai, Uchikawa calls riichi on a 25p ryanmen wait. With a dealer riichi, Matsumoto decides to fold, but Setokuma keeps going. On Setokuma’s 2nd-to-last draw, he gets to tenpai and calls riichi on a 369m sanmenchan wait with honitsu and the 9m giving ittsuu. With the last ippatsu draw lining up for haitei, it seemed like the perfect change. Unfortunately, Setokuma draws the 2p and deals the houtei to Uchikawa.
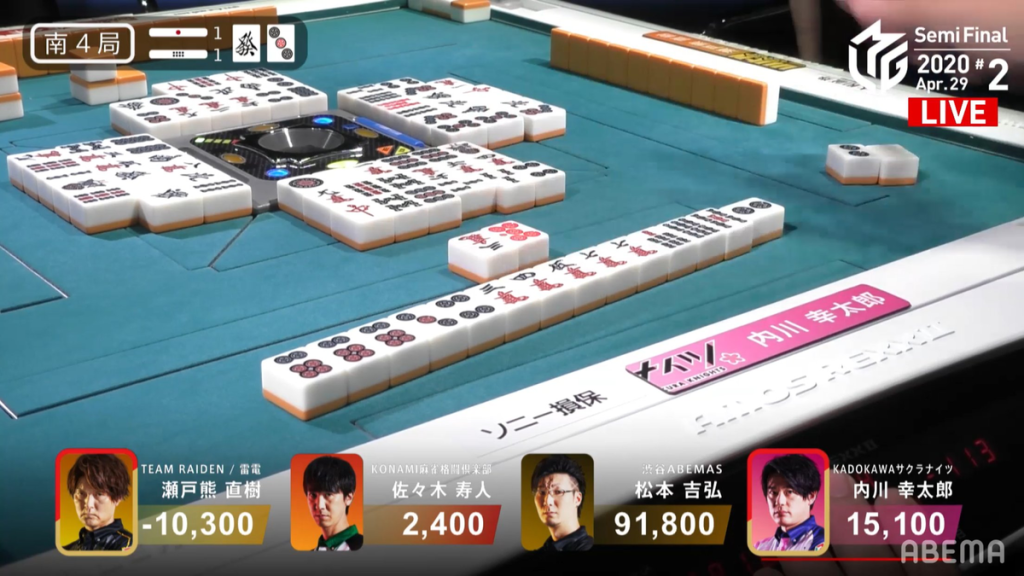
Uchikawa wins the hand with Riichi/Tanyao/Houtei/Dora 1/Ura 4 for 24,0000+300, plus Setokuma’s riichi stick.
Setokuma ended up losing the game with a score of -35,600. The previous record for lowest score was by Takizawa back in 2019.
EX Furinkazan’s 11th Hour
April 30, Game 2
After an unfortunate 7,700 deal-in after a textbook riichi and a South 4 dama mangan deal-in while trying to get out of last caused Takizawa to lose the first game, Katsumata was sent out to get the EX Furinkazan into the finals. Being only 9.2pts ahead of the Konami Mahjong Fight Club, the team needed a 1st place, a 10,800 or higher 2nd place or a 30,800 or higher 3rd place. If the team fails to make it to the finals, all three of them will be dropped by the team. Katsumata Kenji will be the one to decide the fate of his own career and that of his teammmates.
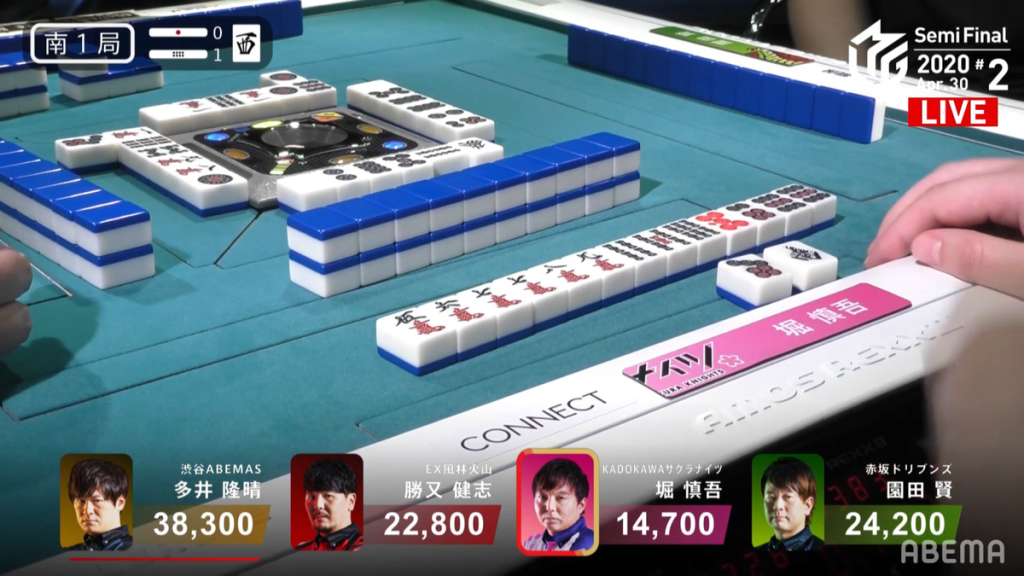
Fast-forwarding to S1-1, Katsumata is currently in 3rd place with 22,800. Though Katsumata tries his hardest to get a good hand, he is unable to challenge a turn 5 riichi from Hori. With no safe tiles left in hand by the start of the 2nd row, Katsumata discards the 7p since Hori had previously discarded an 8p and 5p prior to the riichi. Unfortunately it deals into Hori’s 47p ryanmen wait and gets a Riichi/Pinfu/Aka 1 hand for 3,900 points. WIth the deal-in, Katsumata drops to 4th place.
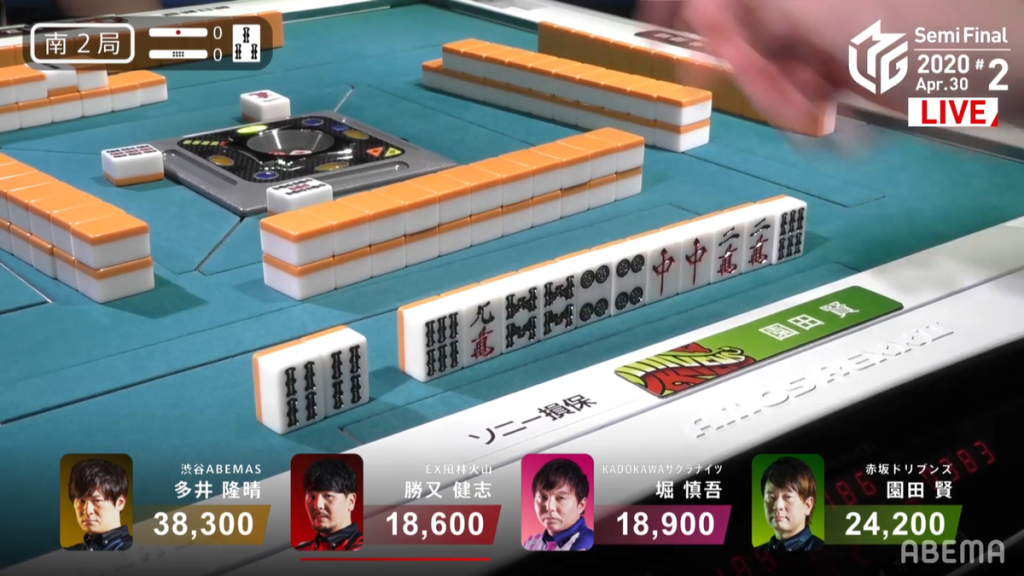
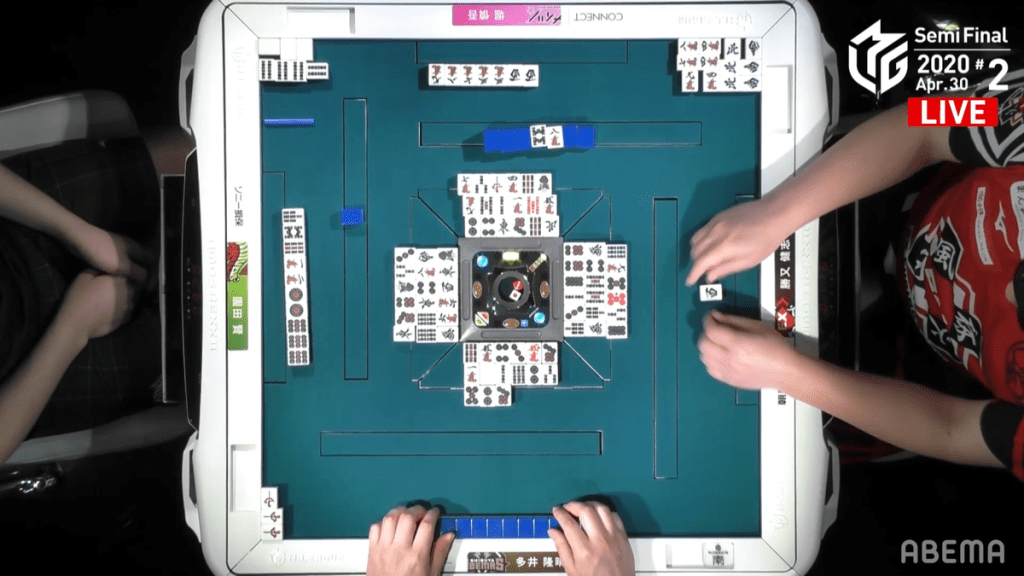
In S2-0, Katsumata is the dealer and is his last opportunity to get some really big points. Taking everyone by surprise, Sonoda calls riichi on the very first turn, waiting on a 9m tanki for chiitoi. Ruining absolutely every chance for Katsumata to make a comeback, he tries to push but eventually folds his hand when there are too many dangerous tiles.
S2-0 ends up a ryuukyoku (an unfortunate results for Sonoda) with only Sonoda tenpai.
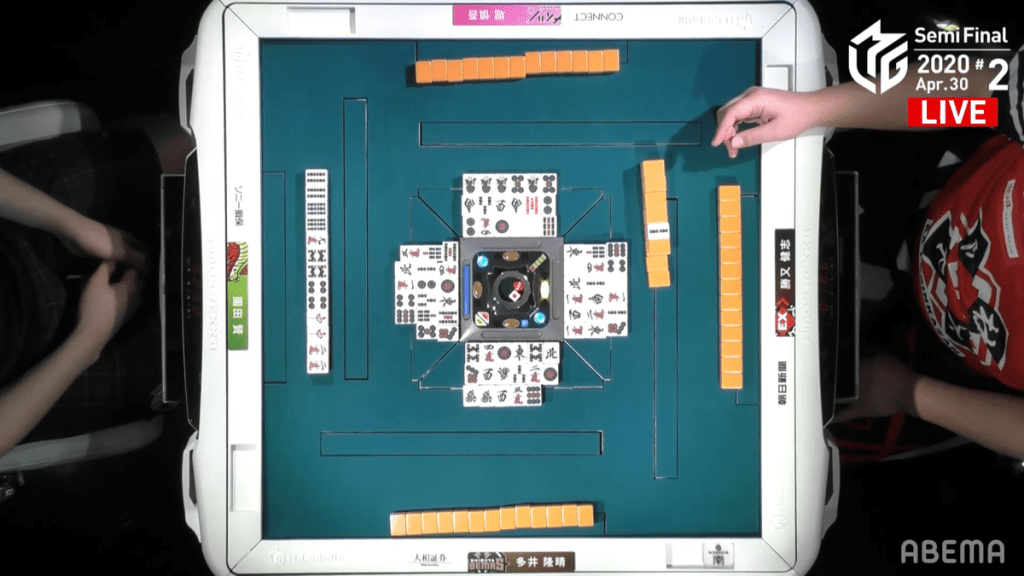
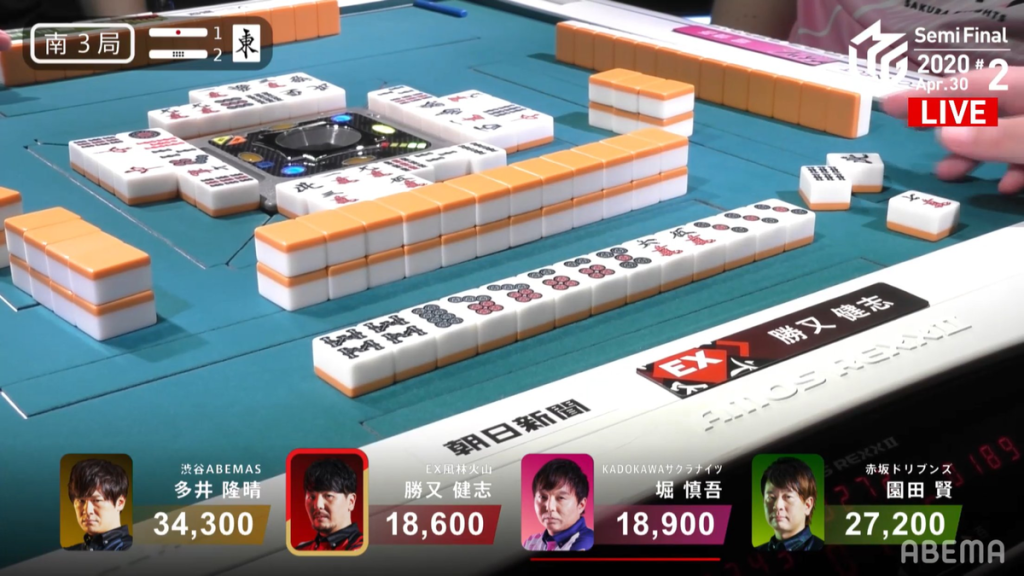
In S3-1, Katsumata knows that he has only two hands to get to at least 2nd place, which is only a mangan away. To push for this mangan, Katsumata calls an early pon on the south for an opportunity to go for toitoi. Soon after, he calls pon on the north and then the 4m to get to iishanten and an option to go for honitsu as well. Seeing Katsumata’s rush, Hori tries to rush the hand by calling pon on the white dragon and gets to iishanten by the end of the 1st row along with Katsumata. The first player to get to tenpai is Hori, who waits on a west dora/3m shapon wait in the middle of the 2nd row. At the end of the 2nd row, Hori discards a 9m, allowing Katsumata to make a 4th call and get to tenpai on a west dora tanki. Interestingly, 2nd place Sonoda is able to get to tenpai near the end of the wall on a 3m penchan wait.
At ryuukyoku, everyone except for Ooi is in tenpai.
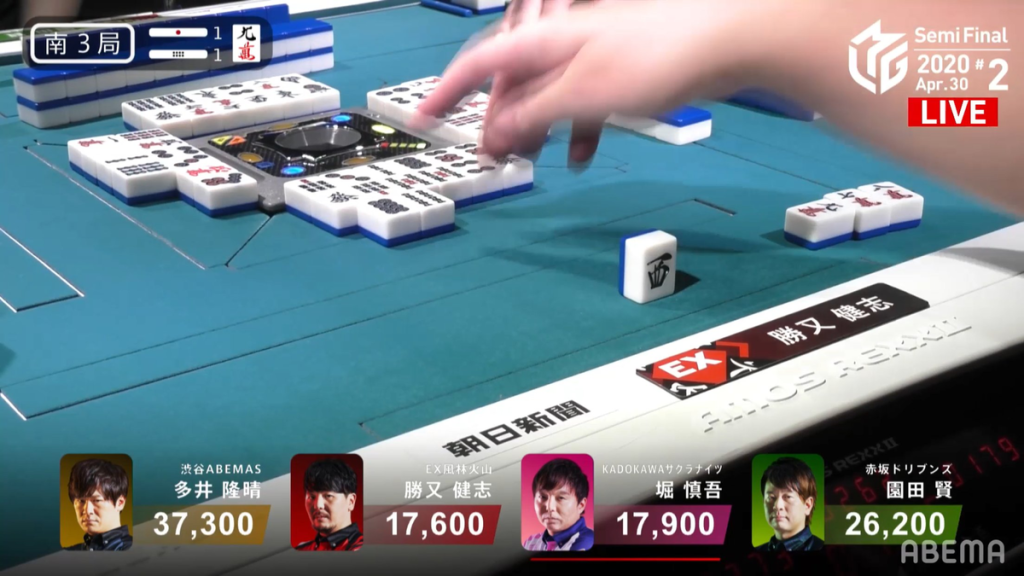
In S3-2, Katsumata starts out as the closest to tenpai at 3-shanten, but lacking the value he needs to make a significant jump. By turn 3, the hand looks more promising with the prospect of a potential tanyao. On turn 4, he adds a potential iipeikou to the mix. Then, on turn 5, Katsumata gets to tenpai and waits on a 47m ryanmen wait for Riichi/Tanyao minimum. It was quite straightforward for Katsumata and in the middle of the 2nd row, he draws the 7m to win the hand. Katsumata wins with Riichi/Tsumo/Tanyao for 1,000+200/2,000+200, plus the riichi stick from two hands ago. With the win, it puts Katsumata within 1,800 points from 2nd place.
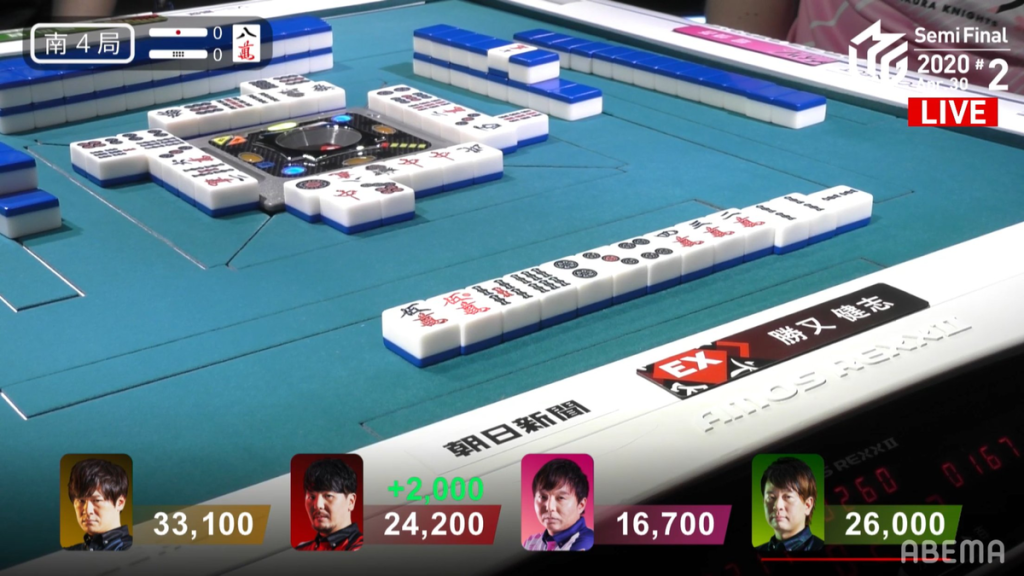
In S4-0, Katsumata is looking for a way to get to the fabled 2nd place. A 2/30 ron off anyone or any hand won off of 2nd place Sonoda is enough to surpass him. Alternatively, Hori can hit Sonoda for any hand up to 5,200 points or Ooi to tsumo a mangan or higher for Sonoda to drop below Katsumata. Katsumata’s hand starts out very promising, holding a red dora and a clear path to tanyao. He starts the journey with an early pon of the 2s to get to 2-shanten. On turn 3, he fills in a kanchan to get to a ryanmen-ryanmen iishanten. As bestowed by the mahjong gods, Katsumata gets to tenpai the very next turn and waits on a 47s ryanmen wait. EX Furinkazan fans are on their feet, with their team being just one tile away from going to the finals. With Ooi knowing that Katsumata only needs 2,000 points to overtake Sonoda and Ooi wanting to protect lead, Ooi can afford to feed Katsumata even a 3,900 point hand to get to stop Sonoda’s dealer turn and take the win. Ooi throws the 6m. Miss. 5s. Miss. 2m. Miss. 6p. Miss. Finally, near the start of the 2nd row, Ooi discards the 7s and deals into Katsumata. Katsumata wins the hand with Tanyao/Aka 1 for 2,000, Ooi keeps the 1st place and the EX Furinkazan get 2nd place in the game and their team advances to the finals!
