Highlights
Double Riichi!
October 11, Game 1, E3-0
In E3-0, Sasaki is in the lead by 11,500 and is the dealer. His initial 13 tiles is iishanten, meaning that he has a chance at double riichi. On his very first draw, he fills in his 3s penchan and calls a double riichi on a 69m ryanmen wait. With the riichi, his hand is guaranteed to be mangan with his pinfu and red 5p. From the start, all three players bail their hands against the dealer double riichi, throwing tiles that would otherwise be useful. There were some close chances to advance their hands, but the folding was strong.
In the end, the hand ends in a draw with Sasaki the only one in tenpai.
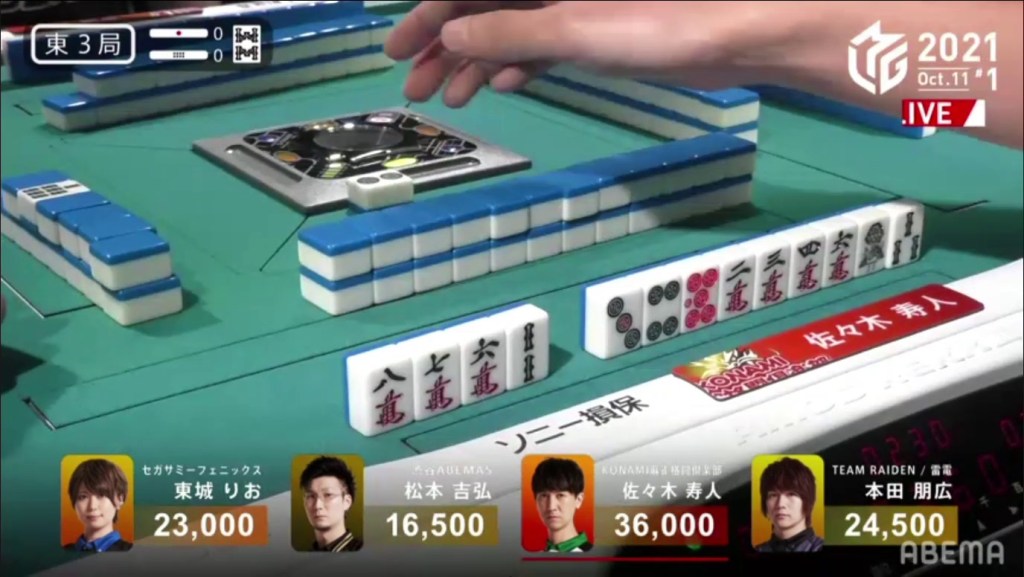
No More Ura San
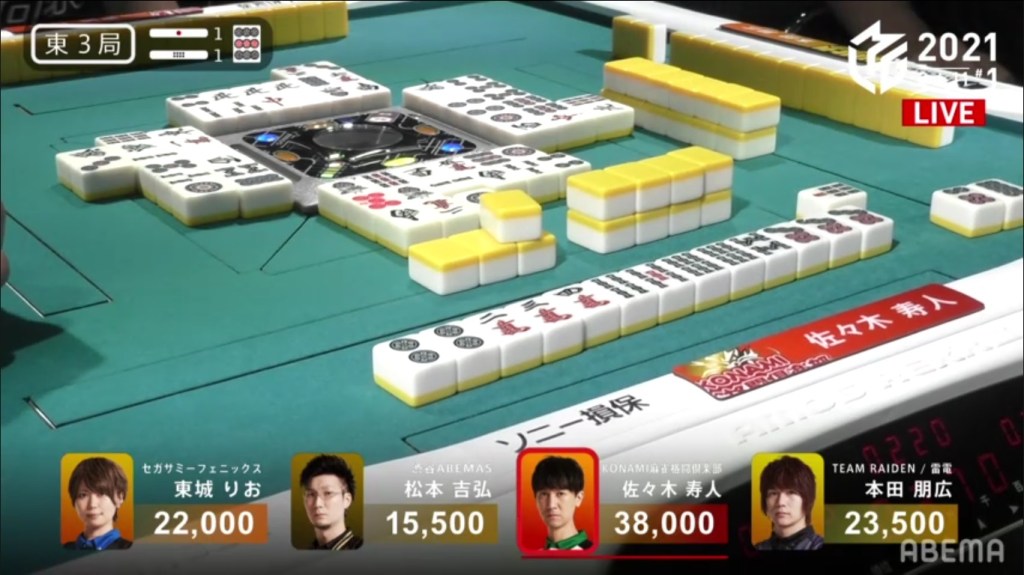
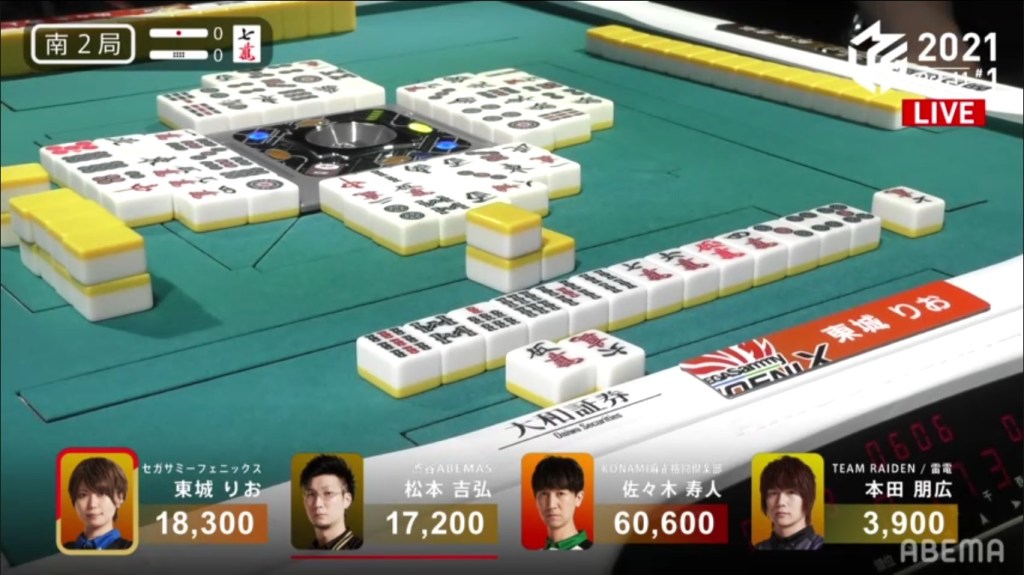
October 11, Game 1, E3-1
In E3-1, nobody starts out with anything particularly interesting. However, around the start of the 2nd row, everyone is iishanten. In the middle of the 2nd row, Sasaki is the first to get to tenpai and calls riichi on a 7s kanchan wait.. At the end of the 2nd row, Honda also gets to tenpai, but chooses not to riichi on his 8s kanchan. In the 3rd row, Honda improves his wait to a east/4s shanpon wait and tries to call riichi. However, he is forced to throw the 7s and ends up dealing into Sasaki. Sasaki flips the uradora and reveals the 6p as the indicator, making Sasaki’s 7p ankou dora. Sasaki wins with Riichi/Ura 3 for 12,000+300 (plus his riichi stick from the previous hand) and the first ura san of the season.
Never Too Late to Riichi
October 11, Game 1, S2-0
In S2-0, Tojo is in 2nd place, but only by 1,100 and has no more dealerships left. Though her starting hand isn’t the best, her hand is the fastest to develop and gets to iishanten by turn 5 with a ryanmen and a sanmenchan. Every turn after that, her hand can’t find tenpai while she watches everyone else catch up to her, including Honda who gets to iishanten for chinitsu. It isn’t until late in the hand that she gets to tenpai. Even though she only has one more draw left, she decides to call riichi on a 47m nobetan wait. On her very next draw, she finds the 7m dora to win the hand. Tojo wins the hand with Riichi/Ippatsu/Tsumo/Dora 2/Aka 1/Ura 1 for 3,000/6,000.
Riichi vs. Riichi vs. Riichi
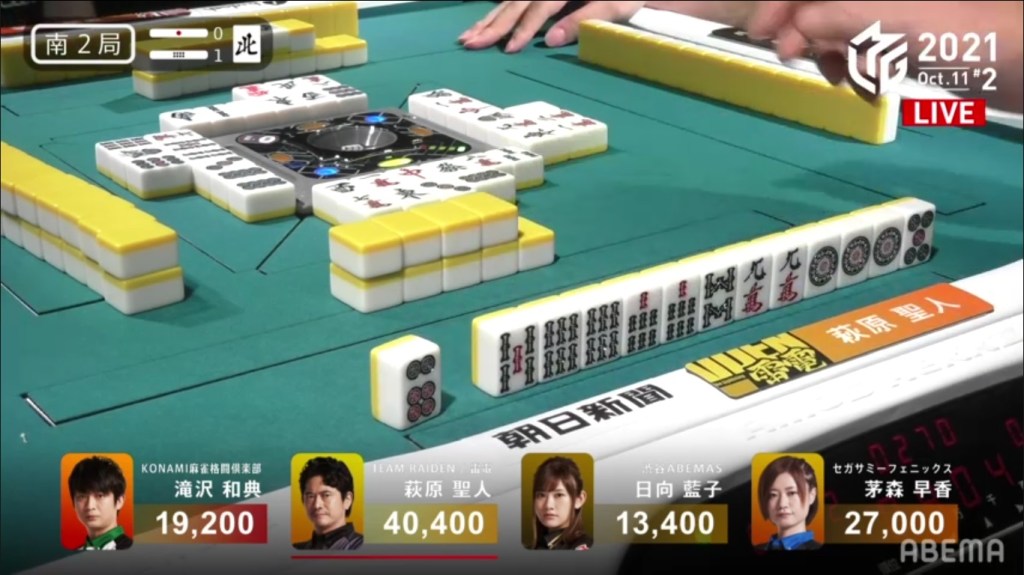
October 11, Game 2, S2-1
In S2-1, Hagiwara and Kayamori are fighting for the top while Hinata is trying to climb up from last place. With a look at the starting hands for all three of them, Kayamori’s looks like the most hopeful with two red dora and two completed sets at 3-shanten. Skipping to the end of the 1st row, all three of them are 2-shanten. The first player to get to tenpai is Hagiwara, who stays dama on a 7p kanchan wait in the middle of the 2nd row, waiting to improve his wait. The very next turn, he draws the 5p and calls riichi on a 47p ryanmen wait.

Within the ippatsu turn, Hinata gets to tenpai and calls riichi on a 14p ryanmen wait.
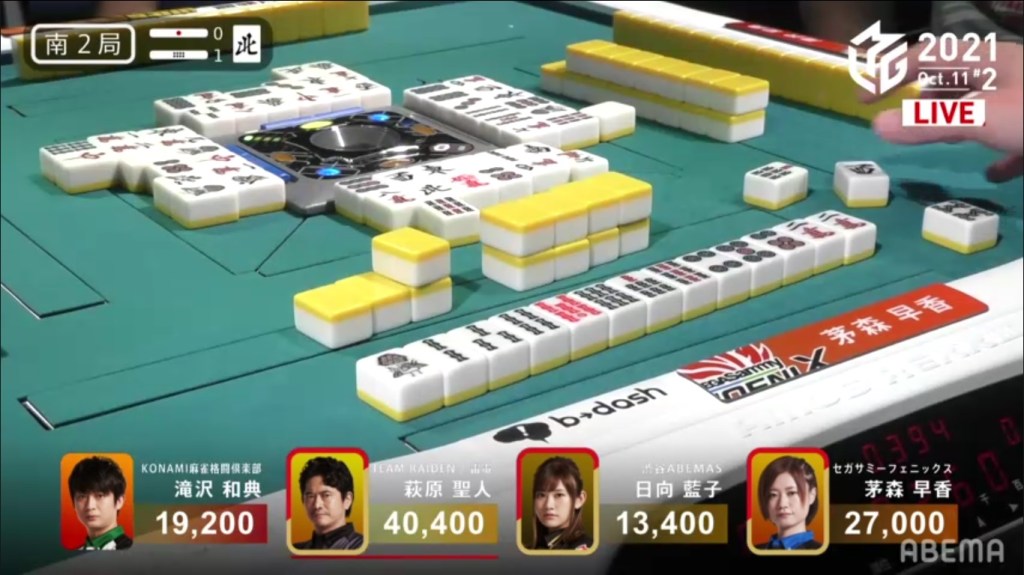
Soon after, Kayamori gets to tenpai and calls riichi on an 8s kanchan, holding a guaranteed ittsuu and a red dora. Takizawa, the 4th player at the table, just sits and avoids any conflict. Near the start of the 3rd row, Kayamori draws the 8s to win the hand. Kayamori wins with Riichi/Tsumo/Ittsuu/Aka 1/Ura 1 for 3,000+100/6,000+100 and steals Hagiwara’s and Hinata’s riichi stick.
Big Beginning
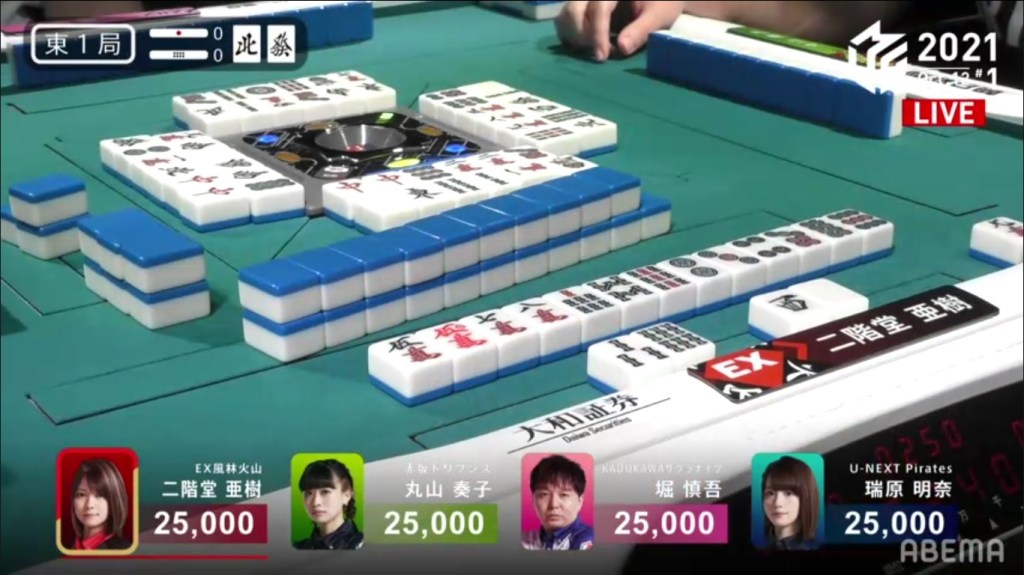
October 12, Game 1, E1-0
In E1-0, Aki starts out the first dealer and holds a single red dora for value with her 3-shanten hand. As we look around the board at the end of the 1st row, it looks like either iishanten Maruyama and Hori will win the hand. However, the tables turned in the 2nd row. By turn 5, Aki sets her hand up for sanshoku and is iishanten. Near the end of the 2nd row, Aki is the first one to tenpai and calls riichi on a 69m ryanmen wait, with the 9m being sanshoku. Two turns later, Aki draws the last available 9m to win the hand. Aki wins with Riichi/Tsumo/Pinfu/Sanshoku/Aka 1/Ura 1 for 6,000 all, an explosive start to start the game.
Escaping Last
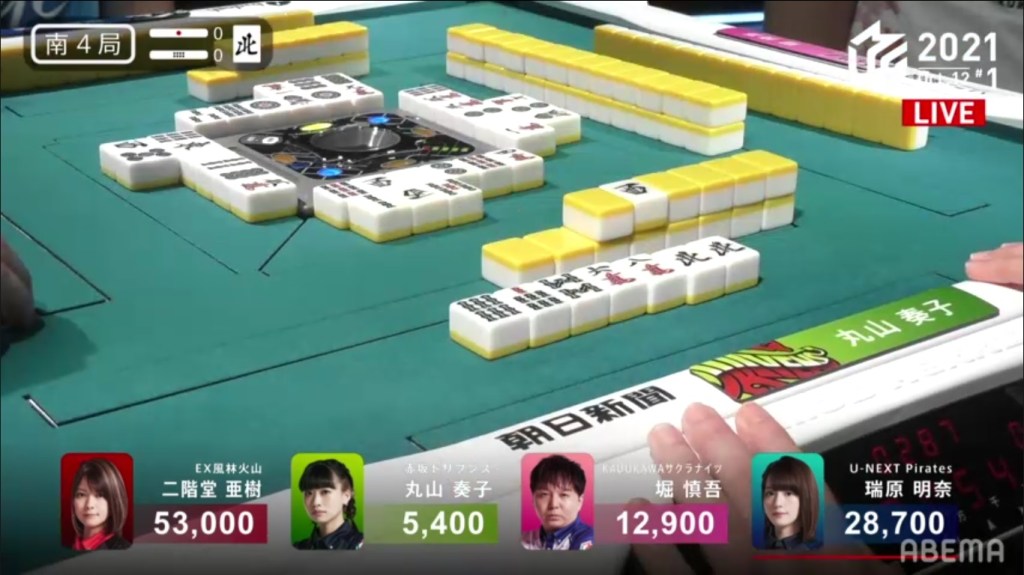
October 12, Game 1, S4-0
In S4-0, Maruyama is in last place in the west weat and 7,500 behind 3rd place Hori. She would need a 3/50 tsumo, a 3/30 direct hit or a mangan indirect hit to surpass him. She starts out 5-shanten with a pair of souths and a single north dora, clearly not enough to do any substantial, let alone win any hand. By turn 3, she is 3-shanten with a potential for sanshoku. If she can get a hand such as Sanshoku/South/Dora 2, it would be enough. However, she still has to contend with all the other players, including Aki who already called the red dragon. On turn 4, she draws a dora pair, giving her 2-shanten and a clear path. At the end of the row, she gets rid of her biggest obstacle, calling chii on her 67p ryanmen and picking up the 8p to ensure the sanshoku. At the iishanten, she can call either the 7m, north or south to get to tenpai. On the very next turn, she calls pon on the south to get to tenpai on the 7m. Unbeknownst to her, Hori was quietly waiting at tenpai, waiting for the 69m to come. Soon after, Aki is also tenpai on the 47p ryanmen. In the middle of the 2nd row, Hori draws and discards the 7m, dealing into Maruyama. Maruyama wins with Sanshoku/South/Dora 2 for 8,000 and getting the 3rd place she was aiming for.
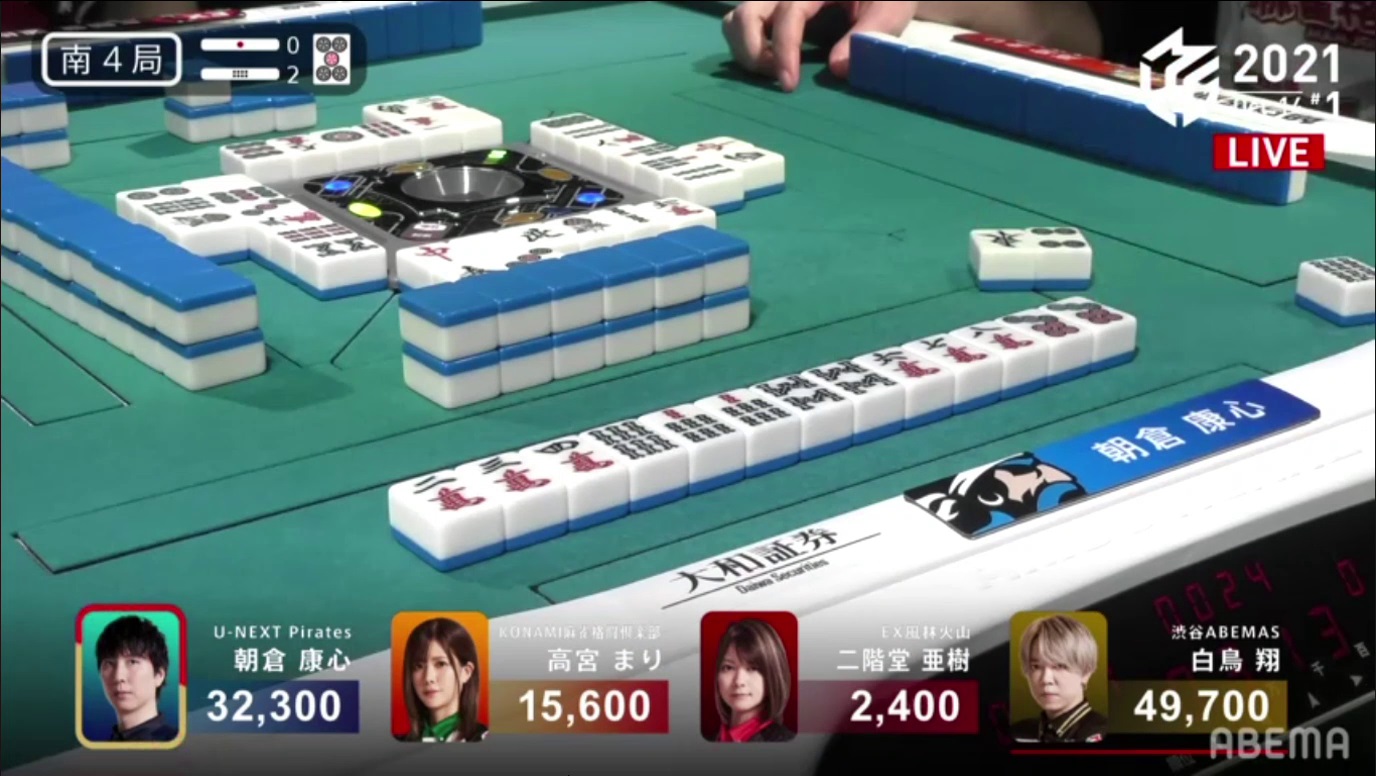
Dealer Haneman
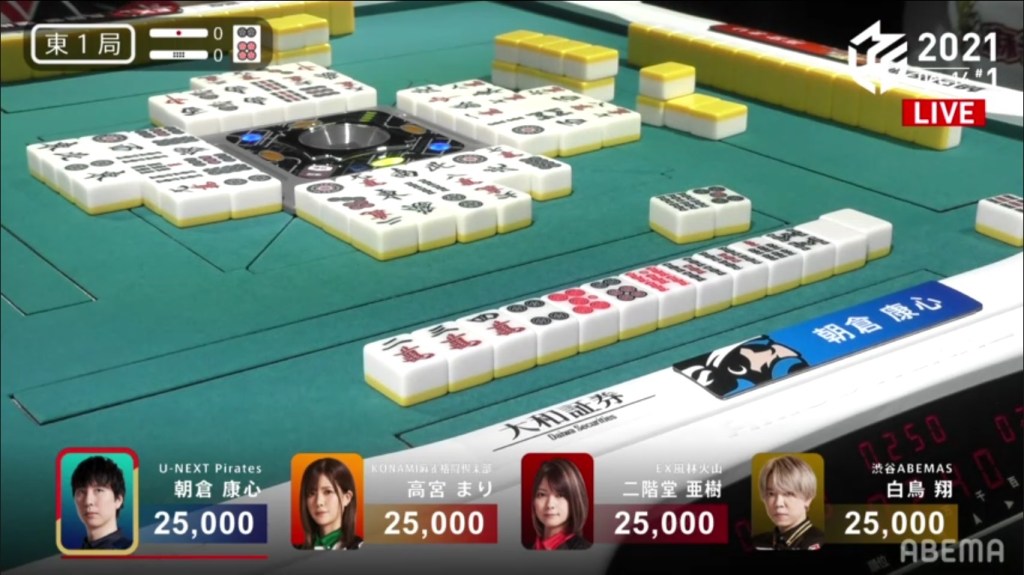
October 14, Game 1, E1-0
In E1-0, Asakura starts out as the dealer and has a pair of white dragons and red dora. Asakura lags behind, though, being behind 2-shanten Aki and Takamiya at the end of the 1st row. In the 2nd row, he draws all the right tiles and is the first to get to tenpai, calling riichi near the end of the 2nd row on a 69s ryanmen wait. Holding two red dora and a 6p regular dora, getting it by tsumo plus one more han would give Asakura a very big dealer haneman. Sure enough, near the end of the 3rd row, Asakura draws the 9s to win the hand. Revealing one uradora, Asakura wins with Riichi/Tsumo/Dora 1/Aka 2/Ura 1 for 6,000 all and a big lead.
Greed
October 14, Game 1
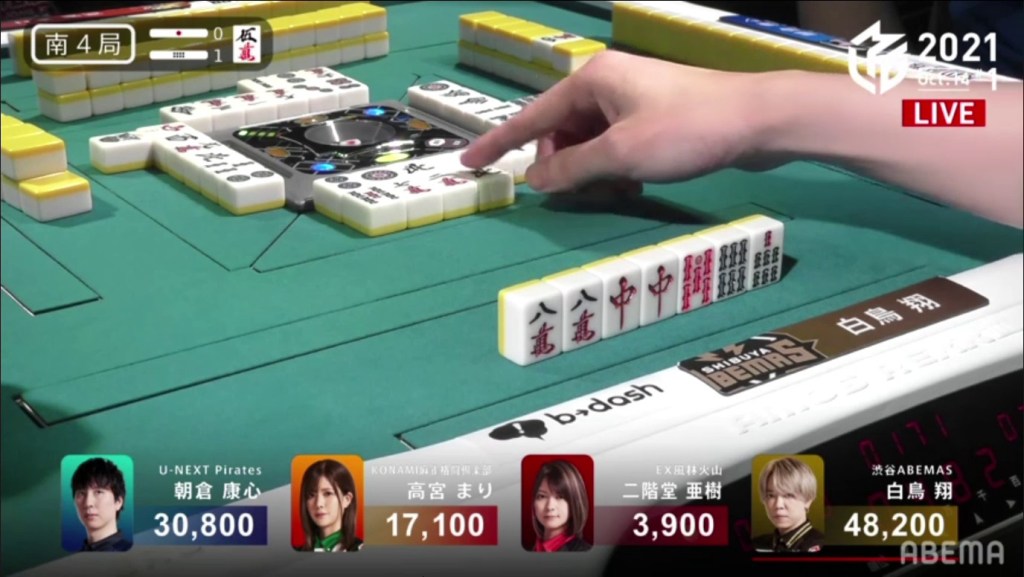
In S4-1, Shiratori is leading 2nd place Asakura by 17,400, having just won a 2,600 all in S4-0. With Asakura being a haneman tsumo away from him, Shiratori will have to tread careful not to make it easier by giving him a direct hit. From the start, his hand has a pair of red dragons and a potential path to honitsu. His hand progresses well and, with two calls, is the first on to tenpai in the middle of the 2nd row. He waits on an 8m/red dragon shanpon, with the red dragon the only one giving him a yaku. Everyone else pushes their hands, but is unable to get the winning hands they need.
In the end, the hand ended in a draw. Here, Shiratori has a choice. His hand is tenpai, but he does have the choice to declare himself as tenpai or noten. If he declares himself tenpai, there would be another hand and he would have more chances to win points. However, declaring tenpai would also give Asakura another chance to surpass him. If Shiratori declares himself noten, he would take the win, but not have a chance to get more points. Since Asakura is quite distant, Shiratori chooses to take his chances and declare himself tenpai.

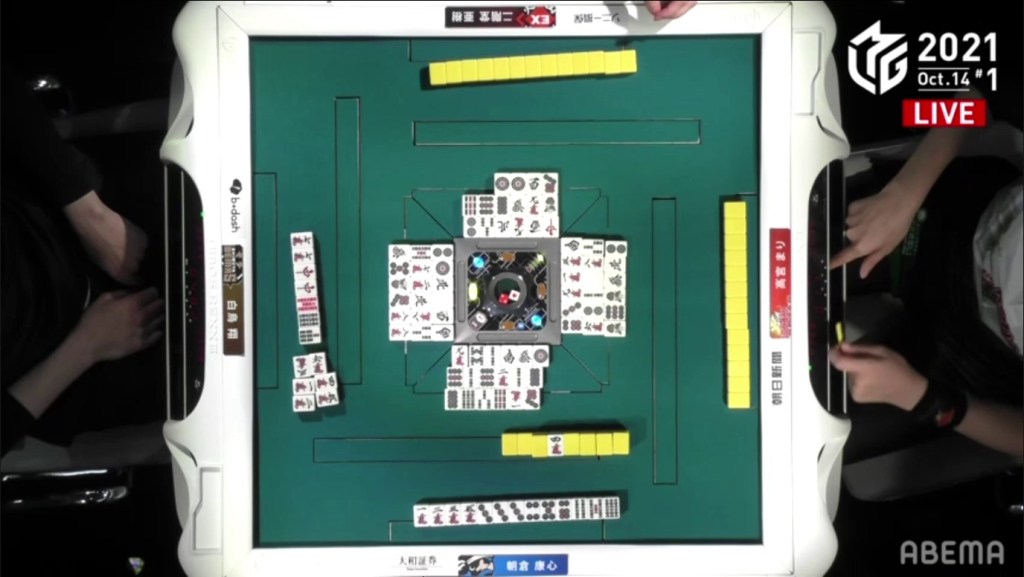
In S4-2, Shiratori starts out 3-shanten while Asakura is 4-shanten with no dora. From just that, it seems like Shiratori’s gamble worked. By turn 4, Shiratori has a ryanmen-ryanmen iishanten while Asakura lingers at 3-shanten with only a potential tanyao for value. However, from there, the tables turned. On turn 5, Asakura gets to 2-shanten after filling in a kanchan. On turn 6, he gets to iishanten. With his 6778s shape, drawing a 6s or 8s would give him an opportunity for iipeikou. On turn 8, he successfully draws the 8s and calls riichi on a 69s ryanmen wait. If Asakura draws the 6s and finds one more han, he would get the haneman and win the game. The prospects look grim, as there is only one more 6s in the wall. With perfect luck, Asakura draws the 6s on his ippatsu turn. Asakura wins with Riichi/Ippatsu/Tsumo/Pinfu/Tanyao/Iipeikou for 3,000+200/6,000+200 to win the game. With the win, it give the U-Next Pirates their first win of the season.
Mighty Matsugase

October 14, Game 2, S4-0
In S4-0, Matsugase is in 4th place and 5,800 points behind 1st place Ishibashi. he starts out with a very poor hand, being 5-shanten and holding no tiles of value. By the end of the 1st row, his hand has improved greatly to 2-shanten with a dora and a chance at both pinfu and tanyao, though he is a bit behind iishanten Sasaki and Ishibashi. At the start of the 2nd row, Ishibashi is the first to tenpai, staying dama on a 36m ryanmen wait. Matsugase continues to push, though the wall keeps giving him honours. At the end of the 2nd row, Matsugase draws a red 5m and has 14 types of tiles that will give him tenpai. Three turns later, dealer Sasaki challenges the table by calling a riichi on a 25s ryanmen wait. Within the ippatsu turn, Matsugase gets to tenpai and stays dama on a 36m nobetan wait. With the riichi stick, it would be just enough to surpass Ishibashi. Unfortunately for Sasaki, he draws and discards the dora 3m and deals into Matsugase. Matsugase wins the hand with Tanyao/Dora 2/Aka 1 for 8,000, plus Sasaki’s riichi stick to take 1st place. (With the deal-in, it also bumps Sasaki into 4th place)
Fastest Man(gan) in the World
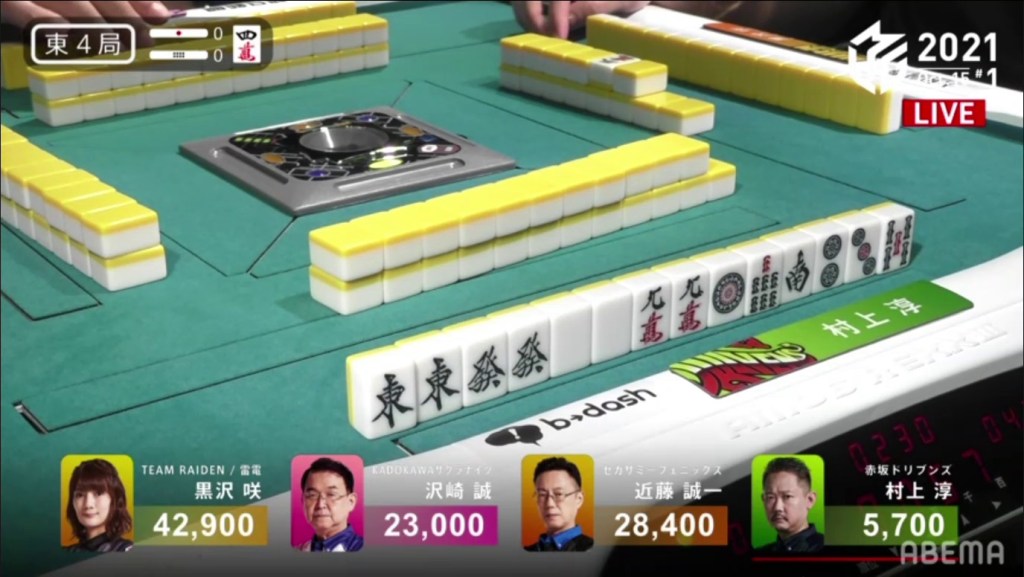
October 15, Game 1, E4-0
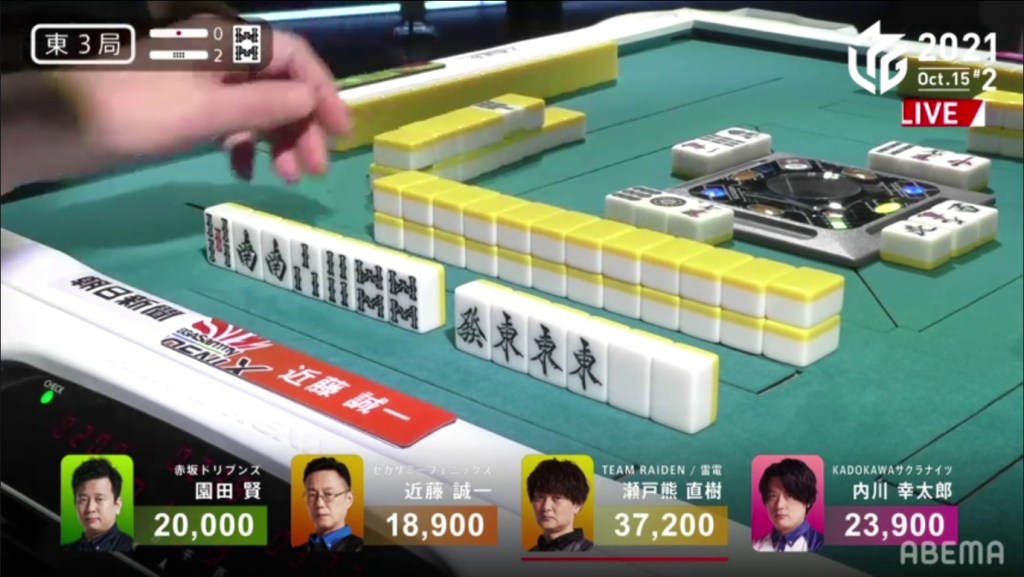
In E4-0, Murakami is the dealer is in deep 4th place after dealing into two mangans in a row. With his starting hand, he holds pairs of the east, green dragon, white dragon and 9m, as well as a completed 123p sequence. With the objective clear, Murakami calls pon on the east, the 3rd discarded tile in the game. On the 6th discard of the game, the green dragon, Murakami calls pon again to get to tenpai on a 9m/white dragon shanpon wait. Kondo hasn’t even discarded yet and already Murakami is tenpai.
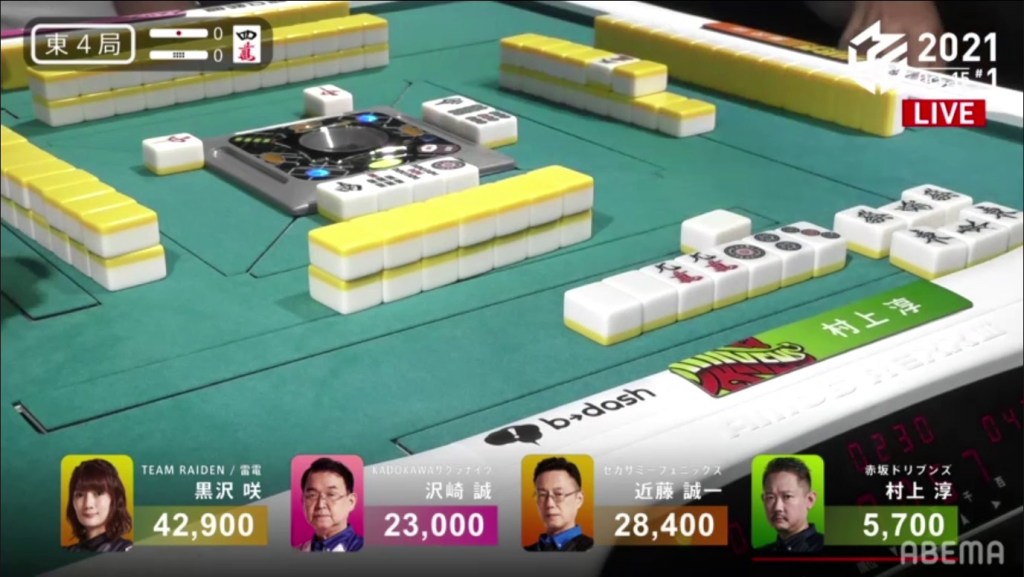
On the 12th discarded tile, the white dragon, Murakami calls ron. Murakami wins the hand with East/Green Dragon/White Dragon/Chanta for 12,000 points and to get back in the running.
Impossible Ura
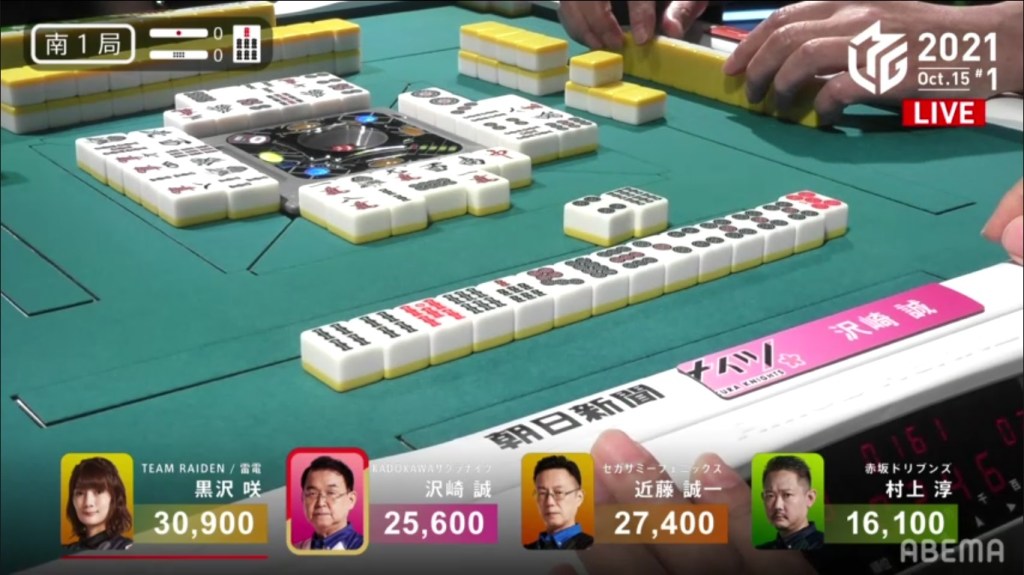
October 15, Game 1, S1-0
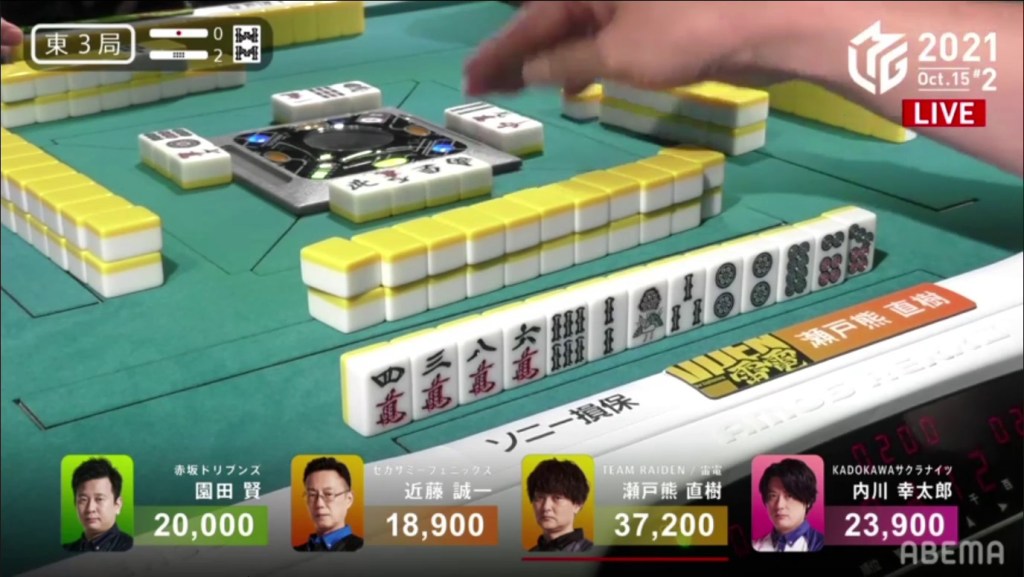
In S1-0, Sawazaki is in 3rd place, but only 5,300 behind 1st place. He starts out with a 3-shanten hand with a red 5s and a 7s dora. Painfully holding penchans, he spends the first row trying to get rid of them through discarding and filling them in. By the end of the 1st row, Sawazaki is 2-shanten with no more bad shapes. Two turns in a row, Sawazaki draws a 5p to get him to iishanten with a fairly wide acceptance range. In the middle of the 2nd row, Sawazaki gets to tenpai and calls riichi on a 25p/4s wait, guaranteed to be at least 5,200 with his 3-han hand. Even though Murakami was tenpai for his chanta, he folds his hand after drawing an 8s to avoid throwing a dangerous tile. A few turns later, Sawazaki draws the red 5p to win the hand. With one uradora, it would give Sawazaki a haneman. However, he finds not one, but FOUR uradora for his hand to skyrocket to a baiman. Sawazaki wins with Riichi/Tsumo/Dora 1/Aka 2/Ura 4 for 4,000/8,000 and to take the lead.
Dodging Death
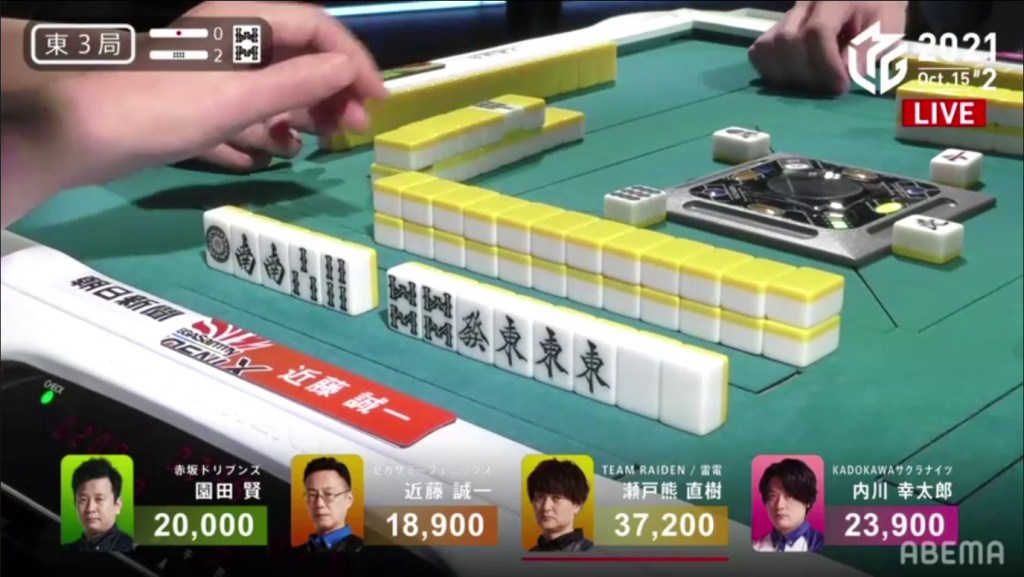
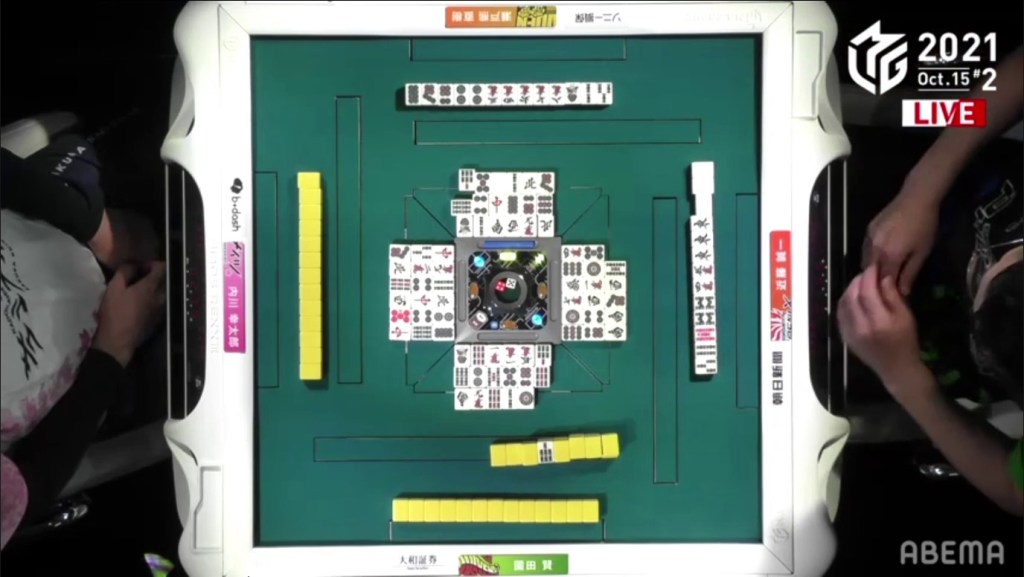
October 15, Game 2, E3-2
Video: https://abema.tv/video/episode/444-12_s30_p76
In E3-2, Kondo sits in last place and starts out with an amazing starting hand, holding an ankou of easts, a pair of both south and white dragon, as well as a pair of the dora 8s. With the 2-shanten start, he has a clear path to a haneman.
On turn 3, Kondo completes a souzu sequences to get to iishanten.
When Setokuma discards the south, Kondo chooses not to call it. Though it may be mind-boggling why he would take the haneman tenpai, there is a good reason why. Calling pon on the south, a tile that isn’t a yakuhai, makes it obvious that he is going for honitsu or looking for a yakuhai, giving him a lower winning chance. If Kondo calls pon on the white dragon, his opponents would have a harder time guessing what his hand is because he already has a confirmed yaku visible and thus a higher win rate.
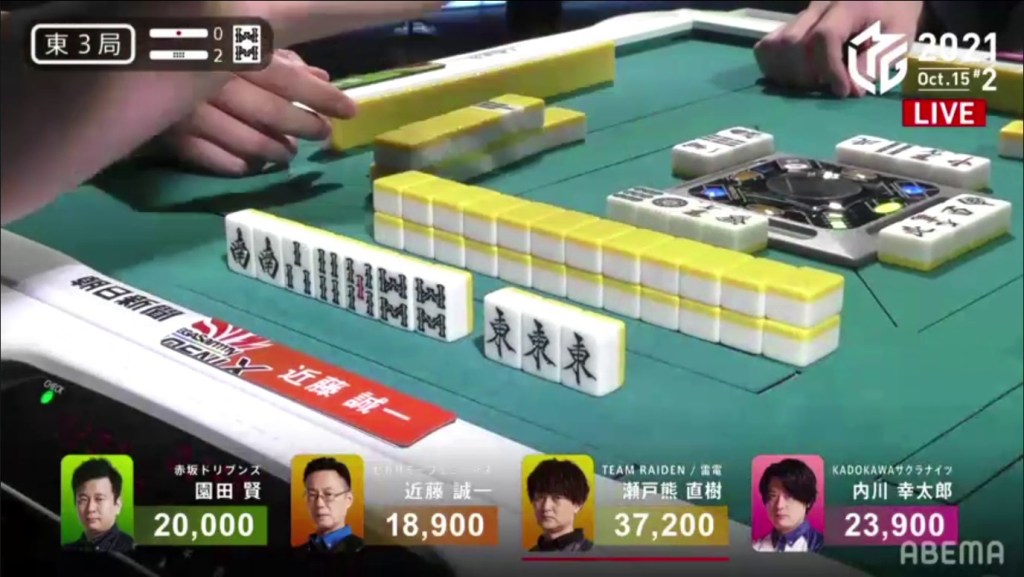
When the white dragon is discarded soon after, Kondo indeed calls pon and gets to tenpai on a south/8s shanpon for haneman.

With Kondo just doing tsumogiri, the focus is on the other players. In particular, the dealer Setokuma has an iishanten hand by the end of the 1st row. At the end of the 2nd row, Setokuma finally gets to tenpai and calls riichi on a 25m ryanmen wait. A few turns later, Kondo draws the 5m.
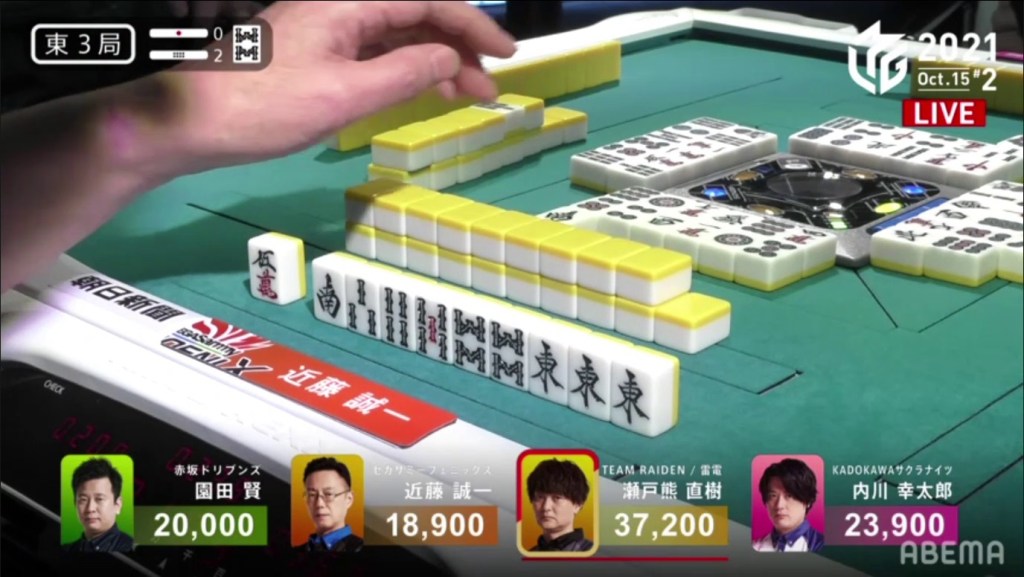
For most players, holding a haneman while in last place is something a player would never fold. However, with Setokuma the dealer and the unusual lack of manzu in his discards, Kondo decides it’s too dangerous and kills his south pair instead.

The very next turn, he draws the 4m to get back to tenpai and waits on a 36m ryanmen wait.
After all the drama, the hand calmed down and eventually came to an end. The hand ended in a draw with Kondo and Setokuma the only ones tenpai.
Aka Dora Madness
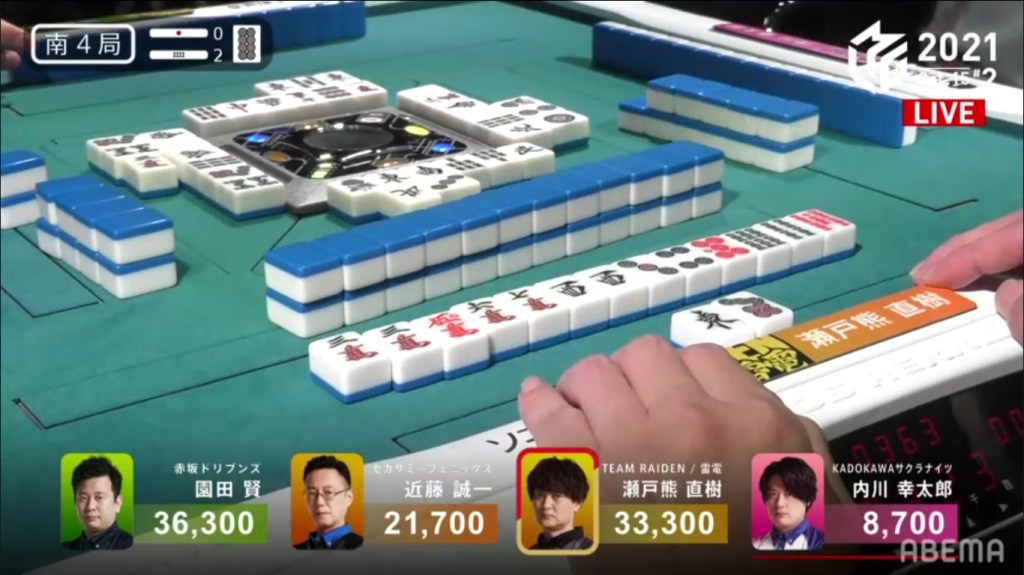
October 15, Game 2, S4-2
In S4-0, Setokuma is in 2nd place and is 3,000 behind Sonoda. With a 2/40 ron, a 2/30 tsumo or any direct hit, it would put him into 1st place. His opening hand is 4-shanten, but has two red doras in order to get him the value he needs. On turn 3, he draws the 3rd red five to get to 3-shanten. He does well in the next few draws and by the end of the 1st row, Setokuma is iishanten. Though everyone else catches up to him a few turns later, Setokuma is the first to call riichi, doing so in the near the start of the 2nd row on a 3m/west shanpon wait for a guaranteed mangan. On the ippatsu turn Kondo gets to tenpai. Holding two dora 8p and a 5s kanchan, Kondo would like to get it on the ippatsu tsumo with one ura dora or red dora to get the haneman to take 1st place. However, he must first choose to discard the 3m or 6m. Kondo ends up throwing the 3m while trying to call riichi, dealing into Setokuma. Setokuma wins the hand with Riichi/Ippatsu/Aka 3 for 8,000+600 and to win the game.
