
Highlights
Throwing the Wrong Tile
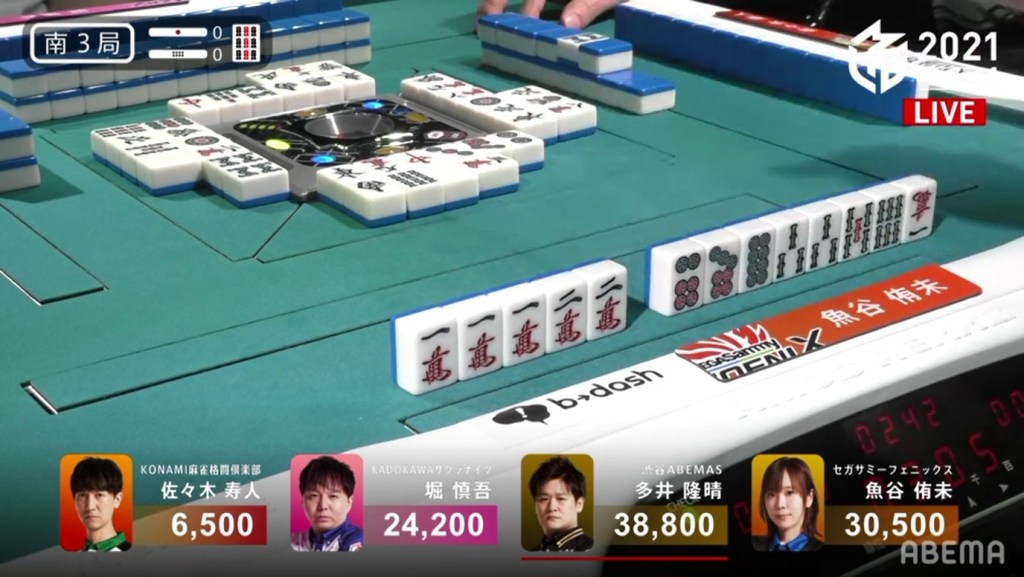
January 3, Game 1, S3-0 (1)
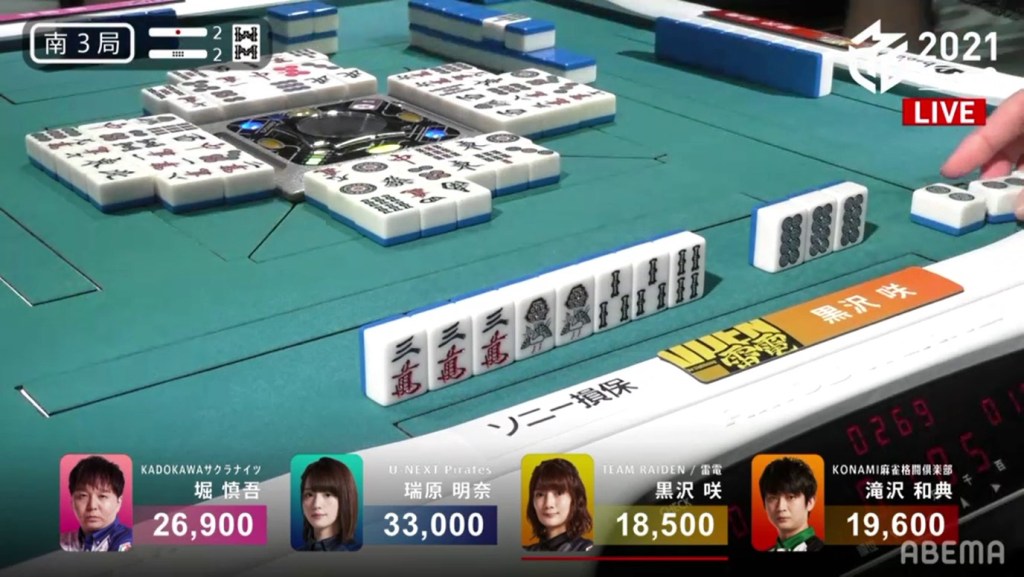
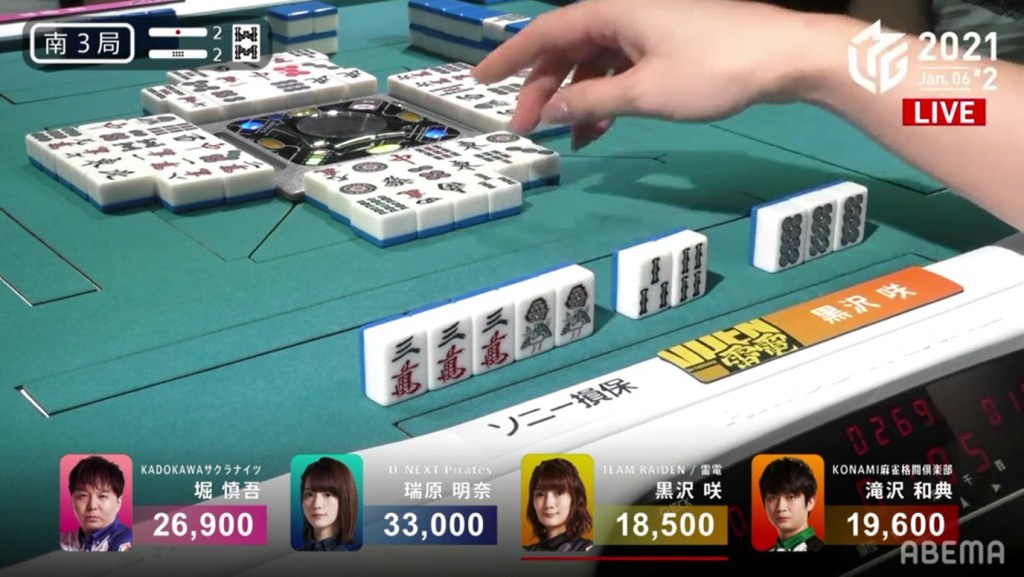
In S3-0, Uotani is the dealer and 8,300 behind 1st place. Her hand starts out 3-shanten for a standard hand and 2-shanten for chiitoi. Creating ryanmens and filling in shapes, her hand becomes iishanten by turn 5 with a chance at iipeikou. In the middle of the 2nd row, Uotani draws for a chance for tenpai and calls riichi. When she calls riichi, she discards the 3m in her 1111223m shape, leaving her with a 111122m shape (instead of throwing the 2m for a 111 123 shape). Because of this grievous mistake, Uotani is in noten and has just committed a noten riichi. As per the rules, Uotani will be penalized with a chombo if the hand goes to a draw.
As Uotani waits in anguish, there is a relative glimmer of hope when Sasaki calls riichi at the end of the 2nd row on a 36p ryanmen wait. However, as the wall became shorter, the chances of Sasaki winning and Uotani avoiding the chombo became smaller. In the end, the hand went to a draw.
As per the regulations, Uotani was charged with a chombo (Sasaki also had to prove his riichi was valid, but no problems arose since he was in tenpai). As with any chombo penalty, -20.0 points was added at the end of the game after any bonus points from oka and uma. With the -20.0, Uotani’s win of 65.5 was reduced to 45.5.
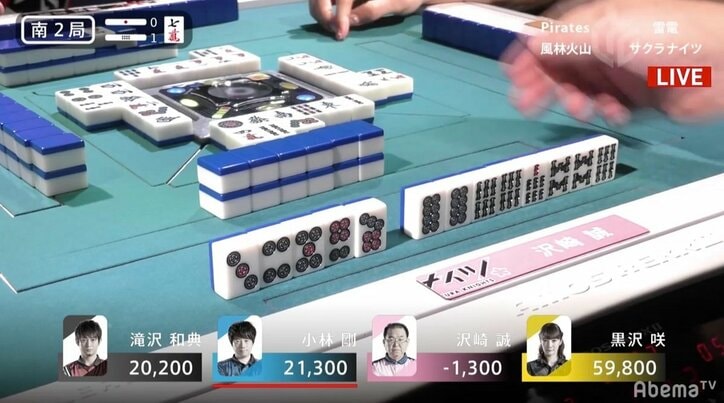
The only other time a chombo occurred in M-League was on February 27, 2020, when Sawazaki Makoto called a noten riichi by discarding the wrong tile.
Oyakaburi
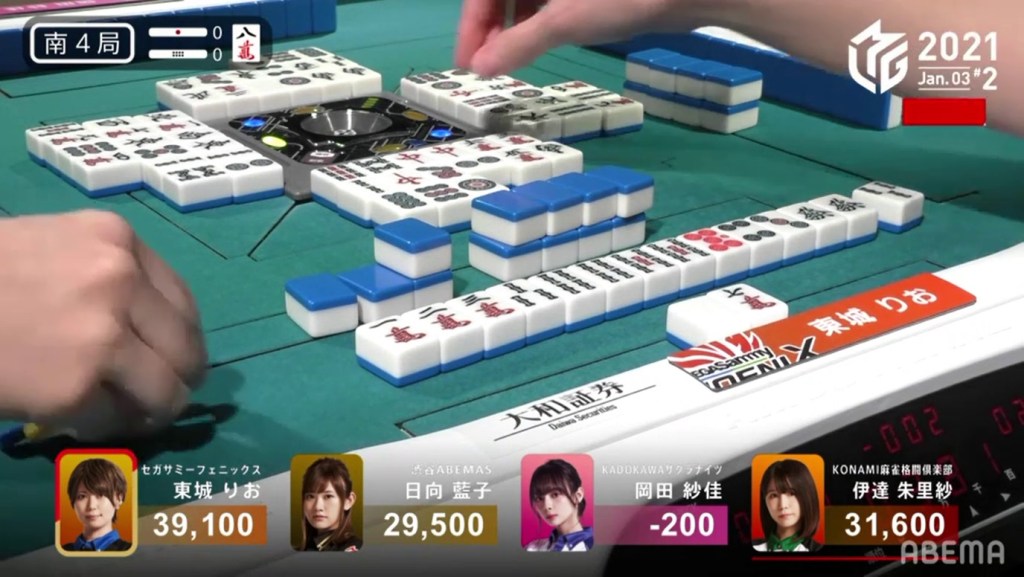
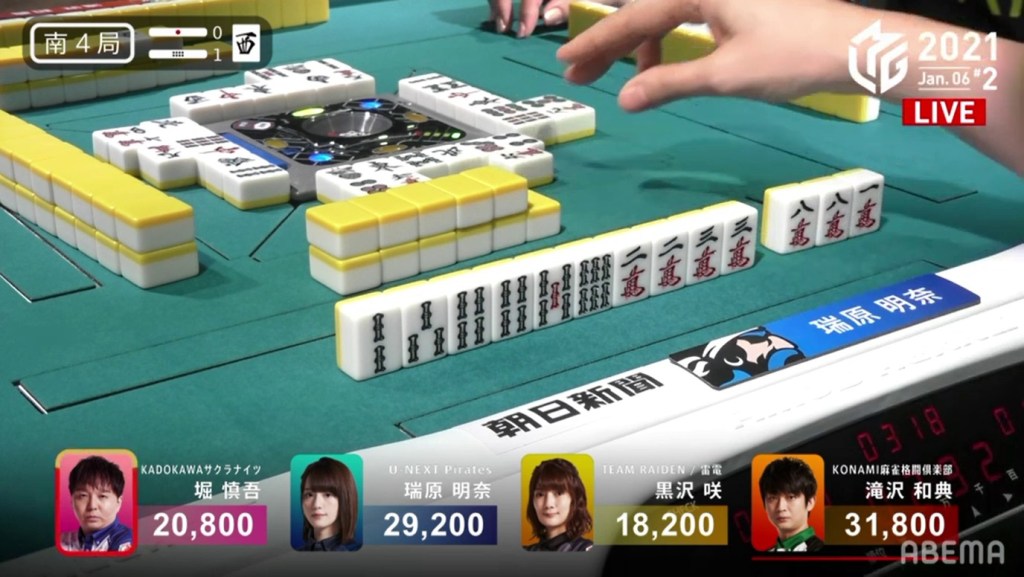
January 3, Game 2, S4-0
Video: https://abema.tv/video/episode/444-12_s30_p514
In S4-0, Date is the dealer in 2nd place and 2,100 ahead of 3rd place, while Tojo is in 1st place and 7,500 ahead of Date. Date starts out with a painful 5-shanten, while Tojo holds a 3-shanten haipai with a red 5p. Despite picking up two dora, Date is only able to get to 3-shanten by the end of the row. Tojo, on the other hand, gets to iishanten with a pair of green dragons ripe for calling. In the middle of the 2nd row, Tojo gets to tenpai and calls riichi on a 36s ryanmen wait. Because Date is so close to falling to 3rd and that she is so close to 1st, Date pushes her hand. Despite Date’s high value, she is unable to find the tiles she needs. In the middle of the 3rd row, Tojo draws her takame 3s to win the hand. Though her hand was initially only guaranteed 2 han, the 3s for iipeikou, the tsumo and the two uradora helped push her hand to a haneman. Tojo wins the hand with Riichi/Tsumo/Iipeikou/Aka 1/Ura 2 for 3,000/6,000. Because the difference between dealer Date and Hinata was just 2,100, Tojo’s haneman win actually pushed Date down to 3rd, the painful punishment of being the dealer.
Calls
January 6, Game 1, E3-2
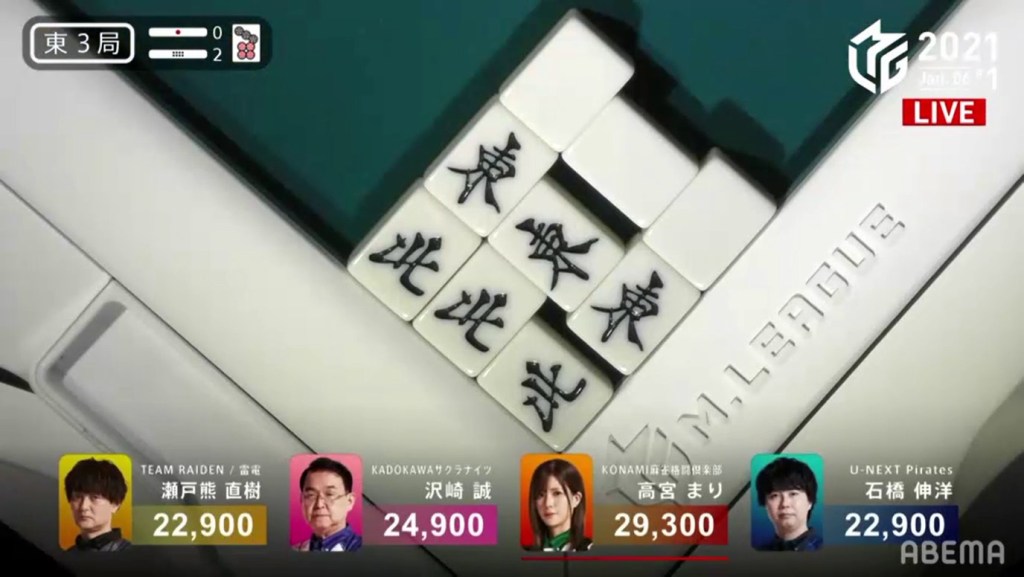
In E3-2, the scores are close, with 1st and 3rd place separated by only 6,400 points. 2nd place Sawazaki starts out with an extremely favourable hand, holding pairs of east, north and white dragon, as well as a red 5s and a 7p dora. With the honours all set, he called pon on the norths, the easts and the white dragon in rapid succession, getting to iishanten before Setokuma has even drawn his second tile. By Sawazaki’s fifth discard, he is tenpai on a 7p tanki for haneman. A turn later, he switches his wait to a green dragon tanki to exchange the dora to honitsu. In the second row, Sawazaki switches to a 36s nobetan wait. a few turns later, Ishibashi draws the 3s.

Because Sawazaki threw the dora, the green dragon, the 5s and the 1s so early, a souzu honitsu seemed unlikely. So, Ishibashi threw the 3s and dealt into Sawazaki. Sawazaki wins the hand with East/North/White Dragon/Honitsu/Aka 1 for 12,000.
Avoidance
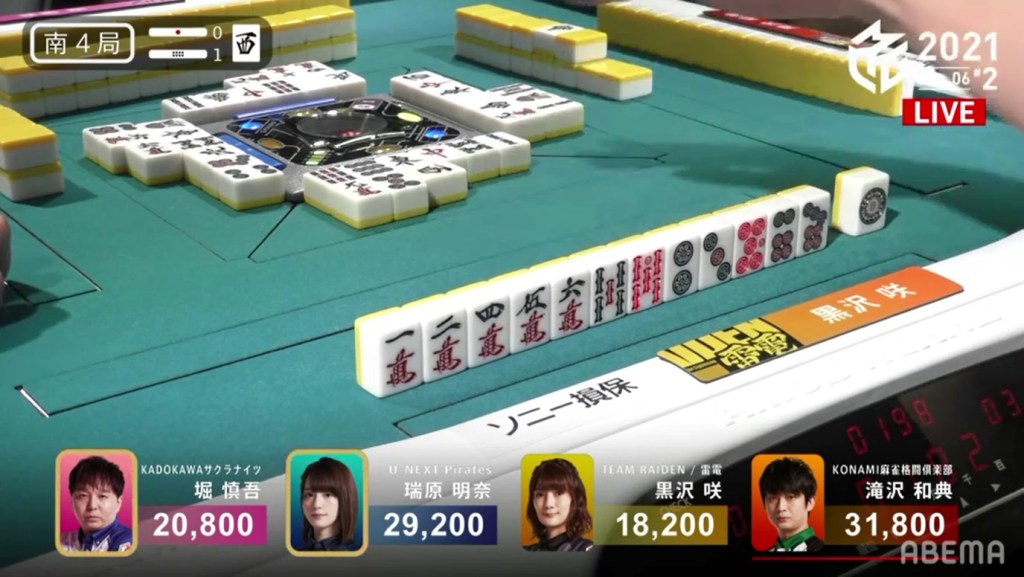
January 6, Game 2, S3-2
Video: https://abema.tv/video/episode/444-12_s30_p534
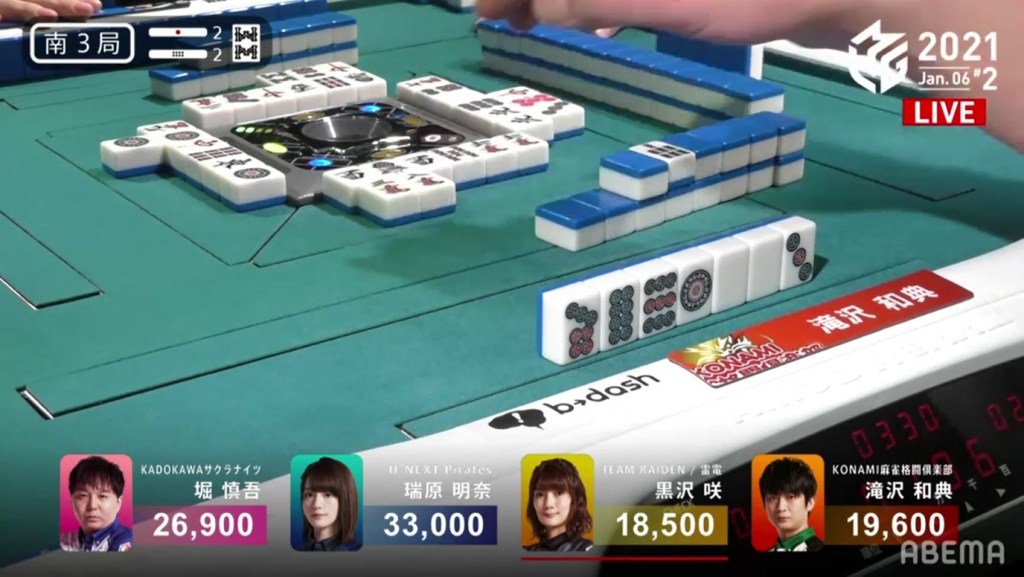
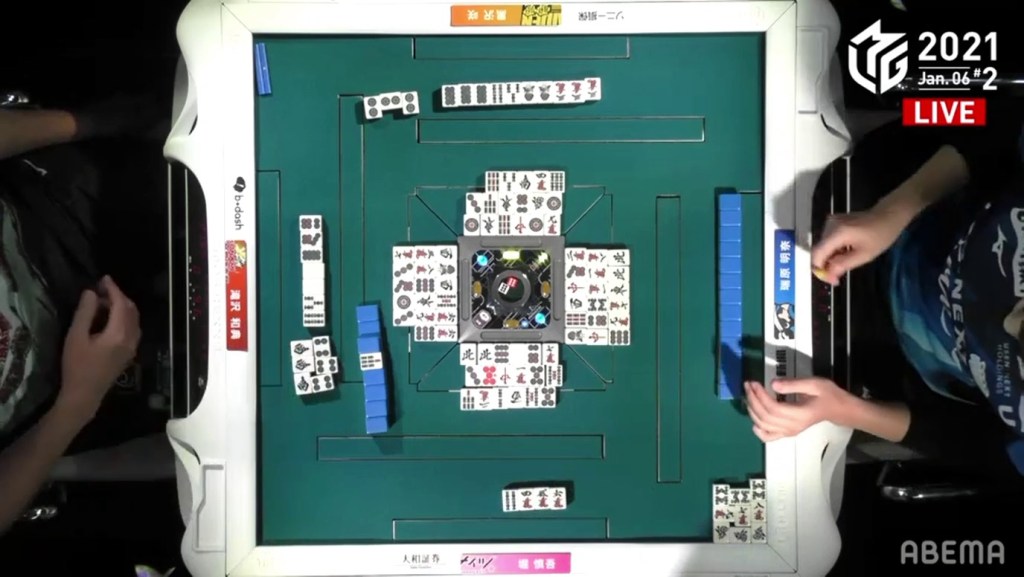
In S3-2, nobody was more than 8,000 points above or below 25,000. From the start, Kurosawa the dealer seemed to have the most promising hand with four pairs, but both Takizawa and Hori had pairs of yakuhai to call. As expected, 2nd place Hori made to early calls to get to 2-shanten with his yakuhai two dora hand. With a 3rd call, he got to iishanten for a mangan minimum hand. Soon after, Takizawa got to iishanten with a call of the souths. With Hori, Takizawa and Kurosawa all iishanten by the middle of the 2nd row, it was a wait to see who would be the first to tenpai. With a call for honitsu, Takizawa was the first to get to tenpai, waiting on a 2p kanchan. Late in the 3rd row, Hori got to tenpai and waited on a 4s tanki wait.
On Takizawa’s very next turn, he draws the 4s.
Very easily, Takizawa could throw it to keep his Double South/Honitsu mangan. However, since Hori threw the 5s from his hand just a turn earlier, Takizawa deemed the 4s to be too dangerous and threw the 1p instead.
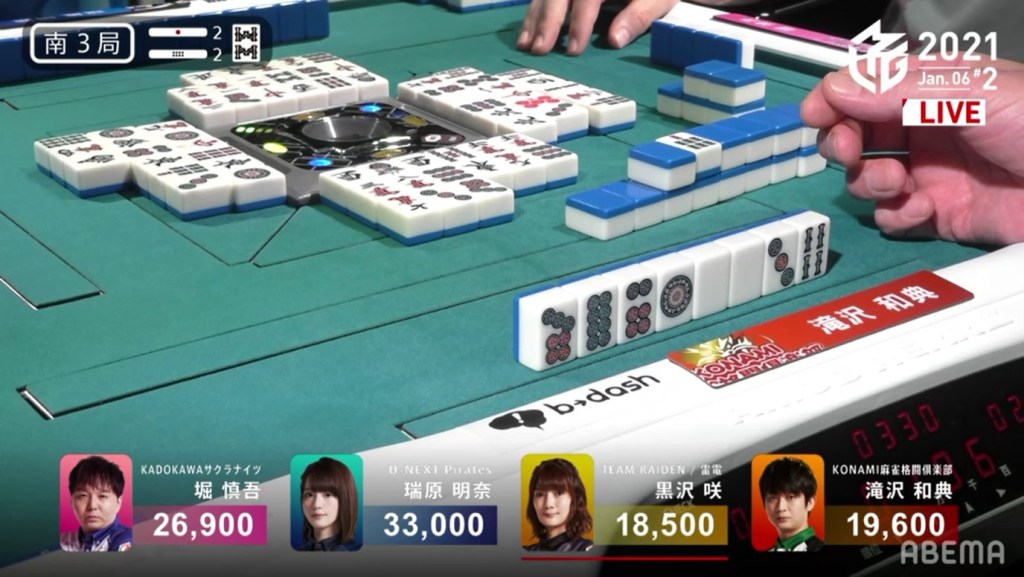
The very next turn, Hori draws and discards the 2p. With the 2p discard, Kurosawa has a choice to call pon for tenpai, then she has a choice of which tenpai to choose. If Kurosawa calls pon and discards the 4s, she would have toitoi as her yaku but deal into Hori. If she chooses discarding the 3s she would be in tenpai but have no yaku.
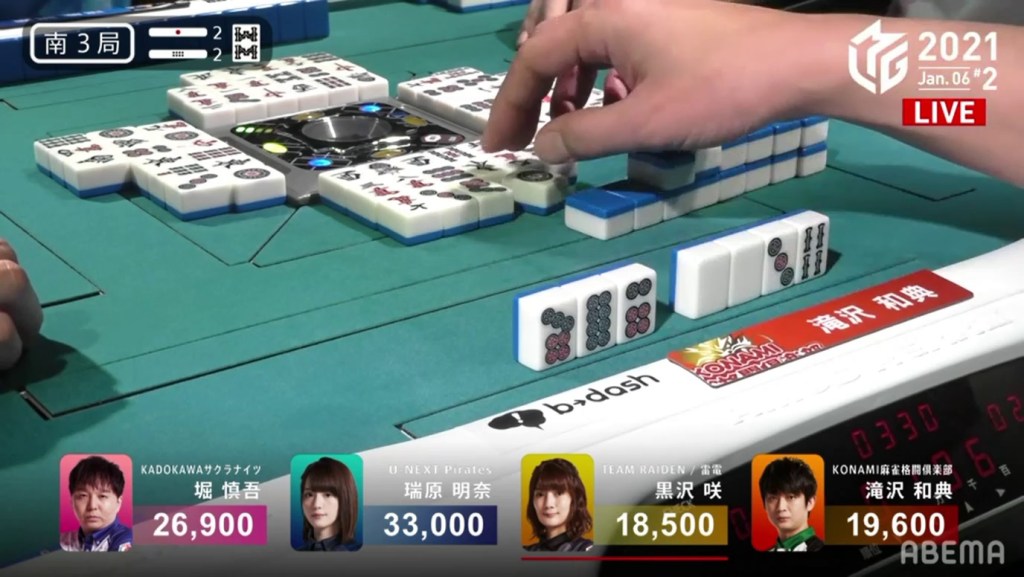
With the hand nearly ending, she chooses to call pon and discard the 3s for the safer tenpai.
On Takizawa’s last draw, he manages to get to tenpai despite dropping his tenpai a turn earlier.
In the end, the hand went to a draw with Kurosawa, Takizawa and Hori all tenpai. In a situation where it would seem someone would deal in, these highly-skilled professionals were able to avoid dealing in.
Riichi After Riichi After Riichi
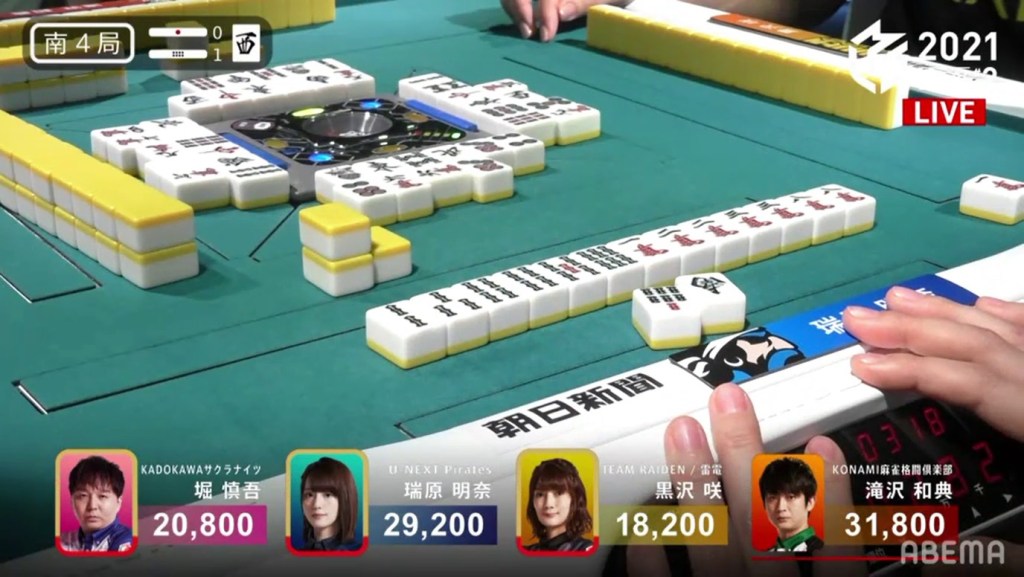
January 6, Game 2, S4-1
Video: https://abema.tv/video/episode/444-12_s30_p535
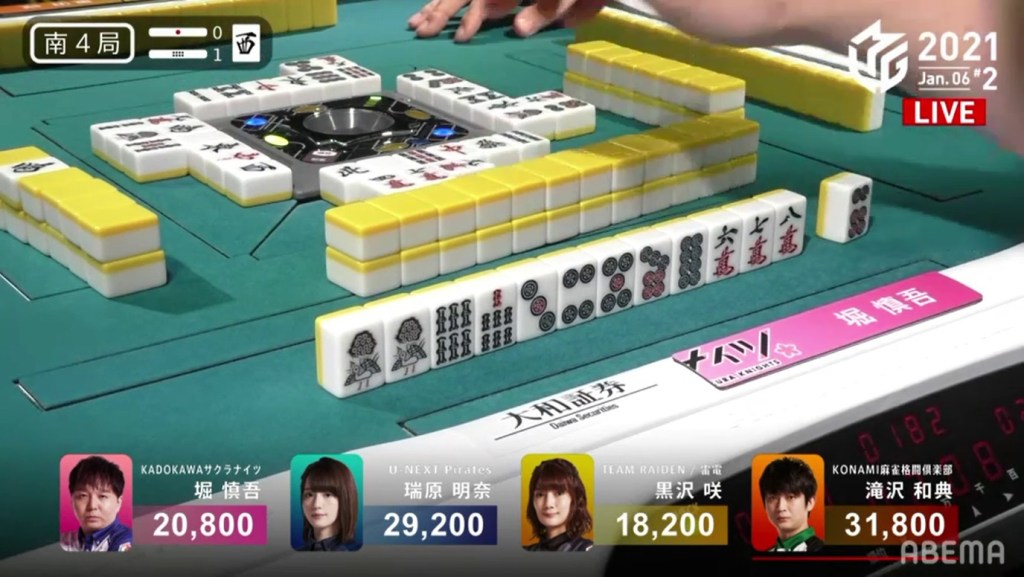
In S4-1, 4th and 3rd place are within 2,600 of each other, as well as 2nd and 1st place. With the placements being so close to each other, anyone could rise or fall with this one hand. All four players had 3-shanten or 4-shanten hands, but Kurosawa seemed to have the mot valuable hand with two red doras in hand. Progress was made by everyone with everyone but Takizawa getting to at least 2-shanten by the end of the 1st row. On turn 9, Hori was the first to get to tenpai, calling riichi on a 58s ryanmen wait. If Hori wins the hand, he would keep 3rd place.
On Mizuhara’s draw on the same turn, she got to tenpai and called riichi on a 14m ryanmen wait. If Mizuhara wins the hand, it would put her into 1st place.
On Kurosawa’s draw, still on turn 9, Kurosawa gets to tenpai and calls riichi on a 3m penchan wait. If Kurosawa were to win by tsumo, she would go from 4th to 1st place and win the game.
The final standings were decided when Mizuhara drew the 1m two turns later to win the hand. Mizuhara wins with Riichi/Tsumo/Pinfu/Iipeikou for 1,300+100/2,600+100 (plus two riichi sticks) to win the game.
Shortcut to Baiman
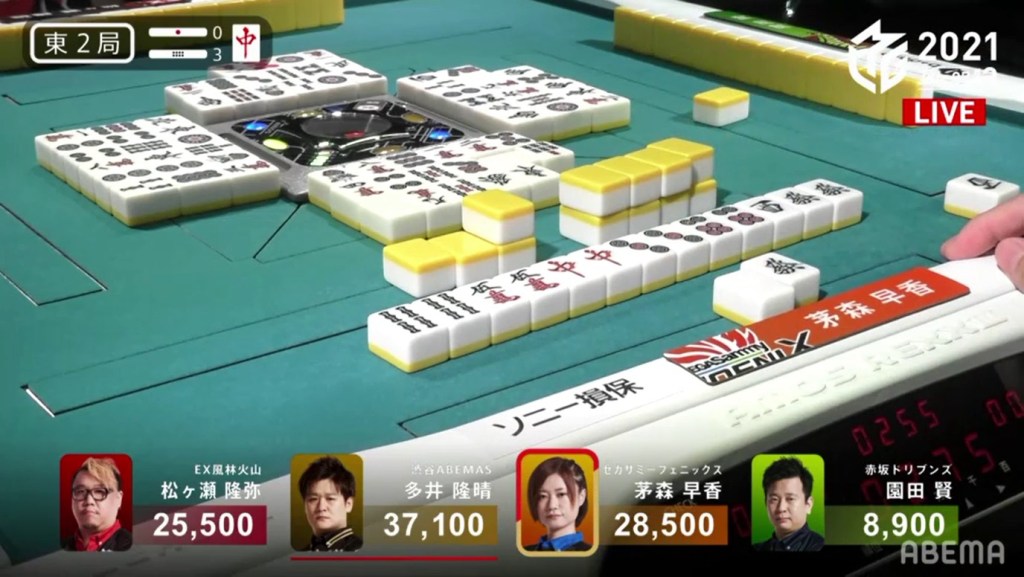
January 7, Game 2, E2-3
In E2-3, Kayamori is in 2nd place and 8,600 behind 1st place Ooi. Her hand starts out with 4 pairs, including a pair of red dragons. Because her other pairs were of middle tiles, the hand was more likely to be chiitoi than toitoi. By the end of the row she had found one more pair and waiting for a 6th pair for tenpai. On turn 11, she finds her pair and calls riichi on a west tanki wait. On Kayamori’s very last draw, she draws the west to win the hand. Revealing two uradora, Kayamori wins with Riichi/Tsumo/Chiitoi/Dora 2/Ura 2 for 4,000+300/8,000+300, taking the lead.
Pure Beauty

January 7, Game 2, S1-0
In S1-0, Kayamori is in the lead, but just by 1,000 points. Her hand starts out with a decent 3-shanten but no clear value or yaku in sight. When Kayamori draws the 1p on turn 2, the options of chanta and junchan come into play. By the end of the row, she is 2-shanten for both junchan and sanshoku, but it all hinges on her being able to pick up the 1s. At the start of the 2nd row, Kayamori draws the needed 1s and on turn 10, she gets to tenpai and stays dama on a 2m kanchan wait. Sonoda gets to tenpai right after and calls riichi on a wide 369s sanmenchan wait, but Kayamori draws the 2m during his ippatsu turn to win the hand. Kayamori wins with Tsumo/Junchan/Sanshoku for 3,000/6,000, plus Sonoda’s riichi stick.
