Highlights
No More Ura San
February 21, Game 1, E4-1
Video: https://abema.tv/video/episode/444-12_s30_p791
In E4-1, Tojo is in 3rd place and 12,600 behind 1st place. Her hand starts out 3-shanten with two completed groups and a ryanmen, but no clear yaku can be seen besides riichi. By turn 3, Tojo is iishanten. Two turns later, Tojo gets to tenpai and calls riichi on a 3m penchan with one dora. With Mizuhara and Matsugase holding poor hands, they both start throwing safe tiles. Through the rest of the 1st and 2nd row, all players avoid dealing into Tojo while still maintaining iishanten hands. Despite these close hands, Tojo draws the 3m before anyone can get to tenpai and wins the hand. Revealing 3 uradora, Tojo wins the hand with Riichi/Tsumo/Dora 1/Ura 3 for 3,000+100/6,000+100. With a hand whose lowest value was 2,600, a lucky tsumo and ura 3 was able to increase the hand’s value almost fivefold.
Strength of the Rhino
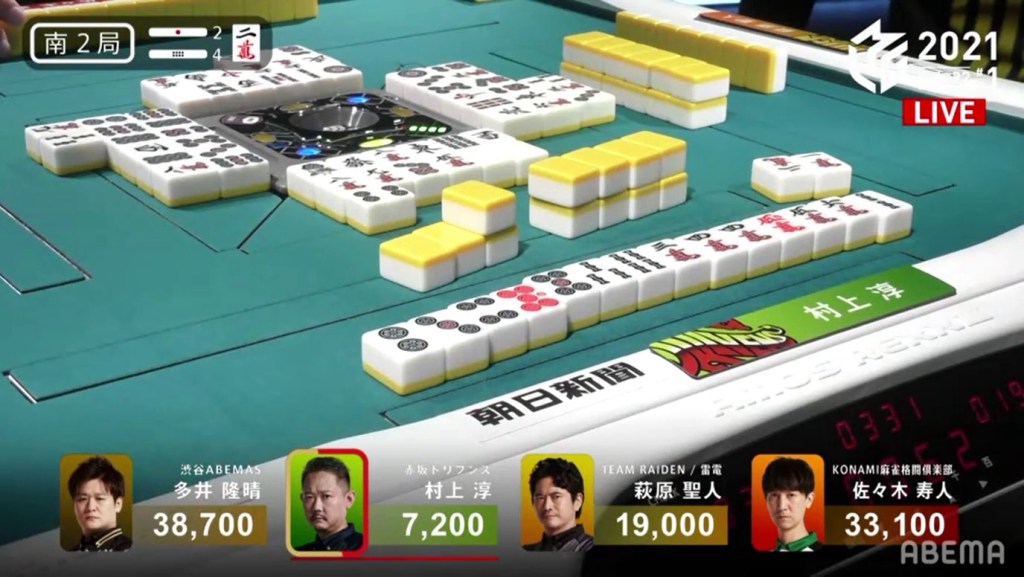
February 22, Game 1, S2-4
Video: https://abema.tv/video/episode/444-12_s30_p801
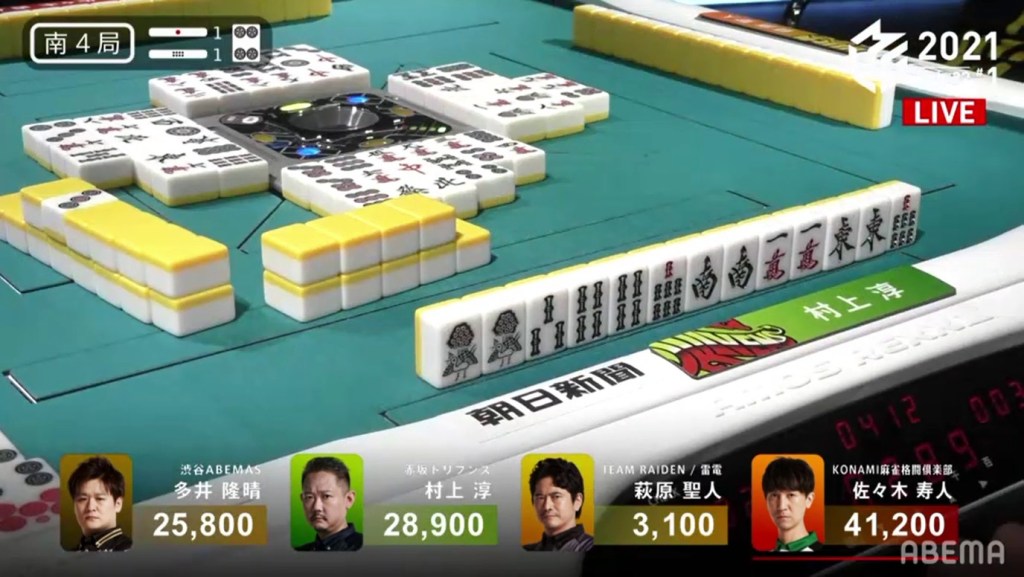
In S2-4, Murakami is the dealer and try to get at least 11,800 to make his way out of 4th place. His hand looks promising for value with two red doras and a pair of white dragon, but was sorely lacking speed at 4-shanten (3-shanten for chiitoi). Connecting and creating blocks and ryanmens, Murakami draws to 2-shanten by the end of the 1st row. As Murakami gets to iishanten in the 2nd row, Hagiwara gets to tenpai on a 3m penchan. As the 2nd row comes to an end, he removes his white dragon pair to go for tanyao and set himself up for tanyao. At the start of the 3rd row, Murakami gets to tenpai and calls riichi on a 25s ryanmen. On the ippatsu draw, Murakami finds the 2s to win the hand. Revealing one uradora, Murakami wins with Riichi/Ippatsu/Tsumo/Pinfu/Tanyao/Aka 2/Ura 1 for 8,000+400 all (plus two riichi sticks). With the huge win for Murakami, he went from 4th place and 11,800 behind to 1st place and 4,100 ahead.
The 128-Second Discard
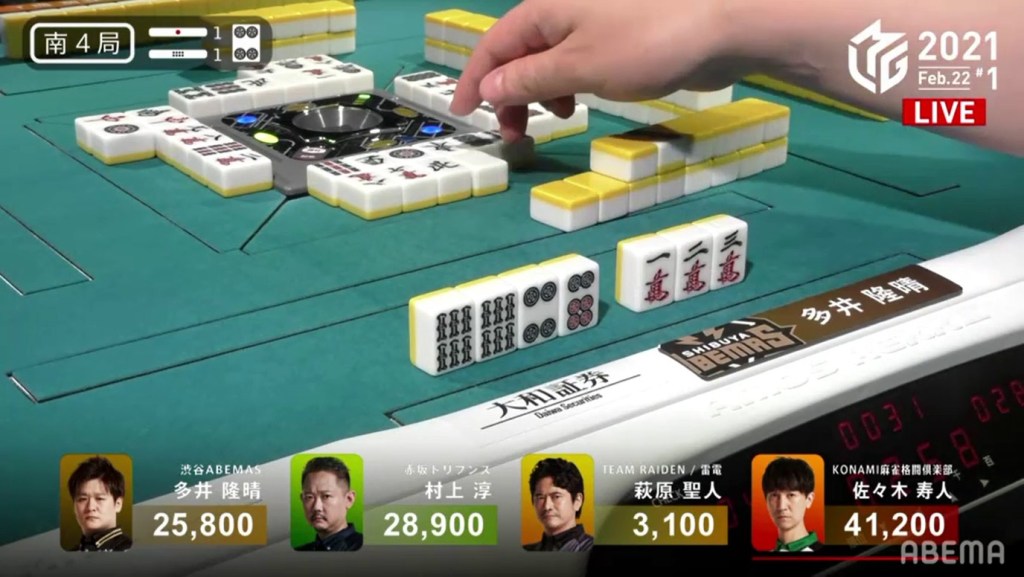
February 22, Game 1, S4-1
Video (Abema.tv): https://abema.tv/video/episode/444-12_s30_p802
Video (Youtube): https://www.youtube.com/watch?v=4R7FLjnTck0
In S4-1, Sasaki is the dealer and in the lead by 12,300, a good position but could easily be lost with a mangan tsumo. With Murakami in 2nd place, he is going to go all out in order to get his team points to escape 7th place. Sasaki starts out 3-shanten with a red 5m and Murakami starts out 2-shanten for chiitoi. By turn 5, Sasaki is iishanten with tanyao in hand. To his left, Ooi has a made a call of the green dragon and makes a 2nd call in the 2nd row to get to tenpai on a 5p kanchan. With three han visible in Ooi’s hand, Sasaki takes defensive measures and begins to fold. If Sasaki can bring the hand to a draw, then he would win the game.
In the 3rd row, Murakami adds more pressure to Sasaki by getting to tenpai and calling riichi on a 3s tanki for chiitoi. Though Sasaki escapes on the ippatsu discard, his next and final draw troubled him.

Needing to defend against two different hands that could send him into 2nd place, Sasaki had to choose carefully between the 11 different tiles he had in hand. Every tile was dangerous to one or both of the players. With a lack of souzu in both of their discards, but 5s was discarded from Ooi just before the riichi. The 5p is right beside the dora, so it would probably mean certain death. That leaves the manzu. Because of the distance between Ooi and Murakami is only 2,100, Ooi’s hand isn’t guaranteed to be the comeback mangan direct hit and could be just the visible 3,900. If Sasaki deals into that, he would remain in 1st place.
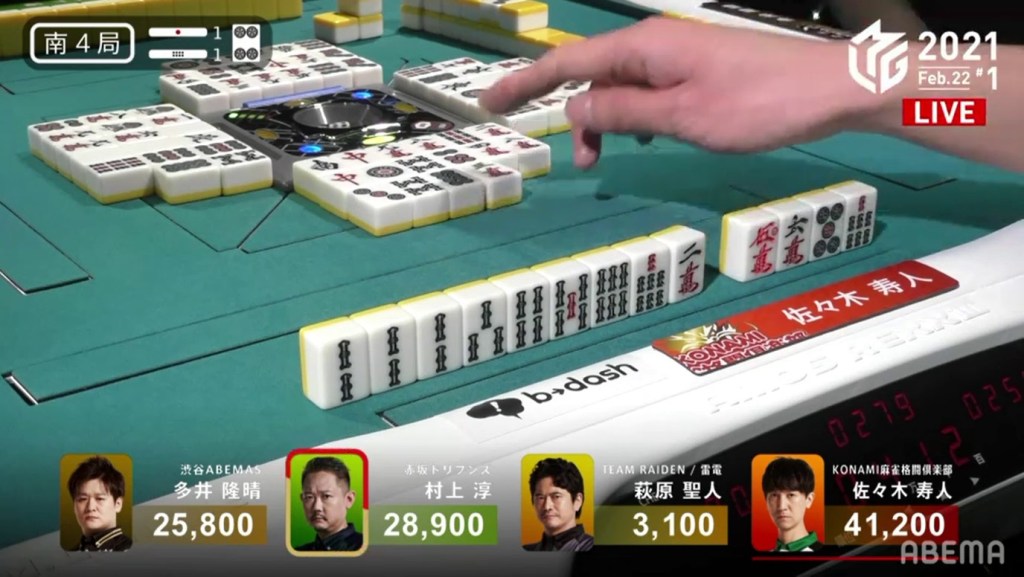
With the 3m being 100% safe against Murakami, Sasaki throws the 3m and lives.
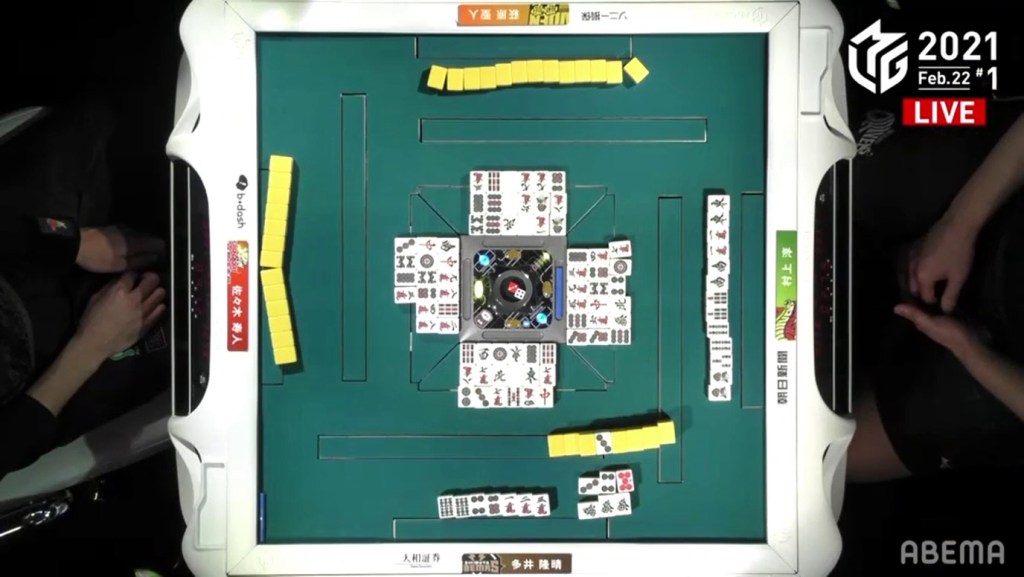
The hand ends in a draw with Ooi and Murakami tenpai, allowing Sasaki to win the game.
Quadruple Riichi and Claiming the Sticks
February 22, Game 2
Video: https://abema.tv/video/episode/444-12_s30_p803
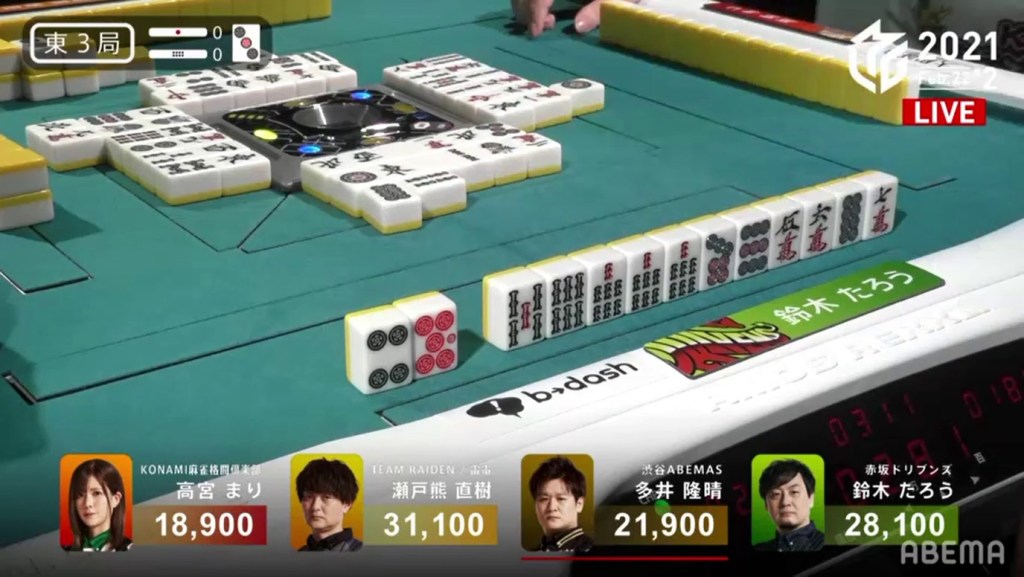
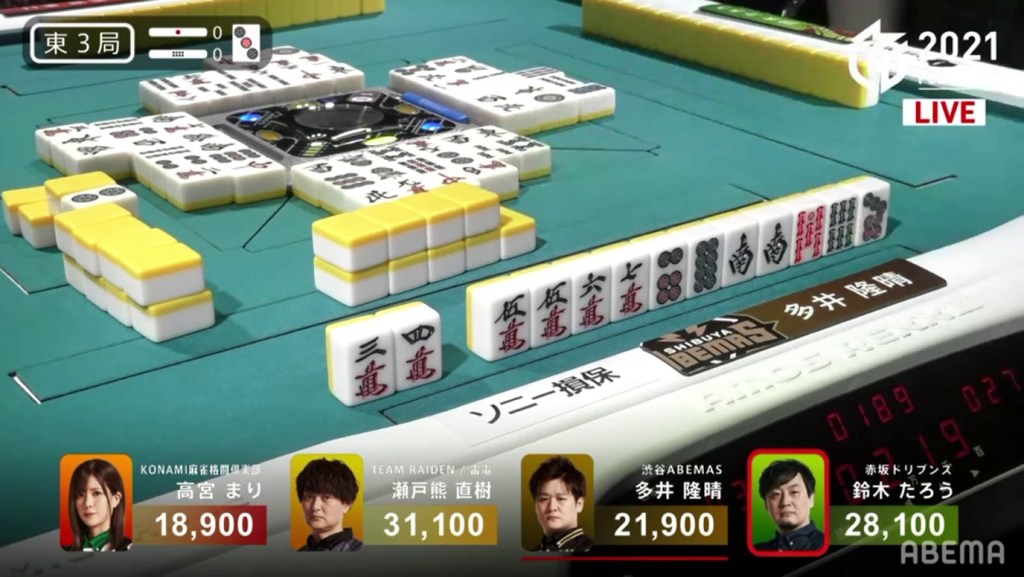
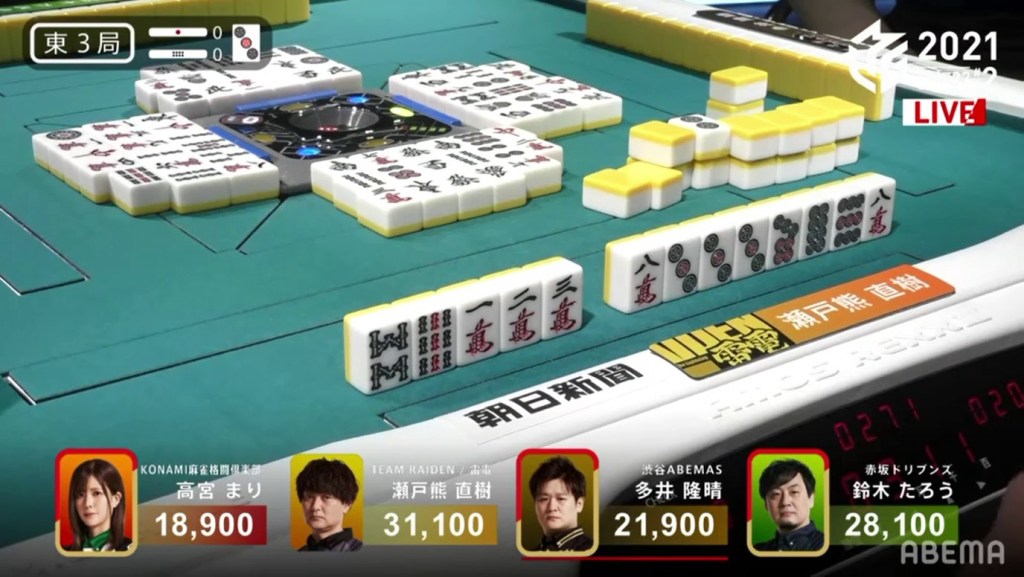
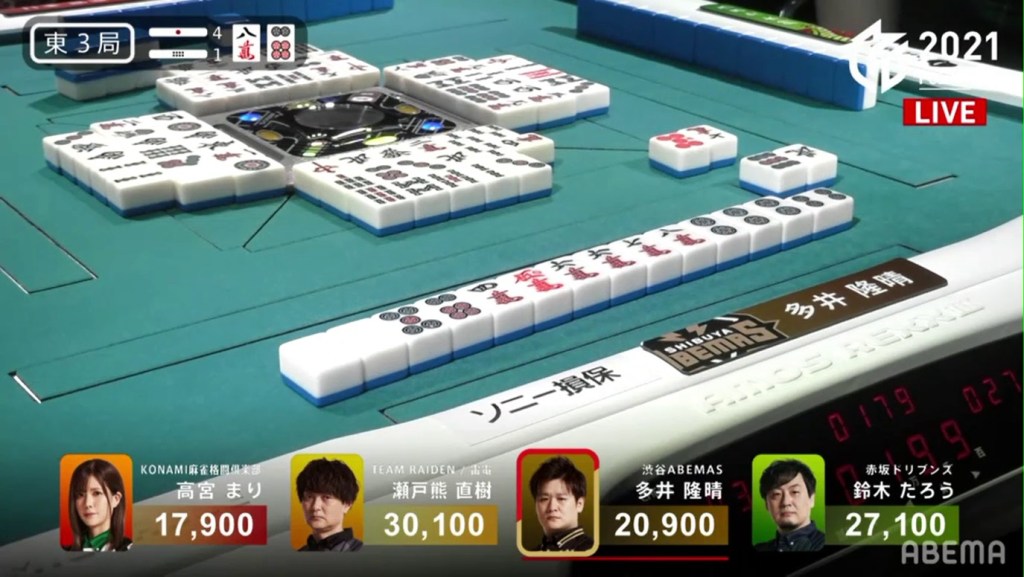
In E3-0, 12,200 separates 1st and 4th. Looking around the table, both Takamiya and Setokuma lead the group with their 3-shanten hands, while Ooi and Taro and 4 and 5-shante, respectively. By the end of the 1st row, everyone except Setokuma is 2-shanten. By the end of the 2nd row, everyone but Takamiya is iishanten, with Setokuma ahead in the value department with an ankou of dora 3p. The first of the four to get to tenpai is Taro, who calls riichi on a 36p ryanmen two discards into the 2nd row.
Two turns later, Ooi gets to tenpai and calls riichi on a 47s ryanmen.
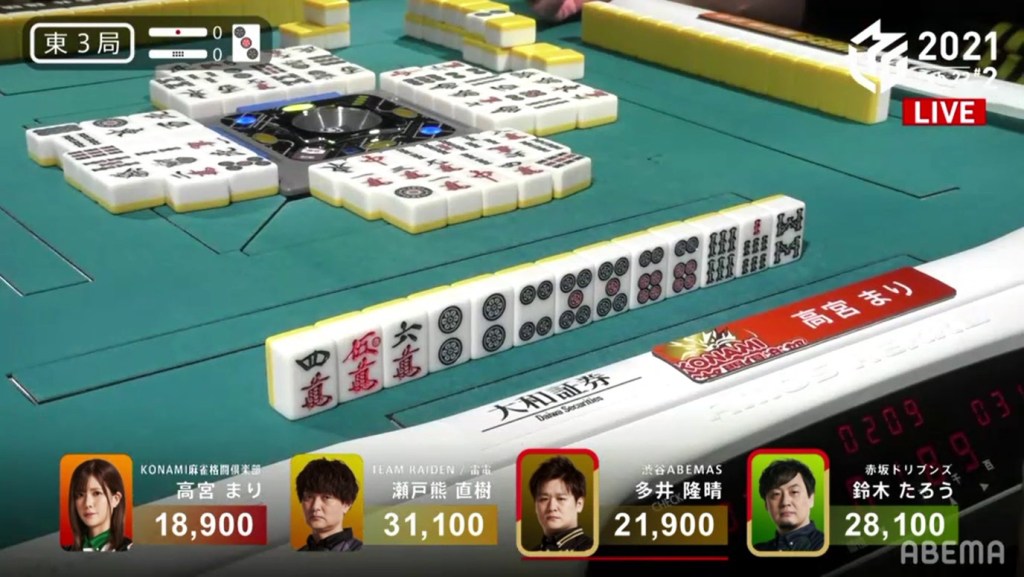
In the ippatsu turn, Takamiya gets to tenpai on a 47p ryanmen. A turn later and with three tiles left in the wall, she decides to call riichi.
With two tiles left in the wall, Setokuma gets to tenpai and decides to call the fourth riichi, waiting on a 7s penchan.
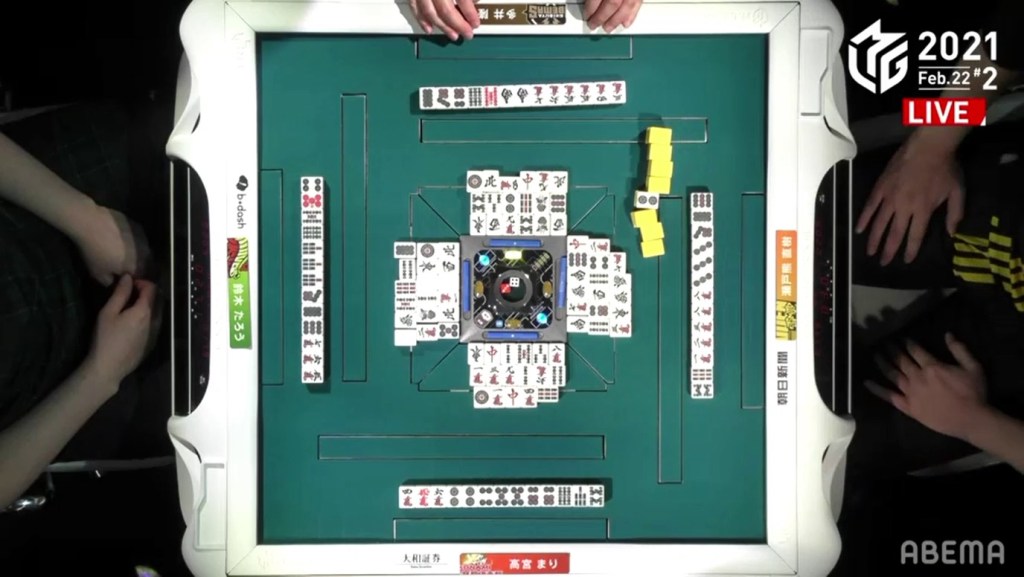
The final two tiles missed for all players and the hand went to a draw with (of course) all players being tenpai.
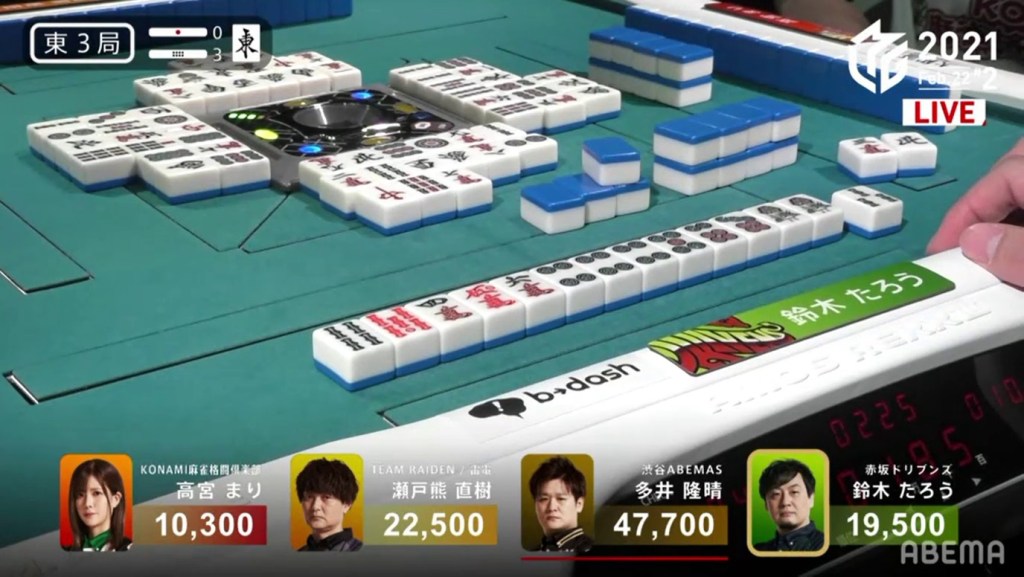
In E3-1, 4,300 points are up for grabs after the previous 4-riichi hand went to a draw. Ooi is the dealer this hand and starts out 4-shanten with a red 5m and an 8m dora. By the end of the 1st row, Ooi has paired up the white dragons and is 2-shanten. Near the end of the 2nd row, Setokuma is the first one to get to tenpai, staying dama on a 6m kanchan. Immediately after, Ooi gets to tenpai and calls riichi on a 47p ryanmen. Setokuma keeps pushing and actually calls a kan in the 3rd row, making Ooi’s 6p a dora. But when Setokuma draws the dangerous east, he ends up folding his hand, leaving Ooi to rely on drawing his tile himself. On the very last tile in the wall, Ooi draws the 4p to win the hand. Ooi wins with Riichi/Tsumo/Haitei/Dora 2/Aka 1 for 6,000+100 all, including 4,000 in riichi sticks to move into 1st place.
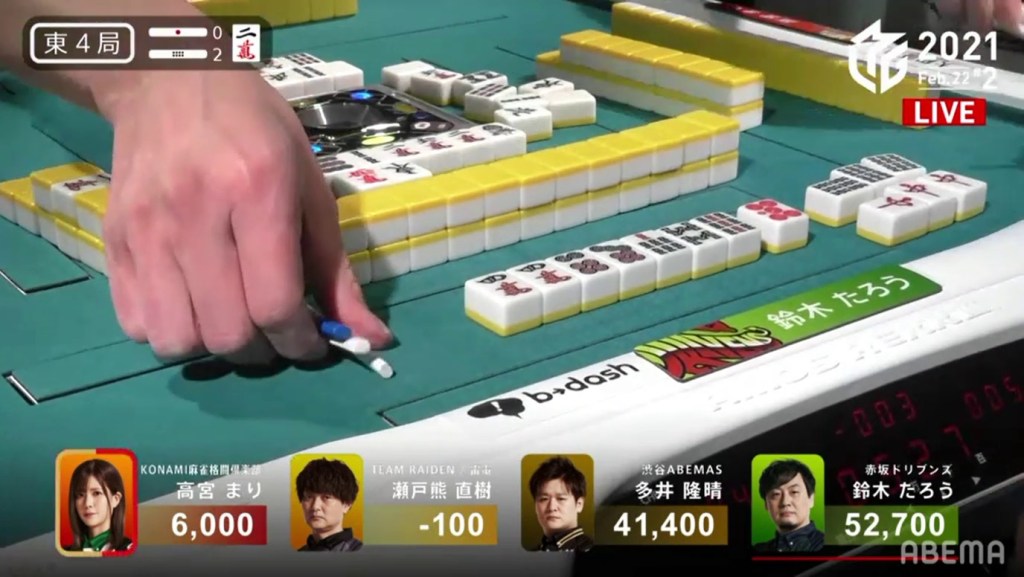
Taro Time
February 22, Game 2
In E3-3, Taro is in 3rd place and would have to get 28,200 in order to move into 1st place. He starts out 3-shanten, though difficult to advance with two kanchans and a penchan. By the end of the row, he has picked up two red fives and has advanced his hand to 2-shanten with a chance at sanshoku. At the end of the 2nd row, Taro gets to tenpai and calls riichi on a 36s ryanmen (though without a sanshoku). In the middle of the 3rd row, Taro draws the 3s and wins the hand. Taro wins with Riichi/Tsumo/Aka 2/Ura 1 for 2,000+300/4,000+300, moving into 2nd place.
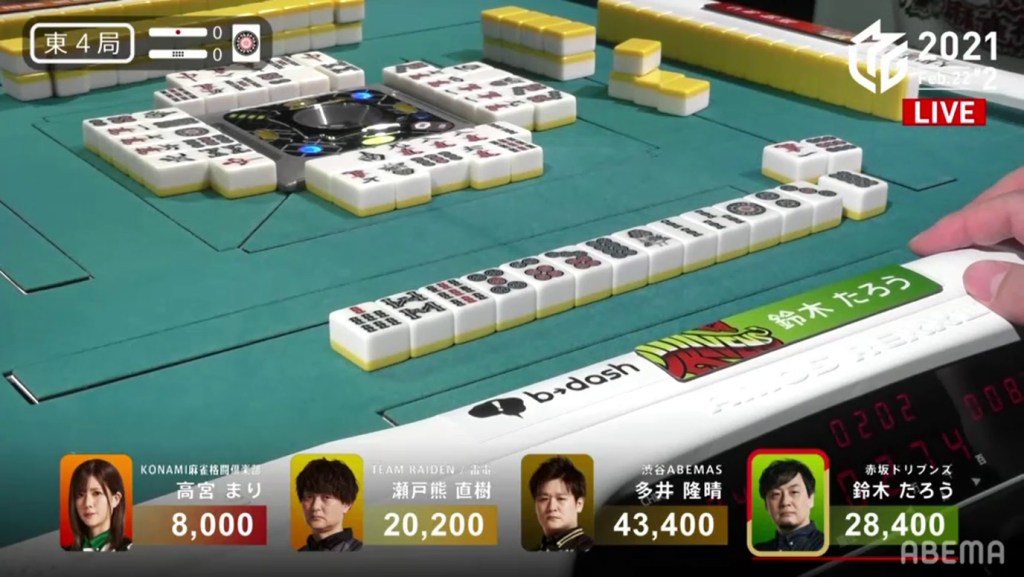
In E4-0, Taro is the dealer and now only 15,000 behind 1st place. He starts out 2-shanten with two completed sequences. On turn 2, he draws the dora and advances to iishanten. In the middle of the 2nd row, Taro gets to tenpai and calls riichi on a 58p nobetan. A few turns later, Taro draws the 8p to win the hand. Taro wins with Riichi/Tsumo/Dora 1 for 2,000 all.
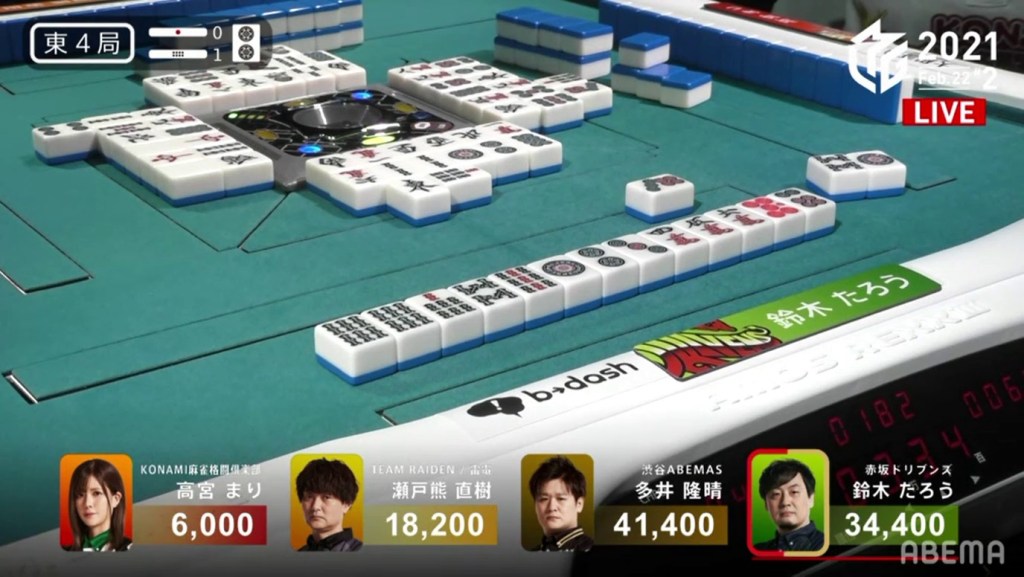
In E4-1, Taro is only 7,000 behind 1st place and starts out 3-shanten with a red 5p. Drawing a dora and finishing a penchan, he gets to iishanten by the start of the 2nd row. Around the same time, Setokuma gets to tenpai on a 3m kanchan. Though he fails to advance his hand by the end of the row, he does get to tenpai near the start of the 3rd row and calls riichi on a 47p ryanmen. On the ippatsu turn, Setokuma draws a discards the 7p to win the hand. Taro wins with Riichi/Ippatsu/Pinfu/Dora 1/Aka 1/Ura 1 for 18,000+300 to bring Taro above 50,000.
In E4-2, Taro starts out 2-shanten with a 2m dora and a pair of red dragons. Quickly, Taro calls the red dragon and calls pon on the 6s to get to tenpai on a 58p ryanmen. Challenging Taro before the end of the 1st row, Takamiya gets to tenpai and calls riichi on a 3p kanchan. A few turns later, Taro draws the red 5p to win the hand. Taro wins with Red Dragon/Aka 1 for 1,000+200 all.
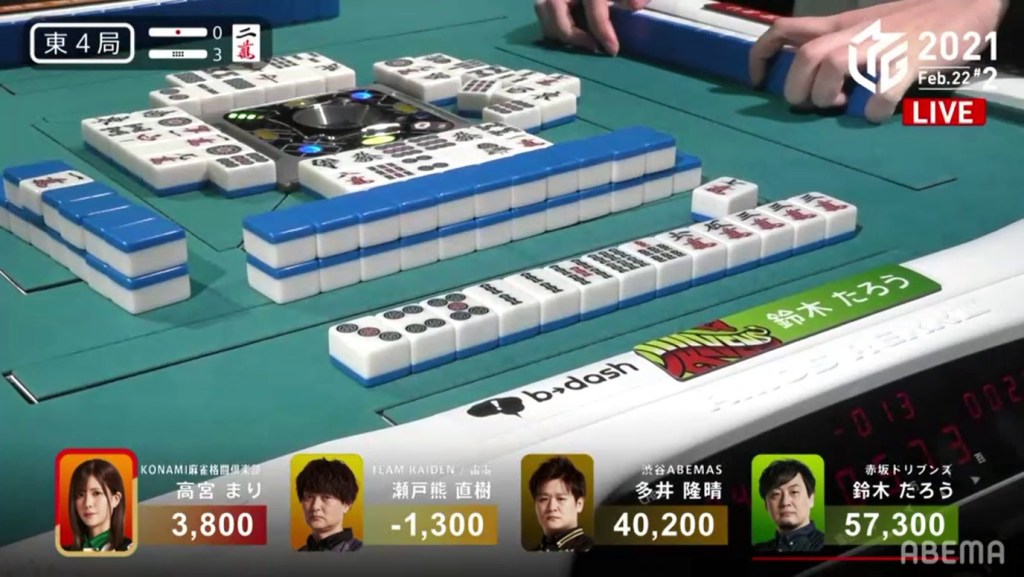
In E4-3, Taro starts out 3-shanten and has a ryanmen and a completed sequence. By the end of the 1st row, Taro has only advanced to 2-shanten. At the end of the 2nd row, Taro is tenpai and waits dama on a 47m ryanmen. Almost immediately after, Takamiya gets to tenpai and calls riichi on a 58p ryanmen. As Setokuma tries to defend against Takamiya’s riichi, he throws the 7m and ends up dealing into Taro. Taro wins the hand with Tanyao only for 2,000+900 (plus Takamiya’s riichi stick) to bring his score above 60,000.
In just 5 hands, Taro went from 19,500 to 61,200, increasing his score threefold and bringing in well-needed points for his team.
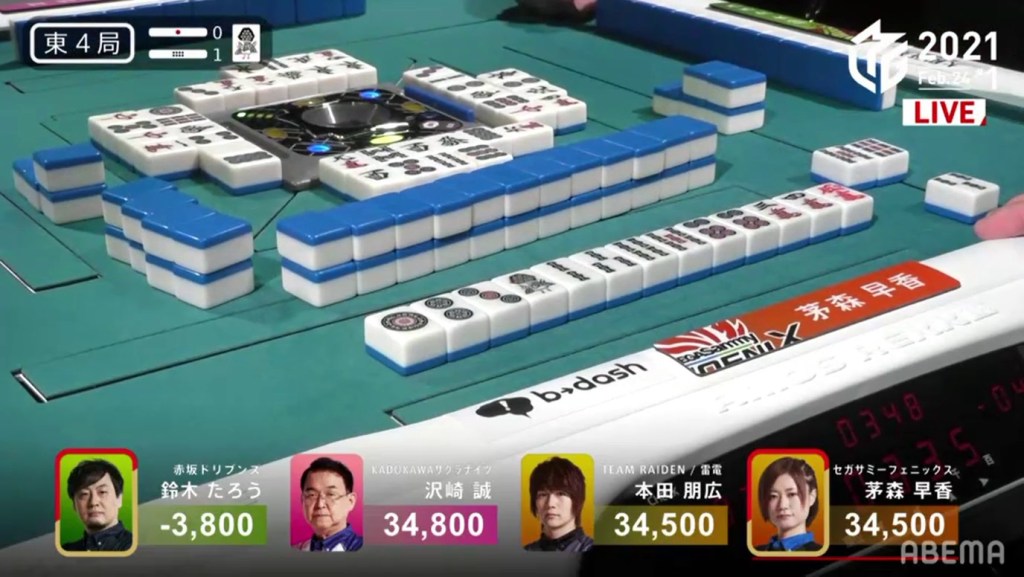
Much Mangan
February 24, Game 1
The first game of February 24 (Game 161) featured many mangans, including 5 mangans in a row.
In E1-0, Honda hits Taro who was in riichi with a Tanyao/Dora 2/Aka 1 for 8,000 (plus his riichi stick)

In E3-1, Sawazaki overcomes a turn 5 riichi, calls pon on an east, gathers some dora and calls ron off of Taro just as he tries to call a chasing riichi. Sawazaki wins the hand with East/Dora 2/Aka 2 for 8,000+300

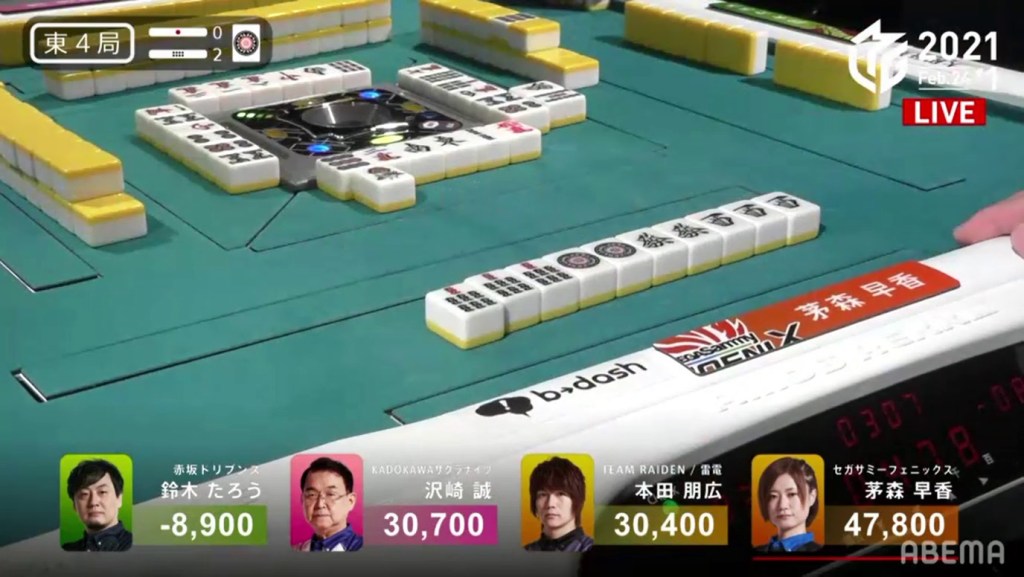
In E4-0, Kayamori the dealer calls pon on the double east, a pon on the norths and a ron off of Taro’s red 5s for Double East/Dora 2/Aka 1 for 12,000.
In E4-1, Kayamori’s riichi beats out Taro’s chasing riichi with Riichi/Tsumo/Pinfu/Dora 1/Aka 1 for 4,000+100 all (plus Taro’s riichi stick).
Video: https://abema.tv/video/episode/444-12_s30_p811
In E4-2, Taro deals again into Kayamori’s hand, this time with Toitoi/Green Dragon/Dora 2 for 12,600, pushing Taro below -21,000

In E4-3, Taro finally gains points with his row 1 riichi and ippatsu ron off Kayamori for Riichi/Ippatsu/Tanyao/Aka 1/Ura 1 for 8,000+900.
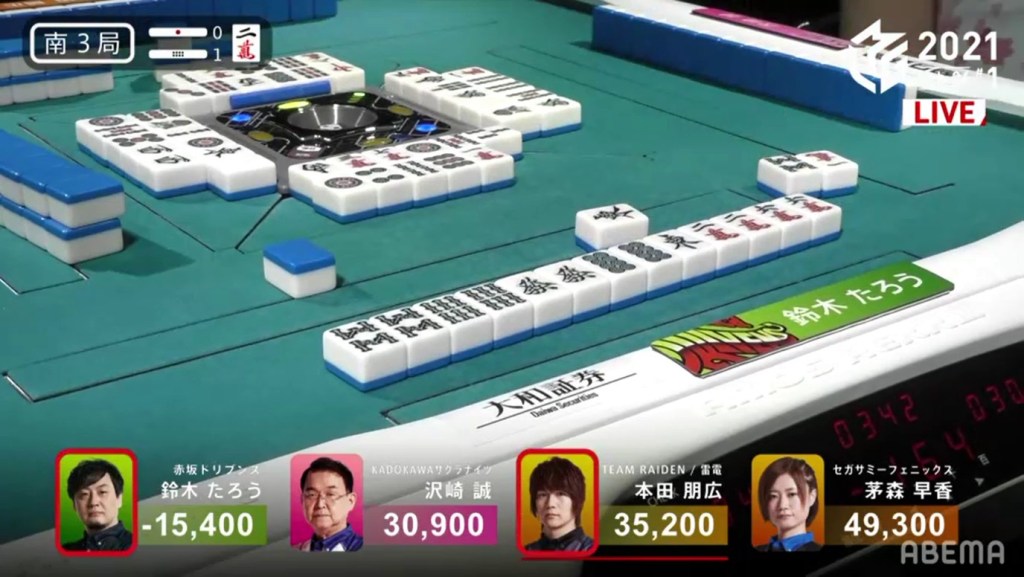
And finally, in S3-1, Taro riichi beats Honda’s chasing riichi with Riichi/Chiitoi/Dora 2 for 8,000+300 (plus Honda’s riichi stick).
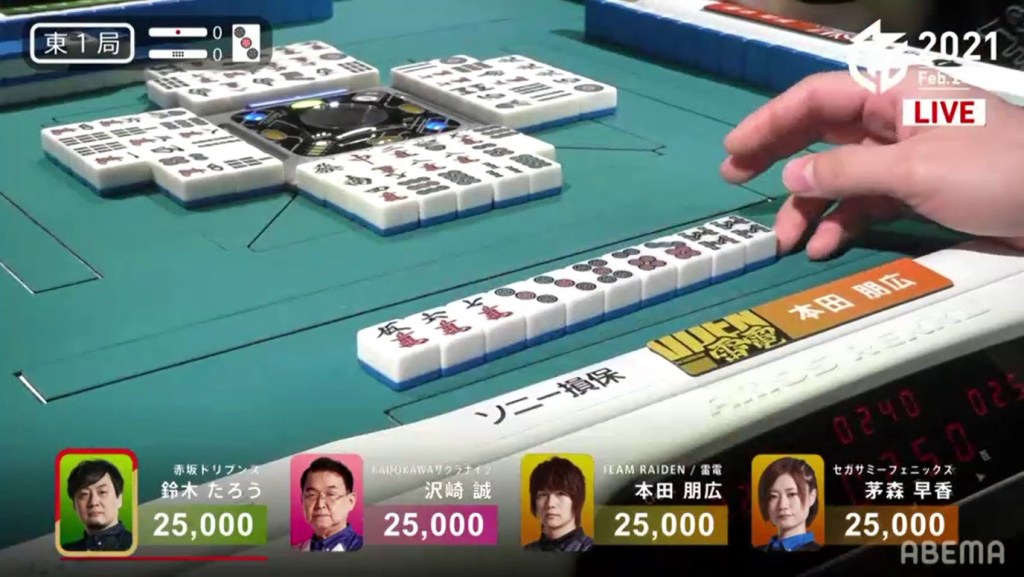
Rejecting Double Riichi
February 24, Game 2, S1-0
Video: https://abema.tv/video/episode/444-12_s30_p812
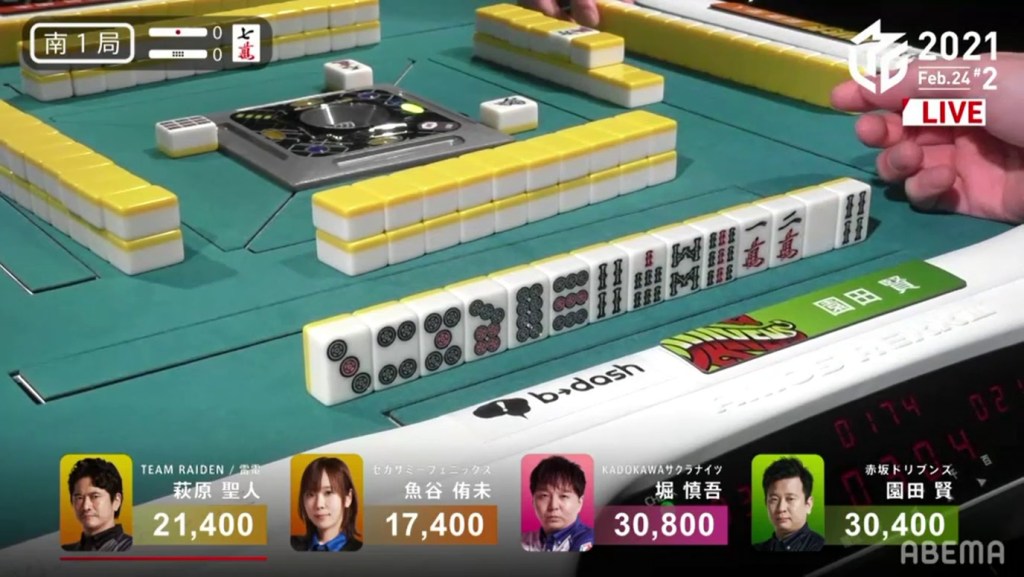
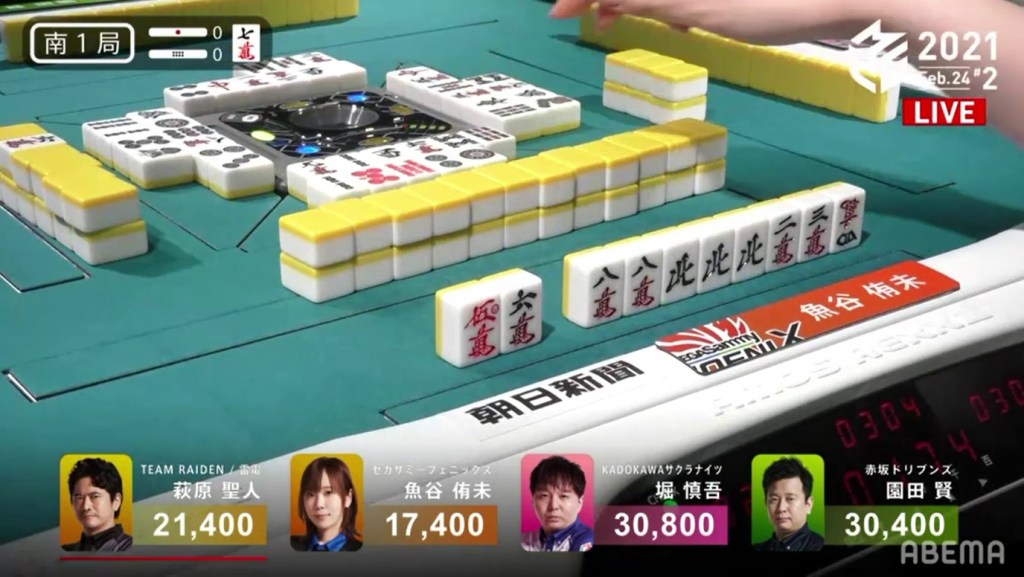
In S1-0, Sonoda is 400 behind 1st place and 4th place Uotani is 4,000 behind 3rd place Hagiwara. On Sonoda’s first 14 tiles, Sonoda has the chance to call a double riichi! However, his hand would only have double riichi with a bad 3m penchan if he chooses to.
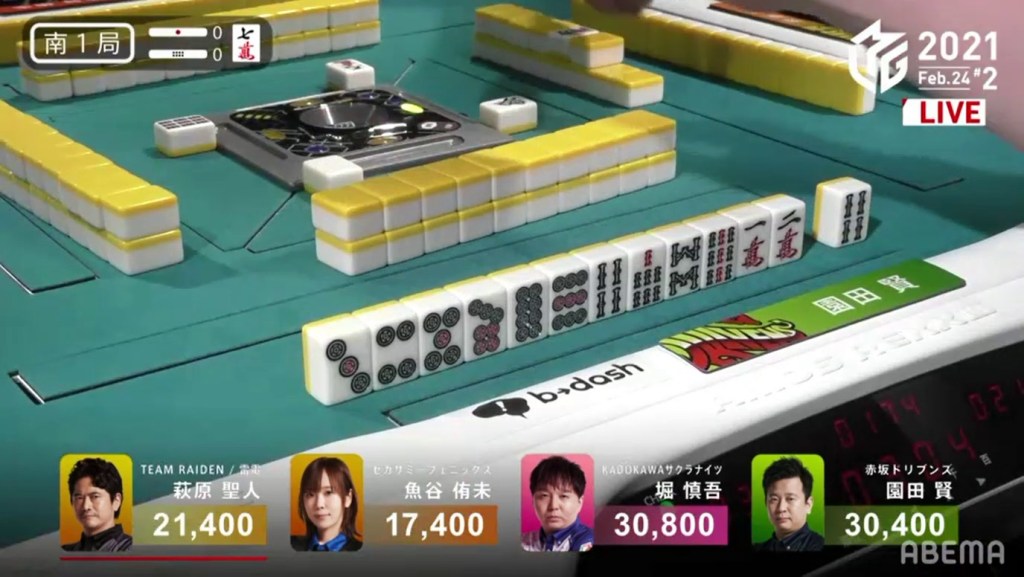
As a result, Sonoda decides to break up his penchan to possibly get a better wait pinfu or a 789 sanshoku. By turn 5, Sonoda’s hand has a more favourable iishanten with good chances at either pinfu or sanshoku with one dora.
In the 2nd row, Uotani pushes her hand to a honitsu with a pon of souths. Approaching the end of the 2nd row, Uotani gets to tenpai and waits on a 147m sanmenchan.
In the 3rd row, Hagiwara gets to tenpai and calls riichi on a 6p tanki.
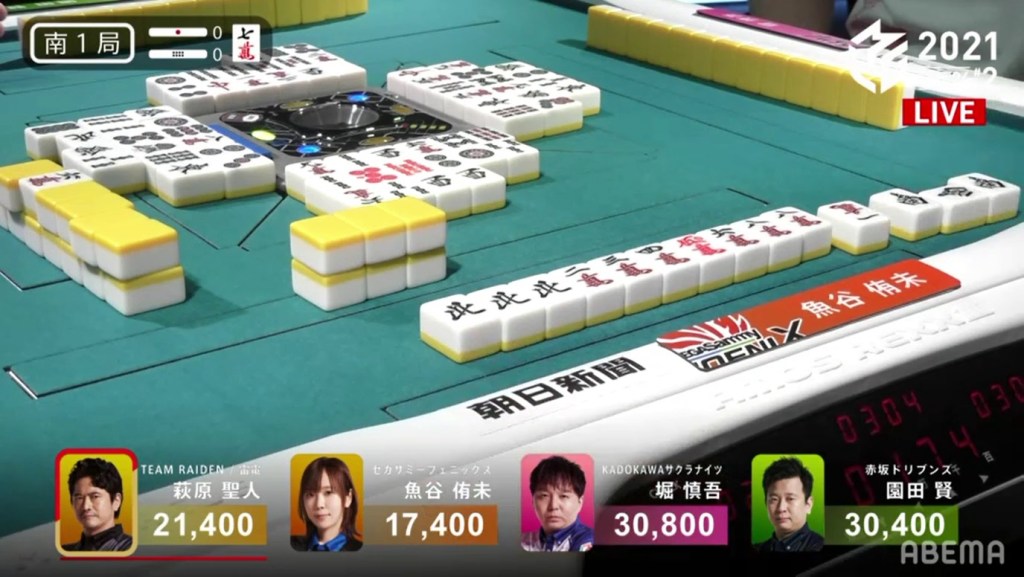
A few turns later, Uotani draws the 1m and wins the hand. Uotani wins with Honitsu/South/Aka 1 for 2,000/4,000 (plus Hagiwara’s riichi stick) to move into 3rd place.
Influential All Last
February 24, Game 2, S4-0
Video: https://abema.tv/video/episode/444-12_s30_p813
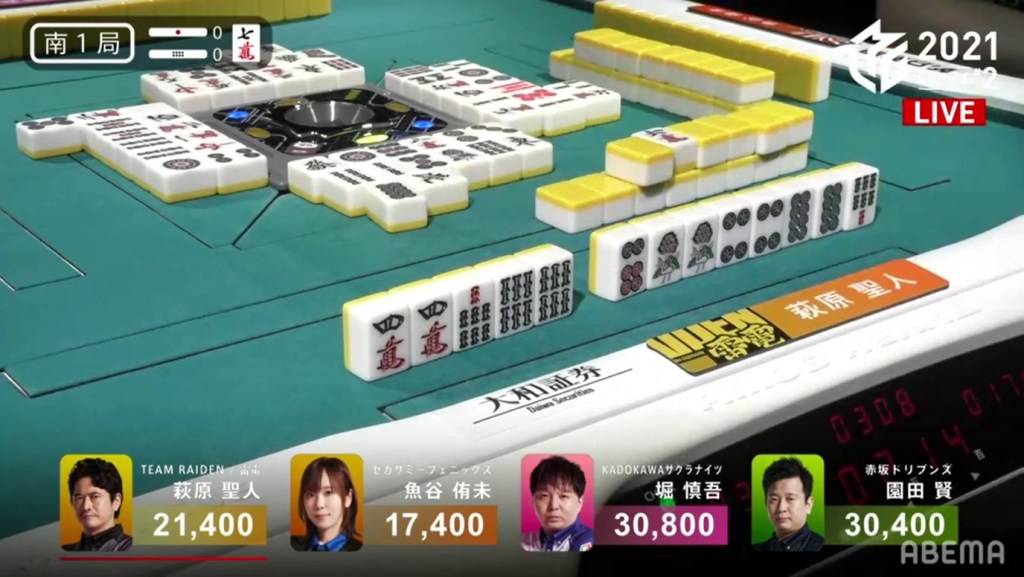
In S4-0, 4th place Hagiwara is 8,000 behind 3rd place Uotani and 2nd place Hori is 1,600 behind 1st place dealer Sonoda. With all players having something to gain with a win, the players will be sure to push. Both Hagiwara and Sonoda start with 2-shanten for chiitoi, with Hagiwara also 2-shanten for a standard hand with a red 5m and a 6p dora. By the end of the 1st row, both players have strayed from chiitoi and Hagiwara advances his hand to iishanten. At the start of the 3rd row, Hagiwara gets to tenpai and calls riichi on a 47m ryanmen. With a tsumo or a 4m ron, Hagiwara would either tie or move into 3rd place. In the middle of the 3rd row, Hagiwara draws the 7m to win the hand. Hagiwara wins with Riichi/Tsumo/Dora 1/Aka 1 for 2,000/4,000. Because the space between Hori and Sonoda was only 1,600 and Sonoda was the dealer, Hagiwara’s win moved Sonoda into 2nd place and Hori into 1st place.
Dama Time
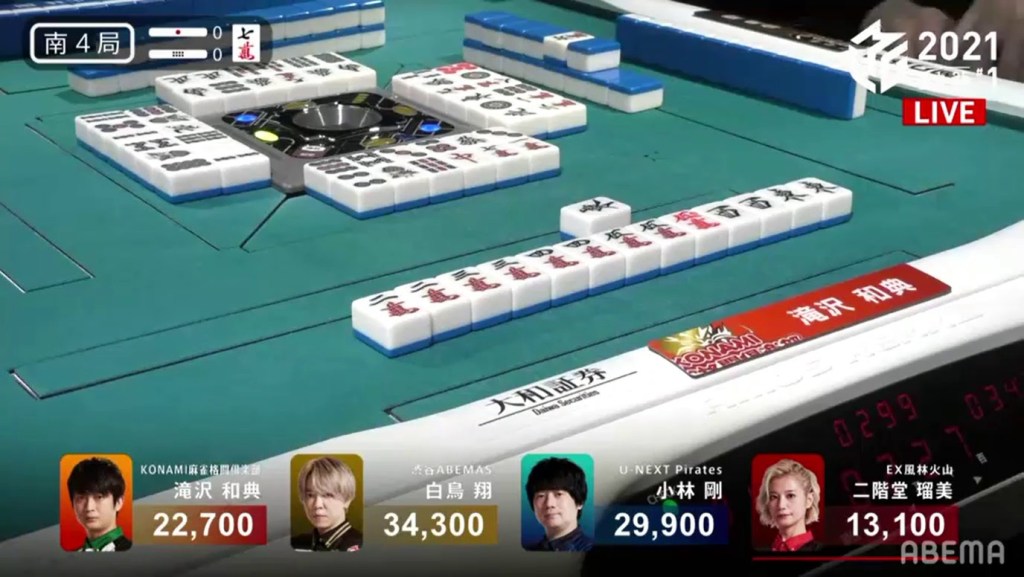
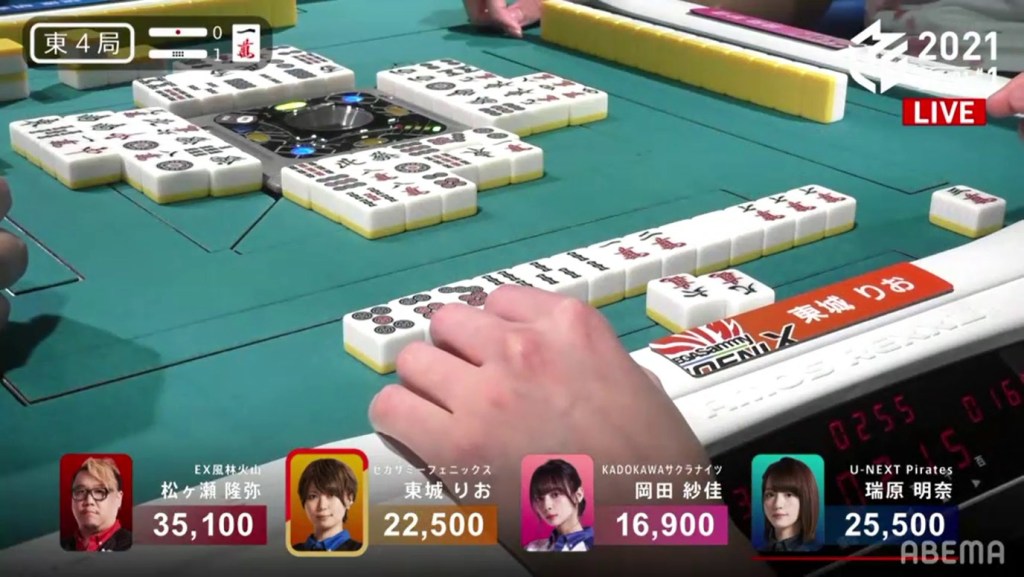
February 25, Game 1, S4-0
Video: https://abema.tv/video/episode/444-12_s30_p822
In S4-0, Takizawa is in 3rd place, 7,200 behind 2nd and 12,400 behind 1st. He starts out 3-shanten for chiitoi with a single 7m dora. With the need for value and only three tiles that aren’t either manzu and honours, his hand naturally progressed to honitsu. By the end of the row, he has picked up a red 5m and has progressed to 2-shanten. At the end of the 2nd row, 1st place Shiratori gets to tenpai and waits on a 47s ryanmen. Soon after, Takizawa gets to tenpai and stays dama on an east/west shanpon. If Takizawa had called riichi, it would have given too much attention to his hand and made it obvious that he’s tenpai for honitsu. Instead, he chooses the stealthy approach wand waits to win by tsumo or a direct hit off of Shiratori. Immediately after, Shiratori draws and discards the east, dealing into Takizawa. Takizawa wins the hand with Honitsu/Iipeikou/Aka 1 for 8,000, moving him into 1st place.
Yakuman Tenpai?

February 25, Game 2, S2-0
In S2-0, Matsumoto is in 1st place and 13,400 ahead of 2nd place. His hand starts out 4-shanten with a white dragon pair. On turn 3, Matsumoto pairs up the green dragon. With a singleton of the red dragon and two reds left in the wall, the possibility for daisangen is still possible. On turn 4, he draws a red dragon, starting the real possibility of daisangen. On turn 6, Matsumoto got it started with a pon of the white dragon for 2-shanten. In the 2nd row, Matsumoto draws to iishanten.
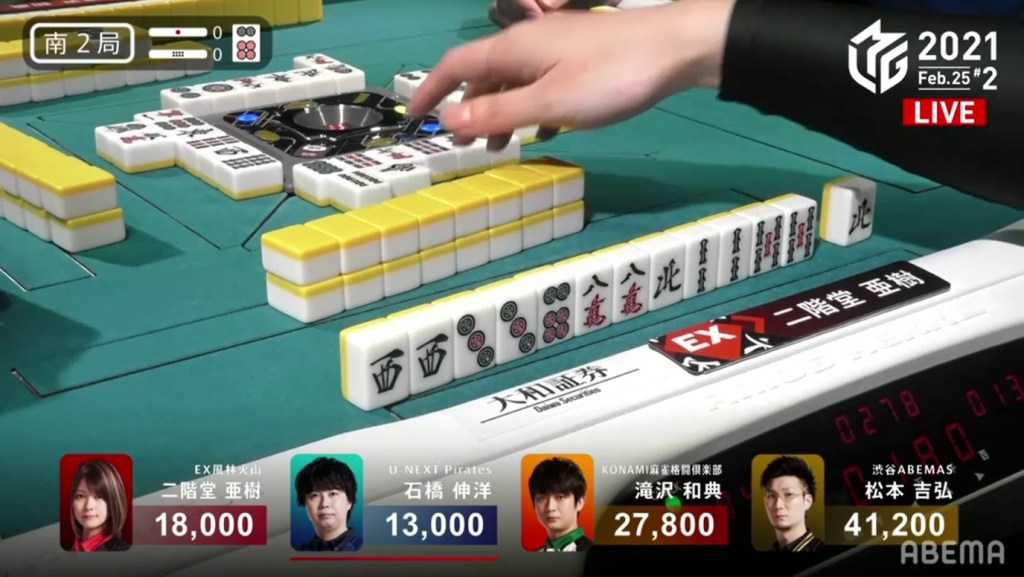
Right after Matsumoto gets to iishanten, Aki gets to tenpai and calls riichi on a 6p dora tanki. Immediately after, Ishibashi draws the red dragon and keeps it in hand, making it difficult for Matsumoto to get his yakuman.
On the ippatsu draw, Aki draws and discards the green dragon. Matsumoto immediately calls pon and gets to tenpai on a 3s/red dragon shanpon. However, with the last red dragon in Ishibashi’s hand, the chances of yakuman are low (though Ishibashi has been known to do some dangerous things…).
At the end of the 1st row, Aki draws and discards the 3s and deals into Matsumoto. Matsumoto wins the hand with Shousangen/Green Dragon/White Dragon for 8,000, plus Aki’s riichi stick.
Matsumoto Time

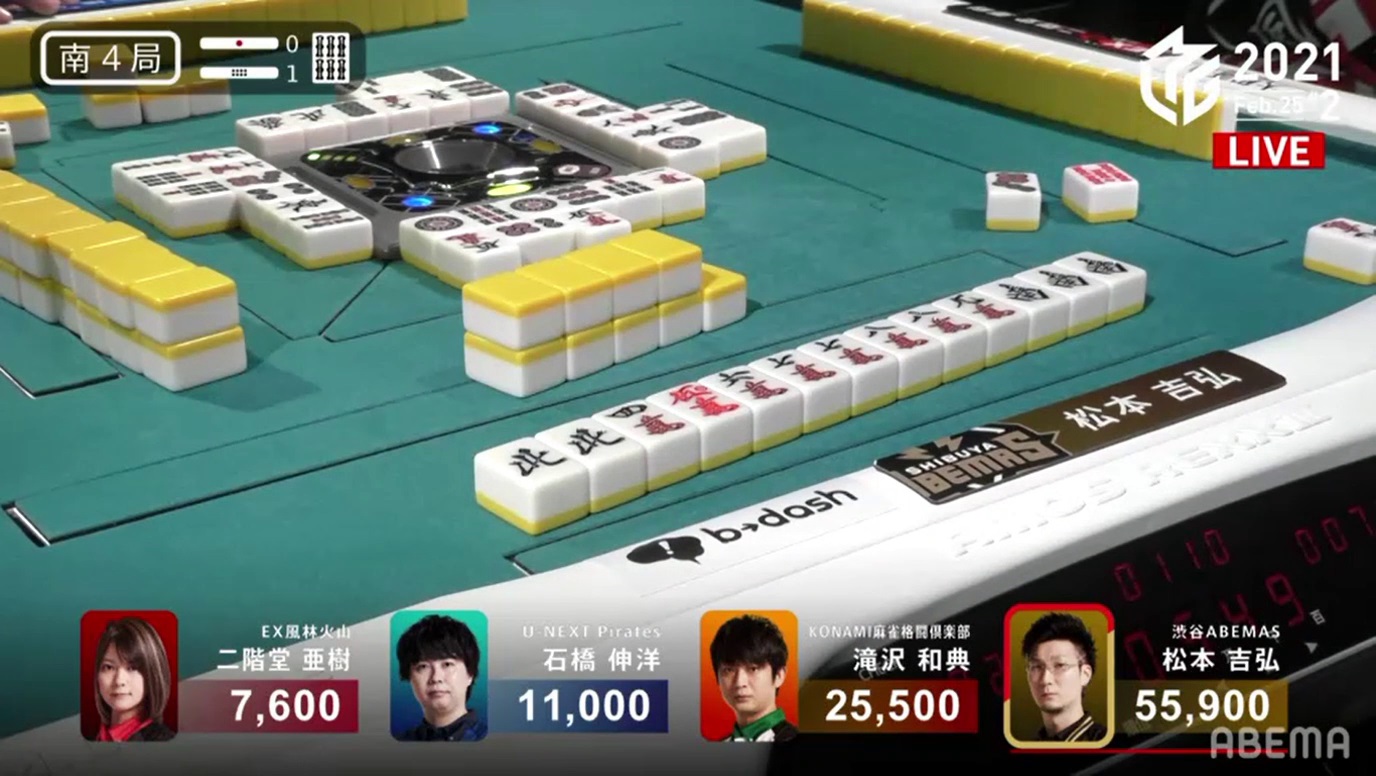
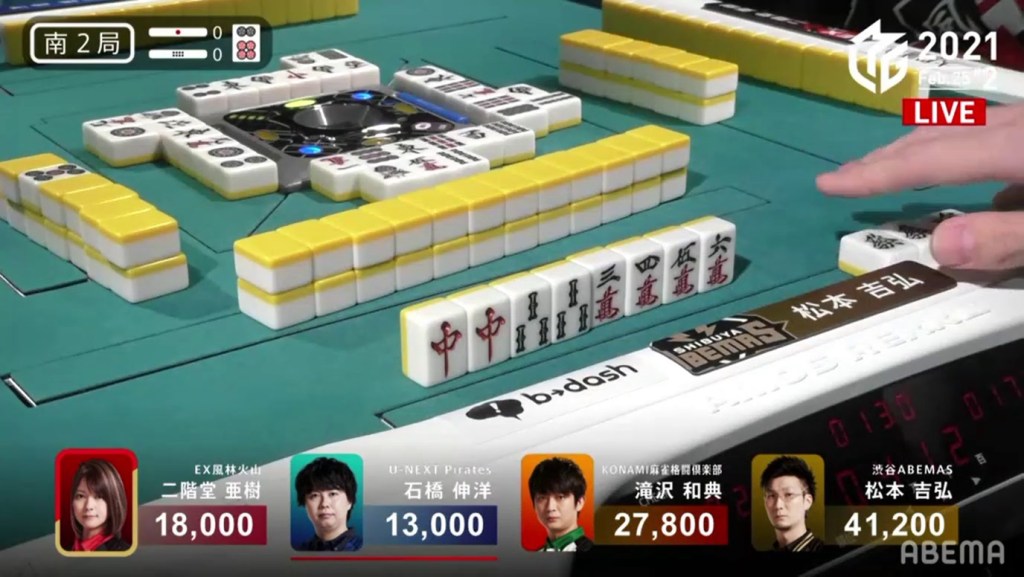
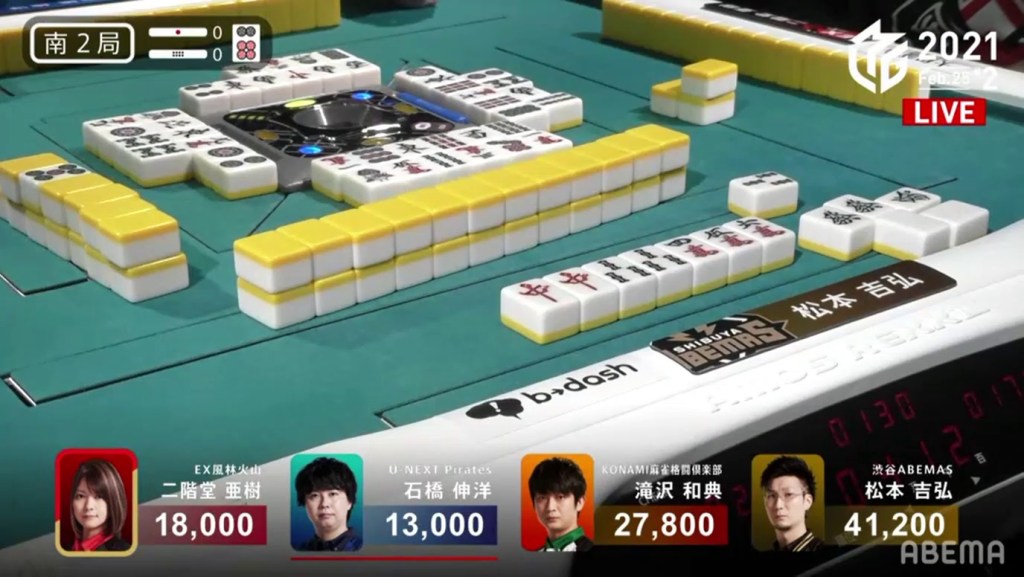
February 25, Game 2, S4-1
Video: https://abema.tv/video/episode/444-12_s30_p824
In S4-1, Matsumoto starts out 3-shanten with a hand that is an obvious honitsu or chinitsu. On turn 2, he pairs up the north to get to a 2-shanten honitsu. At the end of the row, he pairs up the south to get to iishanten. At the start of the 2nd row, Matsumoto gets to tenpai and stays dama on a 369m sanmenchan for a guaranteed mangan and any additional han being haneman. On the next turn, Matsumoto decides to call a tsumogiri riichi. Two turns later, Matsumoto draws the takame 9m and wins the hand. Matsumoto wins with Riichi/Tsumo/South/Honitsu/Iipeikou/Aka 1 for 8,000+100 all, pushing his score from 55,900 to 80,200. His score stays there and he finished his 100th regular season M-League game with +100.2 points.
