Game #12
Konami Mahjong
Fight Club
Shibuya
Abemas
Sega Sammy
Phoenix

Kadokawa
Sakura Knights

Shortcut to Haneman
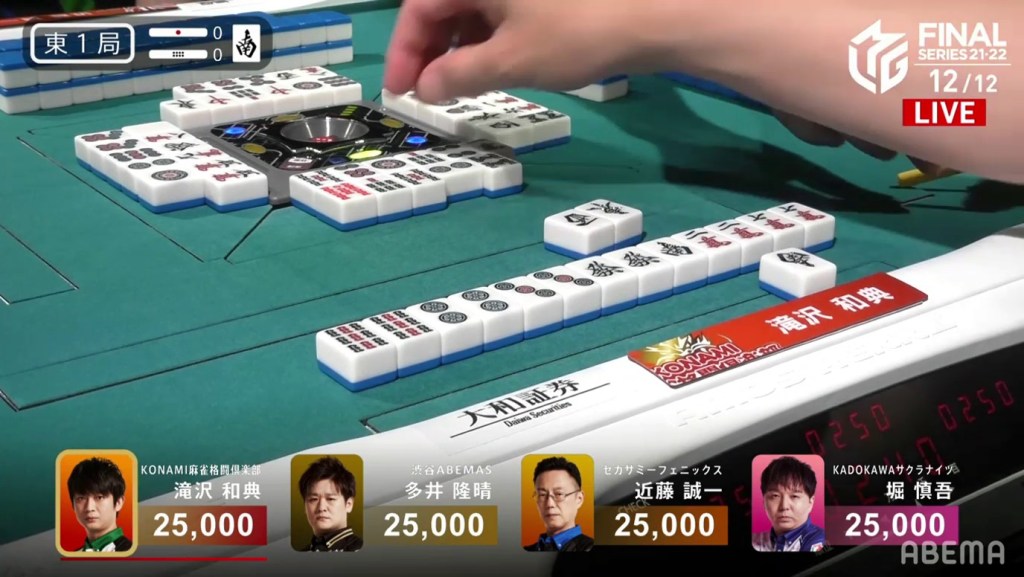
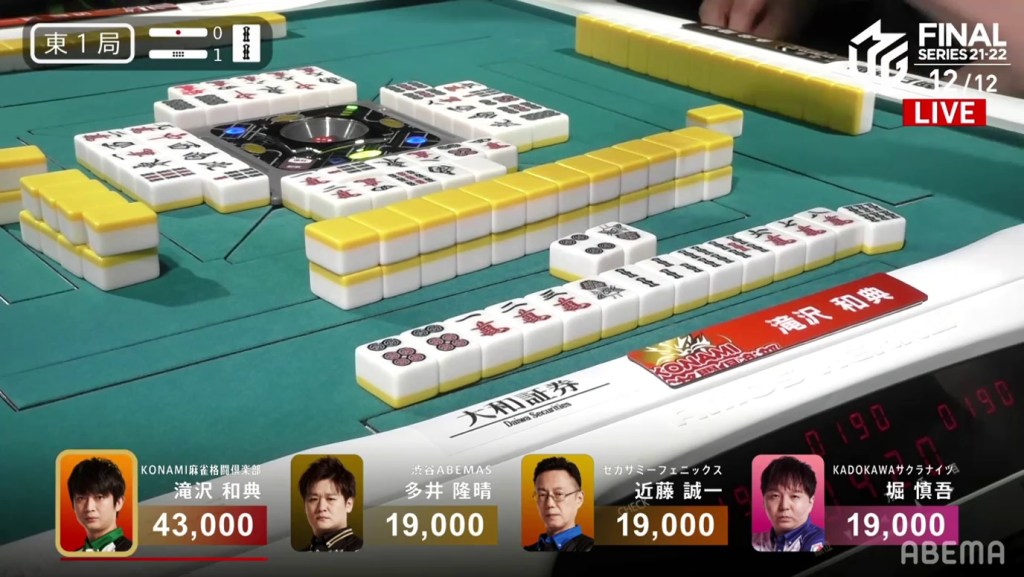
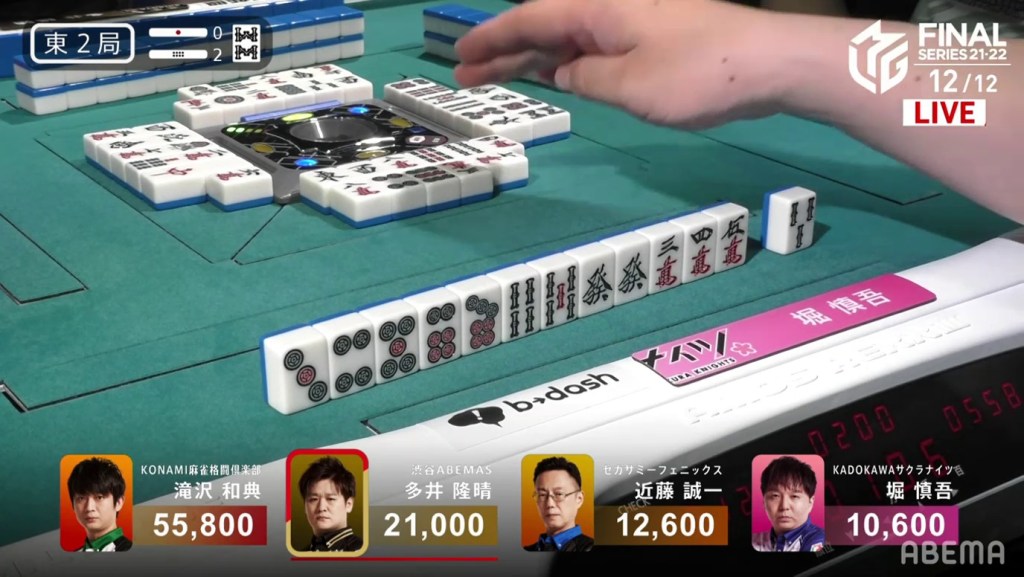
April 26, Game 2, E1-0
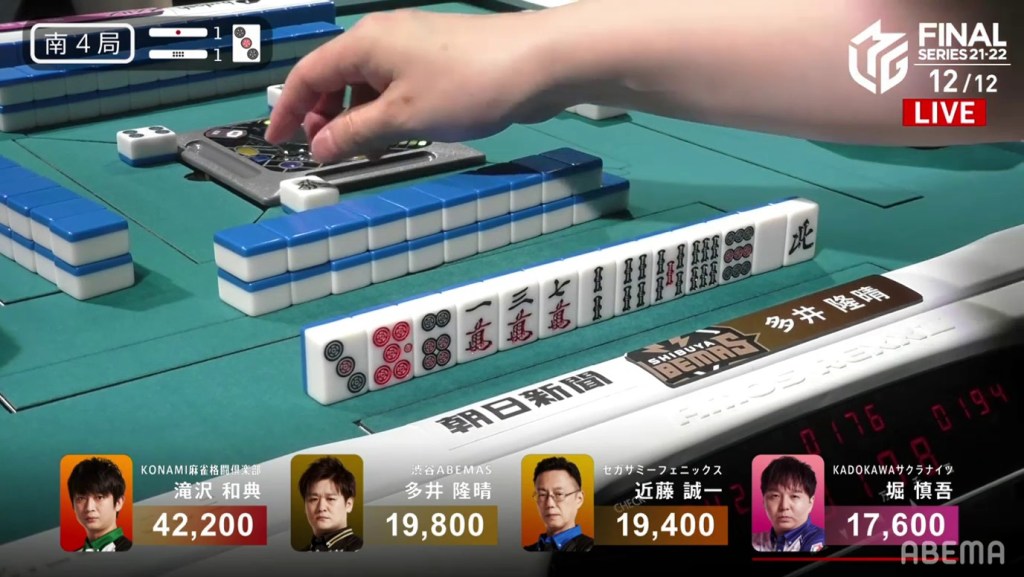
In E1-0, Takizawa is the dealer and starts out 2-shanten for chiitoi with an isolated south dora. On turn 3, Takizawa draws a 5th pair, becoming iishanten. With a dora in hand, he looks to pair it up for a chance at haneman. On turn 10, Takizawa draws his 6th pair and calls riichi on a south tanki. Similar to Date in S1-2 of the previous game, Takizawa’s only hope of winning is to draw it himself. On turn 12, Takizawa finds the south and wins and wins the hand. Takizawa wins with Riichi/Tsumo/Chiitoi/Dora 2 for 6,000 all, a big gain for the final game of the series.
Takizawa Rampage
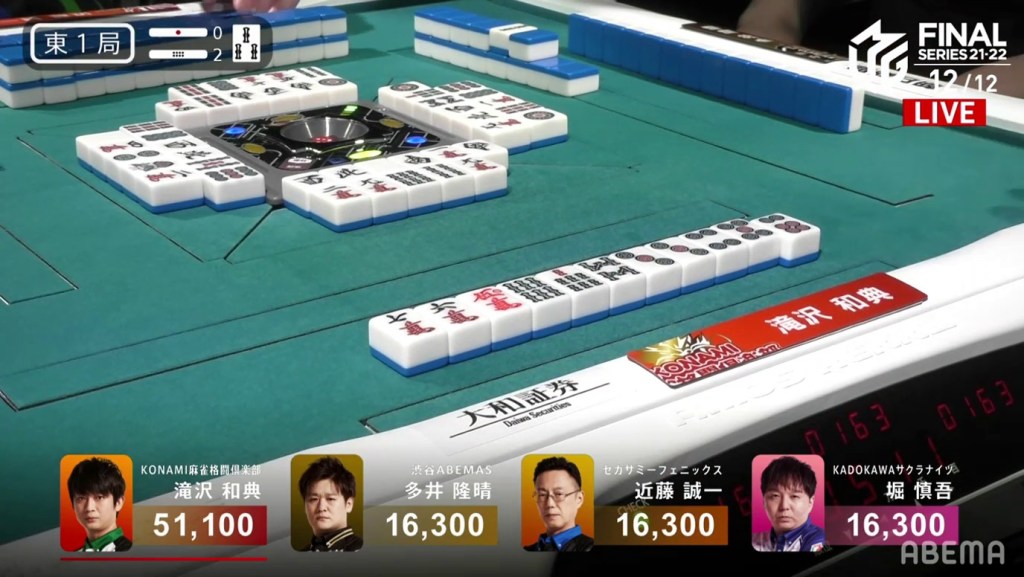
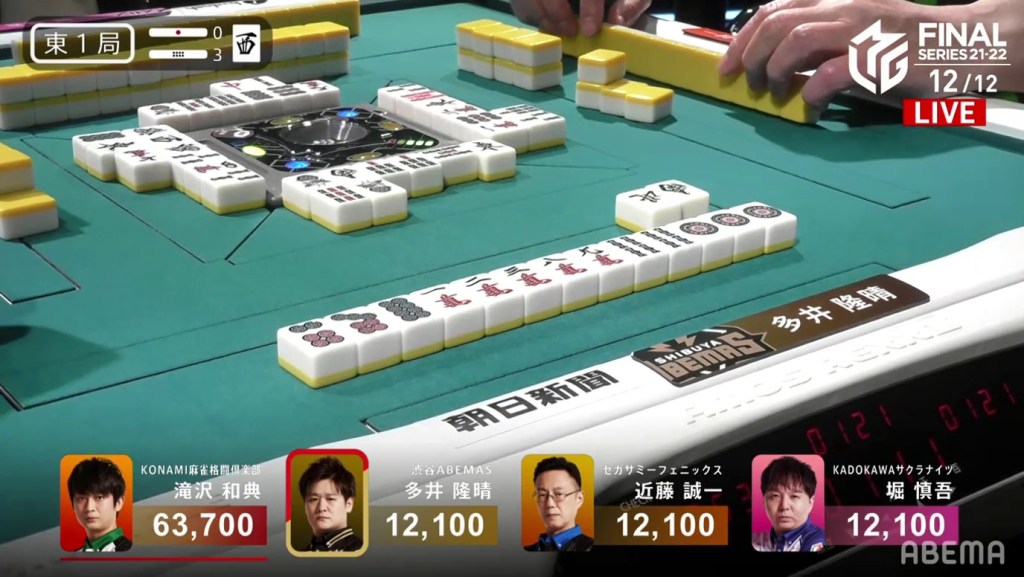
April 26, Game 2
In E1-1, Takizawa is aiming to continue his wins in order to get to get at least 3rd place in the standings or even win the championship with enough big hands. He starts out with a good hand, being iishanten from the start with a dora 2s. On turn 2, he fills in his last kanchan and calls riichi on a 36s ryanmen. From there, it was just a matter of waiting. On turn 12, Takizawa draws the 6s to win the hand. Takizawa wins with Riichi/Tsumo/Pinfu/Dora 1 for 2,6000+100 all, putting him above 50,000.
In E1-2, Takizawa starts out 2-shanten with a 3s dora and a red 5m. With lots of opportunity for adding value, he chooses to stay 2-shanten at the end of the 1st row to have a chance add tanyao and pinfu. In the 2nd row, Takizawa gets to tanyao with chances at pinfu. In the middle of the row, Takizawa calls chii on Hori’s discarded red 5s to get to tenpai on an open mangan and waits on a 36p ryanmen. At the end of the 2nd row, Takizawa draws the 6p and wiins the hand. Takizawa wins with Tanyao/Dora 1/Aka 2 for 4,000+200 all, putting him above 60,000.
Ending the Rampage
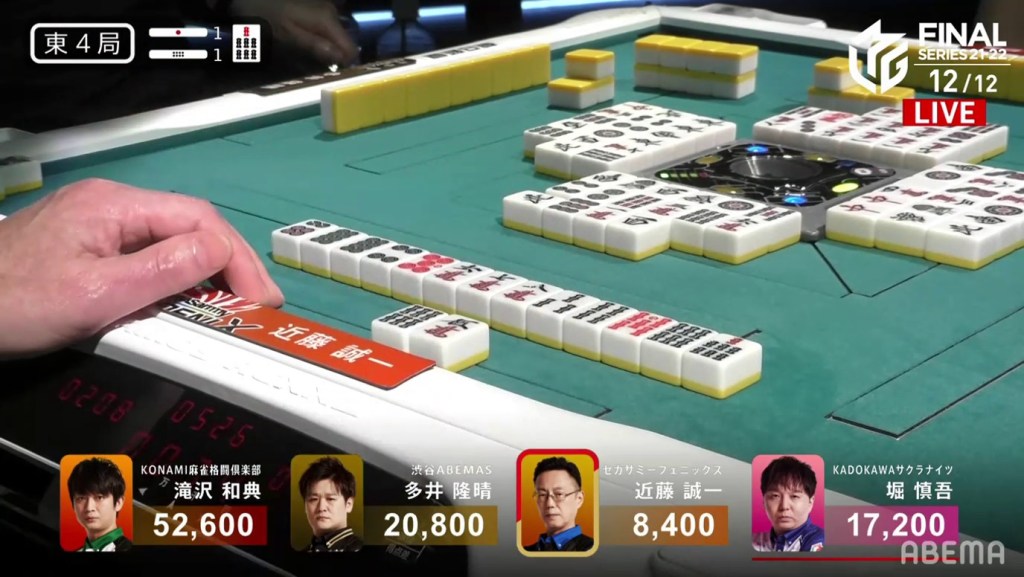
April 26, Game 2, E1-3
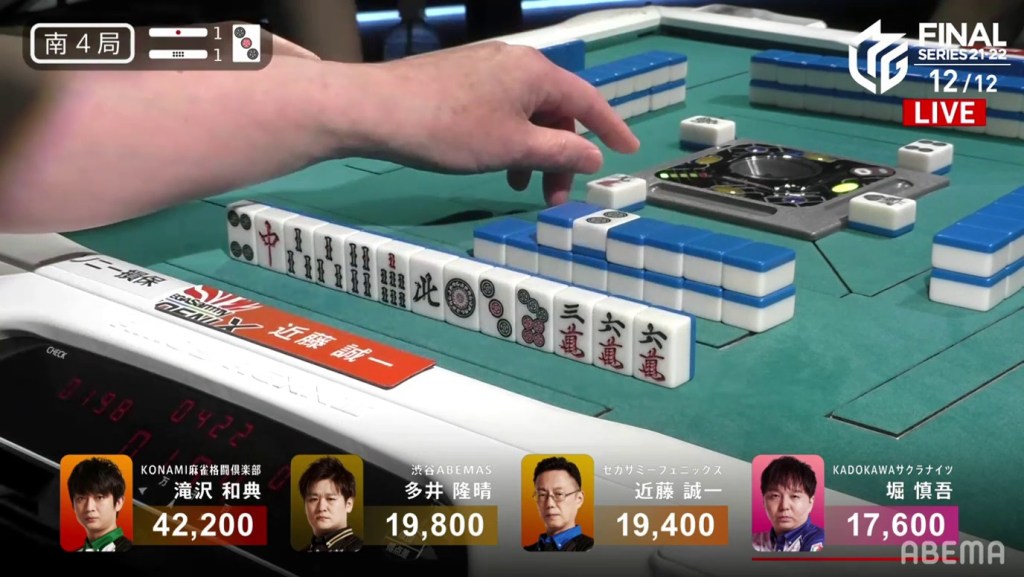
In E1-3, Ooi is trying to stop Takizawa’s dealership so the Konami Mahjong Fight Club doesn’t catch up to the Shibuya Abemas. Ooi starts out at a great 2-shanten with two ryanmens and an ankou of 1p. On turn 3, Ooi gets to iishanten, waiting on one of 7 different tiles to get to tenpai. On turn 5, Ooi gets to tenpai and calls riichi on a 7m penchan. With Takizawa holding a decent hand himself, he continues to push. In the middle of the 2nd row, Takizawa tries to call riichi on a dealer mangan chance, but throws the 7m in the process and deals into Ooi. Ooi wins the hand with Riichi only for 1,300+900, preventing Takizawa from advancing further.
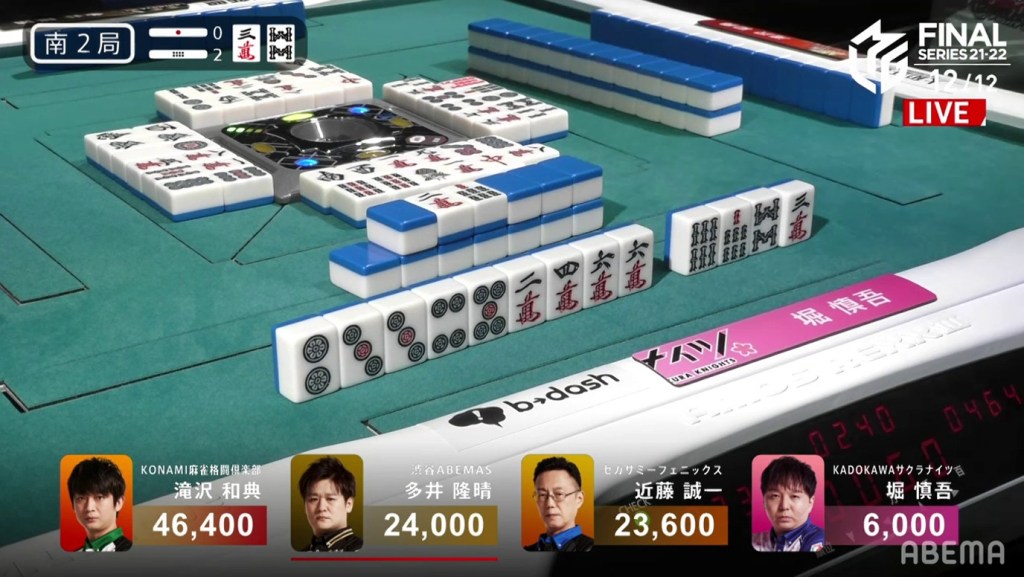
Sanmenchan
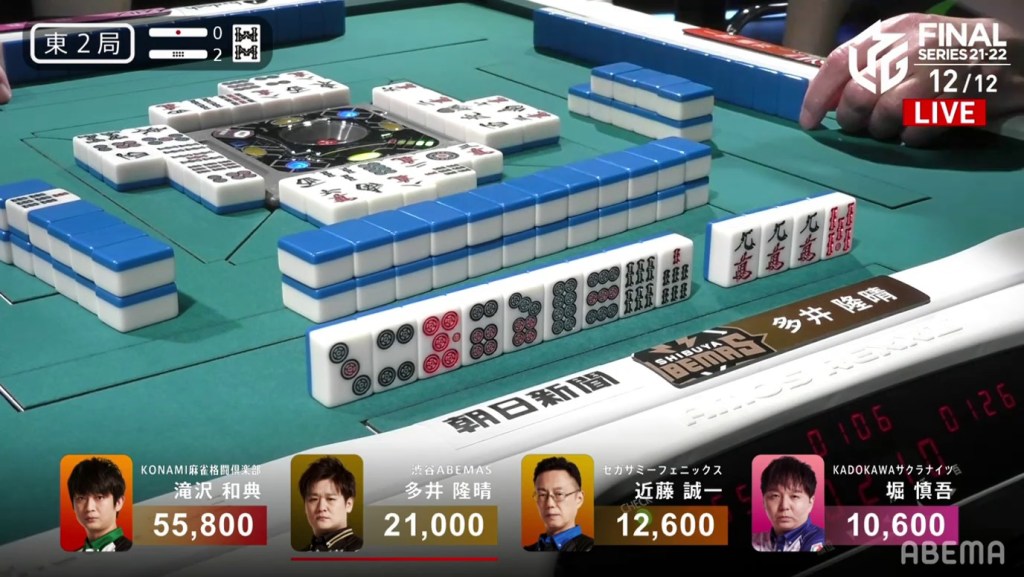
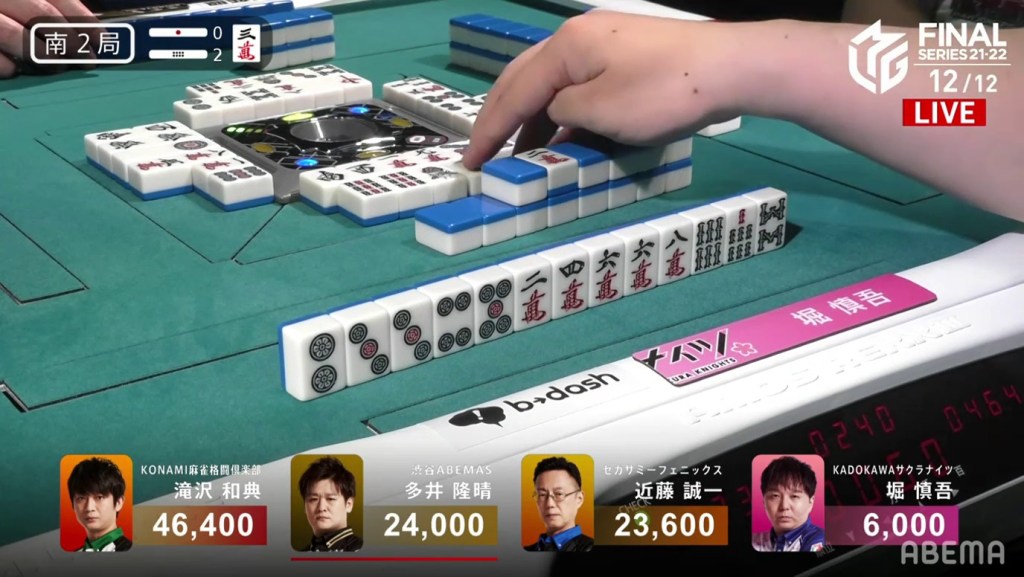
April 26, Game 2, E2-2
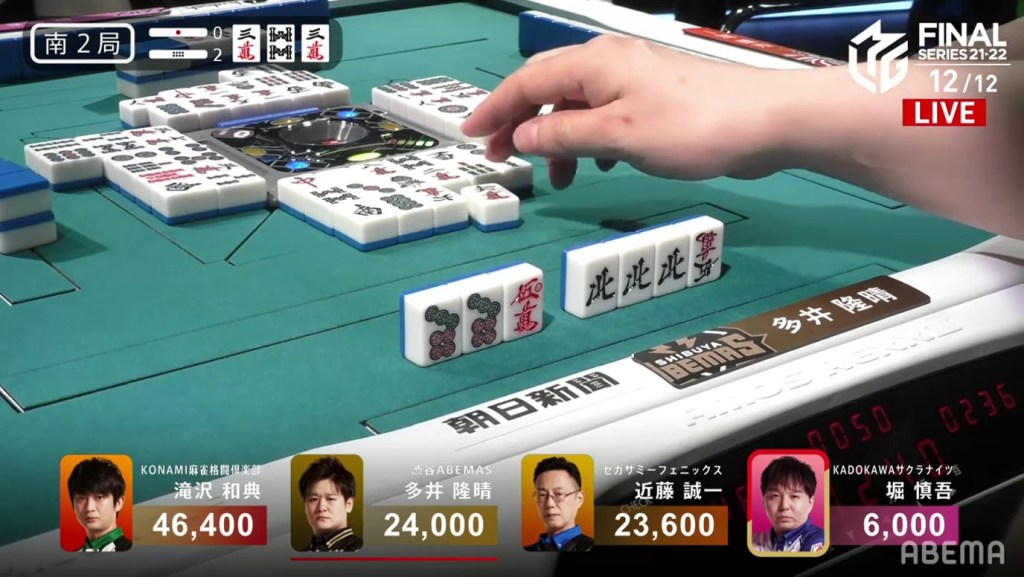
In E2-2, Hori is in 4th place and needing to keep 3rd place Kondo at bay. He starts out 3-shanten with a good chance at tanyao and a potential pinfu. On turn 2, Hori pairs up the green dragon to give him a yakuhai option. On turn 3, he gets to iishanten. As Hori waits at iishanten. Ooi gets to tenpai and calls riichi on a 369p wait.
Two turns later Hori finally gets to tenpai and calls riichi on a 258p sanmenchan. If Hori wins on the 5p or 8p he would also add sanshoku to his hand.
With two players with wide waits, one of them was bound to win the hand. Near the middle of the 3rd row, Hori draws the 2p to win the hand. Flipping one uradora, Hori wins the hand with Riichi/Ura 1 for 500+200/1,000+200 (plus Ooi’s riichi stick), ending Ooi’s dealership and moving Hori into 3rd place, ahead of Kondo.
Sexy Seiichi
April 26,Game 2, E4-1
Video: https://abema.tv/video/episode/444-12_s30_p1083
In E4-1, Kondo is in 4th place and 8,800 behind 3rd place Hori. If Kondo wants to win the championship, he has to first move ahead of Hori. Kondo starts the hand out with 4-shanten with a 7s dora and a red 5s. In the first row, he draws a red 5p, shifts his hand to tanyao and gets to 2-shanten. On turn 12, Kondo is iishanten, but there’s a decent chance of him becoming furiten. At the start of the 3rd row, Kondo gets to tenpai and calls riichi on a furiten 258s sanemchan. If Kondo ends up winning the hand, he is guaranteed a haneman, with one more han giving baiman. On Kondo’s very last draw, he finds the 5s to get the miracle he was looking for. Flipping the one uradora he needed, Kondo wins the hand with Riichi/Tsumo/Pinfu/Tanyao/Dora 1/Aka 2/Ura 1 for 4,000+100/8,000+100 (plus one riichi stick), hitting Hori with the dealer penalty and Kondo moving into 2nd place. If Kondo can keep Hori in 4th, the Sega Sammy Phoenix win the championship.
Hori
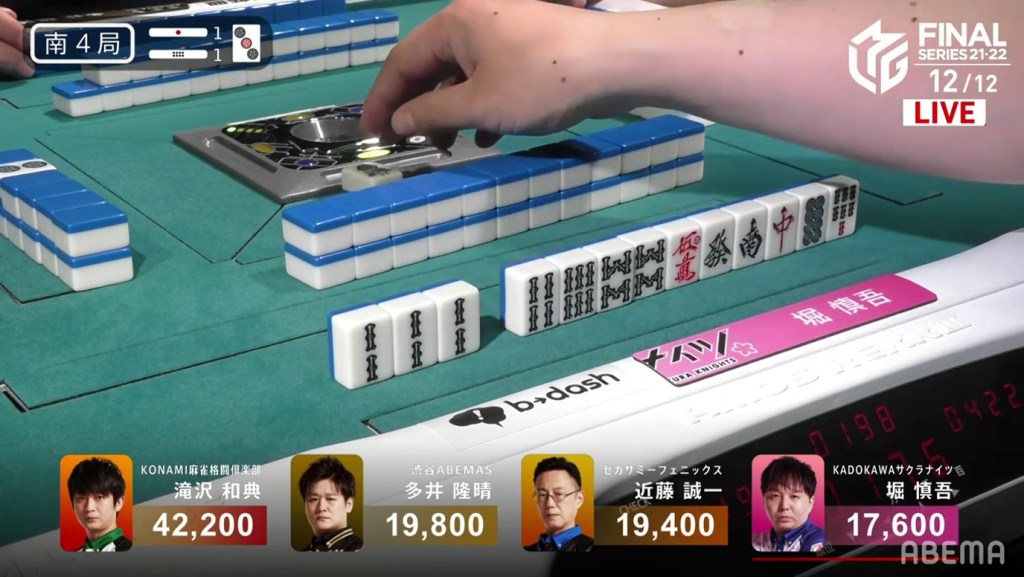
April 26, Game 2, S2-2
In S2-2, Hori is in 4th place and desperately trying to catch up to Kondo. Being 17,600 behind Kondo he needs some big hands in order to get there. He starts out with a mediocre hand, being 3-shanten with no value. By turn 4, Hori is iishanten, but still has no value in hand besides the 3m dora kanchan. There was a short break at the end of 1st row because Kondo almost drew the wrong tile, but no penalty was given. With the extra time to think, Hori decided to hunt for more points in the 2nd row, reverting to 2-shanten for a chance at tanyao and pinfu. A turn later, he gets back to iishanten.
As Hori sits in iishanten, so does Ooi. At the end of the 2nd row Ooi draws a fourth east and calls an added kan. The rinshan and kandora weren’t useful for Ooi, but the new dora increased Hori’s han value by 1. Soon after Hori draws the dora and calls riichi on a 14p ryanmen, guaranteed at least a mangan.
On the ippatsu turn, Ooi has a chance to call another kan. With the need for points, Ooi decides to call kan. With the kandora, Hori got yet another dora. Two turns later, Ooi switches his ryanmen to a more expensive toitoi shanpon. If Ooi draws either the 5m or 7p himself, he would get a dealer haneman and move into 1st place.
Within the first go-around of Ooi’s toitoi tenpai, Hori draws the 1p and wins the hand. Flipping one uradora, Hori wins with Riichi/Tsumo/Pinfu/Dora 3/Ura 1 for 3,000+200/6,000+200. With the win, Hori moved into 2nd place and was within 1,800 of Kondo.
Final Hand

April 26, Game 2, S4-1
In S4-1, the scores were very close. For Kondo, he needs to be either two places away from Hori, or be one place away and 7,600 ahead of Hori. This is a precarious situation for Kondo. With any hand, Kondo would move into 2nd place Hori would be 4th in most cases. However, if Kondo hits Ooi directly with a 2-han or a 3han/20-30fu hand (any hand between 2,000 and 3,900), Hori would move into 3rd place and Kondo wouldn’t have enough points to get the minimum 7,600. So, Kondo would need to make sure that he gets either a 1-han hand or a 3-han hand.
For Ooi, the championship isn’t necessarily out of reach. Ooi would need to win a haneman off of Takizawa or win any sanbaiman to win the championship.
For Hori, he has one of the most difficult tasks. Any win will do, but winning also means the game continues. Letting the hand go to a draw and declaring noten is usually the right move in cases where you don’t want to let another play have extra chances, but there is danger in doing that. If Hori and Ooi declare noten, while Kondo declares tenpai, Kondo would be 2nd place and Hori would be 4th, giving the Phoenix the championship. So, Hori will want to either ensure that Kondo is noten, Ooi is tenpai, or win a decently-sized hand to make it harder for Kondo to win.
With the win conditions set, the hand began. Hori starts out 4-shanten with either honitsu, tanyao or yakuhai in the cards. However, Hori deems a souzu honitsu too slow and risky and chooses the 1s as his first discard.
For Ooi, he starts out 4-shanten with a dora 3p and a red 5p. A good hand normal situations, but not this one.
Kondo starts out 5-shanten (4-shanten for a standard hand) with a dora 3p, but sits in the Ooi danger range, meaning he has to avoid hitting Ooi with the 2-han hand is set up to get.
Through the first row, Hori draws more souzu, Ooi draws an extra dora 3p and Kondo makes good shapes. By the end of the row, Ooi and Hori are closest at 2-shanten, followed by Kondo at 4-shanten. The only issue with Hori’s hand is that he has no yaku, so he chooses to switch to tanyao instead of honitsu. In the 2nd row, Kondo moves to tanyao with the option for chiitoi. At the end of the 2nd row, Hori is still the closest with a ryanmen-kanchan iishanten, followed by a mediocre iishanten from Ooi and Kondo at chiitoi 2-shanten. With a call at the start of the 3rd row, Ooi is the first to get to tenpai, waiting on a 6m kanchan. He has no yaku, but even if he did, he doesn’t intend on winning the hand since it doesn’t change his team’s placement.

In the middle of the 3rd row, Kondo gets his hand to iishanten. Right after, Hori gets to tenpai and waits on a 6m kanchan.
Soon after, Ooi switches to a 36m ryanmen. A turn later, Ooi has many choices to maintain tenpai. When he draws the dora, he can choose the 3p, 4m or 5m to keep tenpai. However, throwing the 3p or 4m will allow Kondo to call and get to tenpai. After taking some time to determine what to throw, Ooi throws the 5m, preventing Kondo from getting to tenpai.
On Kondo’s last draw, he misses tenpai.
On Hori’s draw, he gets the 6m. Hori has the option to call tsumo, but he also has the choice to decline it. If Hori thinks Ooi is in tenpai and will trust Ooi to not deal into Kondo (if Kondo is in tenpai), then Hori can skip the tsumo, let the hand go to a draw and win the championship. If Hori does call tsumo, it puts more space between him and Kondo, but gives Kondo another chance to pass him. In a controversial move, Hori decides to call tsumo and win the hand. Hori wins with Tsumo/Tanyao/Aka 1 for 2,000+100 all, plus one riichi stick.
Final Final Hand
April 26, Game 2, S4-2
In S4-2, the winning conditions are simpler. For Kondo, he needs to hit Hori with a mangan, Takizawa with a haneman, tsumo a mangan or ron anyone with a baiman.
For Ooi, he needs to hit Hori with a sanbaiman, Kondo with a yakuman or win a sanbaiman tsumo.
As for Hori, he can let the hand go to a draw and win. He can also win another hand and the calculations are done over again.
With the calculations set, the hand began. Hori starts out with a that is 3-shanten for junchan or chanta, Ooi has an ankou of 1p, but not much else for sanbaiman, and Kondo has nothing at 4-shanten. In the first row, Hori hand progresses naturally to chanta, getting to iishanten by the end of the row. As for Ooi and Kondo, they struggled to find anything of value. In the second row, Hori is the first to get to tenpai, waiting on an 8p kanchan.
For Ooi, he started to gain some pairs. For Kondo, he starts to shift his hand for a Riichi/Tsumo/Pinfu/Tanyao, looking for two more han. By the end of the 1st row, Ooi looks like the closest to challenge Hori, holding an ankou with four pairs. If Ooi can actually complete the suuankou, his team would win the championship. At the end of the 2nd row, Kondo gets to tenpai, but the 69s ryanmen and lack of han to get to haneman makes calling riichi unappealing.
At the start of the 3rd row, Ooi draws a 2nd ankou to get to suuankou iishanten.
With the threats from all around, Hori either win the hand or force the hand to a draw. On Ooi’s very next draw, he draws and discards the 8p, dealing into Hori. Hori wins the hand with Chanta/Dora 1 for 7,700+600.
Final Final Final Hand
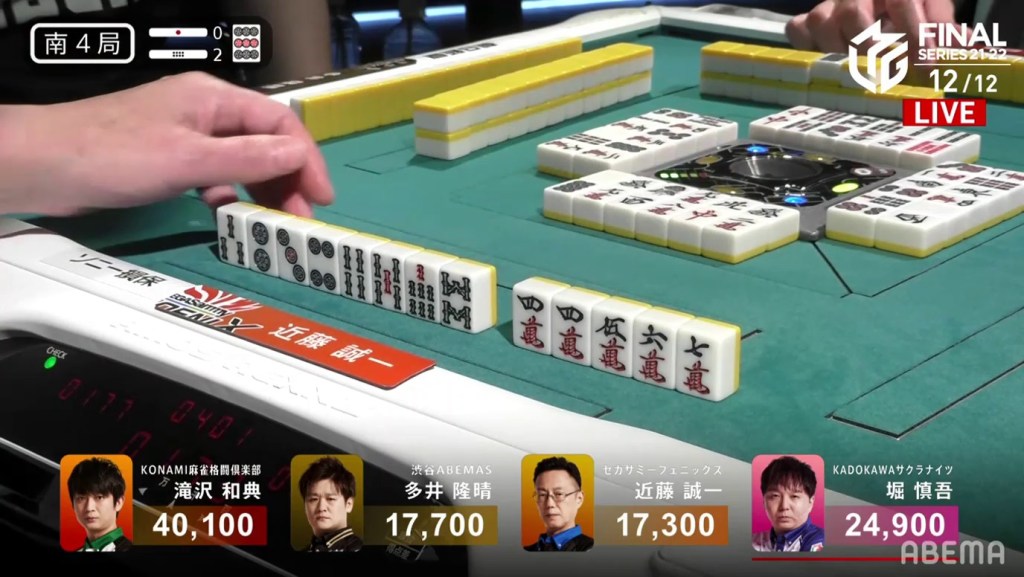
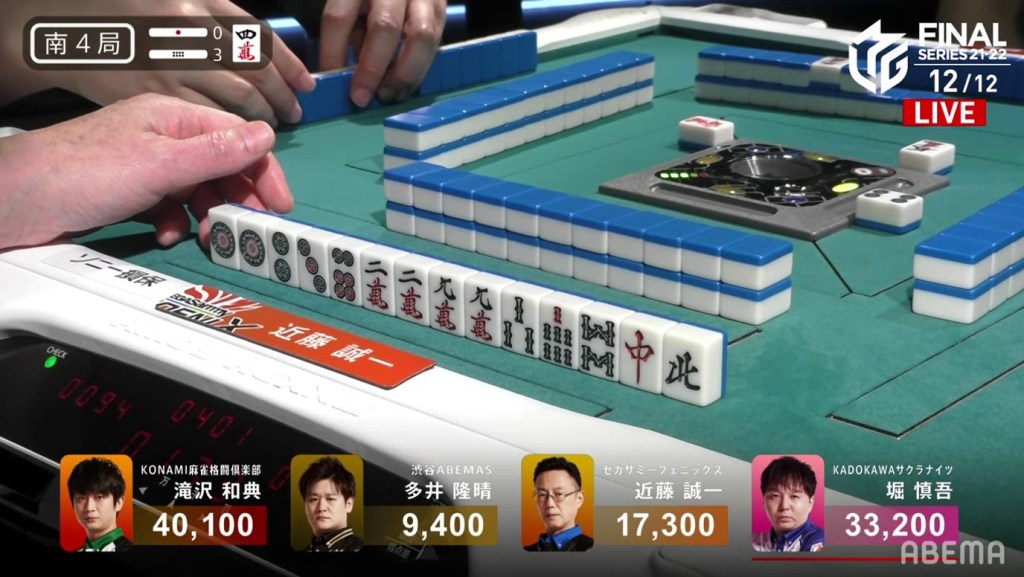
April 26, Game 2, S4-3
In S4-3, Hori looks to have run away with the game. However, he isn’t 100% safe. For Kondo, a haneman direct hit on Hori, a baiman tsumo, a baiman hit off Takizawa or a sanbaiman general ron is enough. For Ooi, he needs a yakuman tsumo. For the sake of completeness, a Takizawa triple yakuman tsumo would be enough.
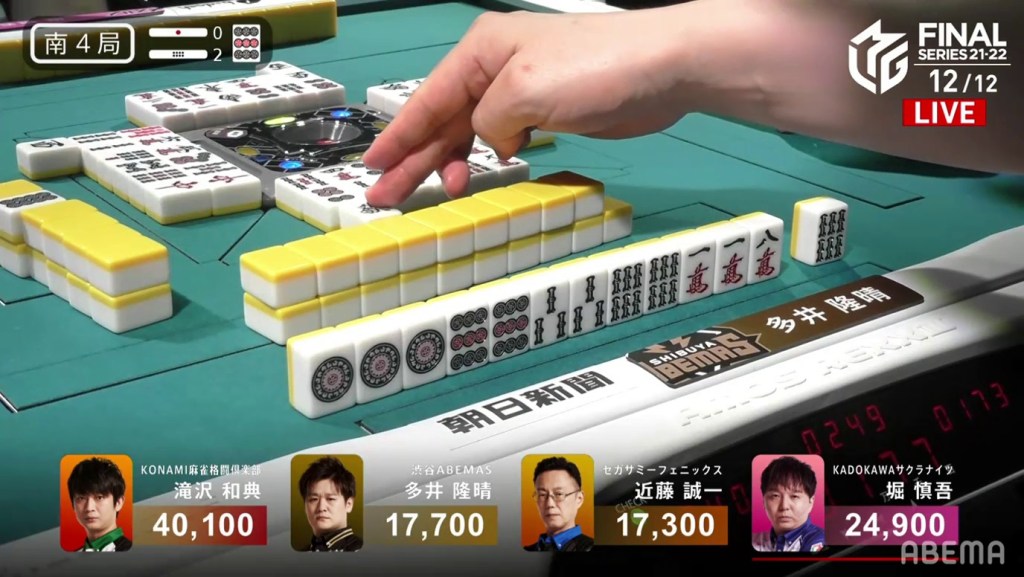
For the 3rd time the calculations have been calculated and the game starts. Hori starts off with a tanyao hand, but not particularly looking to win the hand. Ooi starts with three pairs, looking to aim for the closest yakuman: suuankou. As for Kondo, he starts out with two pairs, giving the potential for a Riichi/Tsumo/Chiitoi/Dora 2/Ura 2 shortcut to baiman.
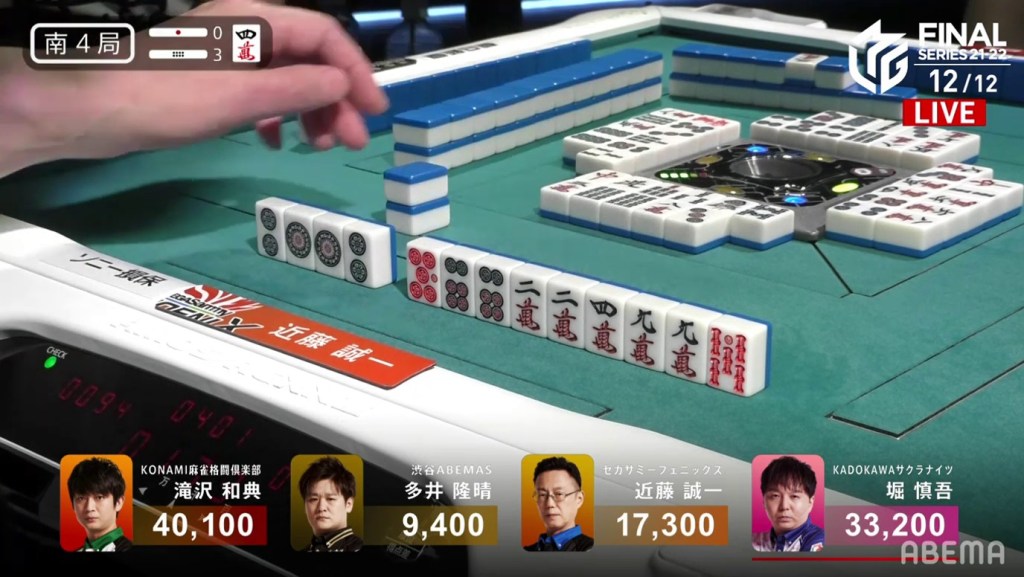
On turn 2, Kondo draws a red 5s to help him out. On turn 3, he draws a 4th pair. On turn 4, Kondo gets a 4m dora, getting one piece of the puzzle for baiman. On turn 7, he draws a red 5p giving him two potential 1-han increasers. By turn 11, Kondo is iishanten.
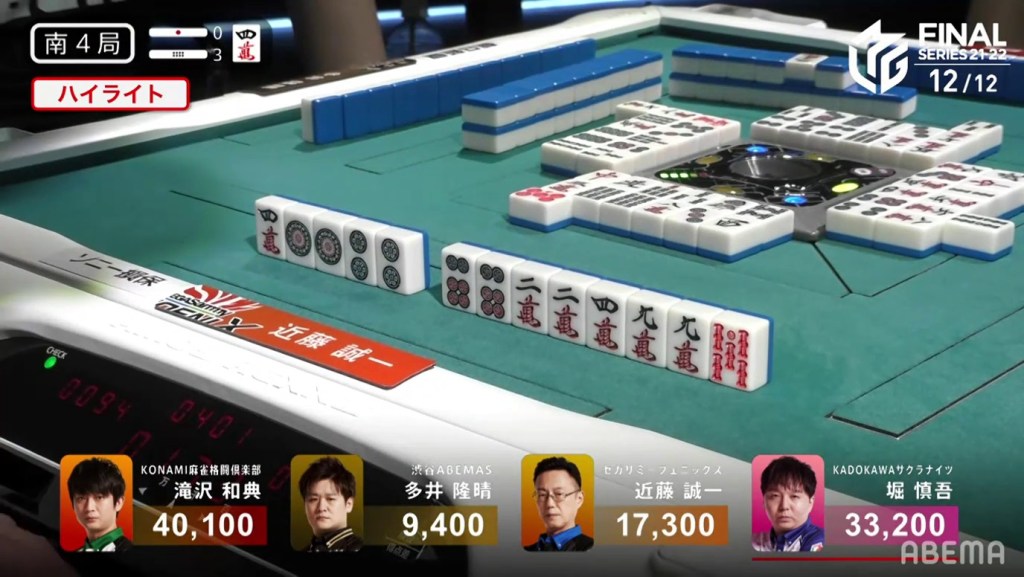
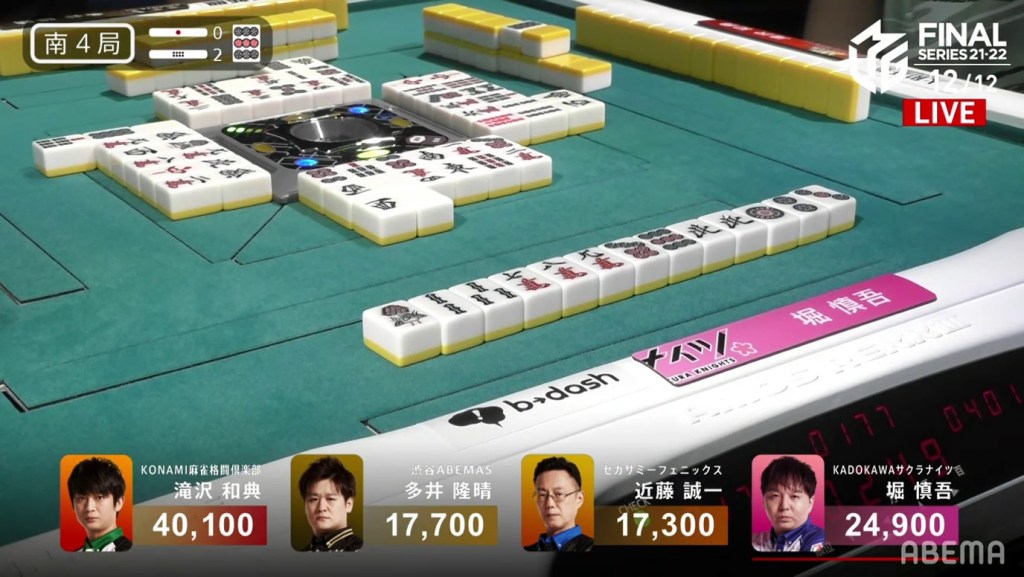
On turn 13, Kondo pairs up the 4m dora. If Kondo can win on the ippatsu or find ura, he would win the team the championship. Kondo’s Hail Mary is reminiscent of Uotani’s South 4 win attempt in the 2019-20 Finals.
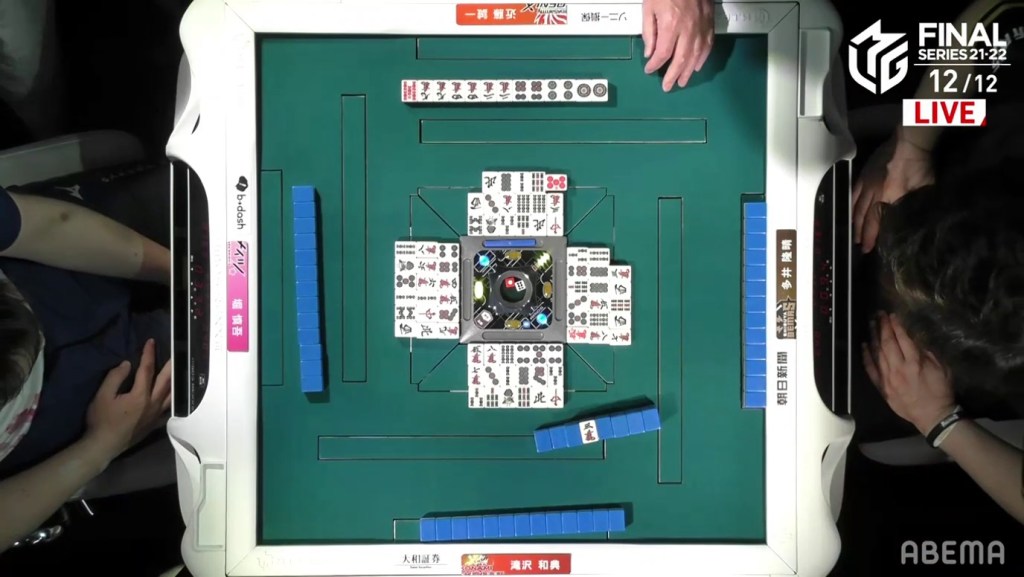
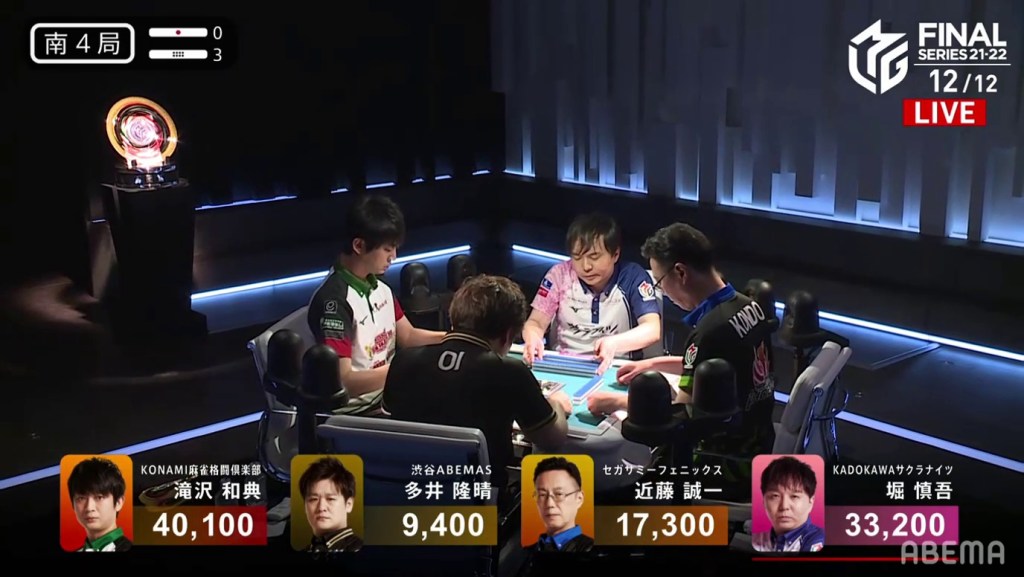
Unfortunately, the audience could see that all the 5s were stuck in people’s hands, meaning that Kondo was drawing empty. With Hori throwing safely, the deal was sealed. The hand went to a draw with Kondo the only one tenpai.
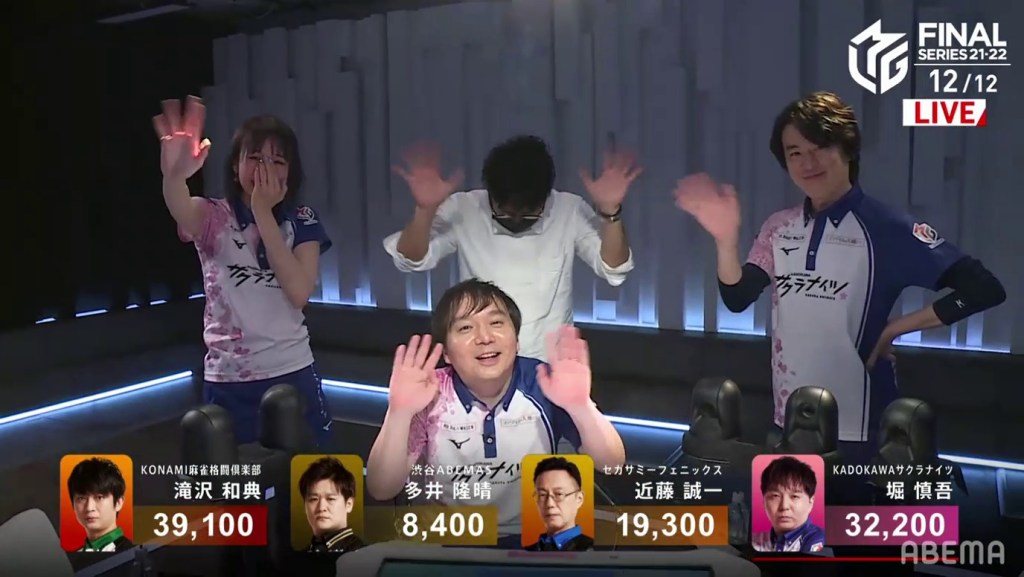
With that, Hori Shingo and the Kadokawa Sakura Knights become the 2021-22 M-League Champions!
Final Scores


Video: https://abema.tv/video/episode/444-12_s1_p217
Twitter: https://twitter.com/m_league_jikkyo/status/1518950163553071107
Standings

With the second place, the Kadokawa Sakura Knights become the newest M-League Champions! Putting up a good fight, the Sega Sammy Phoenix take 2nd place. For the 4th season in a row, the Shibuya Abemas place 3rd. Finally the Konami Mahjong Fight Club placed 1st in their last two games, but fall short to finish 4th.
After the players left, Hori stayed behind and Uchikawa, Okada and coach Morii entered the studio. With Okada in tears of joy, she slapped Hori in the back, one of their recent pre-game traditions. Facing the camera, all four of them said hi to Sawazaki, who was watching the whole thing on TV.

During the team interview, all three players posed as Sawazaki would: Holding the green “Sakura Blade” sideways.
Intro | Game #11 | Game #12
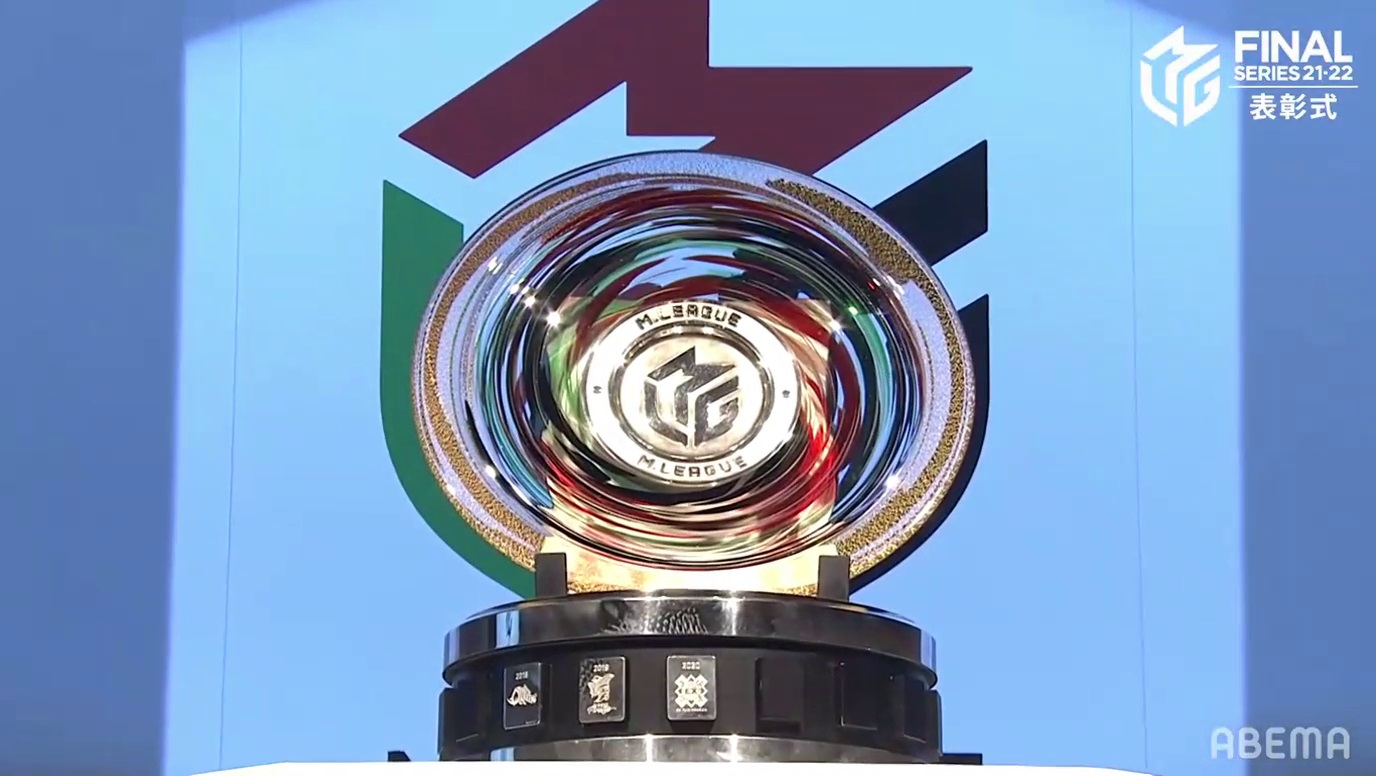
Awards Ceremony | Final Thoughts
