
Highlights
Perfect Timing
January 30, Game 1, S2-2
Video: https://abema.tv/video/episode/444-14_s10_p727
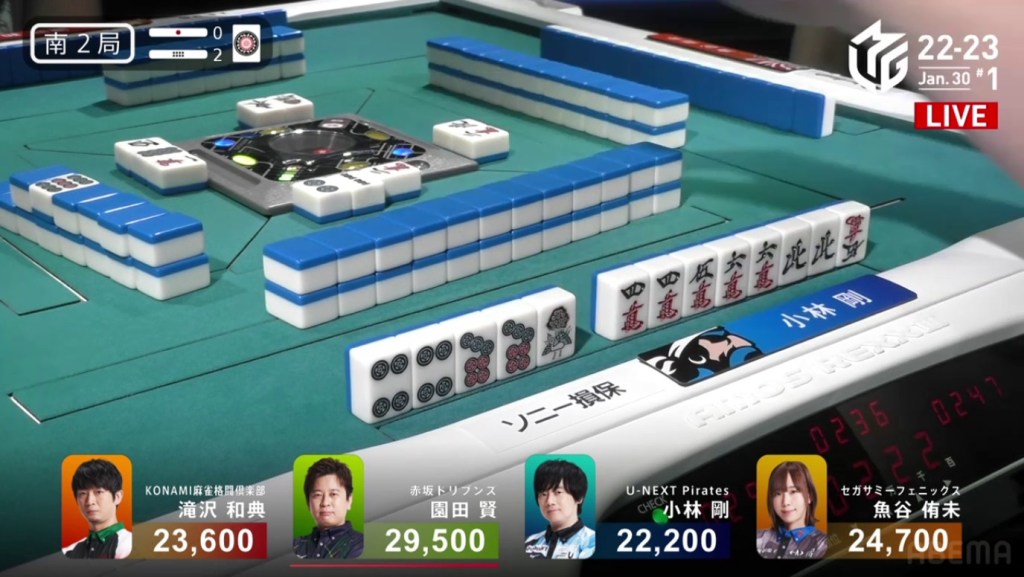
In S2-2, Sonoda the dealer is in 1st place and holding a small 4,800 lead. Sonoda starts out with a good hand, being 3-shanten with a red 5s and multiple options for a wide wait. To Sonoda’s right is Kobayashi who starts out iishanten with his first 13 tiles with a chance at a double riichi. Though he misses the double riichi with his first draw, Kobayashi is going to be a problem for Sonoda. Unsurprisingly, Kobayashi is the first to tenpai as he calls riichi on a 1s tanki on turn 3.
With some good draws in the first three turns, Sonoda is iishanten at the time of Kobayashi’s riichi. During the ippatsu round, Sonoda gets to tenpai with a 25p ryanmen (with the 2p giving iipeikou). With the 2p being completely safe against Kobayashi and a chance to upgrade his hand to a 345 sanshoku, Sonoda stays dama.
During the next few turns, it doesn’t look like either Takizawa or Uotani will be throwing the 2p. With not much to lose, Sonoda decides to call riichi at the end of the first row. On Sonoda’s ippatsu draw, he amazingly finds the takame 2p and wins the hand. With the perfect timing, Sonoda’s hand becomes a dealer haneman. Sonoda wins with Riichi/Ippatsu/Tsumo/Tanyao/Iipeikou/Aka 1 for 6,000+200 all plus one riichi stick.
Haneman-Haneman
January 30, Game 1
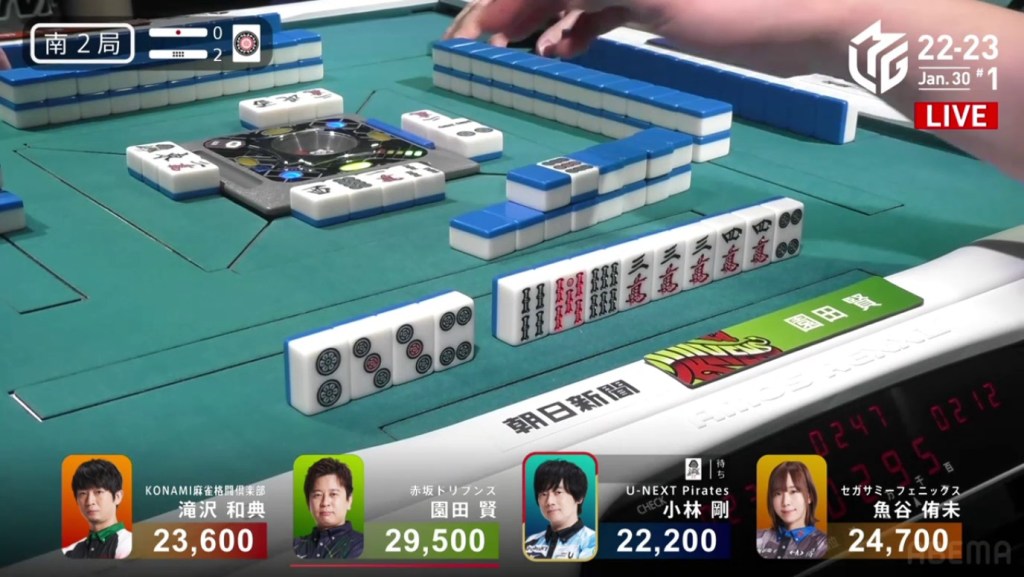
In E1-0, Tojo starts the game in the south seat and starts out 3-shanten with no clear value. Through the first row, Tojo improves her general blocks, getting to 2-shanten by the end of the row with the potential for pinfu. As we look around the table, we see Murakami 2-shanten for at least a mangan. In the middle of the second row, Murakami i the first to tenpai, staying dama on a 3p dora wait. On his next turn, Murakami downgrades his hand’s value to accept a wider 36s nobetan, calling riichi.
At this point, Tojo has a perfect iishanten with a a chance at a 567 sanshoku. With a decent chance at a mangan, Tojo pushes. A few turns after Murakami’s riichi, Tojo draws the red 5m and calls riichi on a 58p ryanmen. If Tojo gets the 5p, she would have at least a haneman. If she gets the 8p, she would have at least a mangan. During the ippatsu round, Murakami draws the 8p and deals into Tojo. Flipping one uradora, Tojo wins the hand with Riichi/Ippatsu/Pinfu/Tanyao/Aka 1/Ura 1 for 12,000 plus Murakami’s riichi stick.
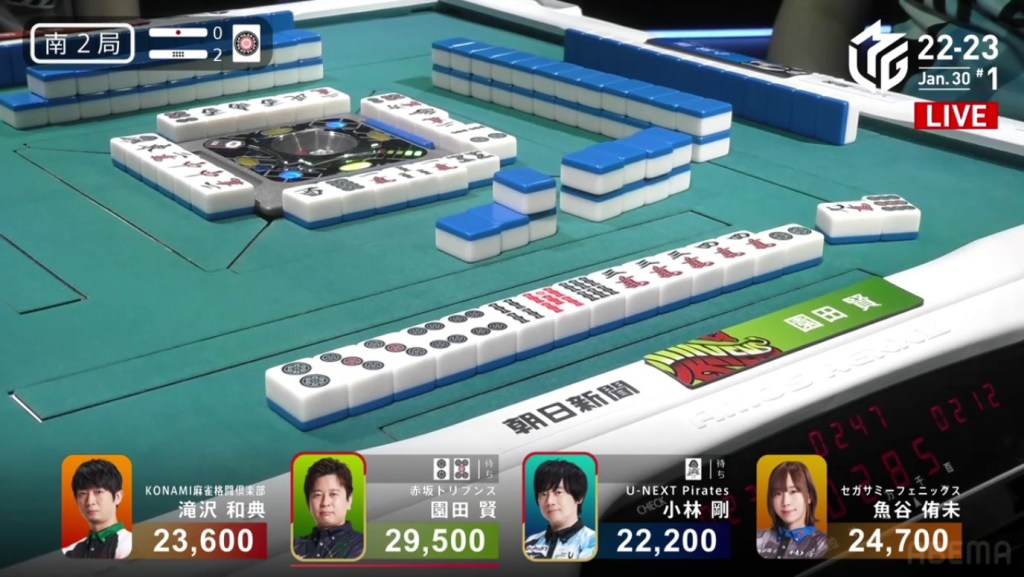
After losing her dealership in E2-0, Tojo continues her pursuit for points in E3-0. She starts out the hand 3-shanten, again with no clear value. In the first row, Tojo’s hand slowly shifts towards a manzu ittsuu. By the end of the first row, Tojo is a 7m and 9m away from ittsuu and iishanten for a plain pinfu or yakuless tenpai. In the middle of the second row, Tojo draws the 9m dora, putting her one away from ittsuu. The very next draw, Tojo draws the 7m to secure the ittsuu and calls riichi on a 58p ryanmen, guaranteed at least a 5 han. Two turns later, Tojo draws the 5p and wins the hand. Tojo wins with Riichi/Tsumo/Pinfu/Ittsuu/Dora 1 for 3,000/6,000, her second haneman this game.
Hisato Hour
January 30, Game 2
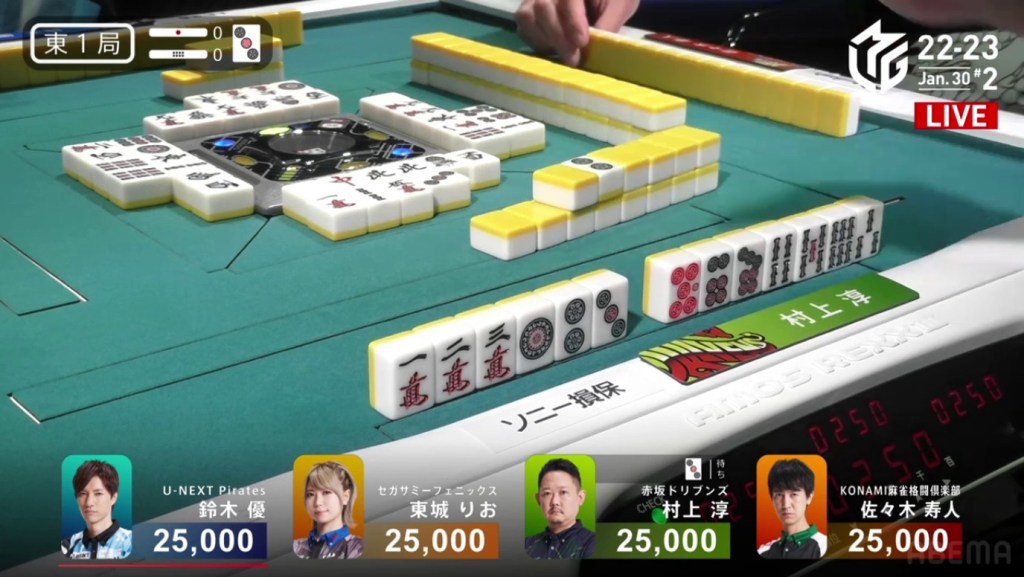
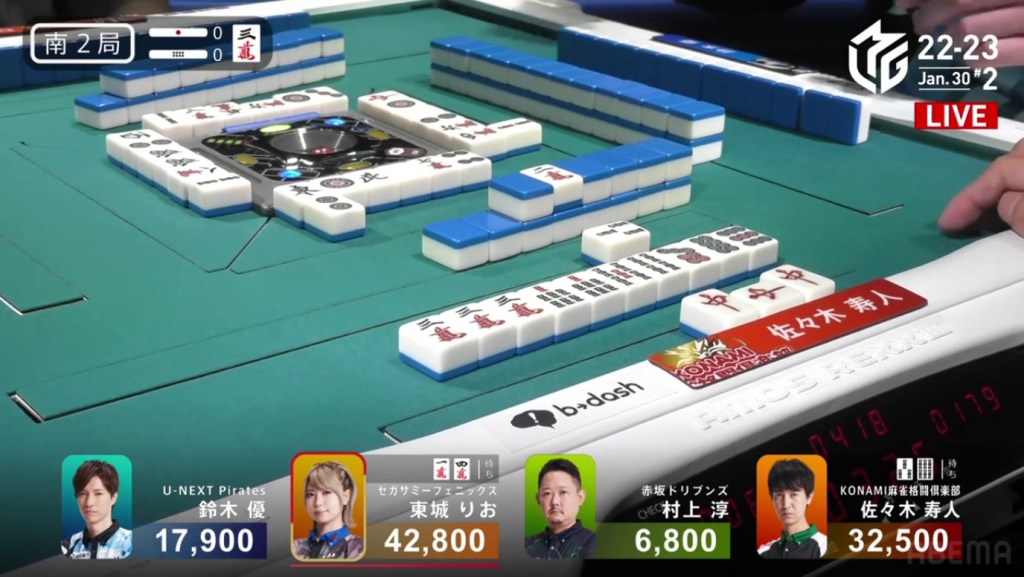
In S1-5, Hisato is in 2nd place, trailing 1st place Tojo by 20,300. Hisato starts out the hand with a 1p ankou, pairs of east, 4m and 2s, and a 25p ryanmen. With his hand, he is 3-shanten for suuankou and 2-shanten for a non-yakuman hand and chiitoi. On turn 2, Hisato pairs up the 9s, putting him iishanten for chiitoi. When Murakami discards the 9s, Hisato doesn’t call pon letting him be flexible with chiitoi or give himself a chance at yakuman. While Hisato waits for tenpai, Tojo gets to tenpai and waits dama on a 36p ryanmen. Just as Tojo gets to tenpai, Hisato gets to tenpai and calls riichi on a south tanki. With two already discarded, Hisato hopes to get the final one to win. With the dealer riichi, Tojo folds her hand, giving Hisato more time to draw the last south. At the start of the third row, Hisato finds that last south and wins the hand. Hisato wins with Riichi/Tsumo/Chiitoi for 1,600+500/3,200+500, cutting Tojo’s lead almost in half.
In S2-0, Hisato is closing in on Tojo, being now 10,300 behind her. Before Hisato gets his first draw, he calls pon on the red dragon to put himself 4-shanten with two 3m dora. Hisato will have to move fast since Tojo is already 2-shanten with a lot of tiles advancing her hand. On Tojo’s fourth discard, she is already tenpai and she calls a dealer riichi on a 14m ryanmen.
During the ippatsu round, Hisato gets to 2-shanten. With two dora and not much direction for safety, On turn 5, Hisato fills in a kanchan to get to iishanten. On his next draw, he draws a third 3m dora to get to tenpai on a 36s ryanmen. Two turns later, Tojo draws and discards the 3s and deals into Hisato. Hisato wins the hand with Red Dragon/Dora 3 for 8,000 plus Tojo’s riichi stick. With the direct hit, Hisato moves into 1st place. He would hold onto this lead and finish the game in 1st place.
Chasing Riichi Always Wins
January 31, Game 1, S3-0
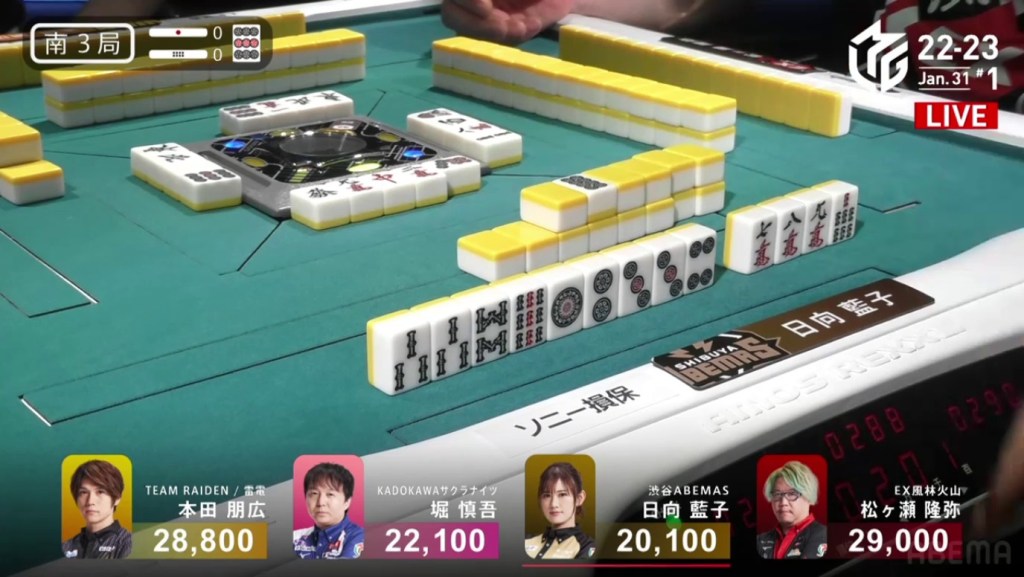
In S3-0, Hori is in 3rd place, 2,000 ahead of 4th and 8,900 behind 1st. He starts out the hand 3-shanten with two red fives and a stray 9p dora. To his right is 4th place dealer Hinata, sitting 3-shanten as well. Both Hori and Hinata have their hands advance quickly. By turn 4, both of them are iishanten. The first to get to tenpai is Hinata, who calls riichi on turn 5 on a 25p ryanmen.
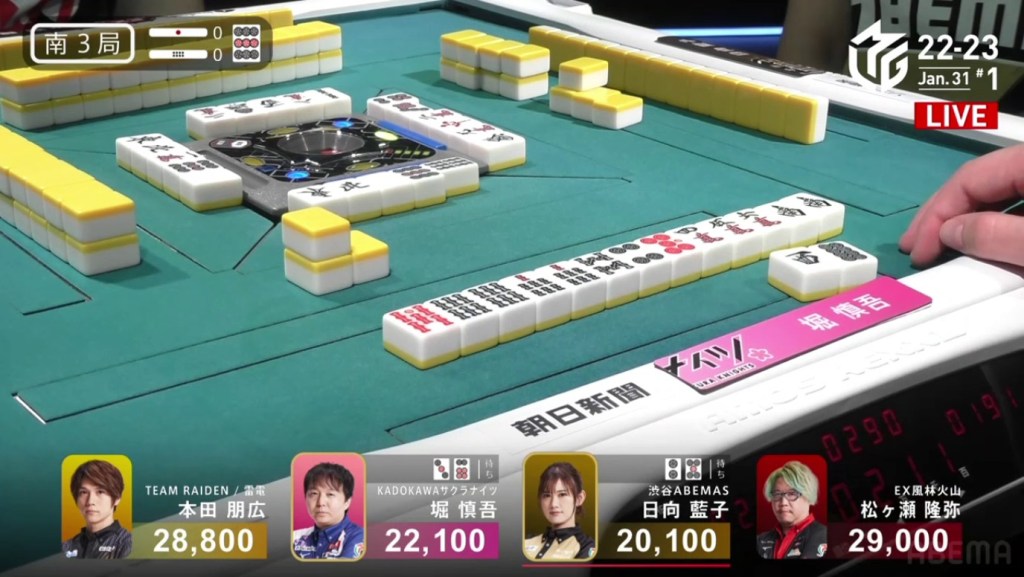
During the ippatsu turn, Hori gets to tenpai as well and calls riichi on a 36p ryanmen. On Hinata’s ippatsu draw, she gets the 6p and deals into Hori. Hori wins the hand with Riichi/Ippatsu/Aka 2 for 8,000 plus a riichi stick, enough to move into 1st place.
#11
January 31, Game 1, S4-0
Video: https://abema.tv/video/episode/444-14_s70_p727
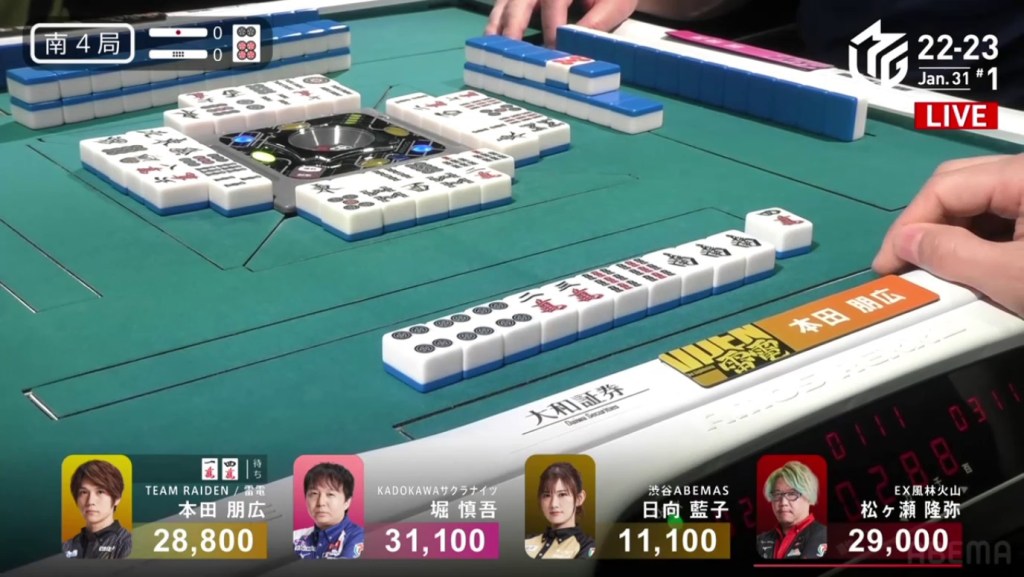
In South 4, Honda is in 3rd place and just 2,300 away from 1st place. He needs a 1/40 direct hit, a 2/40 indirect hit or a 2/30 tsumo for to take top spot.
Honda starts out the hand 3-shanten with a pair of double souths and three ryanmens. The souths are the perfect yakuhai for Honda to get to 2 han, but he still needs to find more fu if he doesn’t want to rely on tsumo. On turn 3, Honda draws a third south, guaranteeing his yakuhai but only worth 8 fu. To get to 40 fu, Honda would need to make another ankou or two simple pons. On turn 5, Honda creates a 9s pair, giving him a pon option to get enough fu. Before the end of the row, Honda calls chii on one of his ryanmens to get to a perfect iishanten. To have enough to call ron, Honda would need to either get a 9s (by pon or draw), the 4p (by draw) or the 6p dora. In a perfect draw, Honda draws a 4p to get enough fu and to be in tenpai on a 14m ryanmen. At the end of the second row, Honda finds the 4m and wins the hand. Honda wins with Double South for 700/1,300 to win the game.
With this win, Honda registers his 11th win in 20 games. He now joins a group of only 6 other people who have gotten 11 or more wins in a single regular season.
Ura 3
January 31, Game 2, E2-3
Video: https://abema.tv/video/episode/444-14_s50_p725
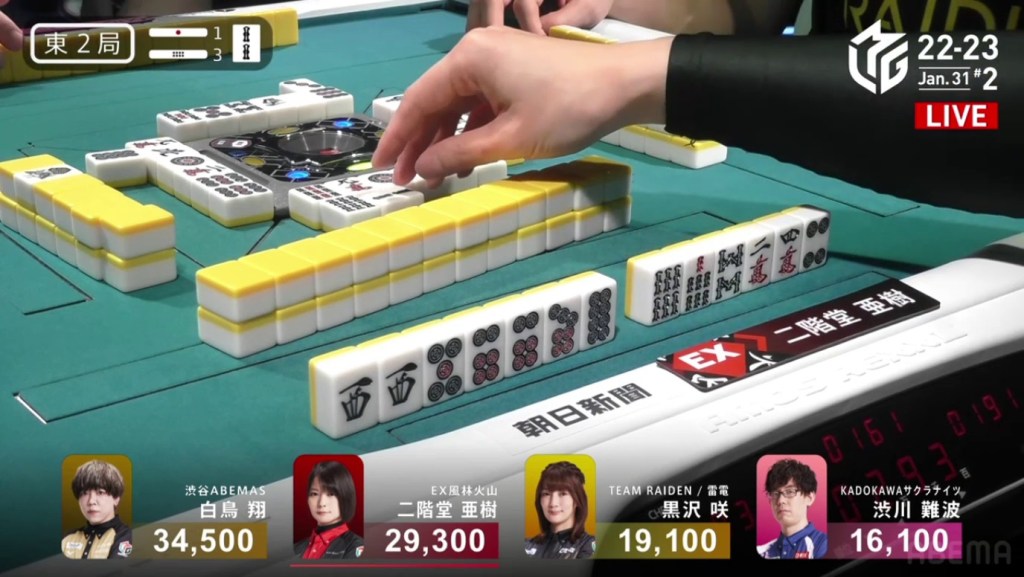
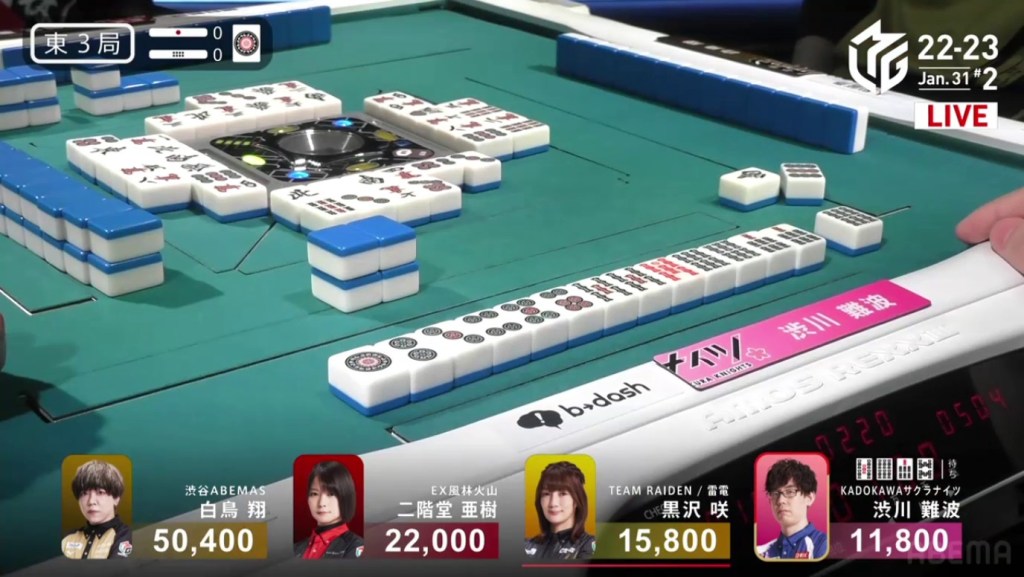
In E2-3, Shiratori is in 1st place and holding a 5,200 lead over 2nd place dealer Aki. With 1,900 in bonus sticks available and Aki being the dealer, now is a very good time to increase the lead. Shiratori starts out the hand 3-shanten with a red 5p and a pair of easts. On turn 2, Shiratori draws a third east to guarantee a yakuhai and get him 2-shanten. As Shiratori waits, Aki gets to tenpai and calls riichi on a 3m kanchan for riichi only.
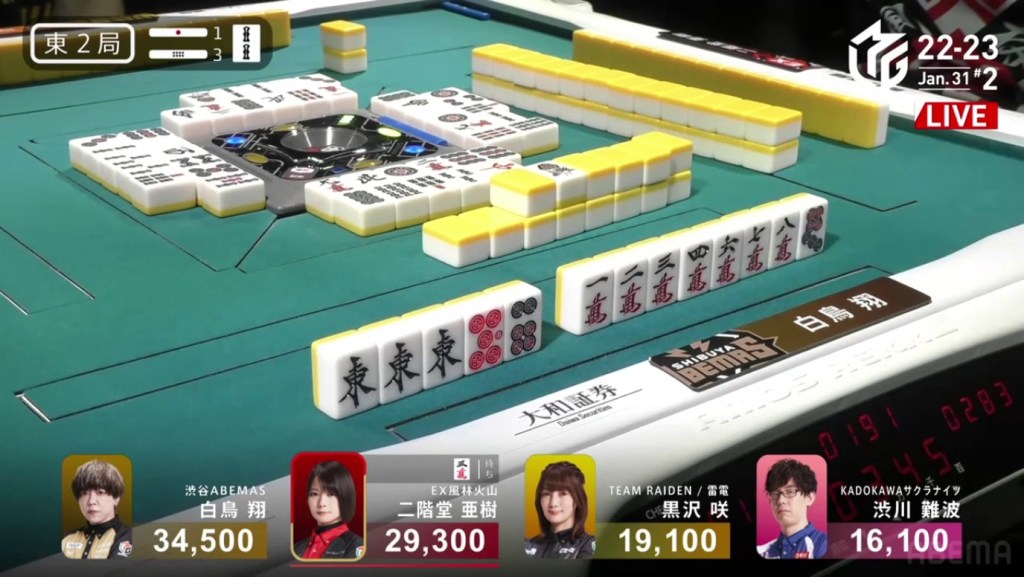
Though Shiratori is only 2-shanten, he is still able to advance his hand while getting safe tile to discard. On turn 10, Shiratori gets to iishanten. On turn 11, Shiratori gets to tenpai and calls riichi on a 14m nobetan.
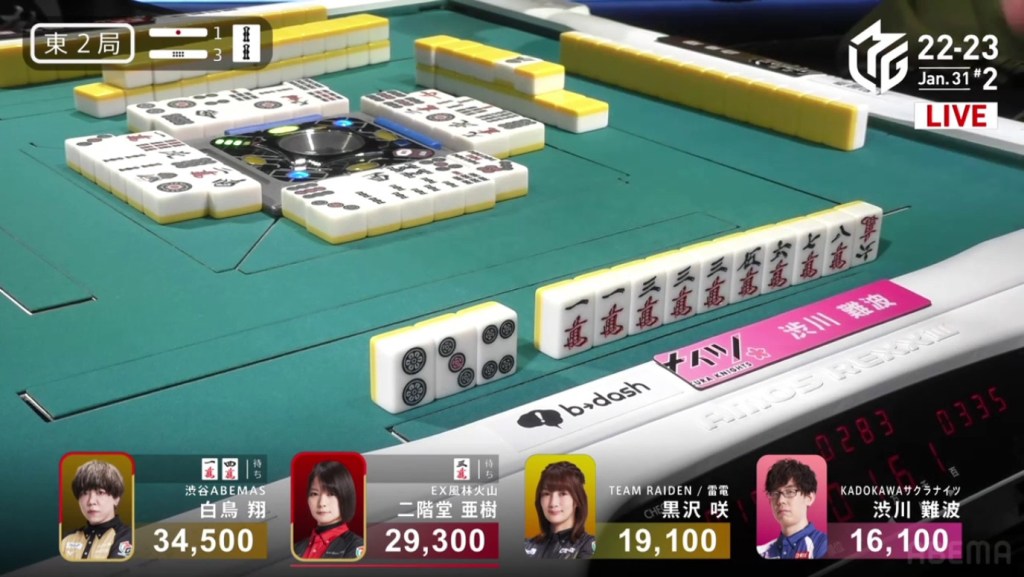
With two riichi calls, one would think that it’s 1 vs. 1. However, within the ippatsu turn, Shibukawa throws his hat into the ring by calling riichi on a 47m ryanmen. If the 4m comes out from either Aki or Kurosawa, Shibukawa would win on headbump.
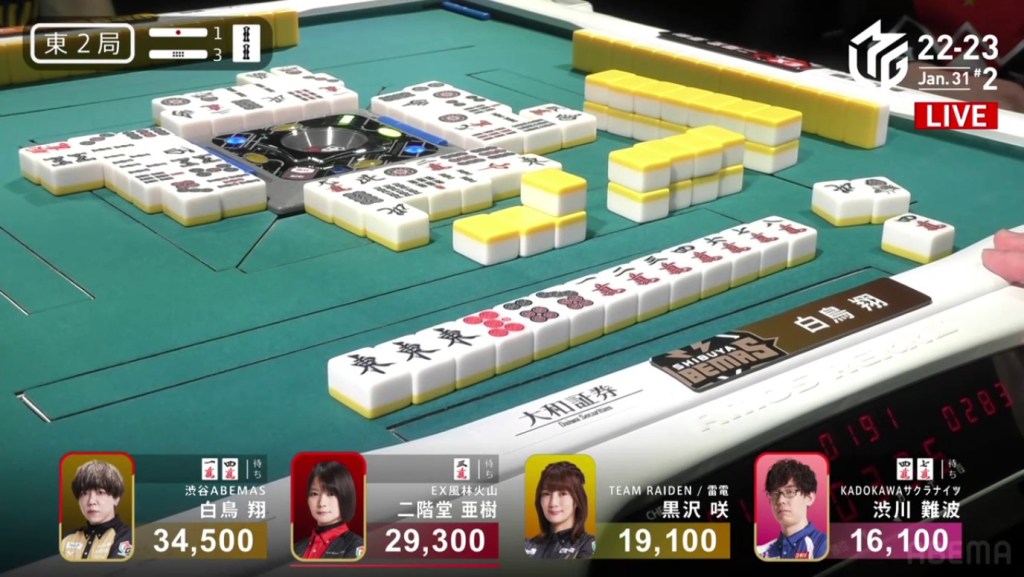
With three players in riichi, it’s anybody’s game. With each draw, any one of them can take the bonus sticks. Near the middle of the third row, Shiratori is the lucky winner, drawing the 4m to win the hand. With a flip of the uradora indicator, the north is revealed, making Shiratori’s east ankou worth three more han. Shiratori wins the hand with Riichi/Tsumo/East/Aka 1/Ura 3 for 3,000+300/6,000+300 plus three riichi sticks, putting Shiratori above 50,000.
5678
January 31, Game 2, E3-0
In E3-0, Shibukawa is in 4th place and sitting 4,000 behind 3rd place dealer Kurosawa. Shibukawa starts out 3-shanten with a 1p dora and a red 5s. In the first few turns, Shibukawa creates ryanmen candidates and fills in a penchan. By turn 4, Shibukawa is iishanten, waiting on 12 different tiles to get him to tenpai. On turn 5, Shibukawa draws a 7s to give him a 5556677s shape. With the wide shape, Shibukawa calls riichi and waits on any of the 5678s. If Shibukawa gets the last 5s, he gets both pinfu and iipeikou. If he gets the 8s, he would only get pinfu. If he gets the 6s or 7s, he would get neither. Near the end of the second row, Shibukawa draws the 6s and wins the hand. Shibukawa wins with Riichi/Tsumo/Dora 1/Aka 1 for 2,000/4,000 to move into 3rd place and just 200 away from 2nd.
Rebound
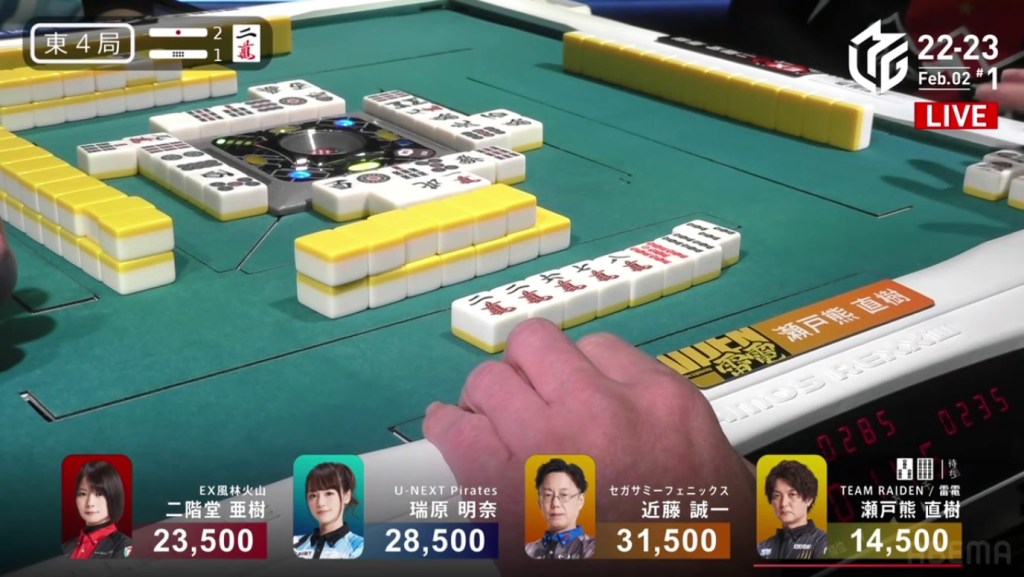
February 2, Game 1, E4-1
In E4-1, Setokuma is the dealer in 4th place, 9,000 behind 3rd place and 17,000 behind 1st place. With 2,300 in bonus sticks available, Setokuma can move into 1st place with just a mangan tsumo. Setokuma starts out the hand with a dora 2m and a red 5s, but is unfortunately 5-shanten. On turn 2, Setokuma pairs up the red dragon, giving him a clearer path to a yaku. On turn 3, Setokuma pairs up the 2m dora, giving him a route to mangan. Calling pon on the red dragon, completing a ryanmen and pon on the 1s, Setokuma was able to get to tenpai on a 36s ryanmen in the middle of the second row. On his very next draw, Setokuma finds the 3s and wins the hand. Setokuma wins with Red Dragon/Dora 2/Aka 1 for 4,000+100 all plus two riichi sticks, enough to move from 4th to 1st.
Ippatsu
February 2, Game 1, S3-0
Video: https://abema.tv/video/episode/444-14_s60_p736
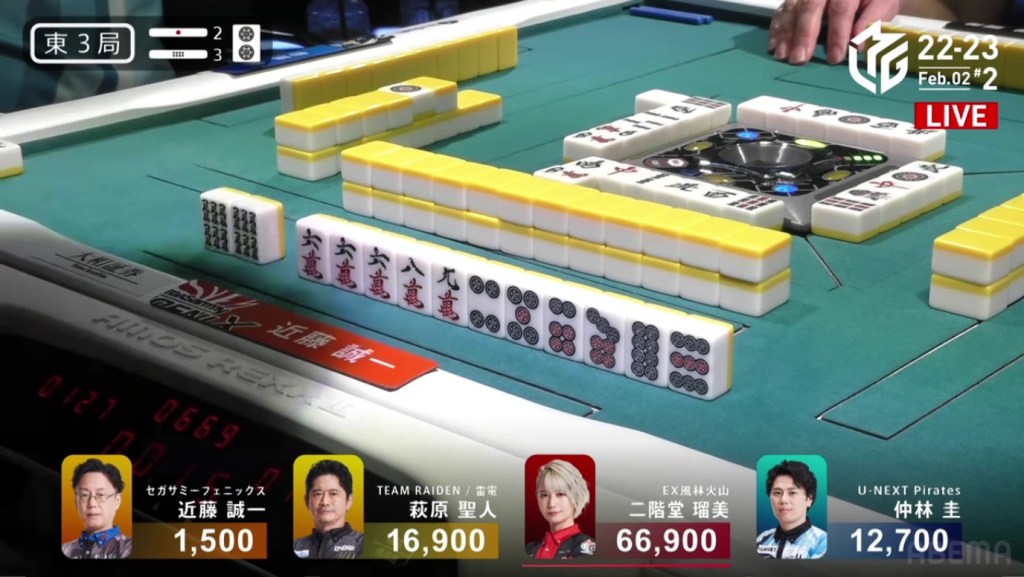
In S3-0, Kondo is the dealer in 1st place, holding a 5,600 lead over 1st place. He starts out the hand 4-shanten with a red five and two ryanmens and some semblance of tanyao. Through the first row, Kondo’s hand shifts away from tanyao and closer to pinfu, getting to iishanten with one kanchan at the end of the row. At the start of the second row, Kondo fills a ryanmen and gets to iishanten. As Kondo waits for tenpai, Setokuma calls pon on the double south and the 9m to get to tenpai on a 36s ryanmen.
A few turns later, Mizuhara gets to tenpai and calls riichi on a 25s ryanmen, guaranteed to be at least a mangan.
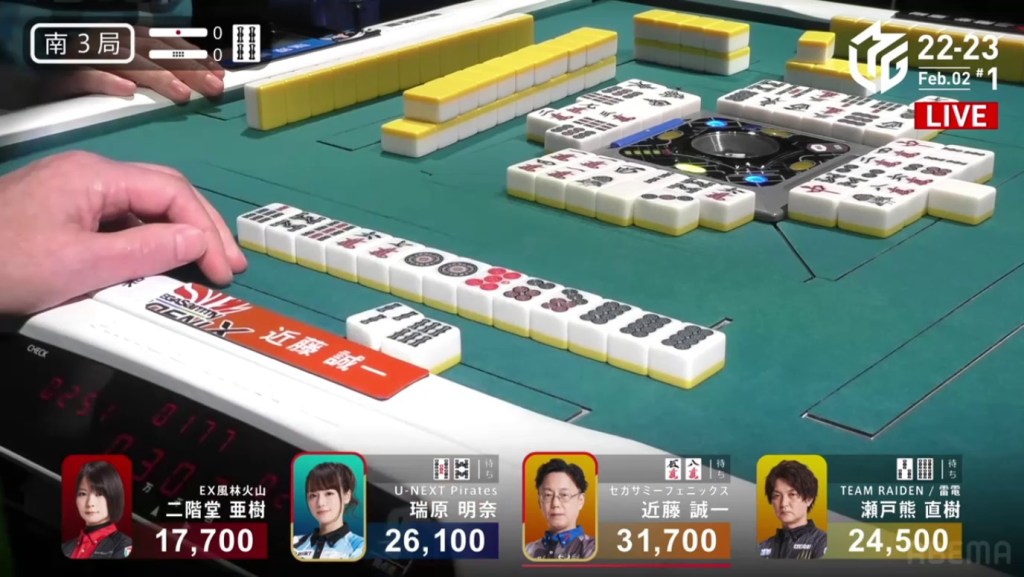
During the ippatsu round, Kondo creates an 8p ankou for tenpai. Though the red 5p is his only value, he has a ryanmen and is the dealer, enough to call riichi on a 58m ryanmen. On Kondo’s next draw, he finds his winning 8m and wins the hand. Kondo wins with Riichi/Ippatsu/Tsumo/Aka 1/Ura 1 for 4,000 all plus a riichi stick.
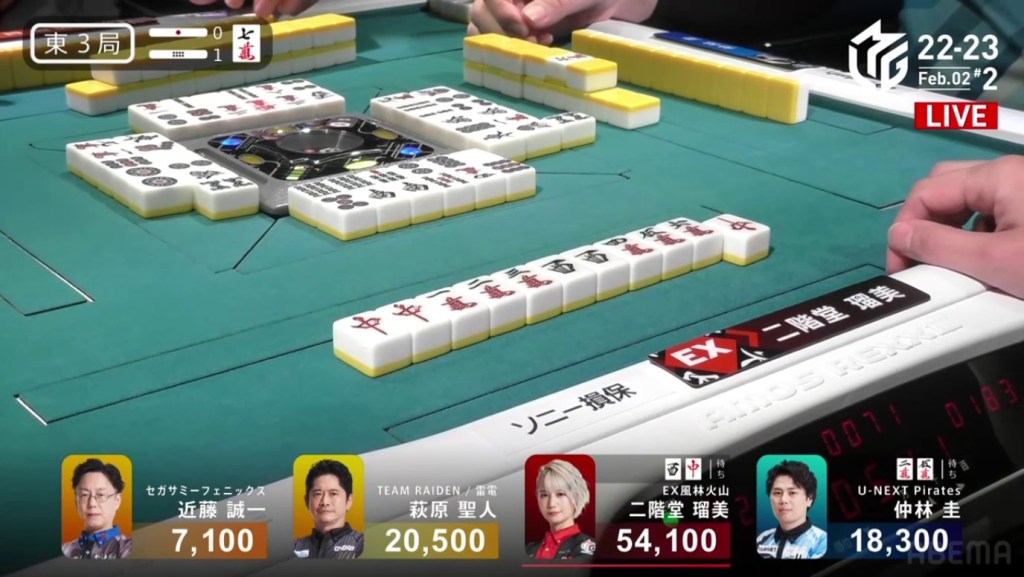
Rumi
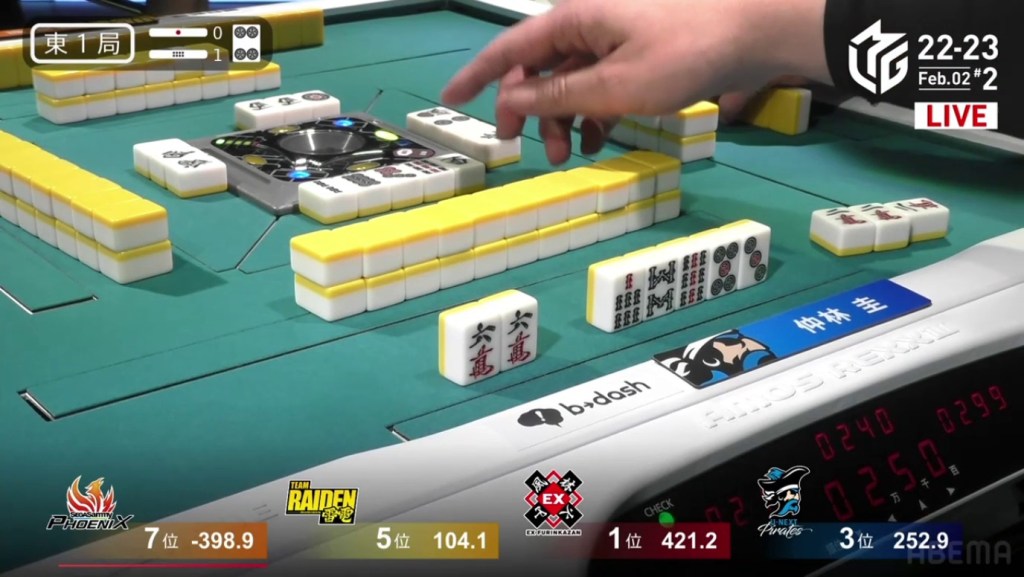
February 2, Game 2
Video: https://abema.tv/video/episode/444-14_s20_p730
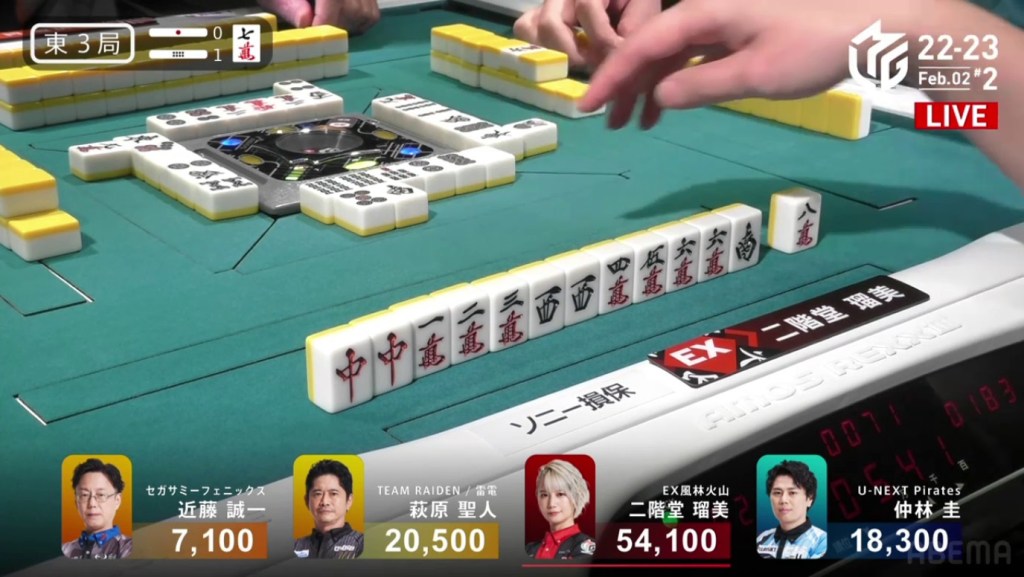
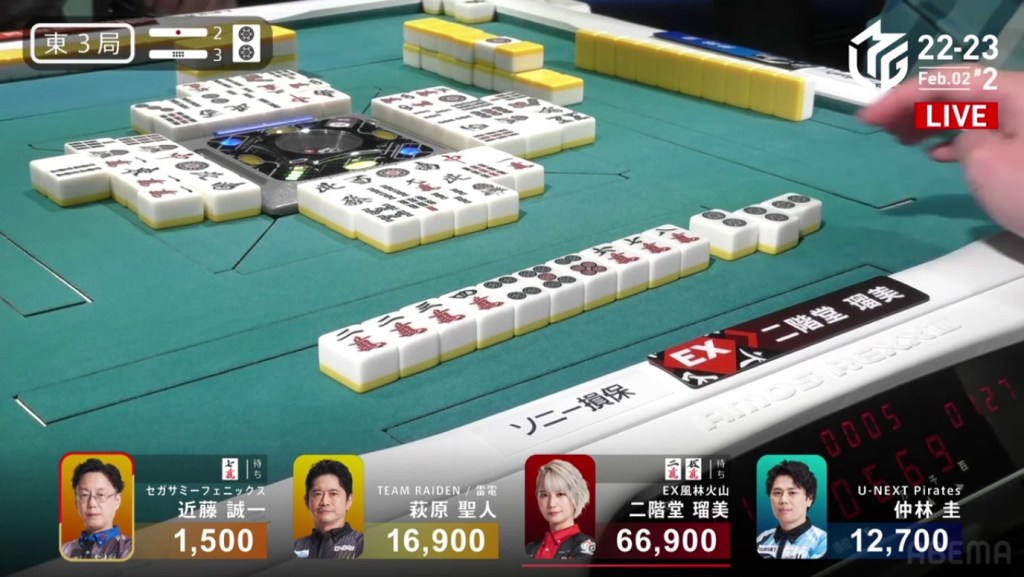
In E1-1, Rumi has an early deficit after dealing into Kondo in the first hand. She starts out with a good 2-shanten hand with a red 5m and a 4p dora. Early on, there is a challenge from Nakabayashi, who calls pon on the east for 2-shanten. With a pon call later in the row, Nakabayashi is the first to tenpai, waiting on a 4p kanchan.
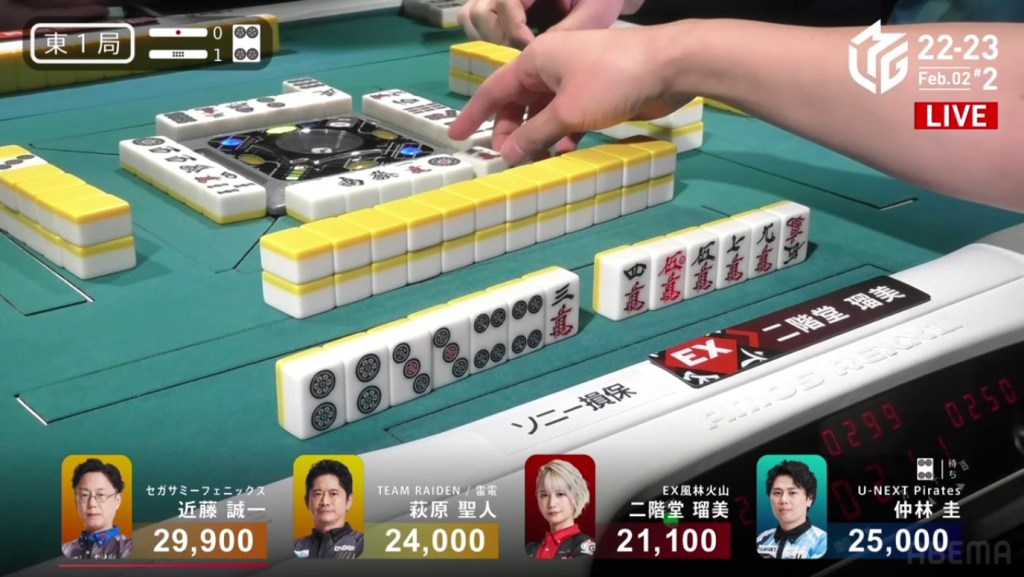
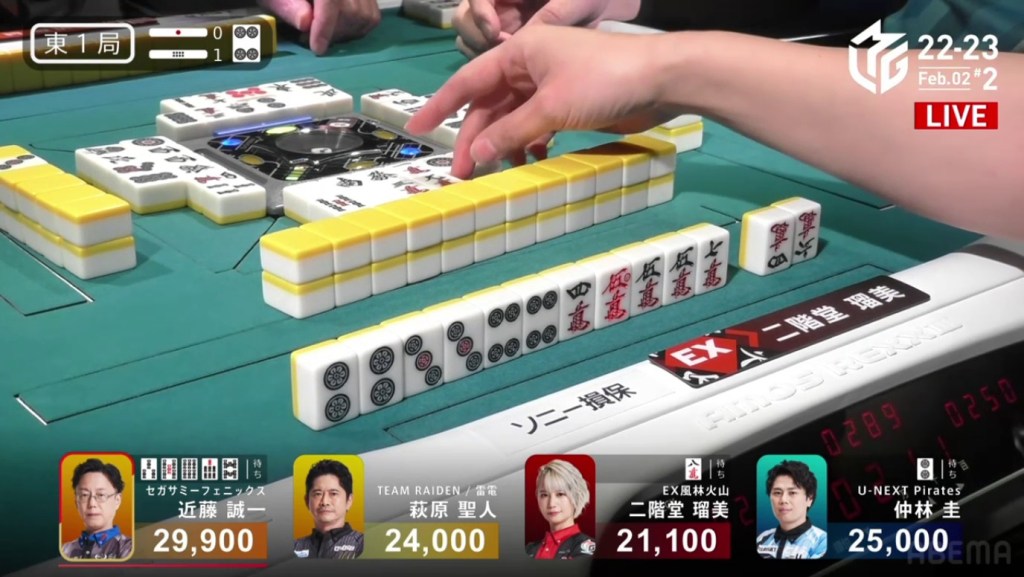
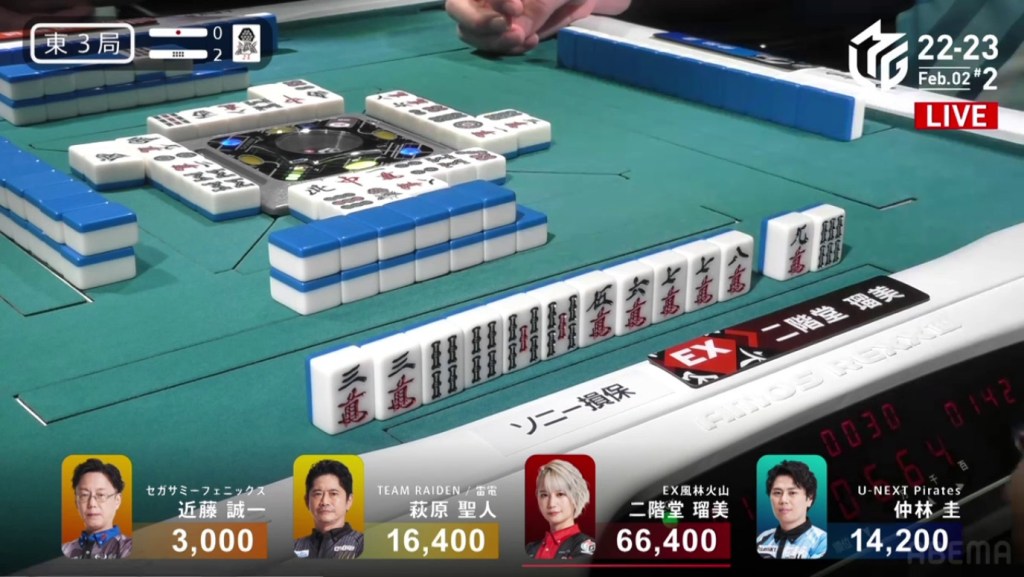
A few turns after, Rumi draws a 3p to complete a 234p iipeikou. If Rumi can draw the 4m, 7m or 9m, she would be tenpai for the rare ryanpeikou. Two turns later, Rumi draws a 5m. Though it isn’t ryanpeikou, it does put her tenpai on an 8m kanchan. She stays dama, hoping to improve the hand’s value or wait.

Unfortunately for Rumi, three of her 8m are stuck in Kondo’s hand. As Nakabayashi see progress being made around the table, he switches his wait to the higher-chance 2p kanchan. Within the same go-around, Kondo draws a 7s to create a 4566677888s shape. With his hand shape, he provides a fresh change to the kanchan waits by calling riichi on 35678s wait.
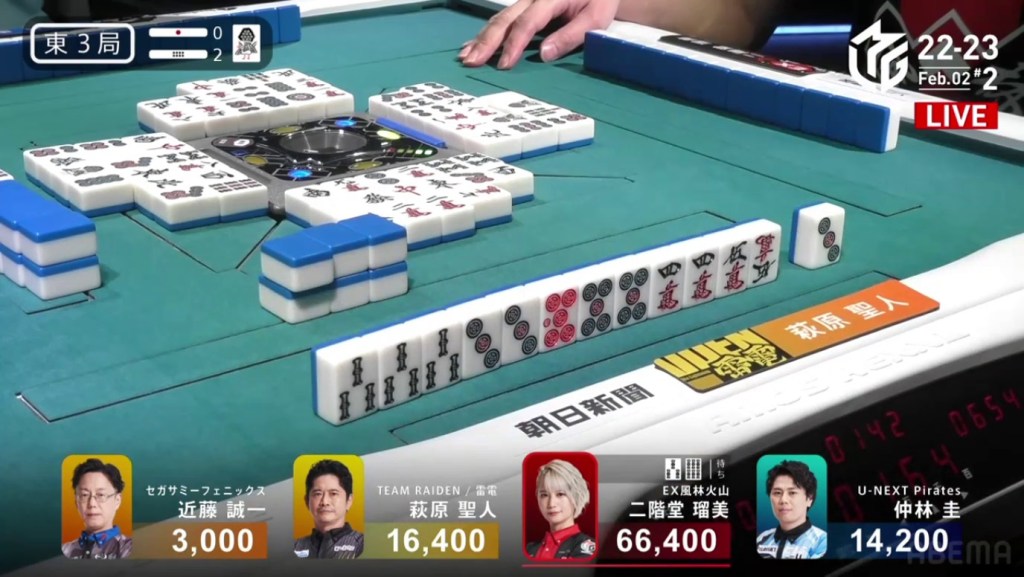
With such a wide wait, we expect Kondo to win the hand. However, Rumi and Nakabayashi are able to avoid the hand while still maintaining tenpai. In fact, both of them threw the 4s, the only souzu between 3-8 that is safe. In the middle of the second row, Rumi improves her wait to a 4m/58m wait, staying dama.
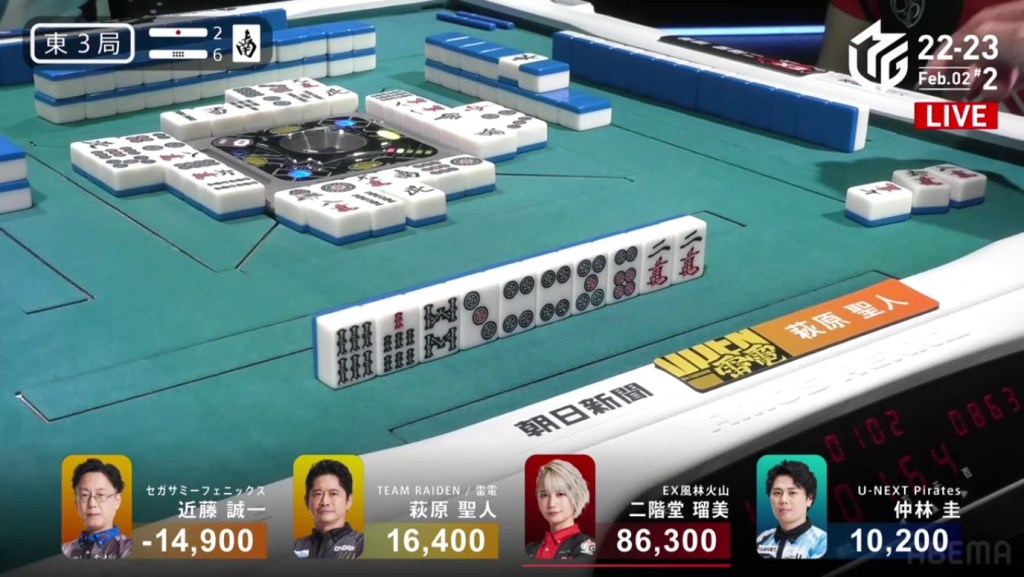
After staying dama for one turn, Rumi decides to call riichi the next turn, guaranteeing at least a haneman. In the third row, Kondo draws and discards the 4m, dealing into Rumi. Flipping two uradora, Rumi wins the hand with Riichi/Tanyao/Iipeikou/Dora 2/Aka 1/Ura 2 for 16,000+300 plus Kondo’s riichi stick. With the exchange, Rumi moves from 4th to 1st and Kondo moves from 1st to 4th.
After E2-0 went to a draw, the game continued into E2-1 with 1,300 in bonuses available. Rumi starts the hand 3-shanten and having the ability to accept the 5m dora. With most of her tiles being simple tiles, her hand naturally went towards tanyao. Even without the dora, Rumi’s hand added more value through pinfu. At the start of the second row, Rumi gets to tenpai and stays dama on a 369s wait. After spending two turns dama, Rumi decides to call riichi. Two turns later, Nakabayashi tries to call riichi with his mangan minimum hand by throwing the 6s, but ends up dealing into Rumi. Rumi wins the hand with Riichi/Pinfu/Tanyao for 3,900+300 plus a riichi stick to move over 40,000.
In E3-0, Rumi is now the dealer and she starts out the hand 2-shanten with three ryanmens, two red fives and a guaranteed tanyao. Despite having such a good hand, Rumi is unable to advance in the first row. In the second row, Rumi is given the chance to call in order to move forward, but she declines to maintain the chance at pinfu. Right after she declines the call, she gets to iishanten. A turn later, she gets to tenpai on a 36p ryanmen, guaranteed at least a mangan. Soon after, Rumi draws the 3p and wins the hand. Rumi wins with Tsumo/Pinfu/Tanyao/Aka 2 for 4,000 all, putting her above 50,000.
Video: https://abema.tv/video/episode/444-15_s90_p704
In E3-1, Rumi continues her dealership and starts out 2-shanten with pairs of south, west and red dragon. However she breaks up her 67s shape to aim for honitsu from turn 1, going back a shanten. On turn 3, Rumi confirms her five honitsu blocks to get back to 2-shanten. At the end of the row, Rumi gets to iishanten, hoping to making any of her three honour pairs into a triplet. On turn 8, Rumi draws an 8m. It allows her to wait on a 7m for tenpai, but the 7m dora is difficult to come out. In an incredible move, Rumi keeps the 7m kanchan and chooses to cut the south pair. Because the west has already cut once, the west will be useless to anyone who draws it. Since the south has yet to be cut, there is a chance that someone is holding a pair of them. Rumi’s read is correct, as Kondo holds a pair for chiitoi.
Within the go-around, Hagiwara discards the 7m as he pursues tenpai, letting Rumi call chii to get to tenpai on a red dragon/west shanpon. At the start of the third row, Rumi draws the red dragon and wins the hand. Rumi wins with Honitsu/Red Dragon/Dora 1 for 4,000+100 all, putting her above 60,000.
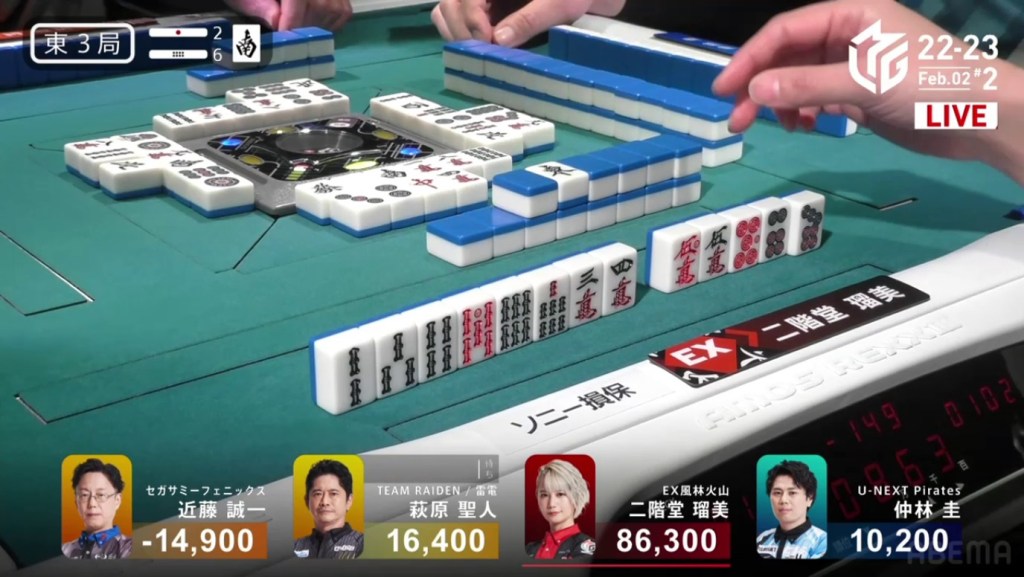
In E3-2, Rumi starts out with another strong start, holding four pairs and a lone 1s dora, 2-shanten for chiitoi (4-shanten for a standard hand). In the first row, Rumi’s connected pairs become sequences, making a standard hand a more viable option. In the middle of the second row, Rumi gets to iishanten for both paths. A turn later, Rumi gets to tenpai and calls riichi on a 36s ryanmen.
As Rumi waits, 2nd place Hagiwara has his hand move. During the ippatsu turn, he creates an ankou of 5p. A turn later, he makes a pair of 2m. With a hand 3-shanten for toitoi and tanyao and a lot of hoarded safe honours, Hagiwara has the chance to get to tenpai and maybe win the hand. At the end of the second row, Hagiwara draws a pair of 3p, giving him 4 pairs and 1 ankou, 2-shanten for a potential suuankou. At the start of the third row, Hagiwara makes an ankou of 3s, putting him iishanten. On turn 14, he draws a pair of 5m. From here, he can choose to break one of his ankous to wait on 28 different tiles types for chiitoi tenpai, or he can break one of the pairs to continue pursuing toitoi. He chooses the later, leaving him with pairs of 3p, 4m and 5m. With 6 tiles left in the wall, Hagiwara draws the 3p for tenpai. Ready for a potential suuankou, Hagiwara calls riichi and waits on a 4m/5m shanpon, hoping that his last draw will be the winning one.
Unfortunately, Hagiwara’s hopes were dead before they began. One of the 5m was being held by Rumi and Kondo was holding the other 5m and the two 4m. Hiyoshi has never been quieter on a yakuman tenpai. The hand ended up going to a draw with Hagiwara and Rumi the only ones tenpai.
In E3-3, Rumi is wanting to continue her dealership and win the 2,900 in bonuses available. She starts out the hand farther than usual at 4-shanten, but she does hold a pair of 2p dora. Rumi’s hand manages to create and complete ryanmens in the first row, getting her iishanten by the end of it. As Rumi waits, Kondo has his hand advance as well. At the start of the second row, Kondo is the first to tenpai and he calls riichi on a 7m penchan.
Even with dangerous tiles, Rumi pushes her iishanten hand forward. When Kondo discards the 2p dora, Rumi declines to call pon. However, when Nakabayashi discards the 2p soon after, Rumi calls pon to advance to a tanyao iishanten. At the start of the third row, Rumi gets to tenpai and waits on a 25m ryanmen. A few turns later, Kondo draws and discards the 5m dealing into Rumi. Rumi wins the hand with Tanyao/Dora 3 for 12,000+900 plus three riichi sticks, putting Rumi above 80,000.
Tanyao Only. 6,900.
February 2, Game 2, E3-6
In E3-6, Hagiwara is in 2nd place and trying to stop Rumi’s dealership. With 3,800 in bonuses available, it’s a good time for Hagiwara to gain points himself. Hagiwara starts out the hand with an annoying 5-shanten hand with an isolated south dora. Naturally, Hagiwara discarded his terminals first for the best efficiency and lead his hand towards tanyao. By the end of the first row, Hagiwara is 3-shanten with only one non-simple tile. In the second row, Hagiwara fills in a kanchan and makes a call to get to tenpai on a 25p ryanmen.
Right after Hagiwara gets to tenpai, Rumi gets to a dama tenpai on a 25m ryanmen, guaranteed at least a dealer mangan on ron and a dealer haneman on tsumo.
Right after Rumi gets to tenpai, Nakabayashi gets to tenpai and calls riichi on a 14s ryanmen (with the 4s giving sanshoku).

With the riichi from Nakabayashi, Rumi chooses to chase with a riichi of her own, guaranteeing at least a haneman if she wins. With two riichi calls on the table, Hagiwara has to be careful. When he draws the 6p on the ippatsu turn, he switches to a 5p kanchan to be safe. Luckily for Hagiwara he doesn’t have to suffer long. On his very next draw, he finds his winning 5p to win the hand and end Rumi’s dealership. Hagiwara’s hand by itself is only worth 1 han 30 fu, equating to 300/500. However, the 6 honba means that everyone has to pay 600 extra. With the two riichi sticks left over from last hand and the two riichi sticks from this hand, Hagiwra gets 4,000 in bonuses. In total, Hagiwara’s Tanyao only hand is worth 6,900.
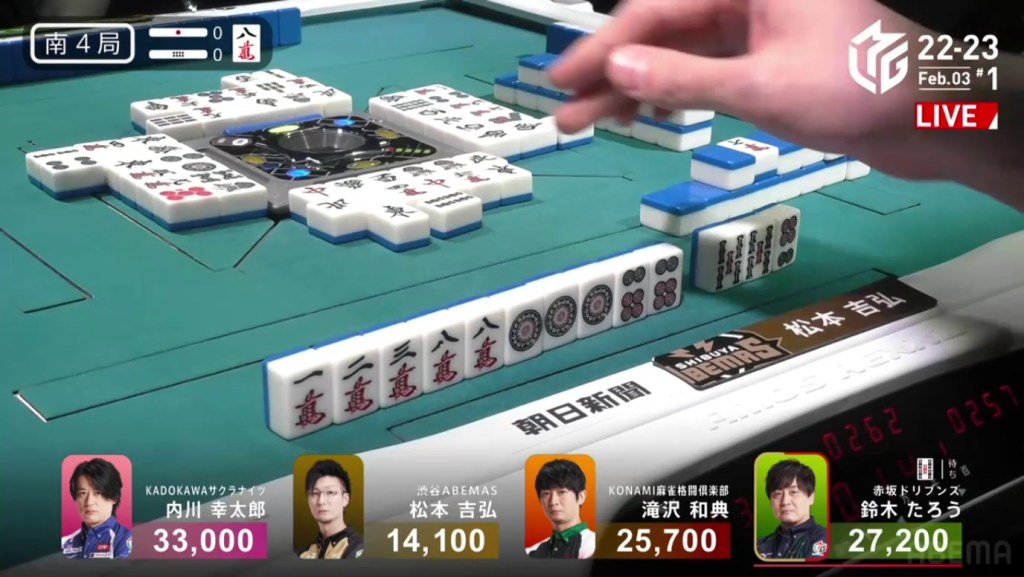
Perfection
February 3, Game 1, S4-0
Video: https://abema.tv/video/episode/444-14_s50_p726
In S4-0, Matsumoto is in 4th place, 11,600 behind 3rd place Takizawa, 13,100 behind 2nd place dealer Taro and 18,900 behind 1st place Uchikawa. If Matsumoto wants to escape 3rd, he will need a mangan direct hit on any except Uchikawa or win a haneman (getting to 2nd if he hits the right people). If he wants to be bold and aim for 1st, he will need to hit Uchikawa directly with a baiman, win a sanbaiman off anyone else or get a baiman tsumo.
Matsumoto starts out the hand 4-shanten with a single 8m dora for value. If he wants to move out of last, he will have to hold onto the 8m and hope that the other ones will come to him. As we look around the table, everyone else seems to have a faster hand, all three of them 3-shanten with better shapes. In the first row, everyone progresses well. Matsumoto is able to draw another 8m dora, Uchikawa and Takizawa create and fill ryanmens and Taro fills in bad shapes and creates some good shapes. At the end of the first row, Taro is the first to tenpai and calls riichi on a 5s kanchan.
With Matsumoto having nothing to lose and Takizawa with a path to 1st place, both of them push. During the ippatsu turn, Takizawa gets to a ryanmen-ryanmen iishanten. After a throwing a few dangerous tiles, Matsumoto makes an ankou of 1p to get to iishanten at the end of the second row. Two draws later, Matsumoto creates an ankou of 6p. Here, Matsumoto has a choice. If he throws the 5s, he would be waiting on a 36s ryanmen that would put him into 3rd if he wins by tsumo. If he throws the 4s, he would be waiting on a 5s/8m shanpon, getting a haneman on tsumo for 2nd place (1st if he can find bonuses like ippatsu or ura or drawing the dora). With the 4s being nakasuji and a chance at a much higher placement, Matsumoto throws the safe 4s and calls riichi.
Calling chii off the 4s, Takizawa simultaneously breaks the ippatsu and gets to tenpai on a 58p ryanmen.
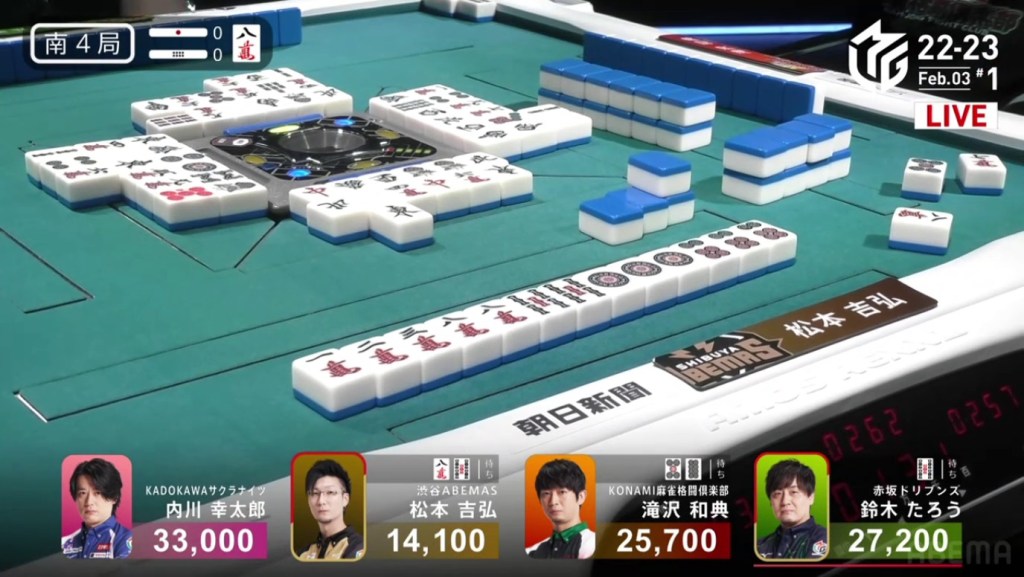
With three players in tenpai, anybody could finish the game in 1st place. Within a few seconds, excitement gave into ore excitement as Matsumoto draws his winning 8m dora and calls tsumo. With haneman secured, Matsumoto only need one uradora to move into 1st place. He didn’t get one uradora with the flip, but three! From 4th to 1st, Matsumoto wins the hand with Riichi/Tsumo/Sanankou/Dora 3/Ura 3 for 4,000/8,000 plus one riichi stick, giving him his first 1st since November.
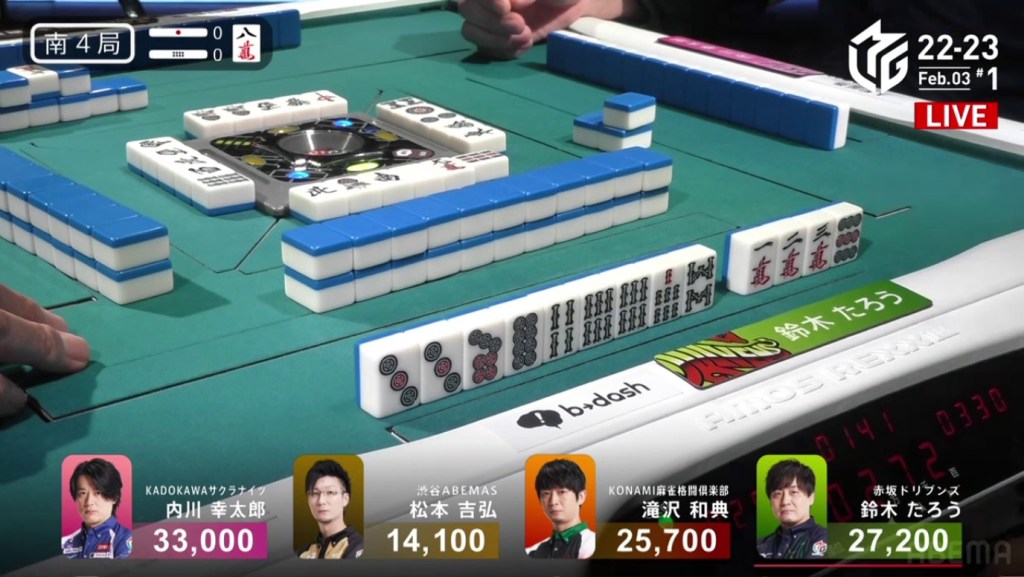
Wider Wait Never Wins
February 3, Game 2, E1-0
Video: https://abema.tv/video/episode/444-15_s90_p712
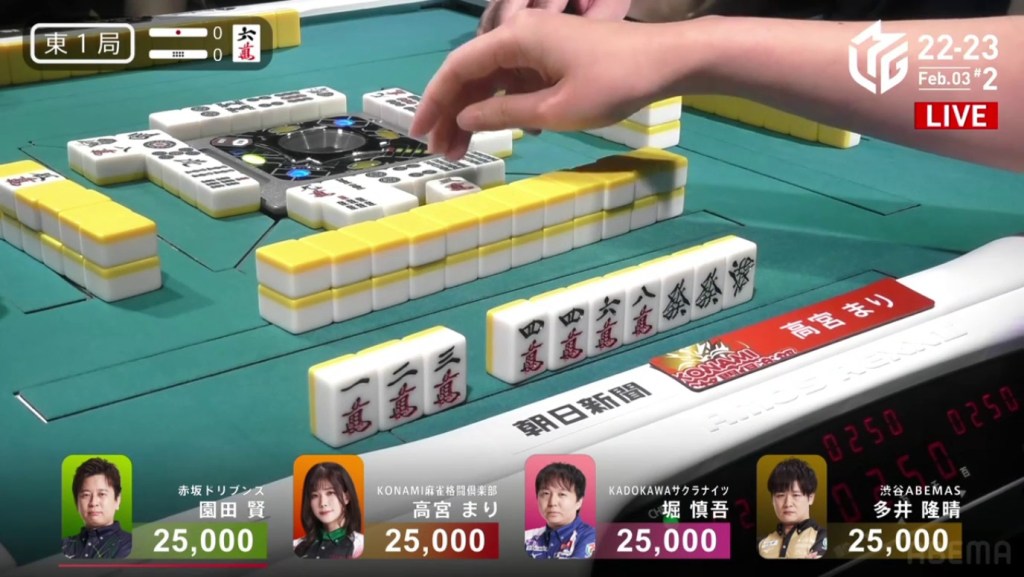
In E1-0, Takamiya is sitting in the south seat and starts out 3-shanten with a pair of green dragons and a stray 6m dora. Through the first row, Takamiya pairs up the souths, pushes her hand towards a manzu honitsu and gets to honitsu 2-shanten by the end of the row. When the south is discarded, Takamiya calls pon to get to iishanten. A few turns later, she draws a third green dragon to get to tenpai on a 7m kanchan for mangan.
As Takamiya waits, Hori’s hand progresses very nicely. Right after Takamiya’s tenpai, Hori creaetes a 3-sided wait. Two turns later, Hori gets to tenpai and calls riichi on a 258s for mangan minimum.
Hori had 5 tiles while Takamiya had onnly one 7m to hope for. Clearly, the hand was in favour of Hori. However, as mahjong would have it, Hori would draw the last 7m just two turns later to deal into Takamiya. Takamiya wins the hand with Honitsu/Green Dragon/Dora 1 for 8,000 plus Hori’s riichi stick for the early lead.
Chinitsu vs. Chinitsu
February 3, Game 2, E2-0
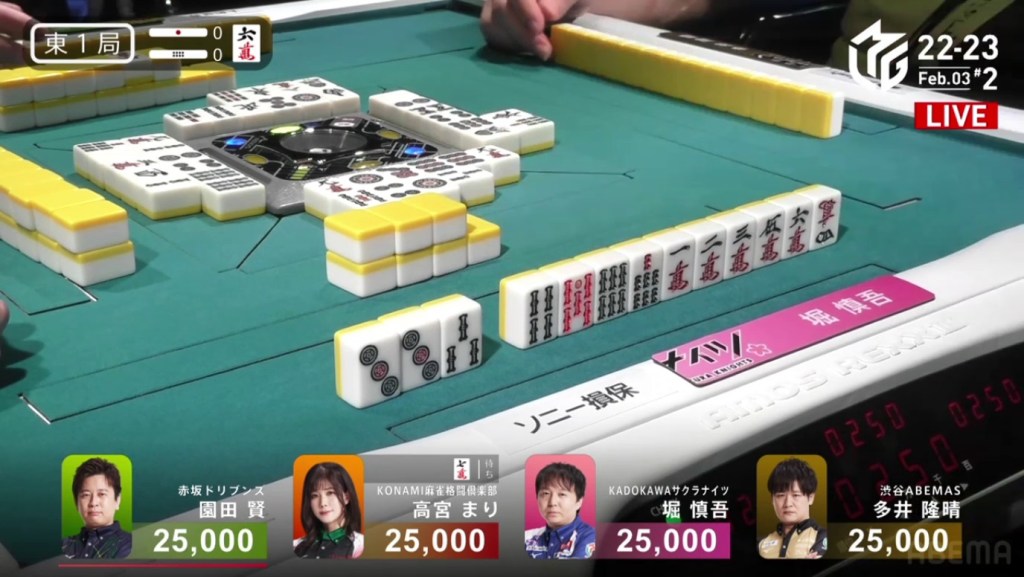
In E2-0, Hori is in 4th place and Sonoda is tied for 2nd place. At the start, we see Hori with 8 pinzu tiles (including the red 5p) in his hand while Sonoda has 8 souzu tiles (including the dora 6s). With both holding potential flush hands, it was a matter of who would finish theirs first. Whenever Hori would draw a pinzu, Sonoda would draw a souzu soon after. By the end of the first row, Hori is iishanten for a pinzu chinitsu while Sonoda is lagging just behind at 2-shanten. With a call off of Sonoda, Hori is the first to tenpai, waiting on a 47p ryanmen. A few turns later, Hori improves to a 147p wait.

A turn after Hori gets the 3-sided wait, Sonoda draws a 3s to get to iishanten. At the end of the second row, Sonoda draws the 1p. Temporarily avoiding Hori’s hand, Sonoda discards the 1s and holds onto the 1p. Two turns later, Sonoda draws the 5s. Trying to accept the 24578s wait, Sonoda discards the 1p and deals into Hori.
Hori wins the hand with Chinitsu/Aka 1 for 12,000, moving Hori into 2nd and Sonoda into 4th.
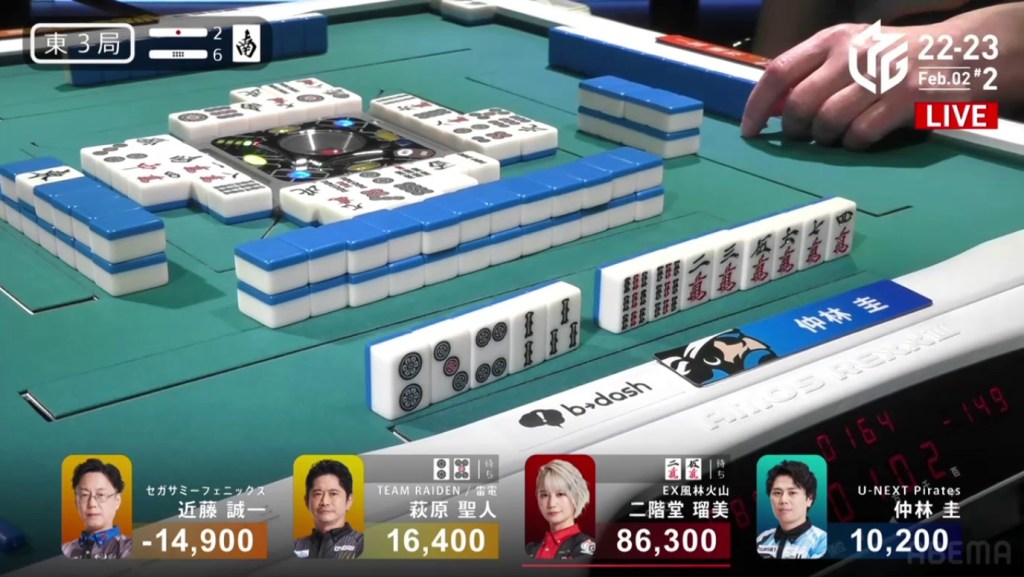
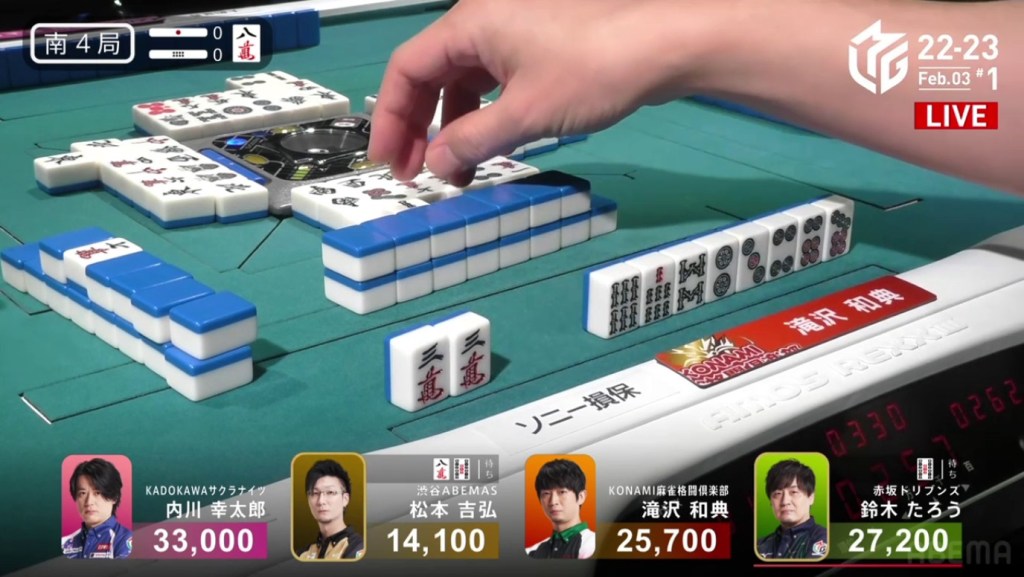
Sonoda Springs Into Action
February 3, Game 2
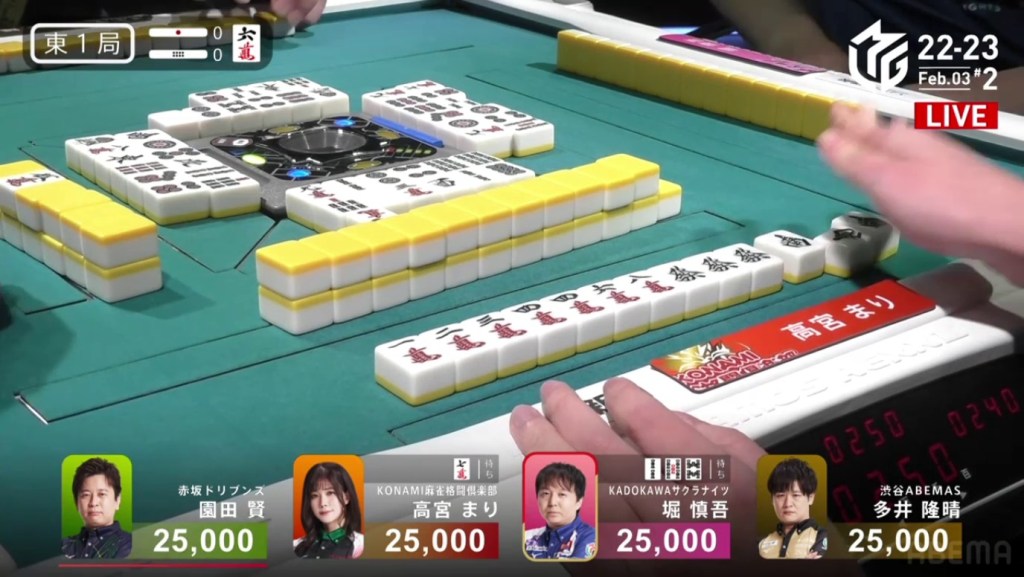
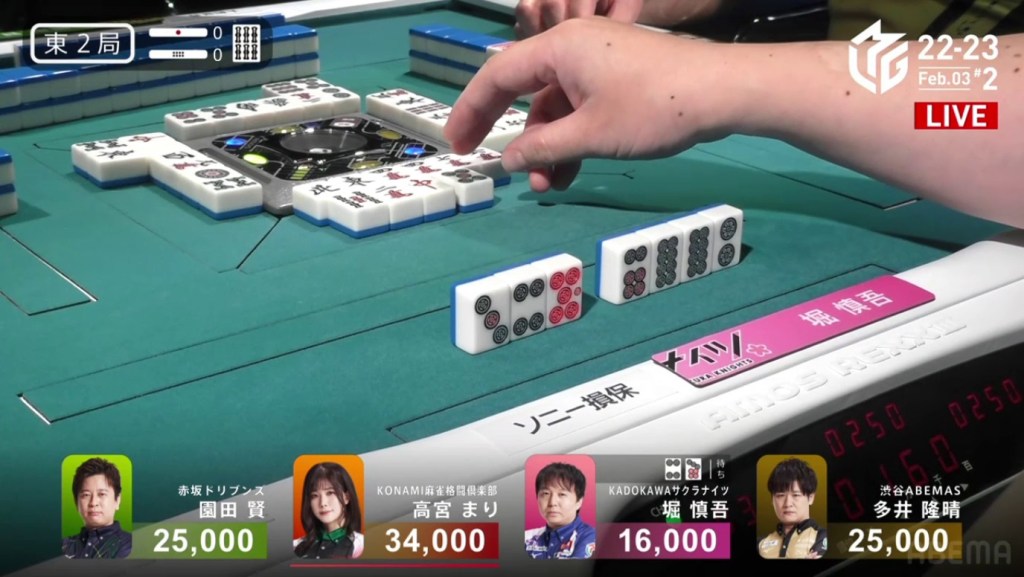
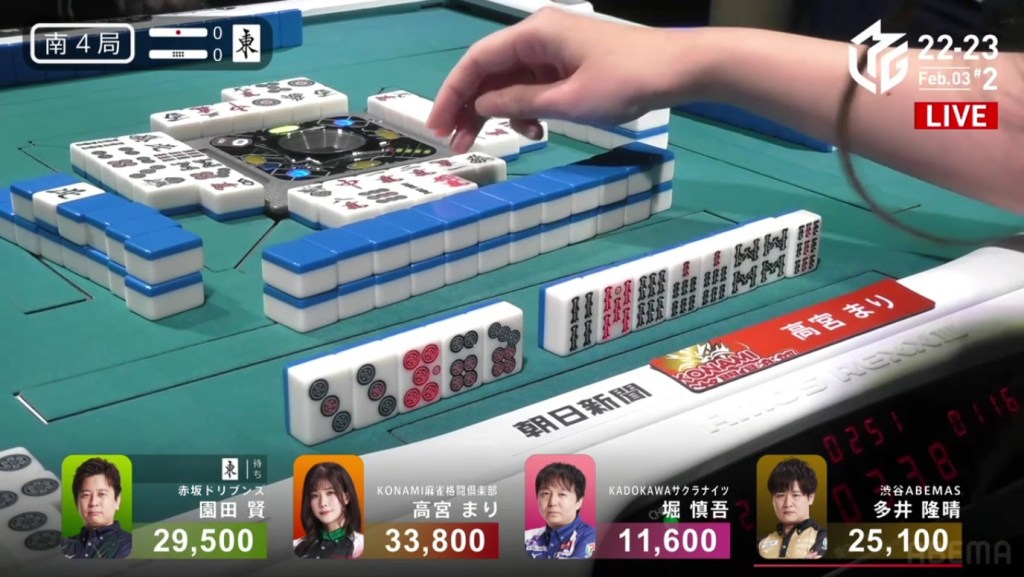
In S2-0, Sonoda is in 4th place and has no dealership left. He is only 1,000 away from 3rd place, but over a baiman away from 2nd place. He starts out the hand 3-shanten with a red 5s for value. In the first row, Sonoda got to iishanten earlier, but broke up his 79m block to create ryanemsn and accept tanyao. As Sonoda takes the extra time to improve his hand, Takamiya the dealer gets gets to tenpai and waits on a 1s tanki with two dora.
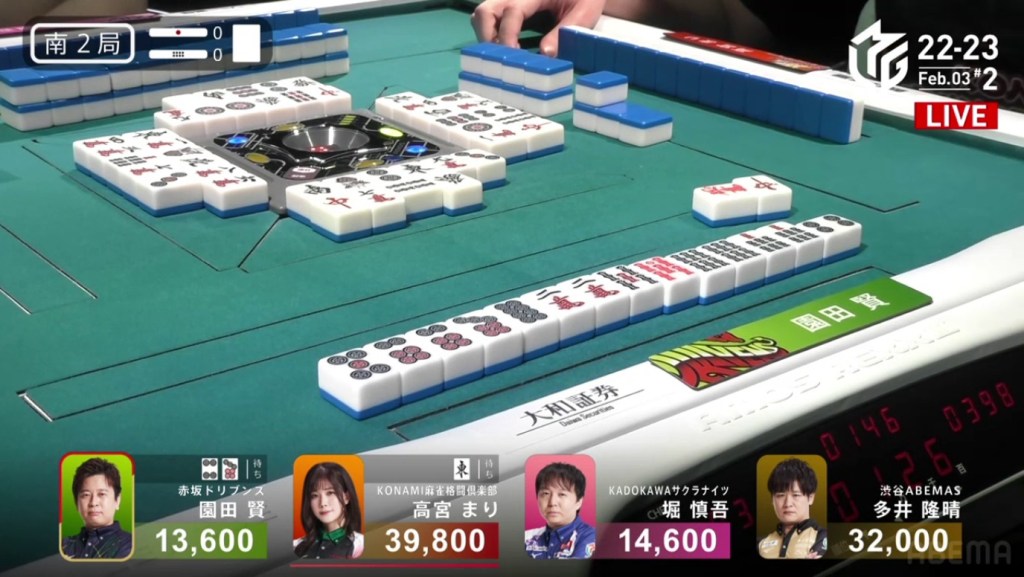
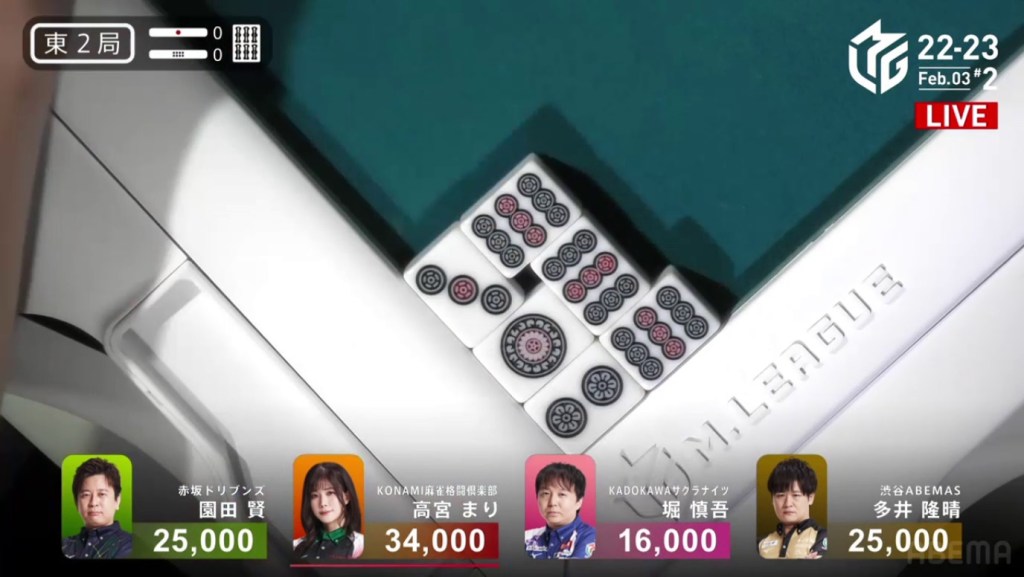
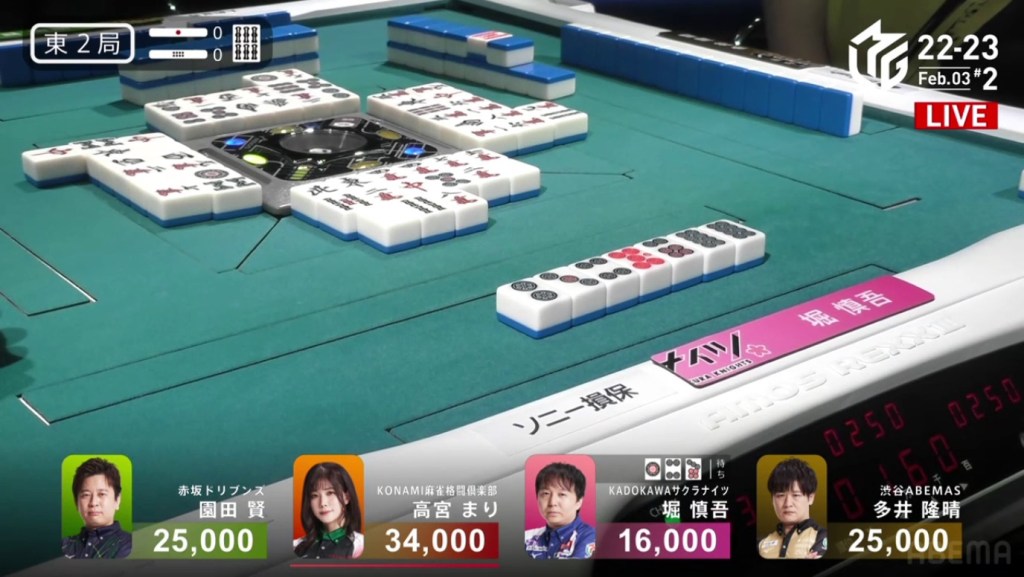
In the middle of the second row, Sonoda creates a 567s iipeikou to get to tenpai and calls riichi on a 47p ryanmen with a mangan minimum hand. If he can draw his winning tile, he would have enough for mangan. With the riichi, Takamiya switches her tanki from a 1s to an east. Two turns after calling riichi, Sonoda draws his winning 4p. Sonoda wins with Riichi/Tsumo/Pinfu/Tanyao/Iipeikou/Aka 1 for 3,000/6,000, moving into 3rd place.
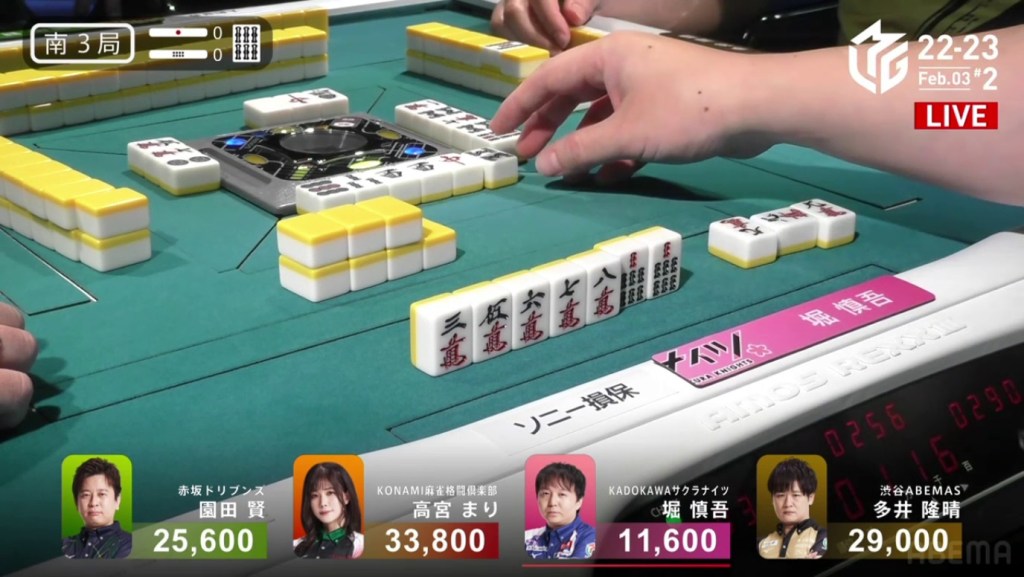
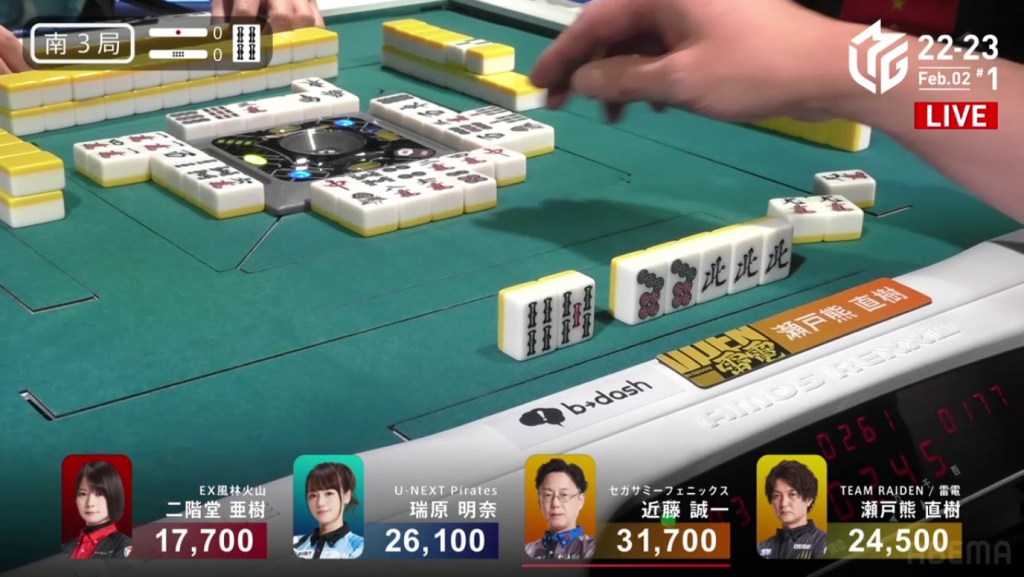
In S3-0, Sonoda is in 3rd place, 3,400 behind 2nd place Ooi and 8,200 behind 1st place Takamiya. Sonoda starts out the hand 3-shanten with the ability to accept the 6s dora. Across from him is 4th place dealer Hori holding a bunch of manzu tiles, a pair of easts and a pair of 7s. Within the first few turns of the first row, Hori tries to get to tenpai as fast as he can. Calling pon on the east and the 9m, Hori gets to tenpai on a 4m kanchan by the end of the row.
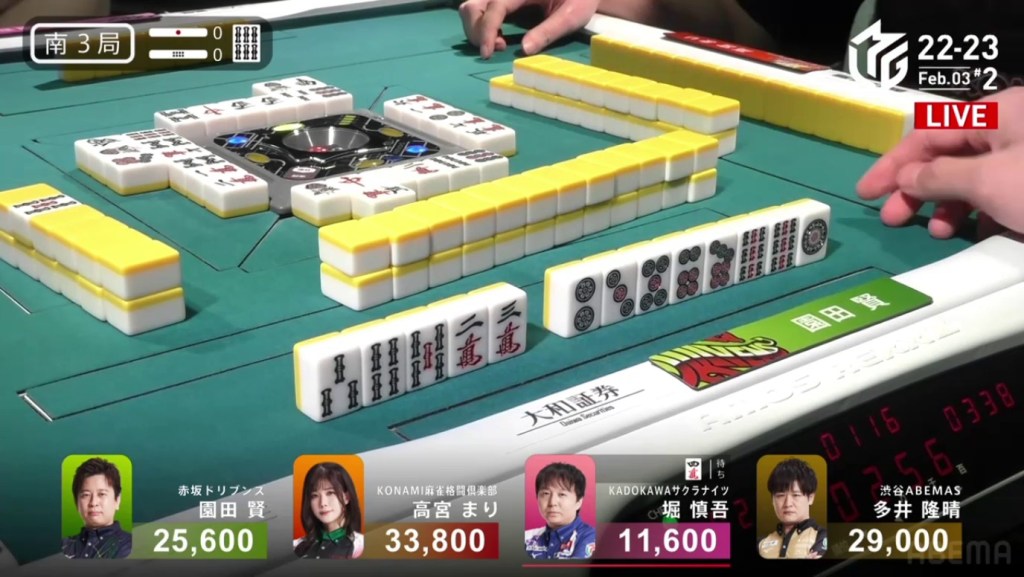
By this point, Sonoda is still 2-shanten with only one ryanmen and no value. Sonoda treads carefully, going back a shanten to guarantee a better wait. In the next few turns, he creates more ryanmens and fills them in. Eventually Sonoda gets to tenpai and calls riichi on a 14m ryanmen.
During the ippatsu round, Ooi calls a pon to get to tenpai on a 36p ryanmen, guaranteed at least a mangan.
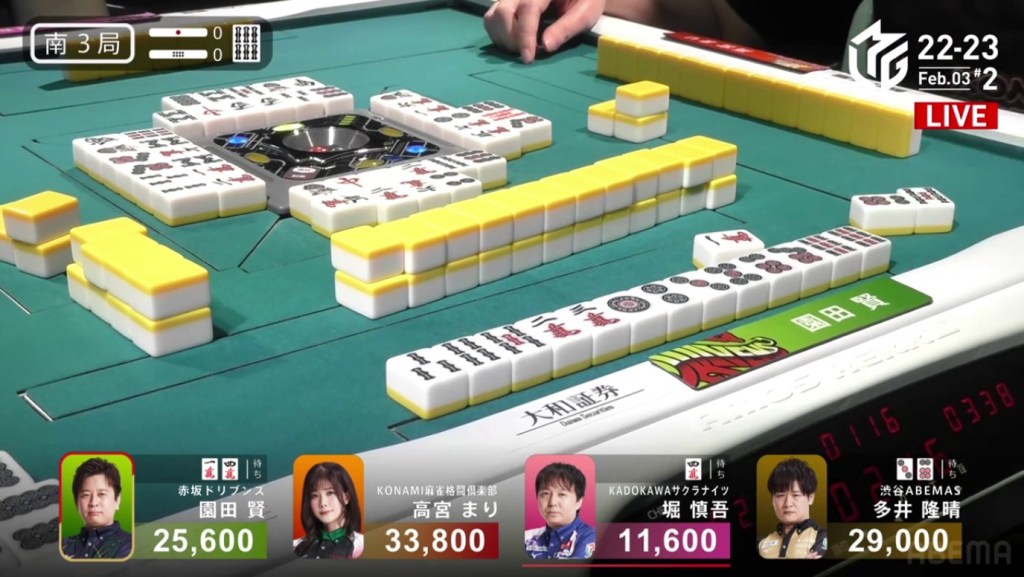
The next few turns had a few close calls. 2m. 6m. 4p. 8p. All close, but none the winning tile. When Ooi draws the 1m, he hesitatingly discards it and deals into Sonoda. Flipping one uradora, Sonoda wins with Riichi/Pinfu/Ura 1 for 3,900, moving into 2nd place.
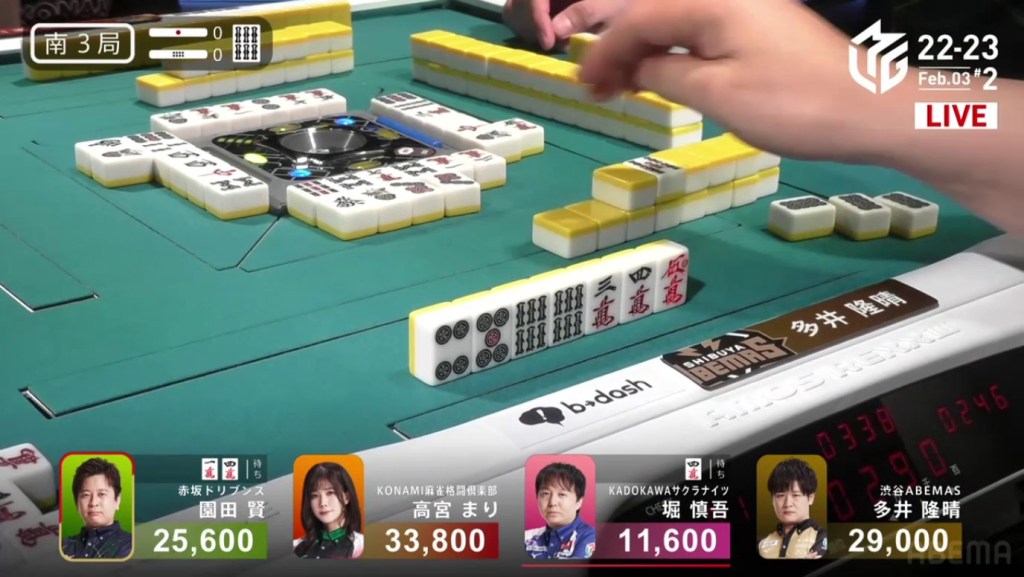
Video: https://abema.tv/video/episode/444-14_s10_p728
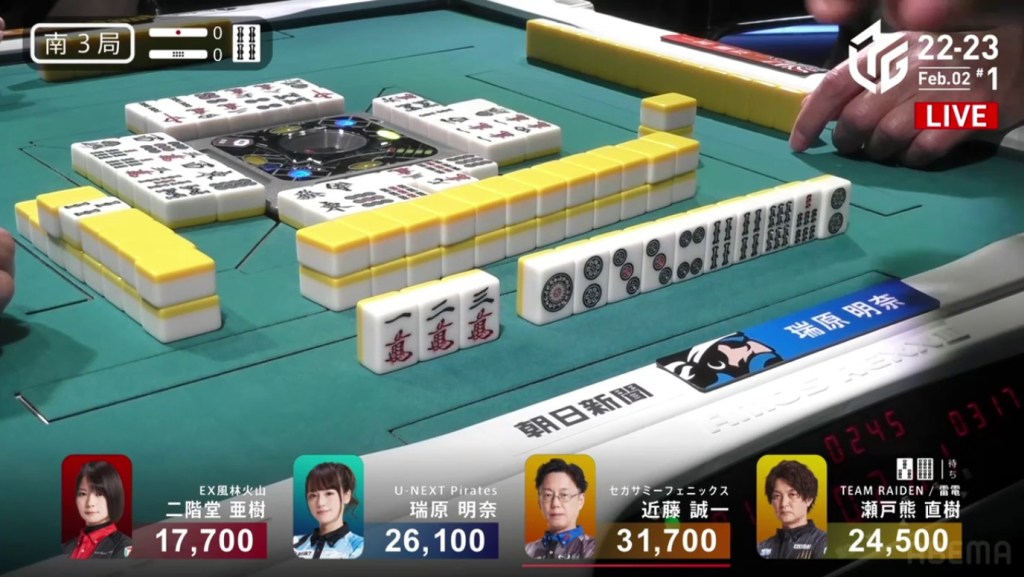
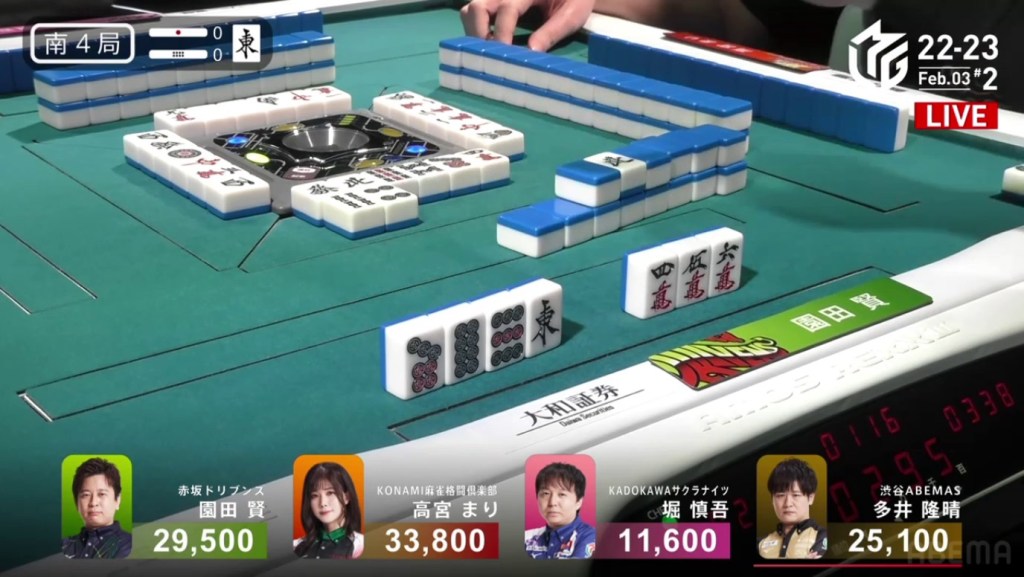
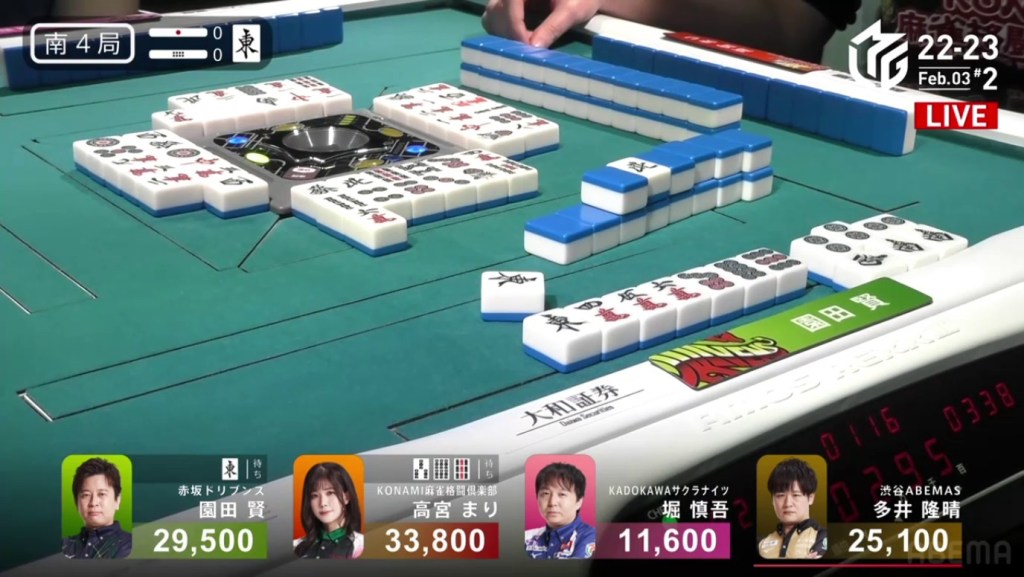
In S4-0, Sonoda is in 2nd place and 4,300 behind Takamiya. He would need a 3/40 indirect ron, a 2/40 direct ron or a 3/30 tsumo to win the game.
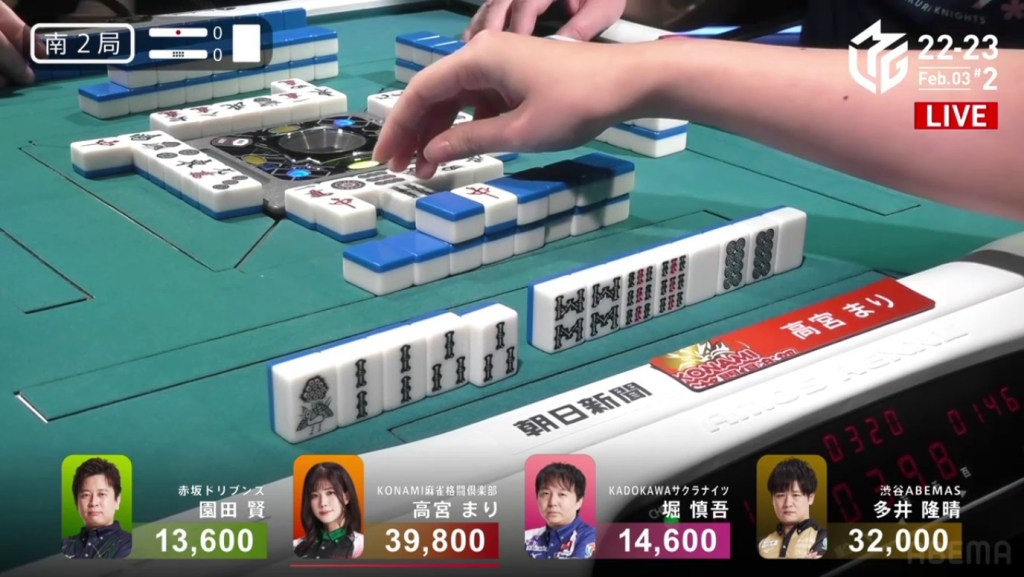
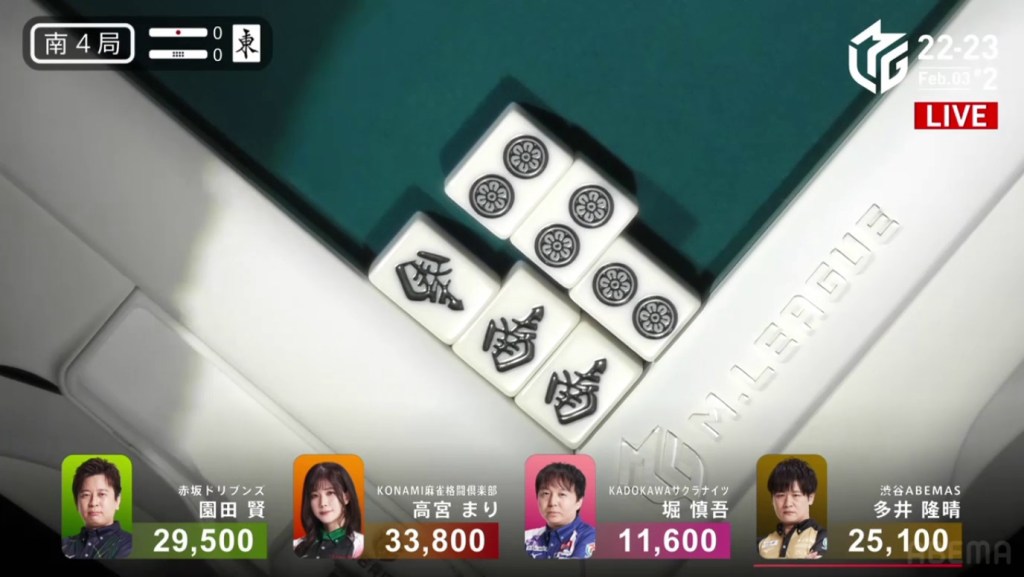
Sonoda starts out the hand 2-shanten but lacking value. In order to move ahead, he would need to find and use the east dora, get his double south yakuhai or get some red fives. On turn 2, Sonoda draws an east, a start. On turn 3, he draws a south for the potential yakuuhai. With these east and the south, Sonoda has a path to 1st. On turn 5, he pairs up the south to get to 2-shanten. Within a turn, Sonoda is able to call pon on it for iishanten. With one more pon, Sonoda gets to tenpai and waits on an east tanki, ready for the comeback.
As Sonoda sits tenpai, Takamiya tries to defend her 1st place. Sitting iishanten, she spends most of her time just drawing and discarding, waiting for tenpai. In the middle of the second row, Takamiya throws the red 5m to get to tenpai on a 369 wait.
Though Takamiya’s wait seems to be wide, there’s actually only one 3s left and the 6s and 9s are dead. For Sonoda, there is one east in Hori’s hand, one in Ooi’s hand and one left in the wall. As Hori’s hand progresses, it seems more and more likely to come out. At the end of the second row, Hori ends up throwing it and deals into Sonoda. Sonoda wins the hand with Double South/Dora 2 for 8,000, enough for 1st place. From 4th to 1st, in just three hands, Sonoda secures the win and give the team its first positive week since December.
