Highlights
Big Hit
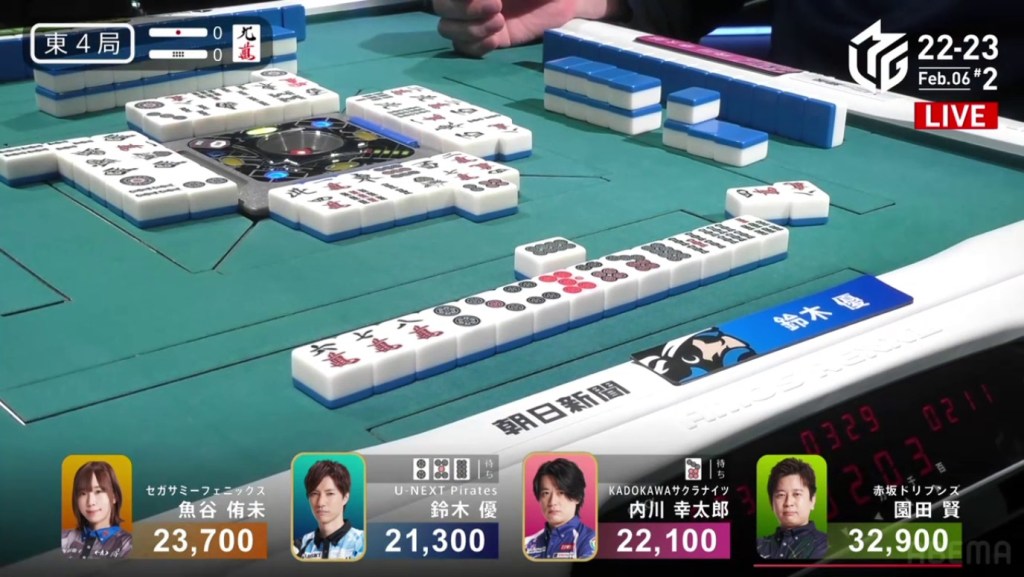
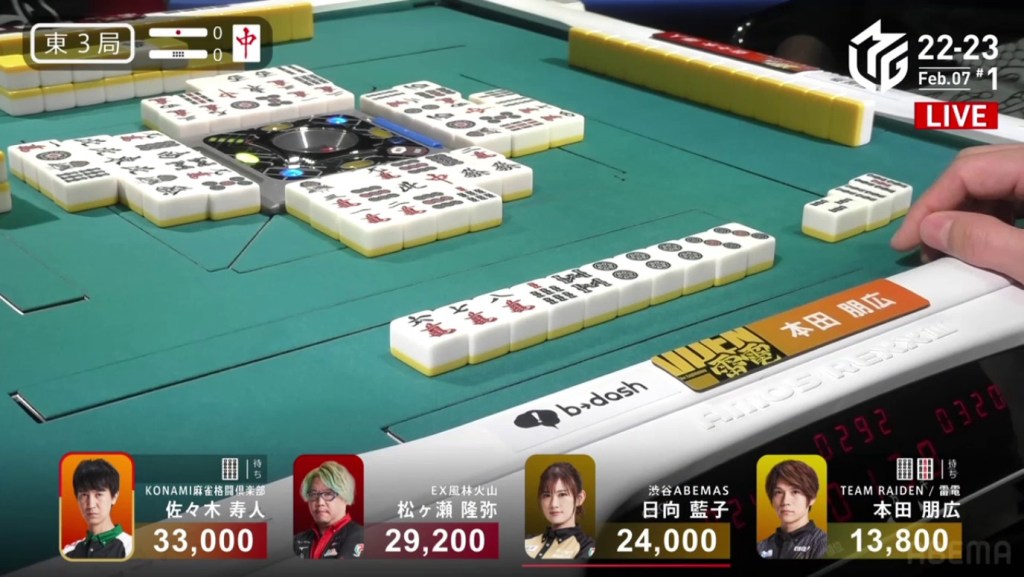
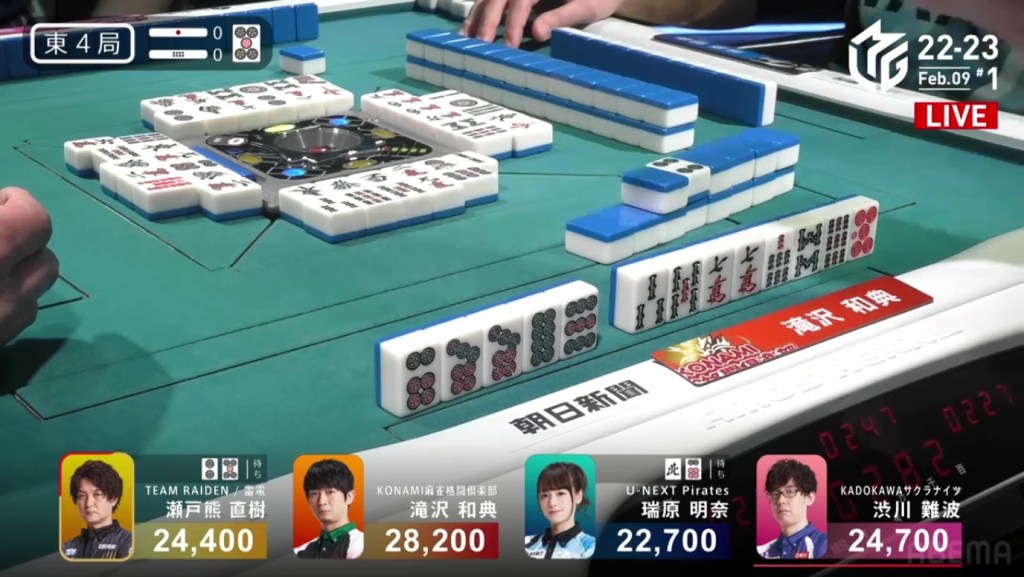
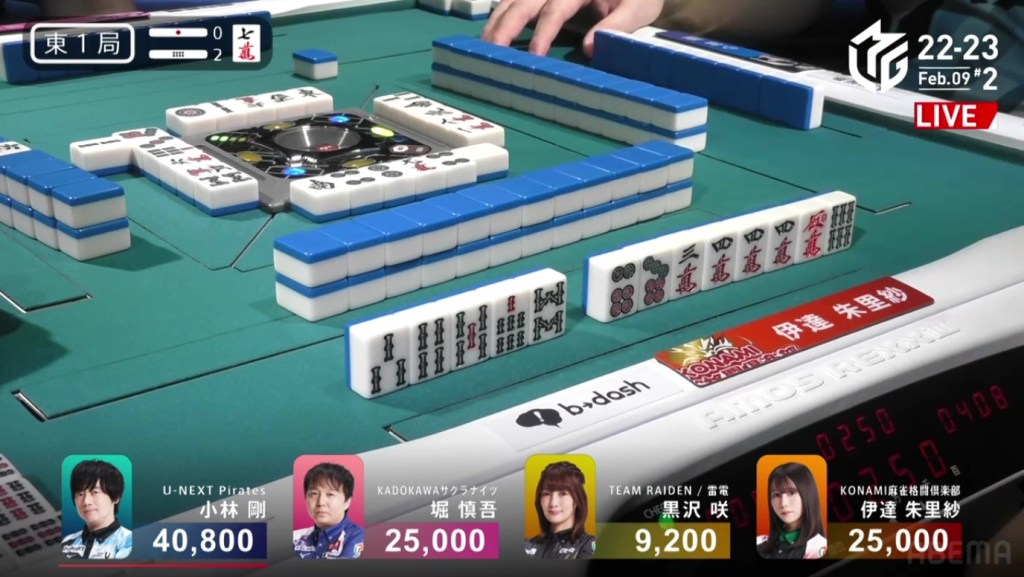
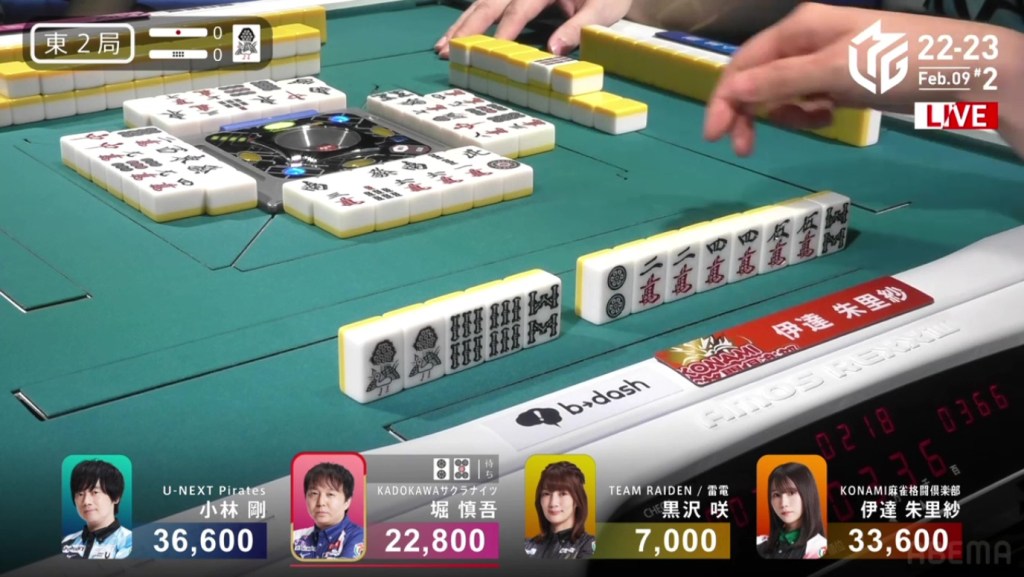
February 6, Game 1, E1-0
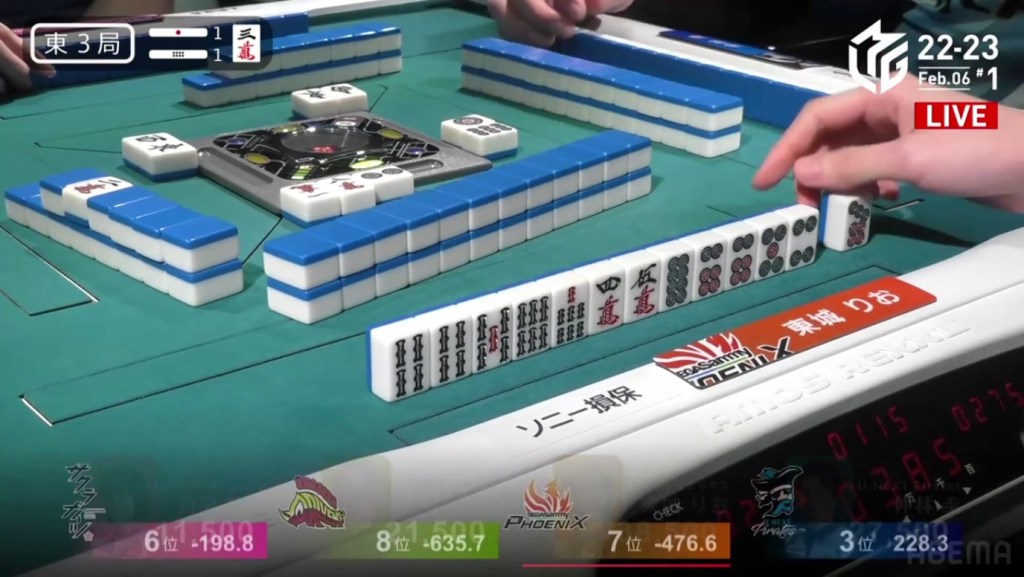
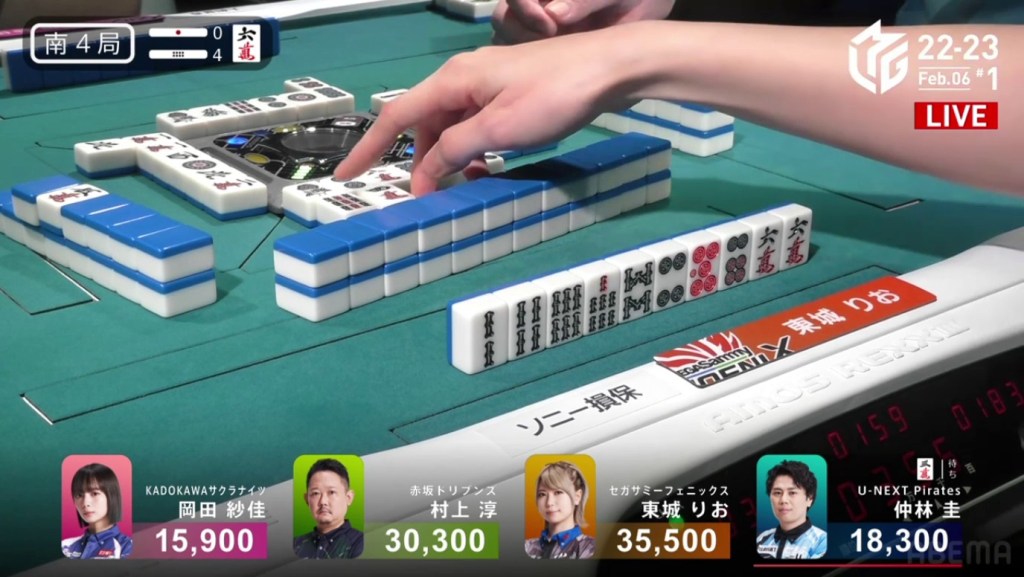
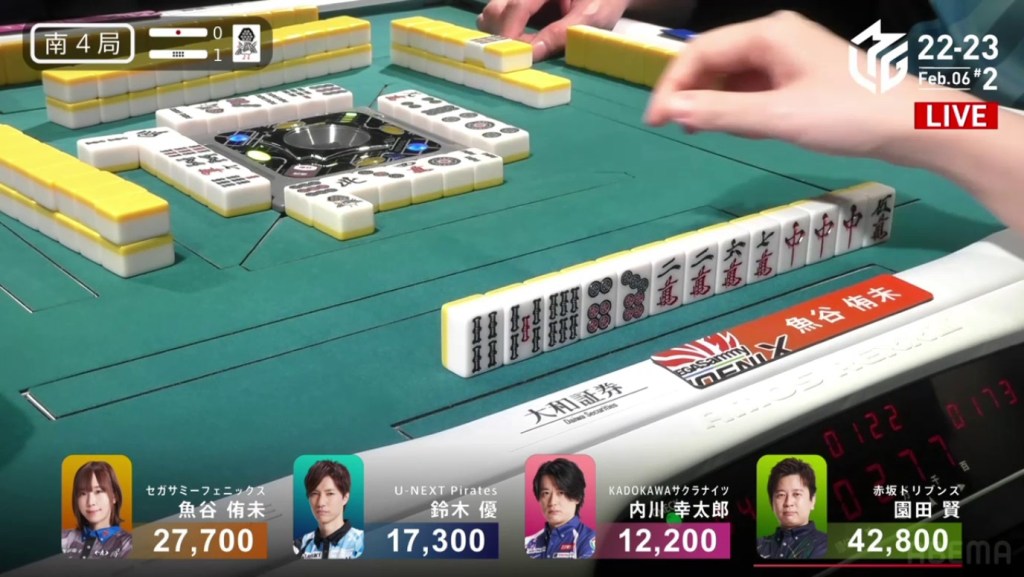
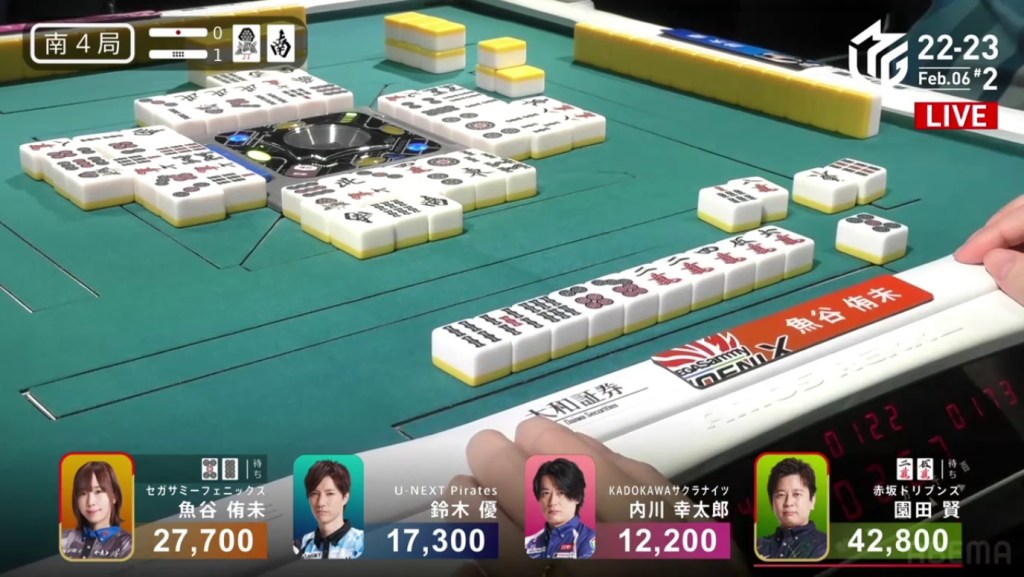
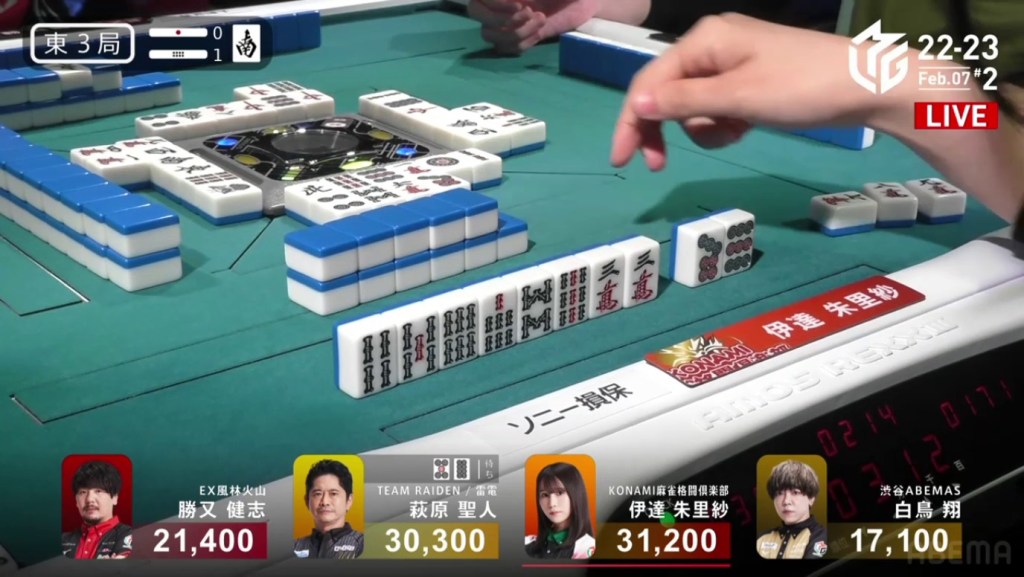
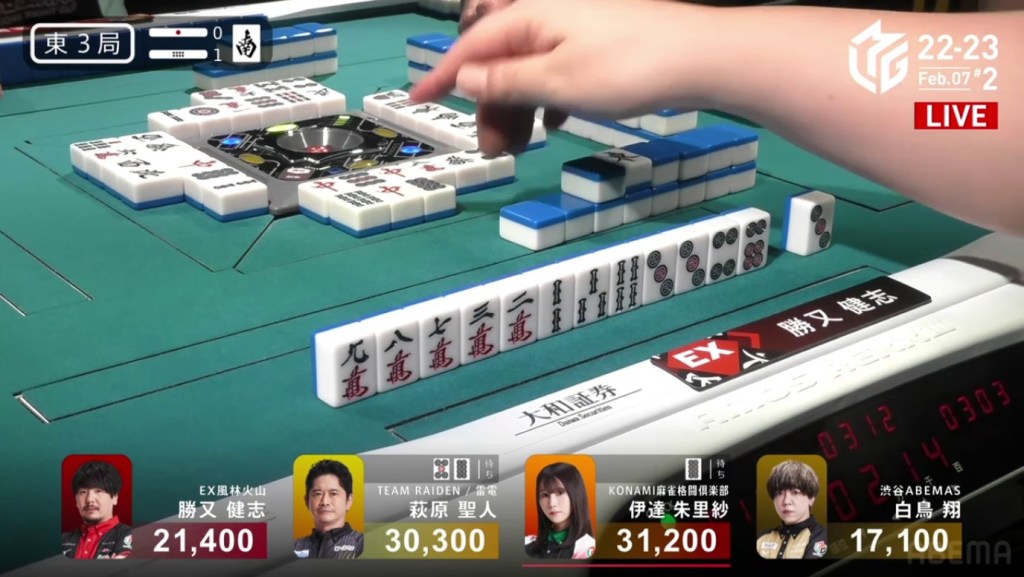
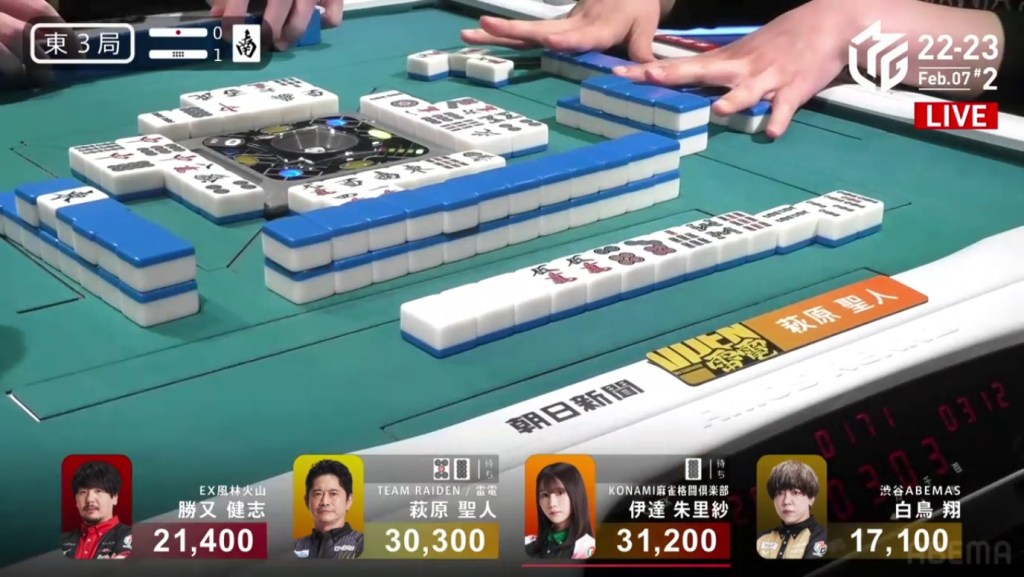
In E1-0, the three teams at the bottom of the standings know what’s at stake. Okada Sayaka of the 6th place Kadokawa Sakura Knights has to defend the team’s spot from the 7th place Sega Sammy Phoenix (represented by Tojo Rio) and 8th place Akasaka Drivens (represented by Murakami Jun)
At the start, Okada starts out 3-shanten with two completed sequences and Tojo is 3-shanten with an ankou of norths. In the first row, Okada plainly keeps her hand efficient while Tojo forces her hand to incorporate honitsu. By the end of the row, both Okada and Tojo are 2-shanten. In the second row, Tojo’s hand advances faster and she calls riichi on a 58p ryanmen in the middle of the row.
At this point, Okada is still 2-shanten. However, being the dealer and with a path to mangan, she pushes. On turn 11, Okada gets to iishanten. On turn 12, Okada fills in a kanchan and calls riichi on a 58s ryanmen.
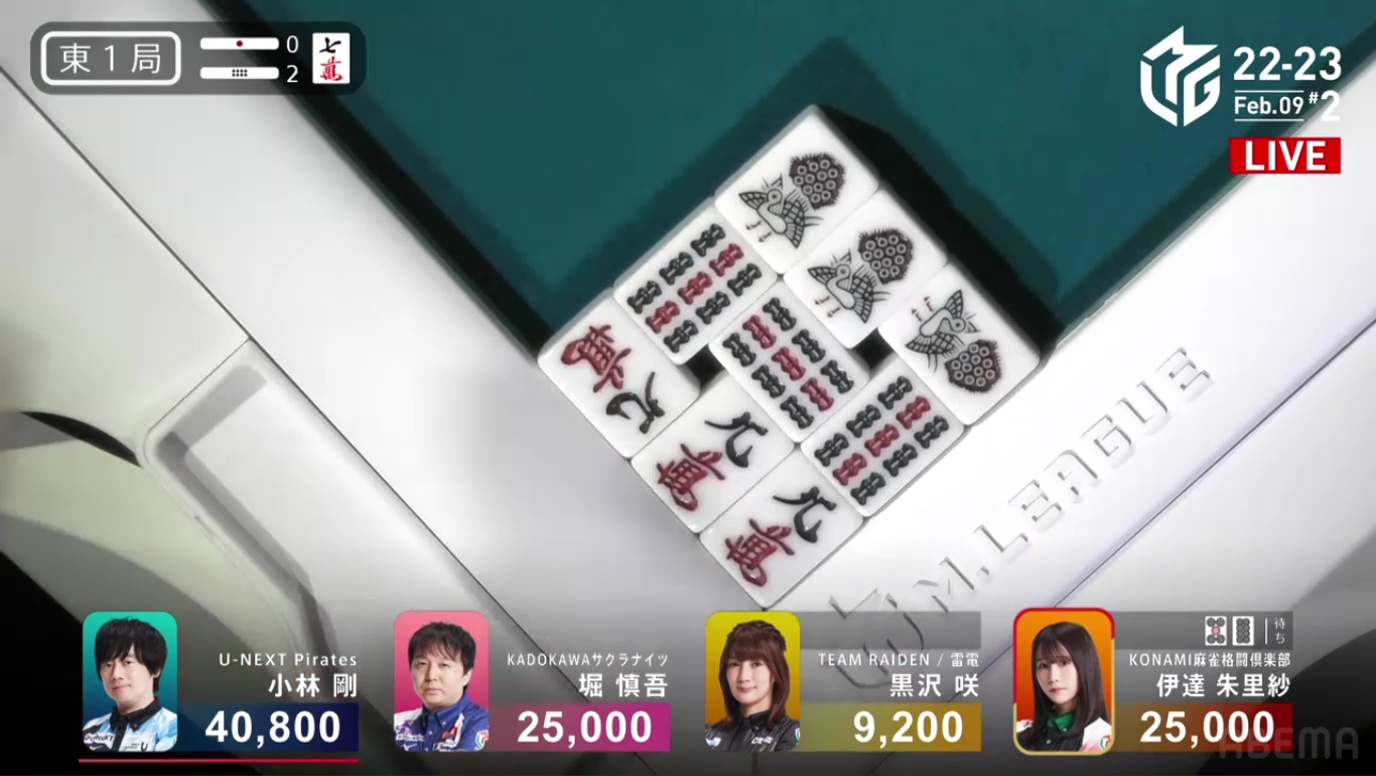
58p vs. 58s. 2 tiles for Tojo vs. 4 tiles for Okada. During the ippatsu turn, it goes down to 2 vs. 3. Then down to 2 vs. 2. With both of them waiting on two tiles, it was basically a coinflip. In the middle of the third row, Okada draws and discards the 5p and ends up dealing into Tojo. Tojo wins the hand with Riichi/Pinfu/Iipeikou/Honitsu for 12,000, a big win against a big rival.
Chasing Riichi Always Wins
February 6, Game 1, E3-1
Video: https://abema.tv/video/episode/444-15_s90_p721
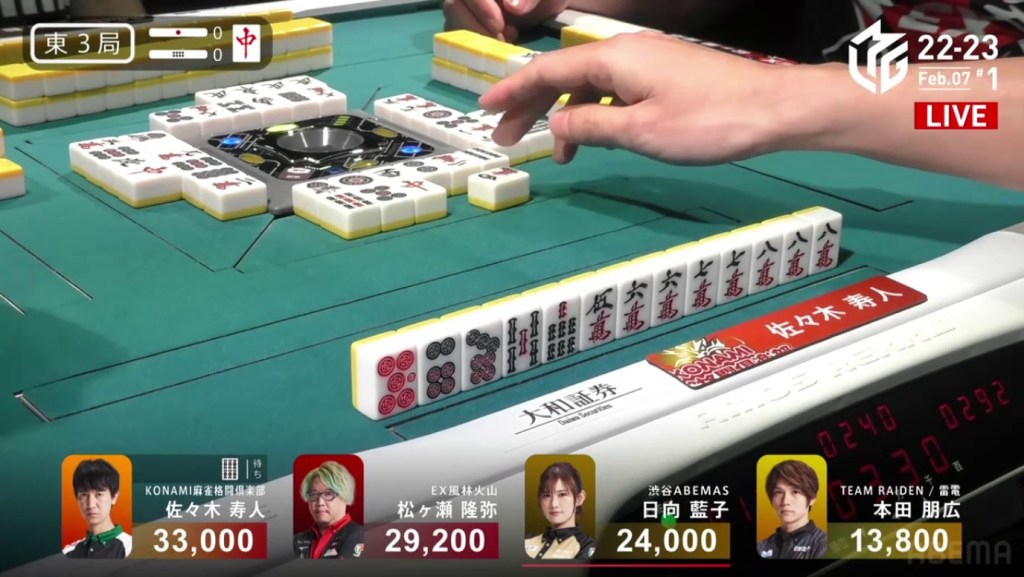
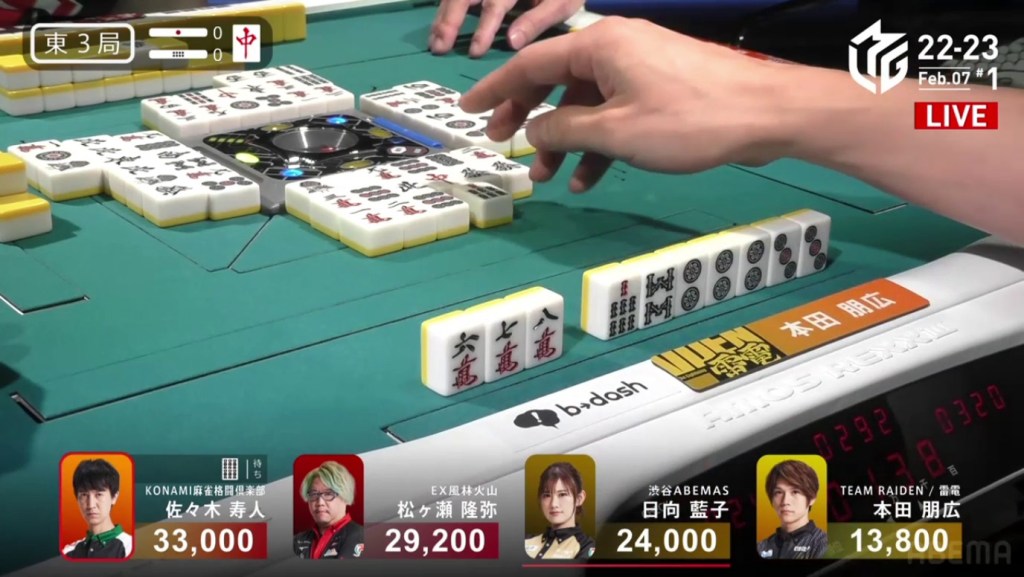
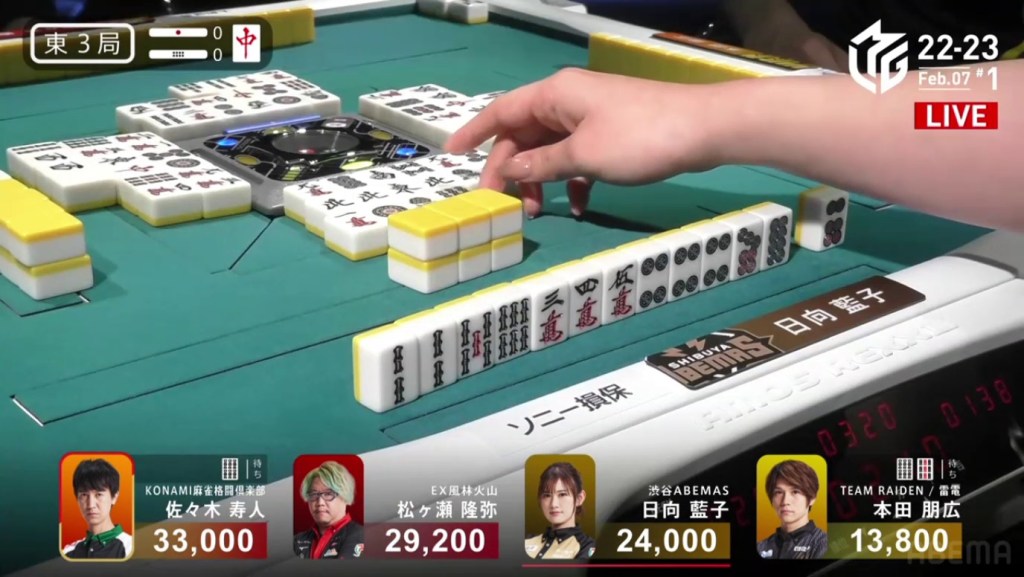
In E3-1, Murakami is in 3rd place and searching for his first win of the season. He starts out the hand 3-shanten with an ankou of 3m dora and a red 5m. To his right is 1st place dealer Tojo who starts out 2-shanten with a very likely tanyao. Tojo starts out extremely fast, drawing just the tiles she needs. On turn 3, Tojo gets to tenpai and she calls riichi on a 36m ryanmen.
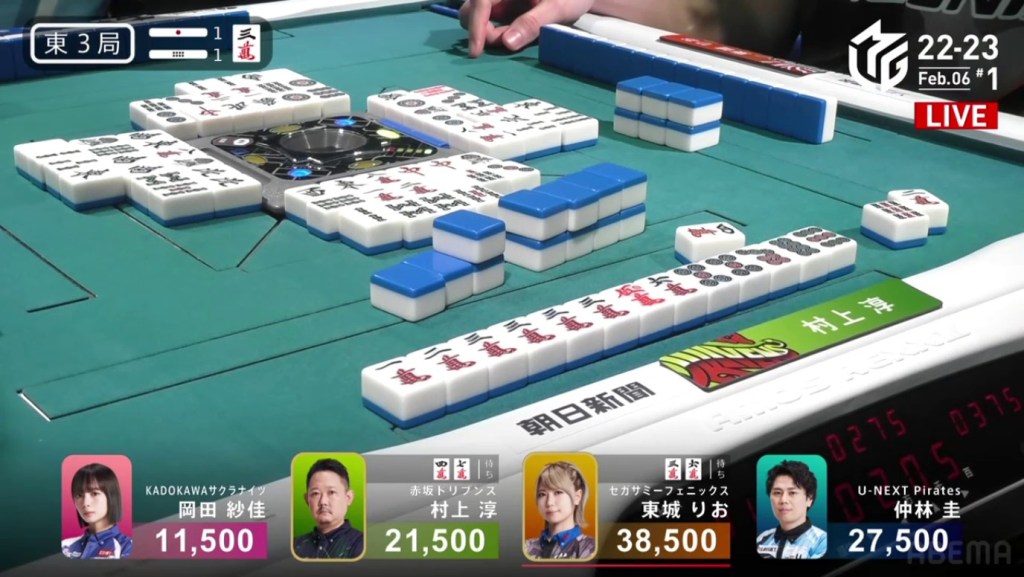
With so much value and so few clues on what’s safe, Murakami just pushes forward. On turn 4, Murakami pairs up the red dragon, but declines it to keep a safer 2-shanten. On turn 5, he draws a fourth 3m dora, giving him a 123333m shape for iishanten. At the start of the second row, Murakami fills in a kanchan and calls riichi on a 47m ryanmen, guaranteed at least a haneman. A tsumogiri battle, favouring Murakami as he holds five of Tojo’s waits. The wall whittled down, getting shorter and shorter. Near the end of the third row, on Tojo’s second-last draw, she draws and discards the 4m and deals into Murakami. Murakami wins the hand with Riichi/Dora 4/Aka 1 for 12,000, moving him into 1st place.
Quick Mangan
February 6, Game 1, S1-1
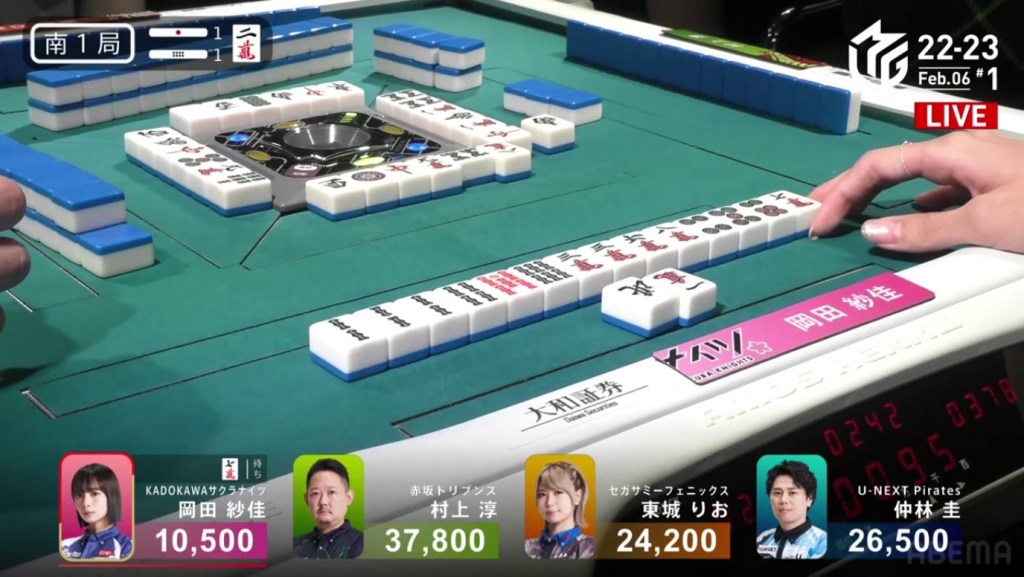
In S1-1, Okada is the dealer in 4th place, 13,700 behind 3rd place. With the team sitting in 6th place, she needs to defend her team’s playoff position.
She starts out the hand 3-shanten with a red 5s and a good chance at tanyao. On turn 3, she fills in a ryanmen for 2-shanten. A turn later, she advances to iishanten. On turn 5, Okada gets to tenpai and calls riichi on a 7m kanchan. Two turns later, she draws the 7m to win the hand. Okada wins with Riichi/Tsumo/Tanyao/Aka 1 for 4,000 all, moving her from 4th to 2nd.
Reversal
February 6, Game 1
Video: https://abema.tv/video/episode/444-14_s60_p737
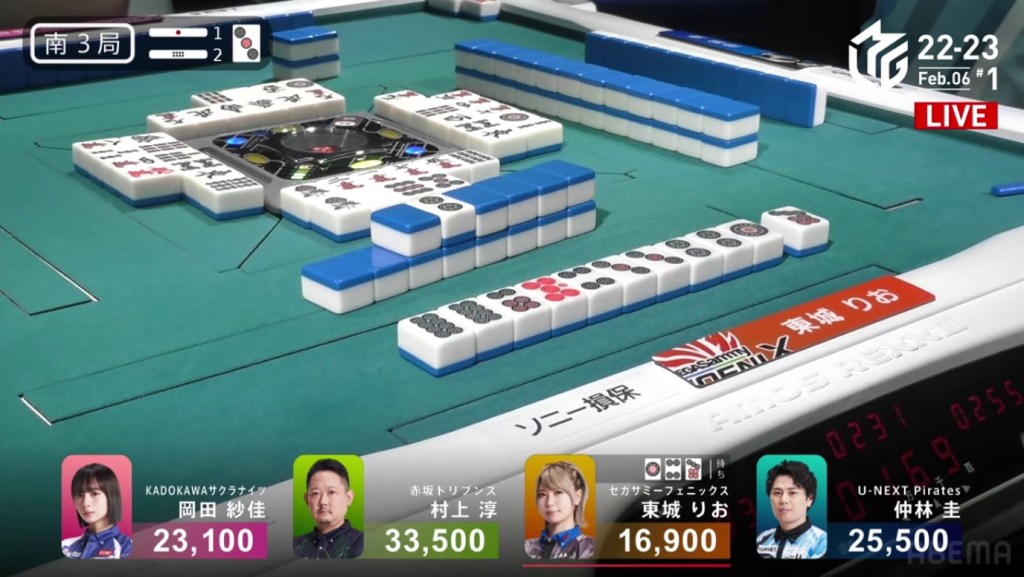
In S3-2, Tojo is the dealer in 4th place, 6,200 behind 3rd place. If Tojo aims high, she can move into 1st place with a haneman ron or a mangan tsumo.
She starts out the hand 3-shanten with a dora 3p, a red 5p and a red 5s. In the first row, she pairs up the red dragon, breaks up a manzu penchan, draws another 3p dora and slowly shifts her hand towards a pinzu honitsu. By the end of the row, she is 2-shanten for the honitsu. In the second row, Tojo calls pon on the red dragon to get to iishanten. Just a draw later, she gets to tenpai on a 47p ryanmen, guaranteed a haneman. A turn after that, Tojo further improves her wait to a 147p wait. Near the end of row Tojo draws the 7p and wins the hand. Tojo wins with Honitsu/Red Dragon/Dora 2/Aka 1 for 6,000+200 all plus one riichi stick, enough to move into 1st place.

Video: https://abema.tv/video/episode/444-14_s60_p738
After losing her dealership, Tojo has a chance to close the game in S4-4. Sitting to her left is Murakami, 5,200 behind and looking for his first win. She starts out the hand 3-shanten with two dora 6m, a pair of red dragons and a bunch of kanchans. In the first row, Tojo is only able to fill one of those kanchans while she sees action around the table. Okada and Nakabayashi are both making calls, both trying to avoid 4th place. By the end of the row, Tojo is still stuck at 2-shanten while Okada and Nakabayashi are iishanten. At the start of the second row, dealer Nakabayashi is the first to tenpai, waiting on a 3m wait.
Soon after, Tojo calls pon on the red dragon and waits on a 3s kanchan.
3s vs 3m, one wanting to end the game while the other wants to continue the game. However, the other players are still in the game. Drawing a second 6m dora and calling a chii, Okada gets to tenpai in the middle of the second row with a 7m kanchan.
Three players in tenpai, three different ways the game could go. Each player has a cheering squad behind the screen hoping for a win. At the start of the 3rd row, Tojo is able to find the 3s and win the hand. Tojo wins with Red Dragon/Dora 2/Aka 1 for 2,000+400/4,000+400 to keep 1st place.
Chasing Riichi Always Wins
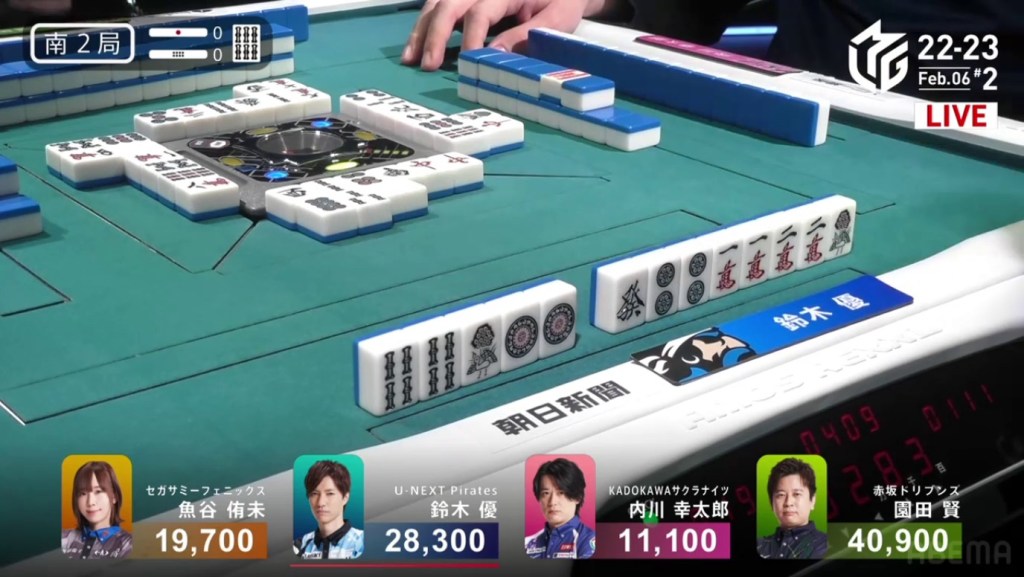
February 6, Game 2, E4-0
In E4-0, Yu is in 4th place, 800 behind 3rd place Uchikawa and 2,400 behind 2nd place Uotani. He starts out the hand 4-shanten with a red 5p and two penchans. To his right is Uchikawa who is 3-shanten with two dora 9m and a red 5s. In the first row, Yu is frustratingly unable to create any meaningful sequences, being stuck at 3-shanten after 6 turns. Uchikawa, on the other hand, is doing very well, sitting iishanten and waiting on 10 different tiles for tenpai. At the start of the second row, Uchikawa gets to tenpai and calls riichi on a 7p kanchan, guaranteed at least a mangan.
At this point, Yu is faring a bit better, sitting 2-shanten with two ryanmens. With his first few discards, he is able to stay safe while still 2-shanten. In the middle of the second row, Yu gets rid of his last terminal and gets to iishanten. With a perfect draw at the start of the third row, Yu gets to tenpai and calls riichi on a 258p wait. On Uchikawa’s draw during the ippatsu turn, he draws and discards the 8p and deals into Yu. Yu wins the hand with Riichi/Ippatsu/Tanyao/Aka 1 for 8,000 plus Uchikawa’s riichi stick, moving into 2nd place.
Chasing Riichi Always Wins
February 6, Game 2, S2-0
In S2-0, Uchikawa is in 4th place and 8,600 behind 3rd place. He starts out with a 5-shanten hand, but has a red value for some value. To his left is the dealer (and the one who chased Uchikawa two hands ago and caused him to fall into 4th) Yu, 2-shanten for chiitoi. With Yu significantly closer to tenpai than Uchikawa, Yu naturally got to tenpai faster. On turn 2, Yu draws his 5th pair to get to iishanten. In the middle of the second row, Yu gets to tenpai and calls riichi on a green dragon tanki.
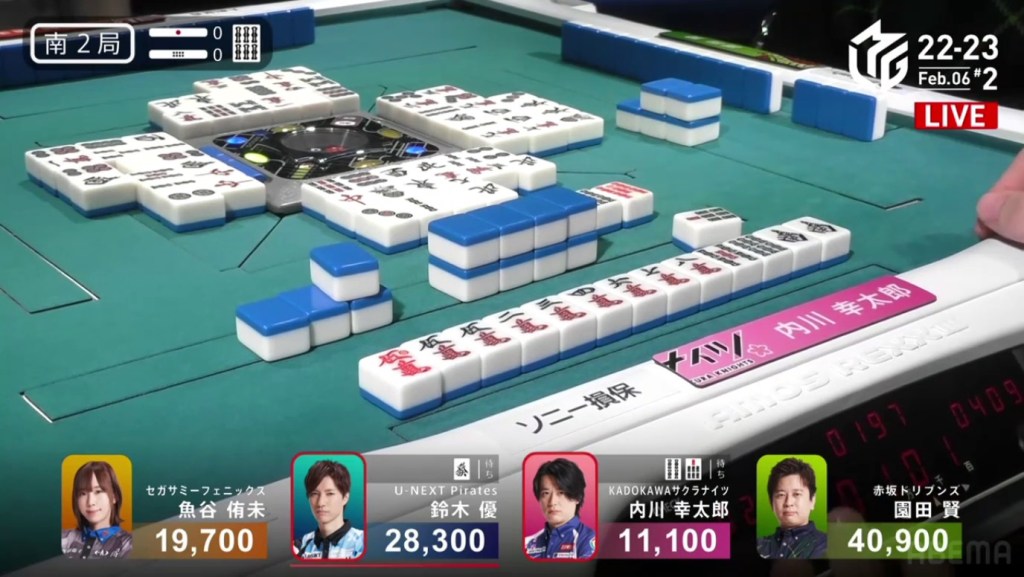
At this point, Uchikawa is closer at 2-shanten. He was quite close to a closed honitsu, but has been holding a lone 6s for an option to shift. With the riichi by Yu, he can’t throw the risky 6s anymore and will have to build around it. A turn later, Uchikawa draws a 5s, successfully connecting the dora and putting him iishanten. A turn after that, Uchikawa gets to tenpai and calls riichi on a 47s ryanmen. With Uotani holding a pair of green dragons and one already discarded, Yu has no chance of winning unless Uotani throws it. For Uchikawa, there are still three left in the wall. During the ippatsu turn, Sonoda gets to tenpai, but folds a few turns later. As more tiles are discarded, Uotani has more safe tiles to discard, making the green dragon less likely to come out. Near the end of the hand, on Yu’s second-last draw, he draws and discards the 7s, dealing into Uchikawa. Uchikawa wins the hand with Riichi/Dora 1/Aka 1/Ura 1 for 8,000 plus Yu’s riichi stick, moving into 2nd place and successfully getting revenge on Yu.
Challenge
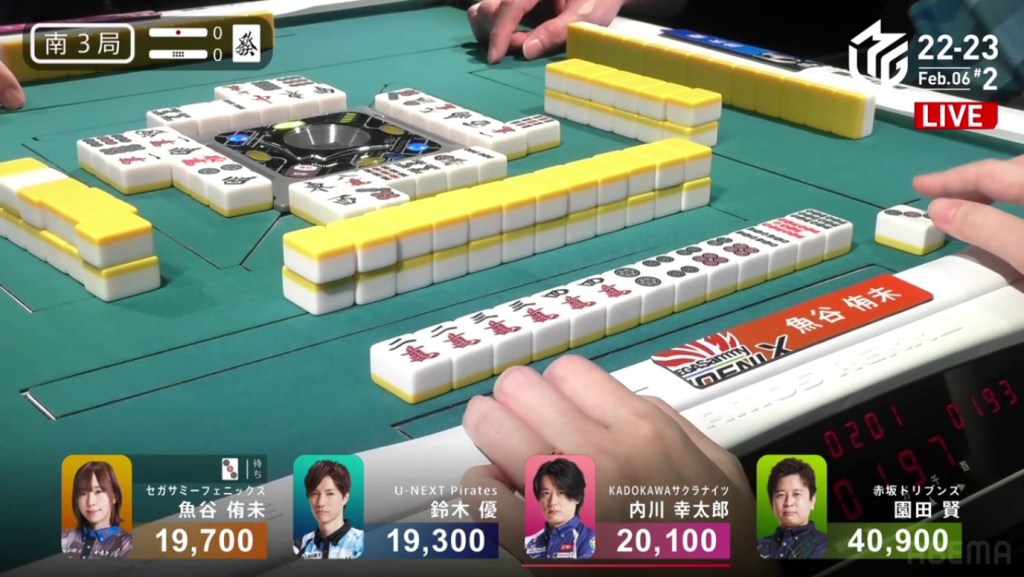
February 6, Game 2
In S3-0, Uotani is in 3rd place and just 400 ahead of her senpai Yu. She has yet to lose a game against Yu and she doesn’t want to start now.
Uotani starts out the hand 3-shanten with a hand that looks like it could be an open ittsuu. In the first few turns, Uotani shifts away from a bad wait ittsuu and more towards a good wait pinfu and tanyao. By turn 5, she is rid of all her terminals, sitting iishanten and holding a guaranteed 234m iipeikou. On turn 8, she completes a ryanmen and gets to tenpai on a 3p kanchan, staying dama with 3 han. A turn later, she finds the winning 3p. Uotani wins the hand with Tsumo/Tanyao/Iipeikou/Aka 1 for 2,000/4,000, moving her into 2nd place.
Video: https://abema.tv/video/episode/444-14_s10_p729
After Sonoda won a small hand in S4-0, Uotani has another chance at the top in S4-1. Being 15,100 behind Sonoda with one honba, Uotani needs a mangan direct hit, a haneman tsumo or a baiman indirect hit to take 1st place.
Uotani starts out the hand 3-shanten with a pair of red dragons and a lone 1s dora. The value is mediocre and not enough for 1st, but the hand has just started. On turn 2, she draws the 3s to connect the dora. On her next two turns, she draws the 5s and 4s, creating a 345s sequence and disconnecting the 1s. On turn 5, she makes an ankou of red dragons to get her to a ryanmen-ryanmen iishanten. From here, it looks like the 1st place comeback won’t happen, settling to secure 2nd place. At the start of the second row, Uotani gets to tenpai and discards the 1s dora, staying dama on a 58p ryanmen.
Within a round of Uotani getting to tenpai, Sonoda gets to tenpai on a 25m ryanmen. Normally, being in 1st place means that one should stay dama. However, because his team is last in the standings, Sonoda calls riichi to maximize his hand’s value.
With the riichi by Sonoda, Sonoda now has no control over what he discards. Uotani now has a chance to strike. Despite only having the red dragon as additional han, a direct hit with a chance at ippatsu or ura can be the comeback. After taking a bit of time to calculate her chances, she calls riichi and waits on the 58p ryanmen.
Uotani stays calm, knowing that her chances aren’t the greatest but still existing. Sonoda, on the other hand, is grimacing with every discard, knowing that this riichi may be the difference between 1st and 2nd. Two turns after calling riichi, Uotani draws a fourth red dragon. She calls a closed kan, doubling her hand’s fu, increasing the uradora chance and lowering the uradora requirement to just 1 if she hits Sonoda directly (since 3 han 70 fu is mangan).
The kandora misses, but now Sonoda knows that Uotani has value, making him twitch even more. With each draw, Uotani has hope for a win. With each draw, Sonoda has hope not to deal in. The wall gets shorter, each player with a chance to take the game. Then, on Uotani’s second-last draw, she finds the 5p. He hand is a mangan, but she needs a haneman for 1st place. Just three uradora. A flip revealing either of the two unseen green dragons would give her four uradora. Unfortunately, it was not meant to be. None of the uradora hit, leaving her with just a mangan. Uotani wins the hand with Riichi/Tsumo/Red Dragon for 2,000+100/4,000+100 (3 han, 70 fu) plus Sonoda’s riichi stick, leaving her just 700 short of 1st place.
Headbump’d
February 7, Game 1, E3-0
In E3-0, Honda is in 4th place after dealing into Hisato. Honda is a haneman away from 3rd place, but exacting revenge on Hisato would be equally sweet.
Honda starts out the hand 3-shanten with 6 blocks and a pair of green dragons. To his right is Hisato at 3-shanten with a red 5p and a stray red dora. The first row seemed to go much better for Hisato than Honda, getting Hisato to iishanten while Honda is still 3-shanten for a standard hand (2-shanten for chiitoi). In the middle of the second row, Hisato is the first to tenpai and throws the dora red dragon, waiting on a 6s kanchan. With sanshoku secured, he is guaranteed a mangan if he wins. After staying dama for one turn to see if anyone would call the red dragon, Hisato calls a tsumogiri riichi.
At this point, Honda is iishanten. Creating a 36s ryannmen, he safely shifts his hand to tanyao by discarding the safe green dragon pair. After a lot of waiting, Honda is able to call chii to get to tenpai on a 69s ryanmen (with the 6s being the only tile to give a yaku)
Within a turn of Honda getting to tenpai, Hinata tries to get to tenpai on a 47s ryanmen by throwing the 6s.
At the same time, Honda and Hisato both call ron. However, only one may win. Because Honda is next in turn order, he is the one who gets it. For Hisato, his mangan will sit unwon. Honda wins the hand with Tanyao only for 1,000.
Quick Close
February 7, Game 1, S4-0
Video: https://abema.tv/video/episode/444-15_s90_p732
In S4-0, Matsugase is in 1st place and holding a 4,200 lead over 2nd place Hisato. If he wants to ensure a victory, his best option is to win the hand and end the game.
Matsugase starts out the hand 2-shanten with a dora 3m and two red fives. With an easy route to tanyao or pinfu, his path was set. On turn 2, he fills in a ryanmen to get to iishanten. On turn 3, Matsugase gets to tenpai. Unfortunately, the 1m in his hand negates tanyao and the 4m/4p shanpon negates pinfu. With a lot of options to improve and get a yaku, Matsugase stays dama. On turn 4, he draws a 6m and changes to a 5m kanchan, getting tanyao in the process. With a yaku in hand, all Matsugase has to do is wait. On turn 5, he gets the 5m and wins the hand. Matsugase wins with Tsumo/Tanyao/Dora 1/Aka 1 for 2,000/4,000, finishing the game in 1st.
Chinitsu
February 7, Game 2, E1-2
In E1-2, Hagiwara is in 4th place and 6,900 behind 1st place Katsumata.
He starts out the hand 3-shanten with a red 5p and a red 5s. Though it seemed like the hand was likely to be a slow closed riichi, the eight pinzu in his hand gives him an option for an expensive open hand. Unfortunately, Hagiwara is only able to draw one more pinzu in the first row. With the midgame coming, he needs to decide his hand’s route soon. On turns 8 and 9, he draws more pinzu, putting him 2-shanten. At the end of the row, Hagiwara confirms chinitsu by breaking up his last manzu ryanmen. With a chii at the start of the third row, he gets to iishanten. With a pon of the 1p, he gets to tenpai on a 36p ryanmen for haneman. On his very next draw, he finds the 3p to complete the limit hand. Hagiwara wins with Chinitsu/Aka 1 for 3,000+200/6,000+200 plus one riichi stick, enough to easily move into 1st place.
Bottom to Top

February 7, Game 2, E3-0
In E3-0, Date the dealer is in 4th place, within a mangan tsumo of 1st.
Date starts out with a decent 2-shanten hand with a dora 3m, a red 5m and a lot of kanchans. With only 3 tiles that will advance her hand, it is a bit annoying, though. On turn 2, it increases to 4 different tiles, but she still looks to improve. On her next draw, she advances to iishanten, looking to fill the 2p and 4m kanchan. While Date waits, Shiratori is trying to rush through the hand. After two calls, Shiratori is tenpai on a 4s kanchan. Near the middle of the second row, Date draws the 4m to get to tenpai and calls riichi on a 2p kanchan. With the dealer riichi, Shiratori drops his tenpai, giving Date time to draw her winning tile. At the end of the second row, Date finds the 2p to win the hand. Date wins with Riichi/Tsumo/Dora 1/Aka 1 for 4,000 all, moving into 1st place.
Headbump’d
February 7, Game 2, E3-1
In E3-1, Hagiwara is in 2nd place, just 900 behind 1st place dealer Date.
Hagwara starts out the hand 2-shanten with an ankou of white dragons. On turn 3, he fills in a 7s penchan to advance to iishanten, waiting on 3 different tiles for tenpai. With a call at the start of the second row, he gets to tenpai and waits on a 58p ryanmen.
As Hagiwara gets to tenpai, Date draws to iishanten. With no yaku secured yet, she looks to either go for riichi or draw a 9m for a 789 sanshoku. On her next draw, she finds the 9m to giver her the option to open. When Hagiwara discards the 7m, Date calls chii and waits tenpai on an 8p kanchan.
Soon after Date gets to tenpai, Katsumata discards the 8p.
At the same time, Hagiwara and Date both call ron. However, only one may win. Because Hagiwara is next in turn order, he is the one who gets it. For the second time in the day, the Konami Mahjong Fight Club is left without. Hagiwara wins the hand with White Dragon only for 1,000+300.
Shortcut to Haneman
February 7, Game 2, E4-0
In E4-0, Katsumata is in 3rd place and 11,500 behind 1st. He starts out the hand with a very messy 5-shanten hand, but he does have a pair of 2s for value. He keeps his hand efficient in the first few turns, slowly forming his hand. WIth every draw, the pairs seemed to keep coming to him. On turn 1, he only had one pair. On turn 3, he had three pairs. By the end of the row, he was only 2-shanten. In the middle of the second row, Katsumata gets to tenpai and calls riichi on a white dragon tanki. Hagiwara, who had held the white dragon as a safe tile because it was already once-cut, throws the white dragon during the ippatsu turn and deals into Katsumata. Katsumata wins the hand with Riichi/Ippatsu/Chiitoi/Dora 2 for 12,000, putting him into 1st place.
Chiihou Chance
February 7, Game 2, S1-0
Video: https://abema.tv/video/episode/444-14_s40_p732
In S1-0, Date is in 2nd place and 900 behind 1st place dealer Katsumata. We start out with a view of Katsumata’s hand 3-shanten with a bunch of bad waits. Next is Hagiwara, 4-shanten with a red 5p. As we take a look at Date’s hand, she draws her first tile and taps it on the top of her hand. As we look more closely at the hand, it dawns on everyone: the hand is already tenpai. If Date was able to draw the 1p or 4p, she would have won a chiihou and won the two lifetime supplies of noodles. Unfortunately, she draws the 5s and has to settle with a tsumogiri double riichi on a 14p nobetan.
On turn 3, Katsumata discards the 1p and deals into Date. Date wins the hand with Double Riichi/Dora 1 for 7,700. It’s not a chiihou, but enough to move into 1st place.
No More Ura San
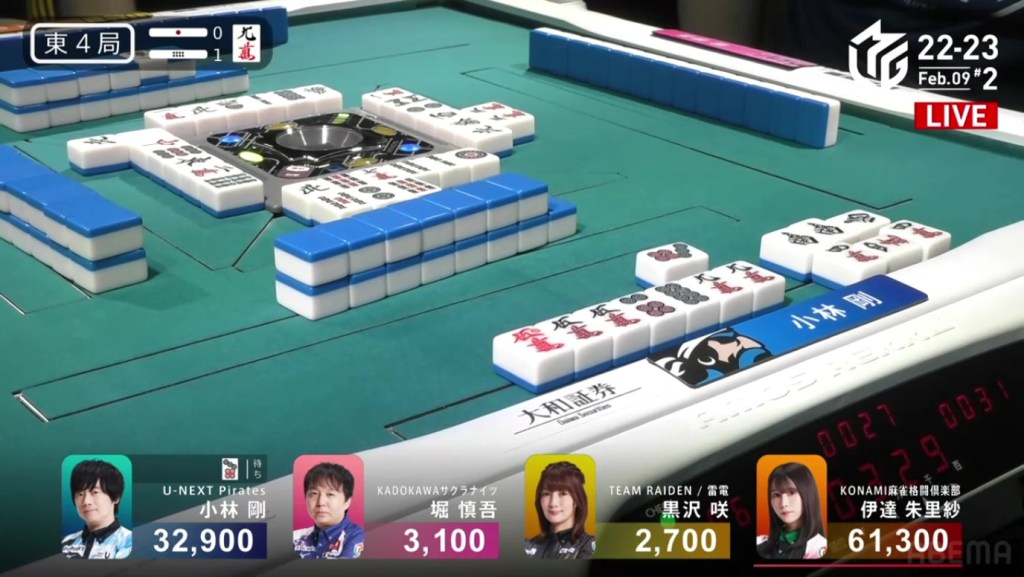
February 9, Game 1, E4-0
Video: https://abema.tv/video/episode/444-15_s90_p741
In E4-0, Setokuma is in 3rd place and 3,800 behind 1st place.
He starts out the hand 3-shanten with a pair of white dragons and a ryanmen that can accept the 5p dora. In the first row, he makes the white dragon an ankou, make the 8m an ankou and gets to iishanten by turn 4. After shifting a sequence and making a pair, Setokuma gets to tenpai near the middle of the second row and calls riichi on a 25p ryanmen.
While Setokuma is waiting, so are his three opponents. All three of them are iishanten with some sort of value. Just two turns after Setokuma’s riichi, Mizuhara gets to tenpai and waits on a north/6p shanpon (with the north giving mangan).
Two turns after that, Takizawa draws the 5p double dora and calls riichi on a 4s kanchan.
Three players, five different tiles. This hand will be won, but by whom? Just two turns later, that question would be answered. With his draw near the middle of the second row, Setokuma finds the 2p to take the hand. As the 7m is revealed to be the uradora indicator, Setokuma doubles his hand’s han count with his 8m dora ankou. Setokuma wins with Riichi/Tsumo/White Dragon/Ura 3 for 3,000/6,000, moving into 1st place.
Comeback
February 9, Game 1
In S3-2, Shibukawa is in 4th place after dealing into the dealer the previous hand. He sits 13,700 behind 3rd place, 25,400 behind 2nd and a distant 36,900 behind 1st.
Shibukawa starts out the hand 4-shanten but he does have a pair of green dragons which are also dora. Shibukawa’s ability to get a quick and valuable hand rests on those green dragons. Through the first row, Shibukawa works on the other shapes in his hand. Creating a pinzu sequences and a pair of 2m, Shibukawa gets to 2-shanten by the end of the row. At the start of the second row, Shibukawa advances to iishanten, the green dragon pair, the 58s ryanmen and 224m block still unresolved. As Mizuhara advances to a tanyao iishanten, she discards the green dragon. With a pon, Shibukawa gets to mangan tenpai on a 58s ryanmen. The wall gets shorter and shorter as the second row turns into the third row. Shibukawa’s draws get fewer and fewer. Then, on his penultimate draw, Shibukawa finds the 8s and wins the hand. Shibukawa wins with Green Dragon/Dora 3 for 2,000+200/4,000+200, getting him to a better position.
After the first hand of all last went to a draw, Shibukawa continues his pursuit in S4-1, 1,300 in bonuses available to be won. He is 100 ahead of 4th and the next rank is 9,600 away.
He starts out the hand again at 4-shanten with two dora. The dora is the 8p, meaning that he would have to mould his hand to tanyao if he wants to open his hand. In the first row, he does a pretty good of it, getting to 2-shanten with tanyao guaranteed. In the middle of the second row, Shibukawa calls pon on the 2m to advance to iishanten. Less than a turn later, 4th place Takizawa challenges Shibukawa by calling riichi on a 4p kanchan with mangan minimum.
With the scores so close, Shibukawa has no choice but to push. Lucky for Shibukawa, Takizawa discarded the 7m as his riichi tile. As Mizuhara discards the safe 7m, Shibukawa calls chii to get to tenpai on a 25p ryanmen. A few turns later, Shibukawa draws the 2p and wins the hand. Shibukawaw wins with Tanyao/Dora 2 for 2,000+200 all plus two riichi sticks, enough to move into 2nd place.
Video: https://abema.tv/video/episode/444-14_s30_p725
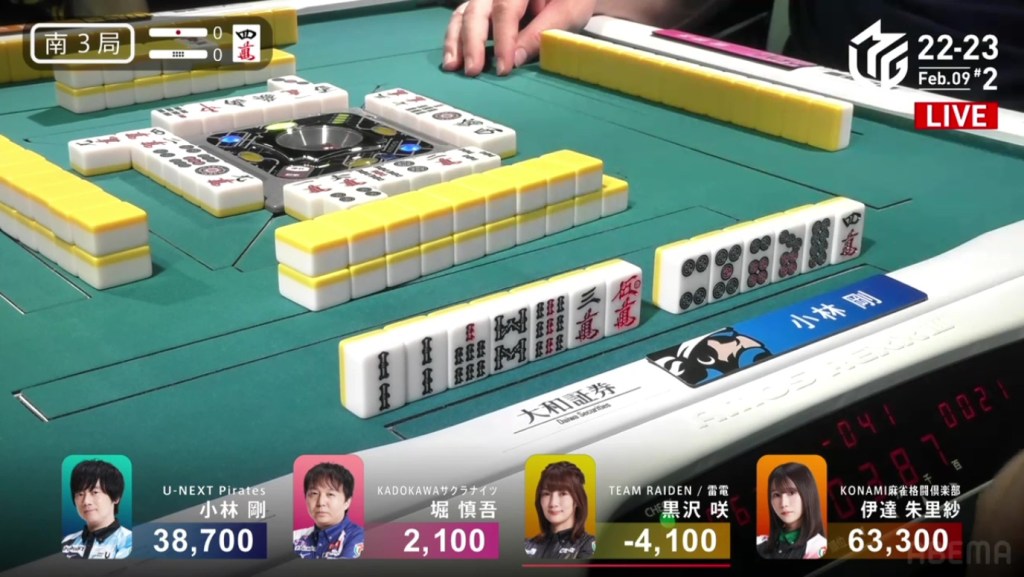
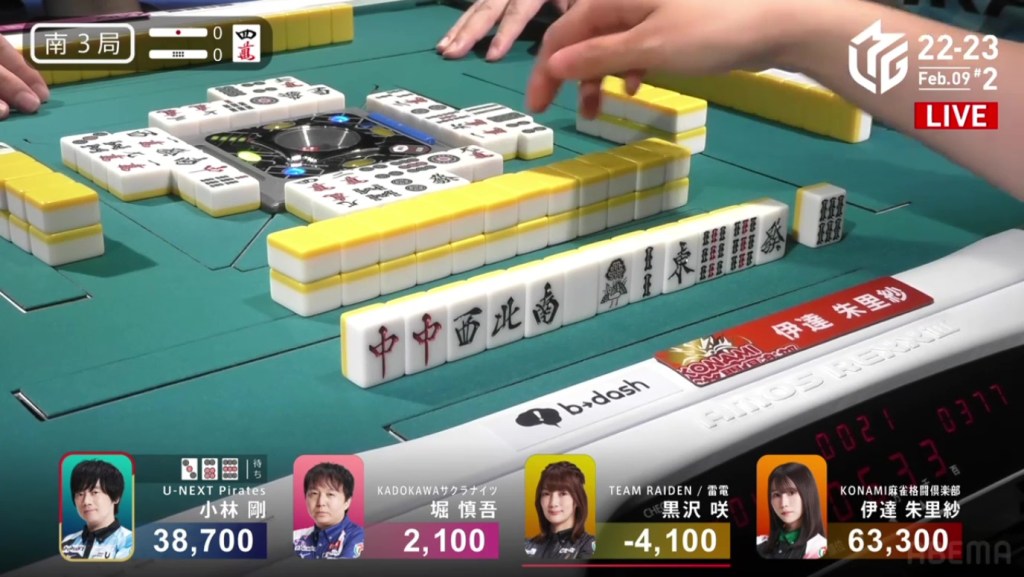
In S4-2, Shibukawa is in 2nd place and one rank away from top spot. Being 12,700 away, he just needs a mangan tsumo, a 3/40 direct hit or a haneman general ron.
He starts out the hand with a nice 2-shanten, holding an ankou of green dragons. On turn 3, he draws a dora 8m to create a ryanmen. On turn 5, he fills in a penchan to get to a ryanmen-ryanmen iishanten. At the start of the second row, Shibukawa gets to tenpai and calls riichi on a 69m ryanmen. On his very next draw, he finds the 9m to win the hand. Shibukawa wins with Riichi/Ippatsu/Tsumo/Green Dragon/Dora 1 for 4,000+200 all to move into 1st place.
With the next hand going to a draw and Shibukawa being noten, Shibukawa secures top spot after being in last just a few hands earlier.
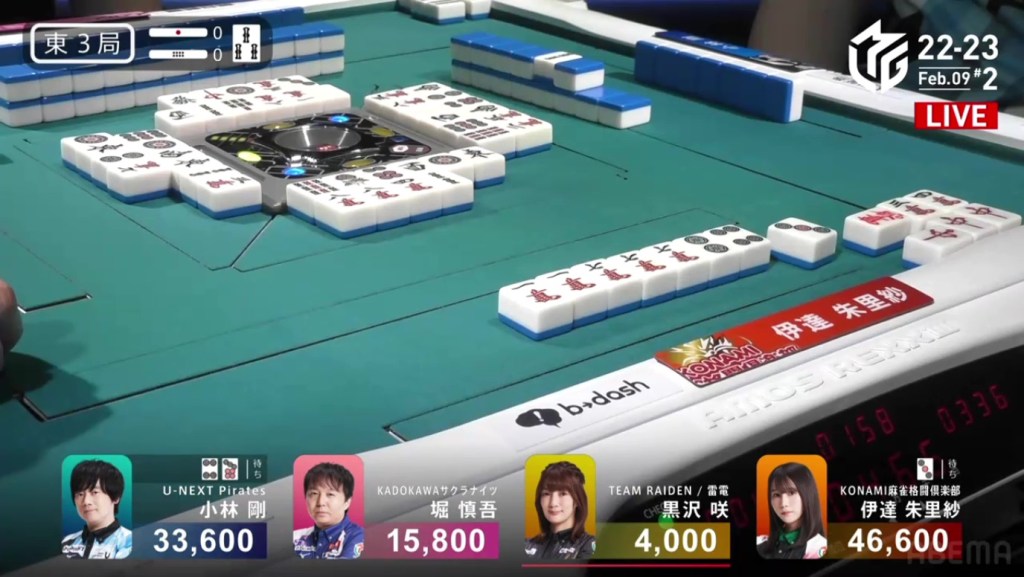
Deadly Date

February 9, Game 2
Video: https://abema.tv/video/episode/444-14_s40_p734
In E1-2, Date is tied for 2nd place after dealer Kobayashi hit Kurosawa two hands in a row. Currently, Kobayashi has a 15,800 lead over Date and Hori.
Before Date even makes her first draw, something isn’t right. As Hori discards the 9m, Kurosawa calls pon. Not only is it a terminal pon, it’s Kurosawa doing it, the player known to rarely call. As we shift over to Kurosawa’s hand, we see why. She started with four terminal pairs, ripe for a chinroutou yakuman.
As quickly as the hand began, fans were at the edge of their seats. With only the big three (Suuankou, Daisangen, Kokushi) ever being won, this could be the chance to see one of the rarest yakuman in the game. As we shift from Kurosawa to Date, we see Date with a decent 2-shanten hand with two ryanmens. If any hand could kill the potential yakuman, it would be her’s. By turn 3, Date is already iishanten.
At the same time, Kobayashi (in true Kobayashi fashion) makes a call for tanyao and discards the 9s. With her second pon, Kurosawa now has two triplets. Even with two pairs left (9p and 1s), she still needs one more terminal. Just a turn later, she draws the 1p, putting her 2-shanten for yakuman.
Around the table, there were more efforts to end the hand as quickly as possible. Hori calls pon on the green dragon to get to 2-shanten. Kobayashi draws a pair of easts. As Hori draws the 1p, he discards it. With no pon, maybe the opponents are just being overly defensive. Maybe it’s not a yakuman. As Date gets to tenpai, she decides to call riichi and wait on a 58p ryanmen even against the two terminal pons.

The chances of a yakuman change drastically. On one hand, Kurosawa has a definite chance of dealing in if she draws the 5p or 8p. On the other, Date is defenceless. Any terminals that Date draws will have to be discarded. During the ippatsu turn, Kurosawa pairs up the 1p. This is it. Iishanten for chinroutou. If Kurosawa draws just one more or Date discards one, Kurosawa would be tenpai. In the middle of the second row, Date draws and discards the 1s. With a pon, Kurosawa is tenpai on a 1p/9p shanpon. Three tiles left in the wall.
Counting Date’s tiles, she also had 3 tiles left. A 50/50. An equal chance of drawing a win and dealing in. As Date drew her tile, she miraculously finds her winning 5p to win the hand. With the flip of the uradora, we find one of Kurosawa’s winning 9p. Date wins with Riichi/Tsumo/Pinfu/Tanyao/Aka 1 for 2,000+200/4,000+200, successfully killing the yakuman.
Video: https://abema.tv/video/episode/444-14_s40_p735
In E2-0, Date is alive and just 3,000 behind 1st place Kobayashi. She starts out the hand 3-shanten with a pair of 1s dora and two ryanmens. In the first few turns, her hand seemed to shift away from a standard hand and closer to chiitoi. By turn 4, she had 4 pairs. As Date tries to figure out what to do with her hand, the dealer Hori gets to tenpai at the start of the second row and calls riichi on a 25p ryanmen.
Chiitoi works well as both a defensive and offensive hand option against a riichi. With her first two discards, she stays safe while still maintaining 2-shanten. In the middle of the second row, Date draws her fifth pair. The lone tiles in her hand are 8s, 1p, 2p and 4m. One of those is a deal-in tile. Not wanting to take any big risks, though, Date instead breaks her 6m pair, relying on nakasuji for safety. Two turns later, she pairs up the 4m. Her choices are now 8s, 1p, 2p and 1m. With the early 3m and three 2m visible, Date discards the 1m. On Date’s next draw, she pairs up the 8s. Her choices are now 1p and 2p. One will lead to tenpai and the other will lead to death. Date chooses correctly and discards the 1p, getting to tenpai on a 2p tanki.
All Date has to do is not discard it and not draw the 5p. She draws a safe 1m, keeping tenpai. 1p comes, staying safe. The 9s suji is drawn and discarded. She draws the 9s again and throws it. With only one more draw for her, she hopes to win. On what looked to be her last draw, she finds the 1p and stays tenpai, ready for an exhaustive draw. However, as Kobayashi makes a chii, he shifts the haitei to Date. Though it gives her a chance to draw something dangerous, it also gives her one more chance to win. On Date’s final draw, she gets her winning 2p! Date wins the hand with Tsumo/Haitei/Chiitoi/Dora 2 for 3,000/6,000, going above 45,000.
In E3-0, Date is in 1st place and starts out the hand 4-shanten and looking to be a manzu honitsu. On turn 4, she calls pon on the red dragon, gets rid of her last non-honitsu tile and gets to 2-shanten. Right after, Kobayashi calls chii to fill a kanchan and get to 2-shanten for mangan minimum. Near the end of the row, Kobayashi calls pon to get to iishanten. A few turns later, Date gets to iishanten as well. When Date draws the 4p, she partially folds and breaks up her 8m pair, preventing Kobayashi from calling to complete his 47p ryanmen. Near the middle of the second row, Date calls chii on the red 5m to advance her hand back to iishanten.
Right after, Kobayashi gets to tenpai and waits on the 47p ryanmen.
Date is in danger. If she pursues the honitsu, she will deal into a mangan and lose 1st place. On Date’s next draw, she luckily finds the 2p. With a tile to connect to the dangerous 4p, Date gets to tenpai and waits on a 3p kanchan. Two turns later, she draws the 3p and wins the hand. Date wins with Red Dragon/Aka 1 for 700/1,300, killing Kobayashi’s mangan.
In E4-0, Date is now the dealer and starts the hand with an annoying 4-shanten with two penchans and an 889m shape. Across from her is Hori, starting out iishanten with his first 14 tiles. On turn 2, Date pairs up the white dragon and calls pon on it soon after, giving her at least a yaku. She breaks up one of her penchans to try to improve her wait. In the middle of the first row, Hori discards the 9m, going back a shanten to try for a better wait. With the 9m discard, Date calls pon to get to honitsu 2-shanten (rejecting a cheap iishanten). With a pon on the 8m, Date’s hand is now East|Green Dragon|56m. As Date waits to advance her hand, Hori gets to tenpai on a 3m, staying dama.
At the end of the second row, Date is finally able to get a connecting tile and waits on a green dragon tenpai. Two turns later, she draws a red 5m to upgrade her hand to a mangan. After her, Hori upgrades his hand to a ryanpeikou tenpai waiting on a 3m for haneman minimum. As the wall goes down to 8 tiles, Date upgrades her wait to a 47m nobetan.
On Hori’s draw, he gets the 4m. He sees the the honitsu, so none of the tiles that would keep him tenpai are particularly safe. If he discards the 2m, he would have a furiten 14m/2s wait. If he discards the 3m, a tile that has yet to come out, he would cheapen his hand to a mangan. The 4m is dangerous, but it keeps the ryanpeikou.

Hori decides to discard the 4m and ends up dealing into Date. Date wins the hand with Honitsu/White Dragon/Aka 1 for 12,000, breaking the 60,000 mark.
Challenger Approaching
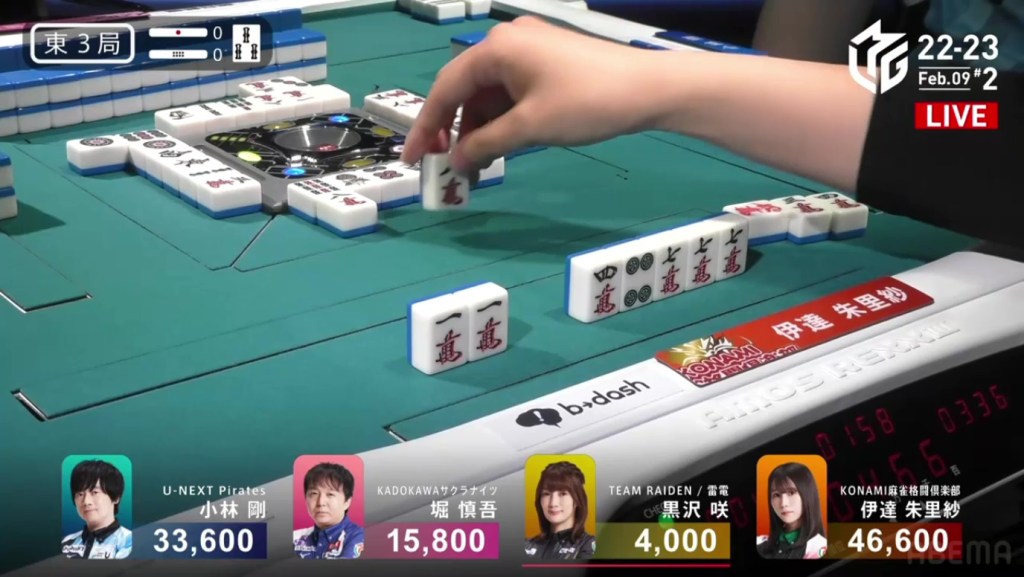
February 9, Game 2
In E4-1, Kobayashi is 28,400 behind 1st place Date. With 3rd and 4th place so far behind, Kobayashi aims for the top. He starts out with a good starting hand, 3-shanten for a standard hand (2-shanten for chiitoi) with a pair of yakuhai souths and a pair of 9m dora. In the first row, he makes an ankou of 5m, calls pon on the 4m and gets to iishanten by the end of the row. When Hori discards the south, Kobayashi calls pon to get to tenpai on a 7p kanchan. Two turns later, Kurosawa draws and discards the 7p and deals into Kobayashi. Kobayashi wins the hand with South/Dora 2/Aka 1 for 8,000.
After a few small hands quickly moving the game, Kobayashi’s pursuit for 1st continues in S3-0. With only two hand left to overcome a 24,600 deficit, he will need to have both hands be at least mangan quality.
Kobayashi starts out the hand. He strts out the hand. 2-shanten, but lacks value until he can get rid of his terminals and kanchans. He starts out by breaking his 12m block, signalling his pursuit for pinfu and/or tanyao. Even though he draws the 3m on his very next draw, he doesn’t worry. On turn 3, he fills in an 8s kanchan to get to iishanten, still holding a 23m block and hoping to draw around it. On turn 5, he draws a red 5m to get out of the potential furiten. On turn 6, he creates a three-sided wait and on turn 7, Kobayashi fills in the 4m kanchan and calls riichi on a 369p wait for mangan minimum.
As Kobayashi waits, we look around the table. We notice Date’s hand holding a bunch of honours and terminals. She had already folded her potential kokushi on turn 4, but tiles kept coming to her. If she had gone for it, she would have been tenpai in the middle of the second row, possibly winning on Kurosawa’s discarded 1m.

While the kokushi was gone, Kobayashi still has a chance to win. Near the middle of the third row, Kobayashi finds his winning 3p to win the hand. Kobayashi wins with Riichi/Tsumo/Pinfu/Dora 1/Aka 1 for 2,000/4,000.
Video: https://abema.tv/video/episode/444-14_s80_p736
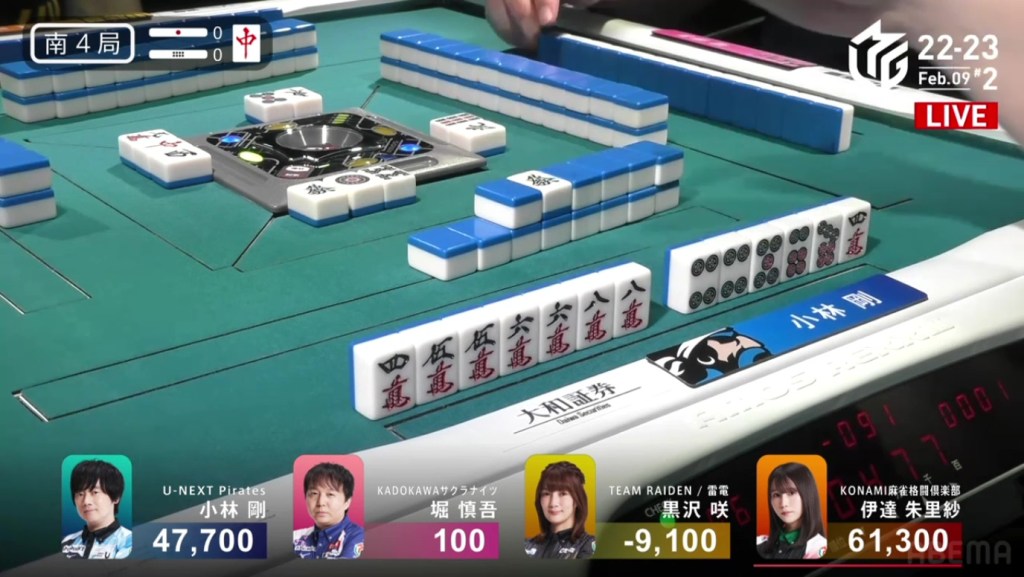
In S4-0, it’s Kobayashi’s last chance to take 1st place. Being 13,600 behind 1st place dealer Date, he needs a mangan direct hit, a haneman tsumo or a general baiman ron.
He starts out the hand With great potential, being iishanten with a very likely tanyao and a chance at a 456m iipeikou. Unfortunately, it’s not quite enough. Kobayashi will likely have to add pinfu and maybe draw a red dora to get closer to haneman. On turn 3, Kobayashi gets to tenpai on an 8m/4p shanpon. With little value compared to what he needs, he stays dama to fish for value.
As Kobayashi waits, he just can’t find the tiles that will improve his hand. He draws and discards, looking for pinfu or dora. Near the middle of the second row, Hori discards the 4p. Though this is Kobayashi’s winning tile, he decides not to call ron!
With the passed ron, Kobayashi keeps searching. In the middle of the second row, he has a chance at taking a 4s kanchan, but declines it. At the start of the third row, he draws the 6s and calls riichi. If he draws the 4s, he would have sanshoku and take 1st. If he draws the 7s, he would need an uradora.
The chance is real. One 4s is left in the wall and one 7s is left. One guaranteed and one chance. Pirates fans wanted a 1st place after 7 straight 3rds. Two turns after calls riichi, Kobayashi finds the lower 7s tile. He calls tsumo and fans pray for at least one uradora. With the flip of the uradora, the 1m is shown as athe indicator, a miss. Didn’t quite make it, but a strong effort nonetheless. Kobayashi wins with Riichi/Tsumo/Pinfu/Tanyao/Iipeikou for 2,000/4,000, missing 1st place by just 1,600.
Maruko
February 10, Game 1
In E2-0, Maruyama is tied for 2nd place and within a mangan of 1st place. She is playing her 10th game this season and still looking for her first win this season.
She starts out the hand 3-shanten with paths to tanyao, pinfu and even a distant 456 sanshoku. In the first row, she gets rid of her honours and stray terminals. By the end of the first row, she is 2-shanten with a pair of 1p and a stray 1m dora, still able to get pinfu or sanshoku. On turn 8, she now has the option to go for a manzu ittsuu (with a draw of the 2m and 3m) or a 456 sanshoku (with a 5s and 6s draw). Near the end of the second row, Maruyama draws the 6s and calls riichi on the 5s kanchan while throwing the 1m dora.
At the start of the third row, 4th place Kayamori chases her as she calls riichi on a 14p ryanmen.
In the middle of the third row, Maruyama is able to get the red 5s and win the hand. Maruyama wins with Riichi/Tsumo/Sanshoku/Aka 1 for 2,000/4,000 plus one riichi stick. moving her into 1st place.
Skipping to E4-0, Maruyama is back to 2nd place after dealing into the unrelenting Matsumoto. Being 6,400 behind, a mangan is enough to move back up.
She starts out the hand at an annoying 5-shanten (4-shanten for chiitoi), but all but one tile is either a manzu or honour. In the first row, she pursues this honitsu by pairing up the white dragon and drawing some more manzu, but is still 3-shanten (2-shanten for chiitoi) by the end of the row. In the second row, she calls pon on the white dragon, fills in a 2m kanchan and gets to iishanten by turn 8. Just as Maruyama gets there, Matsumoto calls pon on the green dragon to get to tenpai on a 3s kanchan.
A few turns later, Matsugase gets to tenpai and waits on a 7s kanchan, staying dama without a yaku.
After that, Maruyama makes a call on a 567m to get to tenpai on a 58m ryanmen, guaranteed a mangan. With the call from Maruyama and the need to win, Matsugase decides that he’s spent enough time waiting and calls riichi on the 7s kanchan. Unfortunately for him, the riichi stick is wasted as Maruyama draws her winning red 5m within the ippatsu turn. Maruyama wins with Honitsu/White Dragon/Dora 1/Aka 1 for 2,000/4,000 plus a riichi stick, moving back into 1st place.
Video: https://abema.tv/video/episode/444-14_s10_p730
In S1-0, Maruyama is now the dealer and she starts out 2-shanten with two ryanmens and a kanchan. Her hand’s shapes are confirmed by the end of the first row, but she is still stuck at 2-shanten. On turn 7, she breaks up her 69m ryanmen to accept a red 5m. On her next draw, she fills in a 4s kanchan to get to iishanten. In the middle of the second row, she draws the 6m to get to tenpai and calls riichi on a 47p ryanmen. With Matsugase’s kan just a turn earlier, the 4p that Maruyama can accept is now dora. Before the end of the row, Maruyama draws the 4p dora and wins the hand. Flipping one uradora, Maruyama wins with Riichi/Tsumo/Pinfu/Dora 1/Aka 1/Ura 1 for 6,000 all, putting her above 50,000.

Skipping to S3-0, Maruyama still has a big lead and wants to keep the game moving. She starts out by drawing the red 5m to make a ryanmen and get to 3-shanten. With every draw, her hand improves. She makes a pair, she makes a kanchan, she completes a west ankou, she fills in the kanchan. By turn 5, she is tenpai and she calls riichi on a 36m ryanmen. At the start of the 2nd row, 3rd place dealer Matsugase is iishanten and has to choose between his floating 3m and 6m. Neither of them let him live. He ends up throwing the 3m and deals into Maruyama. Maruyama wins the hand with Riichi/West/Aka 1 for 5,200.
Chinitsu
February 10, Game 1, S4-0
In S4-0, Kayamori is the dealer in 4th place and 4,800 behind 3rd place Matsugase. With her team in 7th place in the standings, she needs to at least get out of 4th place.
She starts the hand off with 11 souzu tiles, making it clear what hand she needs to go for. On turn 3, she draws another souzu tile, putting her 2-shanten. On turn 4, she calls pon on the 1s to get to iishanten. As she waits to get to tenpai, Maruyama gets to tenpai on a 578m wait (with 58m giving yaku), but stays dama for fear of the flush. When Kayamori calls pon on the 8s in the second row, she gets to tenpai and waits on a 47s ryanmen. With the chinitsu, Maruyama folds when she draws the 2s. . With the obvious flush, Kayamori’s only chance of winning is drawing it herself. In the third row, she finds the winning 4s. Kayamori wins with Chinitsu for 4,000 all, escaping 4th.
Tojo Time
February 10, Game 1
Video: https://abema.tv/video/episode/444-15_s90_p752
In E2-0, Tojo has the slight lead after winning a 700/1,300 in the first hand of the game. She starts out the hand 3-shanten with a likely tanyao. She draws a lot of other tanyao tiles in the first few turns and, on turn 5, she draws the dora 4p to get to a perfect iishanten. In the middle of the second row, Tojo calls a closed kan to give her a chance at more han, but she misses. Within the go-around, Ooi calls chii to get to tenpai on an 8s/white dragon shanpon. Right after, Tojo gets to tenpai and calls riichi on a 25p ryanmen. On her ippatsu draw, she finds the 5p and wins the hand. Tojo wins with Riichi/Ippatsu/Tsumo/Tanyao/Dora 1/Ura 1 for 6,000 all.

In E2-1, Tojo starts out 4-shanten with no clear path to value. She starts out by getting rid of her terminals and honours to see where it gets her. By turn 4, her hand seems to be shaping up to be tanyao. By the end of the row, she is 2-shanten. In the second row, she calls a chii for iishanten, confirming tanyao. With a dora 7s dora, Tojo gets to tenpai on an 8m/3s shanpon. Immediately after, Taro, get to tenpai on a yakuless 58p ryanmen. Taro is right not to call riichi because, just a turn later, Tojo draws her 3s too win the hand. Tojo wins with Tanyao/Dora 1/Aka 1 for 2,000+100 all.
Video: https://abema.tv/video/episode/444-14_s60_p739
Skipping to E3-0, Tojo has lost her dealership and wants to move the hand along.
She starts out the hand 3-shanten with the ability to accept the 3p dora. On turn 4, she draws the 3p dora and gets to a ryanmen-sanmenchan iishanten. At the end of the row, she draws yet another dora and calls riichi on a 147s, guaranteed at least a mangan. On her very next draw, she finds the 7s and wins the hand. Tojo wins with Riichi/Ippatsu/Tsumo/Pinfu/Dora 2/Ura 1 for 3,000/6,000.
Houtei Houtei
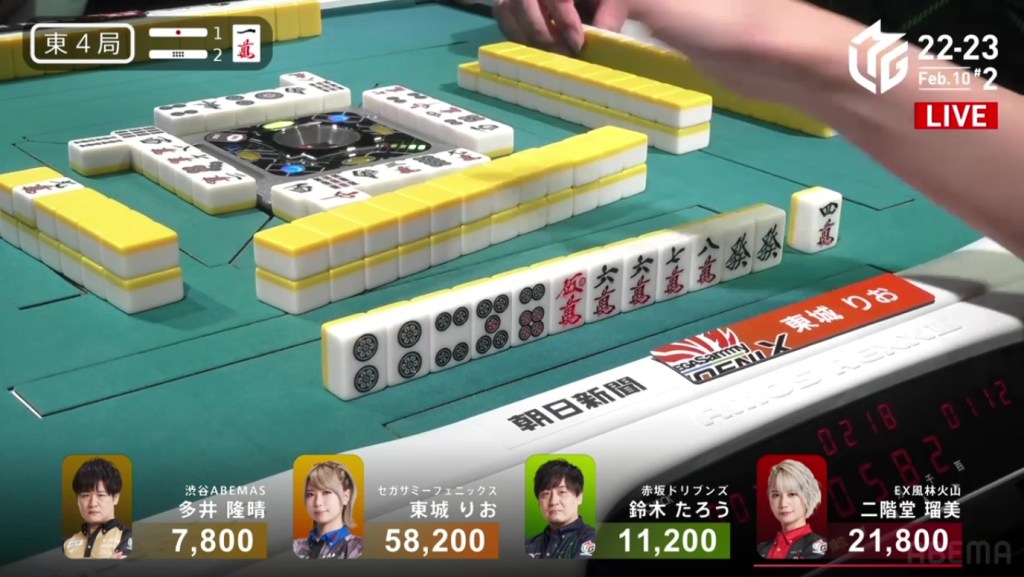
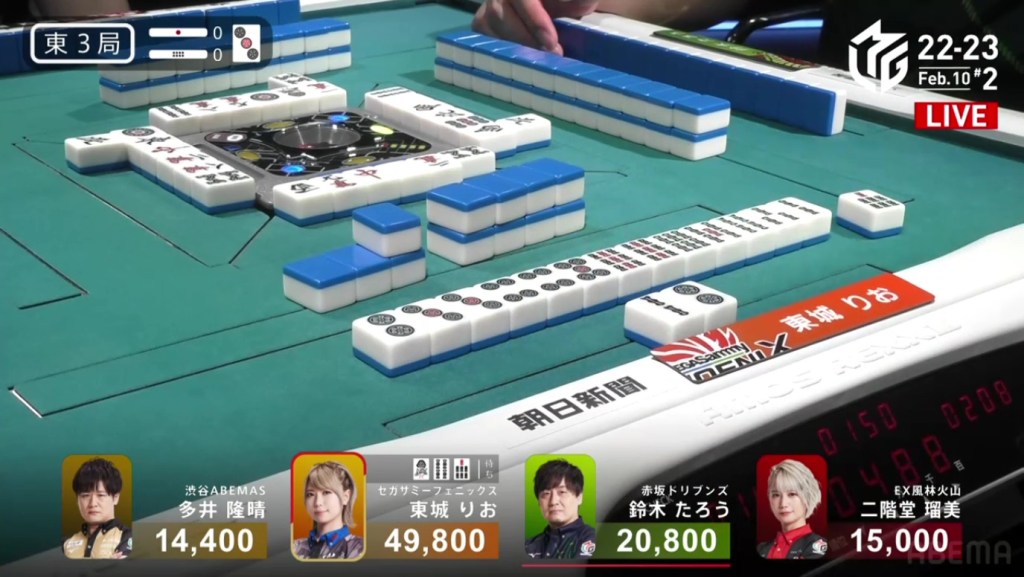
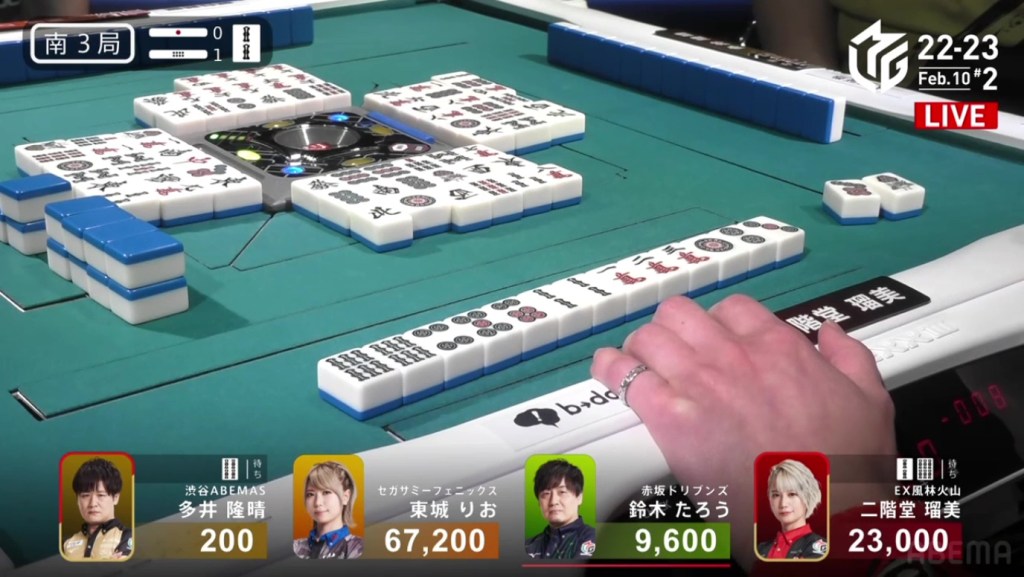
February 10, Game 2
In E4-2, the scores are as follows:
– Ooi: 7,800
– Tojo: 58,200
– Taro: 11,200
– Rumi: 21,800 (Dealer)
Tojo wants to end the game, Rumi wants to take advantage of her dealership, Ooi wants to escape last and Taro wants to gain points.
Rumi starts out 5-shanten with a few ryanmens, Ooi is 4-shanten and Tojo is 2-shanten with a pair of green dragons and a red 5m. With Tojo’s hand starting fast, her’s is the first to tenpai. At the start of the second row, Tojo calls riichi and waits on a 2p/green dragon shanpon, hoping to get the green dragon.
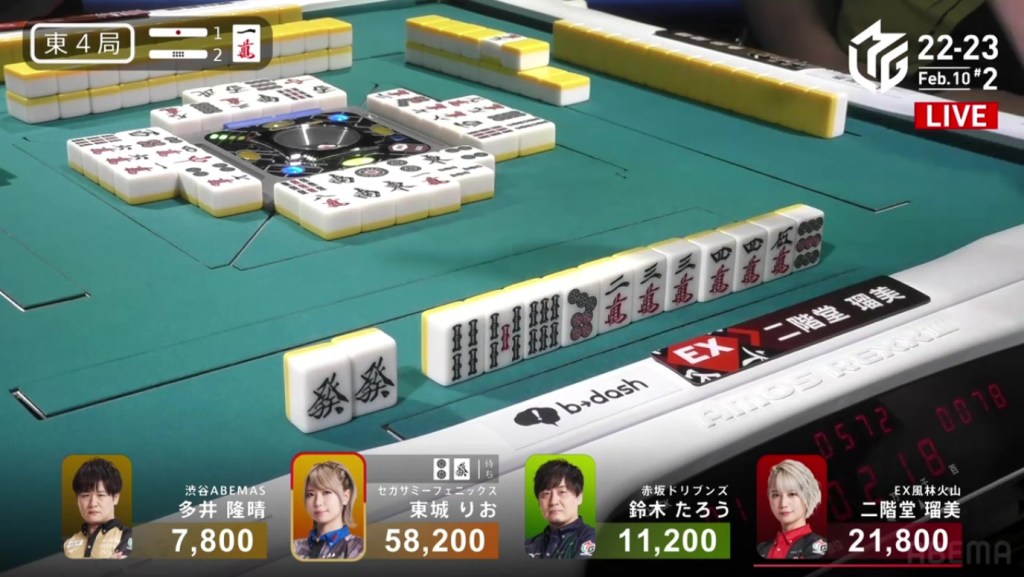
As we look around the table, we see the two green dragons in Rumi’s hand, a 2p in Rumi’s discards and a 2p in Ooi’s hand. With all of her waits dead, she has no chance to tsumo. While Tojo is hopeless to draw, Rumi the dealer continues to push her iishanten hand. Near the end of the second row, Rumi creates a kanchan and calls riichi on an 8p kanchan. With two already cut and it being safe off Tojo, there is a chance that someone would discard it.
With two riichi calls on the table, both Taro and Ooi fold. Ooi draws an 8p, but doesn’t throw it. With only one 8p left in the wall, the chances of Rumi winning is slim. However, as more safe tiles are thrown, Ooi, starts to run out of fuel. The tiles that he has left in his hand are dangerous. On the very last tile of the wall, Ooi is out. No tiles is completely safe. The 2p and 4p are safe against Rumi, but not Tojo. The 8p and north are safe against Tojo, but not Rumi. Looking at the board, Ooi sees all four 1p and four 3p, making the only shapes that the 2p can deal into is shanpon or tanki. With that, Ooi discards the 2p and ends up dealing in.
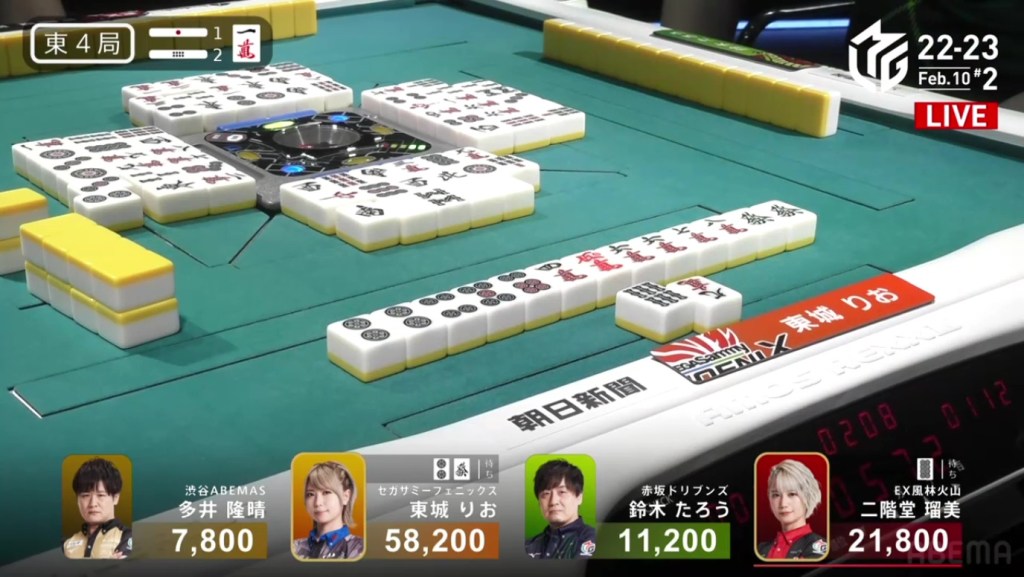
Tojo wins the hand with Riichi/Houtei/Dora 1 for 5,200+600 plus two riichi sticks, putting Tojo above 60,000.
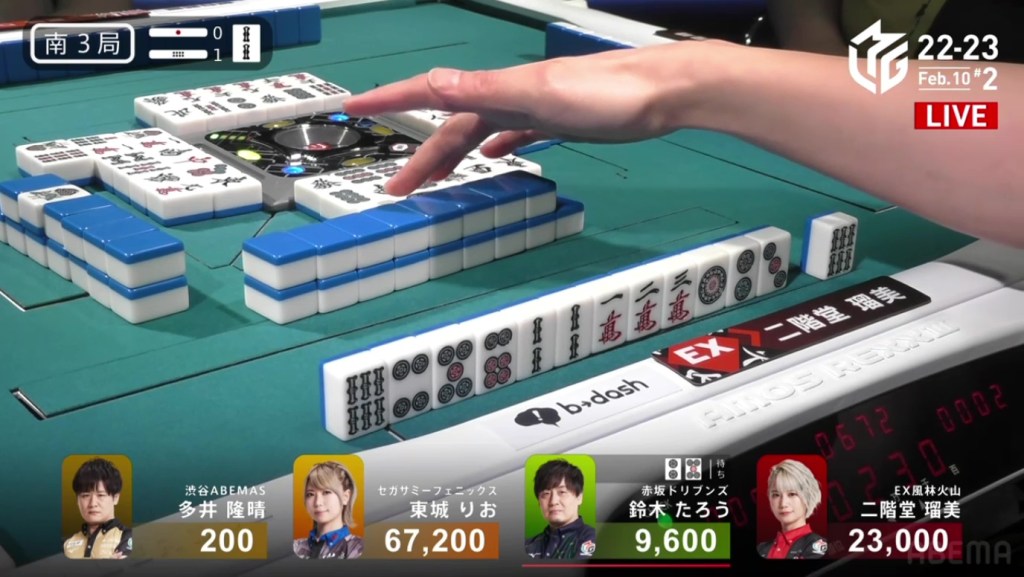
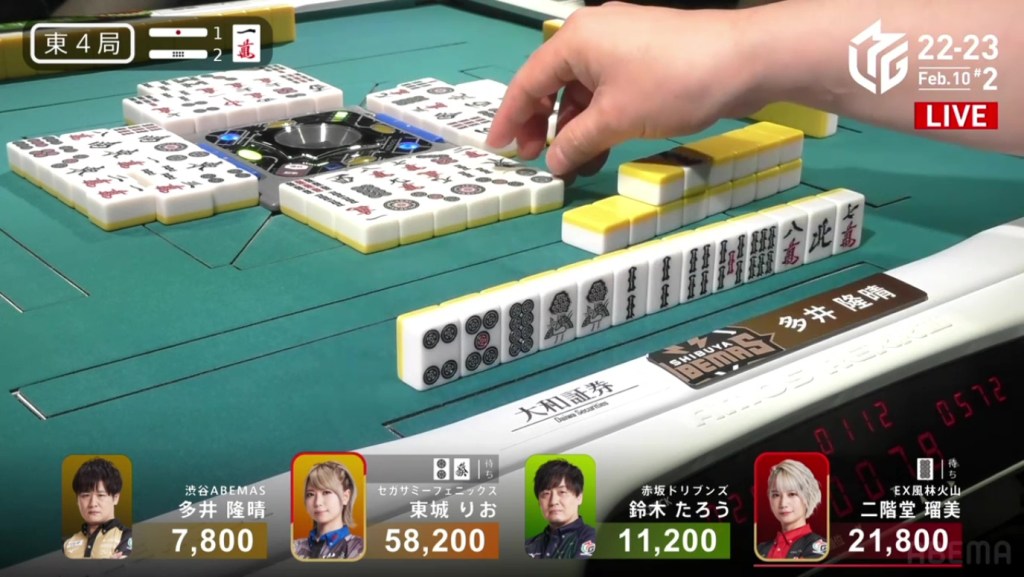
Jumping to S3-1, Rumi is in 2nd place and a far ways away from 1st place Tojo while Ooi is in 4th place and a mangan tsumo away from 3rd place Taro.
From the start, we see Ooi the closest to tenpai at 3-shanten with a red 5s, followed by Rumi and Tojo at 4-shanten and Taro at 5-shanten. The first row is kind to Ooi, getting him to iishanten with a red 5s, followed by Taro at 2-shanten with a pair of white dragons. Taro is technically he first to tenpai in the middle of the second row, but lacks a yaku. The firs to get to tenpai with a yaku is Rumi, who calls riichi in the third row with a 2s/6s shanpon.
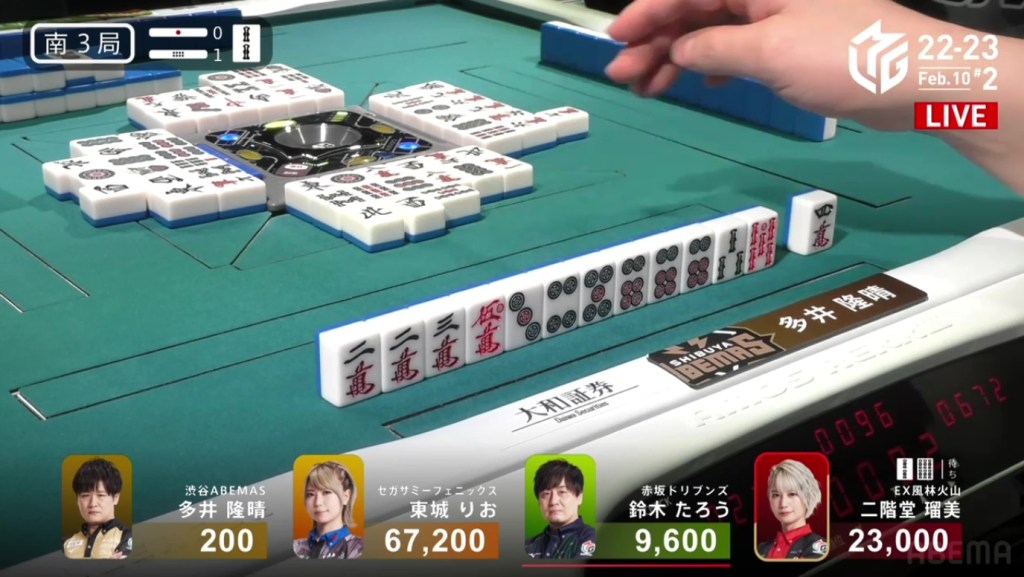
On the ippatsu turn, Taro draws the 6s. As Taro doesn’t have a yaku nor value, he folds his hand. Soon after, Ooi fills in a kanchan and calls riichi on a 4s kanchan. With his riichi, he guarantees at least a haneman if he wins.
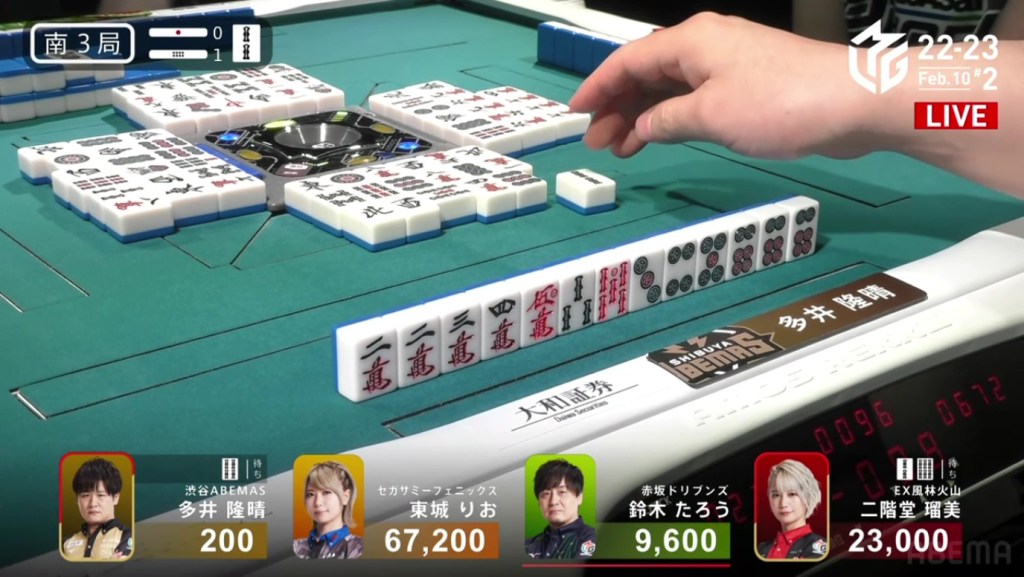
Counting tiles, Ooi is out of luck. On Tojo’s draw during the ippatsu round, she gets the last 4s to render Ooi’s hand dead. For Rumi, she still has one 6s and one 2s left. As the wall got shorter, we saw that the last tile was going to Ooi. As Ooi draws it, he makes a huge sigh as he sees the 2s dora and discards it.
With a ron, Rumi reveals her hand. Rumi wins with Riichi/Houtei/Dora 3 for 8,000+300 plus Ooi’s riichi stick.
