
Highlights
Shortcut to Baiman

February 13, Game 2, S3-0
Video: https://abema.tv/video/episode/444-14_s30_p727
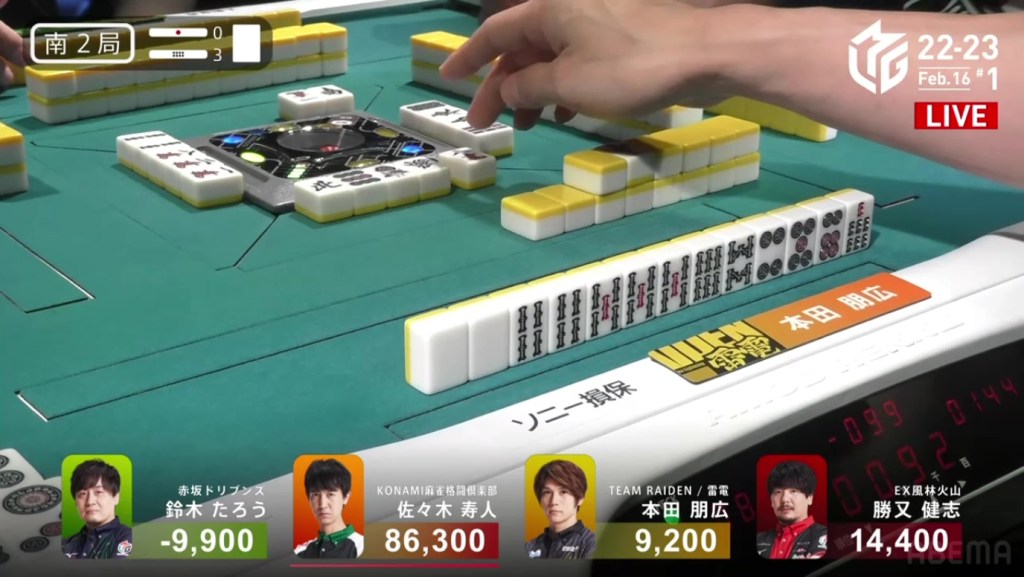
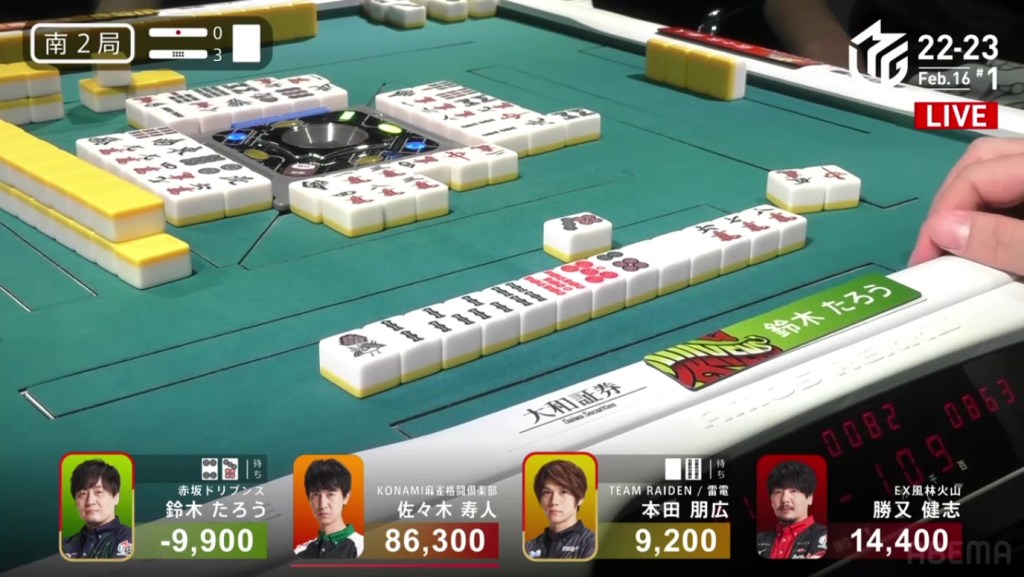
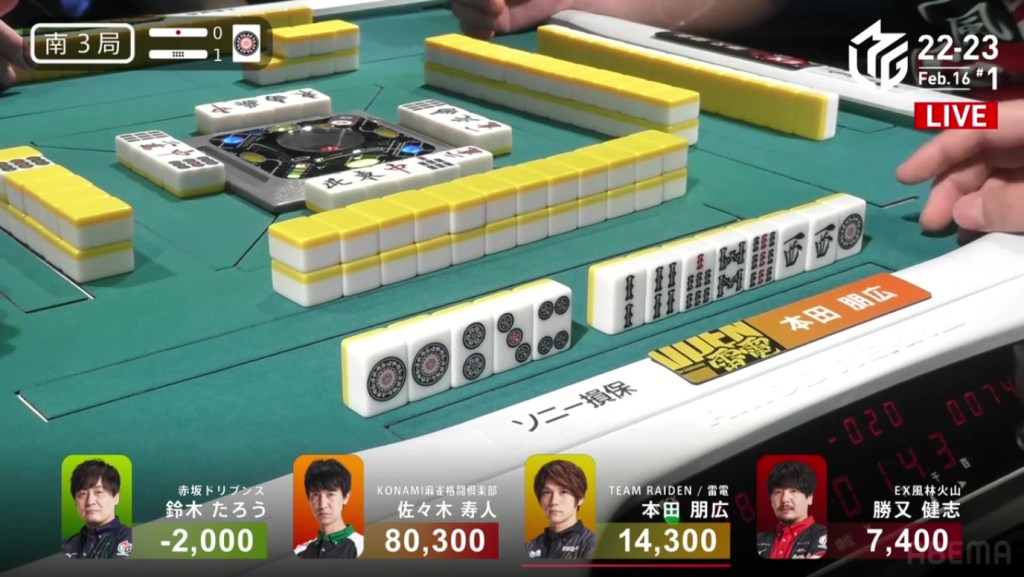
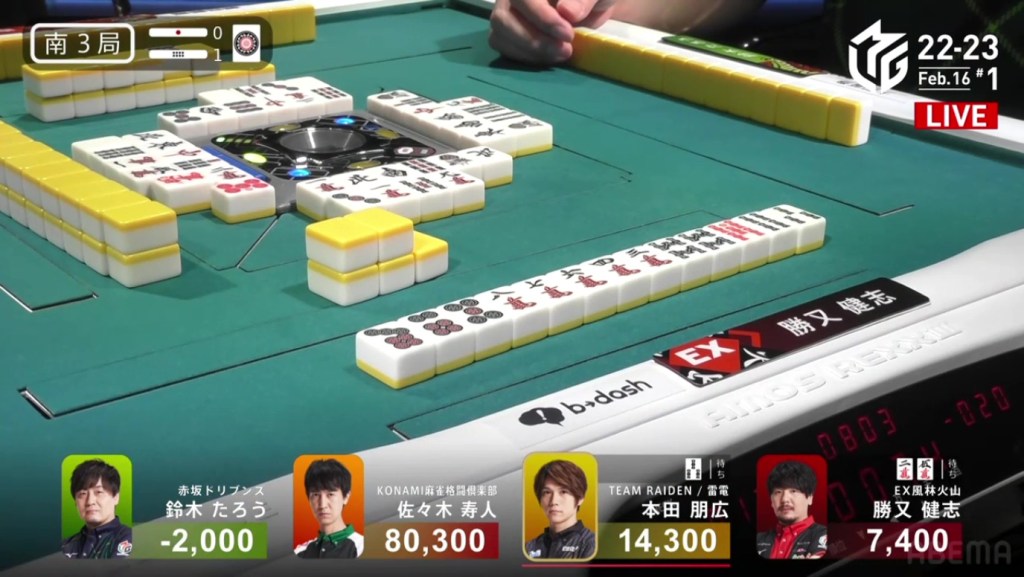
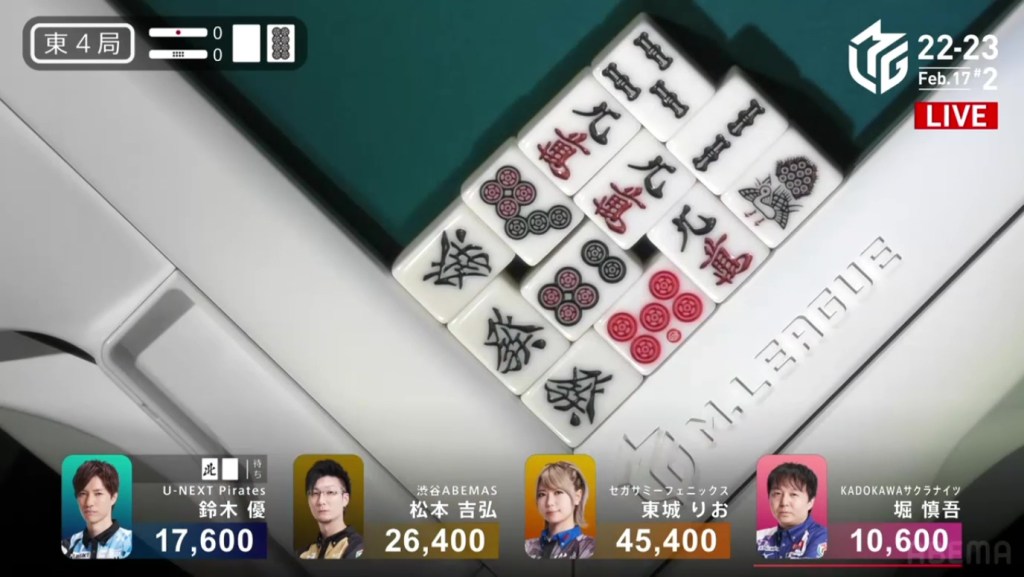
In S3-0, Hori is in 4th place, 11,100 behind 3rd place Ooi. With his team sitting right at the border of making the playoffs and not, he needs to first avoid 4th. However, he only has two hands to do this with no dealership left.
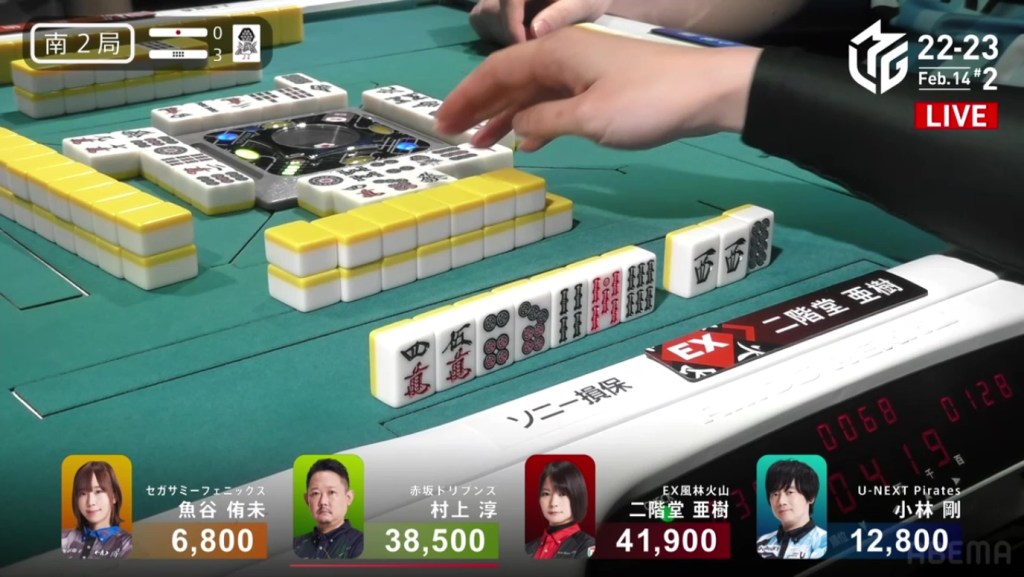
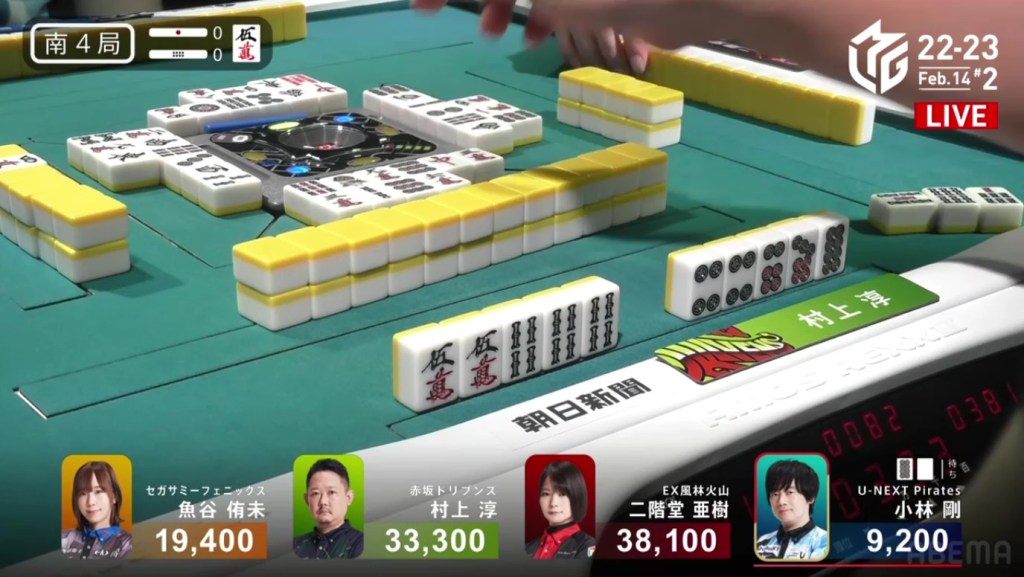
He starts out the hand 3-shanten for seven pairs with a pair of dora 5s (including the red 5s). With this start, he already has a path to haneman. All he has to do is find three more pairs for tenpai. The first row provides him pairs of 2m and 3m, putting him iishanten for chiitoi. As of now, all his pairs are simple tiles, giving him the potential to add tanyao to the mix. On his very next turn, he draws the 4p, his sixth pair. With tenpai, Hori has to decide whether to wait on the 4s to give him tanyao or the 9s for a larger chance of winning. With the 4s as the dora indicator and three 8s visible, Hori decides to call riichi and wait on the 9s, guaranteed at least a haneman. With last place calling riichi, nobody has much appetite to push. As the second row becomes the third, only Kurosawa is close to tenpai. She manages to get there at the start of the third row, but her 5p kanchan seems unlikely. On Hori’s last draw, he finds the 9s and wins the hand. Flipping two uradora, Hori wins the hand with Riichi/Tsumo/Chiitoi/Dora 2/Aka 1/Ura 2 for 4,000/8,000, catapulting him from 4th to 1st.
Gamble
February 14, Game 1, S4-0
Video: https://abema.tv/video/episode/444-14_s10_p731
In S4-0, Sonoda is in 2nd place and 8,500 behind 1st place Tojo. With his team in 8th place in the standings, he really needs a 1st place. In order to get there, he would need a 3/40 direct hit, a mangan tsumo or a haneman off someone else.
Sonoda starts out 3-shanten with an ankou of 1m, a pair of souths and a stray 8m. It provides some value, but not enough. A manzu honitsu isn’t out of the question, but he would have to get rid of four non-honitsu tiles. On turn 2, he creates a ryanmen in pinzu, further causing problems. On turn 3, Sonoda secures an open hand by calling pon on the south. On turn 5, Sonoda calls a chii in manzu to get to iishanten, still waiting to connect the 8m. When Nakabayashi discards the 1m, Sonoda tries to increase his chances of getting value by calling a open kan on the 1m. The gamble works and his south pon is now dora. With enough value in his hand, all he has to do is get to tenpai and win by tsumo or direct hit.
On Sonoda’s next draw, he pairs up the red dragon to get to tenpai on a 25p ryanmen for mangan.

A few turns getting to tenpai, Nakabayashi throws the 2p. However, a mangan off Nakabayashi isn’t enough to take 1st place. With Sonoda wanting top spot, he passes the ron!

Sonoda keeps waiting, hoping for a tsumo or Tojo to deal in. However, as Sonoda waits, 3rd place Rumi gets to tenpai and calls riichi on a red dragon/white dragon shanpon, guaranteed at least a mangan for 2nd place if she wins.
Sonoda is in danger, but now he also has hope. With Rumi’s riichi, Sonoda can win off anyone and move into 1st. Holding a pair of red dragons, Sonoda’s only deal-in tile is the white dragon. With Tojo holding one, Rumi only has one winning tile left. For Sonoda, he still has two 2p and one 5p left. The odds are in Sonoda’s favour, but this is mahjong. At the start of the third row, Sonoda draws that last white dragon and deals into Rumi. So close to a win and yet so far.
Rumi wins the hand with Riichi/Honitsu/White Dragon for 8,000 to move into 2nd place.
Purity

February 14, Game 2, E3-1
In E3-1, Uotani is in 3rd place and 8,300 behind 1st place Aki.
Before Uotani’s first draw, she calls pon on the 1m. Looking at her hand, she is still 4-shanten away from honitsu or chinitsu. However, the bold choice to call a terminal pon is sure to slow someone down. After drawing a pair of 9m and filling in a 567m shape, Uotani gets to 2-shanten by the end of the row. In the middle of the second row, Uotani makes the 9m pair an ankou to get to iishanten, waiting on five different manzu to get to tenpai. Soon after, Kobayashi throws the 6m to get to tenpai on an 8m tanki.

Being just the tile she needs, Uotani calls chii to get to tenpai on a 2m tanki. A turn later, Kobayashi discards the 3m and Uotani calls chii to improve to a 47m ryanmen. Just a turn later, Uotani draws the 4m and wins the hand. Uotani wins with Chinitsu for 2,000/4,000 to move into 1st place
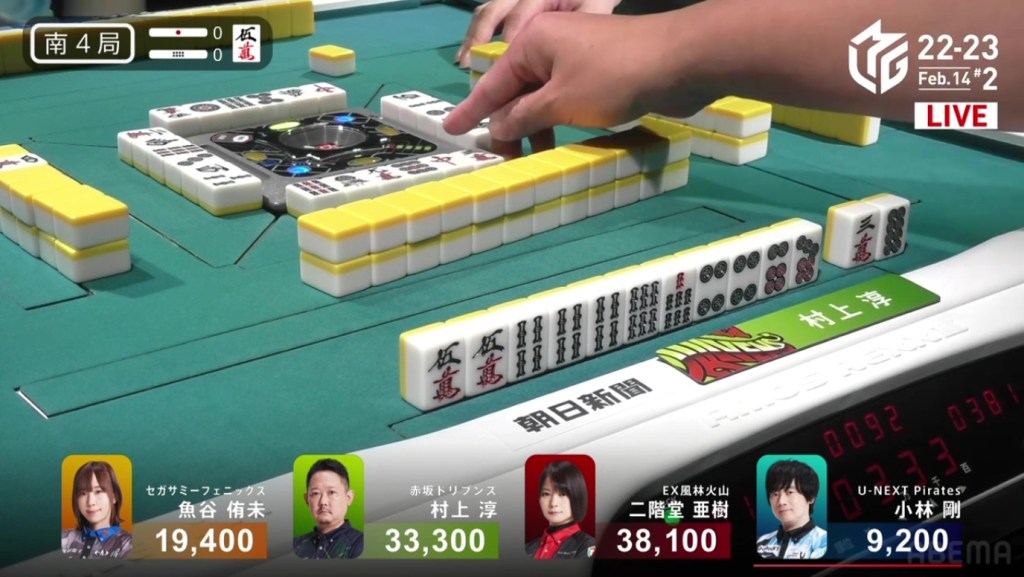
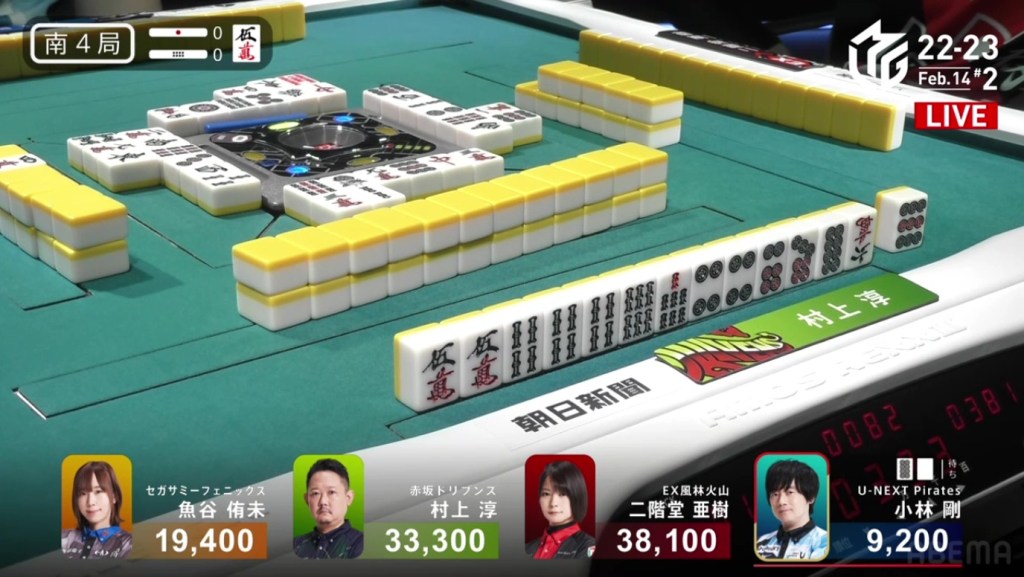
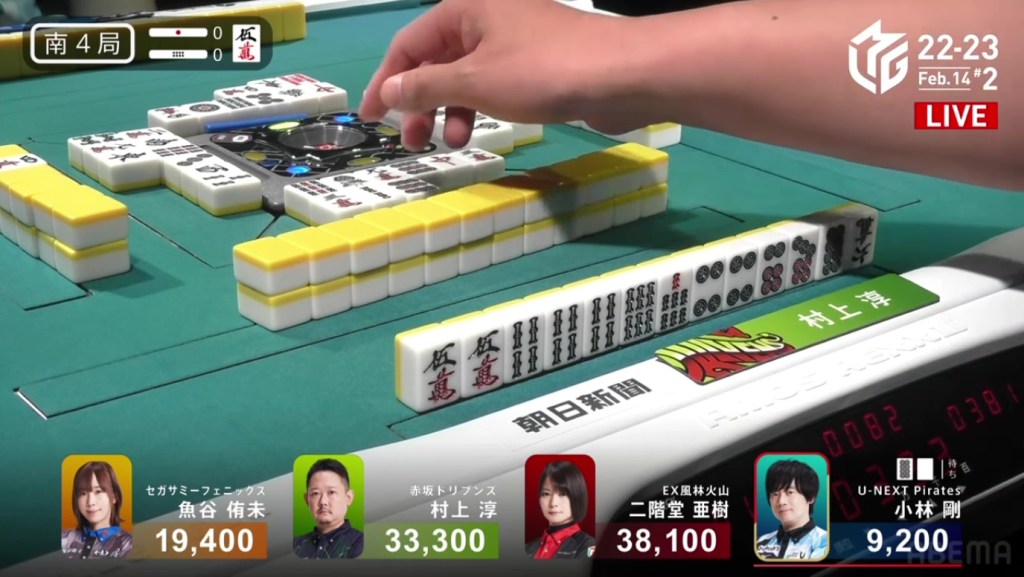
Yakuman Tenpai!!!
February 14, Game 2, S1-2
Video: https://abema.tv/video/episode/444-14_s20_p732
In S1-2 Aki is in 3rd place and 4,500 behind 2nd place Kobayashi. Way out in 1st place is Uotani, ahead of Aki by 29,100.
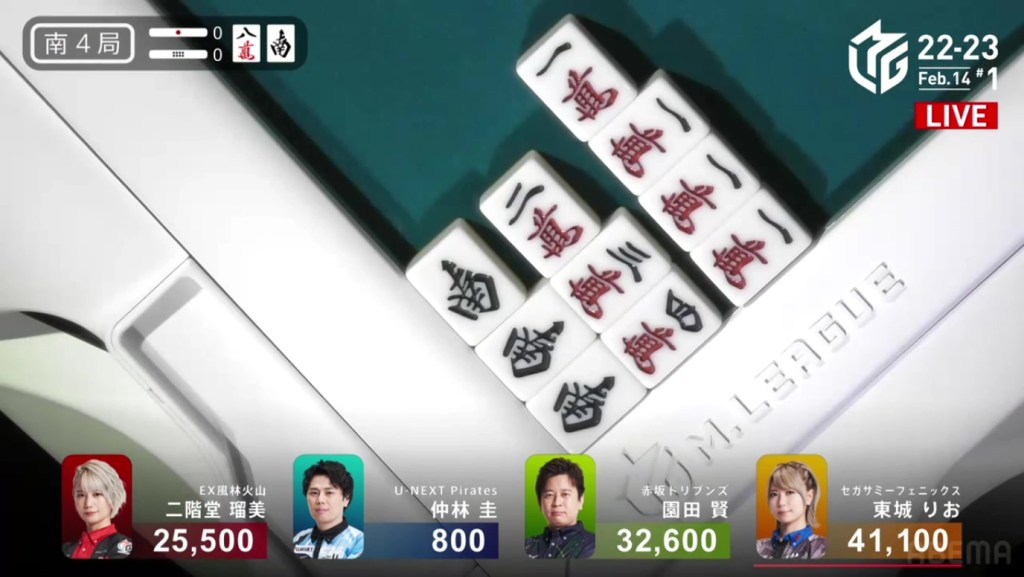
She starts out the hand 3-shanten for chiitoi (4-shanten for a standard hand) and lacking value. She has the ability to accept red fives and maybe tanyao, but that’s about it. But, with every draw, something strange started to show up. Aki wasn’t only making pairs, she was making triplets. By turn 5, she had two triplets (7s and 3m) and two pairs (3s and 7m), putting her 2-shanten for a potential suuankou (tanki!). On turn 6, she draws a 3s. With three ankous, she is just one more away from yakuman. If she draws 5p or 9m, she would be suuankou tenpai on a shanpon. If she draws the 7m, she would have suuankou tanki. In the middle of the second row, Aki draws it. She draws the 7m. With a riichi, she waits on the 9m for suuankou.
With the 6m thrown at the end of the first row, the suji trap is set. However, her wait isn’t just a simple 9m. With the 7779m shape, she is also waiting on the 8m, a result that would be 4 times cheaper.
Looking at the table, there are no 9m left in the wall. In fact, Uotani has all three of them. The sense of danger is felt through the yelling of the commentators Matsushima Momo and Ishibashi Nobuhiro. Uotani has no safe tiles, no dora except for a red 5s is visible and Uotani has a cheap hand. With the ankou of 9m and the 6m suji, the only hand she can deal into is a kokushi or a tanki wait. With the wests all exhausted, it can only be a tanki wait. With all tiles leading to 9m as the safest tile, Uotani throws it.
Just like that the first yakuman since September has been won, the first yakuman ron since the legendary Kurosawa’s suuankou tanki on the west. Aki wins the hand with Suuankou Tanki for 32,000+600 plus one riichi stick, taking the clear lead.
Also a fun fact, Aki’s hand consisted of a 3s, 7s, 3m and 7m. These two numbered groups in two suits is known as the local yaku Ryandoukou, also known as Double Date.
Down But Not Out
February 14, Game 2
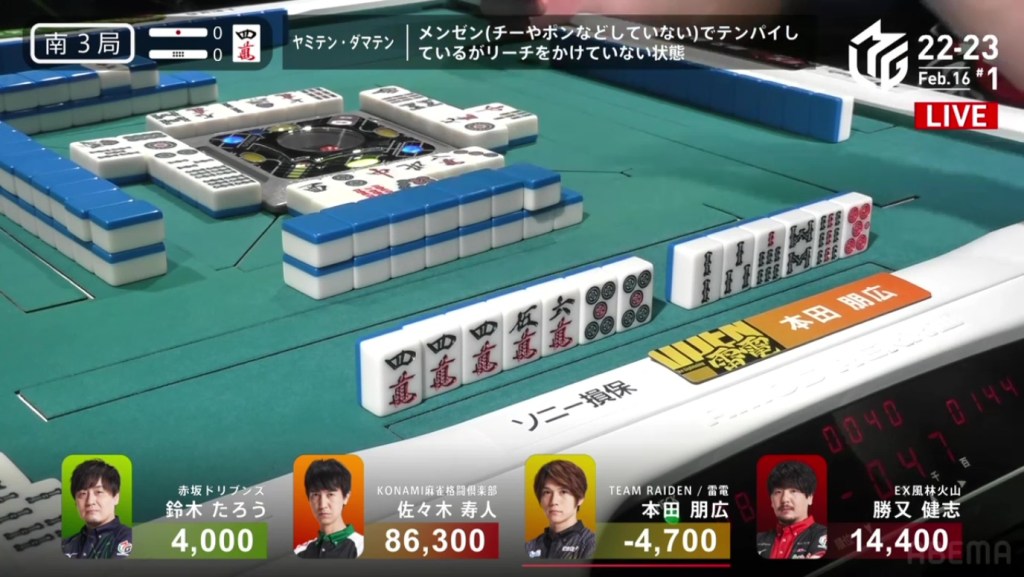
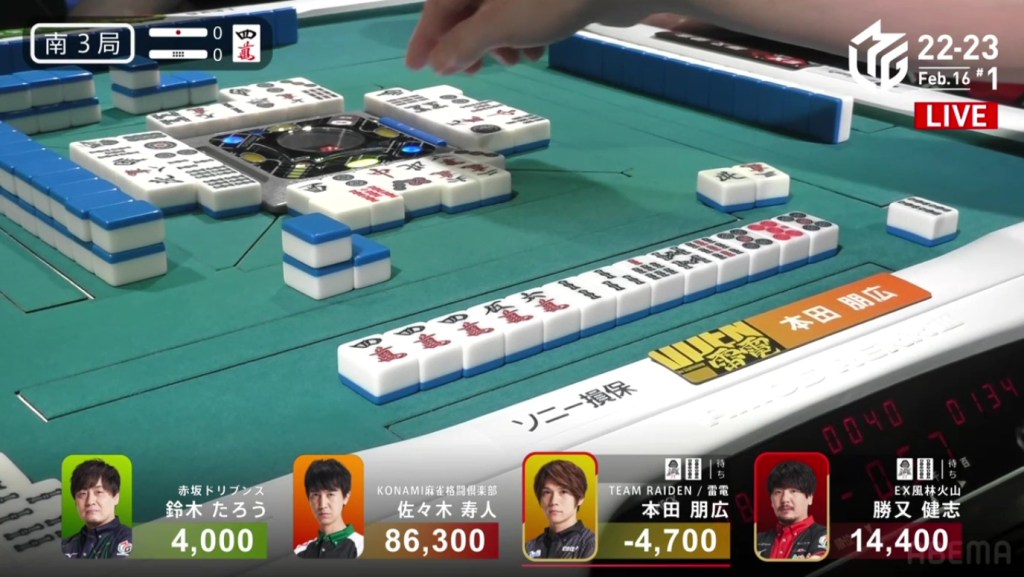
In S2-0, Murakami is the dealer in 4th place, 3,100 behind 3rd place Uotani and 11,100 behind 2nd place Kobayashi. He is currently without a 1st place this season and his team is last in the standings. There is no better time than now to have an incredible comeback.
Murakami starts out the hand 4-shanten with no immediate value, but does have the prospect of pinfu, tanyao and 456 sanshoku, as well as the ability to accept the 3s dora. The first few turns guide his hand, giving him a 9p pair, finishing a 456m sequence and pushing his hand closer to pinfu. By turn 6, Murakami is iishanten, waiting to fill in a 3m kanchan and a 36s ryanmen. On turn 7, Murakami fills in that 3m kanchan and calls riichi on a 36s ryanmen. If he draws the 3s, he adds dora to his hand. If he draws the 6s, he gets the 456 sanshoku.
There is a certain stress in the air. It seems like every time Murakami has called riichi this season, it has always backfired. As Kobayashi made calls to advance his hand, it seems like it would happen again. However, as Kobayashi drew more dangerous tiles, he folds, giving Murakami more time to finds what he is looking for. Counting tiles, the 6s is dead, removing the possibility of sanshoku. However, three 3s are still left, giving Drivens fans hope. In the middle of the third row, Murakami finds the 3s and wins the hand. Flipping one uradora, Murakami wins the hand with Riichi/Tsumo/Pinfu/Dora 1/Ura 1 for 4,000 all, moving him into 2nd place.
After going to a draw the next hand, Murakami’s search for his first 1st continued in S2-2. He is still 22,200 behind 1st place Aki, but there are 2,600 in bonus sticks available and he can go as high as he wants during his dealership.
He starts out the hand 2-shanten with two kanchans and a ryanmen. For value, he has a connected 7p dora. Unfortunately, the first row hardly gives him any help. leaving him stuck at 2-shanten. Around him, everyone else catches up. By the end of the row, Uotani and Kobayashi are iishanten and Aki is 2-shanten. The second row provides some better tiles, but he is just able to get to iishanten. During this time, Kobayashi gets to tenpai first and waits on a 7p penchan for mangan minimum.
In the middle of the third row with just three more draws for himself, Murakami finally gets to tenpai by filling in a kanchan and calls riichi on a 69m ryanmen. With the dora being the only other han, it seemed unlikely to cause much change. However, big change did come. On Murakami’s next draw, he finds the 6m and wins the hand. Murakami wins the hand with Riichi/Ippatsu/Tsumo/Dora 1 for 4,000+200 all plus two riichi sticks, putting Murakami just 3,400 behind 1st.
Escaping 4th
February 14, Game 2, S2-3
In S3-2, Uotani is in last place still suffering from the woulds of dealing into a suuankou tanki. Being just 6,000 behind 3rd place Kobayashi, she has a chance to at least reduce her losses.
She starts out the hand 3-shanten with a ryanmen and the ability to accept the 1s dora. Through the first row, she shifts her hand towards tanyao. She stays closed with sequence options to add pinfu or riichi to her hand. At the end of the first row, she draws the red 5p, gets rid of the 1s option and gets to iishanten with five different tiles getting her to tenpai. As Uotani waits, Aki (who called pon on the white dragon just a bit earlier) gets to tenpai and waits on a 36m ryanmen.
While Uotani improves to six different tiles for tenpai, she still isn’t able to get there. In the middle of the second row, Kobayashi gets to tenpai for tanyao only on a 25s ryanmen.
Two different ways for Uotani to lose this chance, but the chance to escape 4th is still there. Just two turns after Kobayashi gets to tenpai, Uotani draws a 4p to create a 456p iipeikou and gets to tenpai. Call riichi she upgrades her hand to mangan minimum and waits on a 36m ryanmen. With Aki unable to push safely, she folds her hand. Kobayashi draws a dangerous 5p and folds his hand as well. On the ippatsu turn, Uotani manages to draw the 6m and win the hand. Uotani wins with Riichi/Ippatsu/Tsumo/Tanyao/Iipeikou/Aka 1 for 3,000+300/6,000+300, moving into 3rd place.
First
February 14, Game 2, S4-0
Video: https://abema.tv/video/episode/444-14_s10_p732
In S4-0, Murakami is in 2nd place just 4,800 behind 1st place Aki. With a 3/30 tsumo, a 2/40 direct hit or a 3/40 off anyone else, he will get his first 1st of the season. He has been in this position many times before and has fallen just short each time. Today, he plans to change that.
He starts out the hand 3-shanten for chiitoi (4-shanten for a standard hand) with a pair of 5m dora, enough value for a direct hit or a tsumo. If he breaks up his 79p shape, he could aim for tanyao to speed up his hand.
On turn 2, he draws a pair of 4p and on turn 3, he creates a 58s ryanmen. With five tanyao blocks, his hand is ripe for opening. On turn 4, he draws a 6p to shift his 79p shape to a 67p shape, set for another tanyao option. On turn 5, he creates an ankou of 4s, almost confirming a standard tanyao. Just 2-shanten, the path to 1st becomes clearer and clearer. At the end of the first row, Murakami draws an 8p to fill in a ryanmen and get to iishanten. The 1st place is within reach.
However, an obstacle is soon placed in front of Murakami. Near the middle of the second row, 4th place dealer Kobayashi gets to tenpai and calls riichi on an 8p/white dragon shanpon. Not only does this mangan minimum riichi from Kobayashi force Murakami to play even more quickly, a deal-in by Murakami would be disastrous.
However, there is some good news for Murakami. Because the riichi stick add 1,000 points to the available bonus sticks, Murakami can win off anyone and have just enough points to move into 1st place. All Murakami has to do is get to tenpai and win. During the ippatsu turn, Murakami draws the 9p. The other three have already been discarded, but the 69p ryanmen is still alive. With it being the ippatsu round, a deal-in would be even more punishing.
His team is in 8th place. He still doesn’t have a 1st himself. They need a 1st. After taking some moments to decide, he picks the 9p back up and places it in his discard pile.
Murakami is still iishanten, just one draw away from tenpai. To Murakami’s left, Uotani discards the 5s. One more puzzle piece. The tile to get him to tenpai. With a chii, Murakami gets to tenpai and waits on a 5m/4p shanpon. All he needs is one more tile for his moment of redemption.
Counting tiles, Kobayashi has one of each of Murakami’s waits and Uotani has the other 5m. Murakami has one tile, one chance to finish it. Just the one 4p. On Kobayashi’s next draw, he gets the 4p.
As Drivens fans and Murakami fans saw that one draw, cheers were yelled and tears were shed. As Kobayashi placed it into his discard pile, Murakami’s voice echoed, “Ron!” as he revealed his hand. Tanyao/Dora 2. 3,900 plus Kobayashi’s riichi stick. With the 4,900 gain, Murakami moves in front of Aki by 100 points and wins the game, his first win since February 8, 2022. Even when sitting in the south seat, even when someone else won a yakuman, even when he was last near the end of the game, Murakami pushed through and finally won his first game of the season.
In the locker room, extreme stress changed to overflowing joy as Murakami won the game.
Hisato
February 16, Game 1
In E2-0, Hisato is the dealer and has a slight lead after winning a class Hisato Riichi/Pinfu/Aka 1 3,900 hand.
He starts out the hand 3-shanten with a ryanmen that incorporates the red 5s. With two kanchans as well, he does have a chance for another pinfu hand. The first row seems to lead him towards that direction, as he creates a ryanmen on turn 2, another one on turn 4 and gets to 2-shanten by the end of the row. On turn 8, he completes a pinzu sequences and leaving him with 1356s. If he draws either the 1s or 3s, he would have pinfu yet again. On his very next draw, he finds the 3s and calls riichi on a 47s ryanmen. On Hisato’s very next draw, he finds the 7s and wins the hand. Hisato wins with Riichi/Ippatsu/Tsumo/Pinfu/Aka 1 for 4,000 all.
Video: https://abema.tv/video/episode/444-14_s40_p736
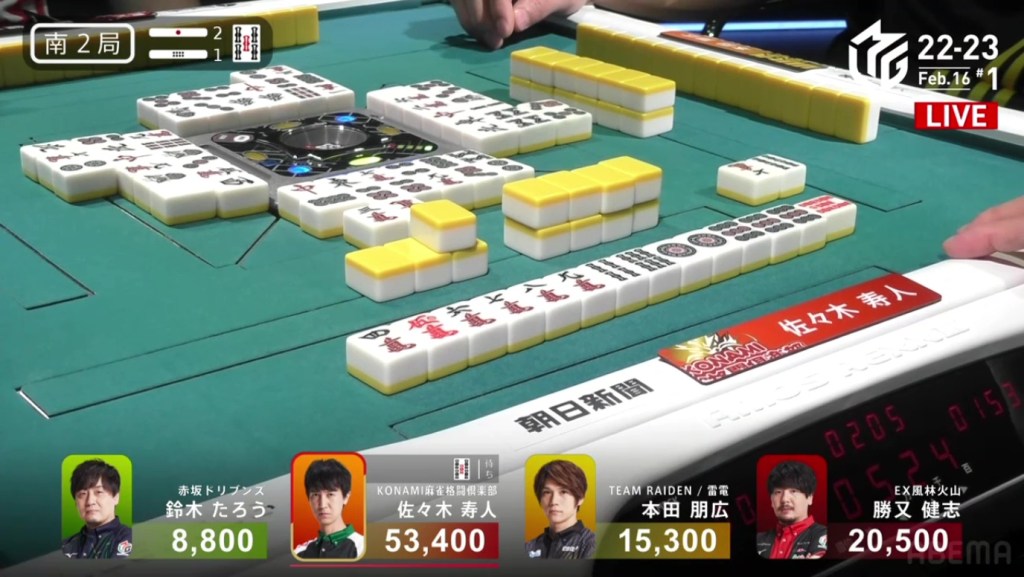
For much of the game, Hisato is able to win a lot of small hands, getting a 3,900 hand in E3-0, E4-0 and S1-1. With these small wins and bonus stick collections, Hisato is able to put himself at 53,400 with a 33,900 lead over 2nd place going into S2-1. With his dealership and 2,300 in bonus sticks, Hisato has the chance to extend that lead even further.
In S2-1, Hisato starts out the hand drawing the red 5m to create a 36m ryanmen and get to 3-shanten. Keeping his hand closed and efficient, Hisato is able to get to iishanten by the end of the first, able to accept the 5s dora. On Hisato’s next turn, he creates an ankou of 9p to get to tenpai and calls riichi on a 5s kanchan wait. Counting tiles, there are still three left in the wall, including the red 5s. In the middle of the third row, Hisato draws that red 5s and wins the hand. Flipping one uradora, Hisato wins with Riichi/Tsumo/Dora 1/Aka 2/Ura 1 for 6,000+100 all plus two riichi sticks, putting Hisato above 70,000.
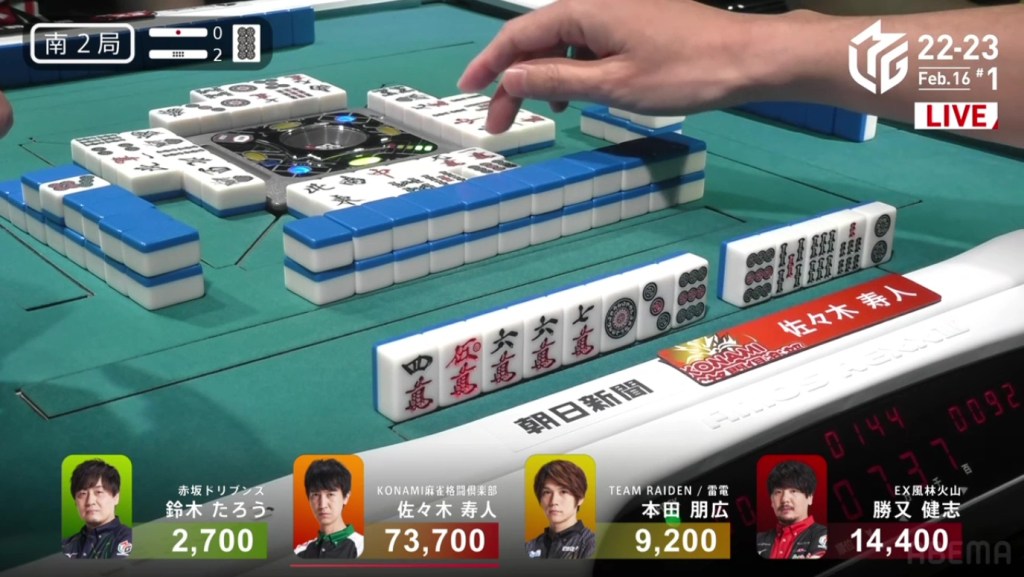
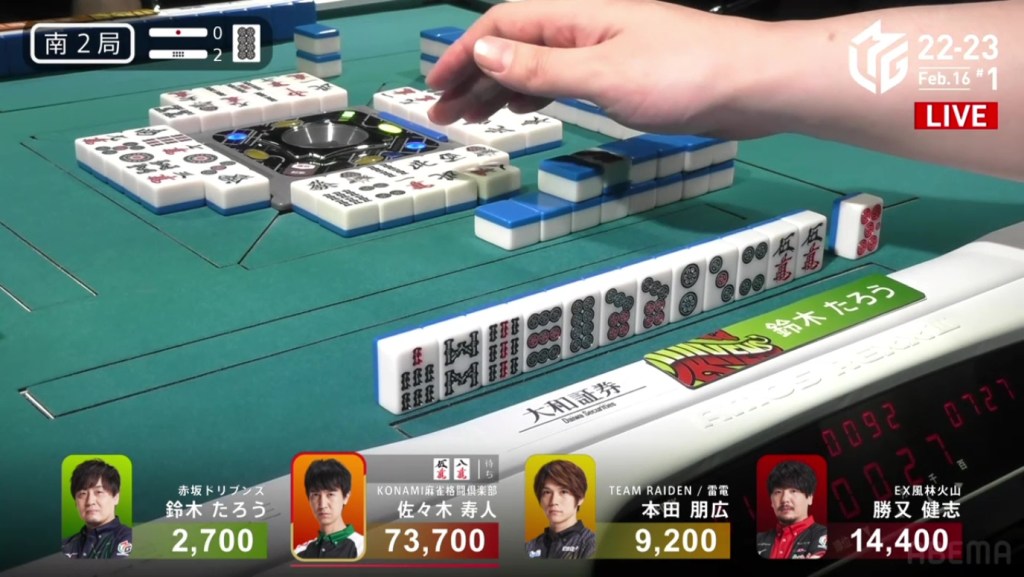
In S2-2, Hisato now has 73,700 and is 59,300 ahead of 2nd place. With his dealership still alive, going for a record isn’t inconceivable.
Hisato starts out the hand 4-shanten with an ankou of 9p. He lacks value, but he does have two ryanmens to give him a good chance at a good wait at tenpai. He creates more and more sequences blocks in the first block and actually gets to iishanten first on turn 5. In the middle of the second row, Hisato’s only undetermined shapes are his 45667m13p groups. With this shape, his ideal draw would be the 2p, allowing him to break his 9p ankou into just a pair and have pinfu instead. Just a turn later, Hisato draws exactly the 2p he wants. He takes the 9p and calls riichi, waiting on a 58m for pinfu.
As we take a look at the table, we see an unfortunate tragedy. Taro has been holding a stray 8m to fish for a 789 sanshoku. During the ippatsu turn, Taro draws a red 5p. With that draw, it gives him a 6p tenpai chance that can only be achieved by discarding the 8m. Being in last place and needing points quickly, Taro calls riichi by throwing the 8m and deals into Hisato.
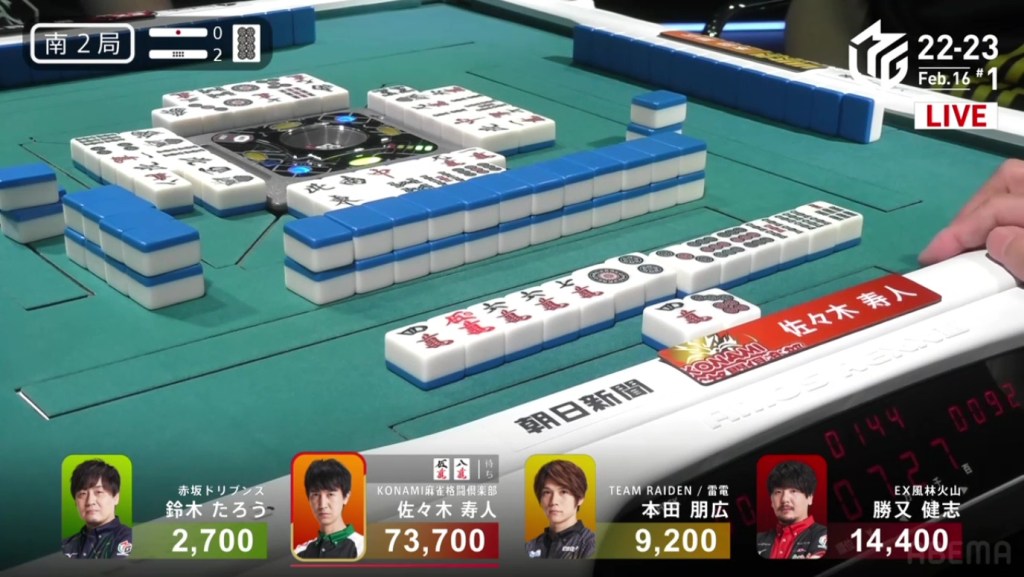
Hisato wins the hand with Riichi/Ippatsu/Pinfu/Dora 1/Ura 1 for 12,000+600, putting Taro into the negatives and Hisato above 85,000.
Placement Exchange
February 16, Game 1
In S2-3, Taro is in 4th place and in the negatives after dealing into Hisato while trying to call riichi. With his team in a desperate situation, he needs to escape now.
Taro starts out the hand with decent prospects, being 4-shanten with two ryanmens a red 5p and a lone white dragon dora. On turn 2, Taro pairs up the white dragon dora. Unfortunately, Honda also has a white dragon pair, making it impossible for either of them to make it into a triplet. Still, a pair of dora is nevertheless valuable. On turn 3, Taro makes a third ryanmen, guaranteeing him a good wait of he gets to tenpai. However, he will have to work quickly. By the end of the first row, Hisato already has two calls that look like chinitsu and Honda is tenpai on a white dragon/4s shanpon (though the white dragon is the only tile to give him a yaku).
After a few turns, Taro is able to draw a red 5s, finish a ryanmen and get to tenpai. With no yaku, he calls riichi and waits on a 47p ryanmen, guaranteed at least a mangan. With the riichi from Taro, Honda chases by calling a tsumogiri riichi. Counting tiles, Taro still has three tiles while Honda’s waits are dead, putting Honda in a very dangerous position. At the start of Honda’s third row, Honda ends up drawing and discarding the 7p, dealing into Taro. Flipping one uradora, Taro wins the hand with Riichi/Dora 2/Aka 2/Ura 1 for 12,000+900 plus one riichi stick, moving Taro into 3rd place.
Video: https://abema.tv/video/episode/444-14_s70_p728
In S3-0, Honda is in 4th place after dealing into Taro’s haneman. Being 8,700 behind 3rd place Taro, Honda has to use his dealership well to escape 4th place.
He starts out the hand by filling in a kanchan and gets to 2-shanten with a dora 4m and a loosely connected red 5s. With good potential value, it looks like he has the chance to escape. On turn 5, Honda draws another 4m dora to add potential value. After drawing a third 4m dora and the red 5p in the middle of the second row, Honda gets to tenpai and calls riichi on a 14s ryanmen, guaranteed at least a mangan.

Two turns later, Honda is chased by Katsumata who calls riichi on a 14s ryanmen.
Though both of them have the same wait, Honda has the advantage because he is just before Katsumata. In the case that either Taro or Hisato throw the 1s or 4s, Honda would win and Katsumata would get headbumped. At the end of the second row, Honda finds his winning 4s. Honda wins the hand with Riichi/Tsumo/Dora 3/Aka 1 for 6,000 all, moving him into 2nd place.
In S3-1, Katsumata is in 3rd place after Honda’s surprise dealer haneman. being 6,900 behind Honda, Katsumata wants a mangan to move back into 2nd.
Katsumata’s starting hand shows potential, starting 3-shanten with an incorporated red 5s. Creating sequences and the chance at pinfu, Katsumata gets to iishanten by turn 4. However, Katsumata is met with resistance when Honda calls riichi on turn 5 on a 3s kanchan.
Being iishanten with not much folding fodder, Katsumata keeps moving forward, throwing out every dangerous tile he draws. In the middle of the second row, Katsumata gets to tenpai and waits with a yakuless 5m kanchan. A turn later, he switches to a 25m ryanmen to have pinfu. Soon after, Honda draws and discards the red 5m and deals into Katsumata. Katsumatw wins the hand with Pinfu/Tanyao/Aka 2 for 8,000+100 to retake 2nd place.

In S4-1, Taro is in 4th place after Honda had the surprise dealer haneman. With Taro 7,000 behind 3rd place Honda, he needs a 3/30 direct hit, a 4/25 or 3/50 tsumo, or a mangan general ron to move up.
Taro starts out the hand 2-shanten with a dora 2p. Even with a potential pinfu adding to his value, he still has to find one more han to get to mangan. At the same time, Honda has to deal with advances from Honda (who calls pon on his yakuhai north before his first draw) and dealer Katsumata. By the end of the first row, Taro is iishanten with a 147p sanmenchan and a 7m kanchan. In the middle of the second row, Taro has a chance to get to tenpai on a 7m kanchan, but chooses instead to give himself a chance at ittsuu and pinfu by discarding the 9p.
As Taro waits, Katsumata calls pon on the north to get to tenpai and waits on a 4p kanchan.
Immediately after, Taro draws a 5p. With the new 5p pair, Taro secures tanyao and calls riichi on a 7m kanchan. In order to change placement, he would either need to draw it himself, hit Honda directly or bet on ippatsu/uradora.
Right after, Hisato calls riichi on a 4p kanchan.
Three 7m left in the wall, two 4p left in the wall. Taro has the edge, but he still has to rely on a bit of luck. He needs to draw it himself or hope for ura. With each draw, Taro could have a comeback or fall into despair. The second row turns into the third row, it’s still 3 vs. 2. With a 7m draw by Honda, it goes down to 2 vs. 2. Honda draws a 4p, bringing it down to 2 vs. 1. The count goes down to only two more draws for each. Hisato misses, then Katsumata. On Taro’s second-last draw, he finds the 7m and wins the hand. Taro wins with Riichi/Tsumo/Tanyao/Dora 1/Ura 1 for 2,000+100/4,000+100 plus a riichi stick to finish the game in 3rd place.
Switch
February 15, Game 2, S4-2
Video: https://abema.tv/video/episode/444-14_s40_p737
In S4-2, Takamiya is 4th place, 9,000 behind 3rd place Rumi and 11,500 behind 2nd place Sonoda. With 1,300 in bonus sticks, a mangan would guarantee escaping 4th in any scenario.
She starts out the hand 4-shanten with a pair of north yakuhai and a stray west dora. On turn 2, she pairs up the dora west to increase her hand’s guaranteed han value to 3. With her hand closest to chanta for that extra han, she shifts her hand towards it. Near the end of the first row, Takamiya calls chii on a 789s penchan to get to 2-shanten. A turn later, Takamiya sets up a 3p penchan for iishanten. and guaranteeing her mangan. A turn later, she makes an ankou of norths and gets to tenpai on the 3p. Setokuma also gets to tenpai as well, but seems to be sitting back with his yakuless tenpai and letting Takamiya take charge of the hand. In the middle of the second row, Sonoda draws and discards the 3p and deals into Takamiya. Takamiya wins the hand with Chanta/North/Dora 2 for 8,000, finishing the game in 2nd place.
Expensive Yasume
February 17, Game 1
Video: https://abema.tv/video/episode/444-14_s80_p737
In E1-2, Mizuhara is in 2nd place and trailing 1st place Shibukawa by 7,600. With her team going 10 games without a 1st, she wants to stop the slide.
Mizuhara starts the game with a lot of potential, being 3-shanten with two red fives and two ryanmens. In the first row, Mizuhara created another sequence, draws the third red five and gets to iishanten at the end of the first row. If Mizuhara draws the 5p or 8s, she also guarantees sanshoku to add even more value. On turn 7, she fills in a 6m kanchan for tenpai on a 58p ryanmen and stays dama on a mangan minimum. Though a 567 sanshoku isn’t guaranteed, she will get it if she gets the 5p. Two turns later, Kondo discards an 8p and deals the lower-value wait into Mizuhara. Mizuhara wins the hand with Pinfu/Aka 3 for 8,000, moving into 1st place.

Jumping to E3-0, Mizuhara starts out the hand 4-shanten with no clear paths to more value. With multiple stray honours, she starts out by getting rid of them and seeing where it goes. By the end of the first row, she has a better 2-shanten hand, but still missing value. At the start of the second row, Mizuhara draws a 3p, giving her the potential for a 123 sanshoku (still needing a 3s and 2p). At the end of the second row, Mizuhara draws a 3s to get to iishanten and missing just a 2p for sanshoku. On the very next turn, she gets to tenpai and calls riichi by throwing the 6p and waiting on a 23p wait. If she finds the 2p, it would be sanshoku. Without it, it would be just riichi. During the ippatsu turn, Kondo fills in a 6p kanchan and throws the 3p trying to get to tenpai and deals into Mizuhara. Flipping two uradora, Mizuhara wins the hand with Riichi/Ippatsu/Ura 2 for 12,000 to put her above 50,000.
Rio Time
February 17, Game 2
In E2-0, Tojo is in 3rd place and 5,600 behind 1st place. Currently on a 3-game winning streak, she want to make it 4-in-a-row.
Tojo starts out the hand 4-shanten with a red 5p, holding some value but lacking good shapes. In the first row, we see Tojo create some more blocks, but still lacking in good blocks. By the end of the row, she is 2-shanten with a bunch of single waits. At the same time, Matsumoto is 2-shanten with chances at sanshoku and yakuhai, while Yu is iishanten with the ability to open his hand. Around turn 6, Yu calls chii to get to tenpai on a 36p ryanmen, guaranteed a mangan.
While Yu waits, Matsumoto fills in a 3p penchan and calls pon on the red dragon to get to tenpai on a 3s penchan.
At this point, Tojo is back at 2-shanten and breaking up bad shapes to fish for better shapes. Right after Matsumoto get to tenpai, Tojo gets to iishanten, waiting on 3 different tiles to add pinfu. Turn after turn, Tojo hopes to have better waits but misses each time. In the middle of the third row, Tojo finally gets to tenpai and calls riichi on a 47p ryanmen. Two turns later, Tojo finds the 4p and wins the hand. Tojo wins with Riichi/Tsumo/Pinfu/Aka 1/Ura 1 for 2,000/4,000, moving into 1st place.
Video: https://abema.tv/video/episode/444-14_s60_p741
In E3-0, Tojo starts out the hand 4-shanten with a red 5p and a stray south dora. On turn 2, she creates a 58m ryanmen. Creating a pair of 3m and an ankou of 9m, Tojo gets to iishanten by turn 5, waiting on 5 different tiles for tenpai. In the middle of the second row, Tojo gets to tenpai and calls riichi on the 58m ryanmen. In the middle of the second row, Tojo draws the 8m and wins the hand. Tojo wins the hand with Riichi/Tsumo/Aka 1/Ura 1 for 4,000 all.
Keep Your Shirt On
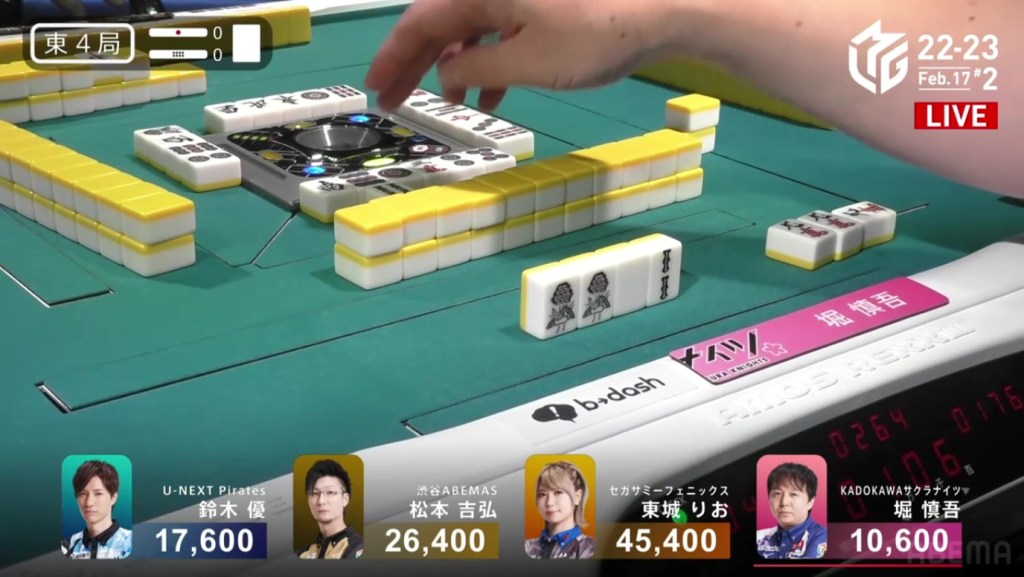
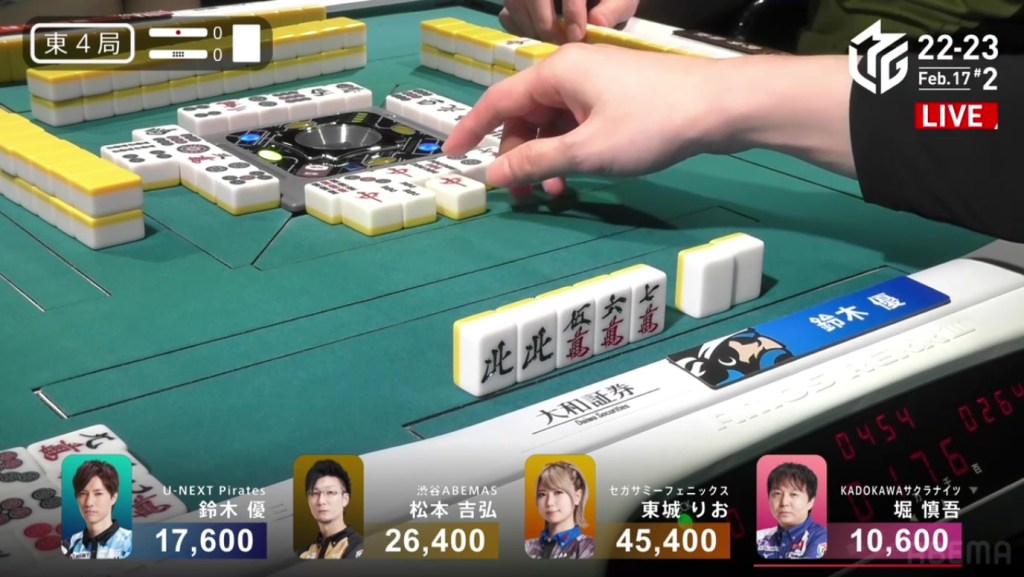
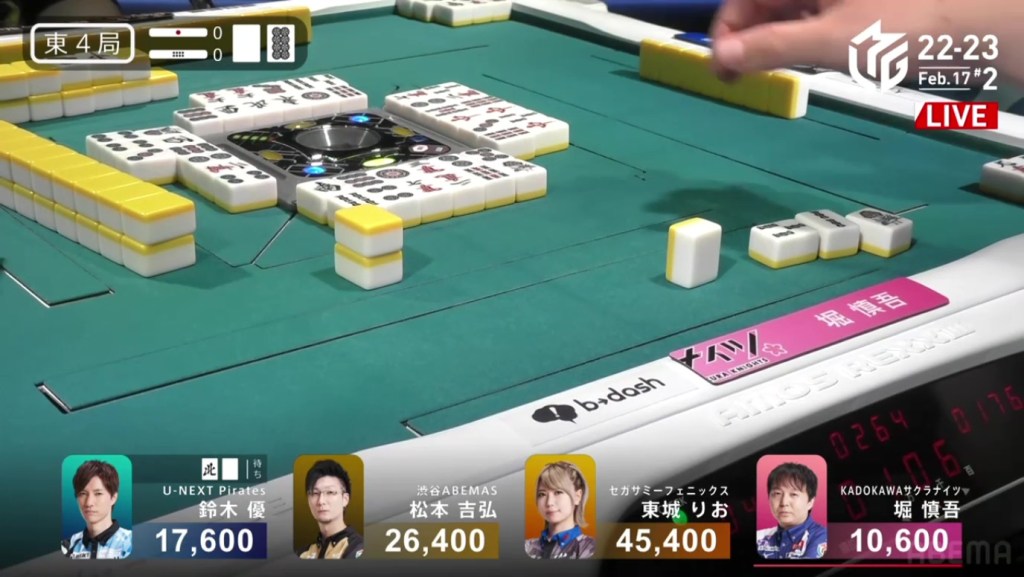
February 17, Game 2, E4-0
In E4-0, the dealer Hori and Yu are 4th and 3rd, respectively. Hori is currently 7,000 behind Yu and Yu is 8,800 behind 2nd place Matsumoto.
At the start, we see Hori 4-shanten with a red 5p, a pair of green dragons and a long white dragon, while Yu is 4-shanten with a lone white dragon as well. Through the first row, Yu shifts his hand towards a manzu honitsu and Hori draws some blocks. The first action on the table is Hori opening his hand, calling pon on the green dragon to get to 2-shanten. In response, Yu calls pon on the 4m to get to iishanten. After, Hori calls chii to get to iishanten as well, still holding a stray white dragon. Soon after, Hori calls pon on the 9m. However, instead of throwing the white dragon to wait on a 3s, Hori stays iishanten to hold the white dragon.
A few turns later, Yu calls pon off Hori’s discarded south to get to tenpai on a white dragon/north shanpon, getting mangan on the north and a haneman on the white dragon.
Yu waits at tenpai and Hori waits at iishanten. Counting tiles, Yu only has one north as his only winning tile left in the wall. In the middle of the second row, Yu draws a fourth 4m and calls kan. The kan misses, leaving Yu to keep waiting. Near the end of the second row, Hori makes his fourth call and gets to tenpai on a white dragon, the exact same wait that Takamiya had waited on just two months earlier.
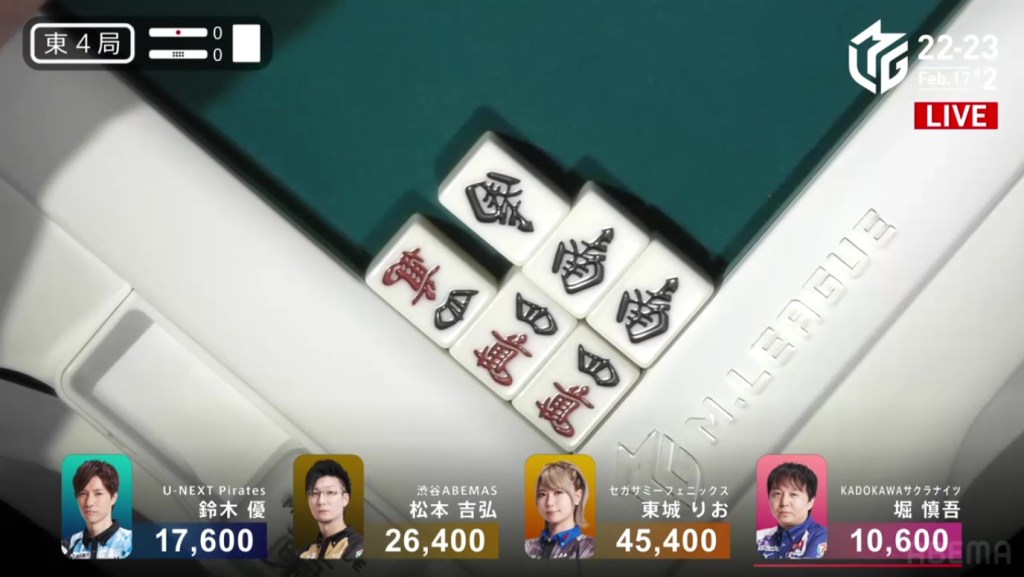
With the white dragons dead, Hori can only hope to not draw the north. With every tile, there is a chance will meet his doom, punished for his calls. A few turns later, Hori ends up drawing the north. With both his choices, he will deal in. Since the north isn’t dora, he throws it back out and deals into Yu.

Yu wins the hand with Honitsu/South/Dora 2 for 8,000.
