Highlights
Rinshan
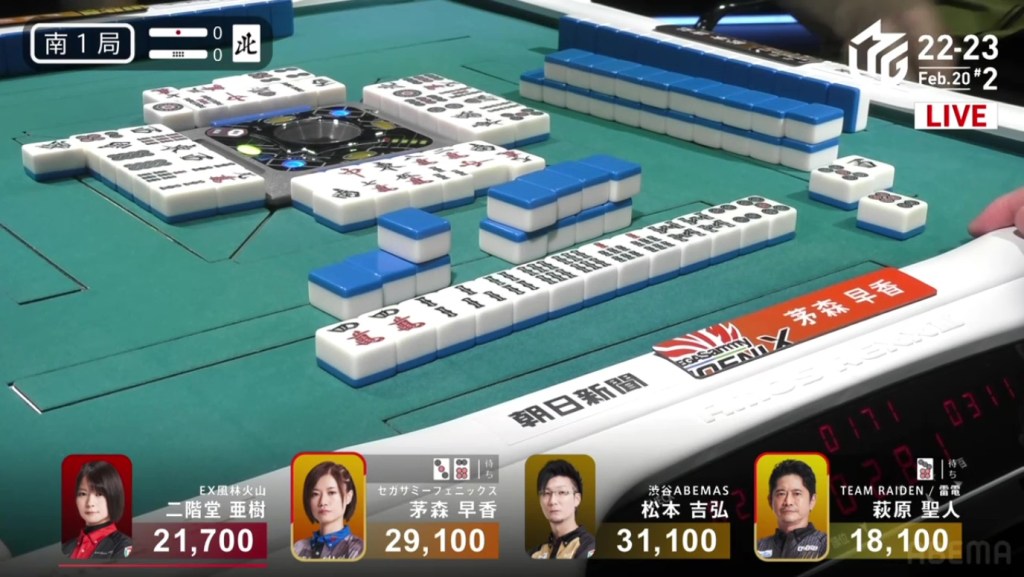
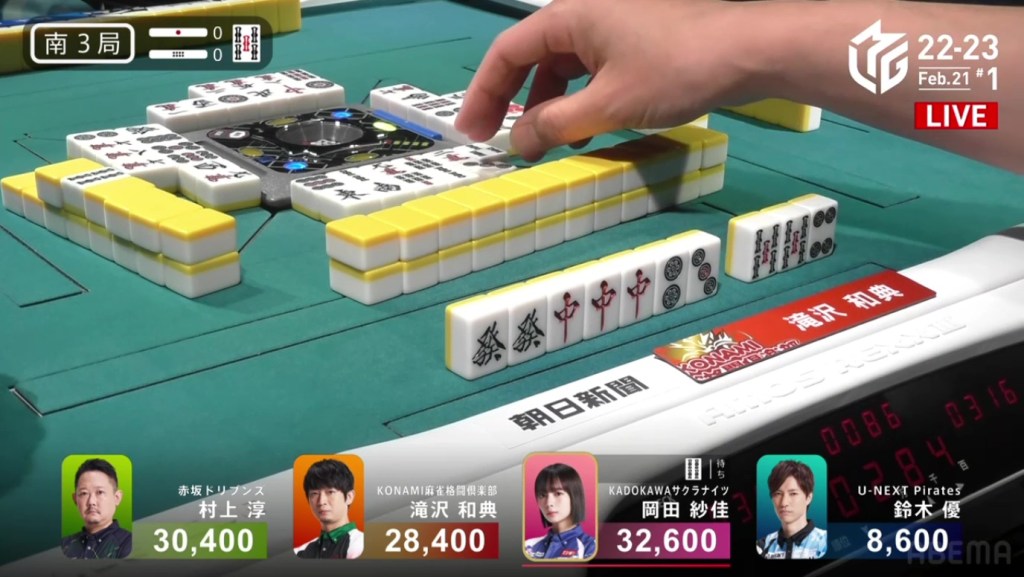
February 20, Game 2, E1-1
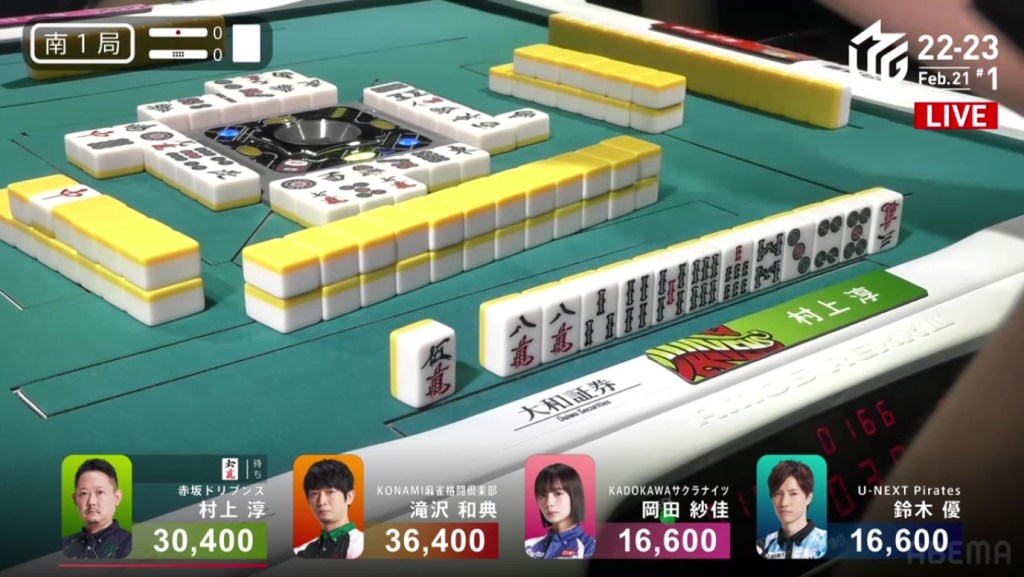
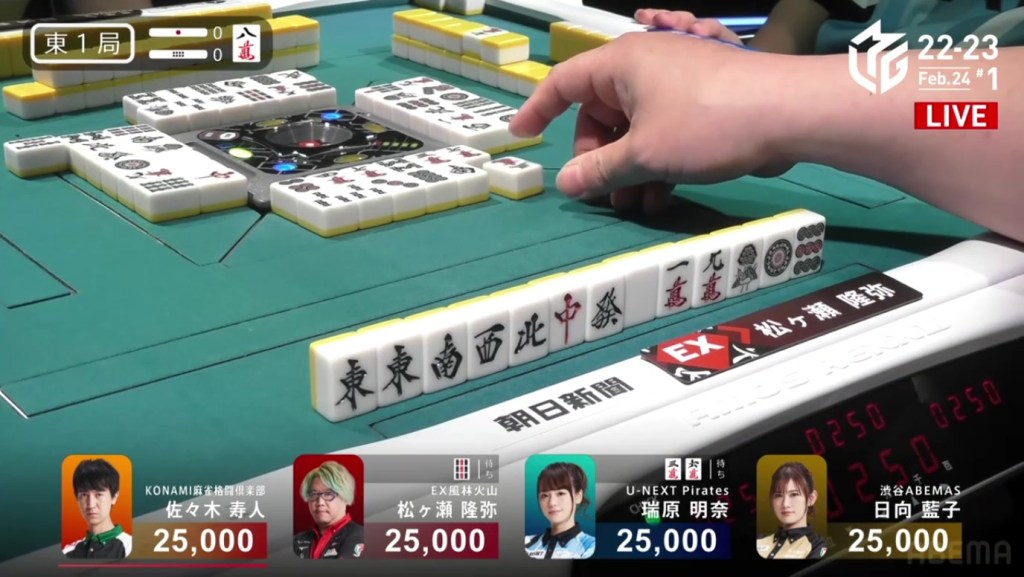
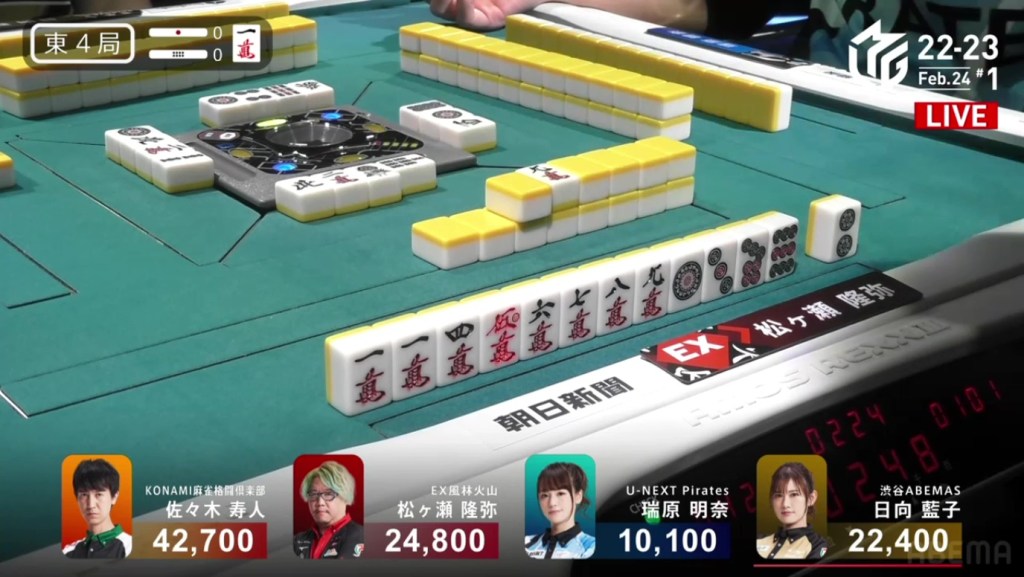
In E1-1, Matsumoto is sitting in a 3-way tie for 2nd place after Aki the dealer called riichi and was the only one tenpai at draw.
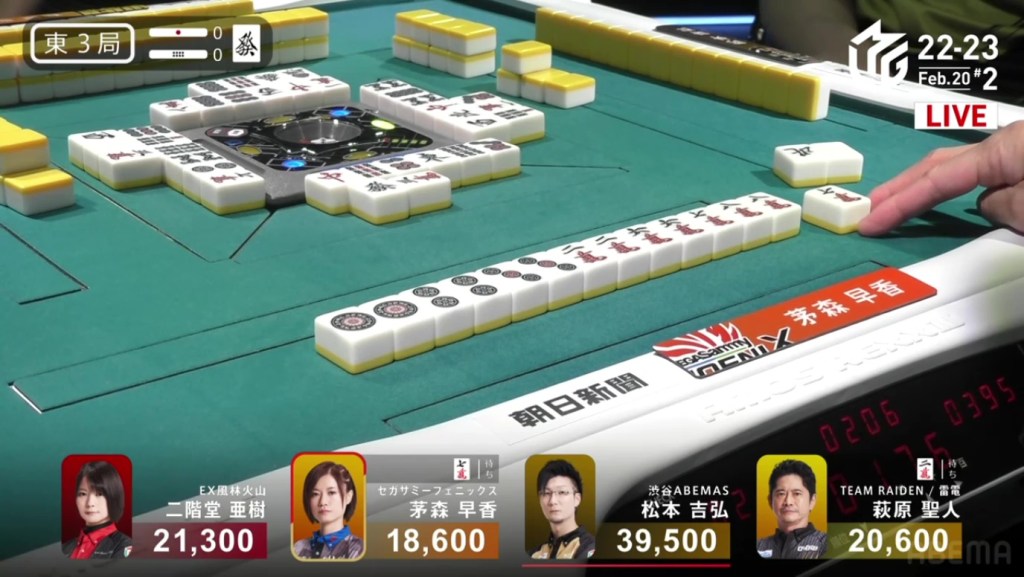
Matsumoto starts out the hand 3-shanten with no value and the only path to a yaku is a simple riichi or tanyao. In the first row, Matsumoto shifts his hand towards tanyao, but is still lacking any value. As Matsumoto waits at 2-shanten at the start of the second row, Aki gets to tenpai and calls riichi on a 69m ryanmen.
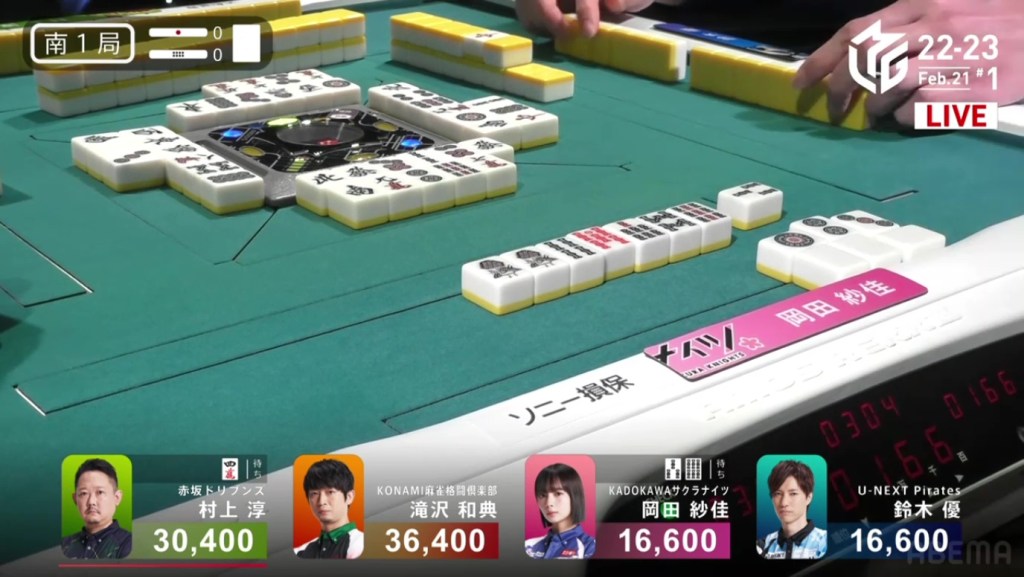
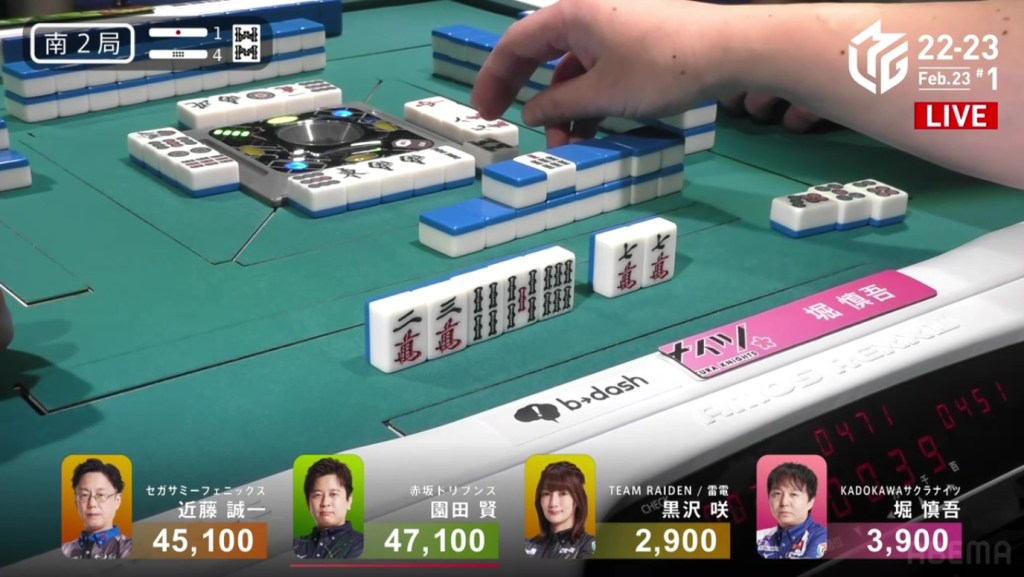
On the ippatsu turn, Matsumoto kept his 2-shanten by throwing a safe north. On the very next turn, Matsumoto gets to iishanten and throws a 2m, made a bit safer with an early 3m. On his next turn, he completes a ryanmen to get to a 58m ryanmen tenpai. Since the 4p is completely live, Matsumoto decides to call a closed kan and fish for a rinshan.
With the dora flip, Matsumoto’s 7m becomes dora. As he picks his tile, he takes a look at it and immediately puts it face-up next to his hand and calls tsumo. Matsumoto wins the hand with Rinshan/Tsumo/Dora 1 for 1,300+100/2,600+100 plus two riichi sticks to move into 1st place.
One Day, Two Haneman
February 21, Game 2, E3-0
Video: https://abema.tv/video/episode/444-14_s60_p743
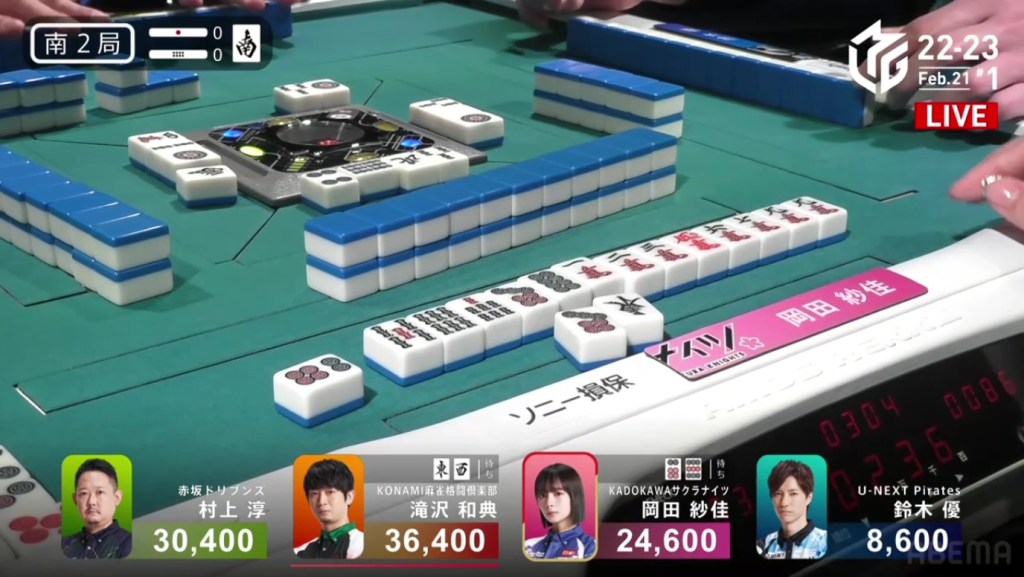
In E3-0, Kayamori is in 4th place after loser her dealership. Her situation isn’t too dire, though, as she is just 2,700 behind 2nd place.
Kayamori starts out the hand 3-shanten with 123p and 678m sequences. On turn 2, she draws a 6m, putting her a 7m away from iipeikou. On turn 3, she pairs up the 2m, giving her the option to go for chiitoi as well. At the start of the second row, Kayamori draws a 3p. With the draw, Kayamori eyes something better than a chiitoi: a ryanpeikou. All she needs is a 2p and 7m. However, her search for this rare yaku isn’t unobstructed. Hagiwara is already tenpai on a 2m. Near the middle of the second row, Kayamori draws a 2p and calls riichi on a 7m kanchan. On her very next draw, she finds the 7m and completes the ryanpeikou. Kayamori wins with Riichi/Ippatsu/Tsumo/Ryanpeikou for 3,000/6,000, moving her into 2nd place.
This isn’t Kayamori’s first encounter with rare yaku. In 2020, she won a chankan and later that season, she won a ryanpeikou.
Skipping to S1-0, Kayamori is now in 2nd place and 2,000 behind 1st place Matsumoto.
She starts out the hand 3-shanten and holding a clear tanyao hand. After creating some ryanmens and getting rid of her stray honours, Kayamori gets to 2-shanten by the end of the first row. In the middle of the second row, she gets to iishanten. As Kayamori waits, Aki gets to tenpai and waits with a 58s ryanmen.
Right after, Kayamori draws an 8s to create a 678s iipeikou and calls riichi on a 36p ryanmen.
During the ippatsu turn, Hagiwara gets to tenpai and calls riichi on a 7p penchan, holding two dora and waiting with a suji trap.
With two dangerous riichi calls, Aki is eventually forced to fold her hand. At the start of the third row, Kayamori finds her winning 6p and wins the hand. With the 6p being the uradora, Kayamori wins the hand with Riichi/Tsumo/Pinfu/Tanyao/Iipeikou/Ura 1 for 3,000/6,000 plus a riichi stick to move above 40,000.
Ura Ura
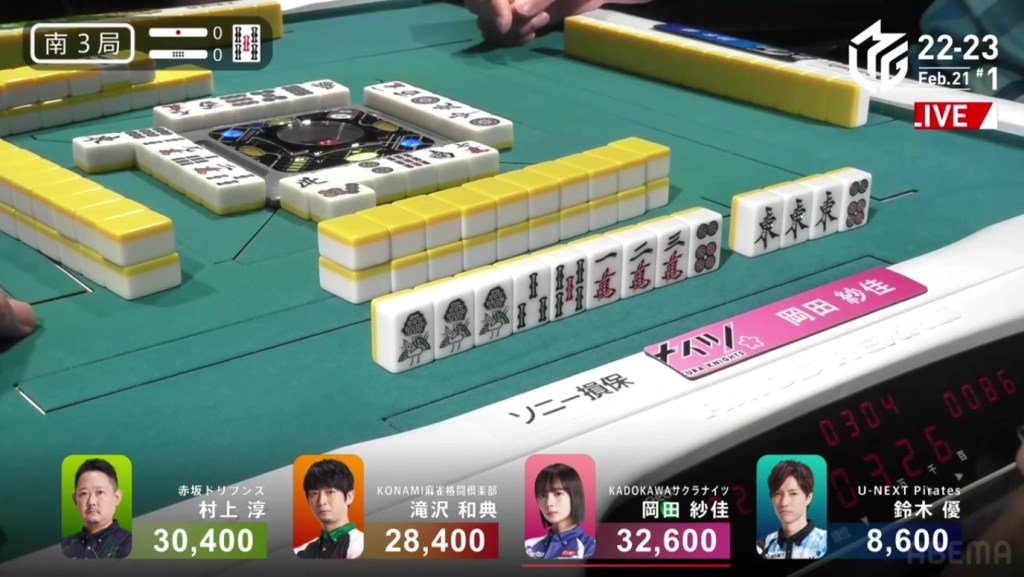
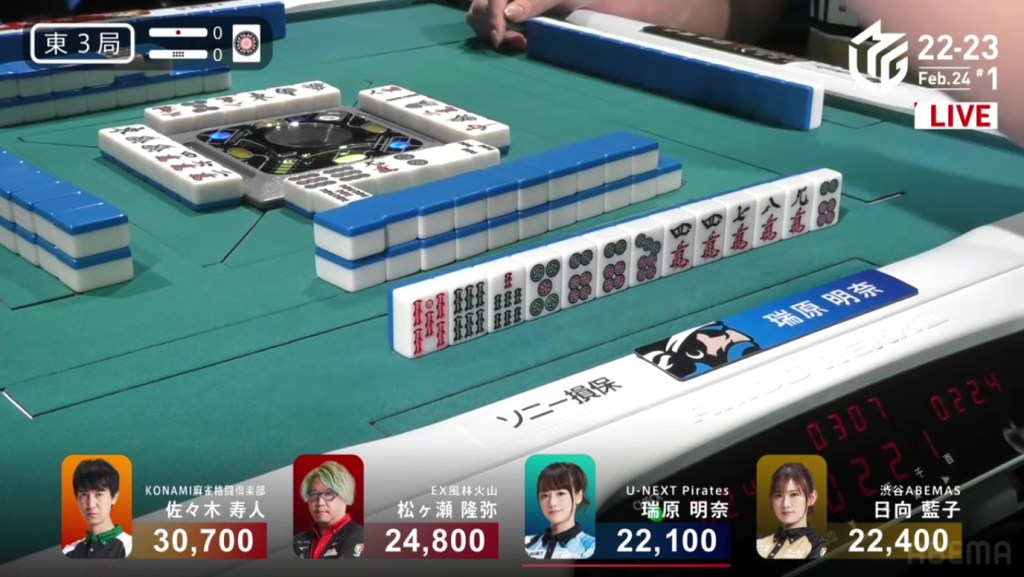
February 20, Game 2, S3-1
In S3-1, Aki is in 3rd place and 13,400 behind 2nd place dealer Matsumoto. With 2,300 in bonuses available, a mangan tsumo or a haneman general ron will be enough to move up one rank.
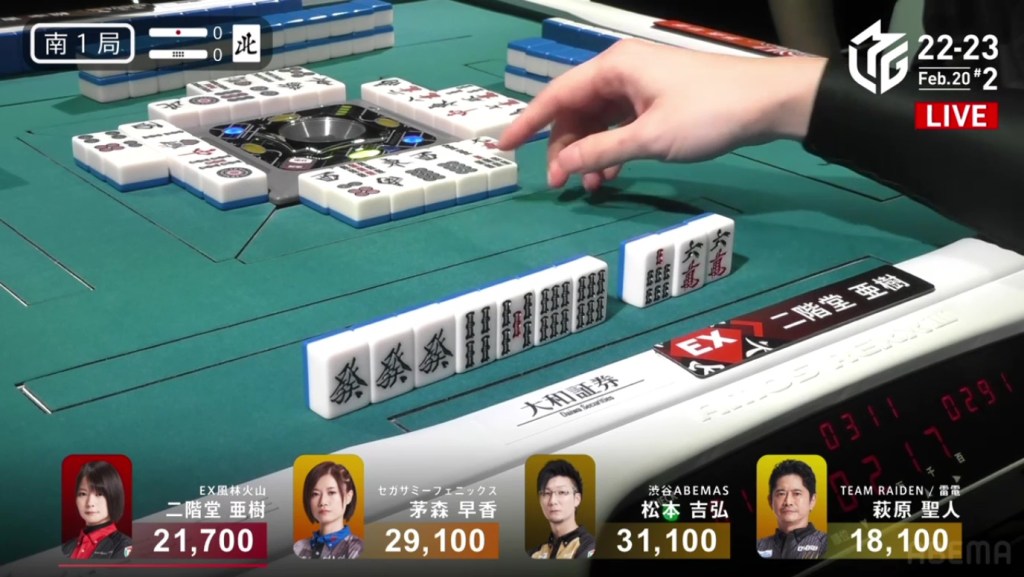
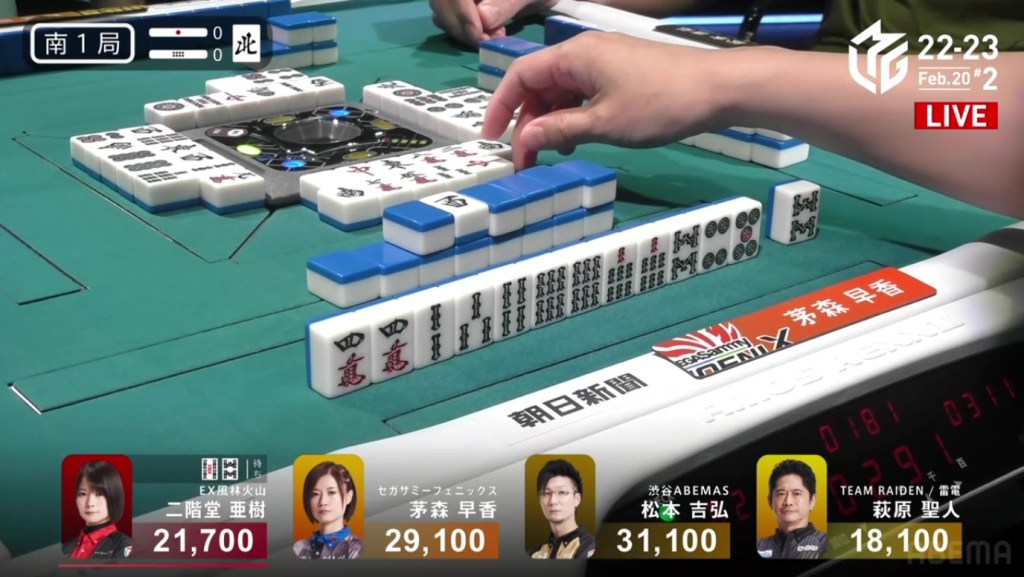
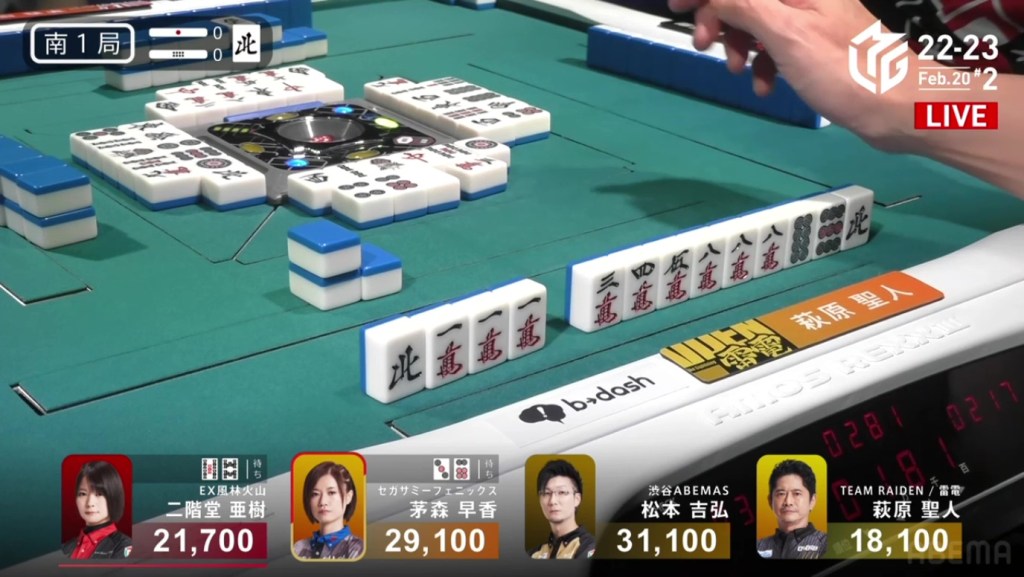
Aki starts out the hand 2-shanten with a pair of souths. Though the souths are yakuhai, it’s the only source of value in the hand. In the first row, she exchanges a penchan for a ryanmen, creates a second ryanmen and creates a 234p iipeikou, getting to iishanten on turn 6. On turn 7, Aki, completes a ryanmen to get to tenpai. With two souths and a 223m shape, Aki can choose to take a 14m ryanmen or a south/2m shanpon. With the need for more value, Aki chooses the shanpon and calls riichi. Near the start of the third row, Aki finds the south and wins the hand. Flipping two uradora, Aki wins with Riichi/Tsumo/South/Iipeikou/Ura 2 for 3,000+100/6,000+100 plus two riichi sticks, moving into 2nd place.
Ippatsu Tsumo Unlocked!
February 21, Game 1, E2-1
Video: https://abema.tv/video/episode/444-14_s10_p733
In E2-1, Murakami is coming off his first win of the season and looking to make it two in a row. He is down early, sitting in 4th place but only 11,400 behind 1st.
Murakami starts out the hand at a decent 2-shanten and holding a red 5p for value and three pairs. The first row is a bit slow for Murakami, making a pair into a ryanmen as his only progress. In the second row, Okada gives Murakami a bit of help when she calls a concealed kan and gives Murakami one extra dora. In the middle of the second row, Murakami fills in a 6p kanchan to get to iishanten. Two turns later, Murakami gets to tenpai and calls riichi on a 25s ryanmen, guaranteed at least a mangan. On his very next draw, he finds the 5s and wins the hand. Murakami wins with Riichi/Ippatsu/Tsumo/Pinfu/Dora 1/Aka 1 for 3,000+100/6,000+100, moving into 1st place.
Sanankou
February 21, Game 1, E4-0
In E4-0, Takizawa is in 2nd place and just 9,000 behind 1st place Murakami
He starts out the hand with pairs of 9p, 5s, 2s and 5m, putting him 2-shanten for chiitoi (3-shanten for a standard hand). On turn 2, he makes a pair of 2m to get to chiitoi iishanten. On turn 5, he turns the 5s pair into an ankou, putting him iishanten for a standard hand as well. At the end of the row, Takizawa breaks up the 9p pair to pursue a faster standard hand. A turn later, Takizawa makes an ankou of 2s and calls riichi on a 2m/5m shanpon. With a shanpon wait and two ankous, any tsumo would add sanankou. In the middle of the second row, Takizawa would do just that as he draws the 2m. With the uradora flip, Takizawa upgrades his hand as the 5m becomes the new dora. Takizawa wins the hand with Riichi/Tsumo/Sanankou/Aka 1/Ura 2 for 3,000/6,000 to move into 1st place.
Sayaka Superstar
February 21, Game 1
Video: https://abema.tv/video/episode/444-15_s90_p811
In S1-0, Okada is tied for 3rd place and 13,800 behind 2nd place. With the team in 6th place, they want to climb the rankings to safety.
Okada starts off the hand pairing up the white dragon dora to get to 3-shanten. With a red 5s also in hand, she is guaranteed at least a mangan with a chance at haneman. On turn 4, Yu discards the white dragon and Okada calls pon to get to 2-shanten. As Okada waits to advance her mangan, Murakami gets to tenpai and stays dama on a 6m kanchan. In the middle of the second row, Okada finally is able to move forward as she calls a chii for iishanten. Soon after, Murakami upgrades his hand to include sanshoku and waits on a 4m kanchan.
Right after, Okada fills in a 7s kanchan to get to tenpai on a 36s ryanmen. A few turns later, Yu throws the 3s while trying to call riichi and deals into Okada. Okada wins the hand with White Dragon/Dora 3/Aka 1 for 8,000.
In S2-0, Okada is now just 5,800 behind 2nd place, needing only a mangan to overtake. She starts out with a big starting hand, being iishanten from the very beginning and waits on 10 different tiles for tenpai and having a chance at a 567 sanshoku with a 5p or 6p draw. Okada quickly gets another draw as Yu discards the red dragon and Takizawa calls pon, skipping Murakami’s turn. On Okada’s next turn, she draws the 8p and calls riichi on a 69p ryanmen before Murakami even gets his first draw. Takizawa tries to rush the hand quickly with more calls to get to tenpai on an east/west shanpon, but his very early riichi ends up too slow. On Takizawa’s next draw, he draws and discards the 6p and deals into Okada. Okada wins the hand with Riichi/Pinfu/Aka 1/Ura 1 for 8,000 to move her into 1st place.
Video: https://abema.tv/video/episode/444-14_s30_p728
In S3-0, Okada is in 1st place and now the dealer. She starts out the hand 3-shanten with an ankou of easts, a red 5m and a dora 5s. In the first few turns, she is unable to connect the red 5m, but does advance her hand. On turn 5, Okada is iishanten and chooses to throw the red 5m to maintain this iishanten. Two turns later, Okada gets to tenpai and calls riichi on a 4s kanchan, guaranteed at least 9,600 if she wins.
Looking around the table, only two 4s are left in the wall. Looking at Takizawa’s hand, he has a chance at a big hand, guaranteed at least a mangan with how his hand looks. Near the end of the second row, Takizawa gets to tenpai and waits on a green dragon/5s shanpon.
It’s 2 vs. 2. Both of them have an equal chance of drawing their tile or drawing their rival’s tile. Right after Takizawa gets to tenpai, Okada draws a fourth 1s and calls kan. The rinshan and the kandora miss, but it gives her another uradora chance. In the middle of the third row, Okada finally draws her winning 4s. Flipping three uradora, Okada wins the hand with Riichi/Tsumo/East/Dora 1/Ura 3 for 6,000 all, putting her above 50,000.
Taro Time

February 21, Game 2
In S2-1, Taro is in 4th place and sitting 5,800 behind 3rd place. As with every game this late in the season, this is a must-win for the team.
Taro starts out with a 3-shanten hand with an isolated 5s dora and a pair of souths. It’s a good start for value, but it needs more. On turn 2, he draws a 4s to use the 5s dora and create a ryanmen. On turn 5, he draws the red 5s, bring his hand up to at least a mangan if he wins. However, he is still 3-shanten (2-shanten for chiitoi) and still needs a few tiles to redeem this value. After filling in a kanchan and calling pon on the south, Taro gets to iishanten at the start of the second row. After calling pon on the 1p, Taro gets to mangan tenpai on an 8p kanchan. While he waits, Takamiya gets to tenpai, but Taro beats her out when he draws the 8p at the end of the second row. Taro wins the hand with South/Dora 2/Aka 1 for 2,000+100/4,000+100 plus a riichi stick to move into 3rd place.
Video: https://abema.tv/video/episode/444-14_s10_p734
In S3-0, Taro is in 3rd place, 1,400 behind 2nd place Taro and 12,400 behind 1st place Uchikawa.
He starts out with a very good hand, 2-shanten with two red fives and a pair of 1p dora. On turn 3, Taro maintain efficiency by throwing the dora 5p while still keeping mangan. At the start of the second row, he fills in a kanchan to get to iishanten and waits on four different tiles for tenpai. A turn later, he fills in a ryanmen and calls riichi on a 6m kanchan. Counting around the table, Taro only has two tiles left in the wall. With a draw from Uchikawa, that number is reduced down to just on. However, Taro’s discards don’t provide a lot of safe tiles. Near the middle of the third row, Uchikawa is out. With only middle tiles, he can’t find anything that is very safe. Seeing the 3m discarded and four 8m discarded, Uchikawa can deduce that it’s not a 36m ryanmen or a 69m ryanmen. With the sujis being eliminated, he discarded the 6m as the safest tile and deals into Taro. Taro wins the hand with Riichi/Dora 1/Aka 2/Ura 1 for 8,000. With a direct hit off 1st place, Taro moves into top spot.
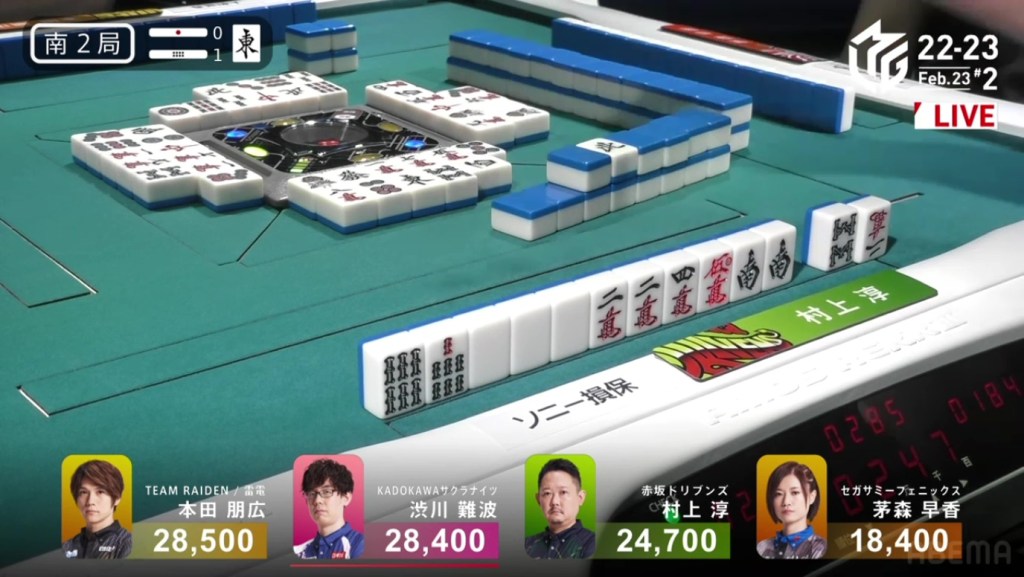
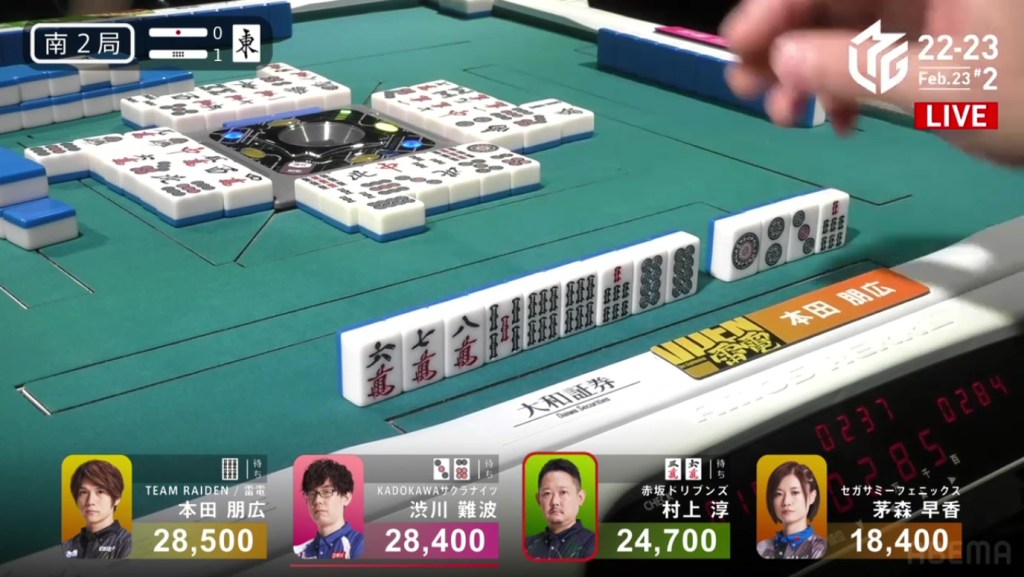
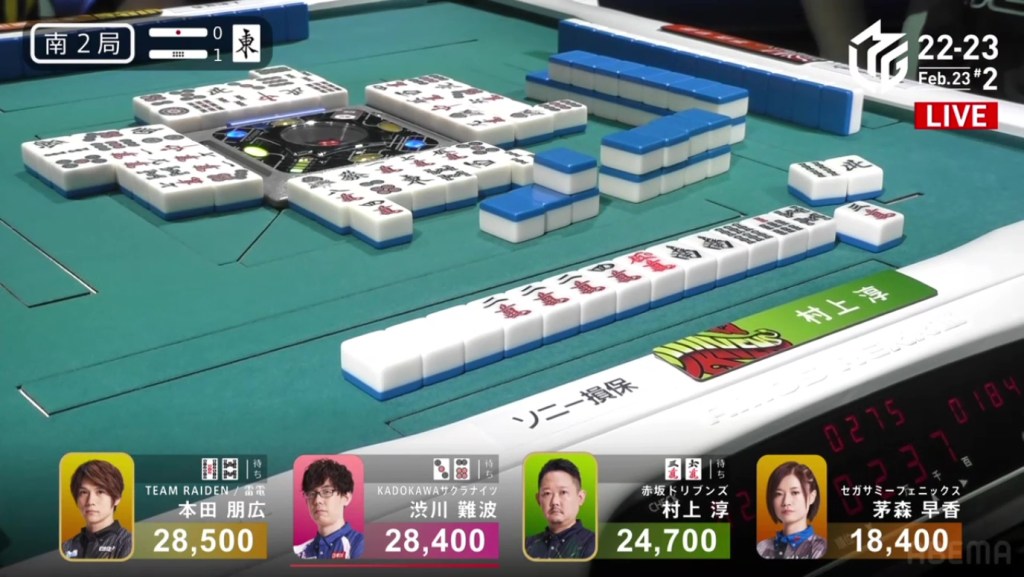
12k Everywhere
February 23, Game 1
Video: https://abema.tv/video/episode/444-14_s60_p745
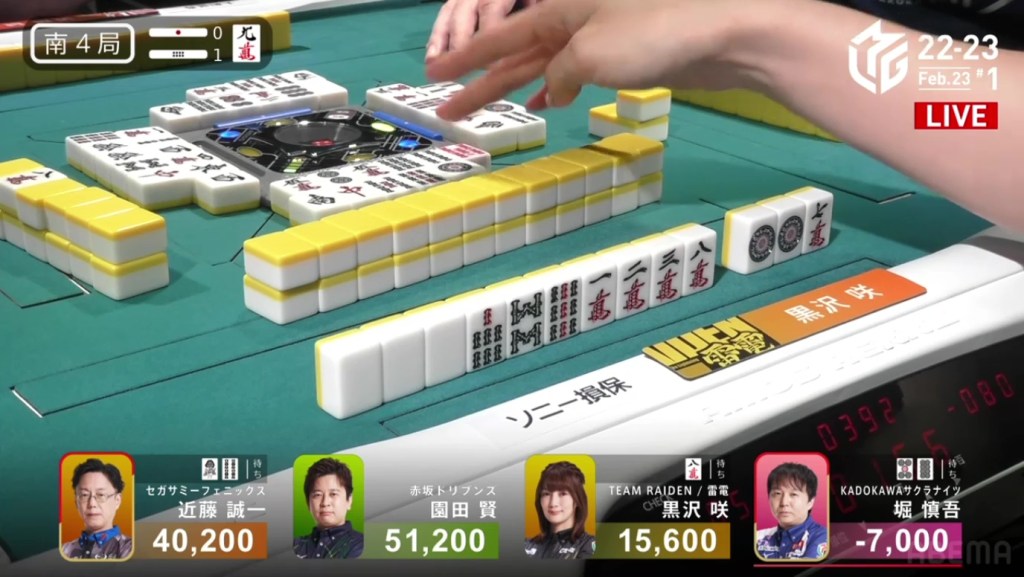
The games on Thursday featured the 5th place Team Raiden, 6th place Kadokawa Sakura Knights, 7th place Sega Sammy Phoenix and 8th place Akasaka Drivens. With the bottom 4 teams playing against each other, the results of these two games will have one of the biggest influences on who will be going to the playoffs.
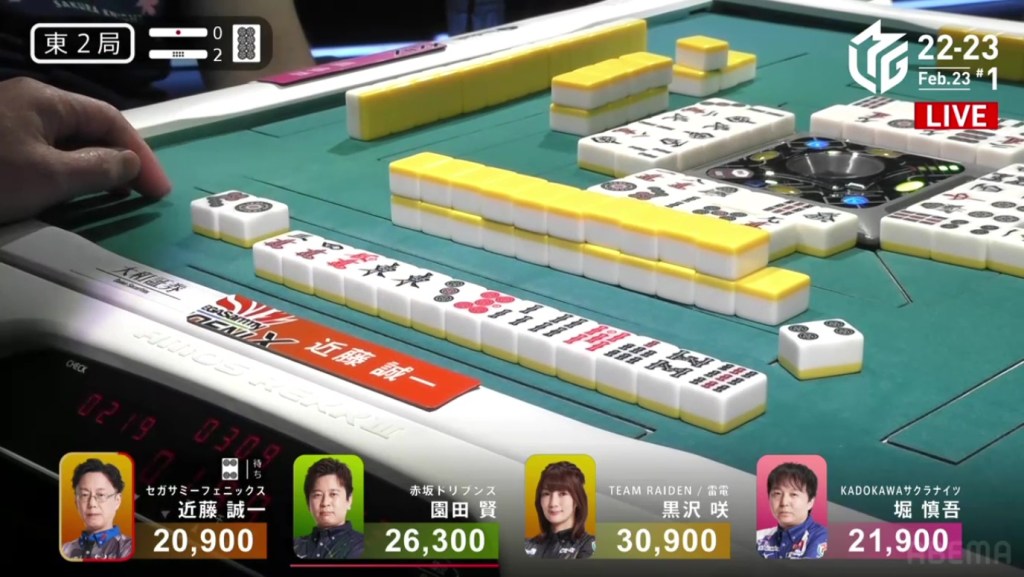
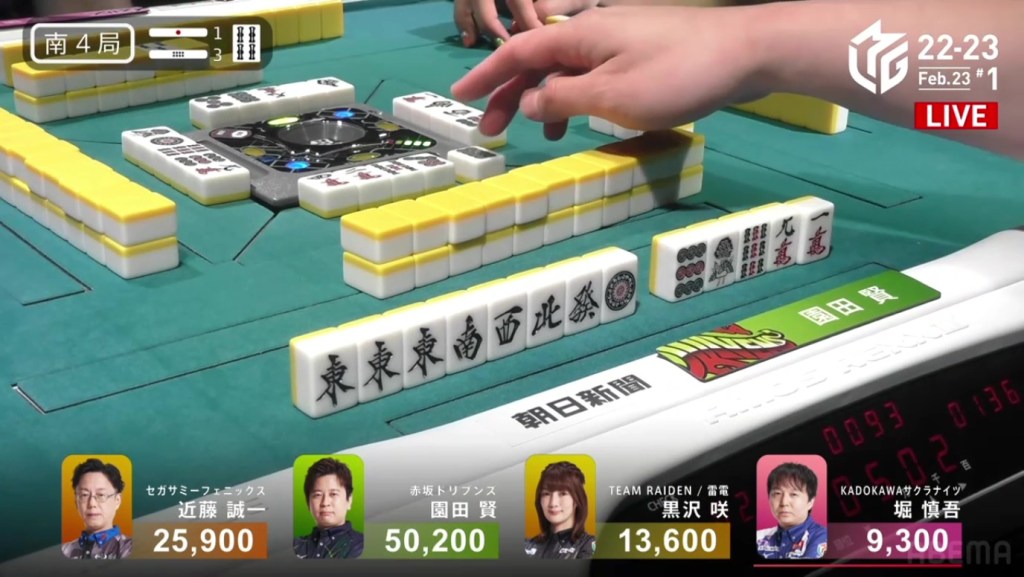
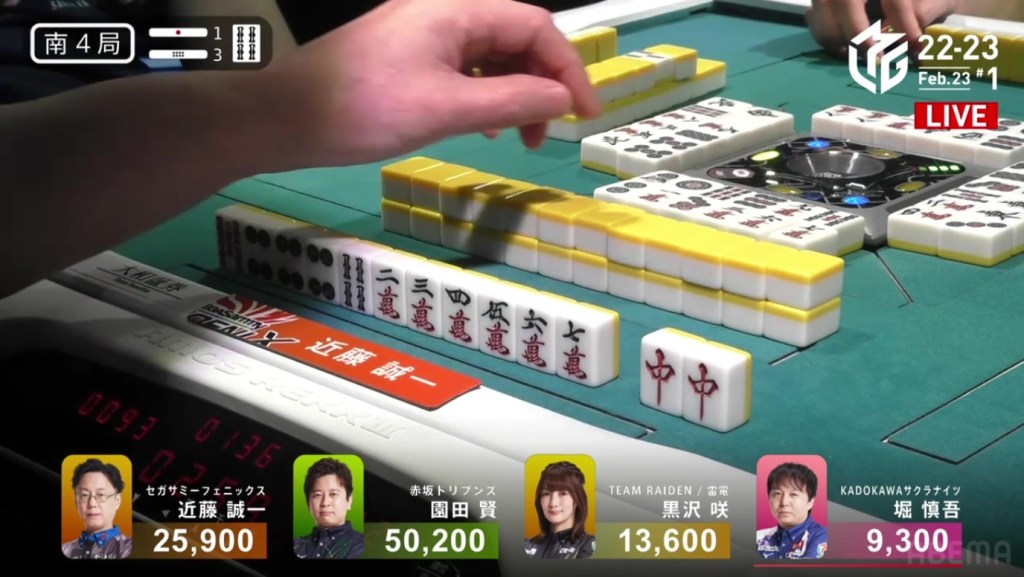
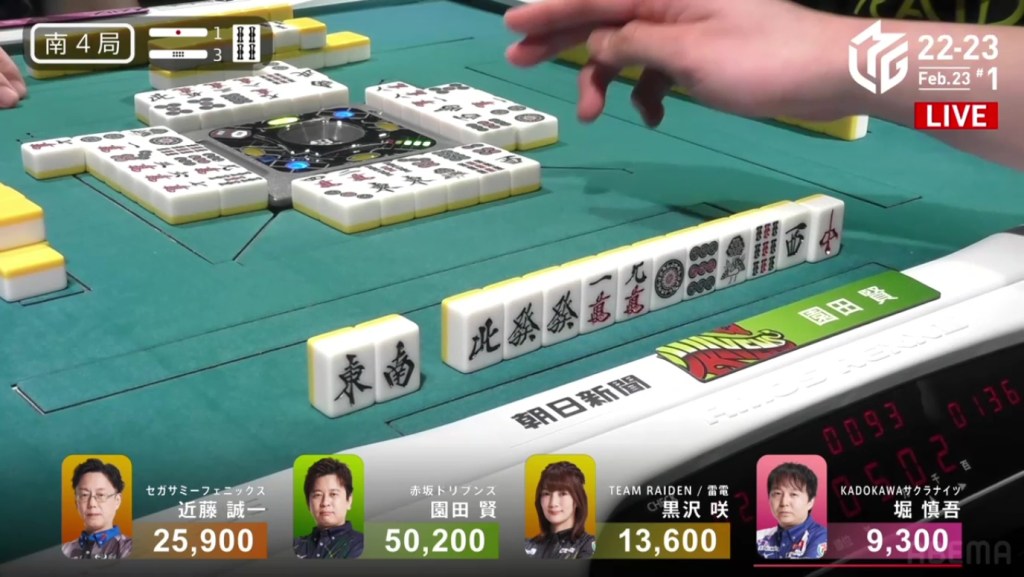
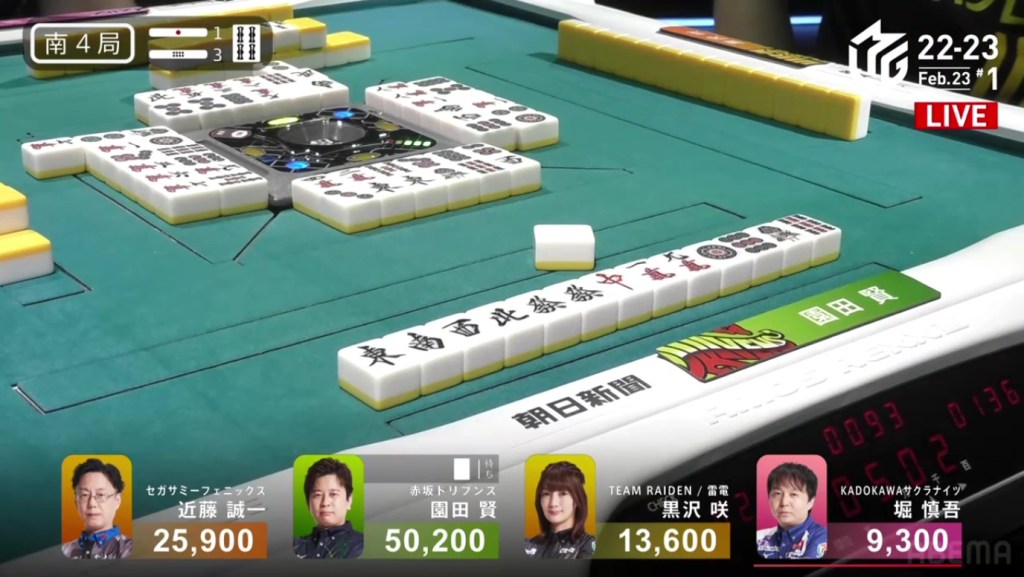
In E2-2, Kondo is in 4th place and 10,000 behind 1st place Kurosawa. With the team sitting 133.7pts away from 6th, a win for Kondo can drastically move them up.
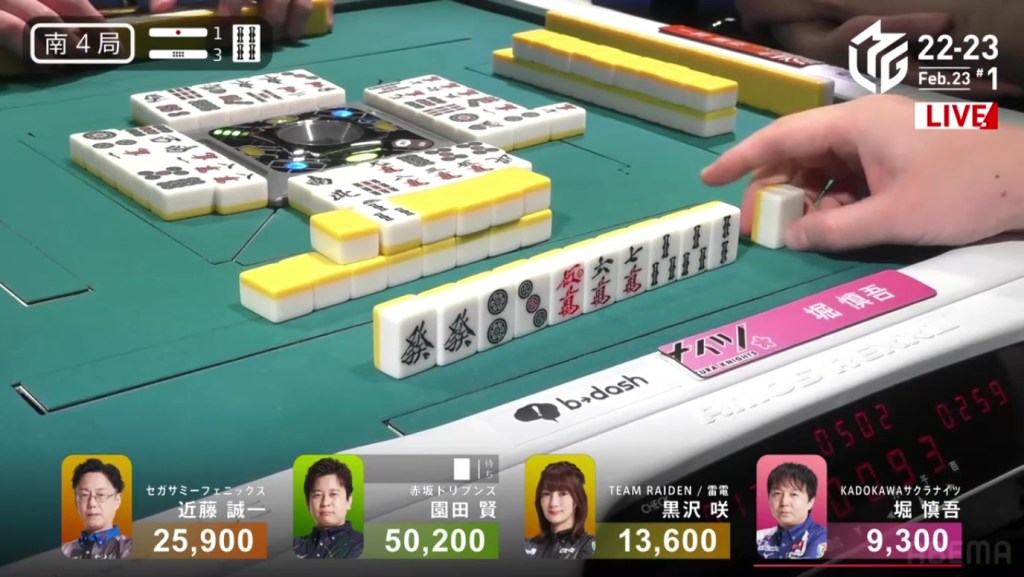
Kondo starts out the hand 3-shanten with a pair of easts and a red 5p. It’s enough to get him into 3rd, but there is more potential to be had. On turn 2, he draws a red 5s to upgrade to 3 han and advance to 2-shanten. After pairing up the 5p and filling in a 7s penchan, Kondo is iishanten with a chance at a 345 sanshoku. His hand is still closed, giving him the potential to call riichi if he gets to tenpai. In the middle of the second row, Kondo draws the red 5m to confirm sanshoku and calls riichi on a 4p kanchan for haneman minimum. With a 1p and 7p already discarded by him, Kondo has set up a nakasuji trap. Just two turns later, Kurosawa draws and discards the 4p and deals into Kondo. Kondo wins the hand with Riichi/Sanshoku/Aka 3/Ura 1 for 12,000+600 to move into 1st place and drag Kurosawa down to 4th.
Video: https://abema.tv/video/episode/444-15_s90_p821
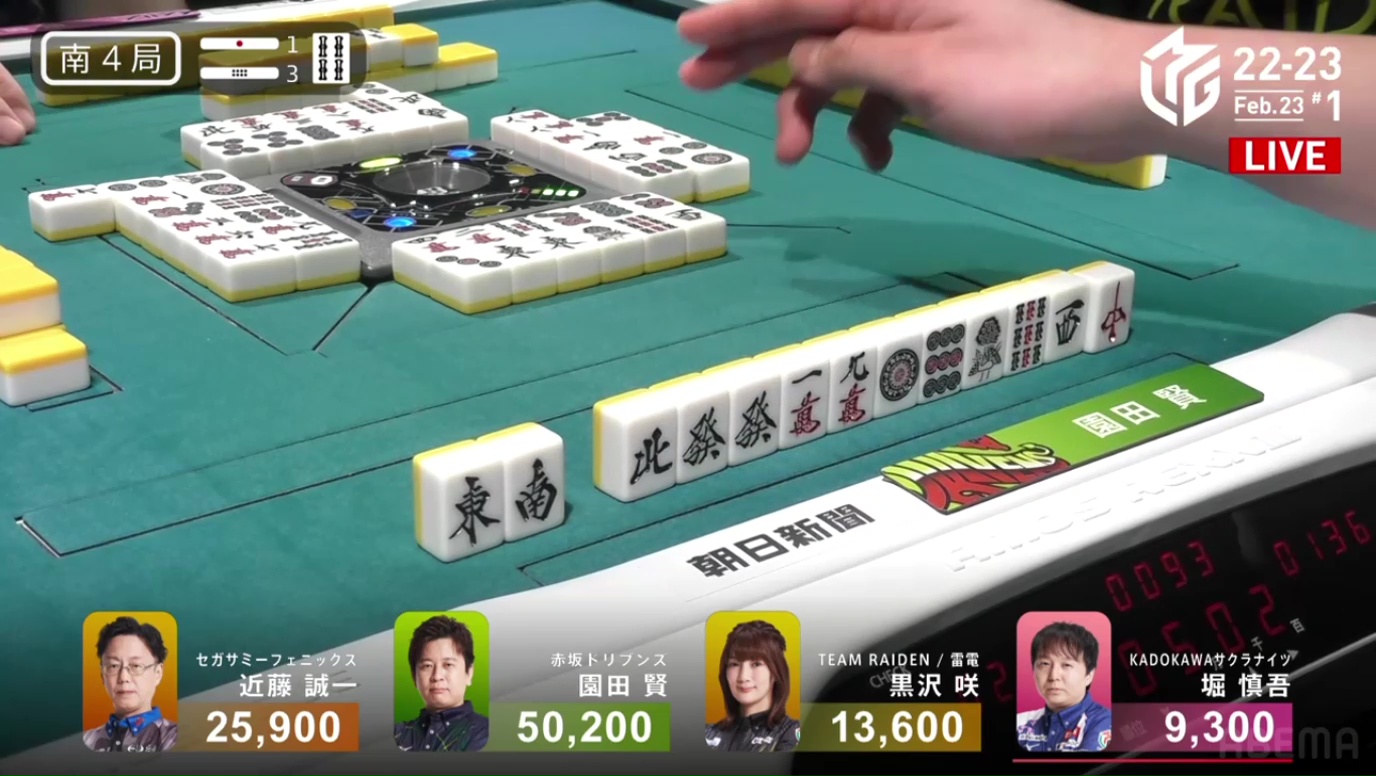
In E4-0, Sonoda is in 2nd place and 15,400 behind 1st place Kondo. With the Drivens at the bottom of the standings, he needs to get to 1st and win big.
Sonoda starts out the hand 4-shanten with a pair of wests and a lone 9m for value. With multiple kanchans and only one ryanmen, he will either have to have lucky draws or open his hand with the wests. On turn 2, he pairs up the 9m to increase his hand’s value. With a few more luck kanchan draws and pairs being made, Sonoda gets to iishanten by turn 5. In the middle of the second row, he fills in one more kanchan to get to tenpai and calls riichi on a west/9m shanpon, guaranteed at least a mangan.
With one of each left in the wall, Sonoda’s chances of drawing it himself is low. With Sonoda’s riichi, all the players try to avoid it. While Kurosawa throws safe tiles, her hand actually gets closer to tenpai. In the second row and third row, she has a chance to throw the dora 9m for tenpai, but instead cuts her pairs. In the middle of the third row, she gets to a pairless tenpai and calls riichi on a 9m tanki.
The wall is getting short and only two tiles to win with. But, there is still a chance. On Sonoda’s very last draw, he finds the last west and wins the hand. Sonoda wins the hand with Riichi/Tsumo/West/Dora 2/Ura 1 for 3,000/6,000 plus one riichi stick to move int 1st place by 600.
In S1-0, Kondo is the dealer in 2nd place and 600 behind 1st place after being overtaken by Sonoda.
Kondo starts out the hand 4-shanten with a dora 5p. The first row doesn’t provide Kondo much clarity for an easy hand, but it does add another 5p dora and gets to 2-shanten for chiitoi. In the second row, Kondo draws a 4s to complete a 234s sequence and calls pon on the 8s to get to tanyao iishanten. Drawing the red 5p, Kondo gets to tenpai and waits on a 6s/8m shanpon. Hori adds a bit of pressure to the table with a riichi on a 2p kanchan but it backfires when Hori draws the 8m on the ippatsu draw. Kondo wins the hand with Tanyao/Dora 3/Aka 1 for 12,000 plus a riichi stick.
Video: https://abema.tv/video/episode/444-14_s70_p731
In S2-4, Kurosawa is in 4th place and 1,000 behind 3rd place Hori. With the Kadokawa Sakura Knights being their biggest rival right now and 2,200 in bonus sticks available, a win right now will have a big effect on the standings.
Kurosawa starts out the hand 2-shanten with two completed groups. On turn 3, Kurosawa makes an ankou of 8p to get to iishanten. With a pair of 4p, a floating 6s and a lone red dragon, Kurosawa has 7 different tiles to get to tenpai, with the 4p also giving sanankou. As Kurosawa waits, Hori makes some calls and gets to tenpai first on a 14m ryanmen.
Near the end of the first row, Kurosawa draws a fourth 6m. Even though it is a nice “floating” tile, Kurosawa tries to up her hand’s value and calls a closed kan. The new dora is the 5s, which would connect nicely with the 6s. With the rinshan 3m draw, Kurosawa increases her tile acceptance to 11. On her very next draw, she draws another 3m and calls riichi on a 4p/3m shanpon. If she can draw either one of them, it would give her sanankou. Two turns later, she finds the 4p and wins the hand. As she reveals the uradora indicators, she finds the 3p and turns the valueless 4p ankou into dora 3! Kurosawa wins the hand with Riichi/Tsumo/Sanankou/Ura 3 for 3,000+400/6,000+400 plus one riichi stick to move into 3rd place.
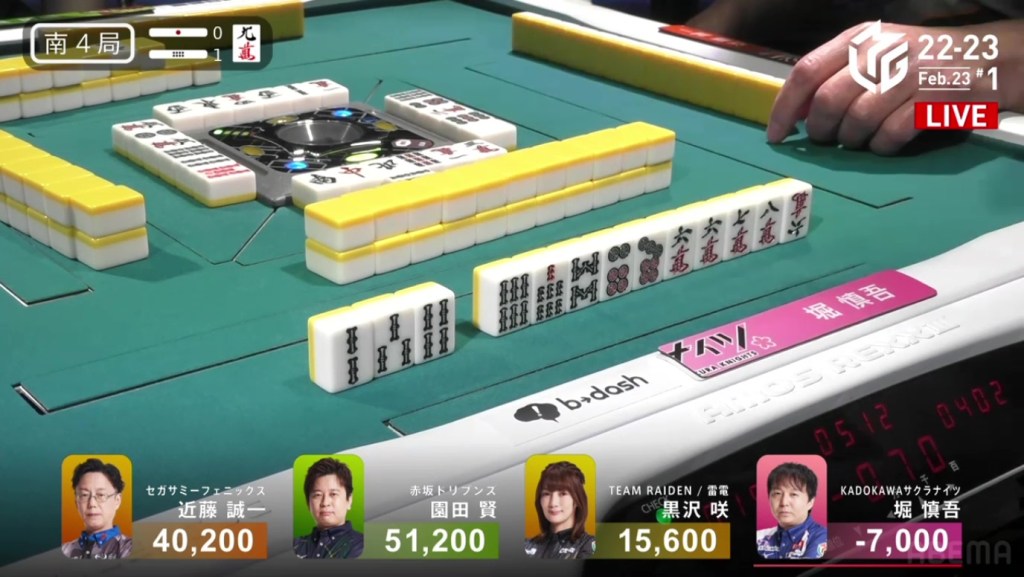
In S4-1, Hori is deep into the negatives at -7,000 after dealing into a mangan in S3-0. However, he does have the last dealership, giving him a chance to make a last-minute comeback. However, he will have to find 22,600 in order to move into 3rd place.
Hori starts out the hand 3-shanten with a chance at tanyao and a 678 sanshoku. In the first row, Hori creates a ryanmen and draws a 7s to create a 678s sequence. With 678m and 67p already in hand, all Hori needs is the 8p to get sanshoku. At the start of the second row, Hori gets to tenpai and calls riichi on a 58p ryanmen, waiting on the 8p for sanshoku.
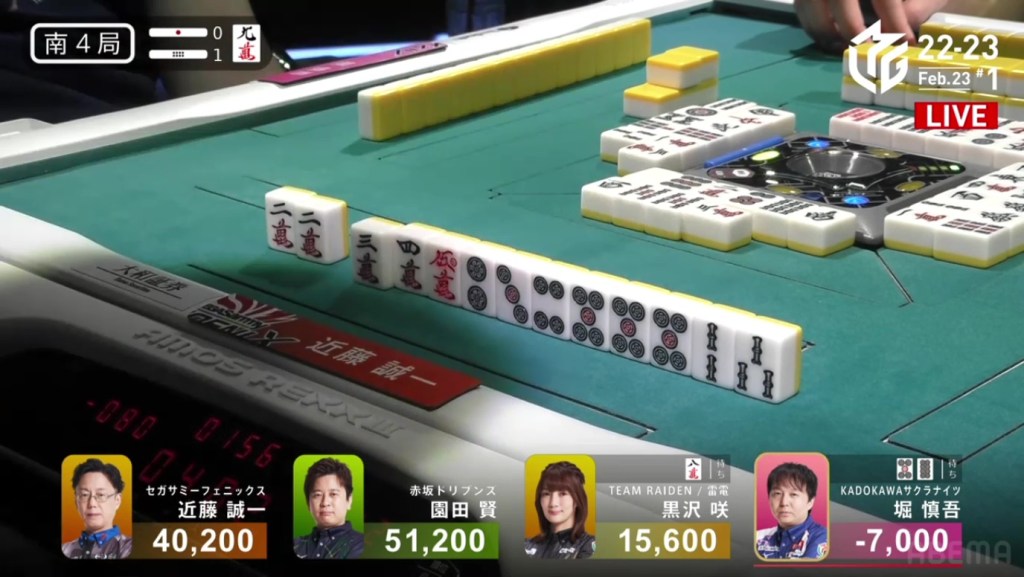
Though Hori is the dealer and the first to call riichi, the other players around the table didn’t seem scared. In the middle of the second row, Kurosawa gets to tenpai on an 8m tanki and Kondo gets to tenpai and calls riichi on a 14s ryanmen. If Kondo can draw the 4s himself, he would win the game by 400.
Within the ippatsu turn, Kurosawa improves her wait and calls riichi on a 69m ryanmen. If she wins off the dora 9m, she would add chanta to her hand as well.
Three riichi calls on the table, 6 types of tiles that can end the hand. Soon after Kurosawa calls riichi, Kondo draws and discards Hori’s takame 8p and wins the hand. Hori wins the hand with Riichi/Pinfu/Tanyao/Sanshoku for 12,000+300 plus two riichi sticks, putting Hori back into the positives.
Another One
February 23, Game 1, S4-3
Video (ABEMA): https://abema.tv/video/episode/444-14_s10_p736
Video (YouTube): https://www.youtube.com/watch?v=-GxK80NY3o0
In S4-3, Sonoda is in 1st place and 24,300 ahead of 2nd place. Though he does have this overwhelming lead, there is 1,900 in bonus points available and his team needs the points.
Sonoda starts out with an absolutely atrocious hand, 5-shanten for both a standard hand and chiitoi. However, he does hold 8 different terminals and honours. Being 4-shanten for kokushi, a hand that is easy to fold with if danger comes up, Sonoda decides to pursue the yakuman.
He starts out by breaking his 24m block, indicating to the table that his hand is either fast, going for a flush or going for kokushi. On turn 2, Sonoda creates an ankou of easts and on turn 3, Sonoda draws a 9p to create a 789p sequence. When Sonoda draws a north on turn 4, he breaks the sequence and gets to kokushi 2-shanten.
Red dragon, white dragon and 1m. These are the three tiles he needs to win the third yakuman of the season. Counting tiles, there are three 1m and two of both red dragon and white dragon. Kurosawa reduces the 1m down to two, but Sonoda is lucky enough to draw the 1m on turn 5 to get to iishanten. Red dragon and white dragon. Two of each. We look around to see if anyone can play spoiler, but no one is as close to tenpai as Sonoda.
At the start of the second row, Kurosawa draws the third white dragon, leaving only one in the wall. In the middle of the second row, Sonoda’s oppoents start to move. Kondo is able to draw to iishanten, Hori makes a call for 2-shanten and Kurosawa starts to improve her shapes. Near the end of the first row, Kondo draws a red 5s to get to tenpai on a 36s ryanmen. Hori has already called the 6s and one of the 3s is being used as the dora indicator. With few surrounding tiles visible, the threat of kokushi and the need to avoid dealing into Hori, Kondo stays dama without a yaku.
Drivens fans are feeling two different ways about this hand. On one hand, Sonoda is so close to a yakuman and every honour draw is the wrong one. On the other, Sonoda is able to keep iishanten while staying safe. As Kurosawa discards one of the white dragons, Sonoda sees his winning tiles dwindling. As Kurosawa draws the red dragon on her next turn, it leaves only one of each in the wall. However, all you need is one of each. At the end of the second row, Sonoda draws that last red dragon and gets to tenpai on the white dragon.
One in the wall, one in Kurosawa’s hand. The dream of the yakuman is real. Kurosawa has safe tiles, so she throws one of those first, avoiding a deal-in. On Hori’s draw, he draws the last white dragon. Hori is sitting in last place and iishanten. If Hori folds, he will stay in last place. With all five of Sonoda’s most recent discards being honours cut from within his hand, maybe Sonoda tried to go for kokushi but folded halfway to stay safe. Kurosawa discarded the white dragon two turns ago, so surely it’s safe. With Hori wanting to escape 4th, he pushes forward and discards the white dragon.
Hiyoshi and Ishibashi yell as Sonoda calls ron. Sonoda reveals his hand and gets the white dragon and place it next to his hand. Kokushi Musou. A direct hit off 4th place. 32,000+900 plus a riichi stick. A hand that looked like nothing at the start wins on a tile that looks like nothing.
In the Drivens locker room, they gasped as he got to tenpai and cheered as he won. Taro spins around in delight as the team gets its highest score in a single game of 84,100 (+104.1) and its second yakuman in the team’s history.
This yakuman win also marks the second yakuman in as many weeks after Aki’s suuankou tanki on February 14.
Down and Up
February 23, Game 2
In S2-0, Shibukawa is the dealer in 4th place, 2,000 behind 3rd place Kayamori, 12,100 behind 2nd place Honda and 20,300 behind 1st place Murakami. After Hori dealt into a yakuman and got last, it’s Shibukawa’s job to save the team from doom.
Shibukawa starts out with a huge starting hand, 2-shanten for a manzu honitsu, ittsuu and a south yakuhai. If Shibukawa can stay closed, all three of them combined can become a haneman.
On turn 3, Shibukawa draws a 9m to advance to iishanten. With two more 7m, he can replace the south yakuhai with iipeikou to get to haneman. Even if he gets the 8m or 9m instead, a closed honitsu is still quite significant. As Shibukawa waits for tenpai, Murakami calls pon on the red dragon at the end of the first row to get to tenpai on a 69s ryanmen.
Soon after, Shibukawa draws an 8m and gets to tenpai on a south/9m shanpon, staying dama. If he can get the south, he would have mangan. In the middle of the second row, Murakami draws and discards the south and deals into Shibukawa. Shibukawa wins the hand with South/Honitsu for 12,000, enough to move into 2nd place.
Video: https://abema.tv/video/episode/444-14_s10_p737
In S2-1, Murakami is in 3rd place after dealing into Shibukawa’s dealer mangan. He is still in a decent position, though, just 3 han away from retaking 1st.
Murakami starts out the hand 3-shanten with a pair of white dragons and a red 5m. Completing a ryanmen, creating a pair of souths and making the white dragon an ankou, Murakami gets to iishanten at the end of the first row. Near the end of the second row, Murakami makes an ankou of 2m (leaving the double south as a pair) and calls riichi on a 36m ryanmen for at least 3 han. With Murakami discarding a lot of manzu tiles early, one could mistake manzu as being a safe suit.
After two lucky draw, Honda manages to get to tenpai two turns later and stays dama on 6s tanki, hoping to safely improve his wait. Soon after, Shibukawa makes a call and gets to tennpai on a 36p ryanmen.
Within a turn, Honda improves his wait and calls riichi on a 58s ryanmen (with the 5s giving iipeikou).
Three players tenpai on 1 han, 2 han and 3 han. 6 different tiles to end the hand. Almost immediately after Honda calls riichi, Murakami finds the 3m and wins the hand. Murakami wins with Riichi/Tsumo/White Dragon/Aka 1 for 2,000+100/4,000+100 to take back 1st place.
Murakami would go on to keep this lead until the end of the game and win his 2nd game of the season.
Yakuman Tenpai!!?
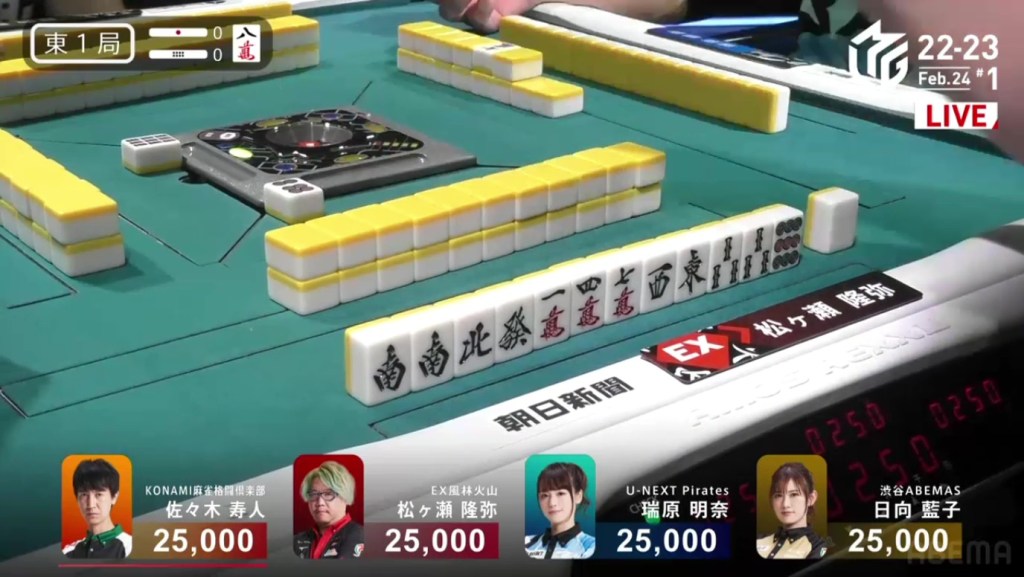
February 24, Game 1, E1-0
Video: https://abema.tv/video/episode/444-14_s40_p738
In E1-0, the top four teams are facing off against each other. In this game, all four players are in the top 12 of the standings, making it a very strong table.
The game starts out with Matsugase in the south seat and Mizuhara in the west seat. Matsugase starts out the hand with eight terminals and honours. With a yakuman won just a day earlier, kokushi is still on everyone’s mind.
As we look at Mizuhara’s hand, she is 3-shanten with two completed sequences, a red 5m and an 8m dora. With a potential valuable hand and a solid efficient hand, it has a chance to be an exciting battle. In the first row, Mizuhara gets a lot of connectors and widens her tile acceptance. By the end of the first row, Matsugase is 3-shanten for kokushi and Mizuhara is iishanten with mangan minimum. After a pon of the 2p, Mizuhara gets to tenpai and waits on a 36m ryanmen.
Counting tiles, Mizuhara still has four tiles left to win on. However, Matsugase is still fighting. Right after Mizuhara gets to tenpai, Matsugase advances to 2-shanten. All he needs is the 9s, 1p and red dragon. Two draws later, Matsugase draws the 1p and gets to iishanten. Just the red dragon and 9s. At the end of the second row, Matsugase finds the red dragon and sits dama on a 9s, waiting on two tiles for yakuman.
Within a turn of getting of Matsugase getting to tenpai, Hisato draws the 9s. The tile is completely useless in his hand. Hisato almost immediately drop it in his discards, but he stopped himself. He takes a few seconds to think and decides to fold with the 5s, saving himself.
On Matsugase’s next draw, he ends up picking up the 3m and deals into Mizuhara.
Mizuhara wins the hand with Tanyao/Dora 2/Aka 1 for 8,000, killing the yakuman.
Ura Ura
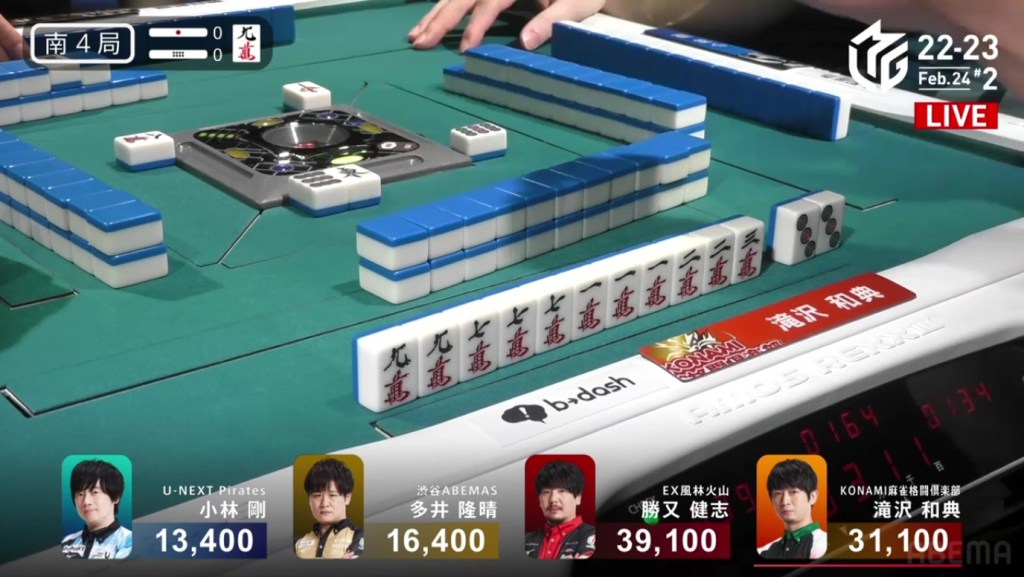
February 24, Game 1, E3-0
In E3-0, Hisato is in 1st place, but he only has a 5,900 lead over 2nd.
Before we even get to Hisato’s hand, we see Mizuhara the dealer and Hinata sitting iishanten with their starting hands. When we see Hisato’s hand, we see him 3-shanten with four ryanmens, holding a clear path to pinfu. In the first row, neither Mizuhara nor Hinata are able to get their hand to advance while Hisato fills in his ryanmens. By the end of the first row, Hisato has matched them and sits iishanten. The first of the three to get to tenpai is Mizuhara who sits dama on a yakuless 6p/4m shanpon.
Within a turn, Hisato also gets to tenpai and calls riichi on a 14p ryanmen. During the ippatsu round, Mizuhara draws the 1p dora. Being the dealer and sitting in last place, she risks the 1p and ends up dealing into Hisato. Flipping two uradora, Hisato wins the hand with Riichi/Ippatsu/Pinfu/Dora 1/Ura 2 for 12,000.
Hinata High
February 24, Game 1
In E4-0, Hinata is in 3rd place, 2,400 behind 2nd place Matsugase and 20,300 behind 1st place Hisato. With her dealership just starting, she has the opportunity to close the gap or even surpass Hisato.
Hinata starts out the hand with a big 2-shanten with two ryanmens. In the first row, she draws a red 5s and creates a 345m iipeikou to get to iishanten. Though Hinata has a good hand, she isn’t the only one. Right after Hinata gets to iishanten, Matsugase gets to tenpai and calls riichi on an 8p kanchan for mangan minimum.

After throwing a safe 2m to confirm iipeikou and drawing and discarding some honours, Hinata has a chance to get to tenpai in the middle of the second row. Taking the tenpai would be 2 han, but it would mean throwing the red 5s. Hinata takes the risk and throws it, staying dama on a 6p kanchan. Near the end of the hand, Hinata draws the 4p to upgrade to a 36p ryanmen. Though she only has one more draw for herself, Hinata decides to call riichi. The gamble pays off, as Matsugase draws and discards the 3p during the ippatsu turn. Hinata wins the hand with Riichi/Ippatsu/Tanyao/Iipeikou for 12,000 plus one riichi stick to move into 2nd place.
Video: https://abema.tv/video/episode/444-14_s50_p727
After going to a draw in E4-1, Hinata starts E4-2 just 7,300 behind 1st place, within a 3/30 tsumo of 1st.
Hinata starts out the hand drawing a pair of 7p dora to be 2-shanten for chiitoi (3-shanten for a standard hand) with a red 5m as well. In the first row, Hinata moves the hand towards a sequence-based standard hand and gets to iishanten by the end of the first row, waiting on 11 different tiles for tenpai. Just like two hand ago, though, Matsugase is also fast and gets to tenpai first on a yakuless 7p kanchan. A few turns later, Matsugase switches his wait and calls riichi on a 6p/west shanpon.
During the ippatsu turn, Hinata draws a dangerous 2s and starts out folding her hand. However, as she folds, she gets back to iishanten. Still with a mangan minimum and with the ippatsu turn avoided, Hinata decides to risk the 2s and survives. At the start of the third row, Hinata gets to tenpai and calls riichi on a 25m ryanmen. Two turns later, Hinata draws the 5m and wins the hand. Hinata wins with Riichi/Tsumo/Dora 2/Aka 1/Ura 1 for 6,000+200 all plus one riichi stick to move into 1st place with 56,000.
Penchan Ippatsu
February 24, Game 2, S1-0
Video: https://abema.tv/video/episode/444-15_s90_p832
In S1-0, Takizawa is in 3rd place, 3,100 behind 2nd place Ooi and 17,400 behind 1st place Katsumata.
Takizawa starts out the hand 4-shanten with no value at all and a bunch of bad shapes. It looks like a hopeless hand at the start, but he tries the hand anyways. With almost every tile, Takizawa seemed to get the perfect draw. Takizawa draws a red 5p on turn 2, draws a 1p on turn 3 to be 2-shanten for ittsuu and fills in a 5m kanchan on turn 5. At the start of the second row, Takizawa draws a 3p and calls riichi on a 7p penchan for mangan minimum. Taking a look around the table, only one 7p remains in the wall. On his very next draw, he finds that last 7p and wins the hand. Takizawa wins with Riichi/Ippatsu/Tsumo/Ittsuu/Aka 1 for 3,000/6,000 to get close to 1st place.
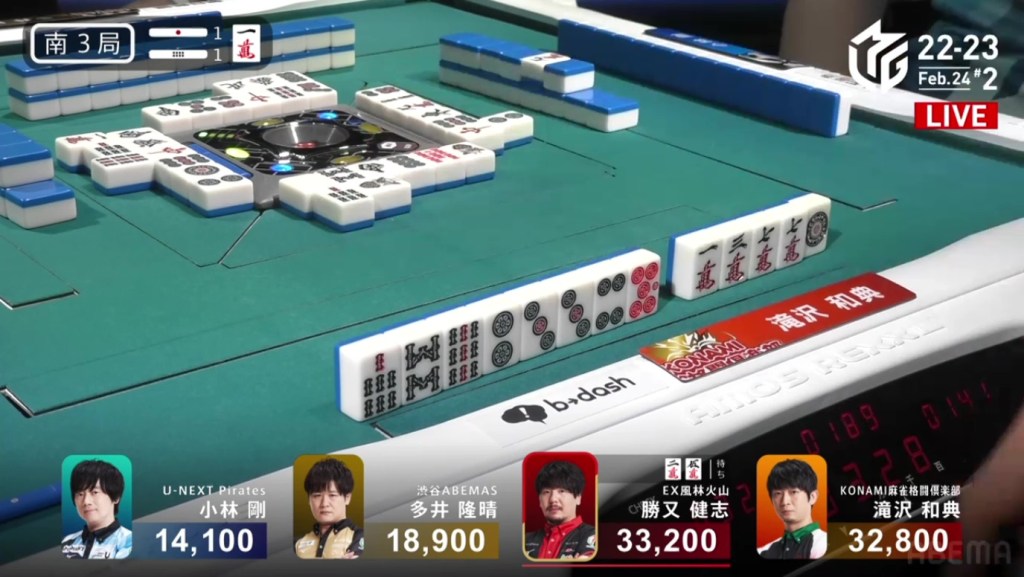
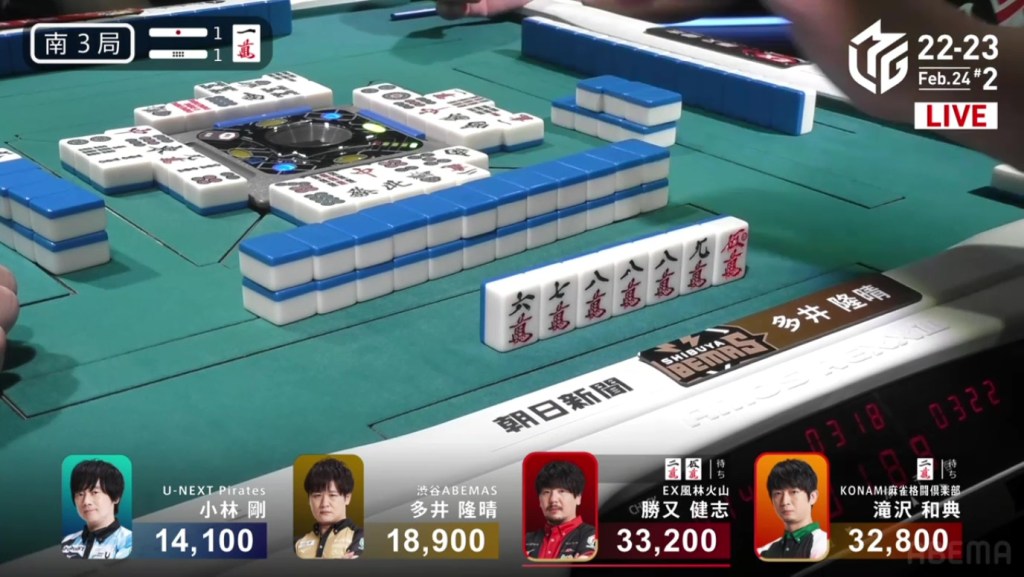
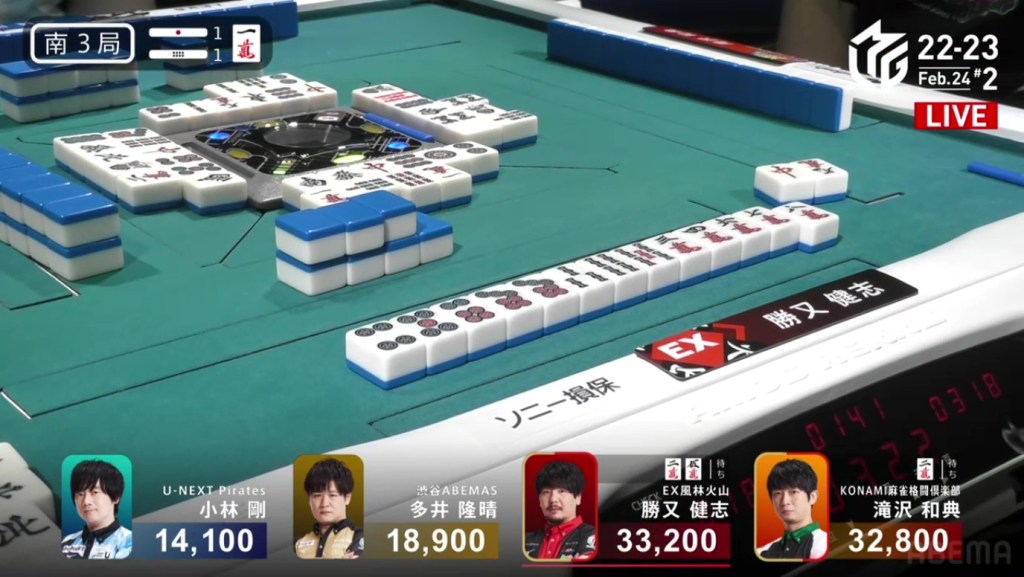
Headbump
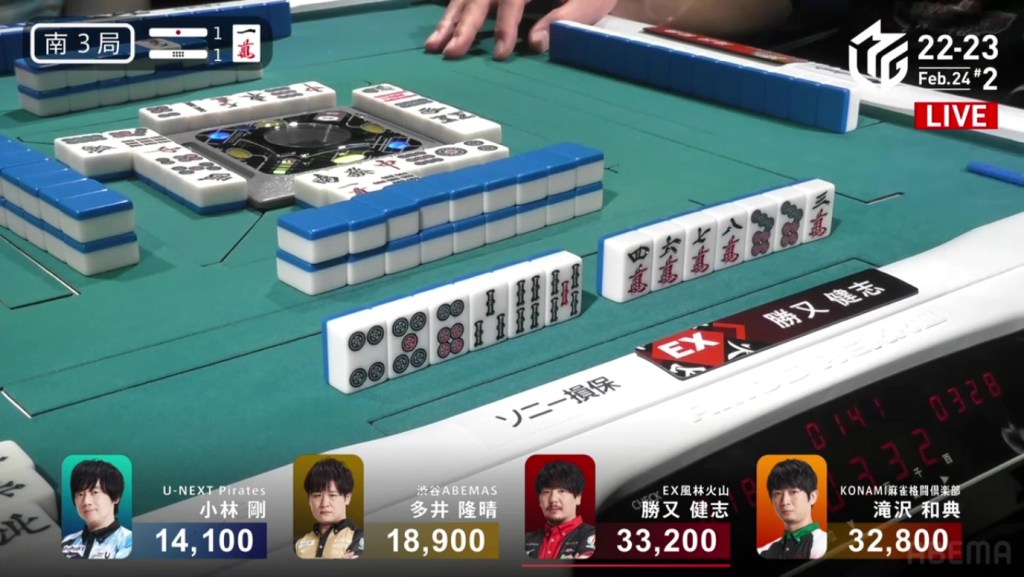
February 24, Game 2, S3-1
Video: https://abema.tv/video/episode/444-14_s20_p733
In S3-1, only 400 separates 1st place dealer Katsumata and 2nd place Takizawa. With 1,300 in bonus sticks as well, whoever wins this hand will surely have the advantage going into the last hand.
From the start, we see Katsumata sitting 3-shanten with two ryanmens. Before we even see Takizawa’s hand, Ooi is able to make two calls to get to honitsu iishanten. When we do see Takizawa’s hand, we see him 3-shanten with a dora 1m and a red 5s. With some good draws from both of them, we see both of them getting to iishanten by the end of the row. The first of the two to get to tenpai is Katsumata who calls riichi on a 25m ryanmen.
Two turns later, Takizawa gets to tenpai as well and calls riichi on a 2m kanchan.
With two players waiting on the 2m, there is a chance of a headbump. If either Kobayashi or Ooi discard the 2m, the Katsumata will win because he is earlier in turn order than Takizawa. Near the end of the second row, Ooi has a chance to get to a 3-sided wait tenpai, but would mean throwing the 2m. Wanting the wider wait, Ooi discards the 2m.
At the same time, Katsumata and Takizawa call ron. However, only Katsumata is able to reveal his hand and win. Katsumata wins the hand with Riichi/Pinfu/Tanyao for 5,800+300 plus two riichi sticks to maintain 1st place.
Haipai

February 24, Game 2, S4-0
Video: https://abema.tv/video/episode/444-14_s40_p739
In S4-0, Takizawa is the dealer in 2nd place and is 8,000 behind 1st place. Being the last dealer, he has the chance to gain big points.
Takizawa starts out with a ridiculously good starting hand, holding ankous of 1m and 7m and pairs of 2m and 9m dora. Not only is it 2-shanten for a potential chinitsu baiman, it is also 2-shanten for a potential suuankou.
On turn 2, Takizawa draws a 3p to create a pair. Though it gets him a bit further away from chinitsu, he is now iishanten for suuankou.

On turn 4, Ooi discards the 9m and Takizawa calls pon. Though it reduces the hand down to just a guaranteed mangan, it puts him tenpai on a 2m/3p shanpon. If Takizawa can draw either of them himself, it would go up to a haneman.
The potential for a big hand has never been so clear. But, as is tradition with mahjong, someone always tries to ruin it. Just two turns later, Ooi gets to tenpai and calls riichi on a 58s ryanmen.
Holding a good hand, Takizawa ignores the riichi and keeps pushing forward. The dangerous 8p goes. The red 5m is thrown away, still waiting for the win. In the middle of the second row, 4th place Kobayashi draws the 2m. Being in last place, sitting iishanten, seeing that the 2m is the suji and seeing three 3m, Kobayashi discards the 2m and deals into Takizawa. Takizawa wins the hand with Toitoi/Dora 3 for 12,000 plus one riichi stick to move into 1st place.
