Highlights
All the Sticks
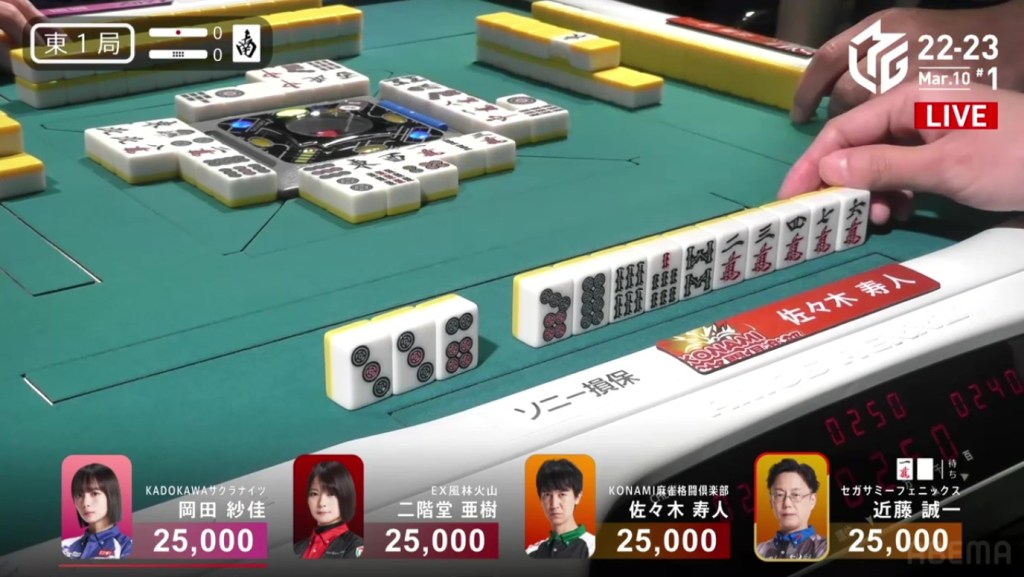
March 6, Game 1, E3-3
In E3-3, Nakabayashi is in 4th place, 4,600 behind 3rd and 2nd place and 9,200 behind 1st place. There are a lot of bonus points available, 4,900 to be exact, so any will put him higher in the standings.
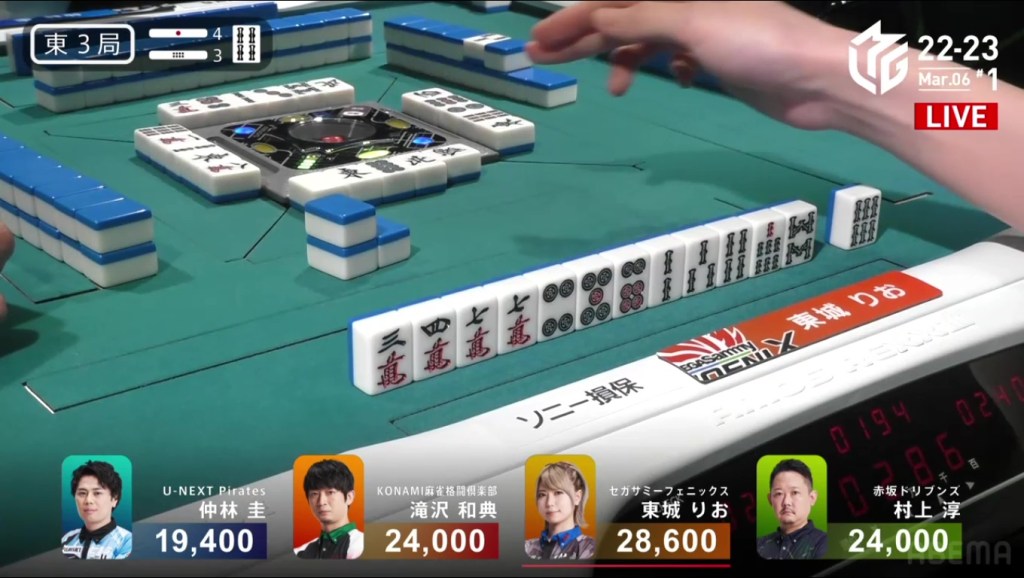
Nakabayashi starts out the hand 3-shanten with a red dragon pair and a ryanmen. Across from him is Tojo the dealer, sitting 2-shanten with two ryanmens. With the yakuhai pair and a distant chance of chanta, Nakabayashi tries to rush the hand early by calling pon on the 1p. Though Nakabayashi tries to win as quickly as possibly, Tojo’s hand is naturally faster and she gets to tenpai by the end of the first row and calls riichi on a 25m ryanmen.
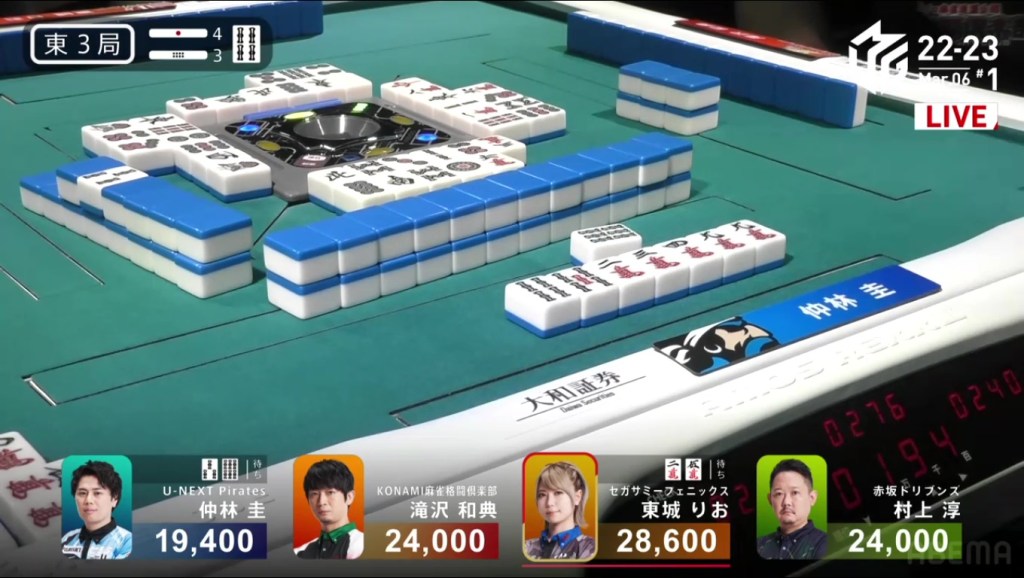
By this point, Nakabayashi is 2-shanten with two ryanmens and a dora 4s. When Murakami discards the red dragon during the ippatsu round, Nakabayashi calls pon to get to iishanten. Near the end of the second row, Nakabayashi gets to tenpai and waits on a 36s ryanmen. Within the next go-around, Murakami discards the 6s and deals into Nakabayashi. Nakabayashi wins the hand with Red Dragon/Dora 1 for 2,000+900 plus five riichi sticks to come within 600 of 1st place.
The Greatest Headbump of All Time

March 6, Game 1, S2-5
Video (ABEMA): https://abema.tv/video/episode/444-14_s10_p740
Video (YouTube): https://www.youtube.com/watch?v=3lwJe8JdbOQ
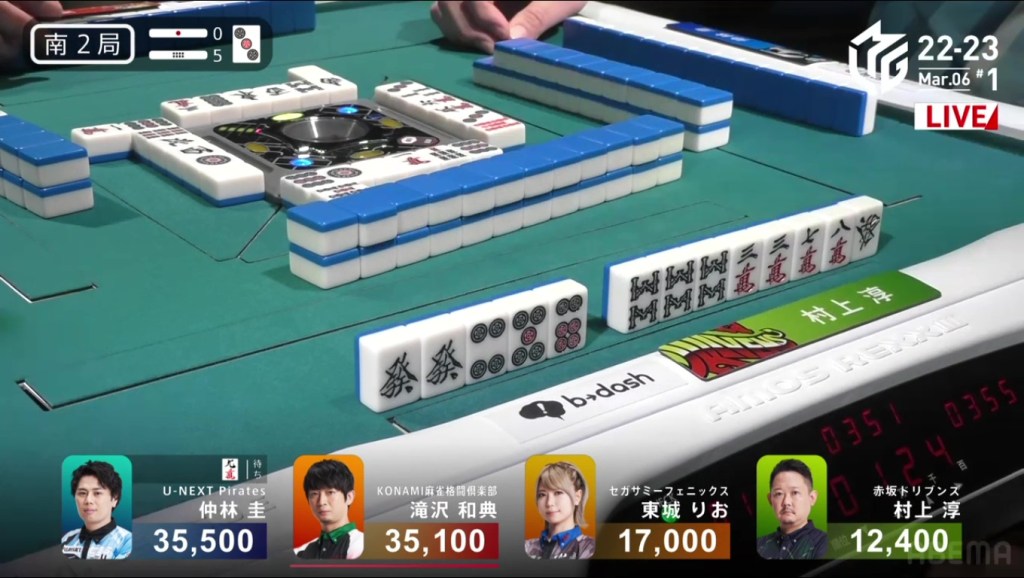
In S2-5, Murakami is in 4th place and Nakabayashi is in 1st place. For Murakami, he is 4,600 behind Tojo, needing a 3 han hand to move up in rank.
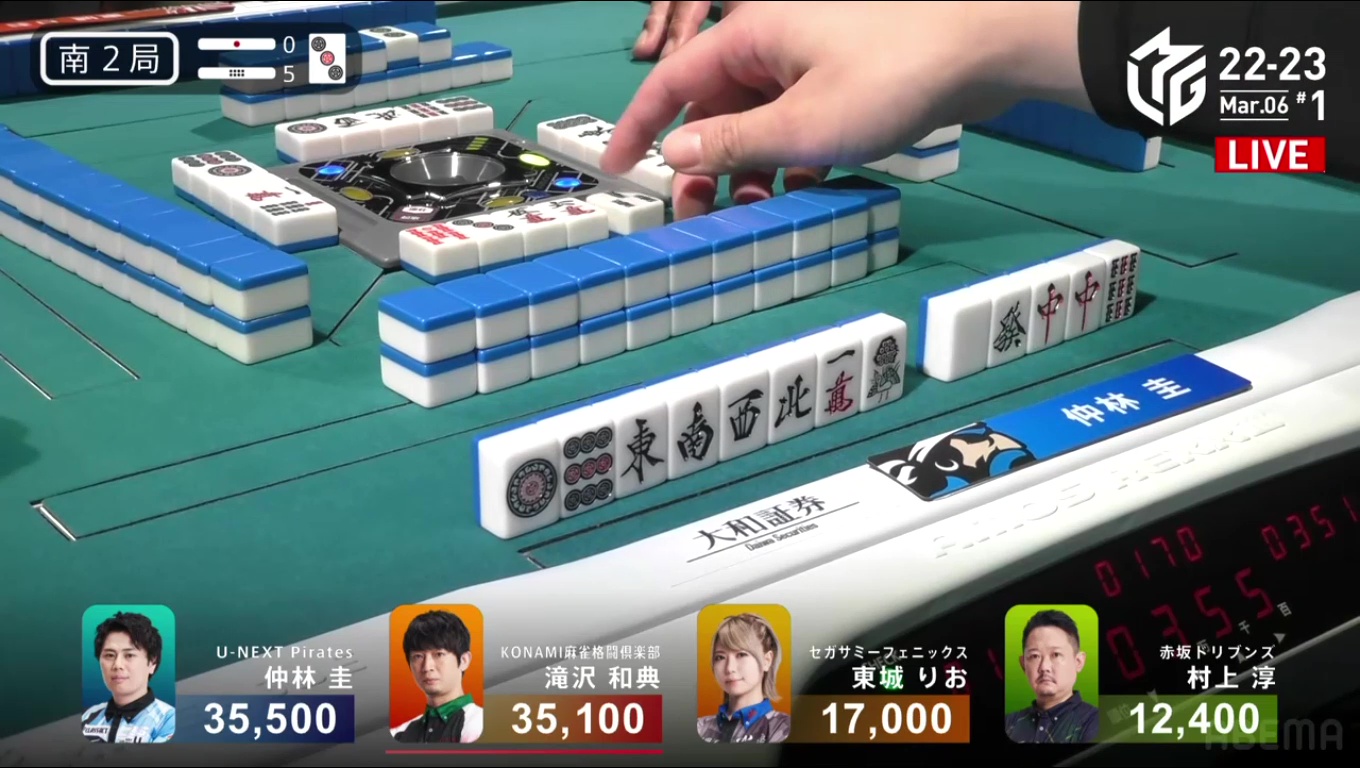
At the start, we see Murakami already 2-shanten with a pair of green dragons. to Murakami’s right, Nakabayashi has 10 different terminals and honours, missing a pair and 3-shanten for a potential kokushi. After the three yakuman in the past three weeks, could we have our fourth in as many weeks? All he needs is a 9m, 1s and 9s.

On turn 2, Nakabayashi draws a red dragon to give him a pair and put him 2-shanten. On turn 2, he draws the 1s and on turn 5, he draws the 9s. In just 5 turns, Nakabayashi is already tenpai for kokushi, waiting on a 9m for the yakuman.
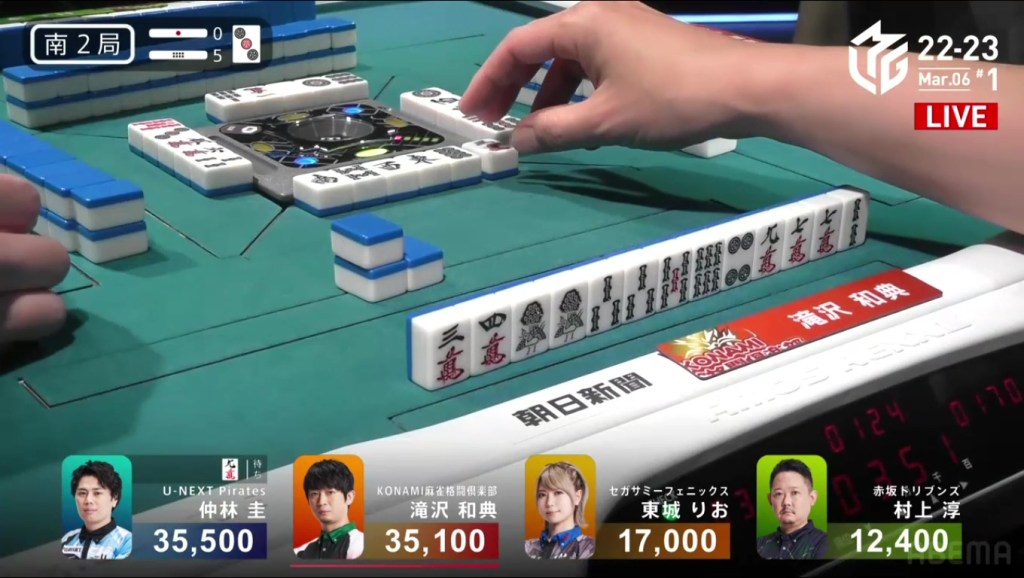
To Nakabayashi’s right is Takizawa, holding a 9m. His 7m is very likely going to be a pair, making the 9m nearly useless. As Hiyoshi yells, Konami fans are yelling for Takizawa not to throw it. With every second Takizawa delays, the tension builds. When he finally discards, he throws the 3m, staying safe for one more turn.
On Takizawa’s next draw, he gets the white dragon, staying safe. On Murakami’s draw at the start of the second row, he makes an ankou of green dragons and gets to tenpai. He calls riichi, waiting for the 69m ryanmen.
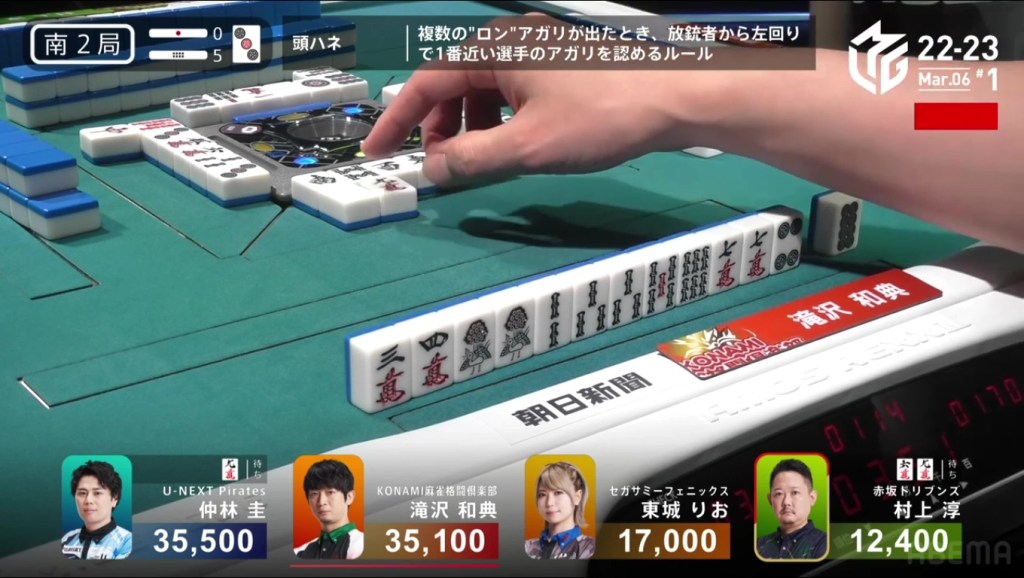
Drivens fans are satisfied, Konami fans are feeling a bit of relief and Pirates fans are writhing in pain. With Murakami earlier in turn order, a 9m discard by either Takizawa or Tojo would mean Murakami would win and Nakabayashi would get nothing because of the headbump rule. During the ippatsu round, Takizawa has no safe tiles. To advance his hand, he throws the 9m.
At the same time, Nakabayashi and Murakami calls ron. As Nakabayashi hears Murakami’s call, he makes an extremely annoyed and slightly upset face. As Murakami reveals his hand, he wins with Riichi/Ippatsu/Green Dragon for 6,400+1,500.
While writhing in pain and seeing the loss of a yakuman, fans of all stripes understood the comedy of the situation. The yakuman being lost due to turn order added with the reaction by Nakabayashi’s face had the Drivens and the Nikaido sisters laughing.
Riichi Battle
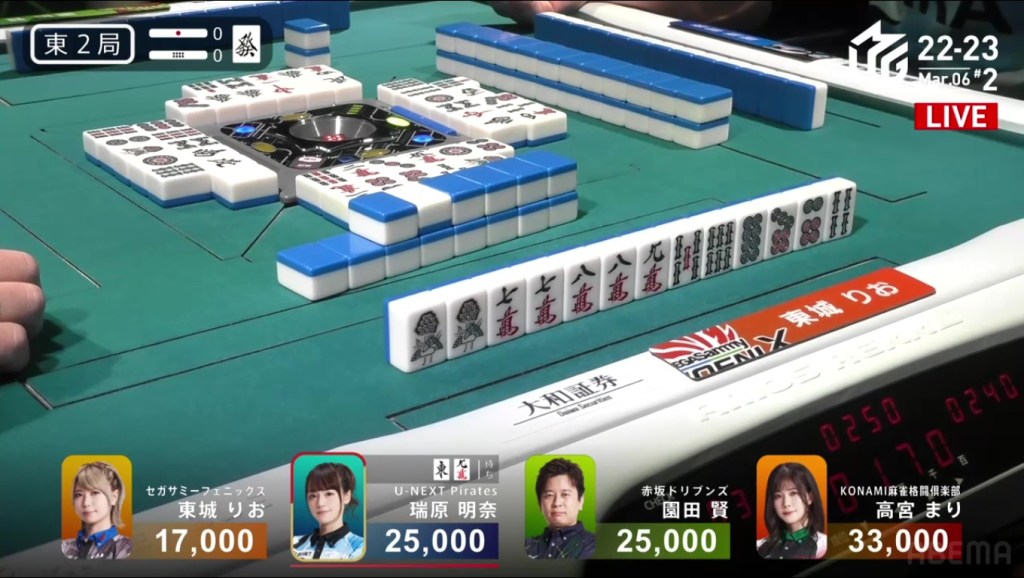
March 6, Game 2, E2-0
In E2-0, Mizuhara, Sonoda and Tojo are all chasing 1st place Takamiya. Mizuhara and Sonoda are 8,000 behind, while Tojo is 16,000 behind.
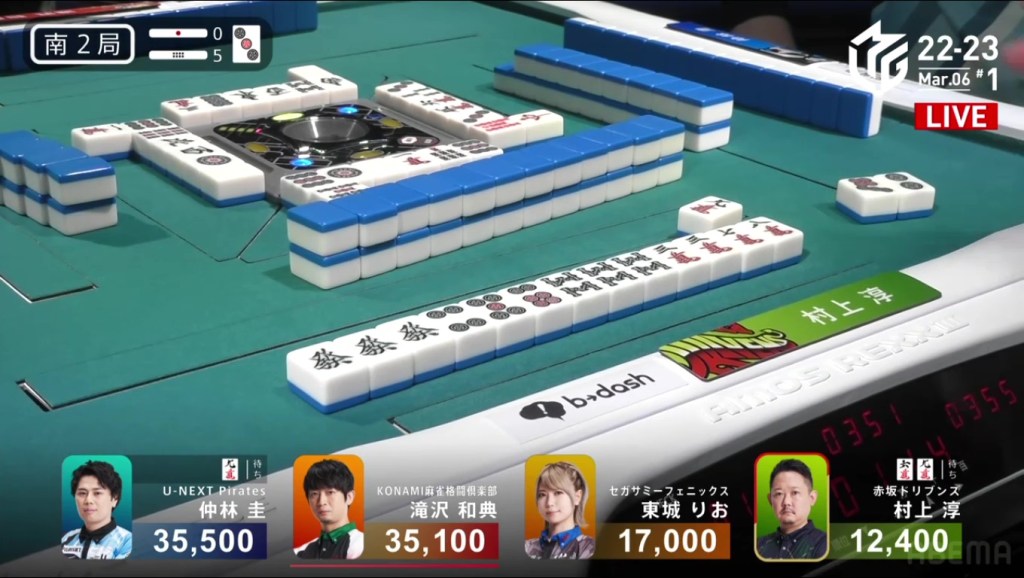
At the start, we see Mizuhara the dealer 2-shanten with a pair of easts, Sonoda 3-shanten with a lone green dragon dora and Tojo 2-shanten with sequence options. In the first row, all three of them create ryanmens and good shapes, giving them multiple tiles to get to tenpai. By the end of the row, all of the are iishanten for at least four different tiles to tenpai. In the middle of the second row, Mizuhara is the first to tenpai and calls riichi on an east/9m shanpon.
Two turns later, Tojo gets to tenpai and calls riichi on a 69m ryanmen.

Oh no, not again. Pirates fans are suffering from the memory of the 9m headbump from earlier in the day. With Tojo and Mizuhara both waiting on the 9m, the Pirates could be blocked again. As both of them wait, Sonoda adds a third riichi stick on the table and waits on a 2s/8p shanpon.
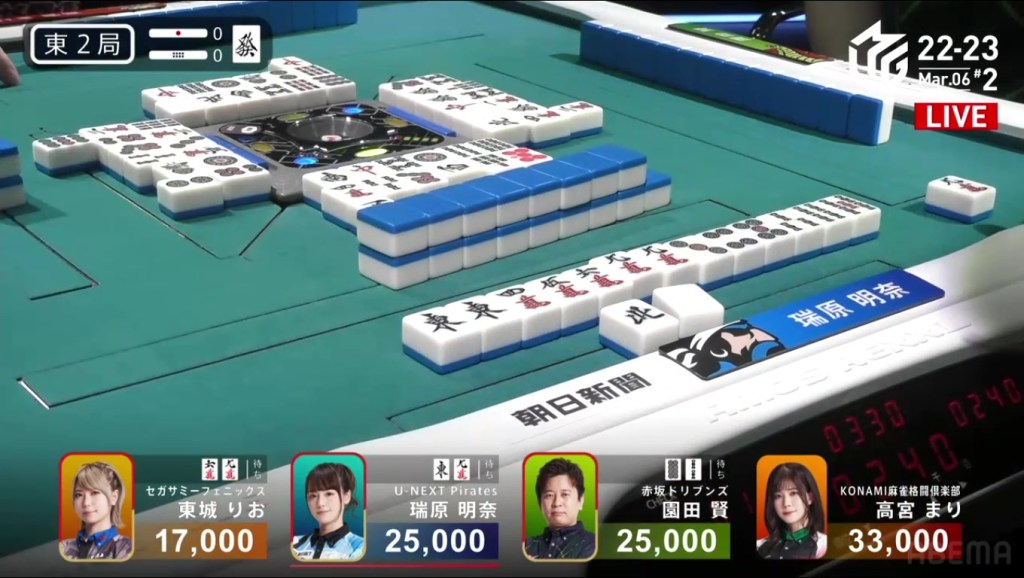
Three riichi sticks on the table, five different winning tiles. Near the middle of the third row, Mizuhara breaks the standoff by drawing the 9m to win. Mizuhara wins the hand with Riichi/Tsumo/Ura 2 for 4,000 all plus two riichi sticks, moving into 1st place.
To the Limit
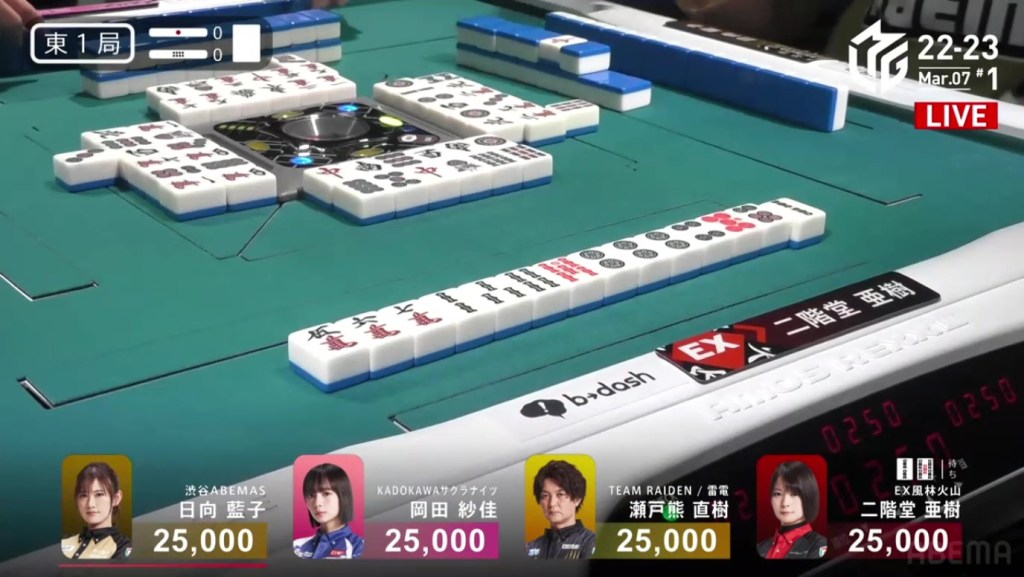
March 7, Game 1
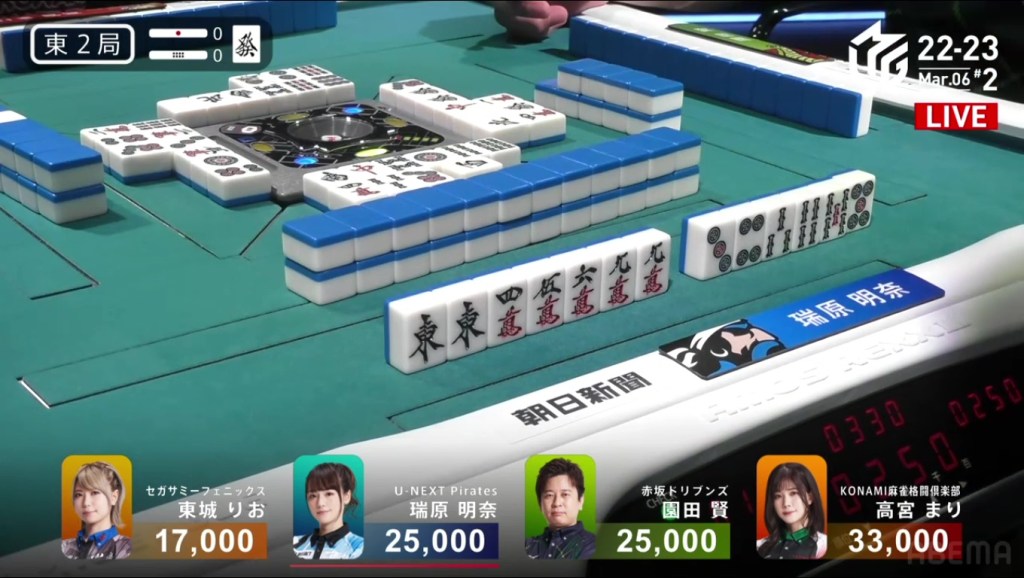
In E1-0, Aki is sitting in the north seat and the team is currently in 2nd place. If the team wants to retake top spot, she will have to get at least 2nd place in this game.
She starts out the hand 3-shanten with two ryanmens with two red fives. With a visible chance at mangan, all she needs to do is draw the right tiles. Filling in both ryanmens and making an ankou of 2p, Aki gets to iishanten by the end of the row, waiting on 13 different tiles for tenpai. Two turns later, Aki gets to tenpai and waits dama on a 36s nobetan. At the end of the second row, Aki changes it to a 25s nobetan. On her next draw, she finds the 2s and wins the hand. Aki wins with Tsumo/Tanyao/Aka 2 for 2,000/4,000.
Video: https://abema.tv/video/episode/444-14_s20_p735
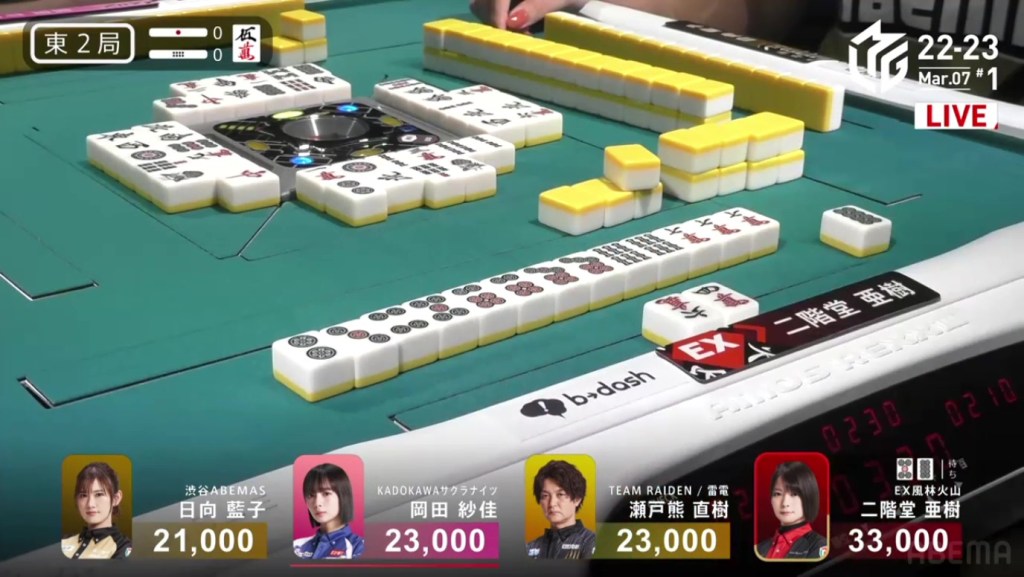
In E2-0, Aki starts out 2-shanten with a few kanchans to fill in. In the first row, she shifts to tanyao and removes her penchans for some pairs. By turn 5, she gets to iishanten waiting on five different tiles to tenpai. On turn 8, Aki gets to tenpai and calls riichi on a 58p ryanmen (with the 5p giving iipeikou). Counting tiles, only two 8p are left in the wall for her to win. Even so, Aki manages to draw the 8p near the end of the second row to win the hand. With the uradora flip, her 7m ankou becomes dora to give her her first ura 3 of her M-League career. Aki wins the hand with Riichi/Tsumo/Tanyao/Ura 3 for 6,000 all.
Skipping to E4-3, Aki is the dealer and still in 1st place, wanting to take advantage of the 3,900 in bonuses available. She starts out the hand 3-shanten with a dora 3s and a red 5s. Filling in two kanchans, she gets to iishanten on turn 6 and waits for 11 different tiles for tenpai. On her next draw, she makes a pair of 6m and calls riichi on a 258s wait. With the wide wait, Aki was able to easily draw her winning 8s just a few turns later. Aki wins the hand with Riichi/Tsumo/Pinfu/Dora 1/Aka 1 for 4,000+300 all plus three riichi sticks, putting her within 600 of 60,000.
Never Too Far
March 7, Game 1
Video: https://abema.tv/video/episode/444-15_s90_p891
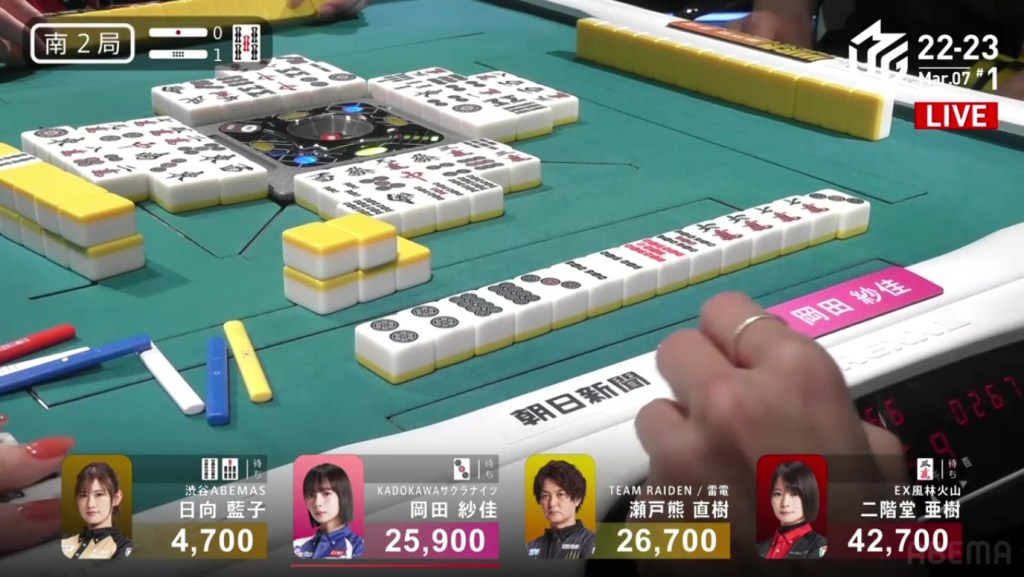
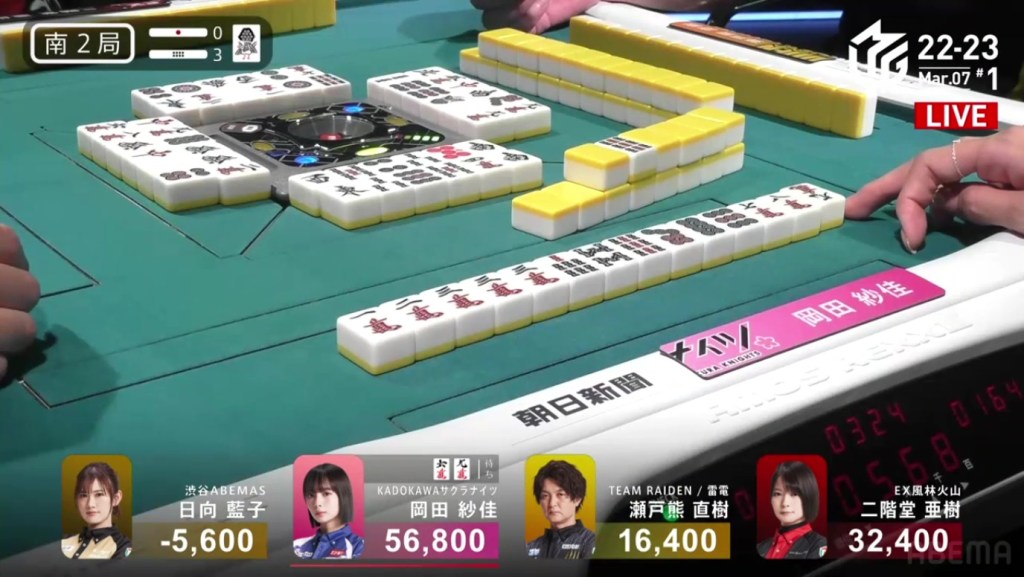
In E4-4, Okada is in 3rd place, 3,00 behind 2nd place Setokuma and a huge 46,200 behind 1st place Aki. Though finishing the game in 2nd place would be nice, the Sakura Knights really want to put space between them and the bottom two teams in the standings.
Okada starts out the hand 2-shanten with an ankou of 3m dora and tanyao being an option for an open hand. The first row doesn’t provide much in terms of progress, but Okada does draw a red 5s for value. In the second row, Okada confirms tanyao and calls pon on the 5s to get to iishanten. In the middle of the second row, Aki tries to ruin Okada’s comeback chance to get to tenpai on a 58s ryanmen, staying dama.
Right after, Okada gets to tenpai on a 3s/7s shanpon. A few turns later, Aki discards the 7s (because she sees all four 6s and to keep her ryanmen) and deals into Okada. Okada wins the hand with Tanyao/Dora 3/Aka 1 for 8,000+1,200.
Video: https://abema.tv/video/episode/444-14_s30_p733
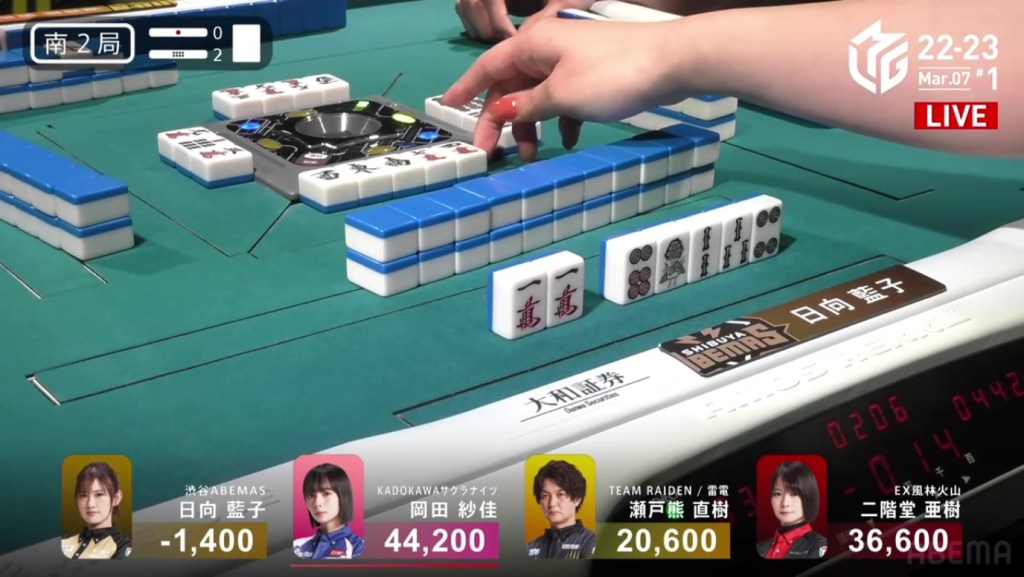
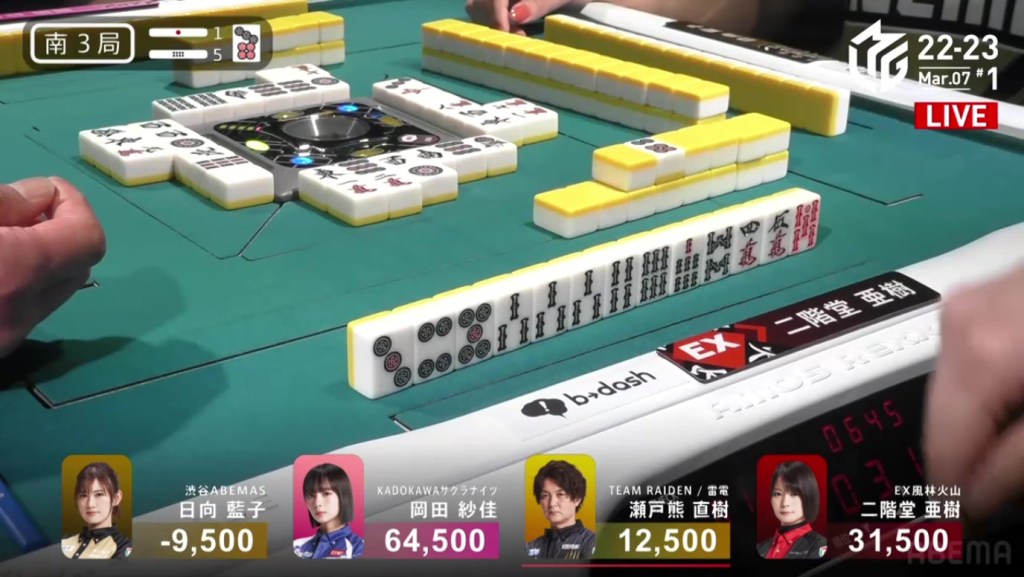
Jumping to S2-1, Okada is now the dealer and 16,800 behind 1st place Aki. She starts out the hand 3-shanten for both a standard hand and chiitoi, but lacks dora or other value. In the first row, Okada gets a fourth pair and shifts to tanyao, but is otherwise unable to draw well. Okada gets some resistance from Hinata when she calls, but it has allowed Okada to draw a fifth pair for iishanten. Soon after, Okada draws the red 5s double dora Between the two of them, Hinata is the first to tenpai, waiting on a 47s ryanmen.
Right after, Okada draws a dora 5s to get to tenpai on a 9p tanki, guaranteed at least a mangan. On her very next draw, she switches to a 3p tanki. On Okada’s second-last draw, she finds the 3p and wins the hand. Okada wins with Tsumo/Tanyao/Chiitoi/Dora 2/Aka 1 for 6,000+100 all to move into 1st place.
Video: https://abema.tv/video/episode/444-15_s90_p892
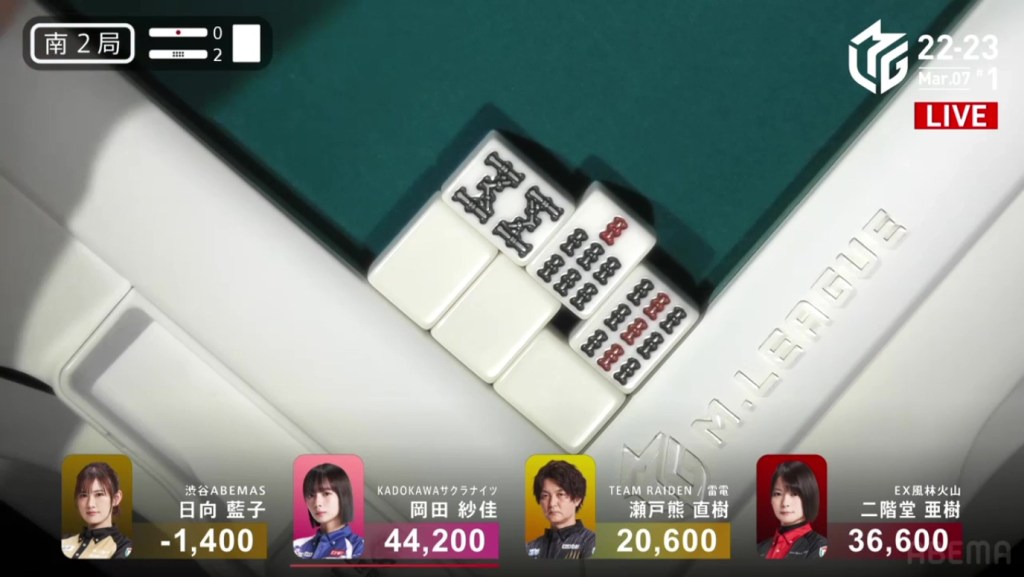
In S2-2, Okada starts out 2-shanten with a red 5p and a lone white dragon. With her hand easily shifting towards tanyao, she discards the dora white dragon on turn 3. With the white dragon discard, Hinata goes into action and calls pon on it. With another call and a good draw, Hinata gets to tenpai first on a 5p kanchan.
By this point, Okada is iishanten and waiting on five different tiles for tenpai. All she can do is wait. In the meantime, Setokuma gets to a yakuless tenpai on a 6p kanchan and Hinata draws the fourth white dragon to call kan. A few turns after the kan, Okada gets to tenpai and calls riichi on a 25m ryanmen for mangan minimum. Near the end of the second row, Okada draws the 5m and wins the hand. Okada wins with Riichi/Tsumo/Pinfu/Tanyao/Aka 1 for 4,000+200 all, putting her above 55,000.
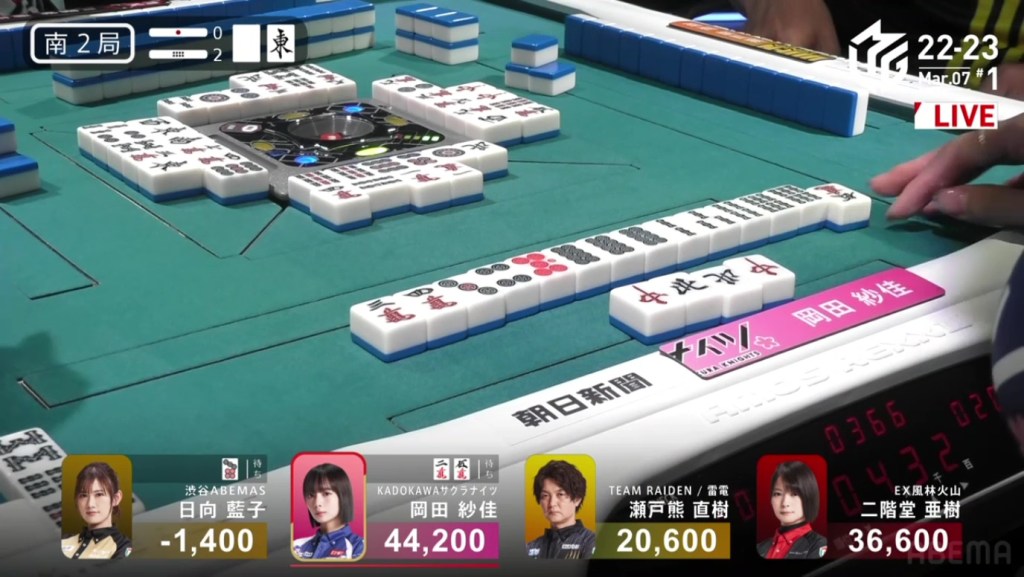
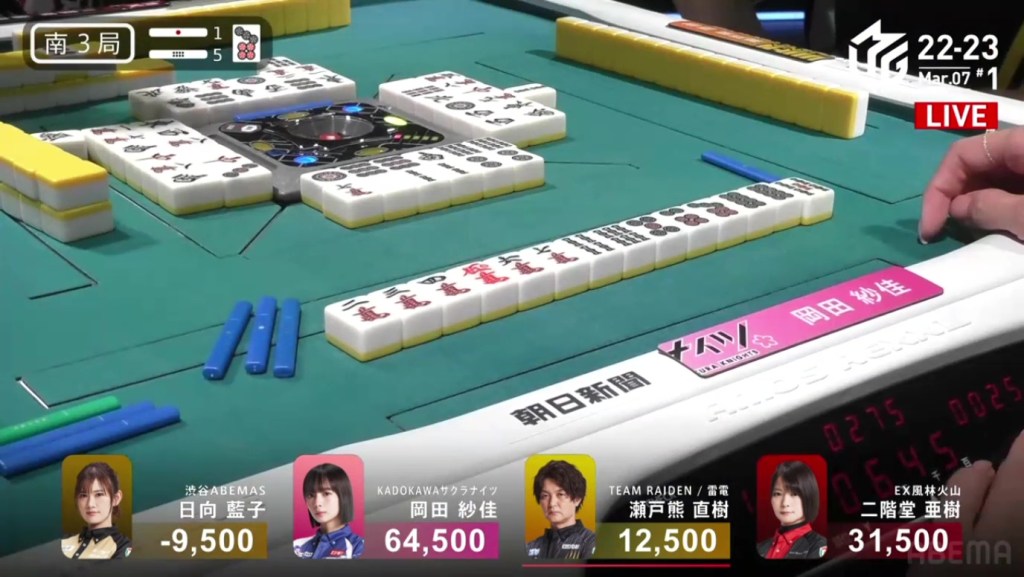
In S2-3, Okada starts out 2-shanten with two ryanmens and a potential 789 sanshoku. Drawing a 9s, and creating a ryanmen elsewhere, Okada gets to iishanten for pinfu only. In the middle of the second row, Okada draws a 7p to create a 789p sequence. With a 9m, 1m, 3m or 4s draw, she would have a chance to have sanshoku in her hand. Near the end of the second row, she draws the 3m and waits dama on a 69m ryanmen (with the 9m giving sanshoku). Two turns later, Okada finds the takame 9m and wins the hand. Okada wins with Tsumo/Pinfu/Sanshoku for 2,600+300 all to move above 65,000.
After losing her dealership during an exhaustive draw, Okada continues to aim for points in S3-5. She starts out 3-shanten with a red 5m and two ryanmens. She manages to get to 2-shanten by the end of the first row, but is limited in the number of tiles to advance her. Around the table, everyone else is 2-shanten as well. In the middle of the second row, Aki is the first to get to tenpai and calls riichi on a 36m ryanmen, guaranteed at least a mangan.
By this point, Okada is iishanten with the ability to accept the dora 7p. With only one safe tile in hand and likely to still be first if she deals in, Okada pushes. At the end of the second row, Setokuma gets to tenpai on a 69s ryanmen, but he is furiten. Soon after, Okada gets the dora 7p and waits on a 4s kanchan. On her very next draw, she gets the 5s and wins the hand. Okada wins with Tsumo/Tanyao/Dora 1/Aka 1 for 2,000+500/4,000+500 plus two riichi sticks to put her above 75,000.
Climb
March 7, Game 2
Video: https://abema.tv/video/episode/444-14_s50_p732
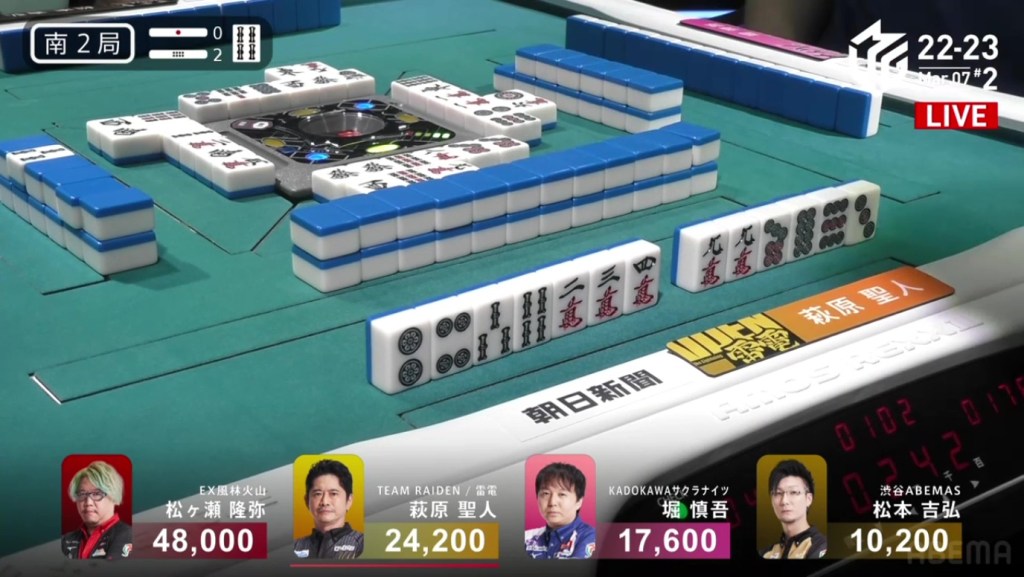
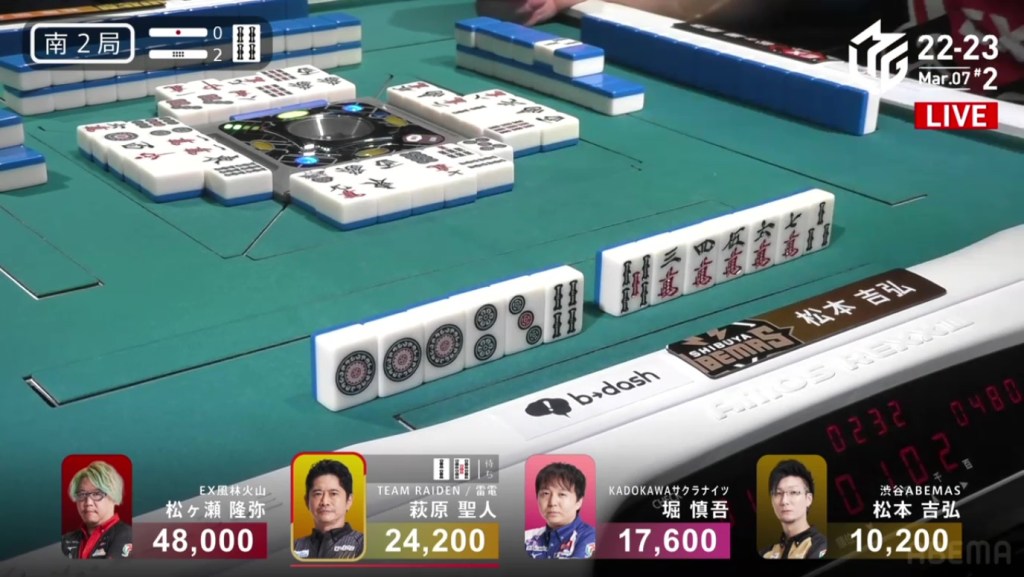
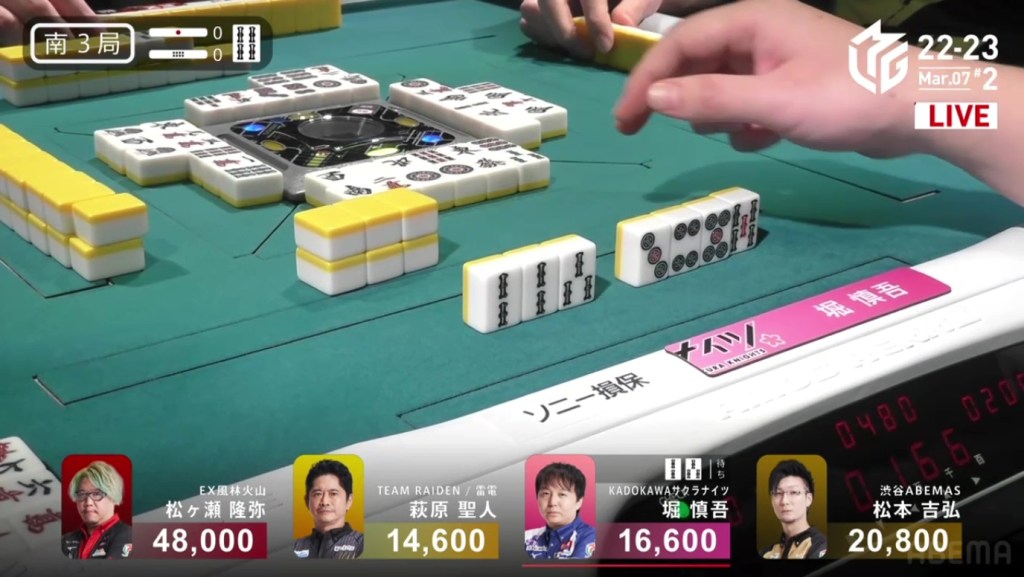
In S2-2, Matsumoto is in 4th place, 7,400 behind 3rd place Hori and 14,000 behind 2nd place Hagiwara. After dropping down to 5th place the game before, Matsumoto needs to gain points to spot the team from sinking down even further.
Matsumoto starts out the hand 3-shanten with two ryanmens and a dora 4s. Though the shapes are good, the hand doesn’t have much in terms of guaranteed value. In the first row, he creates a pair of 1p, Fills in one of the ryanmens and gets to iishanten on turn 4. On turn 5, he creates a 258m wait shape to make pinfu likely. As Matsumoto waits for tenpai, Hagiwara fills in a kanchan and calls riichi on a 25s ryanmen (with the 2s giving sanshoku for a dealer mangan)
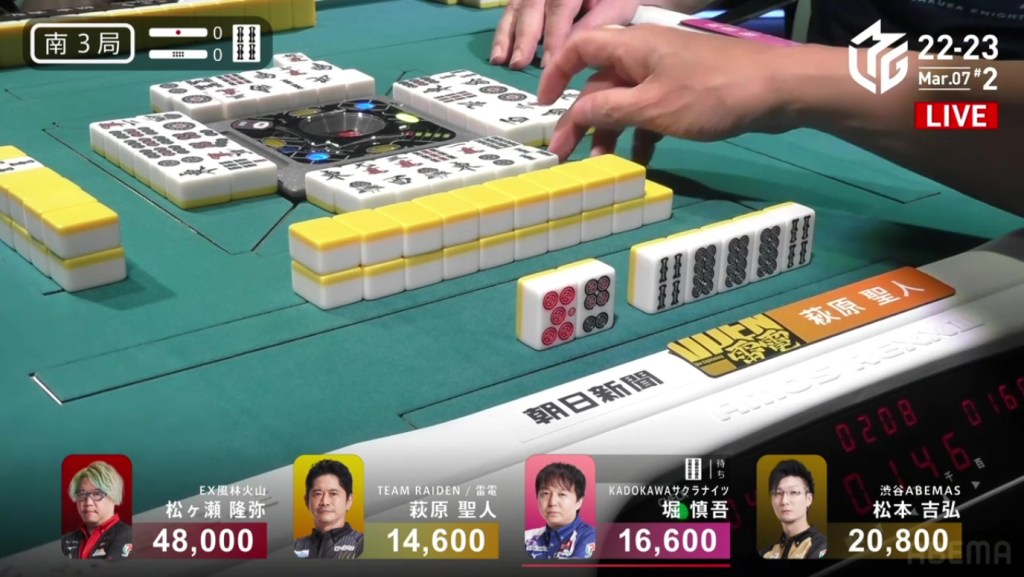
Being in last place with good shapes and safe draws, Matsumoto is able to keep iishanten against the dealer riichi. Near the end of the second row, Matsumoto calls riichi and throws the dora 4s, waiting on a 258m wait.
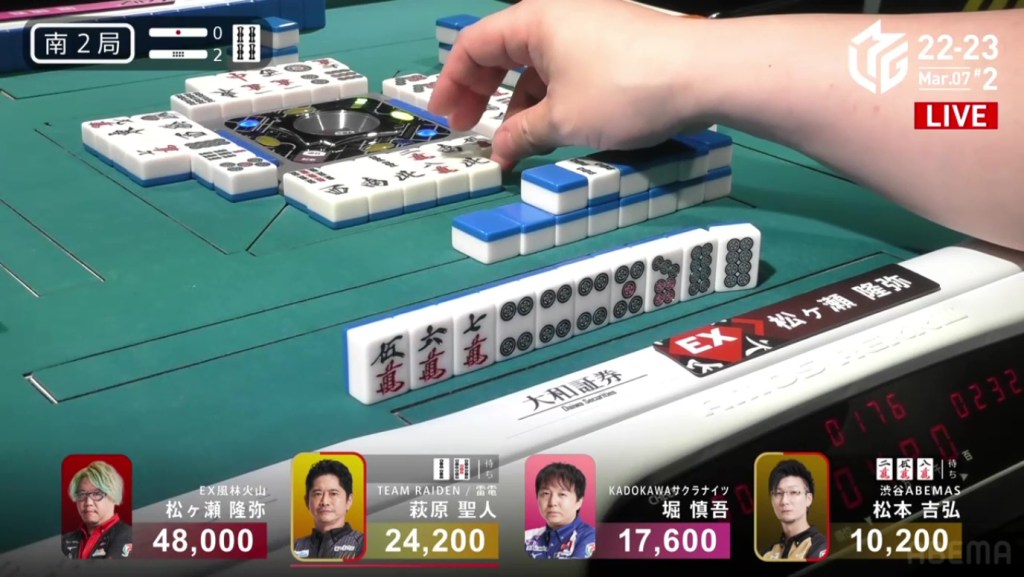
With Matsumoto’s 4s, Matsugase is able to call chii to get to tenpai on a 6p kanchan.
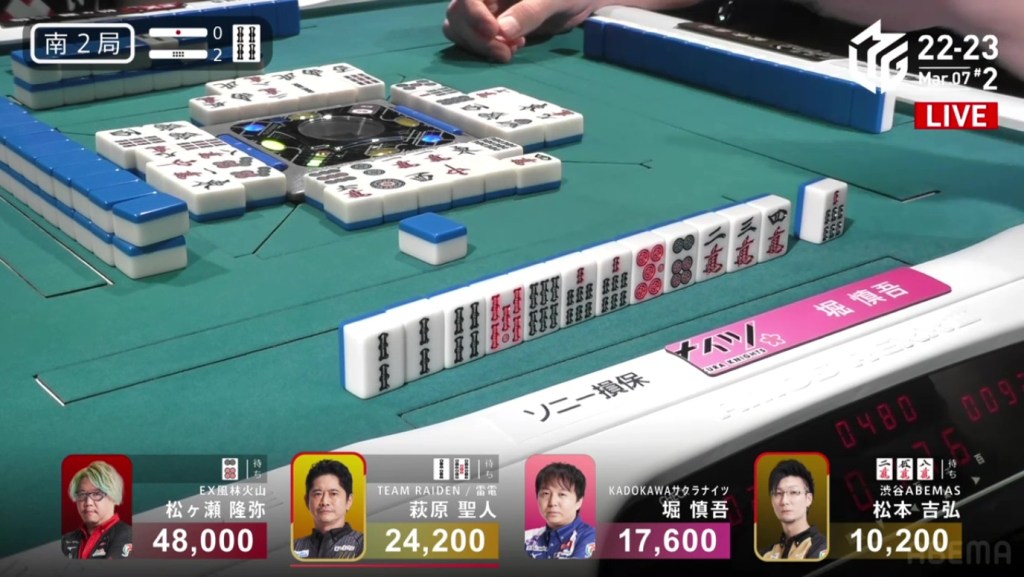
Soon after that, Hori gets to tenpai and calls riichi on a 47p ryanmen.
Four players are in tenpai, eight different winning tiles. Only one can be the winner. At the start of the third row, Hagiwara draws the red 5m and deals into Matsumoto. Matsumoto wins the hand with Riichi/Pinfu/Dora 1/Aka 1 for 8,000+600 plus two riichi sticks to move into 2nd place.
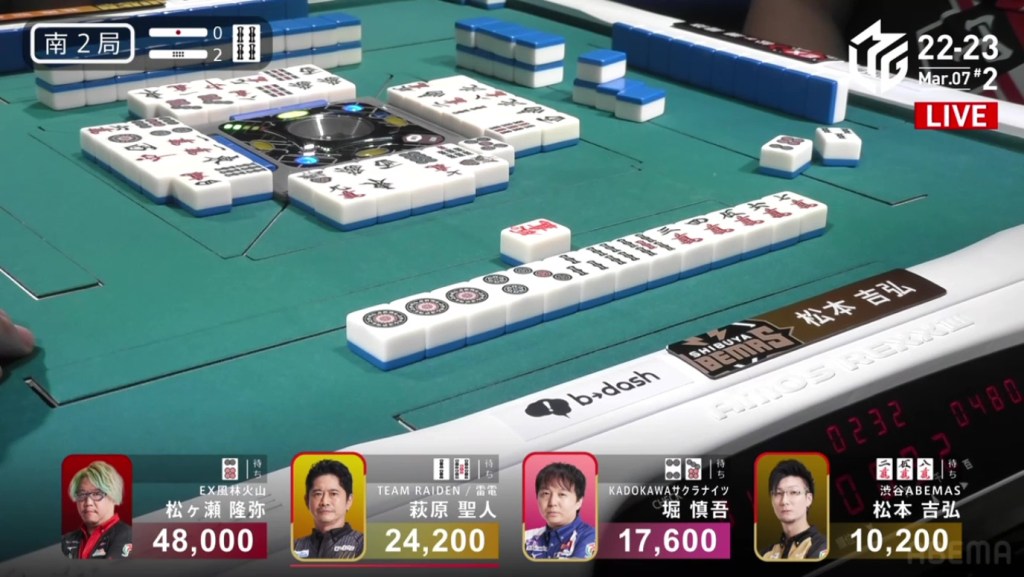
In S3-0, Matsumoto starts out 4-shanten with three ryanmens and a dora 4s. He fills in many of these ryanmens in the first row and gets to iishanten by turn 5. Battling against Matsumoto’s closed hand are Hagiwara and Hori, both calling to try to go quick. With two calls, Hori is the first to tenpai, first on a 2s/3s shanpon and then to a 4s kanchan.
At the end of the second row, Hagiwara draws a 4s dora to get to a 47p ryanmen tenpai for guaranteed mangan.
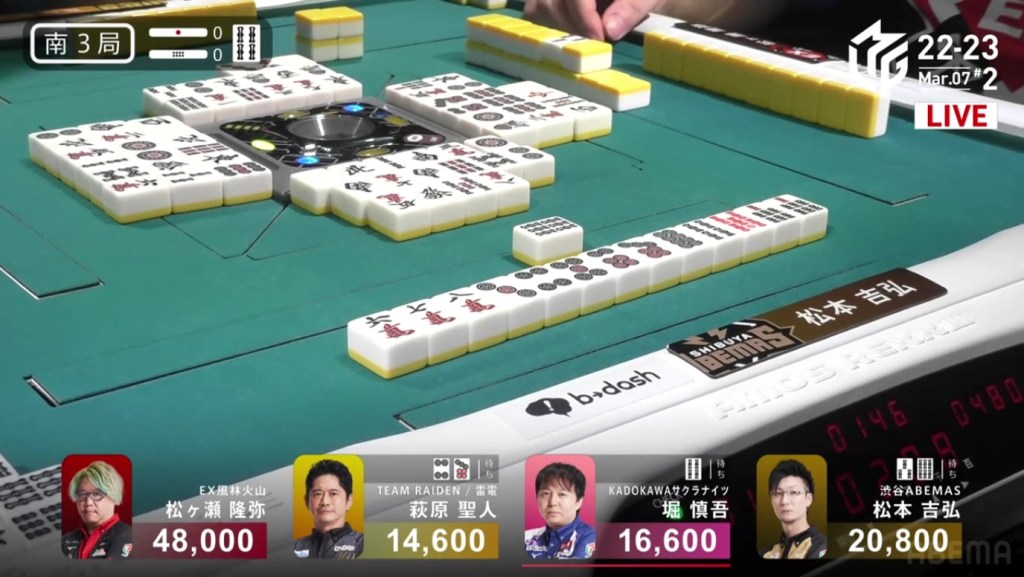
After a long while of waiting, Matsumoto finally gets to tenpai in the third row on a 36s ryanmen, guaranteed a mangan. With a call from Matsugae, the wall shifts, leading Hagiwara to draw the 6s. Trying to keep his tenpai, Hagiwara discards the 6s and deals into Matsumoto. Matsumoto wins the hand with Pinfu/Tanyao/Dora 1/Aka 1 for 8,000.
Video: https://abema.tv/video/episode/444-14_s50_p733
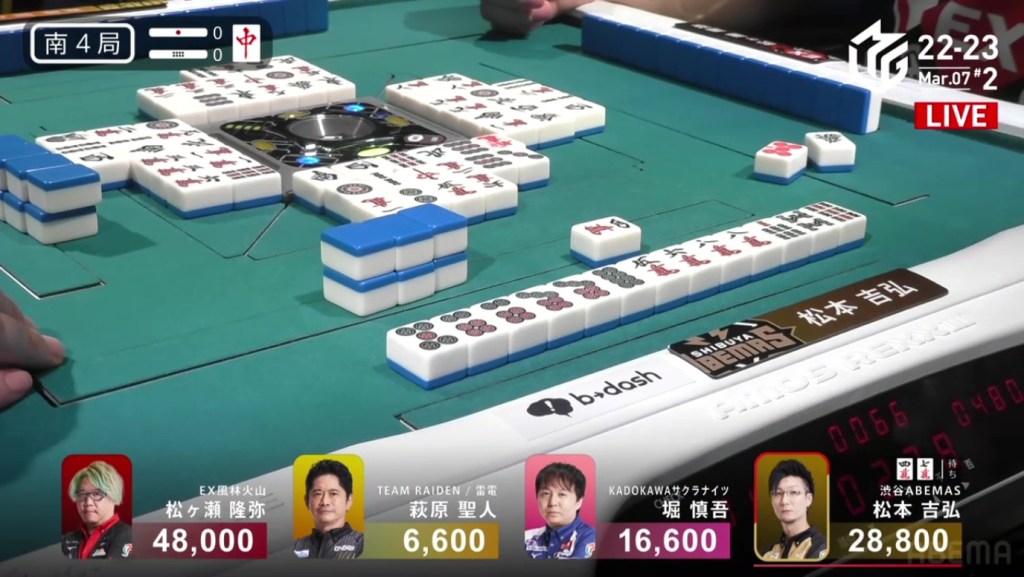
In S4-0, Matsumoto is the dealer and starts off with a huge starting hand, being iishanten with the first draw and guaranteed pinfu. On his very next draw, he gets to tenpai and calls riichi on a 47m ryanmen. With such a wide wait, Matsumoto was bound to win the hand. His opponents did pretty well trying to avoid, throwing terminals and honours in the first row. As his opponents started to successfully defend, Matsumoto’s chances of winning started to go down. By the end of the second row, Matsumoto only had three tiles left. As the second row became the third, only one was left in the wall. However, even as players started to defend, they started to get close to tenpai. In the middle of the third row, Hori gets to tenpai, but he would have to throw the 4m to take it. Being in 3rd place, he takes the risk and deals into Matsumoto. Flipping two uradora, Matsumoto wins the hand with Riichi/Pinfu/Ura 2 for 12,000, putting him within 7,200 of 1st.
Drivens Damaged
March 9, Game 1
Video: https://abema.tv/video/episode/444-14_s70_p734
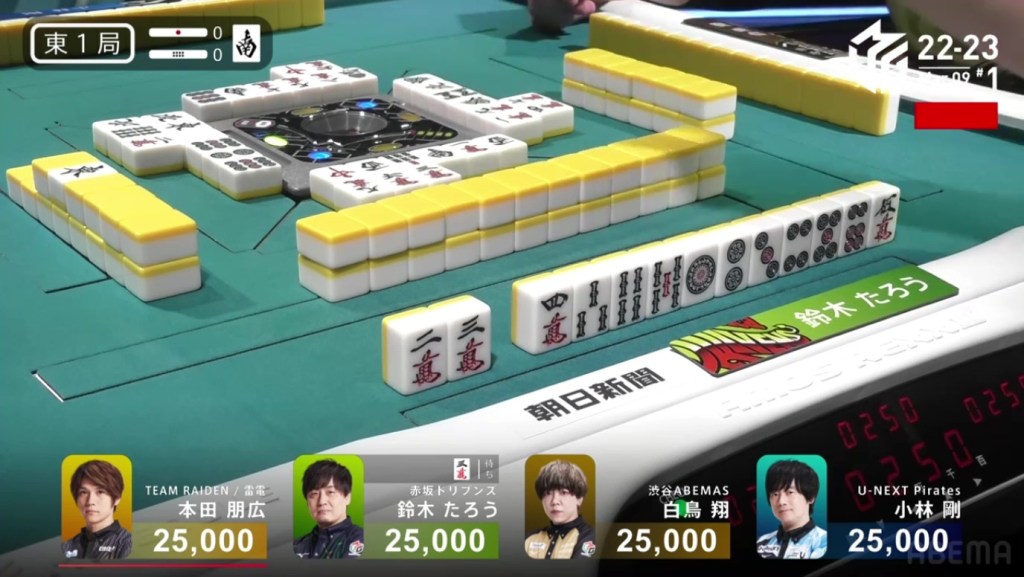
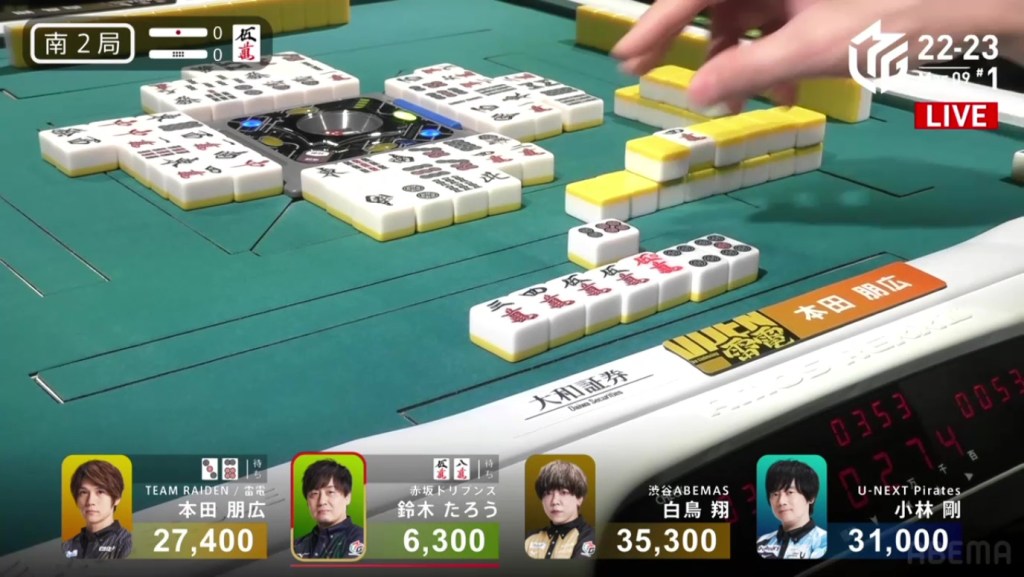
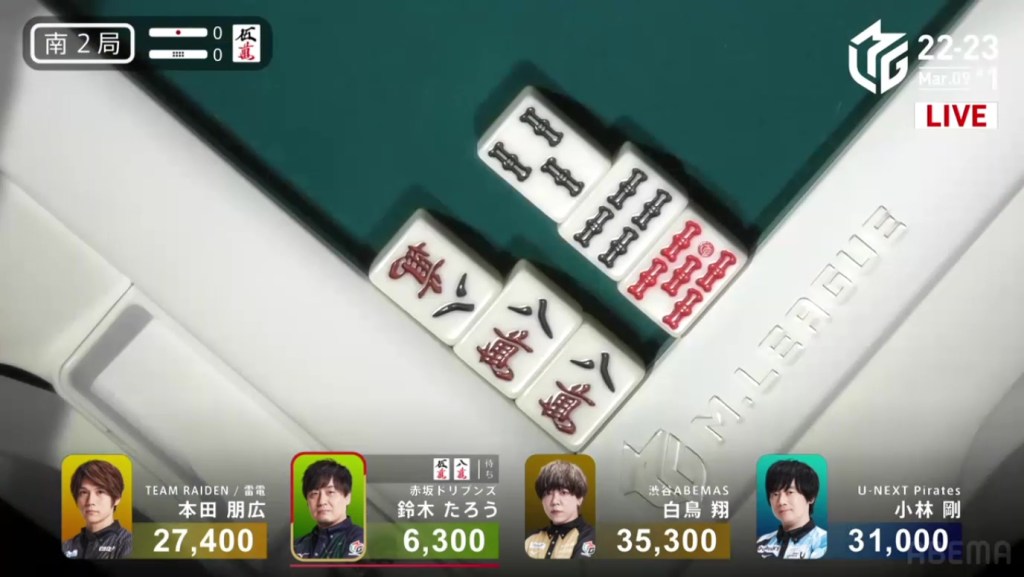
In E1-0, Honda is the dealer and trying hold up his team in 6th place. With the 7th place Akasaka Drivens hot on their heels, Honda needs to send Taro as low as possible.
Honda starts out the hand 3-shanten with a red 5p and a stray south. The hand looks like it will be a riichi only hand, but it does have potential value to carry it. In the first row, he creates some good shapes and some sequences, pushing his hand towards pinfu. As he advances, he still holds onto the lone south, hoping to pair it up. As Honda waits, Taro gets to tenpai and stays dama on a 5m kanchan, but has no yaku and no other value. He later switches to a 3m wait and then to a 25m wait, still yakuless and hoping for a red dora or a 345 sanshoku.
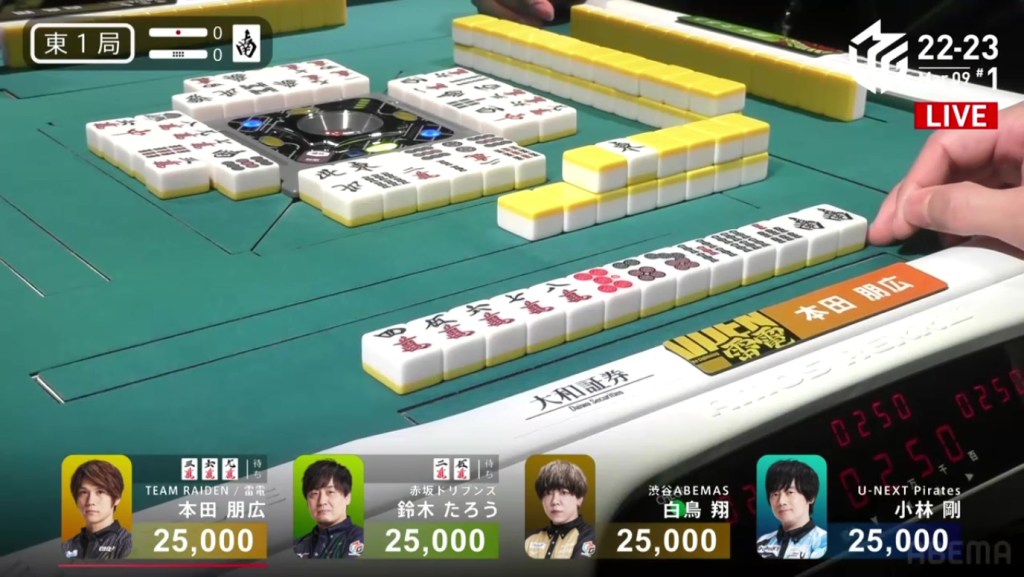
On turn 8, Honda finally draws the south to get to a ryanmen-sanmenchan iishanten. At the end of the second row, Honda gets to tenpai and stays dama on a 369m wait for mangan. With the south not being yakuhai, his hand qualifies for pinfu while having an honour dora pair. Right after, Taro discards the 6m and deals into Honda. Honda wins the hand with Pinfu/Dora 2/Aka 1 for 12,000, a big direct hit on their biggest opponent.
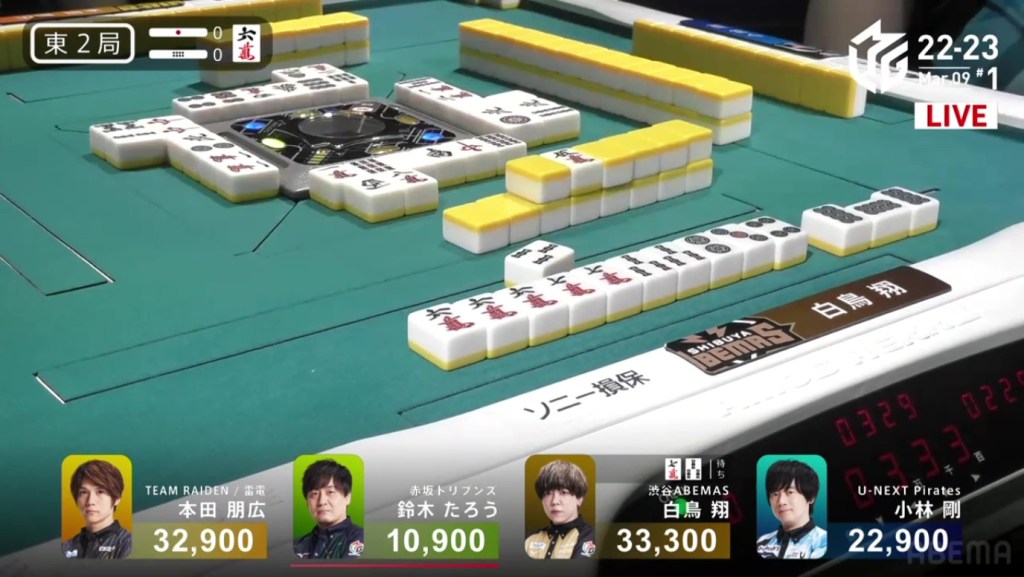
In E2-0, Shiratori is in 1st place 22,400 ahead of 4th place Taro. With the Drivens in 7th place in the standings, the Abemas want to push them lower to guarantee themselves a playoff spot.
Shiratori starts out the hand with three 6m dora, good value but far from tenpai at 4-shanten. In the first row, he moves his hand to tanyao in order to open it up and speed up his hand. By the end of the row, he is iishanten and waiting on 7 different tiles for tenpai. With a pon of the 8p, Shiratori gets to tenpai and waits on a 3s/7m shanpon. Right after, Taro draws the 3s. Being the dealer already at iishanten and the 3s not helping much, Taro throws it and deals directly into Shiratori. Shiratori wins the hand with Tanyao/Dora 3 for 8,000.
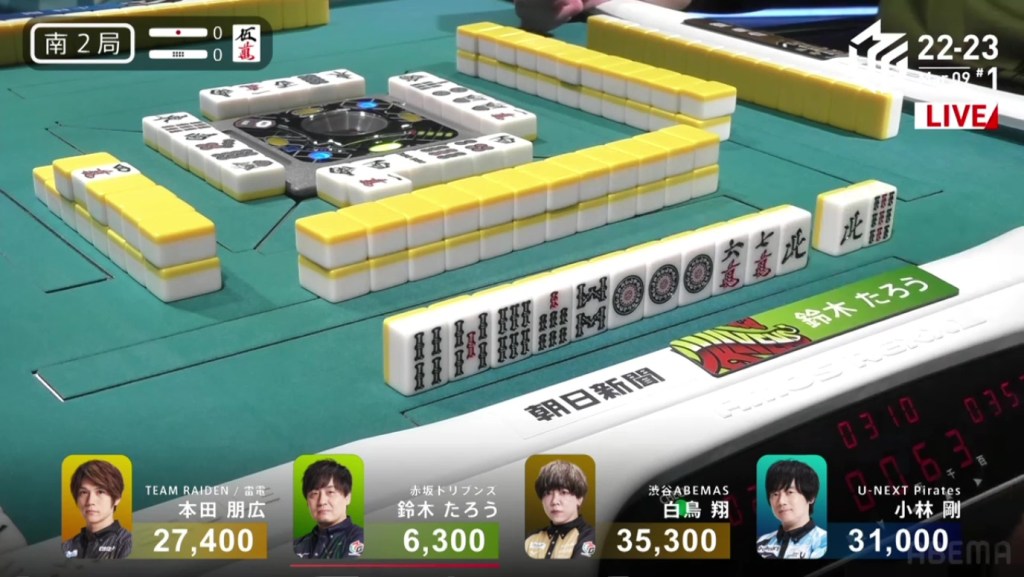
Skipping all the way to S2-0, Honda is in 3rd place after Taro directly hit him with a 6,400 hand. Though Taro is still below, Honda wants to climb the rankings and have even more space between them.
Honda starts out the hand 3-shanten with two ryanmens and a probably open tanyao mangan. Across from him is Shiratori, who starts out the hand iishanten with his first thirteen tiles. To Honda’s right is the dealer Taro, sitting 2-shanten with three ryanmens. With those three ryanmens, Taro is able to complete them quickly and get to tenpai first, calling riichi on a 58m ryanmen.
By this point, Honda has already called pon, has a mangan guaranteed and is iishanten. With not much to fold with, he pushes the hand in hopes of moving into 1st place. Drawing the red 5m double dora and a chii near the end of the second row, Honda gets to tenpai and waits on a 36p ryanmen. In the third row, Taro draws and discards the 6p and deals into Honda. Honda wins the hand with Tanyao/Dora 3/Aka 2 for 12,000 plus Taro’s riichi stick, a big hit to move into 1st place.
Honda would keep this 1st place and Taro would never recover, widening the gap between 6th and 7th.
Kurosawa
March 9, Game 2
Video: https://abema.tv/video/episode/444-14_s70_p735
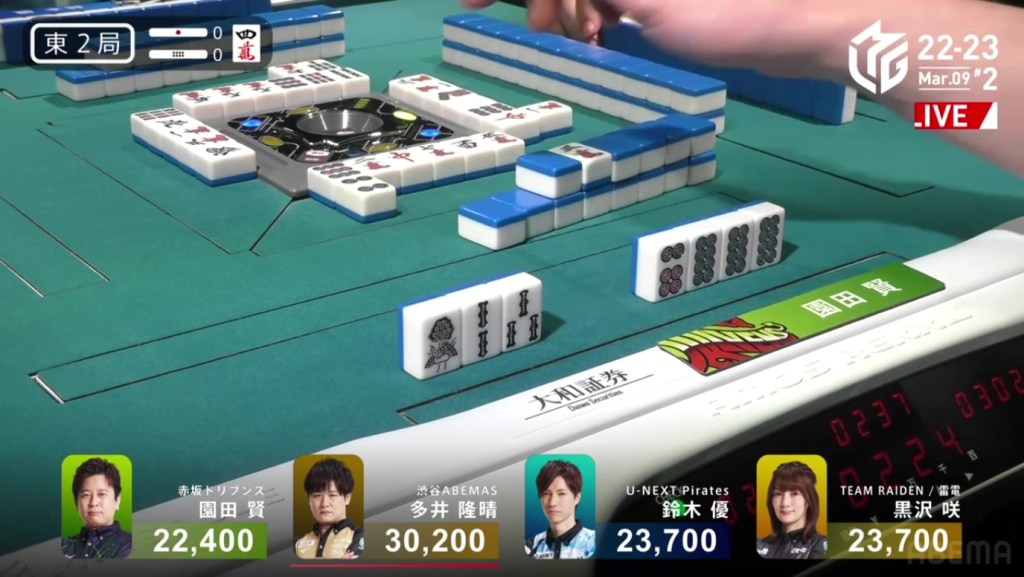
In E2-0, Kurosawa is tied for 2nd place and 6,500 behind 1st place Ooi. With Honda’s win the previous game, the team has an opportunity to move up to 5th, 4th or even 3rd with the right circumstances. Even if they don’t move up in the rankings, a big win would almost guarantee them a spot in the semifinals.
Kurosawa starts out the hand 2-shanten with a dora 4m and a red 5m. If she doesn’t get the three specific tiles she needs to sanshoku, she would have to hope for riichi to cash in the dora. In the first row, she makes a 47p ryanmen to get to iishanten and waits on four different tiles for tenpai. As she looks to draw well, her opponents are opening up with fast hands. Yu has already called once for honitsu and Sonoda has called the green dragon for yakuhai. With one more call by Sonoda, he gets to tenpai and waits on a 67p wait.
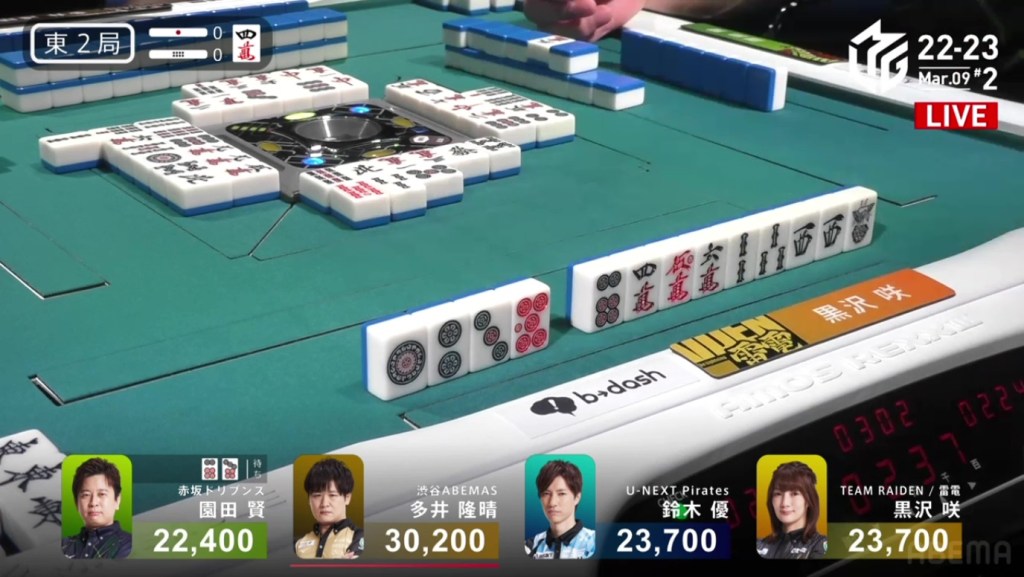
In the middle of the second row, Kurosawa gets to tenpai and calls riichi on a 47p ryanmen, having a chance to upgrade to haneman if she can find two more han.
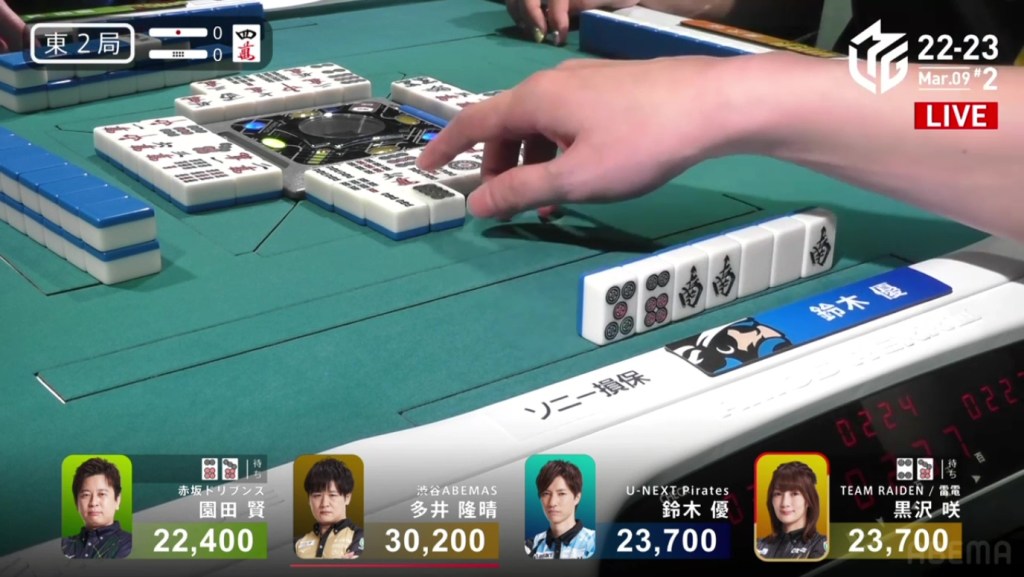
Right after, Yu gets to tenpai on a 47p ryanmen as well for mangan minimum. With Yu being earlier in turn order, a 4p discard from Sonoda or either wait from Ooi would have Yu winning and Kurosawa getting nothing.
With three players waiting on the 7p and three left in the wall, we expected the 7p to be the winning tile. However, Kurosawa managed to draw one of the last two 4p, bypassing Yu and winning the hand. Kurosawa wins with Riichi/Tsumo/Dora 1/Aka 2/Ura 1 for 3,000/6,000 to move into 1st place.
Video: https://abema.tv/video/episode/444-15_s90_p902
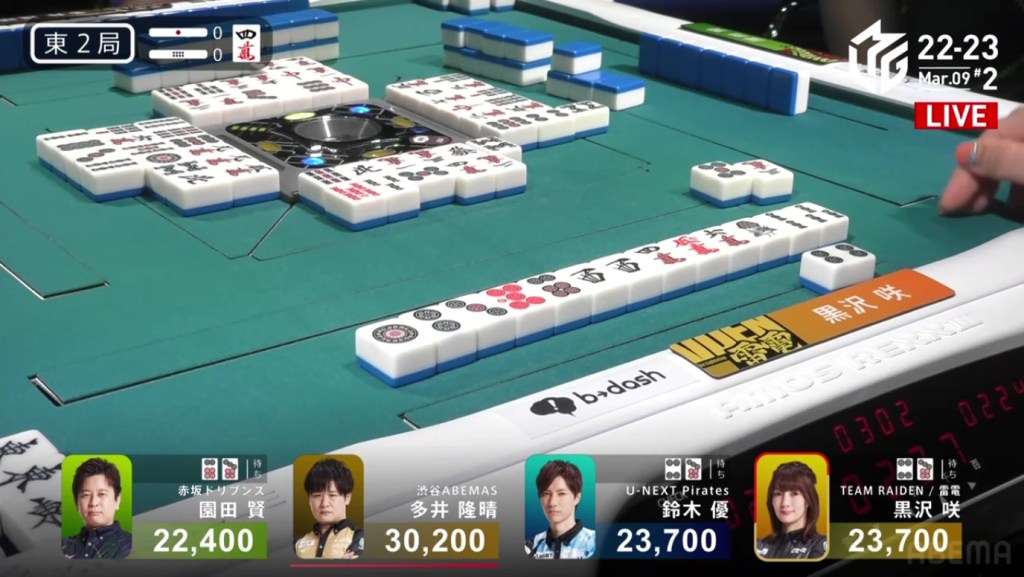
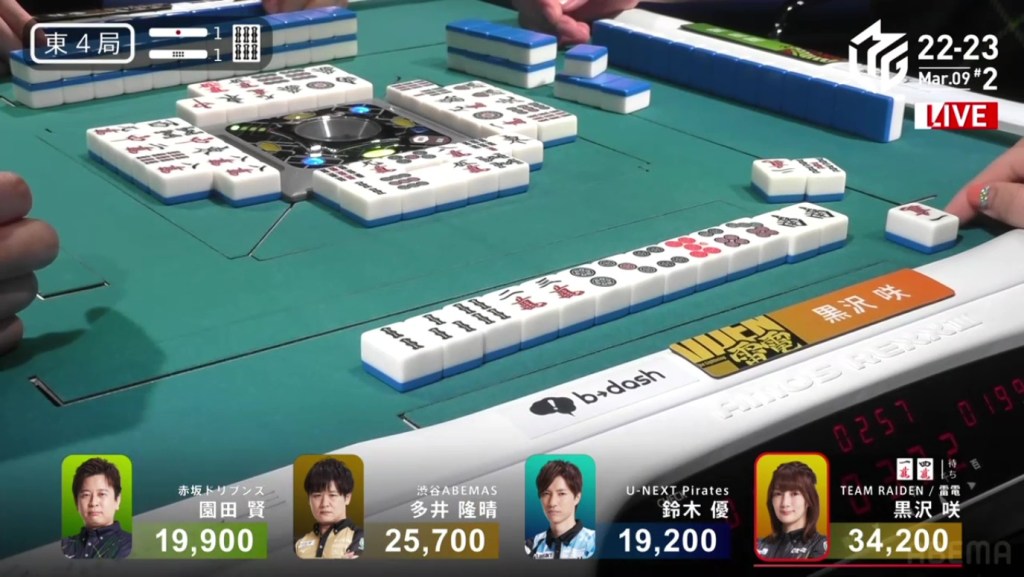
Skipping to E4-1, Kurosawa is now the dealer and starts out with a big 2-shanten hand with two ryanmens. With just two more draws, Kurosawa is able to get to an ideal tenpai and calls riichi on a 14m ryanmen (with the 4m giving her sanshoku). With such an early dealer riichi, no one dares to poke the bear. With fairly little resistance, all Kurosawa had to do is wait. At the end of the second row, Kurosawa draws the 1m and wins the hand. Kurosawa wins with Riichi/Tsumo/Pinfu/Aka 1/Ura 1 for 4,000+100 plus one riichi stick to put her above 45,000.
Kurosawa would go on to win the game to make it two in a row for Team Raiden and put them 45.0pts away from 3rd place at the end of the day.
Furiten Ippatsu Takame
March 10, Game 1, E1-0
Video: https://abema.tv/video/episode/444-14_s60_p746
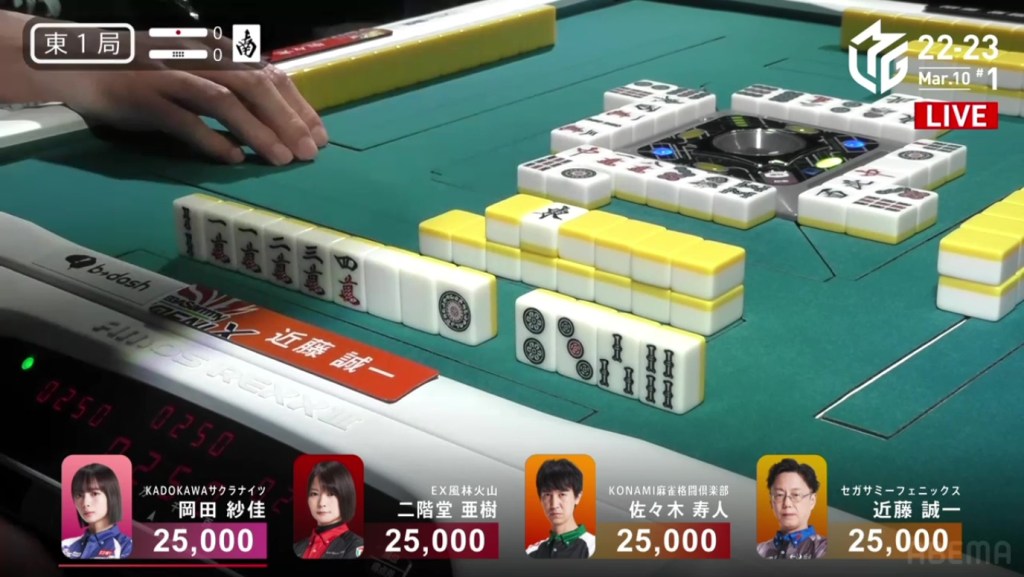
In E1-0, Kondo starts in the north seat and is trying to save the team from being eliminated. With the team in 7th place, they desparately need a 1st.
Kondo starts out the hand 4-shanten with a ryanmen and and extremely distant chance at chanta. With less than ideal shapes and no value to be found, there wasn’t much hope. Still, a lot can change in the first few draws. In the first row, Kondo pairs up the white dragon, makes another ryanmen and fills it in to get to iishanten by the end of the row. In the second row, he fills in his last ryanmen to get to tenpai and calls riichi on a 1m/white dragon shanpon. Unfortunately, he is furiten because of the 1m that he discarded on turn two. With only one of each left and none of the dora souths visible, he is taking a very big risk.
The riichi looked like a huge mistake when Hisato called riichi during the ippatsu round on a 58m ryanmen (with the 8m giving sanshoku).

Even when the chances were so small, Kondo was able to draw the last white dragon on his very next draw to win the hand. Kondo wins with Riichi/Ippatsu/Tsumo/White Dragon/Ura 1 for 2,000/4,000 plus one riichi stick.
Yakuman Tenpai?!!
March 10, Game 2, S1-3
Video: https://abema.tv/video/episode/444-14_s60_p747
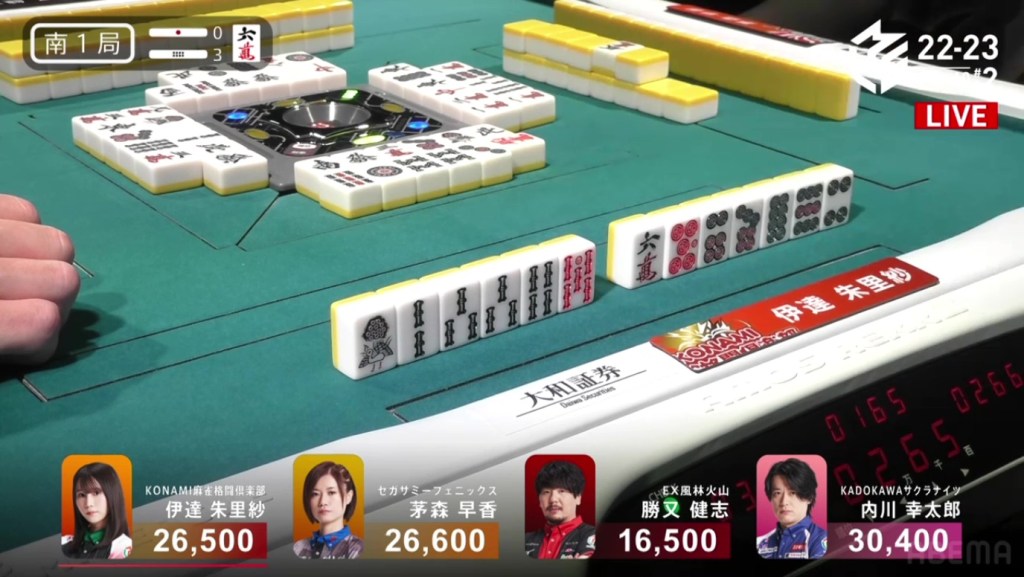
In S1-3, Kayamori is in 2nd place and 3,800 behind 1st place Uchikawa. With Kondo’s win the previous game, Kayamori wants to make it back-to-back to get the team closer to a semifinals spot.
Kayamori’s hand starts out the hand 3-shanten with an ankou of 9m and pairs of 3p and west. She starts out by breaking a penchan, aiming for efficient shapes and possibly converting to toitoi or chiitoi.
To Kayamori’s left, Date has very nice shapes, 3-shanten with two red doras and a 6m dora.
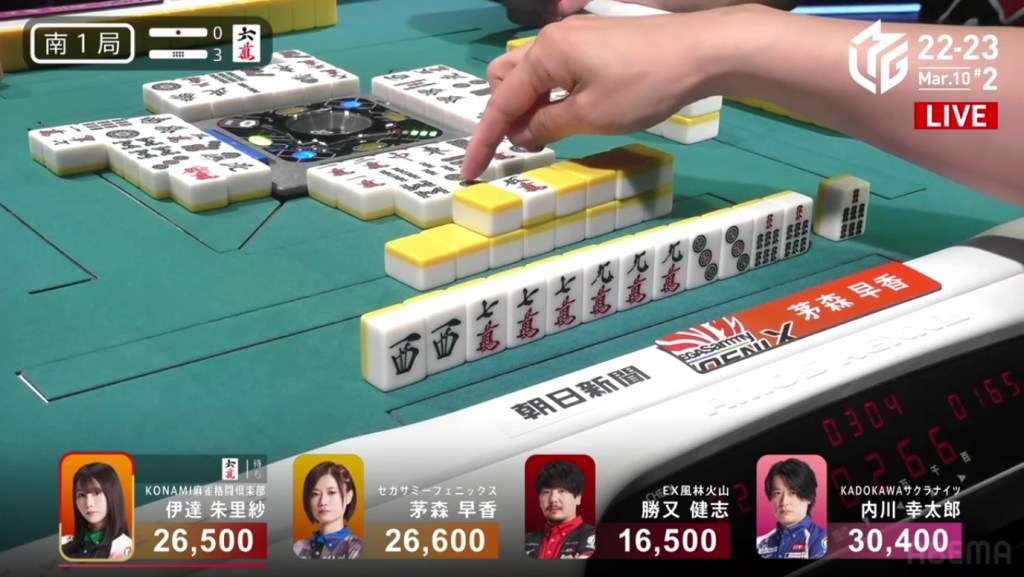
In the first row, Date is able to connect her dora and get to iishanten by turn 5. For Kayamori, she creates a pair of 7s, but is otherwise unproductive. In the second row, Kayamori gets a pair of 7m to get to chiitoi iishanten. In the middle of the row, she makes the 7m an ankou and gets to iishanten for a potential suuankou.
As Kayamori waits, Date improves her iishanten. When Date throws the 3p to accept a ryanmen, Kayamori chooses not to call it for toitoi, aiming for a more expensive hand. On Date’s next turn, she gets to tenpai and calls riichi by throwing the red 5m and waiting on the 6m, guaranteed at least a dealer mangan if she wins.
Date’s riichi poses a risk to Kayamori’s pursuit, but it does come with some perks. With the 3p being safe against Date, players that are folding against Date may throw it and Kayamori will be able to use it. Counting winning tiles, Date only has two 6m left. As Katsumata draws one, it goes down to one. Near the middle of the second row, Kayamori draws a 7s to make her third ankou and get to tenpai on a west/3p shanpon.
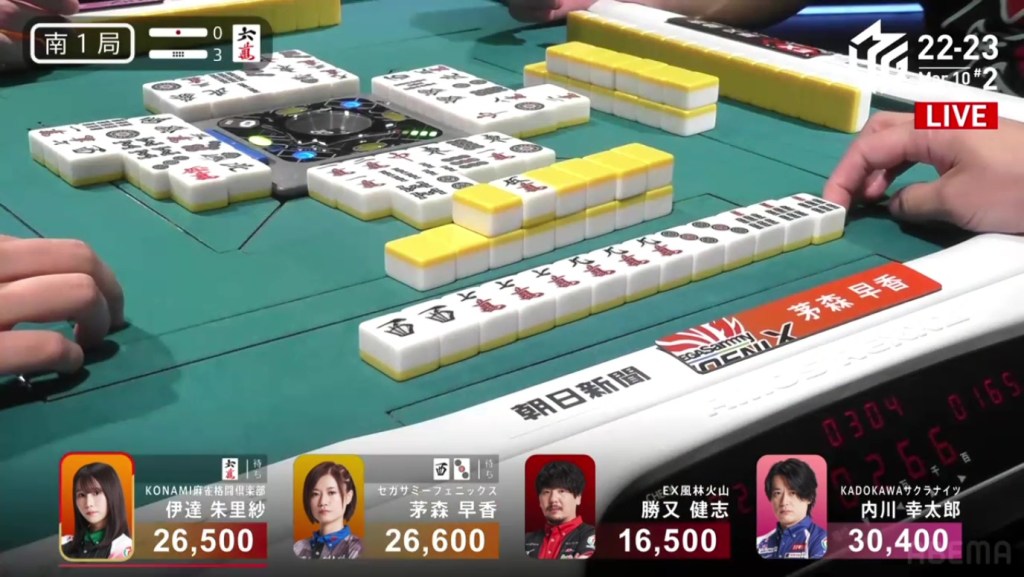
One west and one 3p sit in the wall. Two tiles that, if drawn, give Kayamori the yakuman. Within the first go-around, Date ends up drawing and discarding the west and deals into Kayamori. Kayamori wins the hand with Toitoi/Sanankou for 8,000+900 plus one riichi stick. It’s not the yakuman she wanted, but it bring her up to 1st place.
Escaping 4th
March 10, Game 2, S3-0
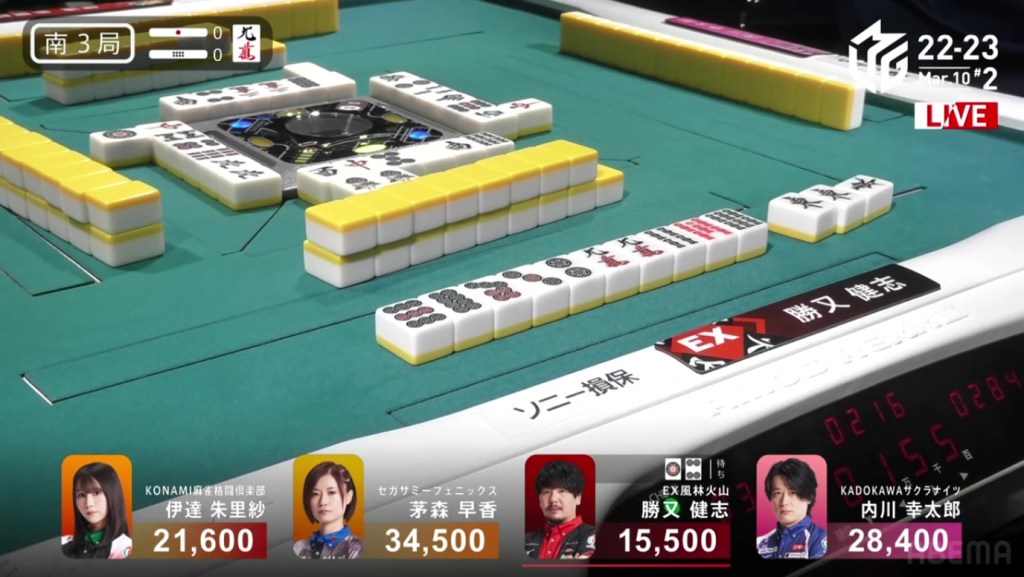
In S3-0, Katsumata is the dealer in 4th place, 6,100 behind 3rd place Date. Though the team isn’t in trouble, getting as many points before the semifinals will give them a slight advantage.
Katsumata starts out the hand far from tenpai, 4-shanten for chiitoi and 5-shanten from a standard hand. Despite this distance he does have value through a pair of easts and a lone 9m. In the first row, he draws a red 5s, creates a ryanmen and fills it in, getting to 2-shanten in four turns. On turn 5, he gets to iishanten. In the second row, she swaps out his 1s pair for a 9m pair, guaranteeing at least a mangan if he wins. When the east comes out, he calls pon and gets to tenpai on a 14p ryanmen. When 1st place Kayamori draws the 1p, she discards it to keep her iishanten and deals into Katsumata. Katsumata wins the hand with East/Dora 2/Aka 1 for 12,000, bringing Katsumata up to 2nd and Kayamori down to 3rd.
