Highlights
Quick and Quiet

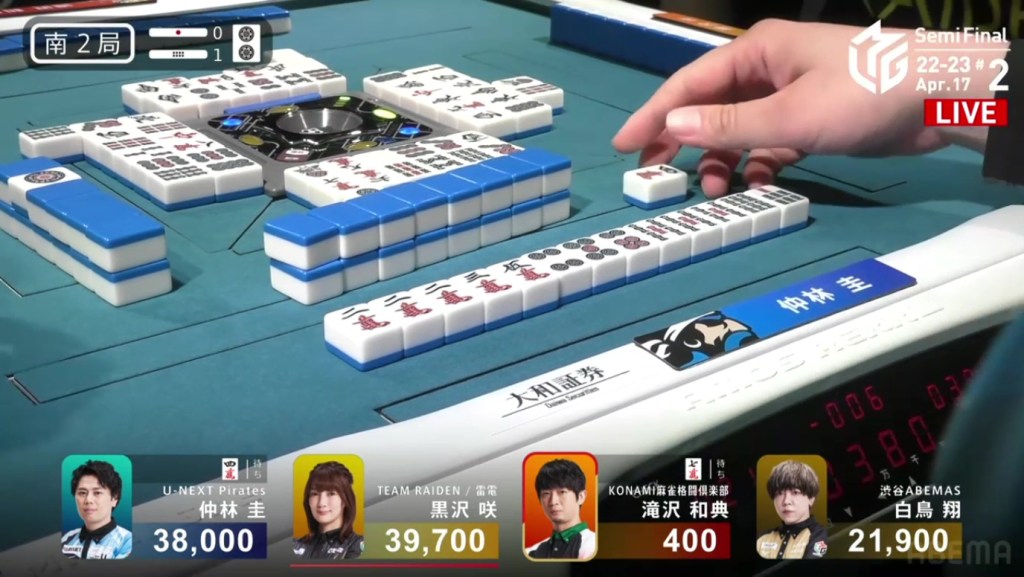
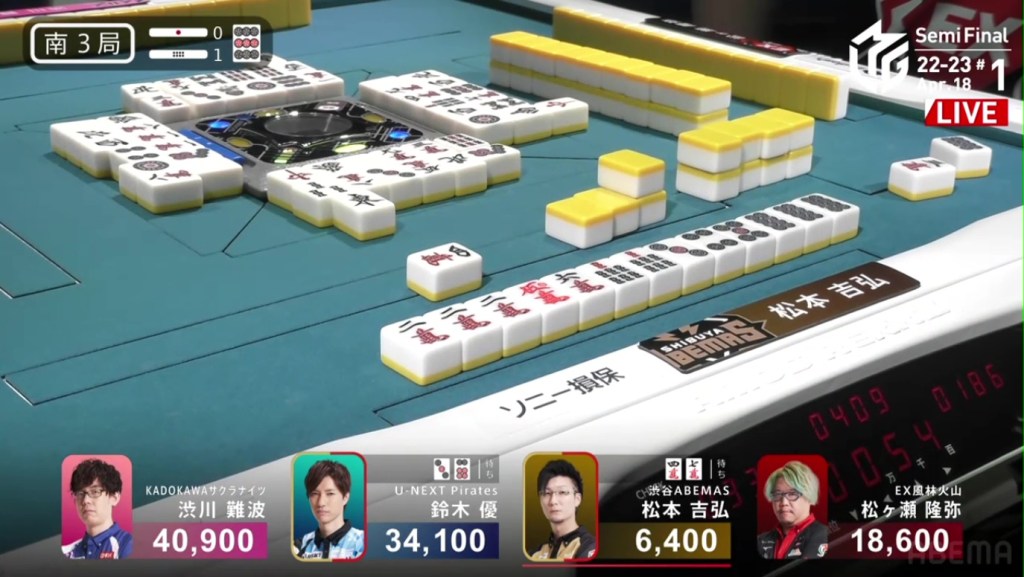
April 14, Game 1, S2-0
In S2-0, Katsumata is the dealer and sitting in 2nd place. If Katsumata can finish this game in 1st and Takamiya in 4th, the EX Furinkazan may be able to move into 1st overall in the standings.
Katsumata starts out the hand with an amazing 2-shanten, holding an ankou of norths, a 47s ryanmen and a 3s away from iipeikou. With a clear path to souzu honitsu, Katsumata has a chance to get a big win very quickly. On turn 2, Katsumata creates a 7s penchan to have yet another souzu block. On turn 3, he draws a 4s to complete the ryanmen and get to iishanten. On turn 5, Katsumata draws a 1s to guarantee ittsuu and get to tenpai on a 7s penchan, staying dama. Within the next go-around, Takamiya discards her isolated 7s and deals into Katsumata. Katsumata wins the hand with Honitsu/Ittsuu for 12,000, plushing Katsumata up to 40,000 and Takamiya down to 4th, exactly what the EX Furinkazan wants.
Kuma Kuma Time
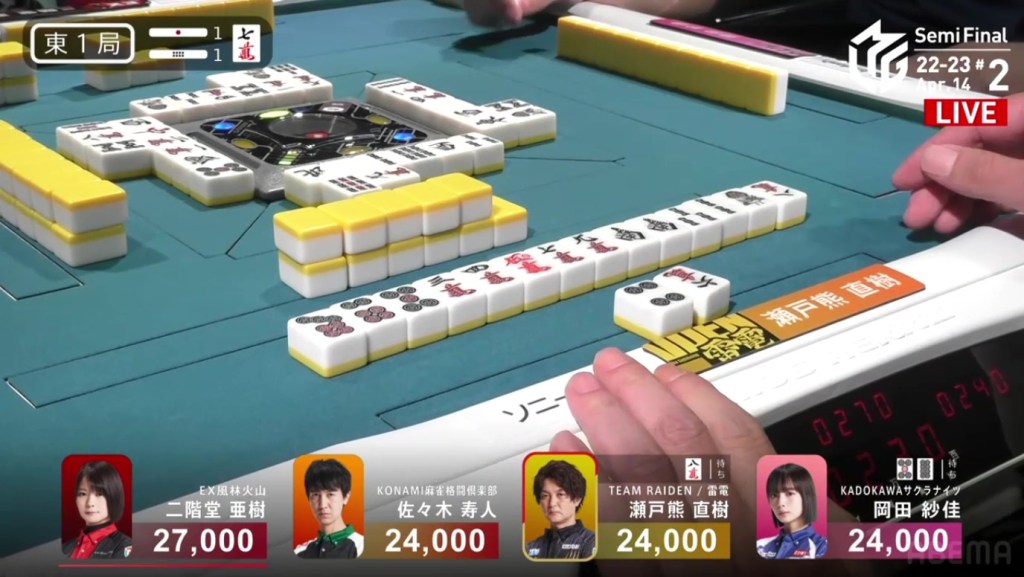
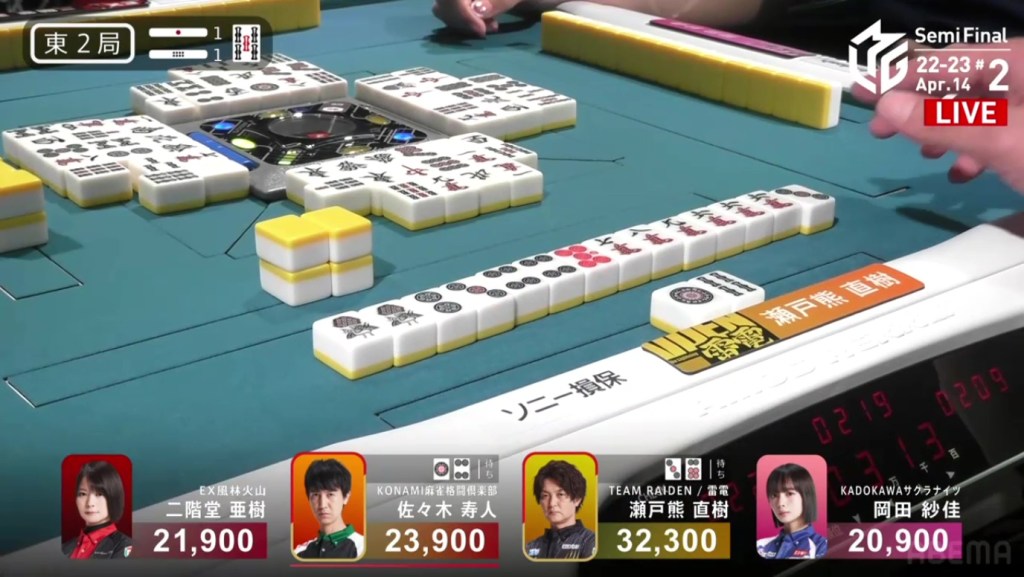
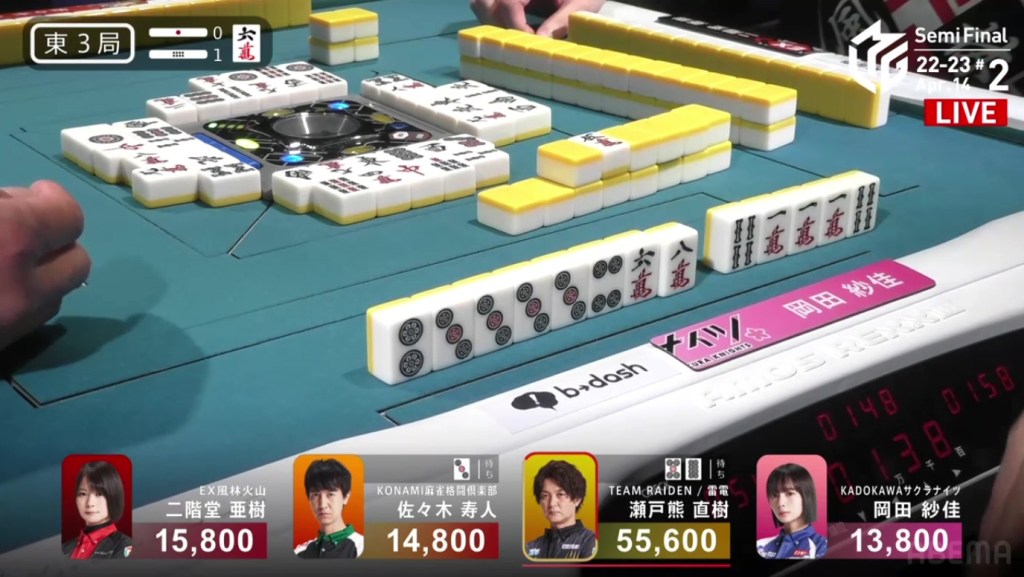
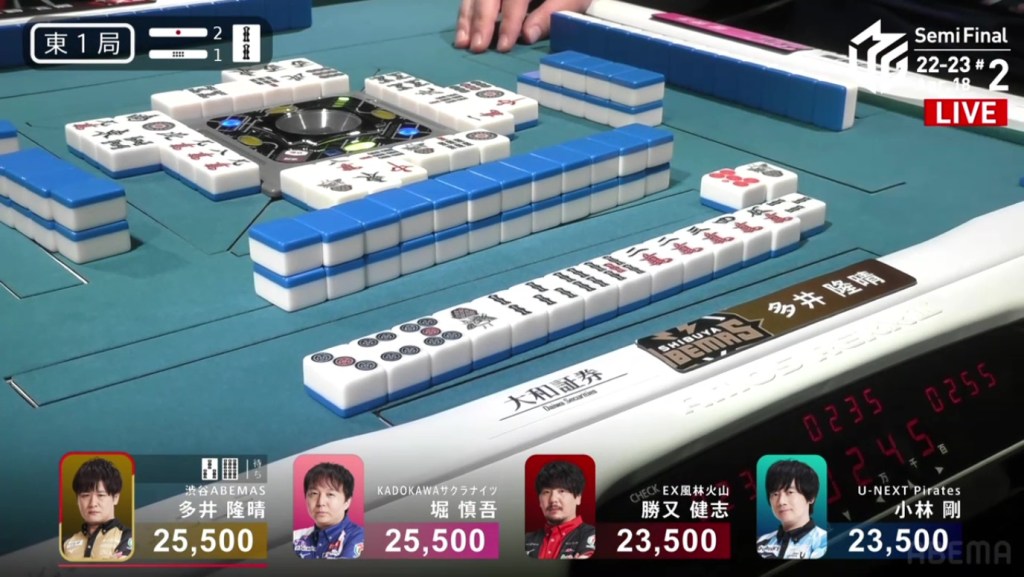
April 14, Game 2
In E1-1, Setokuma is the team’s representative this game and trying to bring the team out of 5th place. With a 1st place this game, Team Raiden may move up to 4th or even 3rd.
Setokuma starts out the hand 3-shanten for both chiitoi and a standard hand with a red 5m and a 7m dora. In the first row, Setokuma fills in a kanchan, makes a sequence and gets to iishanten on turn 5, waiting on a 3689m or south for tenpai. On turn 8, Setokuma draws a 3m and calls riichi on an 8m kanchan to use the dora 7m. Right after, Setokuma gets to tenpai, Okada makes a call to get a 58p ryanmen, but her call ends up shifting the wall and giving Setokuma the 8m on his next draw. Setokuma wins the hand with Riichi/Tsumo/Dora 1/Aka 1/Ura 1 for 2,000+100/4,000+100 plus one riichi stick.
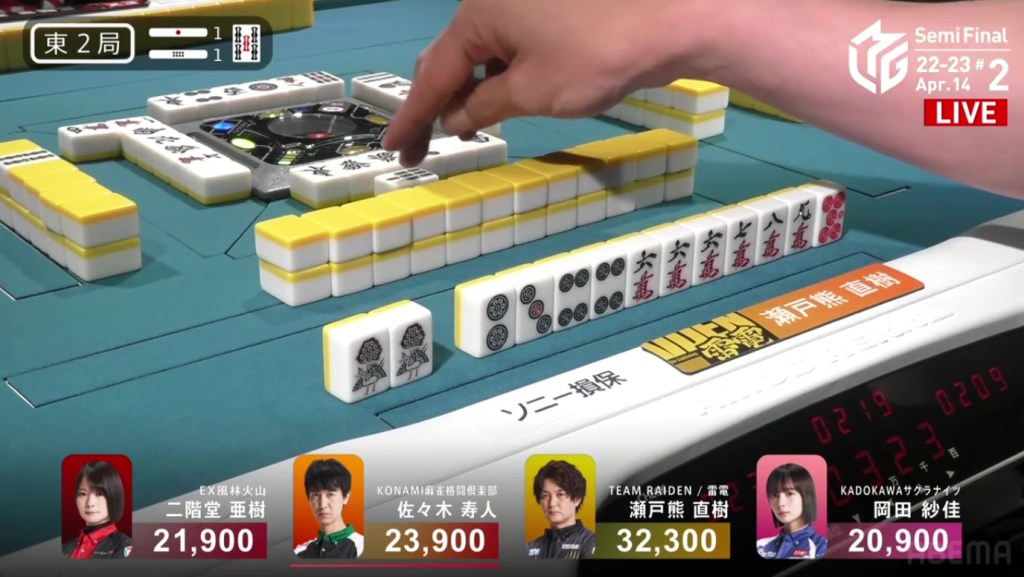
Moving to E2-1, Setokuma starts out with another 2-shanten hand, this time with no value. The first row gave Setokuma mostly useless honour tiles, leaving him stuck mostly stuck. On turn 6, Setokuma is able to fill in a 7m penchan to get to iishanten and is now waiting on 12 different tiles for tenpai. On his very next draw, he draws the red 5p to give him value and he calls riichi on a 36p ryanmen.
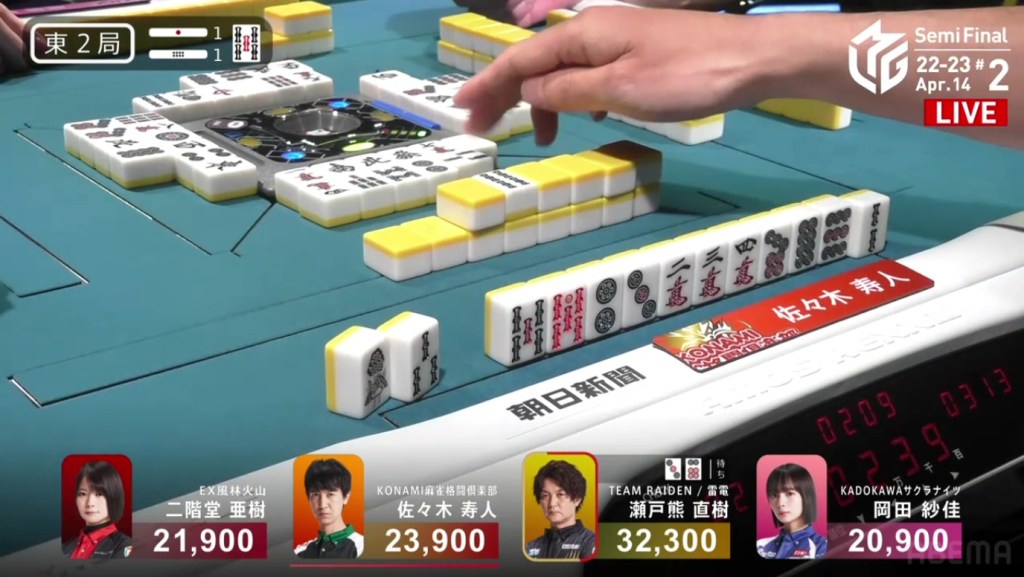
Counting tiles, Setokuma is waiting on three tiles to win. Looking at his opponents, it looks like none of them are pushing hard. However, even as Hisato breaks up a ryanmen, he still ends up drawing useful tiles. After pairing up the 5s dora (including the red 5s) and filling in a kanchan, Hisato gets to tenpai and calls riichi on a 14p ryanmen, fighting a riichi with a minimum dealer mangan.
Though Hisato’s wait is two-sided, his only hope of winning is a single 1p in the wall. But, players have often beat multiple-sided waits with a single tile. However, it wasn’t the case today. On Setokuma’s second-last draw, he finds the 3p and wins the hand. Flipping one uradora, Setokuma wins the hand with Riichi/Tsumo/Aka 1/Ura 1 for 2,000+100/4,000+100 plus two riichi sticks to pass the 40,000 mark.
Video: https://abema.tv/video/episode/444-14_s70_p744
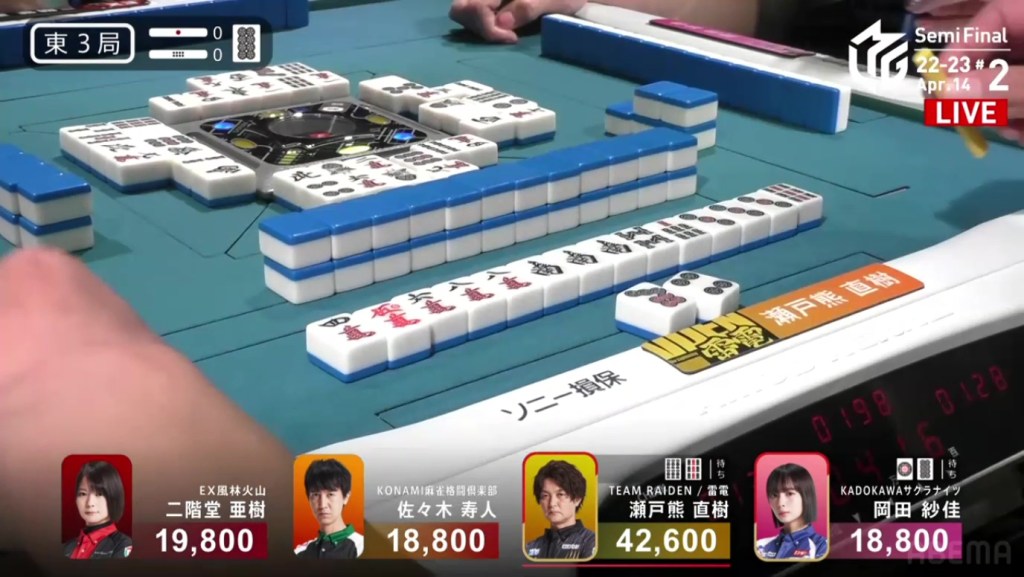
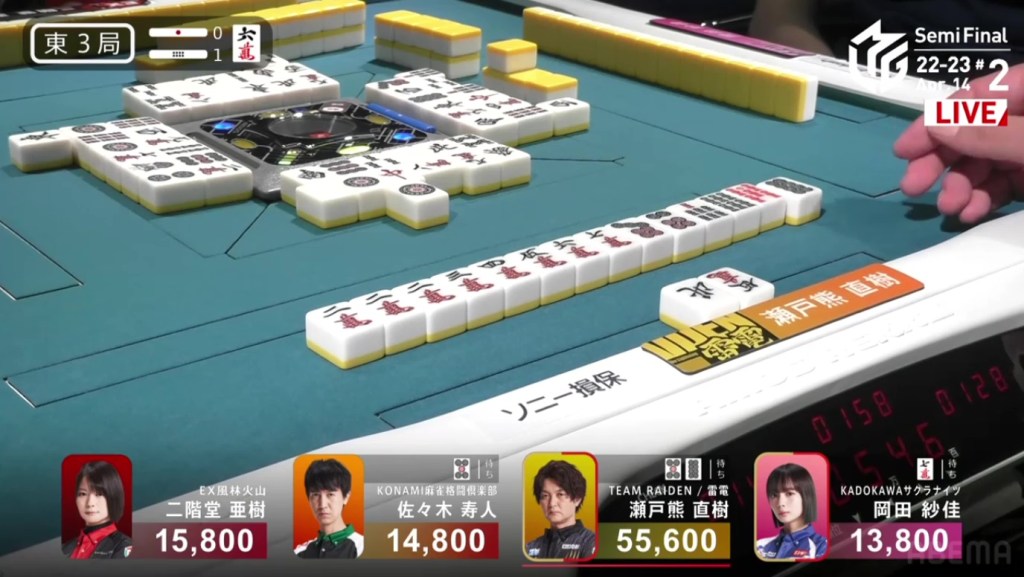
In E3-0, Setokuma is now the dealer and starts out 4-shanten with a red 5m for a bit of value. In the first row, he pairs up a lone south, makes an ankou of 3p and draws a 6m to fill in a ryanmen and get to iishanten on turn 5. In the middle of the second row, Setokuma makes the souths an ankou and calls riichi on a 69s ryanmen. Right after Setokuma, Okada gets to tenpai and calls riichi on a 1p/8p shanpon. Unfortunately for her, Setokuma is too quick. On Setokuma’s ippatsu draw, he finds the 9s and wins the hand. Setokuma wins with Riichi/Ippatsu/Tsumo/Aka 1 for 4,000 all plus one riichi stick, passing the 55,000 mark.
Video: https://abema.tv/video/episode/444-14_s70_p745
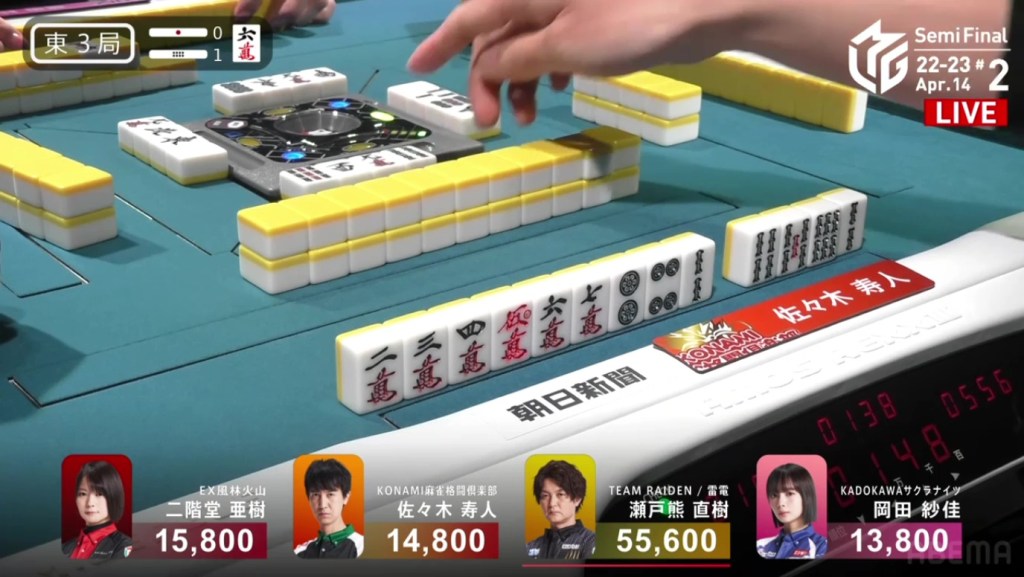
In E3-1, Setokuma starts out with a beautiful hand, 2-shanten with 2 completed sequences, 2 ryanmens and 2 dora (a red 5s and a 6m dora). On turn 3, he makes a pair and gets to iishanten for a guaranteed mangan. However, even though Setokuma’s hand seems like it would be the fastest, Hisato is table to get to tenpai on turn 4 and waits dama on a 3p kanchan.
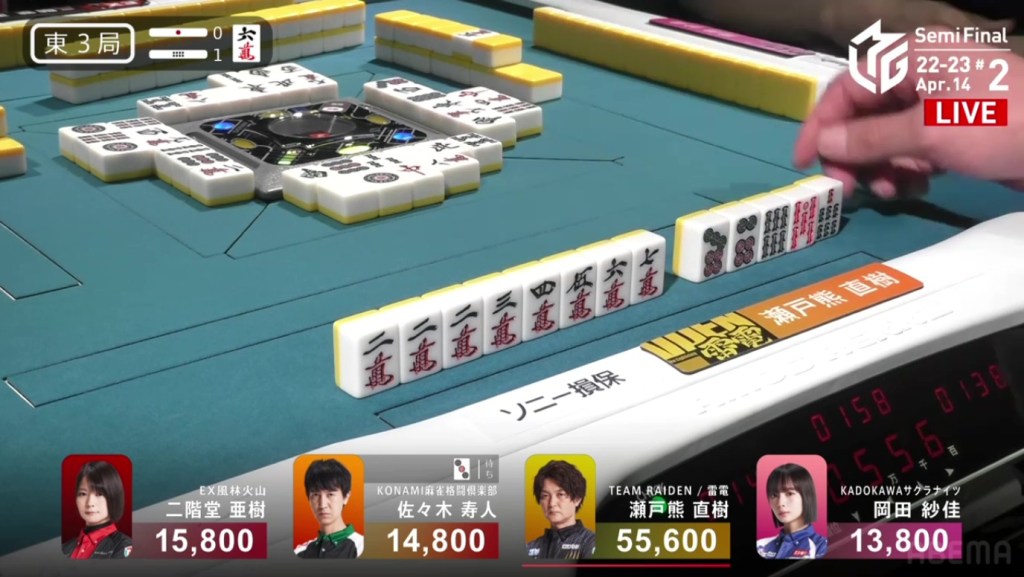
On turn 4, Setokuma has the choice to call chii for a 3-han tenpai, but he chooses not to in order to aim for more points. After quite a few turns of waiting, Setokuma finally get to tenpai in the middle of the second row and calls riichi on a 58p ryanmen. If he draws it himself or finds an uradora, he would upgrade to a haneman. If he gets the 5p, he would add sanshoku. If both these elemnts combine, he would get a baiman.
Just two turns later, Okada would join the fray by calling riichi on a 7m kanchan, fighting against the dealer riichi.
With three players tenpai, we wondered if the big hand would win or if David would slay Goliath. In the third row, 1st place Setokuma made sure that his dealership continued by drawing his winning 8p. Setokuma wins the hand with Riichi/Tsumo/Pinfu/Tanyao/Dora 1/Aka 1 for 6,000+100 all plus one riichi stick to pass 70,000 even before the east round is finished.
Ura Ura
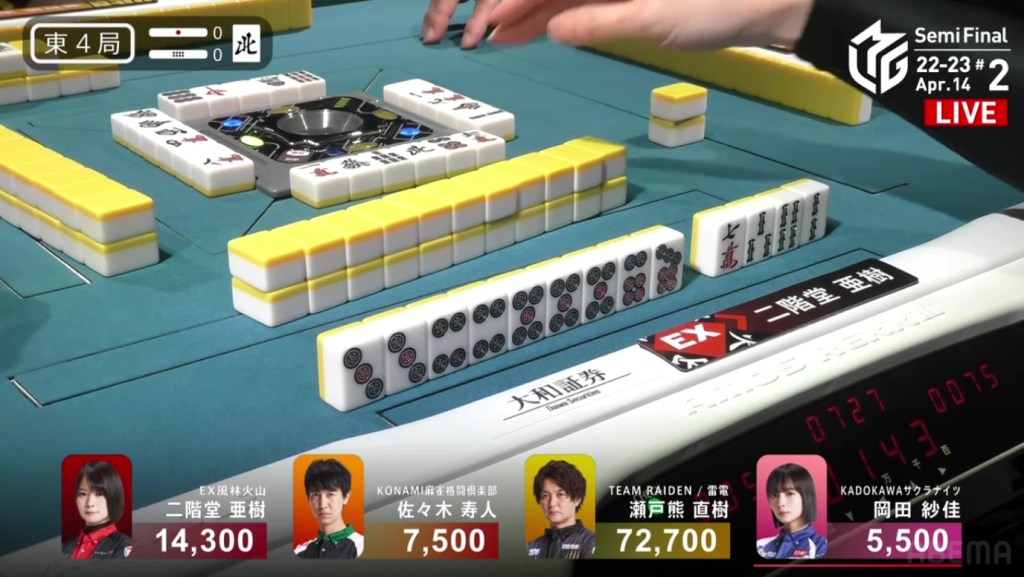
April 14, Game 2, E4-0
In E4-0, Hisato is in 3rd place and 6,800 behind 2nd place Aki. Though top spot seems out of reach, he wants to gain as many points for the team and reduce any possible losses.
Hisato starts out the hand 2-shanten with no guaranteed value, but does have options for junchan or a souzu ittsuu. On turn 3, Hisato draws a red 5s and becomes just a 6s away from ittsuu. On his very next draw, he draws the 6s he needs to get to iishanten. As Hisato waits, Aki gets to tenpai and waits dama on a 7m tanki.

Right after, Hisato gets to tenpai and calls riichi on a 7p penchan. With Setokuma holding two of them and Aki holding one, there is only one 7p left for Hisato to win with. Aki switches her wait around to stay safe and Setokuma manages to get to tenpai on a 2m tanki, both of them able to play spoiler. In the middle of the second row, Aki draws the red 7p and ends up dealing into Hisato. With a flip of the uradora, Hisato’s 1p pair becomes uradora and upgrades his hand to a haneman. Hisato wins with Riichi/Ittsuu/Aka 1/Ura 2 for 12,000 to move him into 2nd place
Takame
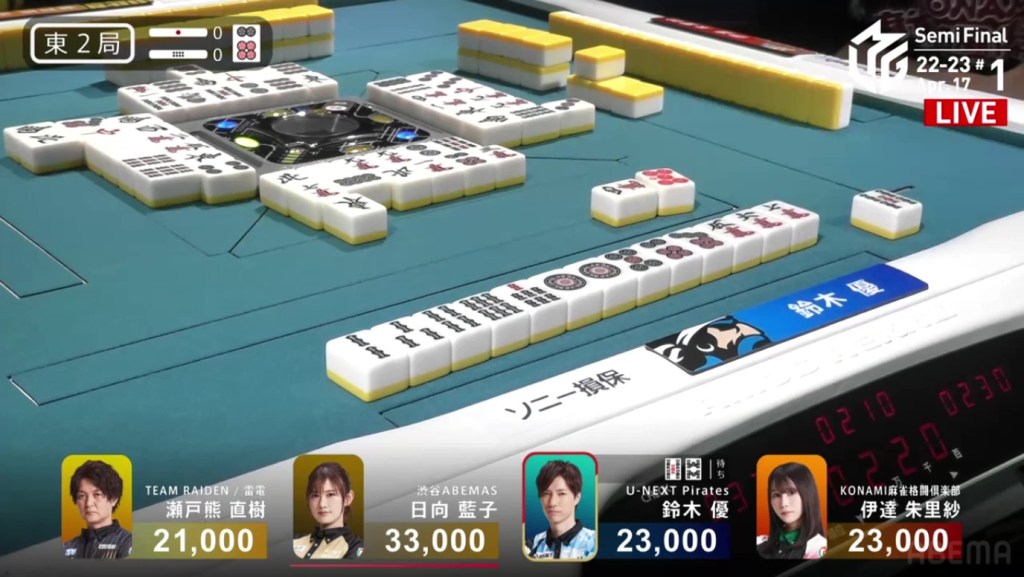
April 17, Game 1, E2-0
Video: https://abema.tv/video/episode/444-14_s80_p743
In E2-0, Yu is sitting tied for 2nd place and 10,000 behind 1st place. With the team in 6th place in the standings and sitting around 200.0pts away from 5th, they need to get some wins in now.
Yu starts out the hand 3-shanten with a secured 6p for value. With a bad kanchan and penchan shape, he will need to connect some isolated tile or fill them in to improve the state of his hand. In the first row, he converts the penchan into a pair, fills in a kanchan and makes a sequence in manzu. By the end of the first row, Yu has a choice to be tenpai on an 8s kanchan, but chooses not to in favour of aiming for pinfu or even a 567 sanshoku on a 5s or 6s draw. On turn 8, he draws the 6s and calls riichi on a 58s ryanmen, hoping for the 5s for sanshoku. In the 3rd row, Yu finds the last 5s in the wall and wins the hand. Yu wins with Riichi/Tsumo/Pinfu/Sanshoku/Dora 1/Ura 1 for 3,000/6,000 to move into 1st place.
The Rise and Fall of Takizawa Kazunori
April 17, Game 2
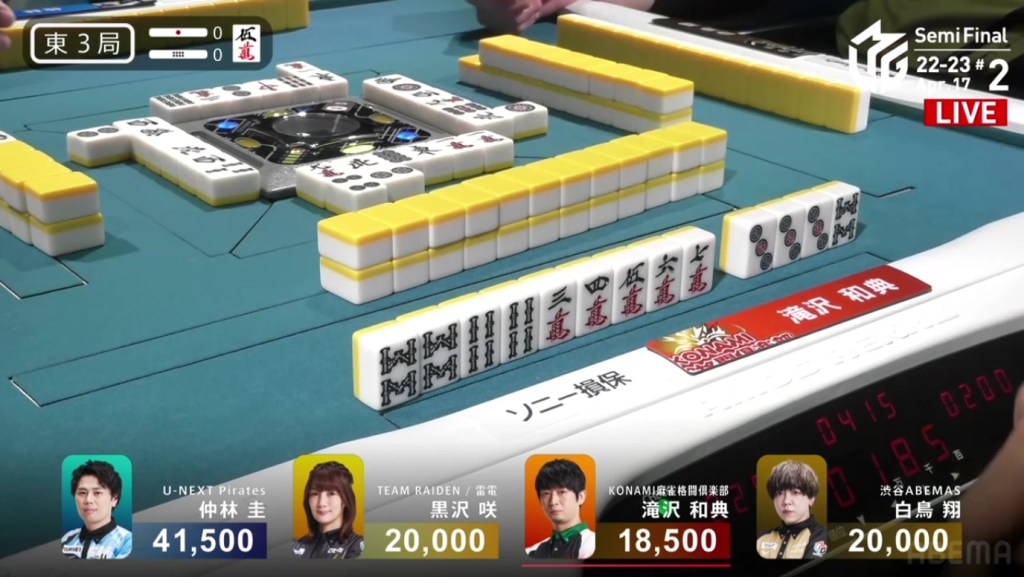
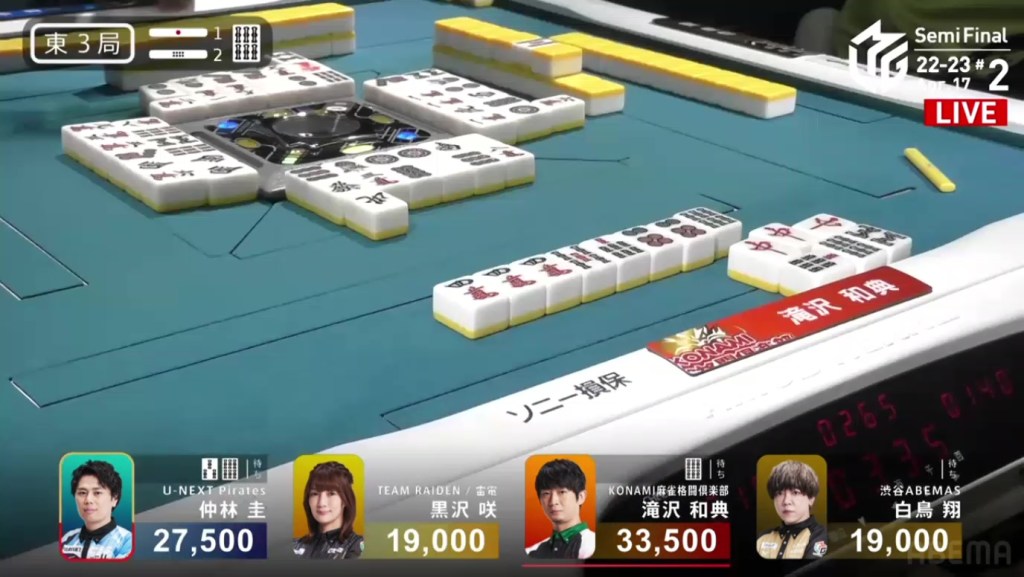
In E3-0, Takizawa is the dealer in 4th place, 1,500 behind both Kurosawa and Shiratori and 2,300 behind 1st place Nakabayashi.
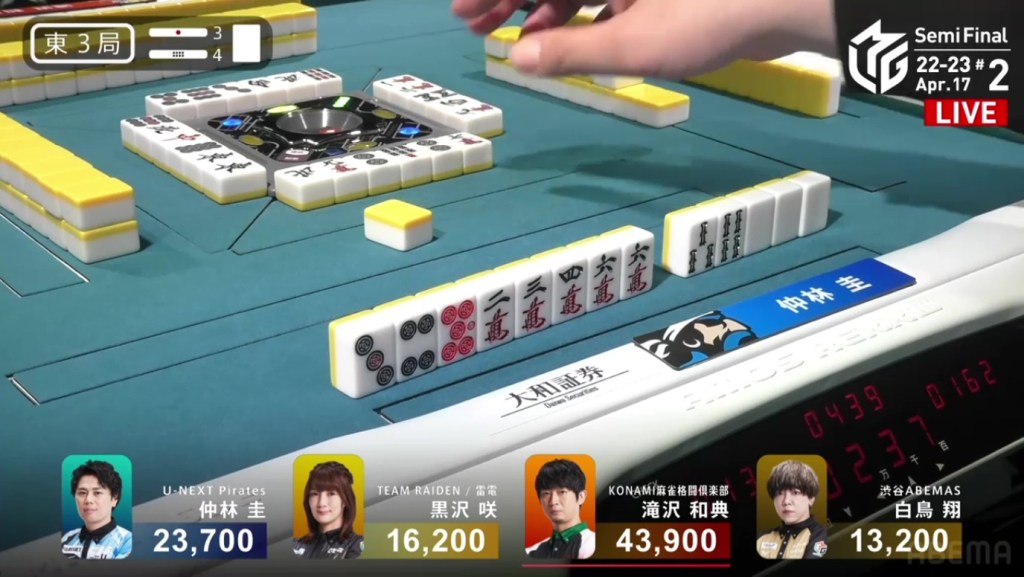
Takizawa starts out the hand 4-shanten with a 5m dora as part of a ryanmen. In the first row, he fills in that ryanmen, creates a 4s pair, creates a sanmenchan and shifts to tanyao. By the end of the row, he is iishanten with the ability to accept another 5m. On turn 8, he makes his 8s pair into an ankou and he calls riichi on a 258m wait.
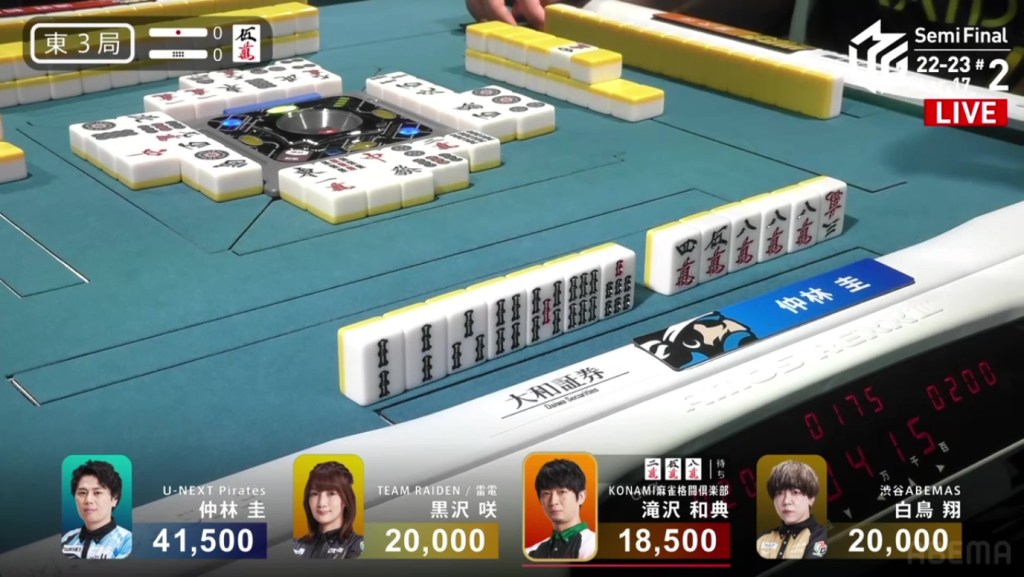
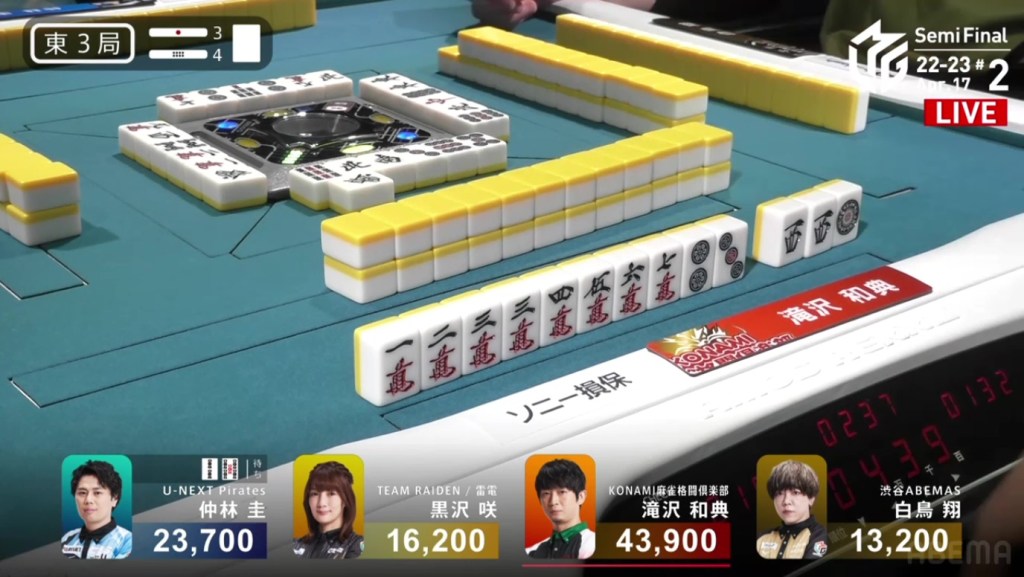
At this point, 1st place Nakabayshi is iishanten and also has tanyao with a dora. With good value and a good wait, he pushes. A few turns later, Nakabayashi gets to tenpai and calls riichi on a 258s sanmenchan.
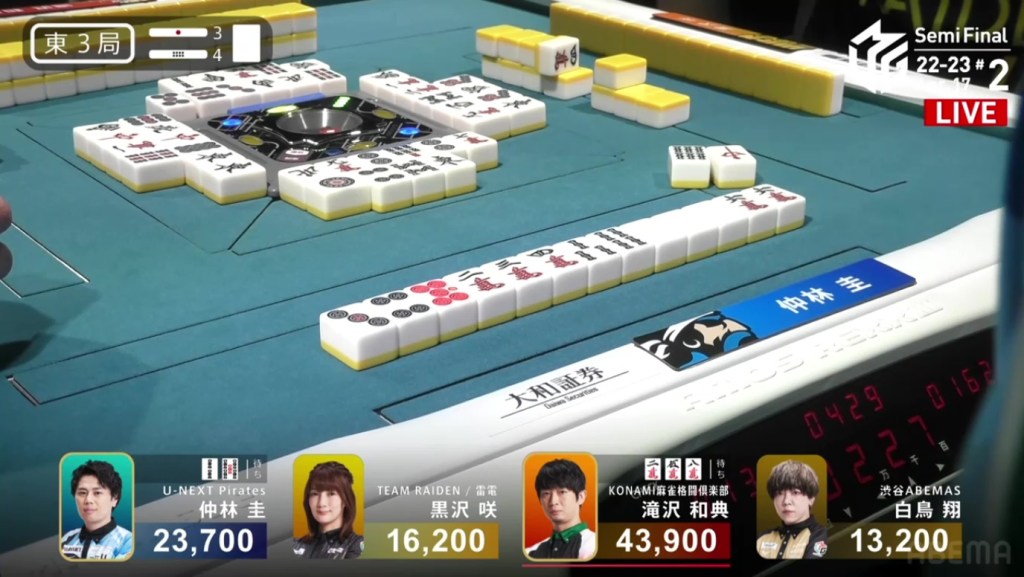
Two players with similar three-sided waits, only one may prevail. In the middle of the third row, Nakabayshi draws the dora 5m and ends up dealing directly into Takizawa. Takizawa wins the hand with Riichi/Tanyao/Dora 2 for 12,000 plus one riichi stick. With the direct hit off the top player, Takizawa jumps up to 1st place.
After the hand goes to a draw, Takizawa triest to get more points in E3-2. He starts out with an ankou of 4m, pairs of red dragon and 6p, and a dora 6s. Though he has some decent value, he will have to match his opponents in speed. By turn 4, Nakabayashi is already tenpai on a 3m yakuless penchan. To get rid of some bad shapes, Takizawa calls chii on a 7s kanchan to advance his hand to 2-shanten. After a few turns, Nakabayshi changes to a 36s ryanmen and calls riichi at the end of the first row.
With not too many tiles to fold with, Takizawa pushes his hand forward and fights Nakabayashi. When the red dragon is discarded, Takizawa calls pon and waits on a 6s kanchan. As Takizawa waits, Shiratori makes a call, getting himself to tenpai. However, after drawing a dangerous tile, he chooses to stand back instead. Near the middle of the third row, Takizawa draws the 6s and wins the hand. Takizawa wins with Red Dragon/Dora 2 for 2,000+200 all plus two riichi sticks to move above 40,000.
Video: https://abema.tv/video/episode/444-14_s80_p744
However, his luck then started to fade.
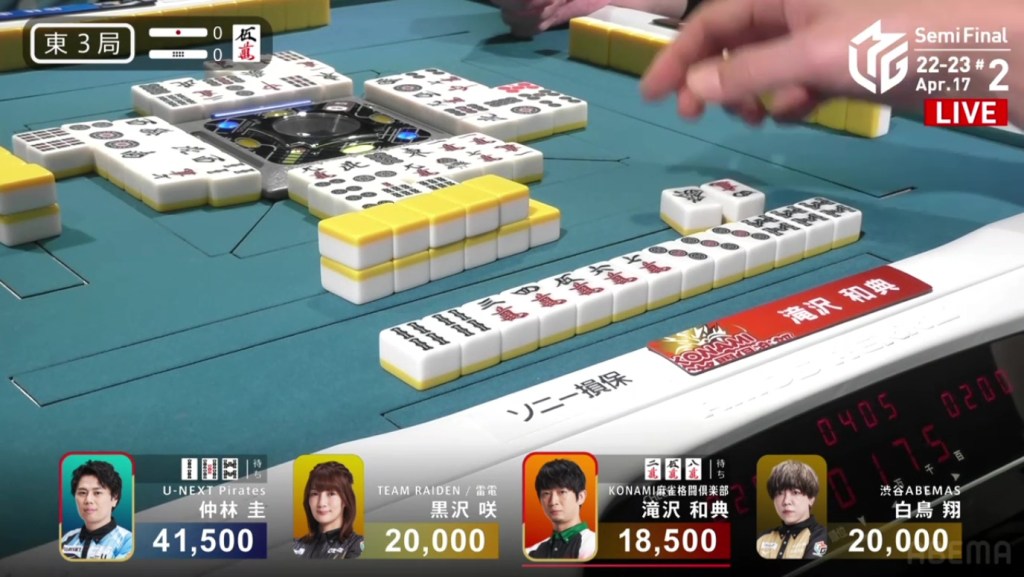
In E3-4, Nakabayashi is in 2nd place and there are 4,200 in bonus sticks for the taking. Nakabayashi starts out the hand 2-shanten with a pair of white dragon doras and a red 5p. He fills a kanchan on turn 2 for iishanten and then draws third white dragon to get to tenpai on turn 6. Since his hand was already worth a mangan, he chooses to stay dama on a 25s ryanmen.
Within the first go-around, Takizawa manages to get to tenpai as well and calls riichi on a 258m wait.
With the good wait and the riichi by Takizawa, Nakabayshi decides to chase with a riichi and upgrade his hand to a haneman. Near the end of the second row, Takizawa draws the 2s and deals into Nakabayashi. Nakabayashi wins the hand with Riichi/White Dragon/Dora 3/Aka 1 for 12,000. With the direct hit off the top player, Nakabayshi jumps up to 1st place.
In E4-0, Shiratori is the dealer in 4th place, 3,000 behind 3rd place Kurosawa and 16,500 behind 2nd place Takizawa.
Shiratori starts out 3-shanten with a dora 6p connected in his hand. The first row isn’t much help to him, only giving him a pair of 9m to advance his hand. The second row, however, was much more useful. He created pairs of 7p and 6p in his first few draws to actually create a 678p iipeikou and get him to tenpai on a 3m kanchan. Two turns later, he draws a pair of 4m and waits dama on a 4m/9m shanpon, giving him the possibility of shifting to chiitoi with a good tanki wait. Within the go-around, Kurosawa gets to tenpai and calls riichi on a 5p kanchan. With the 9m safe against Kurosawa, Takizawa tries to discard the 9m safely and ends up dealing into Shiratori. Shiratori wins the hand with Iipeikou/Dora 2 for 5,200 plus one riichi stick, pushing Shiratori up to 3rd place .
Video: https://abema.tv/video/episode/444-14_s70_p746
In S1-0, Kurosawa is in 4th place, 3,900 behind 2nd place Takizawa.
Kurosawa starts out the hand 3-shanten with a red 5p, a red 5m double dora, a probable tanyao hand and a 6p away from a potential iipeikou. In the first row, she makes her 8m pair an ankou and draws a third 5p to get to iishanten, waiting on a 7s or a 6m for mangan tenpai (later expanding her wait by drawing an 8p). As Kurosawa waits, Takizawa makes a call himself to advance to iishanten. At the start of the third row, Kurosawa draws another 8p, giving her the chance at a sanankou on a 7p or 8p draw. On her very next turn, she does draw a 7p to get to haneman tenpai on a 4m kanchan. With a draw of the 8p, she would have a chance at a suuankou tanki. A few turns later, Takizawa discards the 6m while trying to get to tenpai and ends up dealing into Kurosawa. Kurosawa wins the hand with Tanyao/Sanankou/Dora 1/Aka 2 for 12,000, moving her into 2nd place.
In S2-0, Kurosawa starts out 3-shanten with a pair of 3m dora and a pair of 9m. In the first row, Kurosawa starting picking up more pairs. On turn 2, she drew a second 2s. On turn 3, she pairs up the 4s. On turn 4, she pairs up the 9s to get to iishanten. On turn 8, she draws a white dragon to get her to tenpai. With decent value and a less than ideal wait, Kurosawa stays dama on a 3s tanki. Almost immediately, Takizawa discards the 3s trying to call riichi and deals in. Kurosawa wins with Chiitoi/Dora 2 for 9,6000 to put her into 1st place.
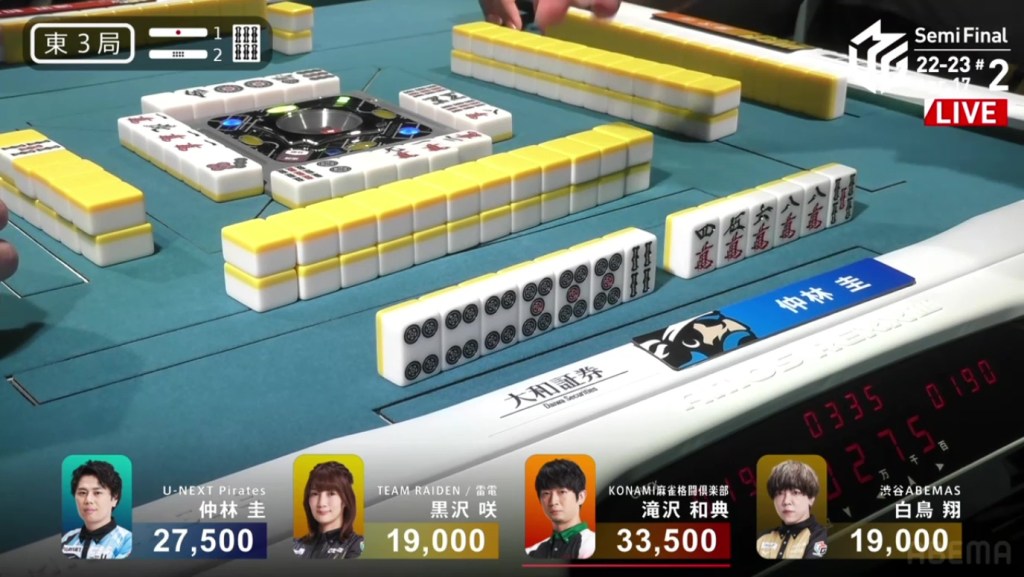
In S2-1, Nakabayshi is in 2nd place and just 1,700 behind 1st place Kurosawa.
Nakabayashi starts out the hand 3-shanten with a 5s ankou and a 678s sequence. Though it may seem nice, his hand lacks any value besides a possible tanyao. In the first row, he makes an ankou of 2m and some kanchans to get to iishanten. A turn later, he makes a 36p ryanmen. As Nakabayshi waits, Takizawa gets to tenpai for a huge Chiitoi/Honitsu/Aka 1 and calls riichi, throwing the 4m and waiting on a 7m tanki.
Though Nakabayshi has a cheap hand, he doesn’t have much for defence, almost forcing him to push. At the end of the second row, Nakabayashi gets to tenpai, throws a dangerous 7p and waits dama on a 4m, a tile safe against Takizawa. In the third row, Takizawa draws and discards the 4m, dealing into Nakabayashi and having his comeback dreams crushed. Nakabayashi wins the hand with Tanyao only for 1,300+300 plus Takizawa’s riichi stick.
Yakuman Tenpai!??
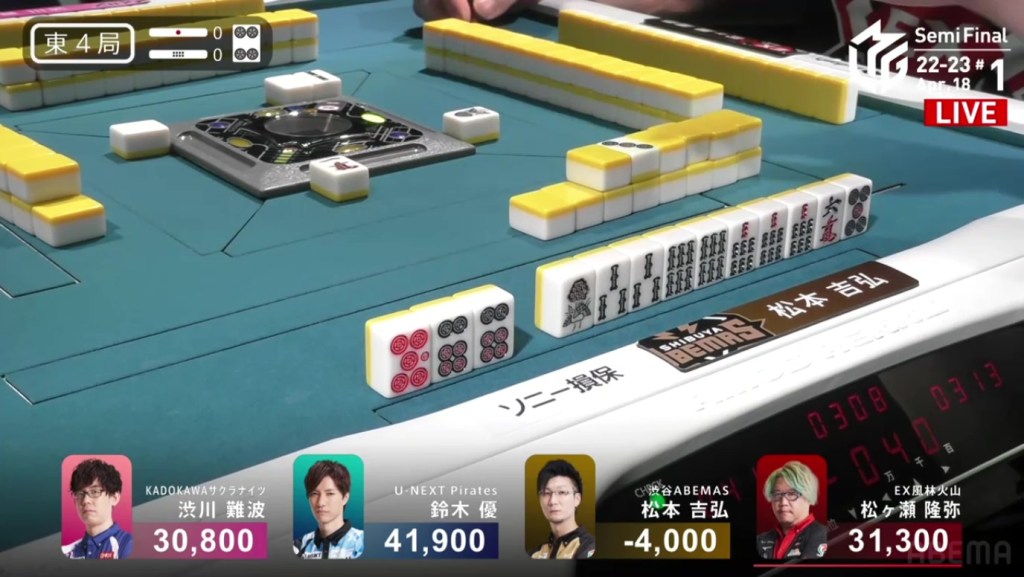
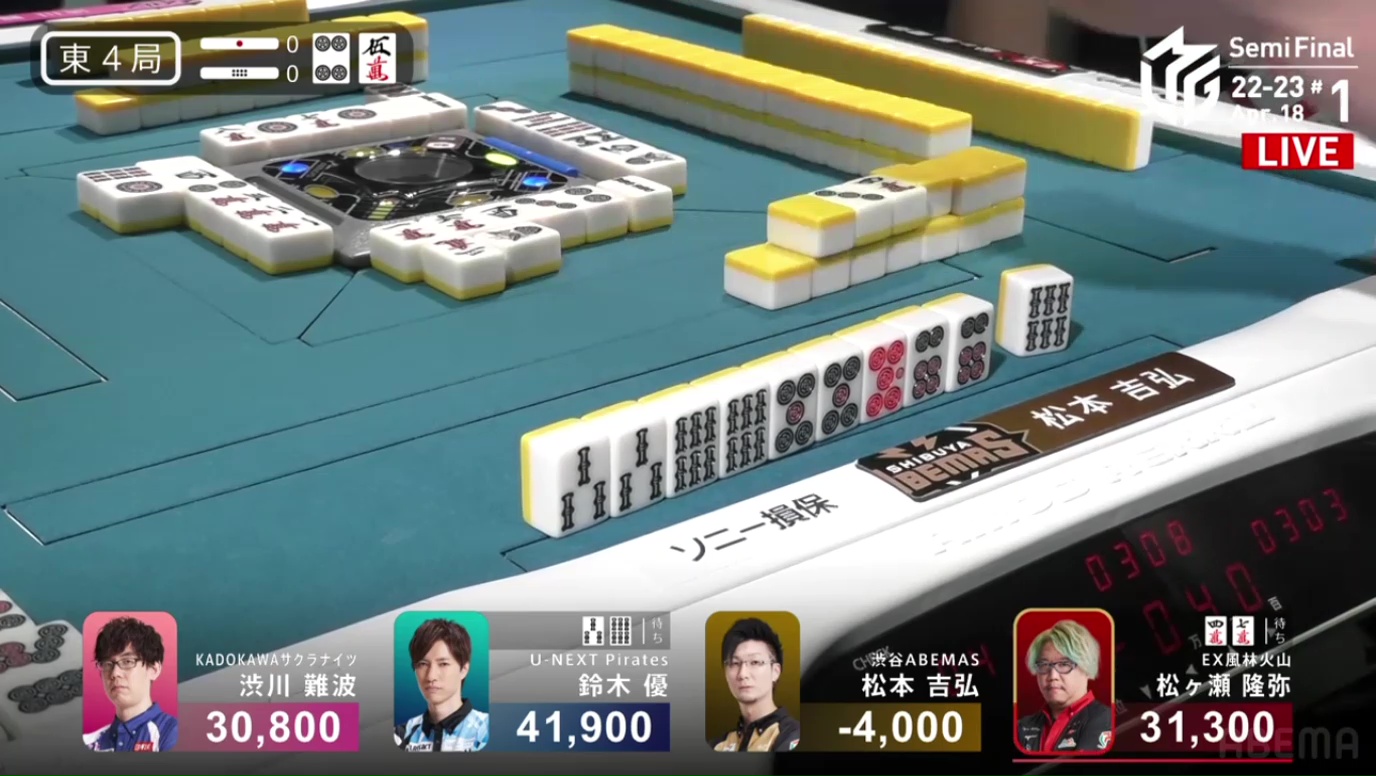
April 18, Game 1, E4-0
Video: https://abema.tv/video/episode/444-14_s30_p739
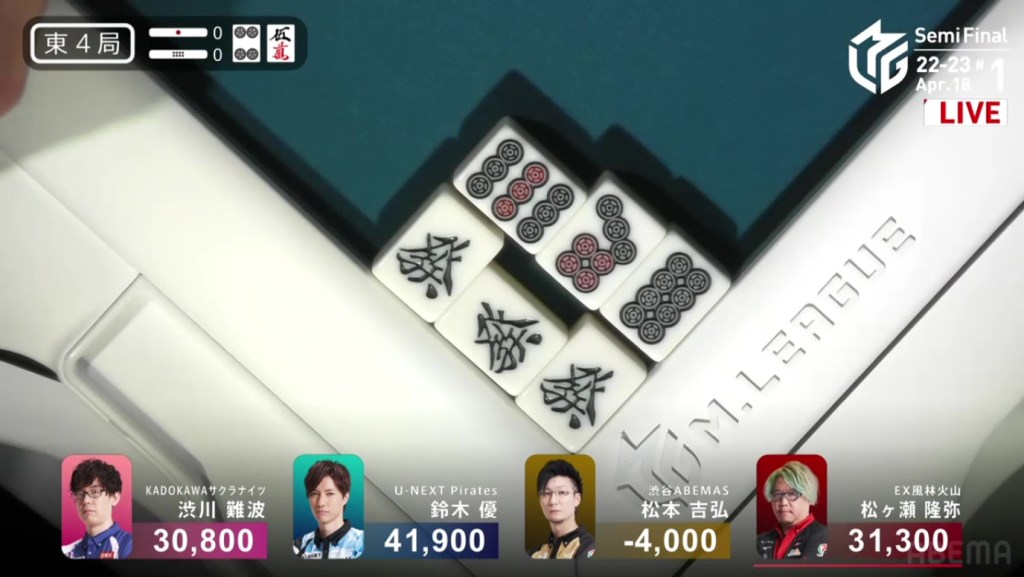
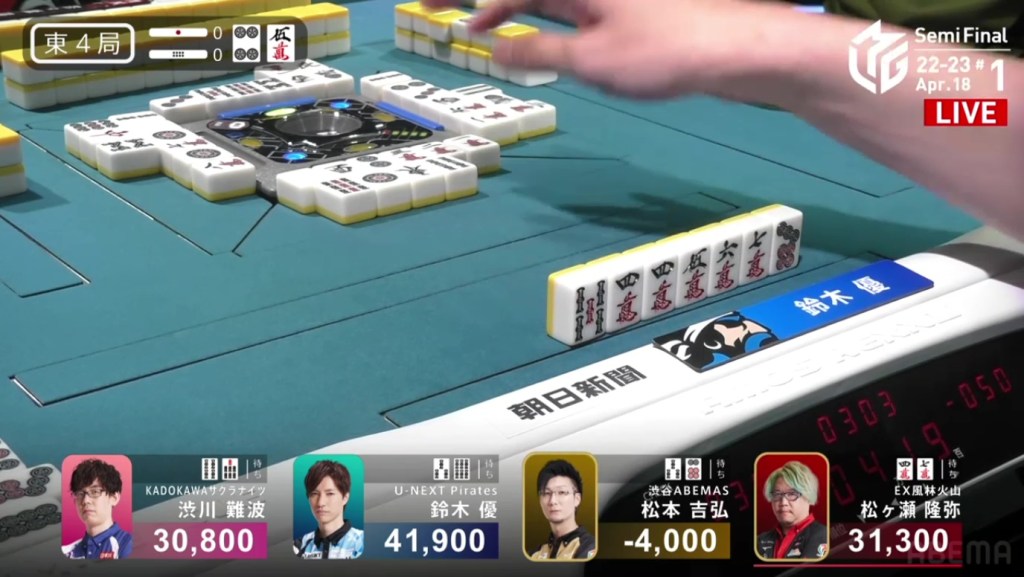
In E4-0, Matsumoto is in 4th place and in the negatives, 34,900 behind 3rd place. Only a yakuman would be able to save him…
Before Matsumoto even has a chance to get his first draw, Shibukawa calls pon to advance himself to a mangan 2-shanten. When Matsumoto does get his first draw, he see that he has a very strong hand, holding an ankou of 7s and pairs of 5p (including the red 5p), 6p, 3s and 6s. He is iishanten for chiitoi and, with the right draws, could even have a chance at suuankou.
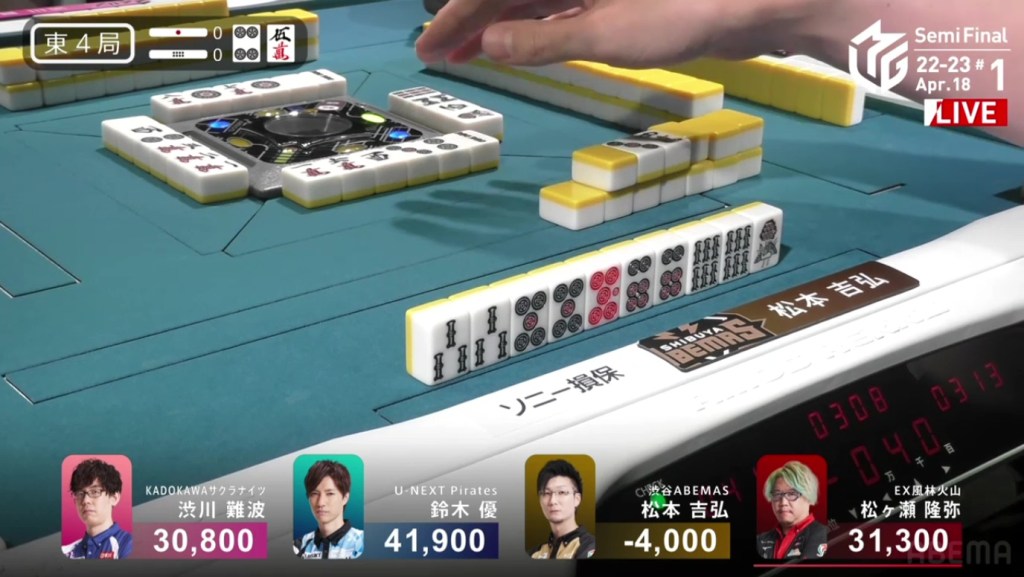
On turn 3, Shibukawa makes a call to get to iishanten and Matsumoto draws a fourth 7s. On turn 4, Matsumoto draws a third 5p and calls a closed kan on the 7s, hoping to get to tenpai. The rinshan misses, but Matsumoto is still iishanten for a very big hand. At the end of the first row, Matsumoto has a choice to give up on toitoi and take a regular riichi tenpai, but he rejects it, aiming for more points.
At this point, all four players are iishanten. With a call by Yu, he is the first to tenpai, waiting on a 36s ryanmen.
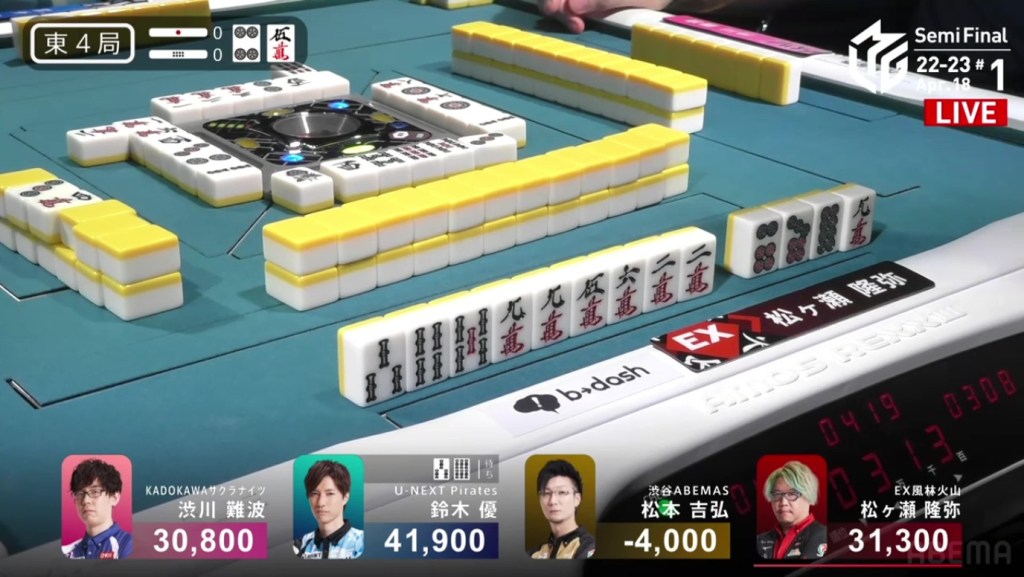
Soon after, Matsugase gets to tenpai and calls riichi on a 47m ryanmen.
During the ippatsu round, Matsumoto draws a third 6s. This is it. His chance at a comeback. Matsumoto confidently calls riichi and waits on a 3s/6p shanpon, one of each left in the wall.
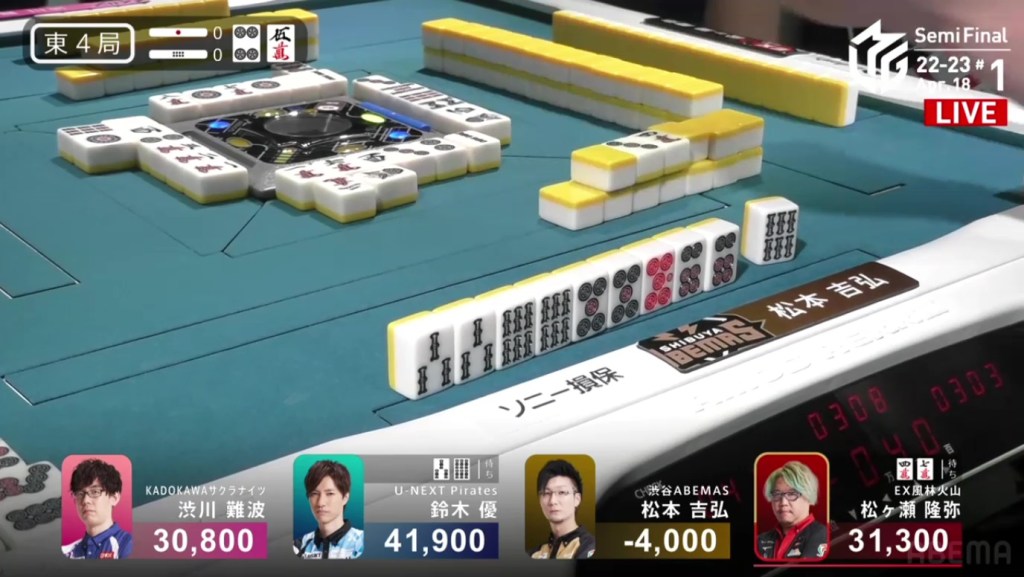
Not wanting to be left out, Shibukawa gets to tenpai in the middle of the second row and waits with a 47s ryanmen.
Four players tenpai, seven different tiles, only one can win. Right after Shibukawa gets to tenpai, Yu draws a dangerous 7p. Not wanting to deal into the riichi players, Yu discards the 4s that was discarded by Matsumoto just a turn earlier.
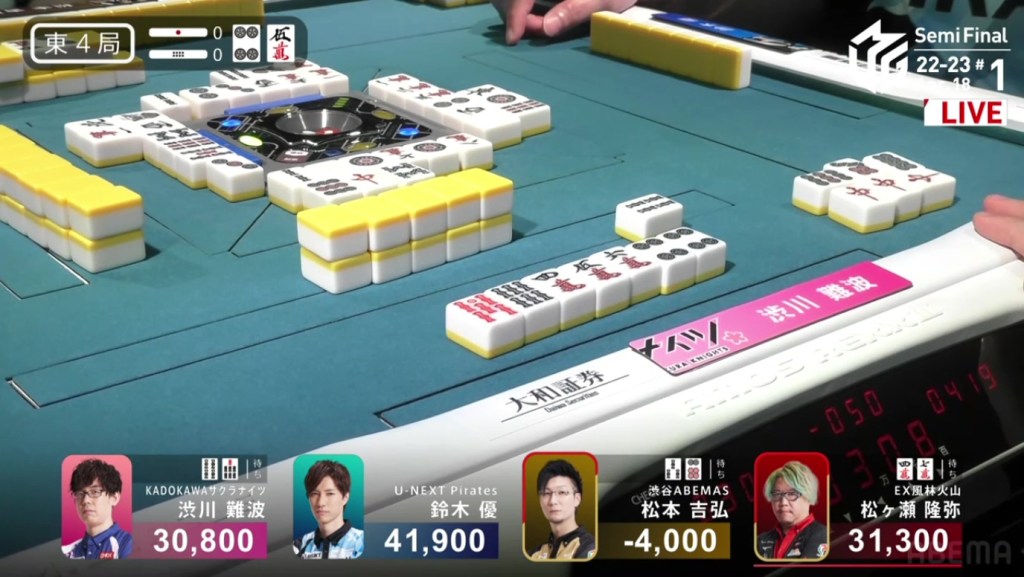
To Yu’s surprise and Matsumoto’s disappointment, Shibukawa calls ron and wins the hand. Shibukawa wins with Red Dragon/Dora 2/Aka 1 for 8,000 plus two riichi sticks, moving into 1st place and ruining Matsumoto’s immediate comeback chance.
Out of the Negatives
April 18, Game 1
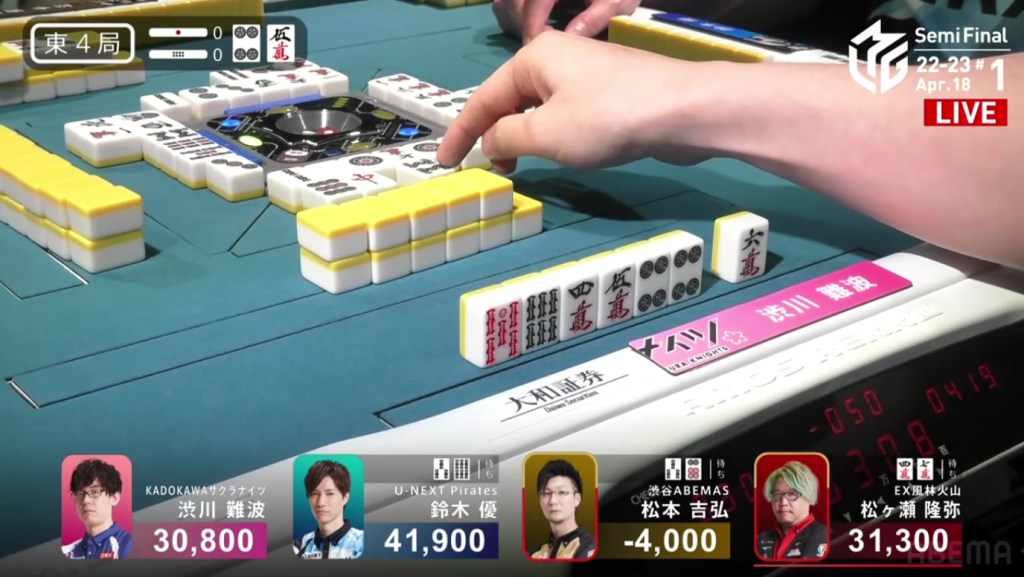
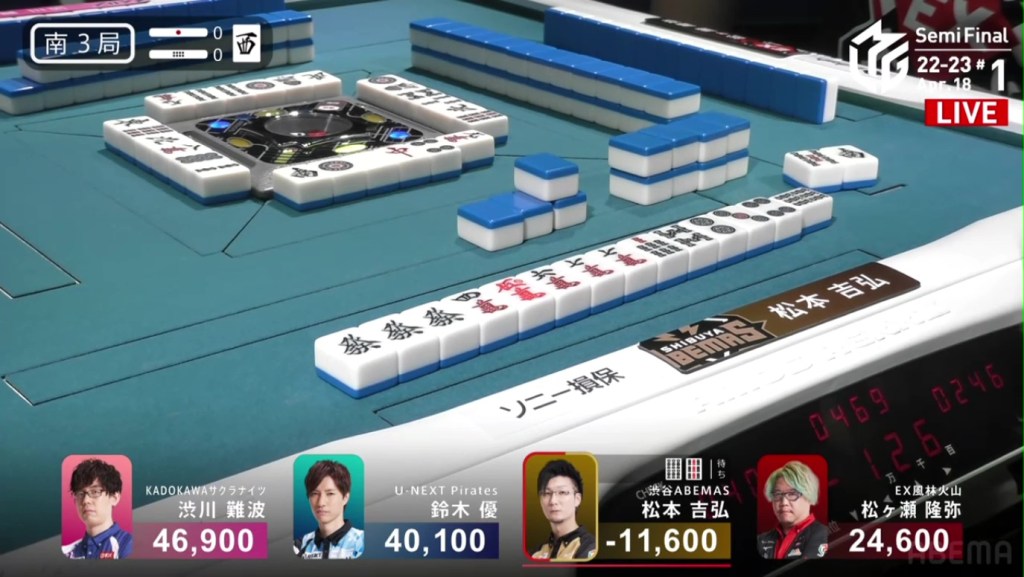
In S3-0, Matsumoto is deep in the negatives at -11,600, 36,200 behind 3rd place Matsugase. Starting his last dealership, this is his last chance to escape death.
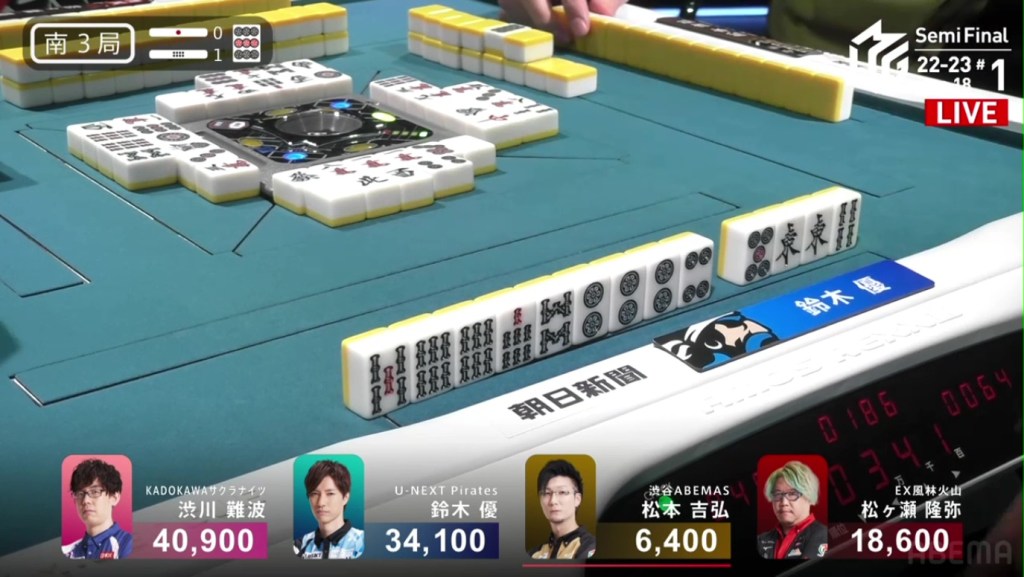
Matsumoto starts out with a decent starting hand, 3-shanten with an ankou of green dragons and a connected red 5m. As if taking pity on him, the wall gave him useful tiles. On turn 3, Matsumoto drew a 3p to fill in a kanchan. On turn 5, he created a 69s ryanmen to get to iishanten. On turn 6, he draws a 6m to get him to tenpai and Matsumoto calls riichi on a 69s ryanmen. On his very next draw, he finds his winning 6s and wins the hand. Flipping an uradora, the 6s he just drew becomes dora and his hand immediately upgrades to a haneman. Matsumoto wins the hand with Riichi/Ippatsu/Tsumo/Green Dragon/Aka 1/Ura 1 for 6,000 all, bringing him out of the negatives and just 12,200 away from 3rd.
In S3-1, Matsumoto again starts out 3-shanten, though this time with not as much value. In the first row, Matsumoto is only able to make it to 2-shanten while Shibukawa and Yu are both able to get to iishanten. Near the end of the second row, Yu is the first to tenpai and calls riichi on a 36p ryanmen for riichi only.
During the ippatsu draw, Matsumoto gets to a perfect iishanten. With the north he held onto, Matsumoto is able to avoid the ippatsu safely and still hold his hand. On his very next draw, he makes an ankou of 8p and calls riichi on a 47m ryanmen, guaranteed at least a 3/40 hand if he wins. A few turns later, Yu draws and discards the 4m and deals into Matsumoto. With the uradora flip, the 4m becomes dora and gets Matsumoto to a mangan. Matsumoto wins the hand with Riichi/Tanyao/Aka 1/Ura 1 for 12,000+300 plus Yu’s riichi stick. With the win, Matsumoto now moves up to 3rd place and is just 1,100 from 2nd place Yu.
3s
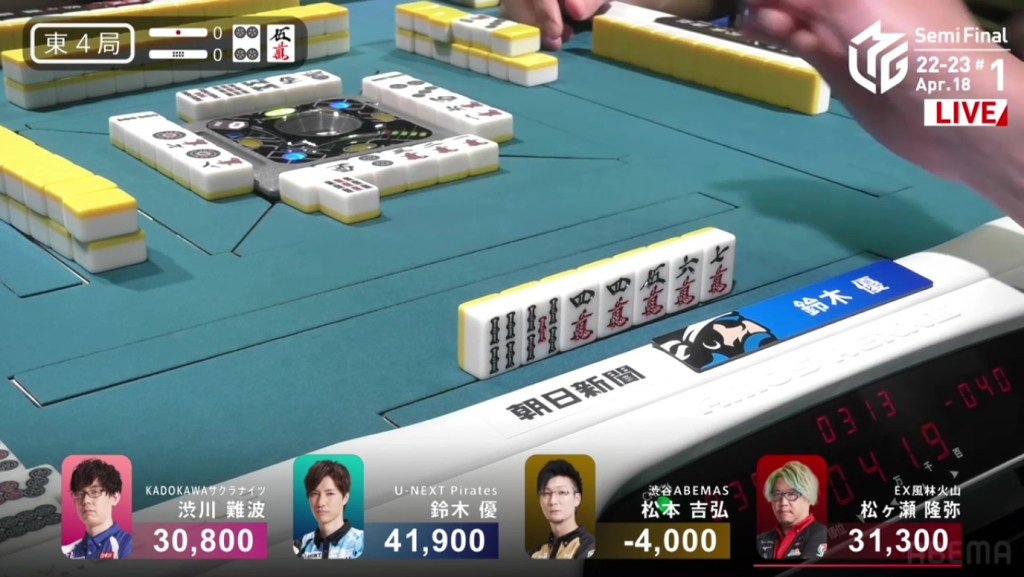
April 18, Game 2, E1-1
Video: https://abema.tv/video/episode/444-14_s50_p739
In E1-1, there are 2,300 in bonus sticks available and Ooi is the dealer. After Matsumoto’s disappopinting loss even after his comeback, Ooi wants to recoup the points that were lost.
Ooi starts out with a very strong hand, 2-shanten with his first 13 tiles and with three completed sequences. On turn 2, he creates a pair to get to iishanten.On his very next draw, he draws a 5s to get to tenpai and calls riichi on a 36s ryanmen. Holding a 345m and a 345p, Ooi just needs to draws the 3s to complete the trifecta. Counting tiles around the table, all of the 6s were being used up and one 3s was in Ooi’s hand, leaving three 3s in the wall. In the middle of the second row, Ooi gets the 3s that he wants and wins the hand, adding 3 han (tsumo + sanshoku) to the 3 han already in his hand (riichi + pinfu + dora 1). Ooi wins the hand with Riichi/Tsumo/Pinfu/Sanshoku/Dora 1 for 6,000+100 all plus two riichi sticks, putting him above 45,000.
Though this would be the only hand that Ooi won, his lead was so big that it was enough to finish the game in 1st.
