Game #10
Konami Mahjong
Fight Club
Team Raiden
EX Furinkazan
Shibuya
Abemas
Entotsu

May 15, Game 2, E4-0
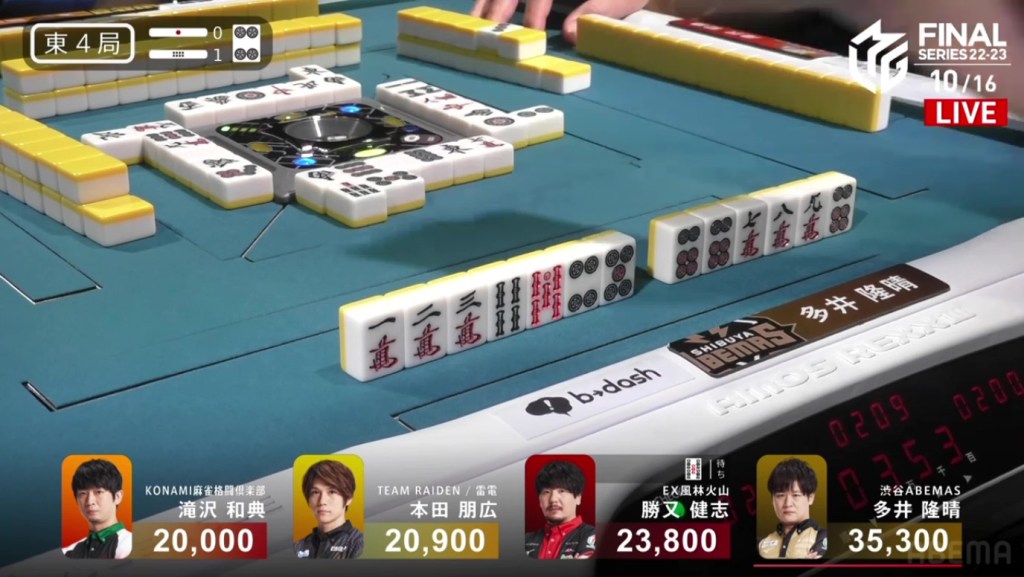
In E4-0, Ooi is the dealer in 1st place and holding a slight 3,500 lead.
Ooi starts out the hand 3-shanten with a kanchan and a penchan to show him down. On turn 4, Ooi gets to iishanten, but still has the kanchan and penchan. After that, Ooi gets rid of his penchan for a 45666s shape. A turn later, he fills in a 6m kanchan and calls riichi on a 36s/9m wait. Two turns after that, Ooi draws the 9m and wins the hand. Ooi wins with Riichi/Tsumo/Aka 1 for 2,000 all.
Dama Wins
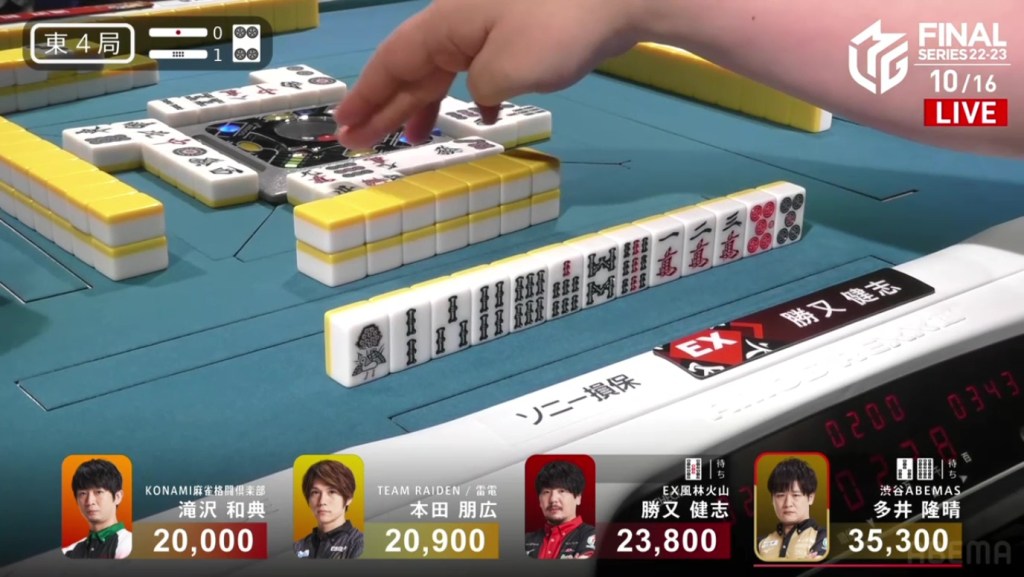
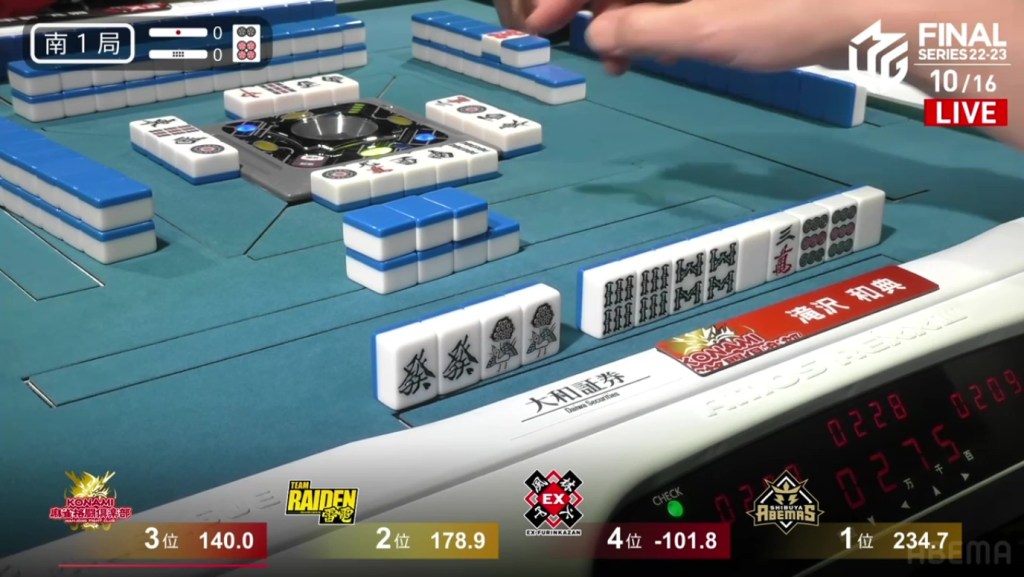
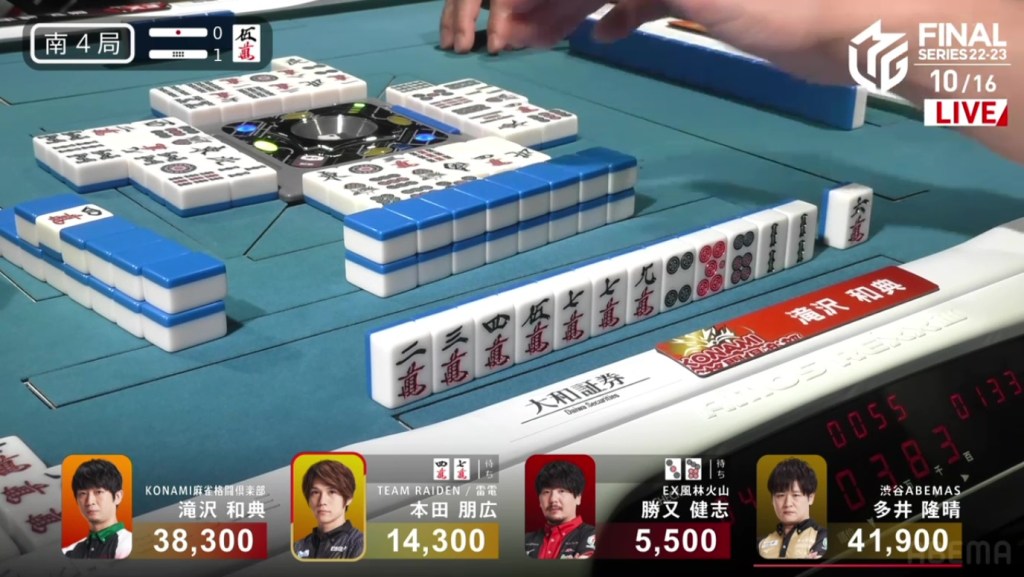
May 15, Game 2, E4-1
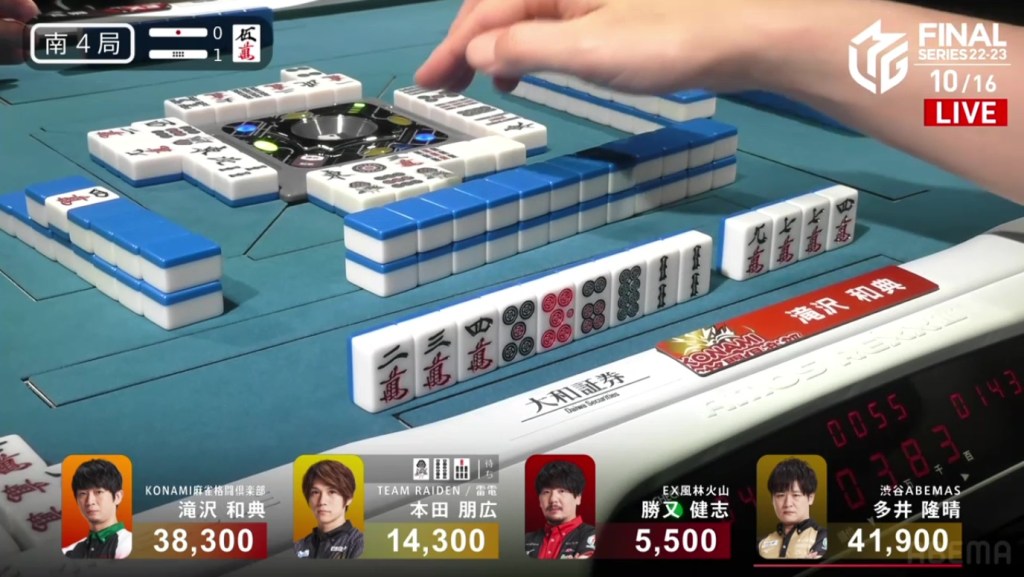
In E4-1, Takizawa is in 4th place, 3,800 behind 2nd place Katsumata and 15,300 behind 1st place Ooi.
Takizawa starts out the hand 4-shanten with no value in hand. In the first row, Takizawa makes a pair and some sequence candidates, but is only able to get to 2-shanten. Katsumata and Ooi are able to get to iishanten. On turn 7, Katsumata gets to tenpai and waits dama on a 5s kanchan. On turn 8, Ooi gets to tenpai and calls riichi on a 36s ryanmen.
After being dama for one turn, Katsumata chases with his 5s kanchan.
At this point, Takizawa is iishanten with a 6m kanchan and a 7p penchan. In the middle of the second row, he switches the 7p penchan for a 3p kanchan, guaranteeing tanyao in the process. A turn after that, he draws the 3p and gets to tenpai on a 6m kanchan. At the end of the second row, Ooi draws and discards the 6m and deals into Takizawa. Takizawa wins the hand with Tanyao/Dora 1/Aka 1 for 5,200 plus two riichi stick to move into 2nd place and come within 1,300 of 1st.
Classic. Standard.
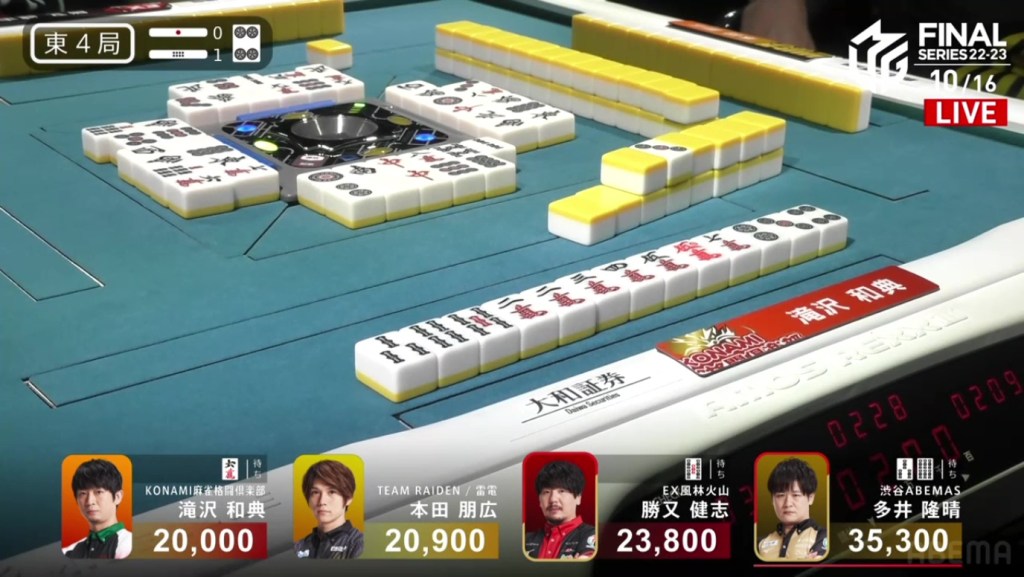
May 15, Game 2, S1-0
In S1-0, Ooi is in 1st place and trying to stave off the approaching dealer Takizawa.
Ooi starts out the hand 4-shanten with a red 5s and some lone tile to build sequences off of. Ooi tries hard to build his hand, but the wall is making it a bit difficult for him. At the same time, Takizawa to his right is drawing pairs and more pairs. After being 3-shanten at the start, Takizawa is already tenpai on turn 5 and waiting on a 3m tanki.
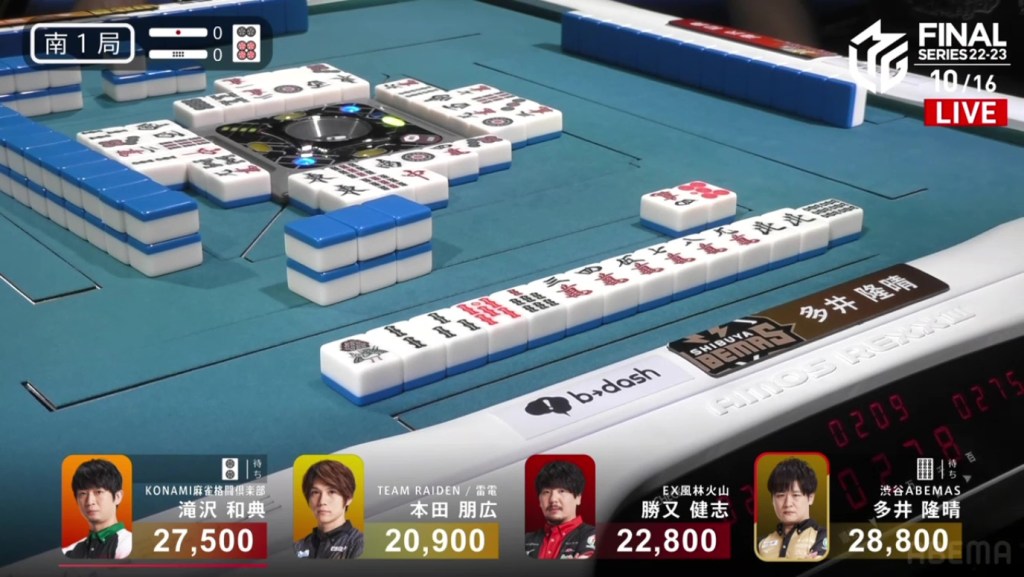
Creating a sequence and filling in a kanchan, Ooi gets to tenpai. With one dora, Ooi calls a textbook riichi on a 6s kanchan. With the riichi by Ooi, Takizawa stays safe and switches to a 2p tanki. In the middle of the second row, Ooi draws the 6s and wins the hand. Flipping one uradora, Ooi wins with Riichi/Tsumo/Aka 1/Ura 1 for 2,000/4,000.
Dora
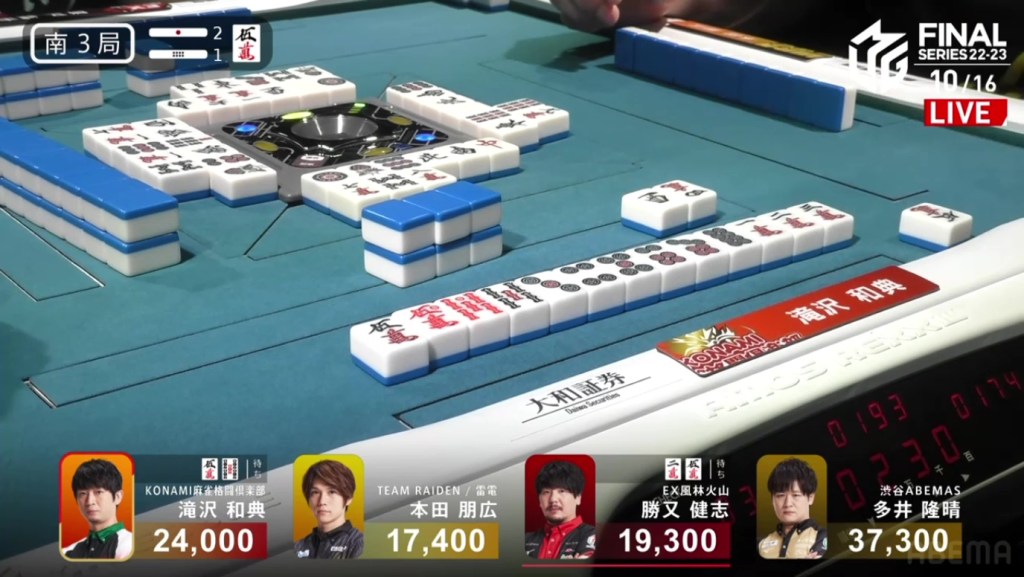
May 15, Game 2, S3-1
Video: https://abema.tv/video/episode/444-14_s40_p759
In S3-1, Takizawa is in 2nd place and trying to catch up to 1st Ooi who is 13,300 ahead. With 2,300 in bonus sticks available, a haneman will be enough to steal 1st.
Takizawa starts out the hand 4-shanten with a dora 5m, a red dora 5m and a red 5s. On turn 2, Takizawa pairs up the 5s to secure it. By the end of the first row, Takizawa is 2-shanten. As Takizawa sits, patiently, Katsumata the dealer calls twice to get to iishanten and gets to iishanten and Ooi gets to iishanten with a closed hand. The first of the three to get to tenpai is Takizawa, who does so in the middle of the second row on a 5s/5m shanpon. Things started to look less confident when Honda called chii on his riichi tile and then Katsumata made a call to get to tenpai on a 25m ryanmen. However, the action on the table shifted the wall in Takizawa favour and he managed to draw the dora 5m on his very next draw to win. Takizawa wins the hand with Riichi/Tsumo/Dora 3/Aka 2 for 3,000+100/6,000+100 plus two riichi sticks, moving into 1st place.
Abemas Ahead
May 15, Game 2, S4-0
In S4-0, Ooi is the dealer in 2nd place and trying to retake the lead after Takizawa passed him the previous hand.
Ooi starts out the hand 3-shanten with not much in terms of value and two penchans. In the first row, he secured one as a kanchan and got rid of the other. After a few lucky draws to complete a 7s ankou, Ooi is iishanten at the end of the first row. In the middle of the second row, Ooi improves his hand even further, guaranteeing either a 2-sided wait or a 4-sided wait. As Ooi waits, Takizawa gets to tenpai on a yakuless north/8s shanpon and Katsumata gets to tenpai on a 58p/9p wait for a guaranteed mangan. After many turns of waiting, Ooi finally gets to tenpai and waits on a 69p ryanmen. Within the first go-around, Katsumata draws and discards the 6p and deals into Ooi. Ooi wins the hand with Riichi/Ippatsu/Tanyao for 7,700, getting back into 1st.
The Payoff of Desperation
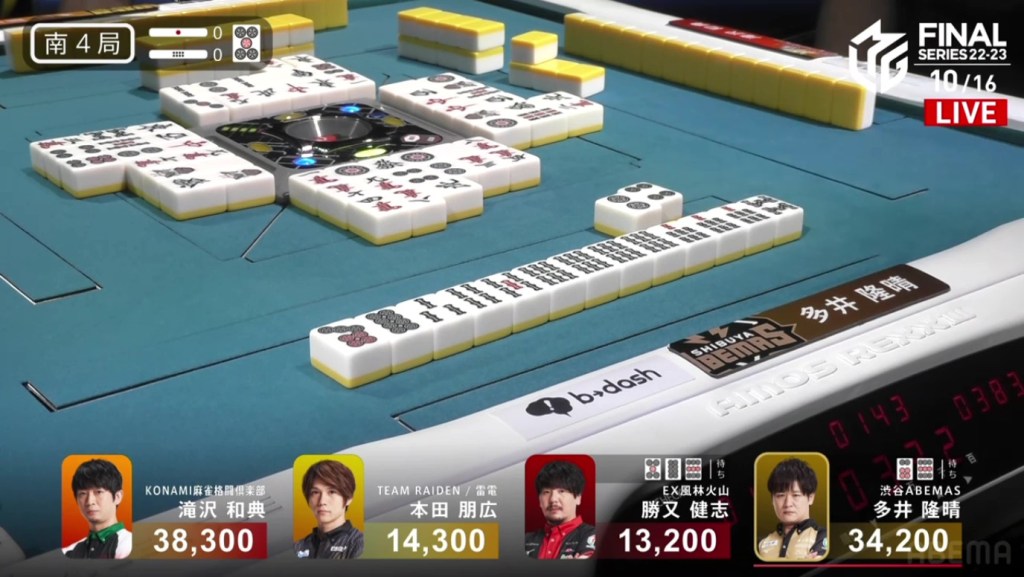
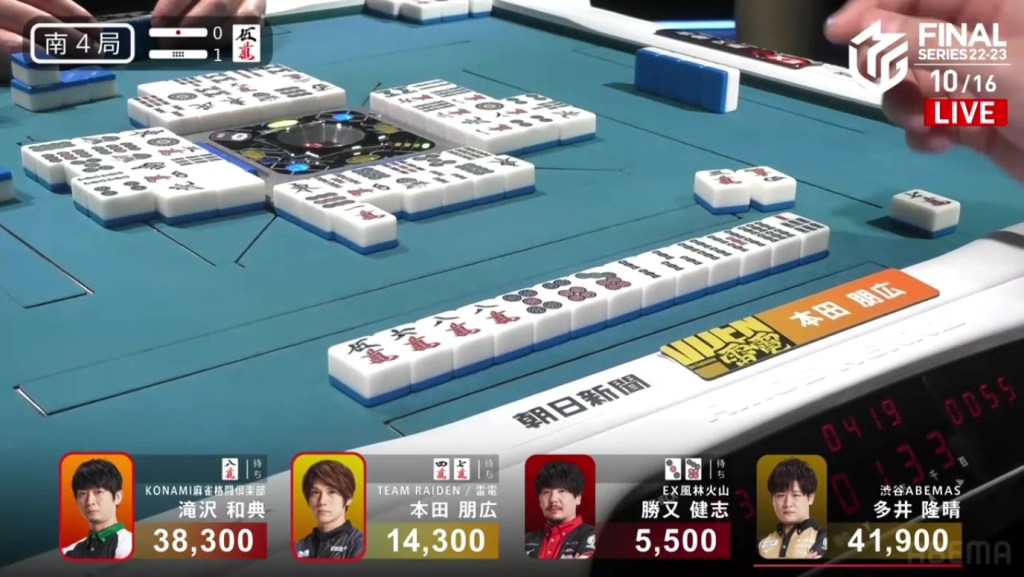
May 15, Game 2, S4-1
Video: https://abema.tv/video/episode/444-14_s70_p762
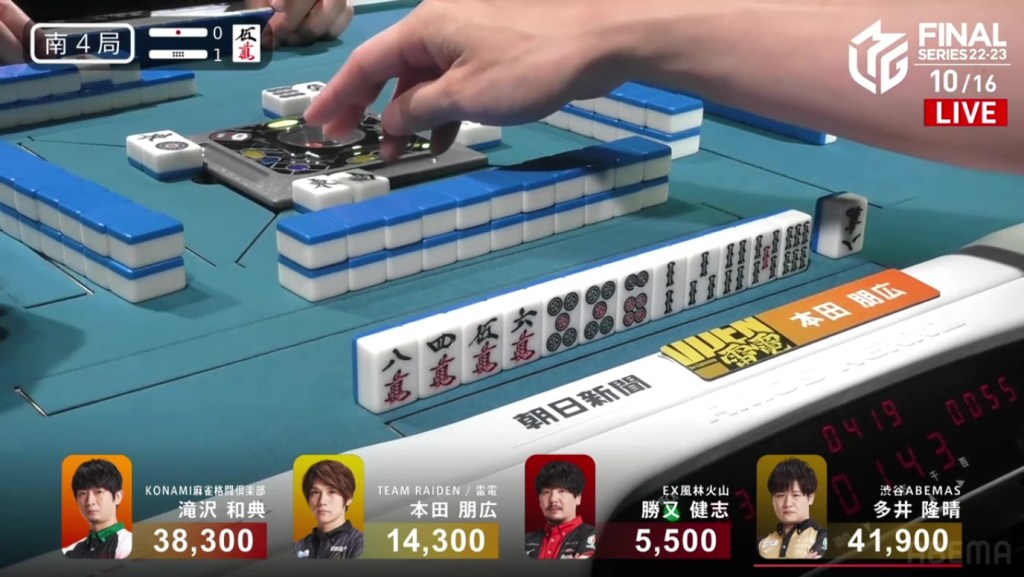
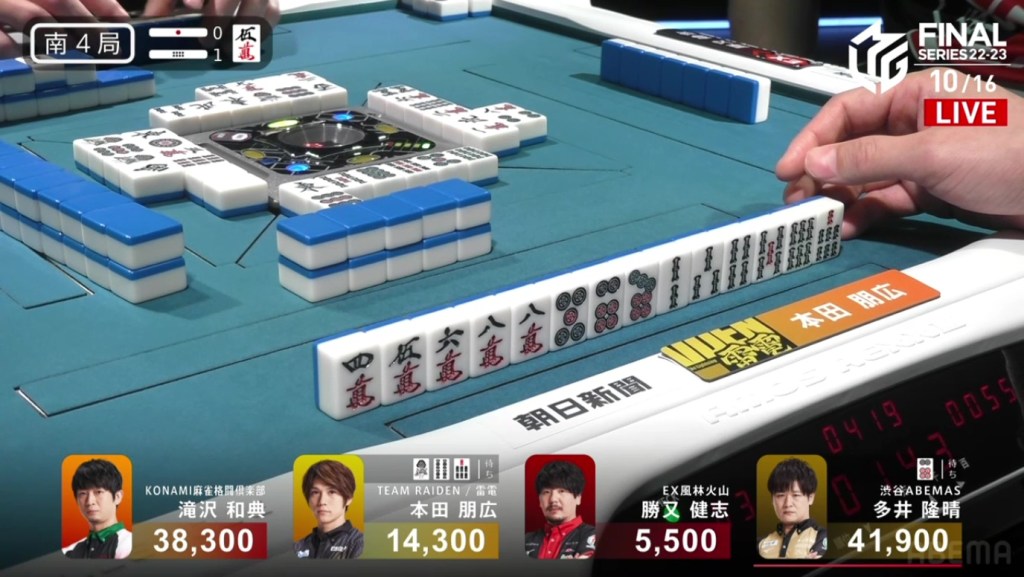
In S4-1, Honda is in 3rd place, 22,800 behind 2nd place Takizawa and 27,600 behind 1st place dealer Ooi. Though Honda’s only hope to move up in placement is to win a sanbaiman or better or to get an expensive direct hit, Honda has other objectives. With the Shibuya Abemas widening the gap over the competition, Honda wants to make sure that Ooi doesn’t win the game and widen the lead even further. With a 3/30 direct hit or a baiman tsumo, Ooi will move into 2nd place, and Takizawa will get the extra uma, making the pursuit of 1st easier for Team Raiden.
Honda starts out the hand 2-shanten with a dora 5m and a 4p away from a potential 456 sanshoku. On turn 2, Honda pairs up the 8m and gets to iishanten. With a 4s, 4p, a riichi, a tsumo and an ura, Honda will get the baiman tsumo.
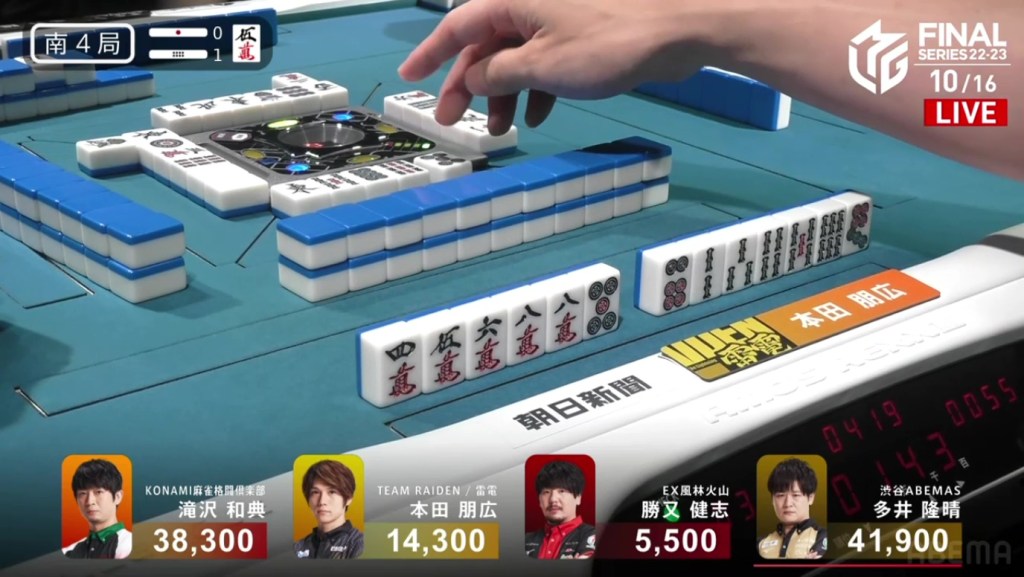
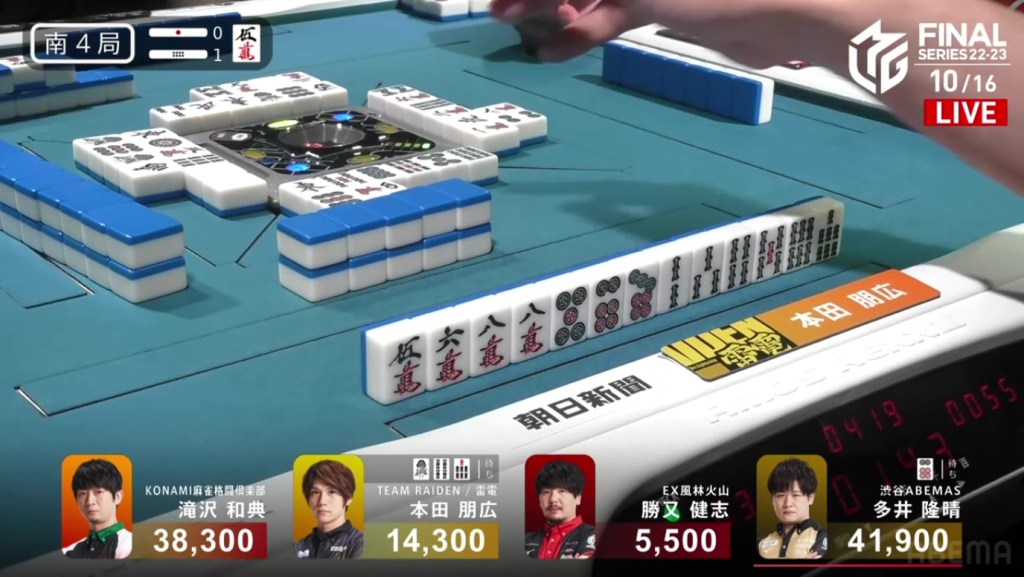
Raiden fans hope for all the elements to come together. However, some players wants to prevent that. With a call of the south, Ooi secures a yakuhai and gets to 2-shanten. To Honda’s right, Katsumata calls pon on the green dragon and aims for honitsu, hoping to get a mangan tsumo to move into 1st. Near the end of the first row, Honda draws the 7p. It’s unfortunately not the tile he was hoping for, but it does get him to tenpai on a 147s wait. Honda chooses to stay dama, hoping to draw a 7m or a 4p to have a chance at sanshoku.
Honda waits and his opponents keeps going. Both Katsumata and Ooi make a second call and both get to iishanten. As 2nd place Takizawa advances his hand, he discards the 1s. But, Honda skips calling ron!
In the second row, Ooi gets to tenpai and waits on a 6p tanki.
Within a go-around, Honda draws the 7s. Even though it’s his winning Honda passes the win again!
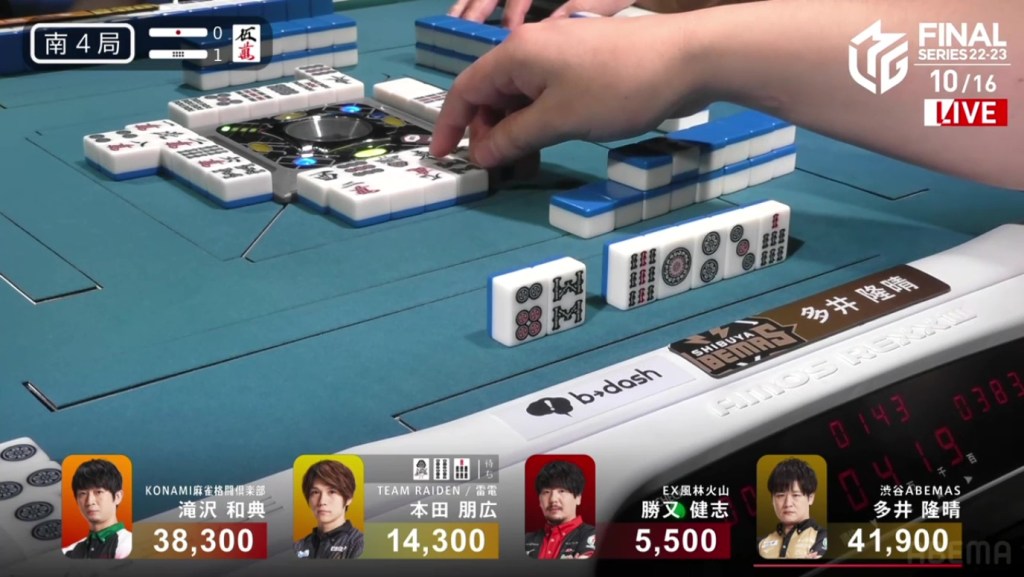
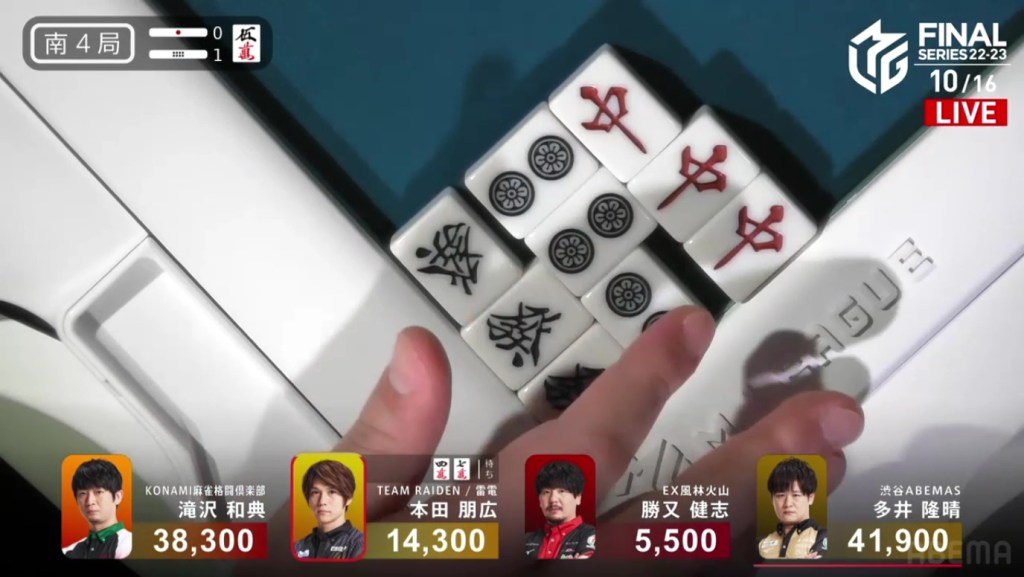
Aiming really big, Honda chooses to call riichi on a furiten 47m wait. If he draws the 7m and finds an uradora, he would have enough for the baiman and dethrone Ooi. Counting 7m, only one remains in the wall.
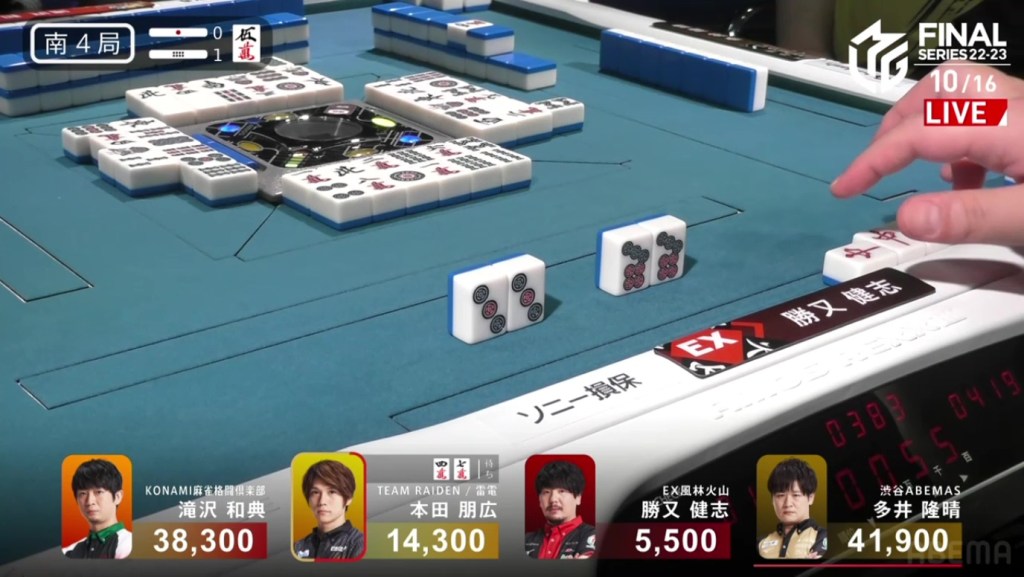
The balance is delicate. With 3,600 between Ooi and Takizawa, a few different results can result in a shift in the standings. If Honda wins the baiman, Ooi gets dethroned. If everyone but Ooi is tenpai, the game ends with Takizawa on top. With Ooi folding, the game was going to end with this hand. Near the end of the second row, Katsumata calls pon on the red dragon to get to tenpai on a 3p/7p shanpon. On one hand, it puts Honda in danger of falling into 4th. On the other, a second player is tenpai and the table is one tenpai player away from bringing Ooi down.
However, a single decision could kill any of these kingmaking possibilities. With the Konami Mahjong Fight Club in 3rd place, Takizawa wants to get more points and not leave things to Honda. In the middle of the third row, Takizawa gets to tenpai. With two dora, he has enough for a 5,200 hand. However, he has no yaku. Though Takizawa would like the hand to go to a draw everyone but Ooi tenpai, he can’t guarantee that Honda won’t win before that and he doesn’t know that Honda has a potential baiman to help Takizawa. To have at least a bit more control on the situation and a chance to win bigger, Takizawa chooses to call riichi and wait on an 8m kanchan.
With that one decision, everything falls apart. The riichi stick now puts a 4,600 space between Takizawa and Ooi, meaning that tenpai payments and a baiman tsumo from Honda won’t be enough to drag Ooi down. The only things that will work now is a win by Takizawa or a direct hit off Ooi from anyone. Counting tiles, Takizawa has no more 8m and Ooi wasn’t dealing in, meaning Ooi has secured the win.
However, there is a chance for consolation for Honda or Katsumata. In the third row, Honda successfully draws the takame 7m and wins the hand. Unfortunately, the uradora misses and he is unable to upgrade to a baiman. Still, Honda wins the hand with a big Riichi/Tsumo/Pinfu/Tanyao/Sanshoku/Dora 1 for 3,000+100/6,000+100 plus one riichi stick.
Final Scores


Video: https://abema.tv/video/episode/444-15_s10_p228
Twitter: https://twitter.com/m_league_jikkyo/status/1658102301347975168
Standings

After the Shibuya Abemas lead was cut by about half, Ooi responded by more than doubling it. Once again, the Shibuya Abemas have a lead of over +100.0pts. However, both Takizawa’s and Honda’s efforts made sure that these finals aren’t a runaway. Unfortunately, the misfortune for the EX Furinkazan continues as they log their fifth 4th in a row.
At the end of the day, Team Raiden, the Shibuya Abemas and the Konami Mahjong Fight Club all are net positive on the day, with Team Raiden holding the biggest gain of +49.9pts and moving into 2nd place. The EX Furinkazan was the sole dropper of the day, losing -110.9pts.
And that’s it for the final Monday of the 2022-23 season! Only six more games, three more days left in the season. Can the Shibuya Abemas continue to defend their lead? Will Team Raiden and the Konami Mahjong Fight Club catch up? Can the EX Furinkazan do some precise targeting and overtake any of the other teams? As always, we’ll just have to wait and see!
