Highlights
Kana
September 30, Game 1, E2-0
Video: https://abema.tv/video/episode/444-1_s70_p2067
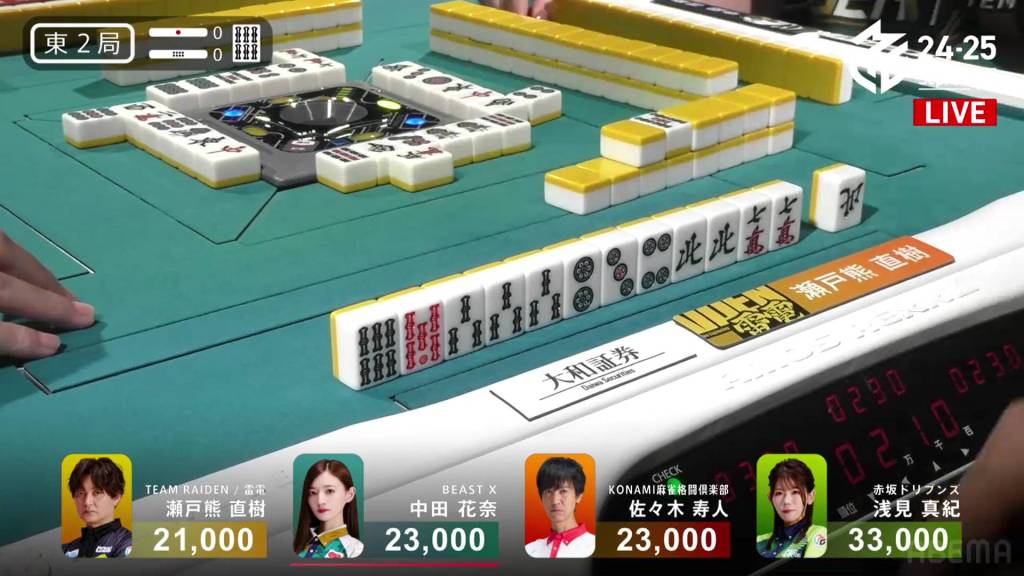
In E2-0, Nakada is the dealer and tied in 2nd place, 10,000 behind 1st place Asami.
Nakada starts out the hand 3-shanten, but lacking in value. The hand could gain a 789 sanshoku, but needs a 7m or 8m to guarantee it. On turn 4, she draws the 8m, setting herself up for value. By the end of the first row, she is iishanten and needing only a 7m and 8s for sanshoku.
At the start of the second row, Setokuma puts pressure on the table and calls riichi on a 47s ryanmen, guaranteed at least a mangan if he wins.

Being the dealer with a decent chance at value, Nakada pushes. At the end of the second row, she draws a red 5m to bring her han value up, guaranteeing her a mangan if she calls riichi. At the start of the third row, Nakada gets to tenpai and calls riichi on a 7m penchan.
Only one tile remains for both Setokuma and Nakada. In the middle of the third row, Nakada draws the final 7m in the wall and wins the hand. Nakada wins with Riichi/Tsumo/Sanshoku/Aka 1 for 4,000 all plus one riichi stick.
Ippatsu
September 30, Game 1, E2-3
Video: https://abema.tv/video/episode/444-1_s5_p3580
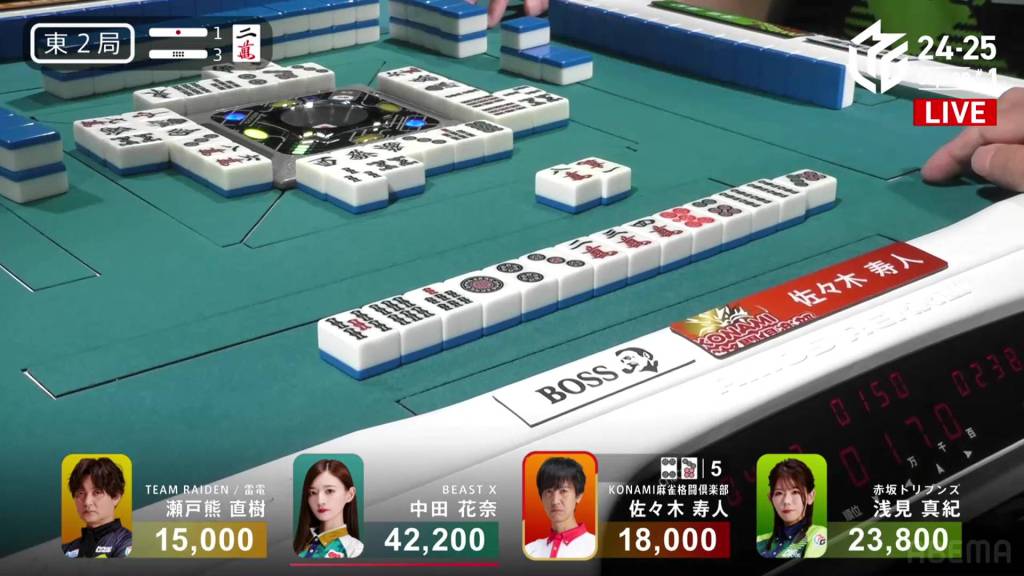
In E2-3, Hisato is in 3rd place, 5,800 behind 2nd place Asami and 24,200 behind 1st place dealer Nakada.
From the start, Hisato is 2-shanten with a 2m connected as part of a ryanmen. On turn 4, he gets to iishanten. With a red 5p draw near the end of the first row, he turns his hand into a ryanmen-ryanmen iishanten, sights set on mangan minimum. On turn 8, he gets to tenpai and calls riichi on a 47p ryanmen.
On his very next draw. he gets the 7p and wins the hand. Hisato wins the hand with Riichi/Ippatsu/Tsumo/Pinfu/Dora 1/Aka 1 for 3,000+300/6,000+300 plus one riichi stick, putting him 4,000 behind Nakada going into his dealership.
Kana Continued
September 30, Game 1
Video: https://abema.tv/video/episode/444-1_s5_p6063
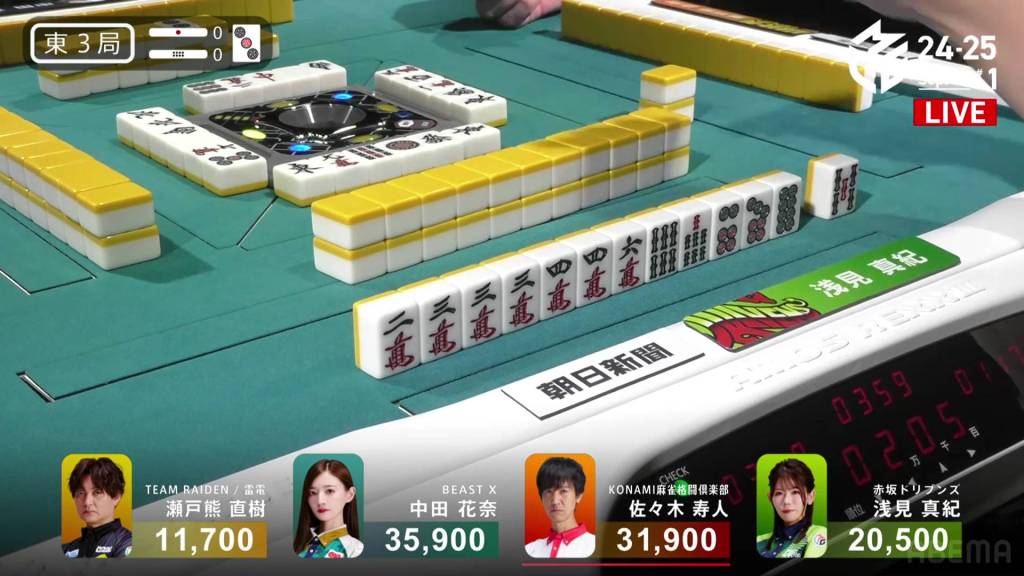
In E3-0, Nakada is still in 1st place, but Hisato is quickly approaching.
Nakada starts out the hand 3-shanten, but the 1s pair in her hand makes it difficult to open the hand. In the first row, she draws a pair of 4p dora and gets to iishanten. At the end of the first row, third place Asami calls riichi and waits on a 5m kanchan.
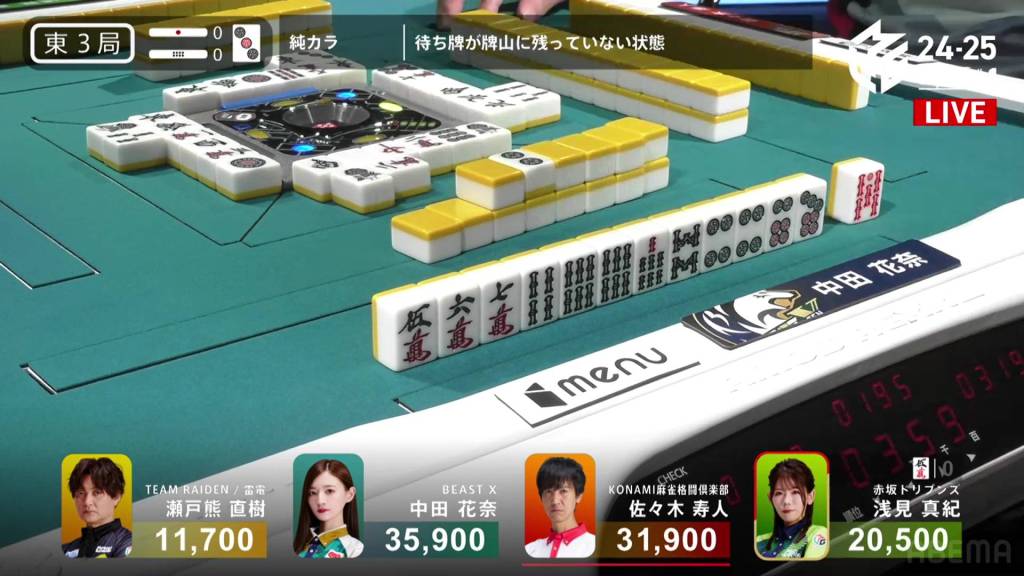
With the riichi by Asami, Nakada drops her 1s pair to both give her some safety and shift her hand to tanyao. On turn 8, she draws a red 5s and calls riichi on a 58p ryanmen, guaranteed at least a mangan.
A few turns later, Setokuma joins in as the third competitor and calls riichi on a 58m/8s wait.
Though Setokuma has a three-sided wait, Nakada’s ryanmen has more tiles to wait on with four tiles left in the wall. Near the end of the second row, Nakada draws and discards the 8p and deals into Nakada. Nakada wins the hand with Riichi/Pinfu/Tanyao/Dora 2/Aka 1
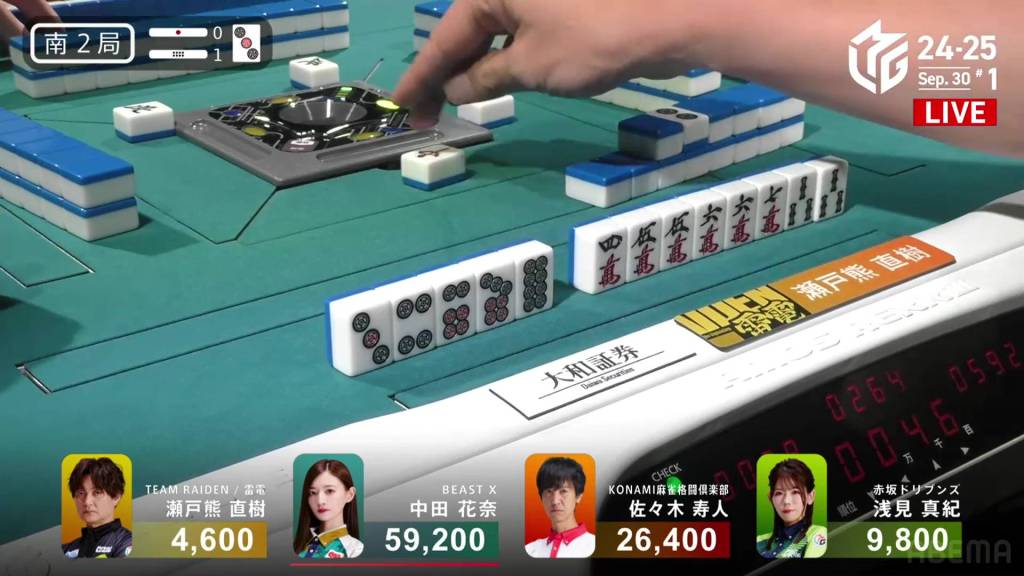
Video: https://abema.tv/video/episode/444-1_s70_p2068
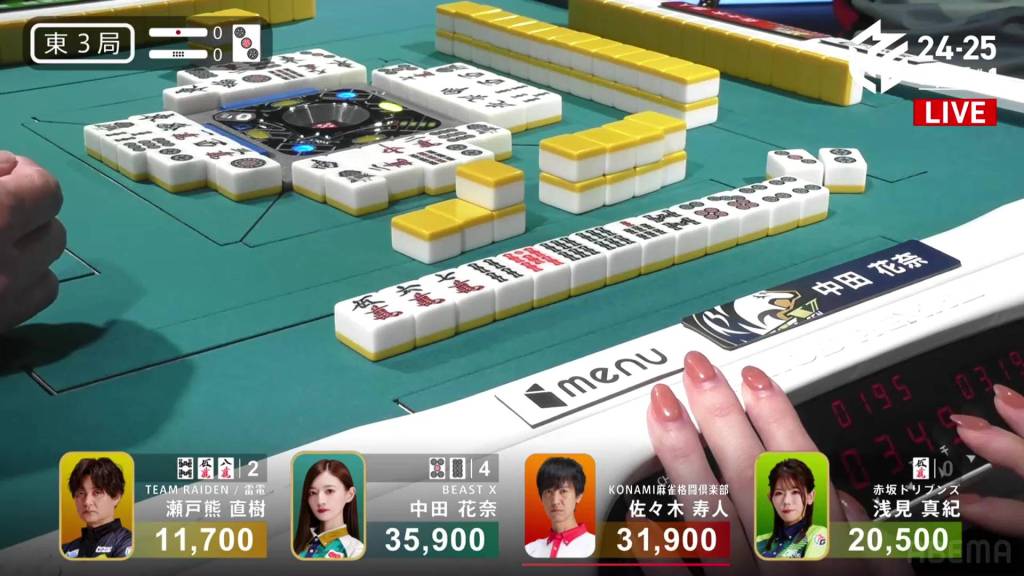
In S2-0, Nakada is the dealer with her highest score in her M-Leaguer career.
Nakada starts out with a 3-shanten hand with a floating 5p dora. In the first row, she makes a three-sided wait in souzu and connects the dora 5p as part of a ryanmen. By turn 5, she is iishanten with pinfu guaranteed.
The second show is mostly a wash, forced to simply draw an discard on repeat. Then, in the middle of the third row, Nakada finally gets to tenpai and calls riichi on a 258s wait. Three remain in the wall.
Just two turns later, Nakada draws the 8s and wins the hand. Nakada wins with Riichi/Tsumo/Pinfu/Dora 1/Ura 1 for 4,000 all, bringing her score up to 59,200.
Kuma Kuma Time
September 30, Game 1
Video: https://abema.tv/video/episode/444-1_s5_p5069
In S2-1, Setokuma is in 4th place, 5,200 behind 3rd place Asami and 21,800 behind 2nd place Hisato. With no more dealership, he only has three hands to move up into positive position.
With Setokuma first thirteen tiles, he is already iishanten, waiting on four different tiles to give him a double riichi opportunity. On his first draw, he pairs up the 3s and calls the double riichi, waiting on a 25p ryanmen with mangan minimum. If he finds just one more han, whether the red 5p or by tsumo or the uradora, he will upgrade to a haneman. Seven remain in the wall.
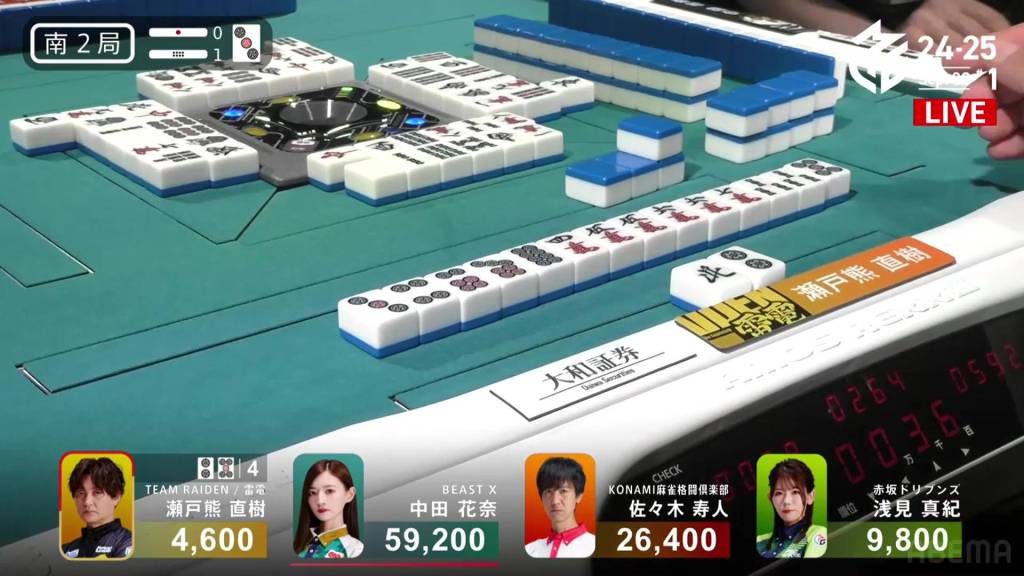
After the first and second row failed to produce results, Setokuma draws the 5p and wins the hand. Setokuma wins with Double Riichi/Tsumo/Pinfu/Tanyao/Dora 1 for 3,000+100/6,000+100, moving him into 3rd place.
In S3-0, Setokuma wins a 1,000/2,000 hand plus one riichi stick to move into 2nd place, ahead of Hisato by 600.
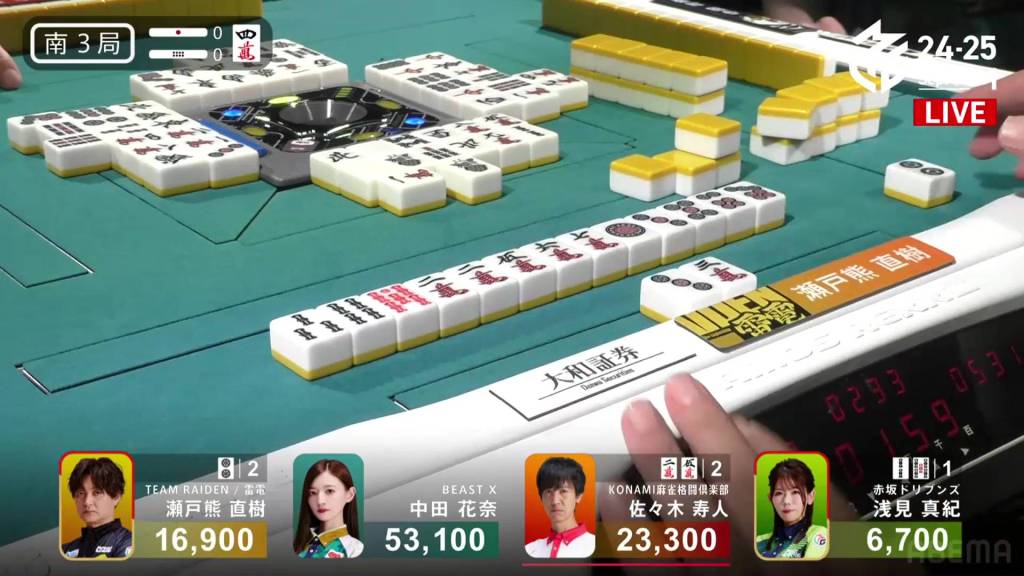
In S4-0, Setokuma is just one win away from confirming a positive result.
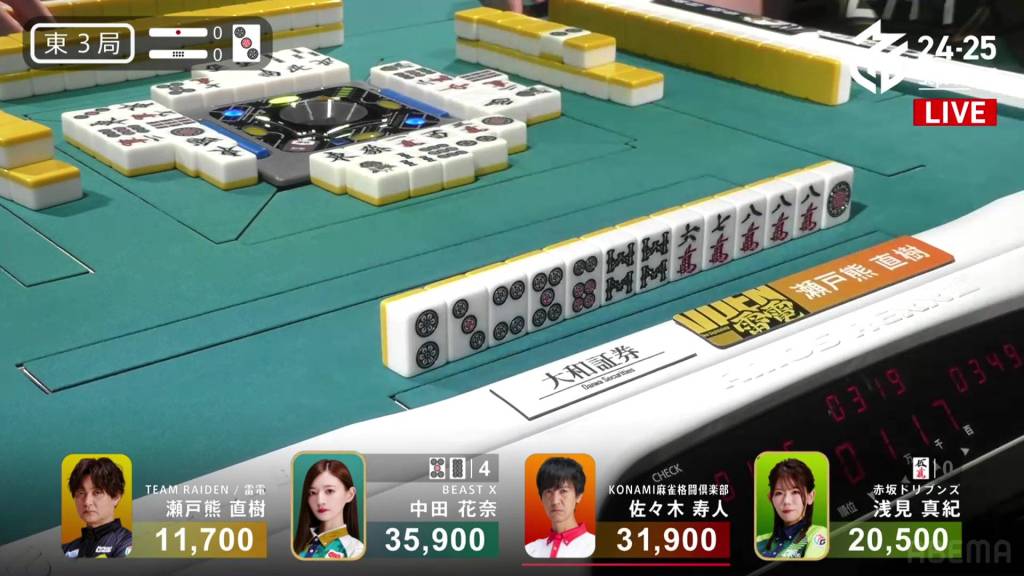
Setokuma starts out with a strong iishanten hand, having a manzu kanchan and a three-sided wait in souzu. Across from him, his rival Hisato is in a rush to win too. Before Hisato’s first draw, he calls a 123p chii, getting to iishanten and aiming for chanta. Right after, he calls pon on the north and gets to tenpai on a 3m penchan. Unfortunately, even this early, no 3m remain in the wall.
For Setokuma, he has gotten rid of the penchan in favour of a 58p ryanmen. On turn 3, Setokuma vastly widens his iishanten from 5 tiles to 12 different tiles. On his next draw, he pairs up the 7p and calls riichi on a 258s wait. Two turns later, Setokuma draws the 8s and wins the hand. Setokuma wins with Riichi/Tsumo/Dora 2/Ura 1 for 2,000/4,000, securing his 2nd place finish.
Date Drive
September 30, Game 2, S2-0
Video: https://abema.tv/video/episode/444-1_s5_p3581
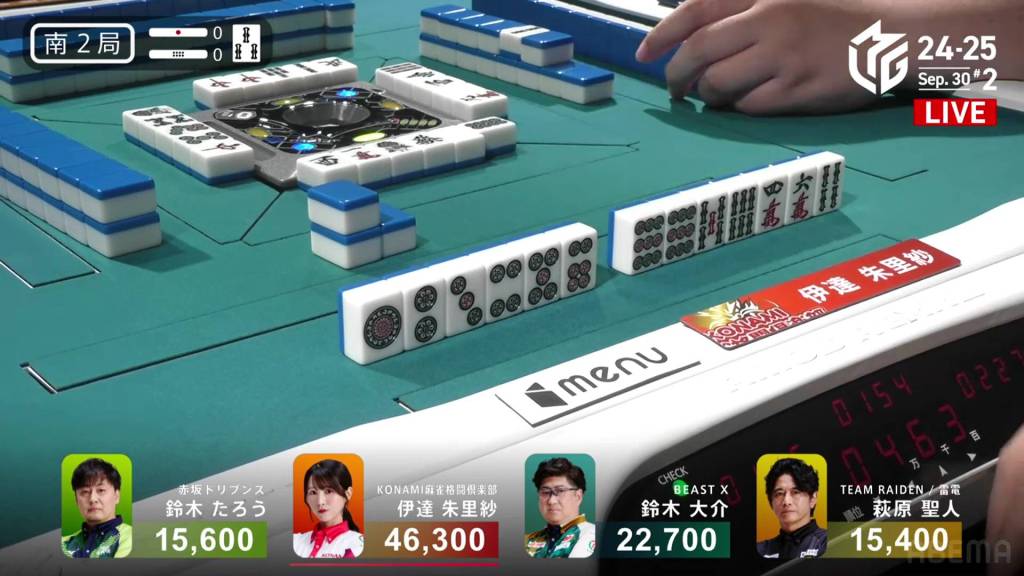
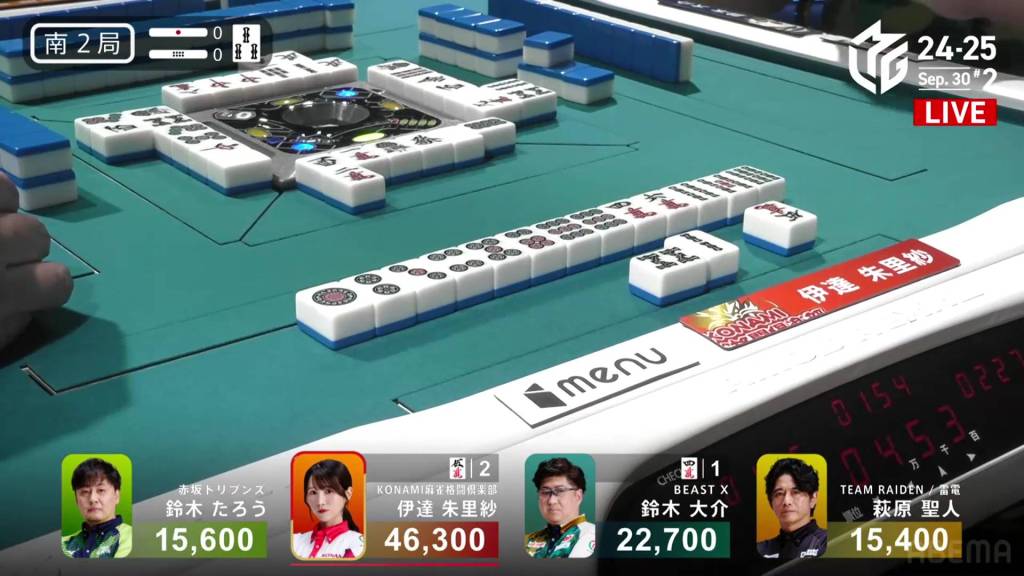
In S2-0, Date is in 1st place with a commanding lead. After winning 5 of the first 7 hands, she is 23,600 ahead of 2nd place Daisuke.
Date starts out 4-shanten with two ryanmens, but has no value. Despite being so far from tenpai, she manages to advance her hand quickly, even adding sanshoku for value. On turn 5, she gets to tenpai and calls riichi on a 5m kanchan.
Though Date is quick, both Daisuke and Hagiwara have value in the form of dora. In the second row, Daisuke calls chii on the 3s dora and gets to tenpai on a 4m kanchan, ready to for a mangan.
As soon as Daisuke gets to tenpai, Date draws the 5m and wins the hand. Date wins with Riichi/Tsumo/Sanshoku for 4,000 all.
Daisuke Drive
September 30, Game 2
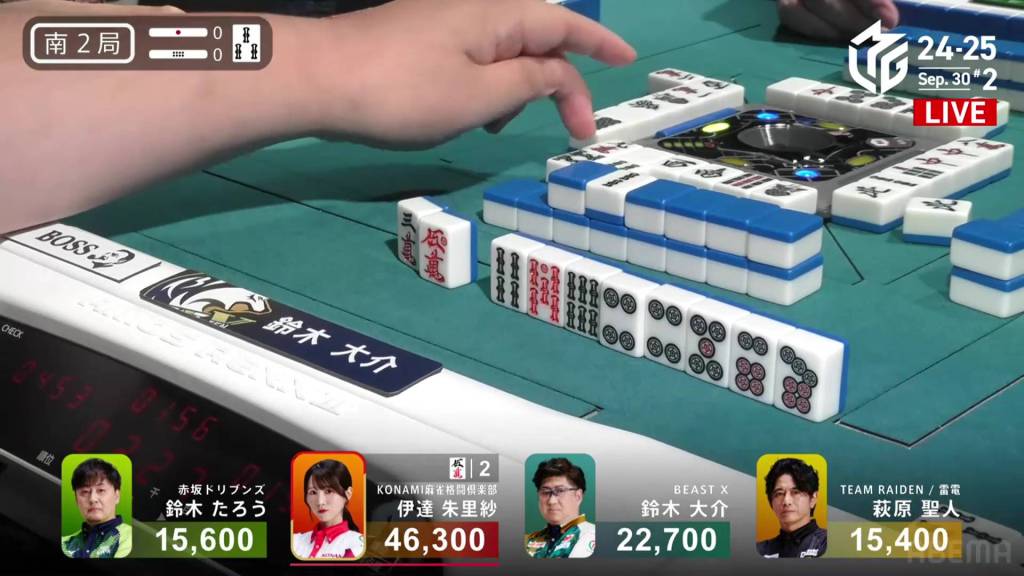
In S3-2, Daisuke is the dealer and 26.700 behind 1st place Date. This is essentially the last chance he has to challenge for 1st place.
In Daisuke’s starting hand, he has a secured red 5m, a pair of white dragons and some potential good waits, sitting at 3-shanten. The first row fills in a kanchan ans gives him some sequences, putting him iishanten. With his shape flexibility, he can either pursue the white dragon yakuhai or get rid of it to aim for pinfu and/or tanyao.
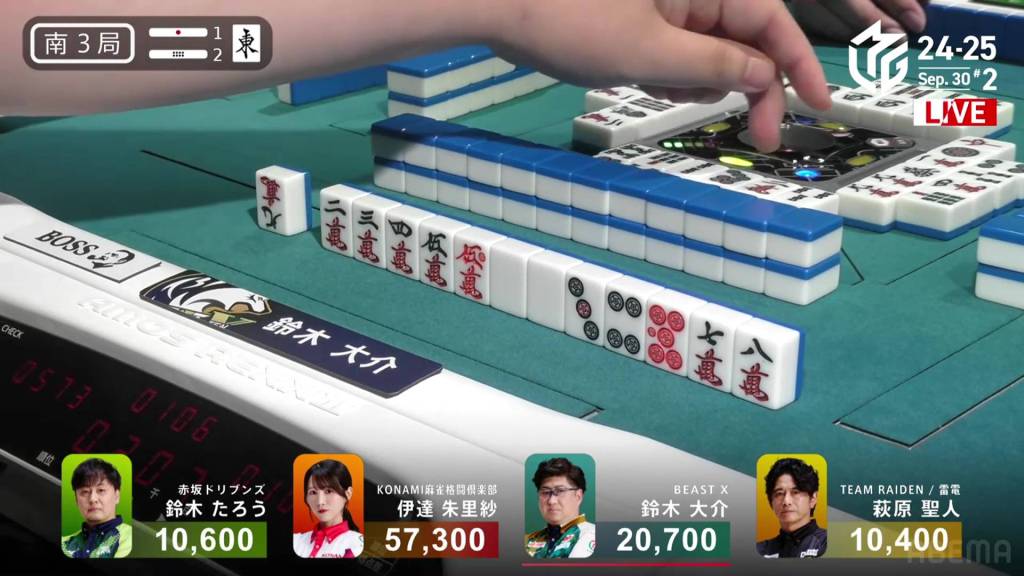
The rest of the first row and through much of the second, Daisuke spends his time drawing and discarding, save for switching the 2p for a red 5p. Near the end of the row, Daisuke gets to tenpai and calls riichi on a 5m/white dragon shanpon.
With Daisuke’s 7m discard to call riichi, Taro call pon and gets himself tenpai on a 47p ryanmen.
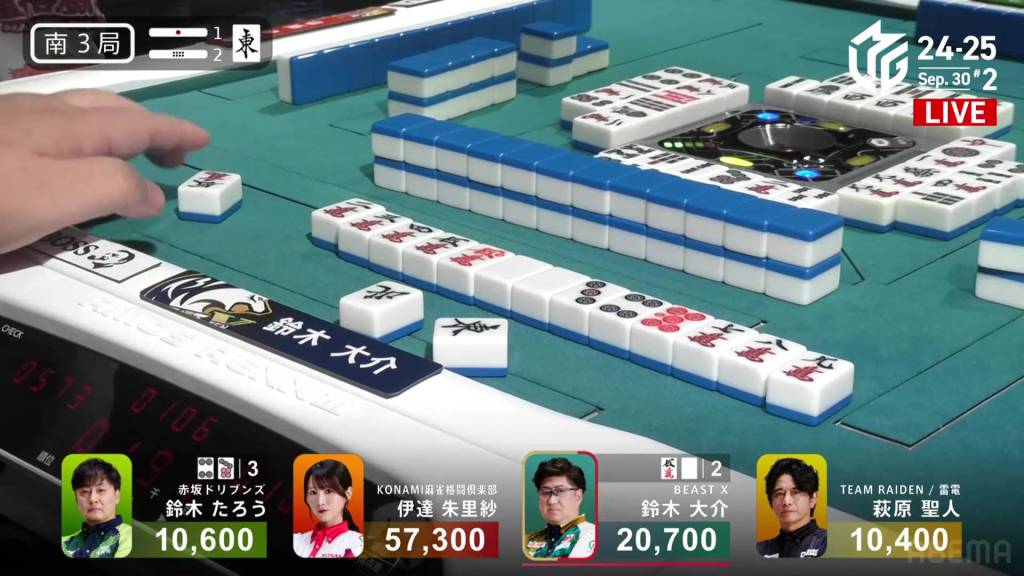
With that call by Taro, it shift the wall in just the right way to give Daisuke the 5m draw and win the hand. Daisuke wins the hand with Riichi/Tsumo/Aka 2 for 4,000+200 all plus one riichi stick.
Video: https://abema.tv/video/episode/444-1_s5_p6064
In S3-3, Daisuke is now just 18,800 behind 1st place Date.
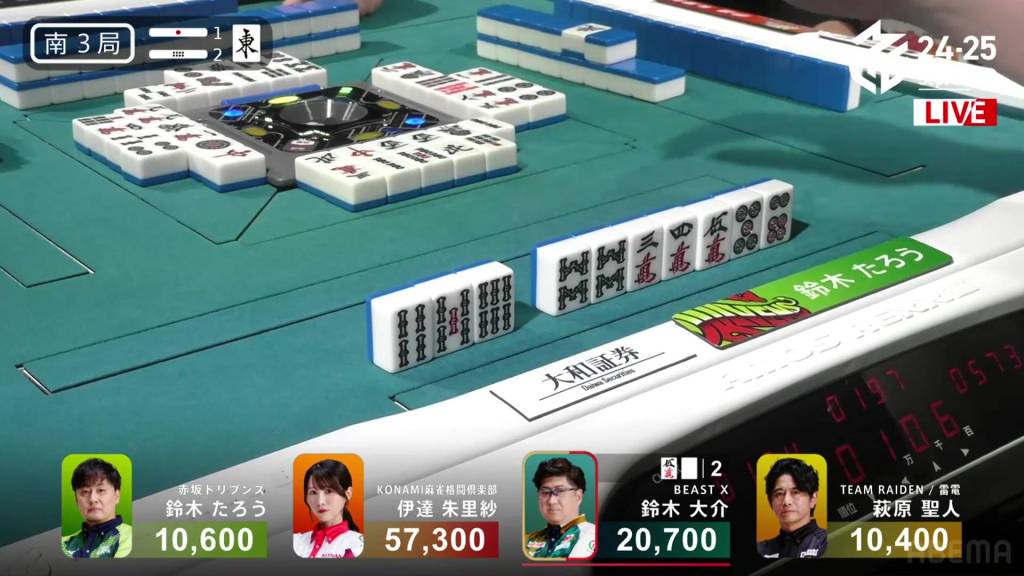
Daisuke starts out the hand at 2-shanten, leaning towards tanyao. In his first five turns, he discards exclusively honours and gets himself to 2-shanten. By turn 7, he is iishanten and waiting on 12 different tiles for tenpai. In the middle of the second row, Daisuke gets to tenpai and calls riichi on a 36p ryanmen, guaranteed at least a mangan if he wins.

With Daisuke’s discarded 5m, Hagiwara calls chii to get to tenpai with a full flush, waiting on a 235m wait.
But, just like with Taro’s call the previous hand, Hagiwara’s call managed to shift the wall in just the right way to give Daisuke the 6p draw and win the hand. Daisuke with with Riichi/Tsumo/Tanyao/Dora 1/Aka 1 for 4,000+300 all, cutting Date’s lead down to just 1,600.
Winner Takes All
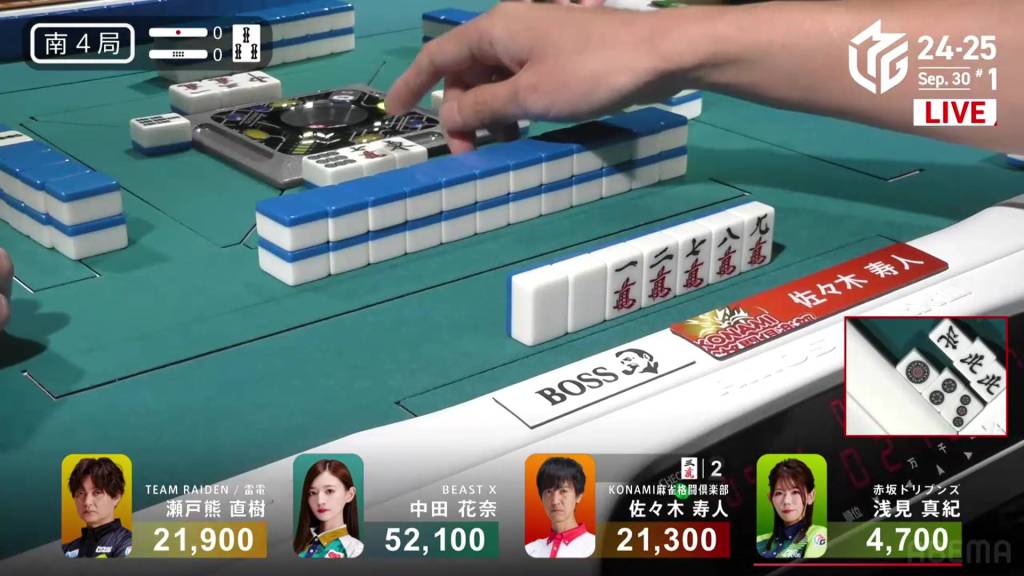
September 30, Game 2, S4-0
Video: https://abema.tv/video/episode/444-1_s5_p6065
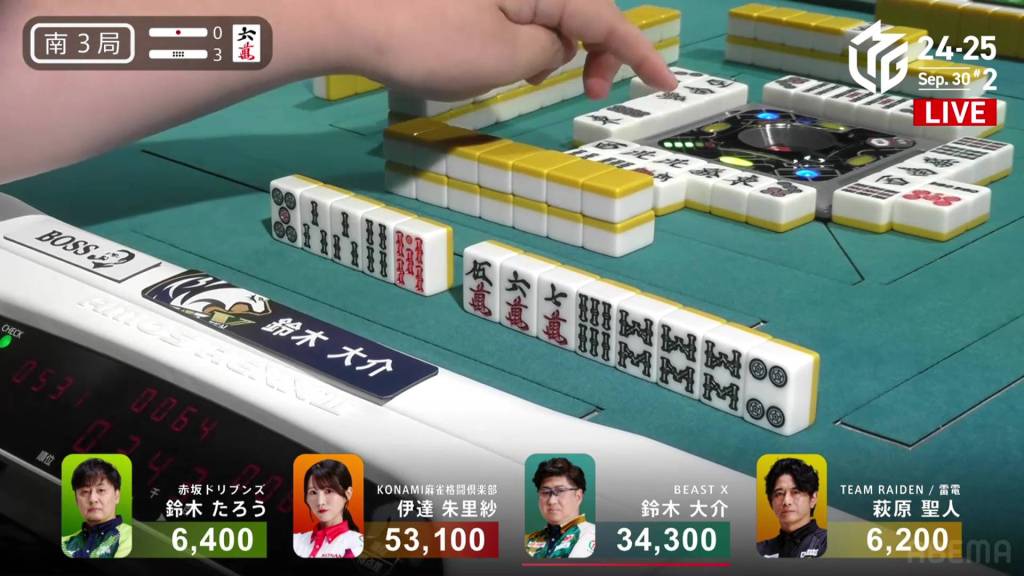
In S4-0, only 1,800 separates 2nd place Daisuke from 1st place Date. At the other end, 4th place Taro trails 3rd place dealer Hagiwara by 2,800. For Daisuke, he needs any 2-han hand to win. For Taro, 3-han is the surest way to escape 4th.
Taro starts out the hand at 3-shanten, but only has the red dragon for value. Across from him, Daisuke is 4-shanten with a dora 2p and three ryanmens. If he can get either pinfu or tanyao to form, he will have enough.
In the first row, Taro calls pon on both the red dragon and 2s, trying to force a honitsu and get to 3 han. For Daisuke, he is able to secure the easts as his non-yakuhai pair and gets to iishanten with pinfu guaranteed.
In the second row, Taro gets to tenpai on a 4s kanchan, but still needs to get rid of his 3m pair to get to honitsu. Soon after, Daisuke gets to tenpai and waits dama on a 25m ryanmen.
As Taro restructures his hand, Date tries to push her hand as well. Near the end of the second row, she draws the fourth 2m. With the 2m being dangerous and Daisuke probably have enough points even without the riichi, she calls a concealed kan. For Daisuke, it reveals that half of his waits are dead. For Date, she hopes to draw any of the three tiles that will get her to tenpai.
Unfortunately, Date is left waiting after missing with the rinshan. In the third row, Taro calls a 567s chii and returns to a 4s kanchan, this time with enough value.
On Daisuke’s draw, he draws the 5m and wins the hand. Daisuke wins with Tsumo/Pinfu/Dora 1 for 700/1,300, taking the game and giving the Beast X their second daily double in team history.
The win also moves the Beast from 9th place in the negatives to 4th place in the positives. Based on how today went, they’re finally gaining ground.
Takaki
October 1, Game 1, E3-0
Video: https://abema.tv/video/episode/444-1_s5_p4565
In E3-0, Takaki is tied for 3rd place going into his dealership, 5,200 behind the 1st place tie.
Takakis starts out the hand 4-shanten with two ryanmens. Though his shapes a relatively efficient, he is lacking in the value department. Through the first row, he makes his pair and creates a bunch of sequence candidates, getting him to iishanten.
But, Matsumoto to his right is also quick. At the end of the first row, he gets to tenpai and calls riichi on a 3p kanchan.
At first, Takaki folds to avoid the ippatsu round, cutting his 1m pair. However, as he does this, he creates a pair of green dragons, giving him potential value and a chance to open the hand. He pushes the 8s from his hand, taking the iishanten. At the end of the row, he draws a third green dragon and calls riichi on a 69m ryanmen.
As turns go along and the wall shrinks, other players want to be tenpai too. WIth a chii, Mizuhara gets to tenpai and waits on 3m kanchan with no tiles left.
Then, in the middle of the third row, Matsumoto draws and discards the 6m and deals into Takaki. With the uradora flip, his 4p pair becomes dora and upgrades his hand to a mangan. Takaki wins with Riichi/Green Dragon/Dora 2 for 12,000 plus one riichi stick, moving into 1st.
Definitive Dama
October 1, Game 1, S4-1
Video: https://abema.tv/video/episode/444-1_s5_p5584
In S4-1, Mizuhara is in 2nd place and 9,000 behind 1st place Takaki. With one riichi stick and one honba in the pot, Mizuhara needs a 3/30 direct hit, a 3/50 tsumo or a mangan ron for 1st place.
Mizuhara’s starts hand is quite messy at 5-shanten, but has the red 5s for value, able to accept the 3s dora for more value. In the first row, she hedges her waits around the centre, giving herself the possibility at a distant 456 sanshoku. By the end of the first row, she is 3-shanten.
To her left, 4th place dealer Matsumoto is simply trying to win the hand at whatever cost. After calling pon on the white dragon and completing a sequence, he gets to tenpai and waits on a 36s ryanmen.
In the second row, Mizuhara draws a red 5p, a big boost to her hand’s value. With riichi, two red dora and the ability to accept the 3s dora, she doesn’t even need to get sanshoku to win.
A turn later, she draws a 6s, putting her iishanten. Near the end of the row, she gets to tenpai on a 3s kanchan. Though the hand has 456 in each of the three suits, she does not have sanshoku since they will be part of a 234s sequence and a 567s sequence.
Her hand has no yaku, but she chooses not to call riichi. If someone discards the 3s, she won’t be able to win. However, she does have enough value to call tsumo. She also has the benefit of improving her wait and switching the 3s dora acceptance for guaranteed sanshoku.
At the start of the third row, she draws an 8s and switches to a 369s wait, a huge boost to her hand.
- Her hand acceptance has widened, going from 1 tile in the wall to 4
- With the wait overlapping with Matsumoto, it prevents her from dealing into Matsumoto
- With pinfu added, she is now able to call ron (though she will be headbumped on either the 3s or 6s)
- All three of her waits will give her enough value
- The 3s is dora
- Both the 6s and the 9s will give her sanshoku instead
Because she has enough value without calling riichi, she stays dama, hoping to catch someone by surprise.
In the middle of the third row, Matsumoto draws and discards the 9s and deals into Mizuhara. Mizuhara wins with Pinfu/Sanshoku/Aka 2 for 8,000+300 plus one riichi stick, enough to win the game by 300.
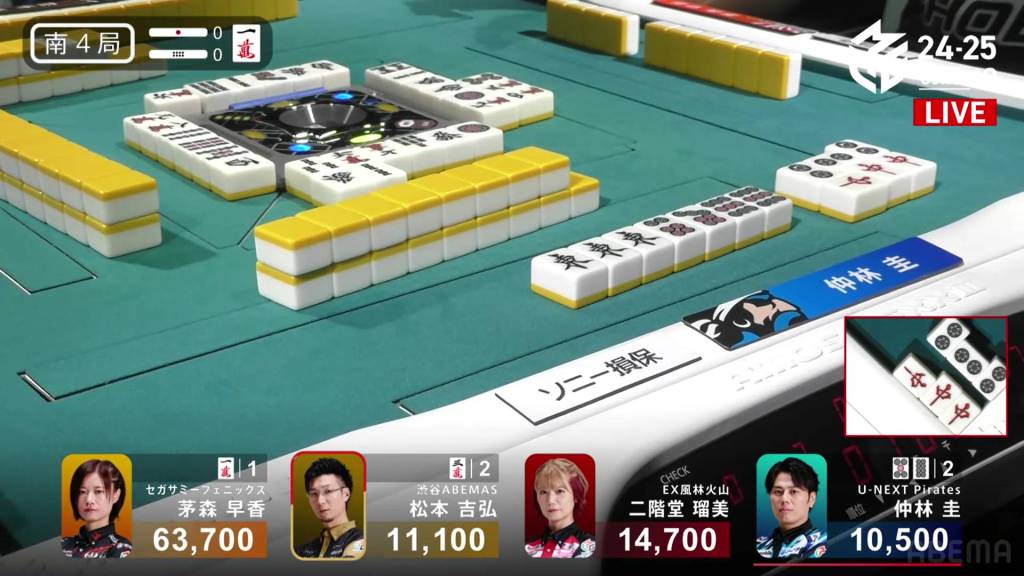
Kayamori Capabilities
October 1, Game 2
In E1-0, Kayamori is the starting dealer and trying to protect the team’s 1st place position from the fast approaching U-Next Pirates.
Kayamori starts out the hand with a decent 3-shanten hand with two ryanmens. In the first row, she starts to create some good shapes, but has a 3s penchan involving the 1s dora. On turn 6, she draws another 1s, making the 1s her pair and getting her to 2-shanten.
With all the wide shapes in her hand, she is easily able to get to tenpai and calls riichi on a 25p ryanmen, guaranteed at least a mangan if she wins.
To her right, Matsumoto is representing the 9th place Shibuya Abemas. In the first row, he already called a closed kan on the 3s to give another chance at dora and uradora. After avoiding the ippatsu round, Matsumoto is able to get to tenpai and calls riichi on a 14p ryanmen.
Though Matsumoto’s wait is wider at first (5 tiles vs. Kayamori’s 2 tiles), they were picked off one by one by Rumi and Nakabayashi. In the third row, Matsumoto got down to just one tile in the wall.
In the middle of the third row, Matsumoto ends up drawing and discarding the 5p and deals into Kayamori. Kayamori wins the hand with Riichi/Pinfu/Dora 2 for 12,000 plus Matsumoto’s riichi stick.
Video: https://abema.tv/video/episode/444-1_s5_p4566
In E4-0, Kayamori is still in the lead, but it has been cut down to just 900.
Kayamori starts out with a big 2-shanten hand, holding only good shapes and a good chance at tanyao. On turn 4, she pairs up the white dragon for iishanten. . Though it kills tanyao, it gives her yakuhai instead with the potential for a 4-sided wait.
While Kayamori waits for tenpai, Rumi advances well. At the end of the first row, Rumi gets to tenpai and calls riichi on a 58p ryanmen. If she gets the 8p, she will be guaranteed at least a mangan.
With such wide potential in her hand, Kayamori simply pushes. At the start of the second row, she gets to tenpai and calls riichi on the wide 258p/white dragon wait.
On her very next draw, she gets the white dragon and wins the hand. Kayamori wins with Riichi/Ippatsu/Tsumo/White Dragon/Aka 1/Ura 1 for 3,000/6,000 plus Rumi’s riichi stick.
Video: https://abema.tv/video/episode/444-1_s5_p4567
In S1-0, Kayamori is the dealer again and starts out 2-shanten for chiitoi. Just a turn later, she pairs up the green dragon to get to iishanten. But, as with all chiitoi hands, it is simply a waiting game and choosing the correct tanki.
While Kayamori waits, both Rumi and Matsumoto are hard at work, trying to kick Kayamori off her dealership. In the first row, Rumi gets to tenpai on a 69s ryanmen, but is furiten. After calling a 789m chii, Matsumoto calls pon on the south in the second row and waits on a 3m penchan.
Rumi keeps trying to escape the furiten, but things keep backfiring. In the middle of the second row, Kayamori draws the red 5s double dora to pair up the one in her hand, getting her to tenpai on a 4s tanki.
Unexpectedly, on her very next draw, Kayamori gets the 4s and wins the hand. Kayamori wins with Tsumo/Chiitoi/Dora 2/Aka 1 for a big 6,000 all, putting her above 60,000.
Battle For 2nd
October 1, Game 2
In S4-0, the scores are close with 4th place dealer Nakabayashi just 4,200 behind 2nd place Rumi.
With Nakabayashi’s starting hand, he is already 2-shanten with a triplet of easts and a pair of norths. With all but two tiles being either pinzu or honours, the path to honitsu and a mangan is clear.
With a pon on the red dragon, he starts to break his manzu block. A turn later, he gets to iishanten. With a 2p pon at the end of the row, he gets to tenpai on a 58p ryanmen.
Immediately after, 1st place Kayamori gets herself to tenpai on a 3m tanki. When she draws the 1m dora, she switches to the more expensive wait.
Right after that, 3rd place Matsumoto gets to tenpai and calls riichi on a 3m penchan. Though his value isn’t enough for 2nd place right now, an uradora or tsumo would let him move up. Worst case scenario, he secures 3rd place.
On Kayamori’s draw, she exchanges the regular 5p for a red 5p, leading her to deal into Nakabayashi. Nakabayashi wins the hand with Honitsu/East/Red Dragon for 12,000, moving Nakabayashi into 2nd place.
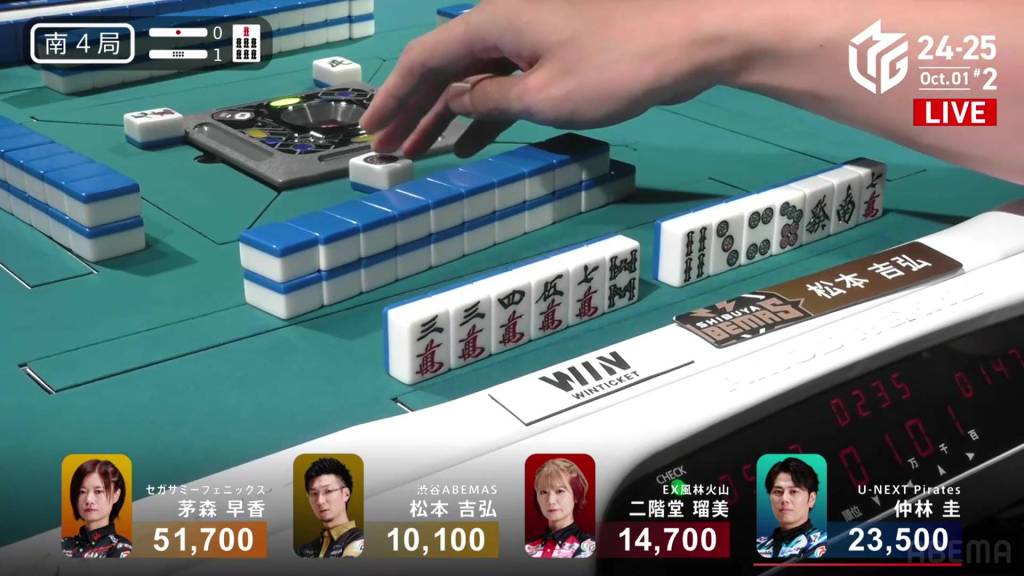
Video: https://abema.tv/video/episode/444-1_s5_p4075
In S4-1, Matsumoto is now in 4th place after Nakabayashi’s big win. Matsumoto already lost the previous game and doesn’t want to make it a daily double 4th.
With Matsumoto 13,400 behind 2nd place Nakabayashi and one honba on the table, he needs a 3/50 or a 4/25 direct hit for a tie. For the outright 2nd place, he needs to get more than that, or a haneman tsumo or a baiman ron.
Sitting at 4-shanten from the start with no value, it seems like even 3rd place will be hard to get to. But, the wall can hold many surprises.
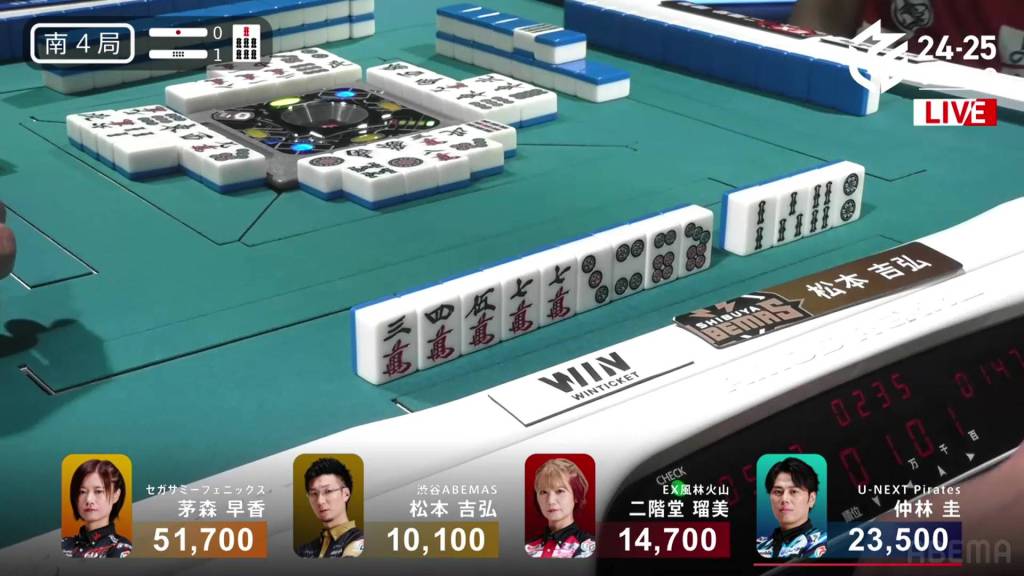
The first row gives him tanyao tiles and shifts him towards a 345 sanshoku with pinfu. If he can get all of those elements together with riichi and tsumo, he would have a haneman.
In the second row, he draws a 2s to put him iishanten. It ruins the sanshoku, but there are other ways to get value. If he gets the 6m, he will have pinfu and tanyao. If he can get the red 5p, he will instantly have an extra han.
After pairing up the 7m to guarantee tanyao, he completes a 234p sequence in the middle of the second row and calls riichi on a 58p ryanmen. Any win will get him at least 3rd. If he can get two more han, he will have move into 2nd.
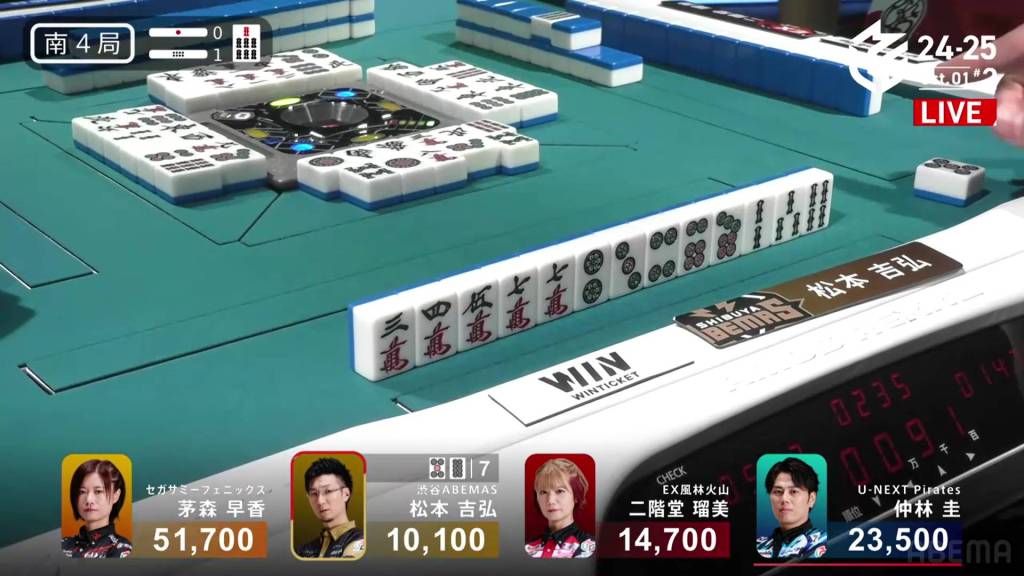
On his ippatsu turn, he misses, making haneman just a bit harder. On his very next turn, he gets the 5p. With 4 han, the only way he can get to a haneman is if his 7m pair is the uradora. Matsumoto flips the uradora and…
…the 7m hits the uradora! With this miracle Riichi/Tsumo/Pinfu/Tanyao/Ura 2 win for 3,000+100/6,000+100, Matsumoto finishes the game in 2nd place, gaining points for his team.
Early Riichi, Late Win
October 3, Game 1, E1-1
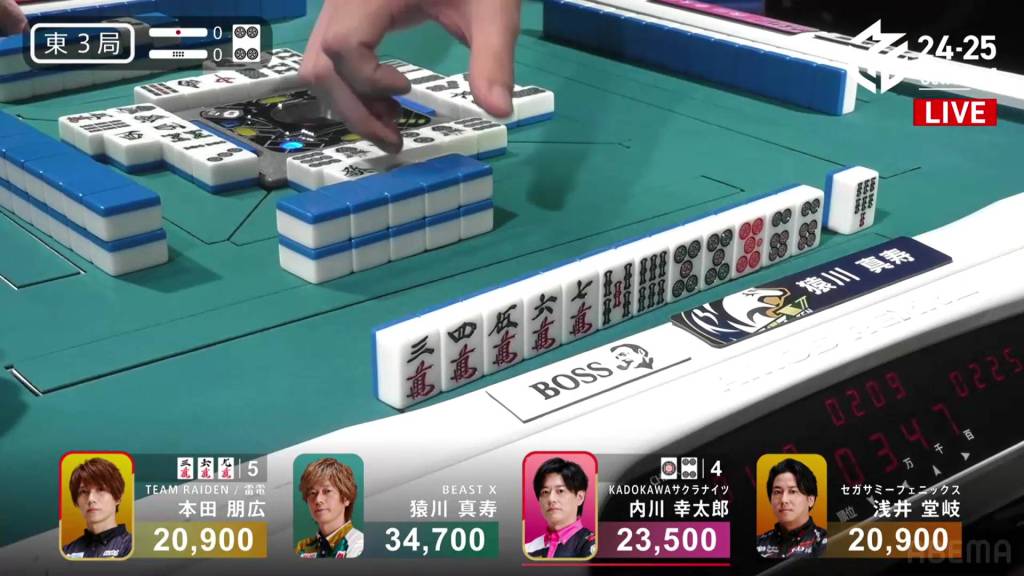
In E1-1, Sarukawa is in a three-way tie for 2nd place after the first hand went to a draw with the riichi player Honda being the only one tenpai.
Sarukawa starts out the hand filling in a 7p penchan to be 2-shanten. With two dora 8m in hand, he has the potential for a relatively expensive hand. On turn 2, he makes it a firm pair and gets to a ryanmen-ryanmen iishanten. On his very next draw, he gets to tenpai and calls riichi on a 36p ryanmen. Seven remain in the wall.
Some players try to fight against it at first, but they end up drawing dangerous tiles and fold. The first row becomes the second. The second row becomes the third. Still, Sarukawa can’t get his winning tile. Then, on Sarukawa’s second-last draw, he gets the 6p and wins the hand. Sarukawa wins with Riichi/Tsumo/Pinfu/Dora 2/Ura 1 for 3,000+100/6,000+100 plus one riichi stick, moving into 1st place.
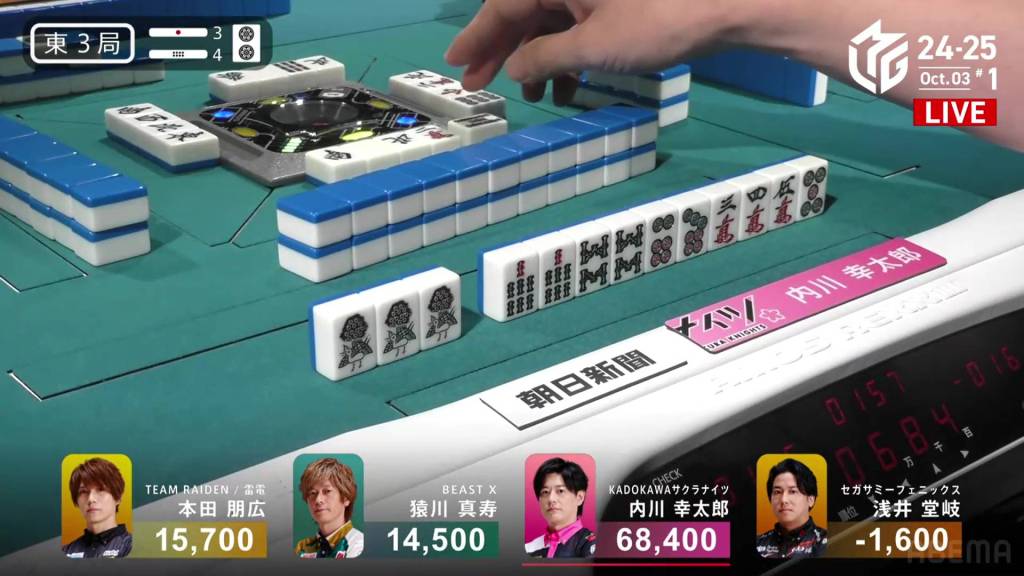
Triple Riichi
October 3, Game 1
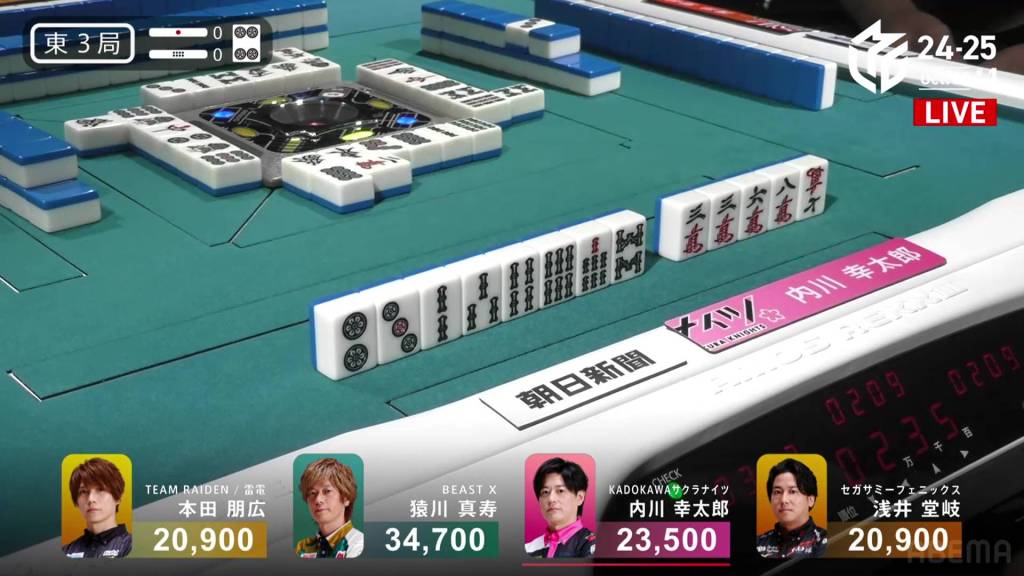
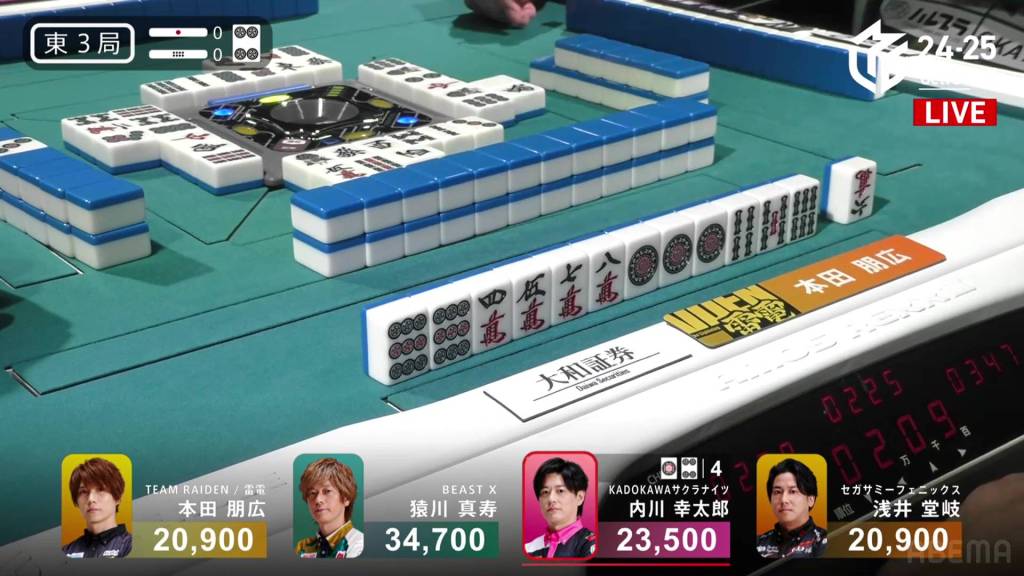
Video: https://abema.tv/video/episode/444-1_s5_p3078
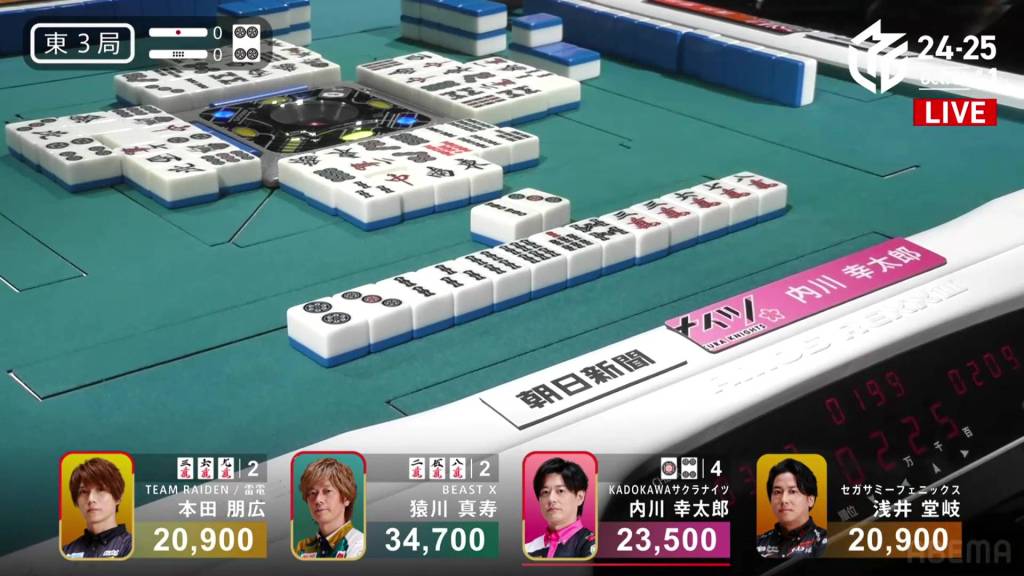
In E3-0, Uchikawa is the dealer in 3rd place, 11,200 behind 1st place Sarukawa.
Uchikawa starts out the hand at 4-shanten. There is no clear yaku, but there are routes for pinfu, tanyao or just the standard riichi.
In the first row, Uchikawa keeps all three of those options open and gets lucky with some of his draws. On turn 6, he fills in a kanchan to get to iishanten, needing to fill in a kanchan and a ryanmen. Across from him, Honda is also iishanten.
On turn 8, Uchikawa is able to fill in the 7m kanchan and calls riichi on a 14p ryanmen. If he can win on the dora 4p, he will have at least a mangan.
During the ippatsu round, Honda gets to tenpai and calls riichi on a 369m three-sided wait.
It’s Honda’s 5 tiles vs. Uchikawa’s 4 tiles. But, there are more than two players at a mahjong table. Immediately after, Sarukawa gets to tenpai and calls riichi on a 258m three-sided wait. Two tiles remain in the wall for him.
WIth 11 tiles total that will give someone a win, it’s almost certain that someone will win. But with each go-around, each of them kept missing. The manzu tiles that were discarded were the 1m and 7m, the only group of tiles that were safe. Takaki took some tiles, but the rest were still alive.
With 7 tiles left in the live wall, there were still 8 winning tiles left unseen. Then, on Sarukawa’s draw, he picks up and puts down the 4p and deals into Uchikawa. Uchikawa wins the hand with Riichi/Pinfu/Tanyao/Dora 1/Ura 1 for 12,000 plus two riichi sticks, moving into 1st.
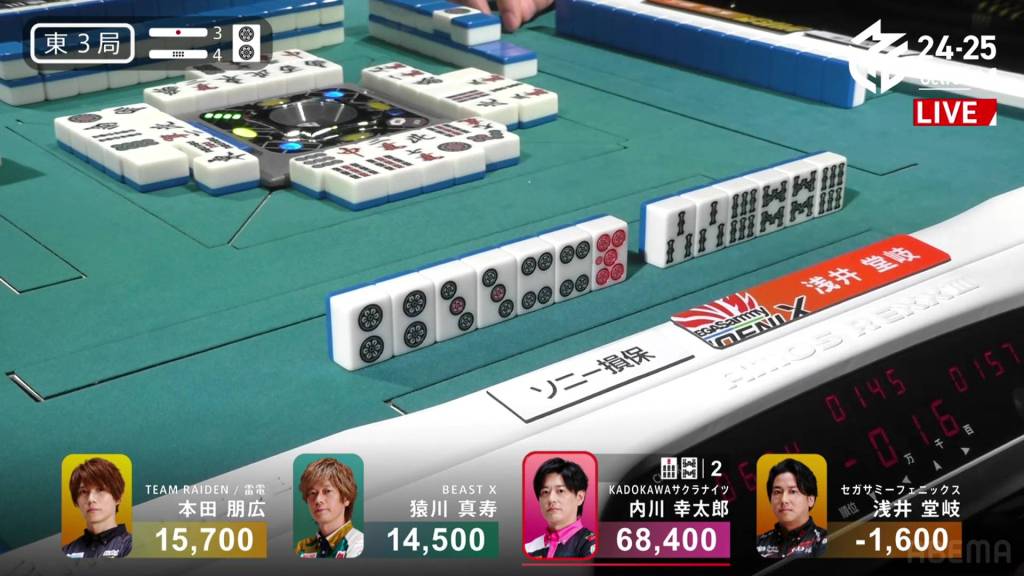
No More Ura San
October 3, Game 1, E3-1
Video: https://abema.tv/video/episode/444-1_s5_p3079
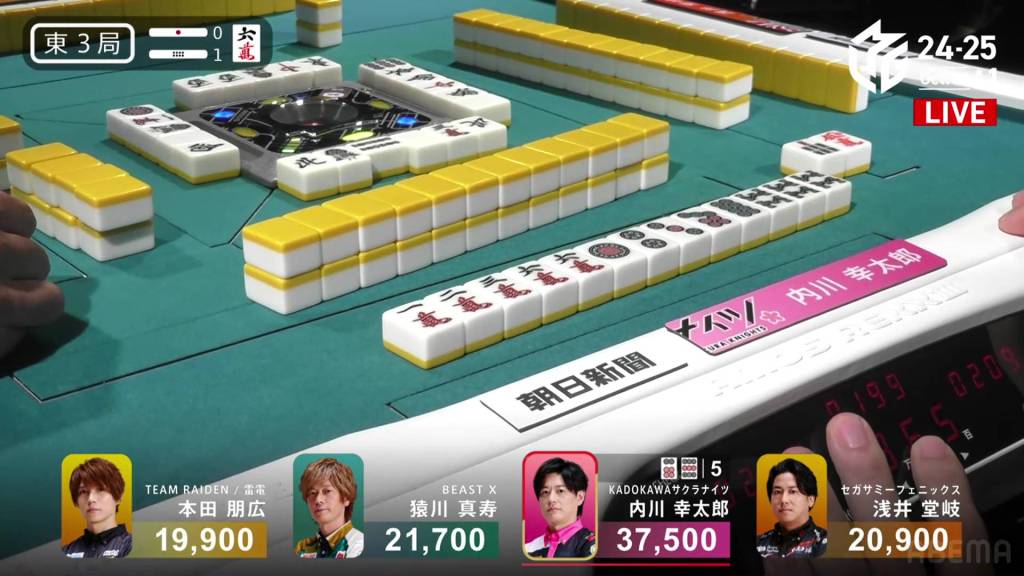
In E3-1, Uchikawa riding high in 1st place after winning a tense riichi battle the previous hand.
Uchikawa’s starting hand is really good with a ryanmen and a pair of 6m, sitting in iishanten after his first draw. Two turns later, Uchikawa makes the 8s pair into a triplet and calls riichi on a 69p ryanmen. Five remain in the wall.
With so little information, players have trouble working around it. For Takaki, he pushes his 2-shanten hand. At the end of the row, he discards the 9p trying to get to iishanten and deals into Uchikawa.
The hand looks like 3 han, but Uchikawa has yet to flip the uradora. When he reveals it, the 8s triplet becomes dora, doubling his hand’s han value. Uchikawa wins with Riichi/Dora 2/Ura 3 for 18,000+300, moving Uchikawa above 55,000.
Uchikawa Up
October 3, Game 1, E3-2
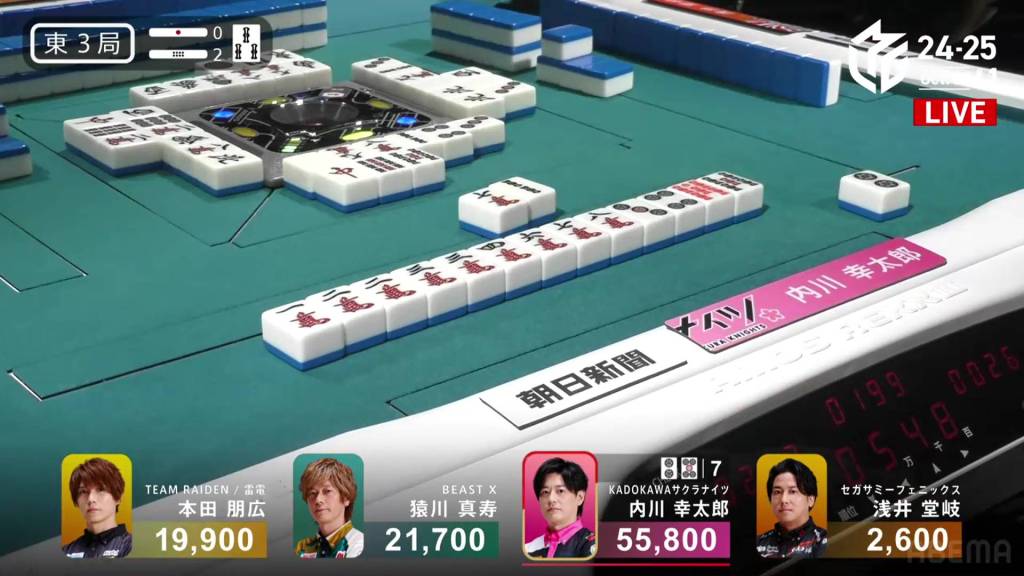
In E3-2, Uchikawa is still the dealer and still has time to gain more points.
Again, his starting hand is iishanten. With two ryanmens and a hand full of sequences, he is almost guaranteed pinfu. The red 5s is icing on the cake.
After a few turns of misses, he gets to tenpai on turn 6 and calls riichi on a 25p ryanmen. Seven of his waits are still in the wall. With the 4p->3p discard pattern in his pile, it makes the wait a bit more likely to come out.
With so many of his waits still alive, it was only a matter of time. In the middle of the second row, Uchikawa, draws the 2p. Hitting the uradora, Uchikawa wins with Riichi/Tsumo/Pinfu/Aka 1/Ura 1 for 4,000+200 all, putting him above 65,000.
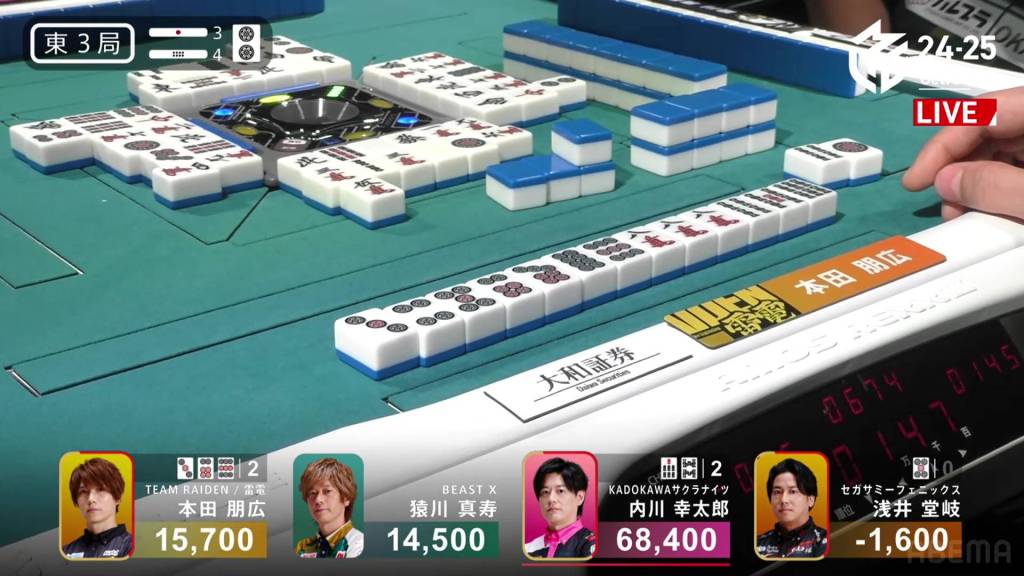
Triple Riichi Three
October 3, Game 1
In E3-4, there are three riichi sticks in the pot after the previous hand had three players calling riichi and ending in a draw. Whoever wins next will pick up 4,200 in riichi sticks and honba.
In the beginning, all four players are 3-shanten, all having a chance to pick up the points. However, Uchikawa the dealer had among the widest waits. On turn 4, he is the first to iishanten. On turn 5, he gets to tenpai and calls riichi on a 7s/8s shanpon.
By this point, both Honda and Takaki are iishanten. With the value on the table, they push just a bit more than they usually would. Near the end of the second row, Takaki gets to chiitoi tenpai and calls riichi on a 5p tanki. Guaranteed a haneman if he wins, drawing it himself would up the value to a baiman and push him from 4th to 2nd.
After avoiding the ippatsu turn, Honda is able to get to tenpai on his next draw and calls riichi on a 369p wait.
It’s 2 vs. 2 vs. 1. As Sarukawa draws the final 5p, Takaki is now out of the running to win. On Takaki’s turn, he draws and discards the 6p and deals into Honda. Honda wins the hand with Riichi/Ura 1 for 2,600+1,200. With the riichi sticks in the pot and his two opponents, he adds 5,000, more than doubling the hand’s score.
Haitei
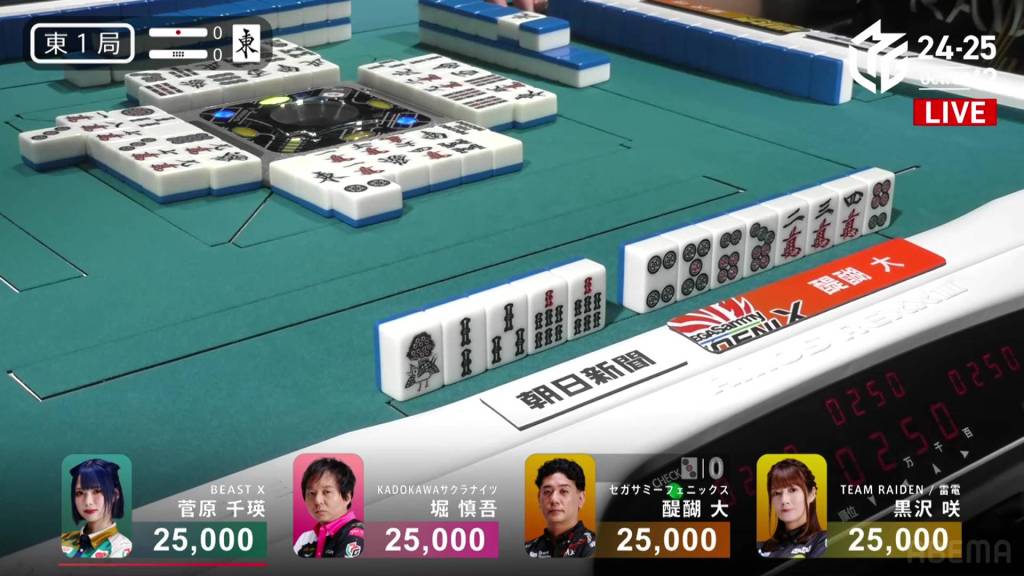
October 3, Game 2, E1-0
In E1-0, Sugawara the starting dealer, trying to get the Beast back into the positives.
Sugwara starts out the hand 4-shanten with a penchan and a handful of ryanmens. With a relatively messy hand with no clear yaku, all she can do is wait and see.
The first row gives her just a bit of improvement, solidifying her shapes and giving her a route to a completed hand, but she is stuck with a closed hand for now.
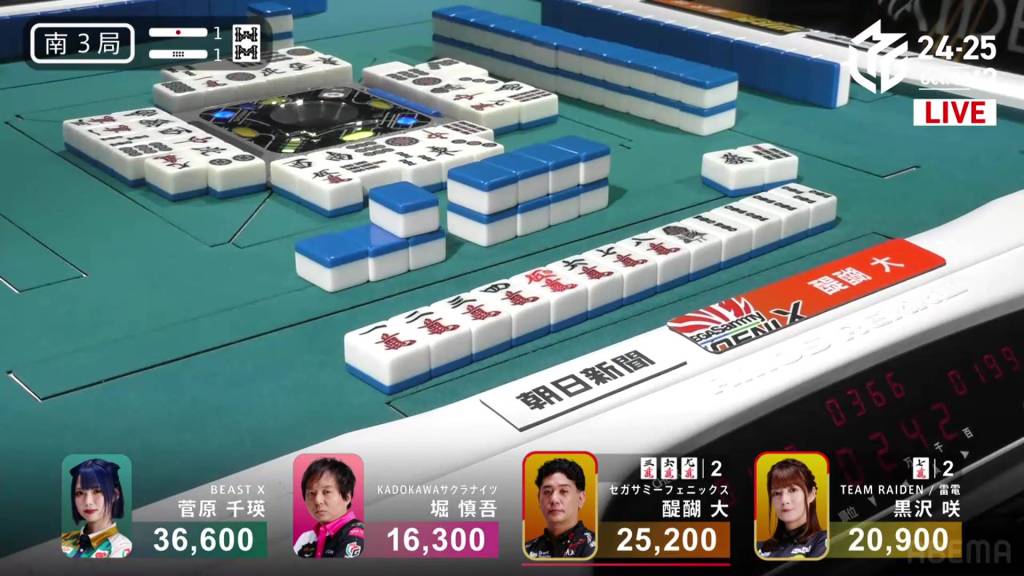
In the second row, the good tiles went to Daigo. On turn 11, he gets to tenpai on a yakuless 3p kanchan, staying dama in hopes of improving. Two turns later, he gets that improvement and calls riichi on a 58p ryanmen.

During the ippatsu round, Sugwara calls a 234p chii to get to iishanten, wanting that slim chance of getting a 234 sanshoku. In the middle of the third row, she makes a 1p triplet. Though it increases her chances at getting to tenpai, only half of them will give her a chance to win. On her next turn, she draws the wrong side of the nobetan to get to a yakuless tenpai. Still, it puts her tenpai. If she can keep it when the hand goes to a draw, she will keep her dealership.
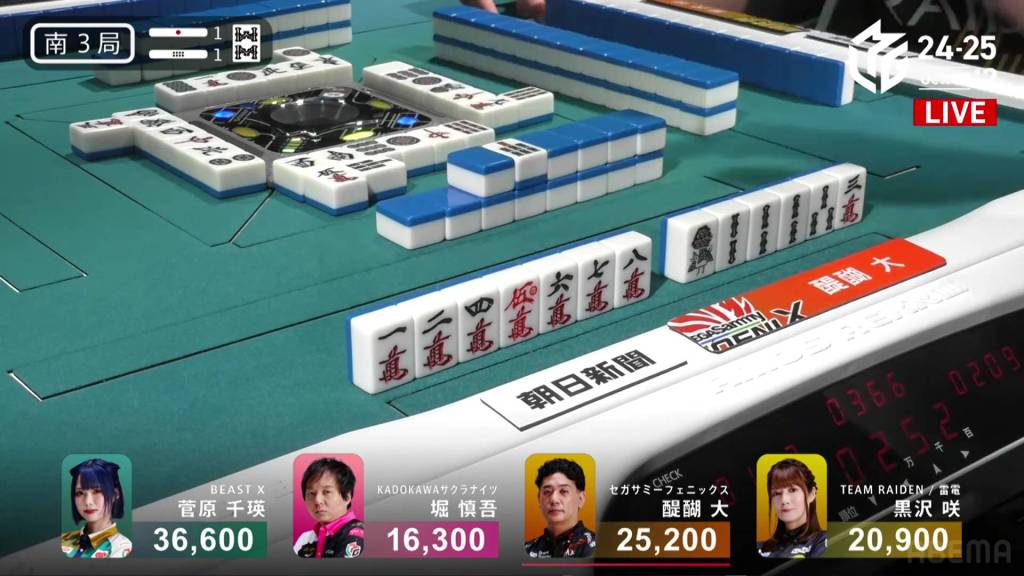
Right after, Hori gets to tenpai on a 5m tanki, though none remain in the wall.
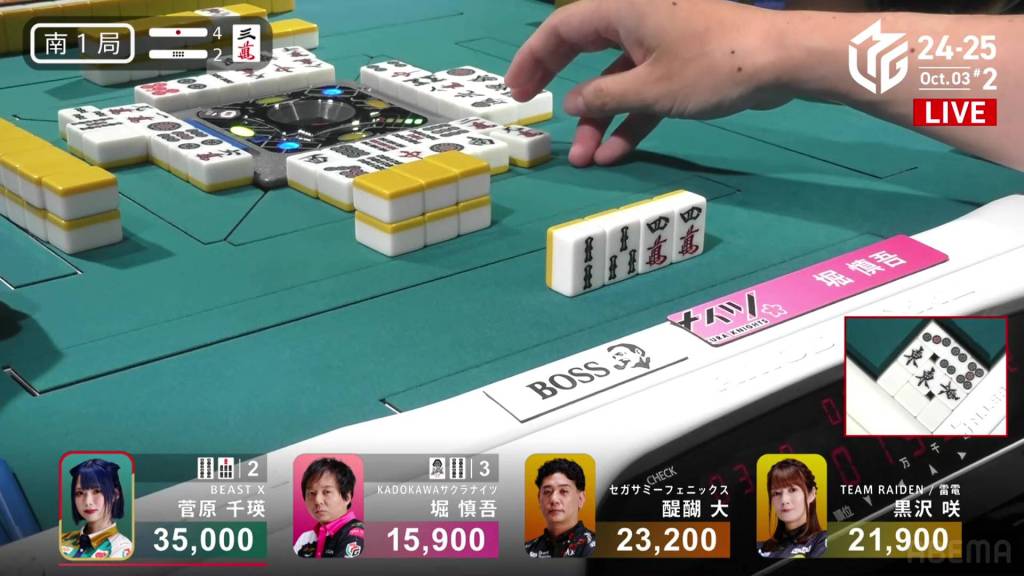
Tracking tiles, the final tile is headed towards Daigo who is guaranteed to be tenpai. As Hori discards the 5m to switch to a 47s wait, Kurosawa calls pon, skipping Daigo’s turn and preventing him for winning by tsumo.
However, that’s exactly what Sugwara needed. On the very last tile, she draws the 4m and declares tsumo. Sugawara wins with just Haitei for 500 all, plus one riichi stick, an uncommon yaku in a rare circumstance.
Sticks
October 3, Game 2, S1-2
In S1-2, there are four riichi sticks in the pot after the past two hands went to a draw. Sitting in 4th place is Hori, 7,300 behind 2nd place Daigo. With even a 3-han hand, he will move into positive position.
Hori starts out the hand at 4-shanten with pairs of white dragon and east. With the express ticket white dragon, he just has to call it and keep calling.
On turn 5, he calls pon to start the train going. Soon after, he calls pon on the east to get to iishanten.
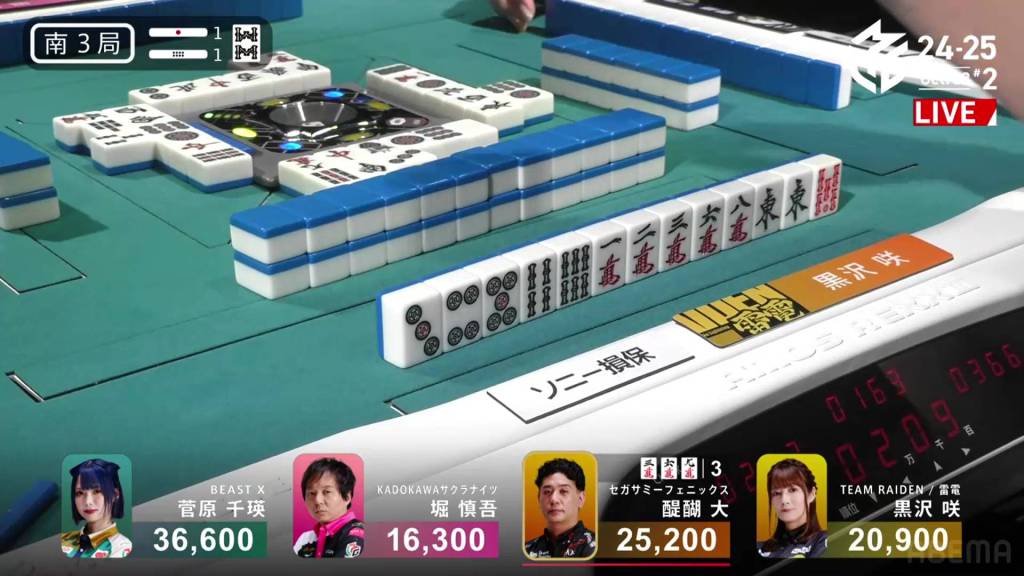
Just as the ride seemed be smooth ahead, 1st place dealer Sugawara adds some bumps by calling riichi on a 47s ryanmen.
Having gone this far with so much value in the middle, Hori just chugs along. With one more call, Hori gets to tenpai on a 14s ryanmen. With both Hori and Sugwara waiting on the 4s, there is a chance that Sugawara will headbump Hori.
In the third row, Sugawara draws and discards the 1s and deals into Hori. Though Hori’s base hand of White Dragon is worth just 1,000, the honba (+600) and riichi sticks (+5,000) makes his hand more than six times more valuable. With the 6,600 gain, he moves into 2nd place and just 700 away from 2nd.
Tenpai Trap
October 3, Game 2, S3-1
Video: https://abema.tv/video/episode/444-1_s5_p4568
In S3-1, Daigo is the dealer in 2nd place, trying to catch up to 1st place Sugwara who is 11,400 ahead of him. One honba and one riichi stick are in the pot.
Daigo starts the hand at 3-shanten with sequences in his future. In the first row, he discards honours and terminals to pursue these sequences. By the end of the row, he is iishanten and just a 3m and 9m away from a manzu ittsuu. On turn 8, he fills in the 3m penchan and calls riichi on a 369m wait. If he wins off the 9m, he will have at least a mangan, enough for 1st place.
After throwing a safe south during the ippatsu round, Kurosawa draws the red 5s on her next turn to get to tenpai. She calls riichi and waits on a 7m.
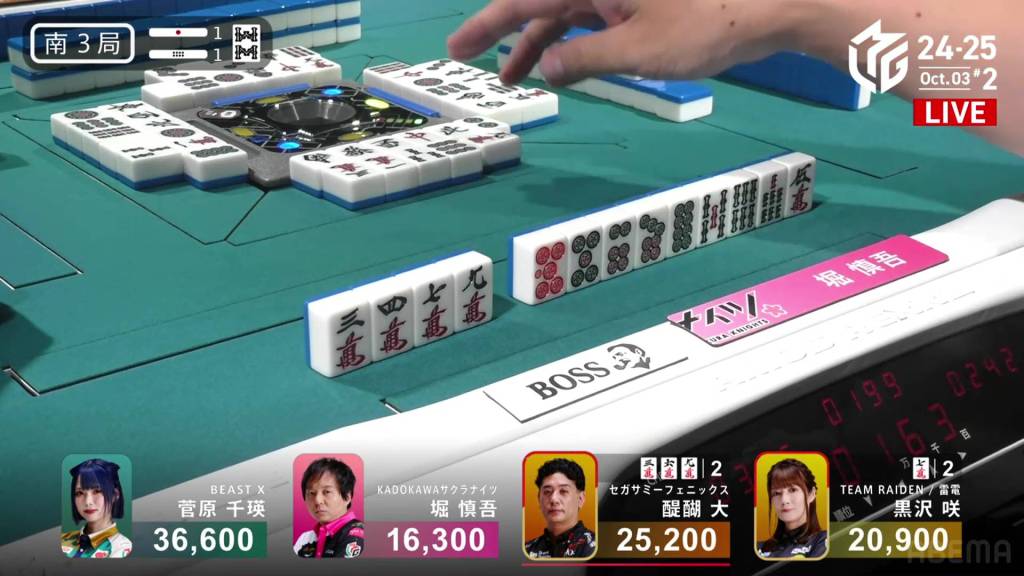
Trying to catch up to both of them is 4th place Hori, needing a mangan himself. With some good shapes and sitting at iishanten, he pushes. But, with a 799m shape in his hand, the writing is on the wall.
Near the end of the second row, he has two choices for tenpai. He can either throw the 9m to take an 8m kanchan, or he can throw the 7m to take a 9m/5p shanpon. Both tiles deal in.
Hori chooses the 9m and deals into Daigo, the more expensive of the two riichis.
Daigo wins the hand with Riichi/Pinfu/Ittsuu/Aka 1 for 12,000+300 plus two riichi stick, moving into 1st place by 2,900.
Furiten
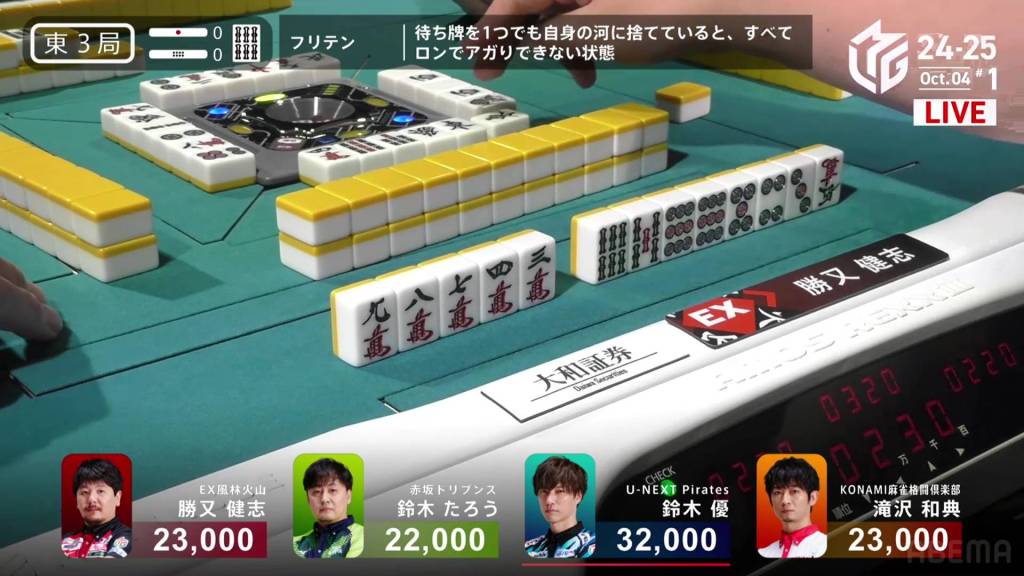
October 4, Game 1, E3-0
Video: https://abema.tv/video/episode/444-1_s5_p2583
In E3-0, Katsumata is tied for 2nd place, 9,000 behind 1st place dealer Yu.
Katsumata starts out the hand already iishanten, having a 25m ryanmen and pairs of east and 9p needing to be made into triplets. A lone 7s lingers, wanting to accept the 6s dora. On turn 3, he draws a 5s. Though he could keep it for the 6s acceptance, he chooses to discard the 7s and hold the 5s for the 345 sanshoku potential instead.
Two turns later, it backfires on him as he draws the 6s. Still, it provides both value and pinfu as he discards the easts. At the end of the row, he gets to tenpai and calls riichi on a 47s ryanmen, sitting furiten.
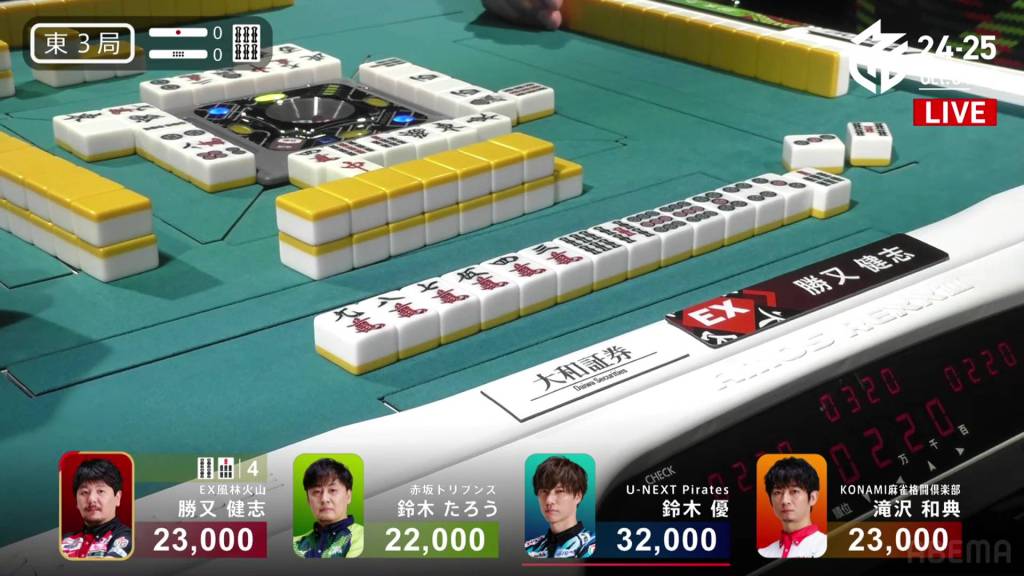
He watches as the first discard made is the 7s, unable to call ron. Just two turns after that, he draws 7s himself and wins the hand. Katsumata wins with Riichi/Tsumo/Pinfu/Dora 1/Ura 1 for 2,000/4,000, moving into 1st place.
Stick To It
October 4, Game 1, S2-2
In S2-2, there are three riichi sticks and two honba in the pot after the past two hands went to a draw. In 1st place is Katsumata, who just lost his dealership being the only one noten.
Katsumata starts out the hand 2-shanten with a pair of green dragons and two ryanmens, a nearly perfect hand to take the pot with. His hand develops with ease. In the first three turns he makes a pair of 3p and upgrades it to a triplet to a ryanmen-ryanmen iishanten. On turn 5, he is the first to tenpai and calls riichi on a 36m ryanmen.
To his right 3rd place dealer Taro is iishanten is wanting to win to take the pot and extend his dealership. Sitting iishanten with few clues of safety, he pushes. In the middle of the second row, he gets to tenpai as well and calls riichi on a 3s/6m shanpon. However, there are none left in the wall and he would be headbumped if he tried to call ron on the 6m.
With each passing turn, neither Katsumata nor Taro drew a winning tile. Then, on the second-last tile in the wall, Taro draws the 3m and deals into Katsumata. Katsumata wins the hand with Riichi/Aka 1/Ura 1 for 5,200+600 plus four riichi sticks, extending his lead.
Takizawa Triumph
October 4, Game 1
In S4-0, the fight for 1st place is close, with 1st place Yu and 2nd place Katsumata separated by only 100. However, 3rd place Takizawa still has a chance, holding the final dealership. He will need to rise like the break of down to overcome the 27,100 deficit.
Takizawa starts out with an okay starting hand, being 4-shanten with a cluster of pinzu and a good shape in souzu. In the first row, he forms a 678s iipeikou shape and leads him to a wide iishanten, waiting on 13 different tiles for tenpai. On turn 6, he gets to tenpai on a 6m kanchan and stays dama. Two turns later, he chooses to not be quiet anymore and calls riichi.
At the start of the third row, Takizawa draws the 6m and wins the hand. Takizawa wins with Riichi/Tsumo/Tanyao/Iipeikou for 4,000 all, cutting the deficit down to just 11,100.
Video: https://abema.tv/video/episode/444-1_s5_p3582
In S4-1, Takizawa is now within a dealer mangan away from moving into 1st place, something that seemed so far away just a minute ago.
Takizawa starts out with a 2-shanten hand with a pair of green dragons. To his left, however, is 1st place Yu trying to end the game quickly. With Yu holding a 2-shanten hand with a clear path to tanyao, Takizawa will have to work quickly.
WIthin the first few turns, Yu fills in a kanchan and calls pon on the 4p to get to tenpai and wait on a 47s ryanmen.
By this point, Takizawa is still 2-shanten, but his green dragons have become a triplet. On his draw, he creates a ryanmen and gets to iishanten. Through the rest of the row, Takizawa makes calue through a 345s iipeikou and sacrifices the ryanmen to make a pair. Sitting tenpai, he calls riichi and waits on a 4m kanchan.
As the first row turned into the second, Takizawa’s winning tiles went down to just one while Yu still had four. Still, you only need one. Near the middle of the second row, Takizawa draws that final 4m and wins the hand. With the uradora, each green dragon suddenly became worth one han each and the hand instantly upgraded to a mangan! Takizawa wins the hand with Riichi/Tsumo/Iipeikou/Green Dragon/Ura 3 for 6,000+100 all, easily moving into 1st place.
Birthday Consolation
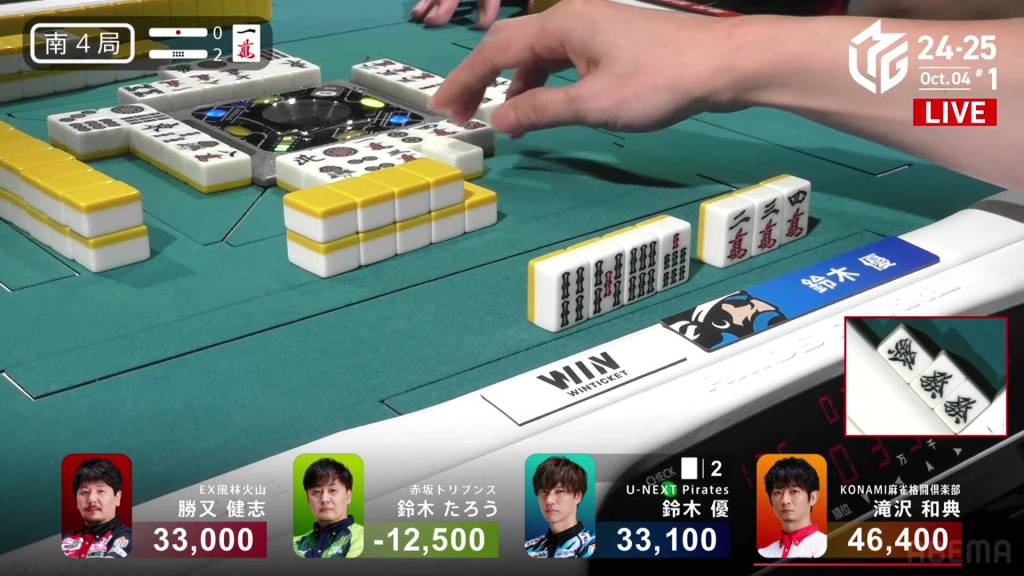
October 4, Game 1, S4-2
In S4-2, Taro is in 4th place, deep in the negatives with a score of -12,500. Not the best way to celebrate your birthday. He has one hand to at least end it on a high note.
Taro starts out the hand at 4-shanten with no sign of value. All he has to do is be patient and just see what happens.
As he sits around and looks to draw something good, he sees Katsumata calling a 123s early in his fight for 2nd place. Near the end of the first row, Yu is iishanten on a yakuless 5p kanchan. WIth a pon of the green dragon, he now has a yaku and waits with a 4p tanki, later switching to a white dragon tanki and then a 47s nobetan after another call.

By this point, Taro has developed some significant value, just an 8s away from getting both sanshoku and pinfu. As luck would have it, Taro draws the 8s in the middle of the second row and calls riichi on a 47p ryanmen. With just one more han, Taro would get to a haneman.
In the third row, Katsumata calls pon on the 7p and throws the 7m trying to get into tenpai, instead dealing into Taro. With the uradora hitting, Taro wins the hand with Riichi/Pinfu/Sanshoku/Aka 1/Ura 1 for 12,000+600. With that, Taro finishes his birthday with a positive score of 100.
No More Ura San

October 4, Game 2, E1-0
Video: https://abema.tv/video/episode/444-1_s5_p2073
In E1-0, Futoshi is playing for the Akasaka Drivens, trying to give Taro a 1st place as a present.
Futoshi’s starting hand is quite good, being 2-shanten for chiitoi (3-shanten for a standard hand) with a pair of 5m dora. After getting rid of stray tiles, the speeds of both hands converge on turn 5, getting him to iishanten on both paths. With a bit of dreaming, he is 2-shanten from a potential suuankou yakuman.
In the middle of the second row, Futoshi makes a triplet of 8s and calls riichi on a 14m ryanmen. If he can win on the 4m, he will add tanyao and iipeikou to the hand for mangan minimum.
In the third row, Kobayashi also gets to tenpai and waits on a 5m dora kanchan.
Right after, Futoshi draws the 1m and wins the hand. Though the 1m is a bit of a disappointment, the uradora was definitely not. With the flip, his 7p triplet in his hand becomes the new dora and upgrades his hand to a haneman! Futoshi wins with Riichi/Dora 2/Ura 3 for 3,000/6,000, taking a big early lead.
Feeding Time
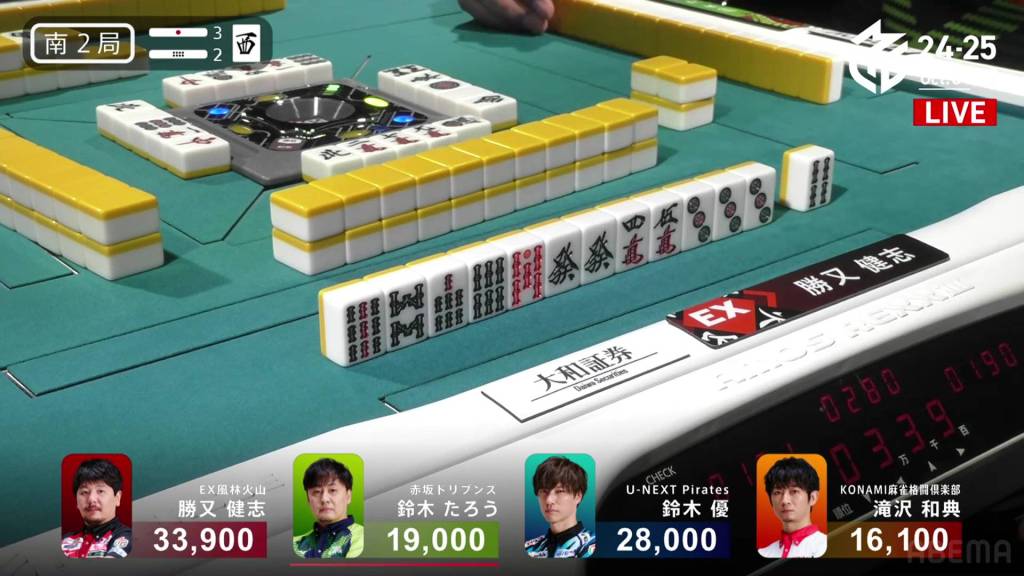
October 4, Game 2, S2-1
Video: https://abema.tv/video/episode/444-1_s5_p2074
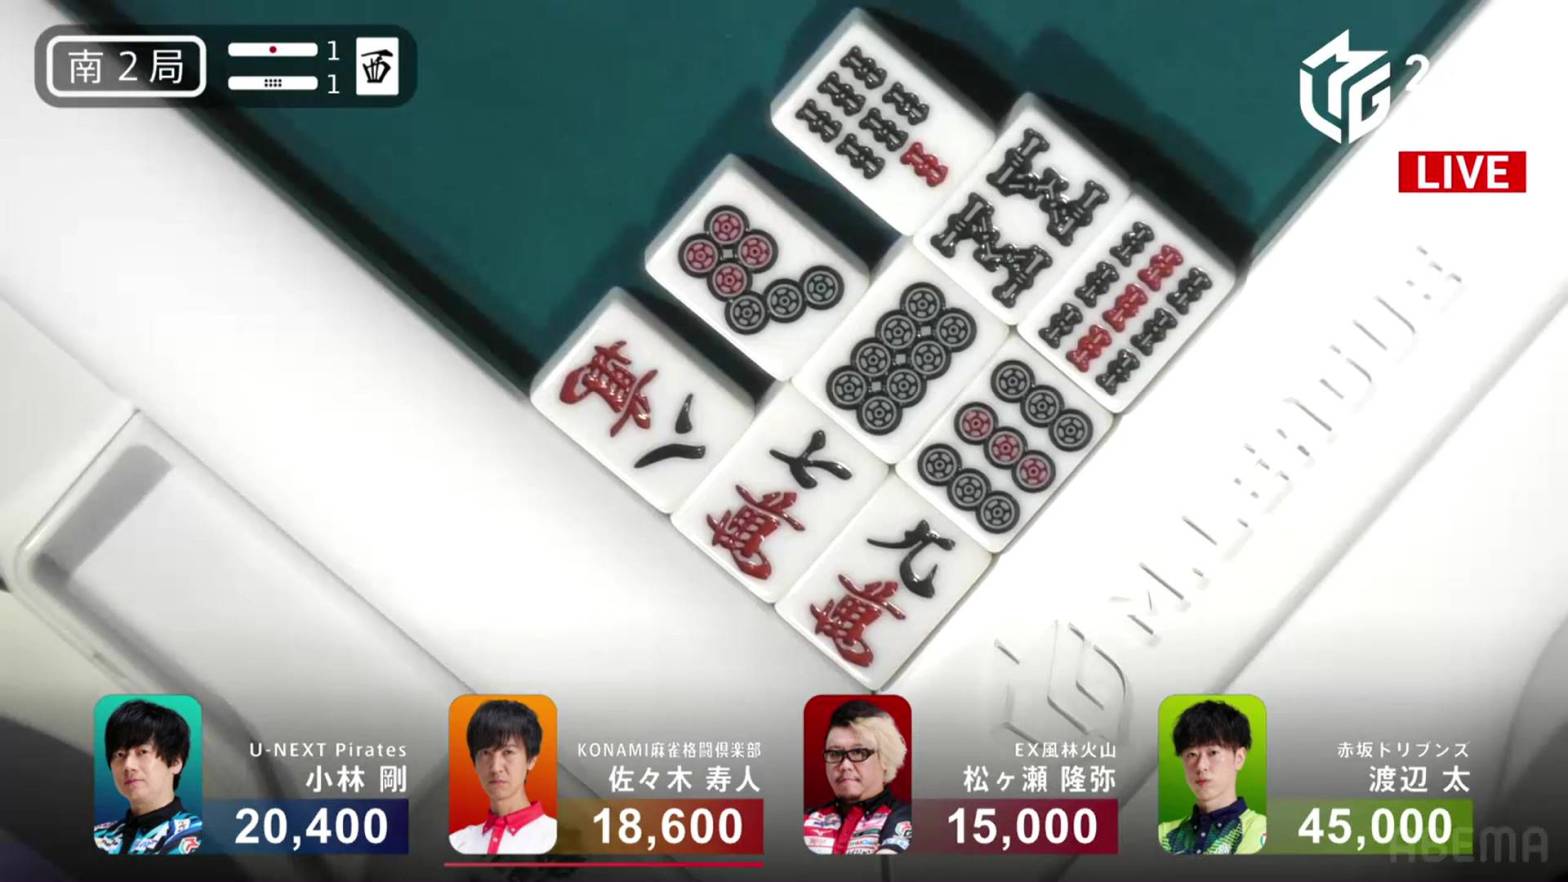
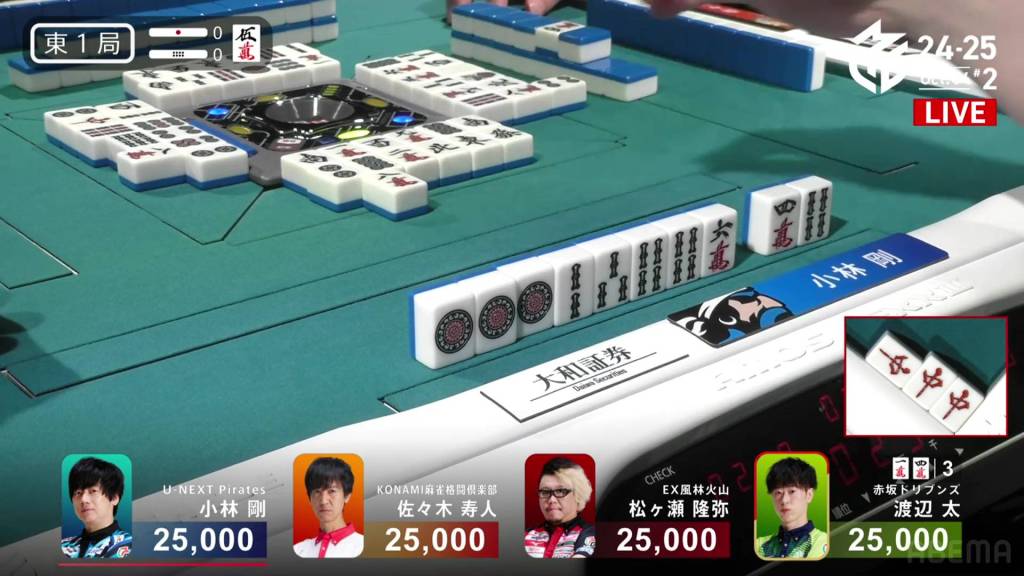
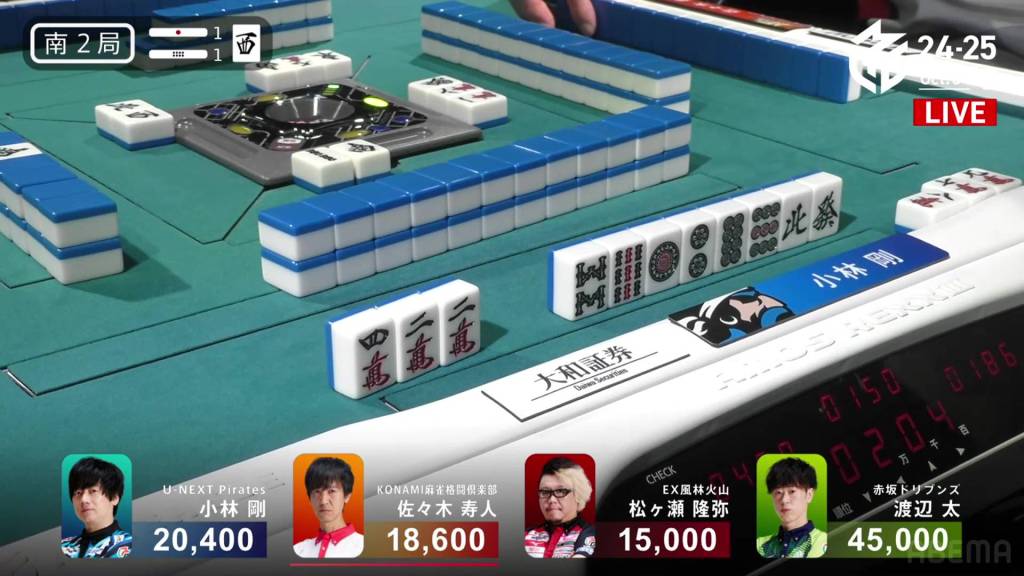
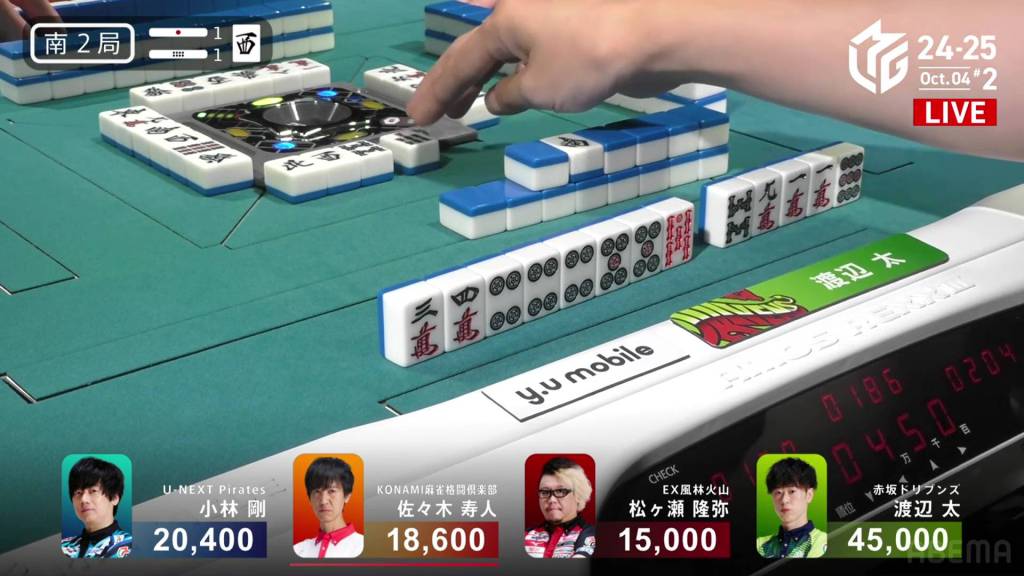
In S2-1, Futoshi is in 1st place with a wide lead and wanting the game to finish quickly. In 2nd place is Kobayashi, wanting to separate himself from 3rd place dealer Hisato and 4th place Matsugase.
From the start, Futoshi is 2-shanten with no value and Kobayashi is 3-shanten with a clear path to a 789 sanshoku. On turn 3, Futoshi discards the 8m and Kobayashi calls a 789m chii.
With few hands compatible with a terminal chii, Futoshi thinks about what Kobayashi could be going for. More importantly, he plans to do a maneuver that is mutually beneficial to them.
Seeing the dora wests being discarded, Kobayashi’s value is highly limited. If Futoshi can help Kobayashi win a cheap hand (likely either chanta or sanshoku), it moves the game along to Futoshi’s benefit. For Kobayashi, he will gain points and kick his rival Hisato off his dealership.
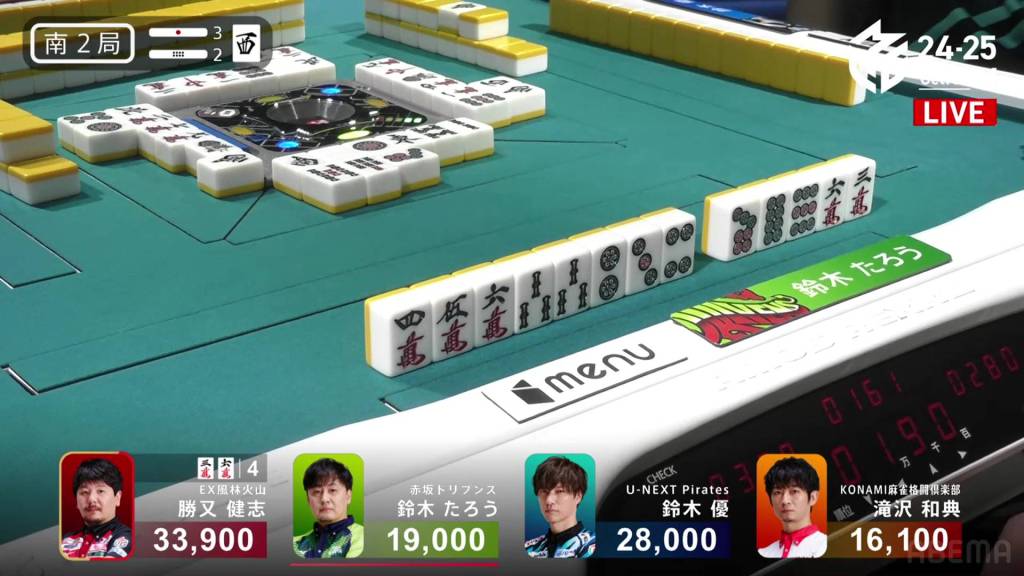
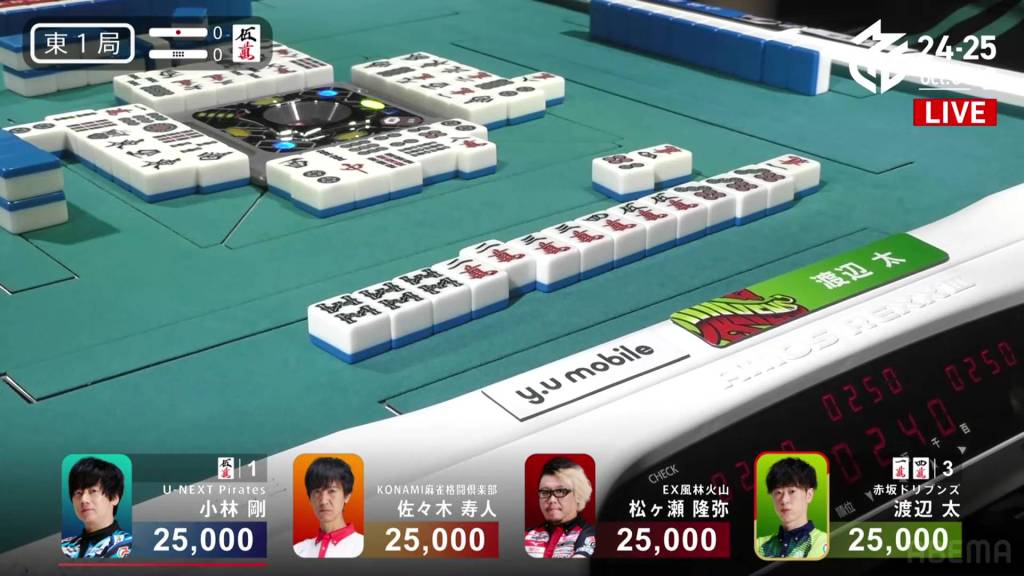
WIth this plan, he gets to work. On his next turn, he discards the 8s, which misses. Right after, he tries the 7p which Kobayashi calls chii with. A turn after that, Futoshi discards the 7s.

With the final piece of the puzzle, Kobayashi calls chii and waits tenpai on a 3p penchan. A success for both Kobayashi and Futoshi.

Soon after, Matsugase discards the 3p and deals into Kobayashi. Kobayashi wins the hand with Sanshoku only for 1,000+300 plus one riichi stick, a powerful win for both Kobayashi and Futoshi.
