
Highlights
Solid Start
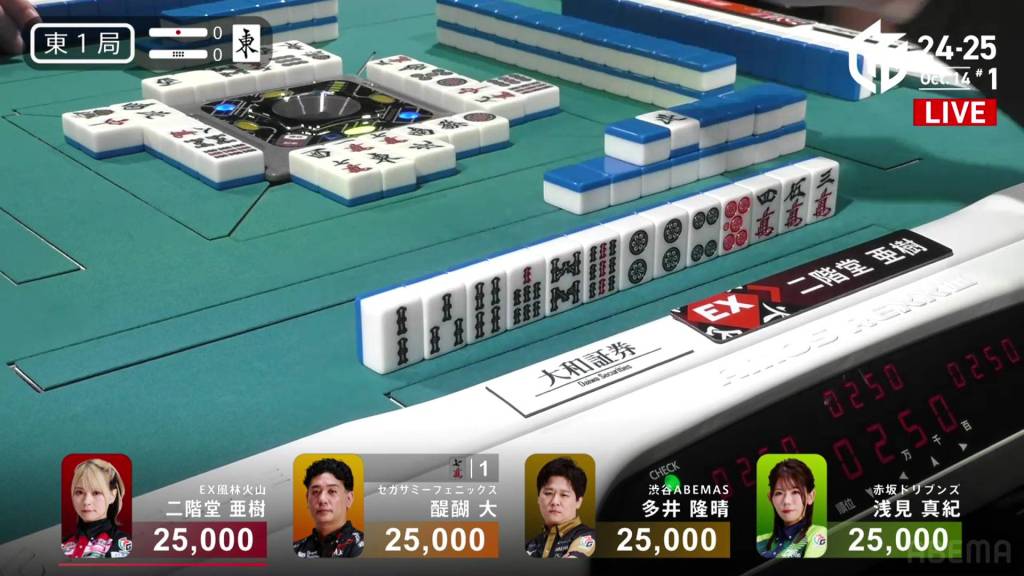
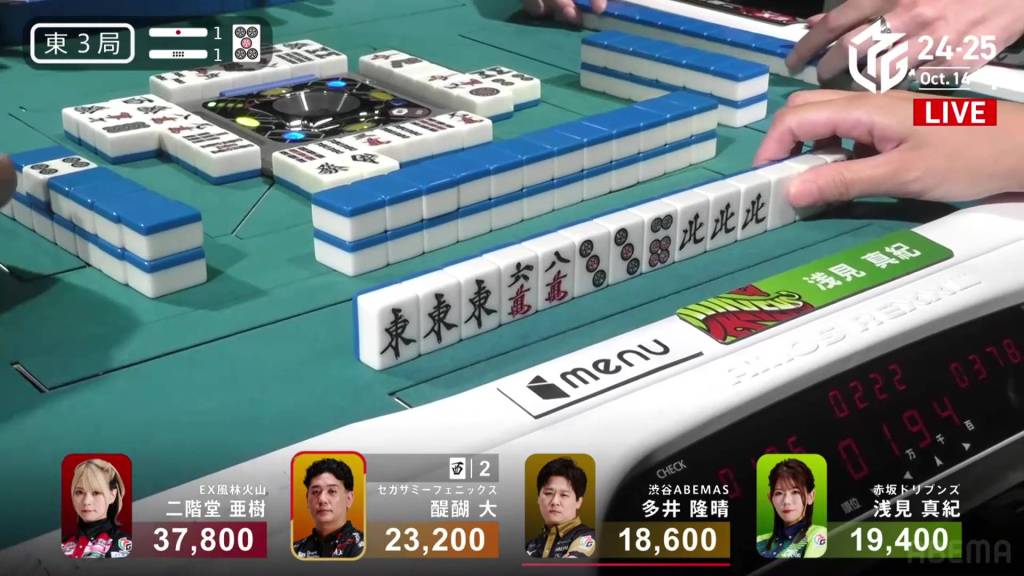
October 14, Game 1, E1-0
In E1-0, Aki is the starting dealer and trying to save the team from their 10-game winless streak.
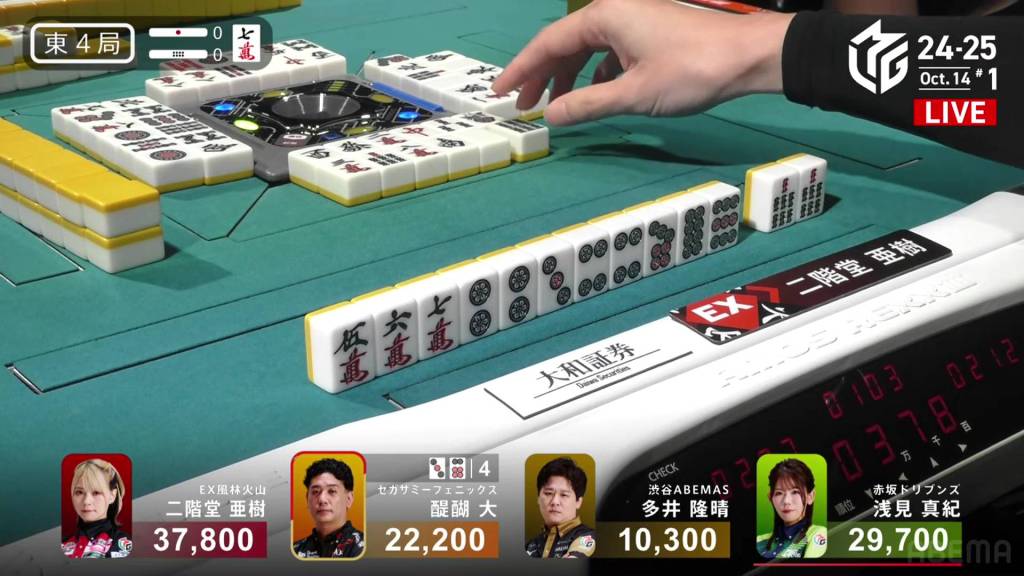
Aki starts out with a nice 3-shanten hand with four ryanmens and a connected red 5p. With the way things are set up right now, pinfu is basically guaranteed. In the first row, she is only able to fill in one of them, but there’s not much worry since her shapes are so strong.
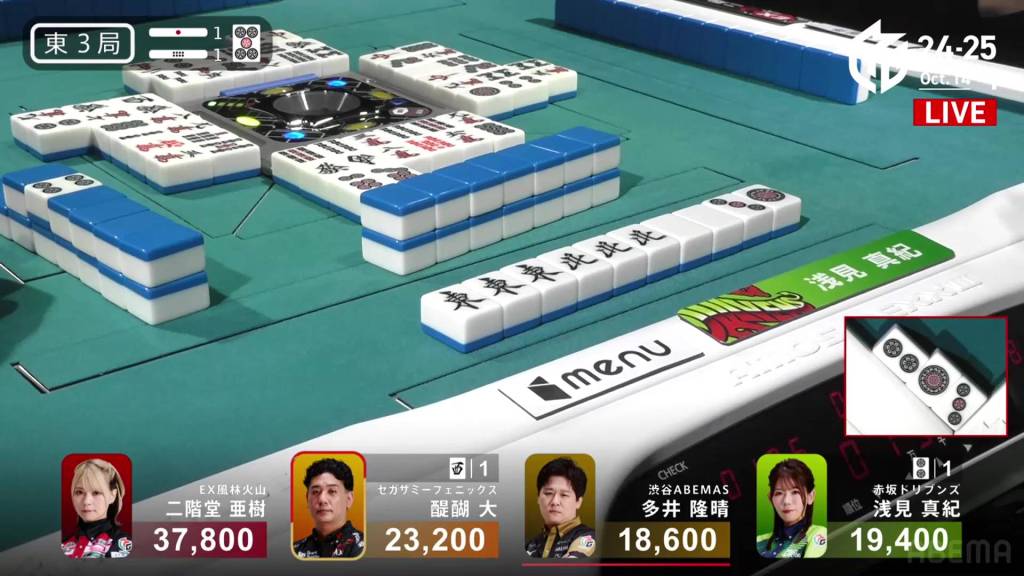
In the second row, she fills in two of them to get to tenpai and calls riichi on a 36p ryanmen.
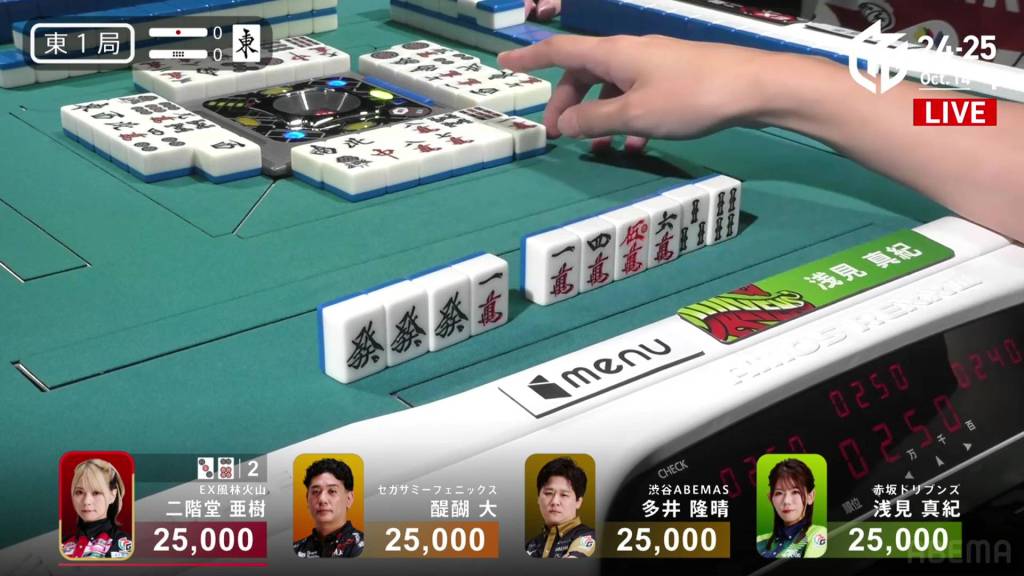
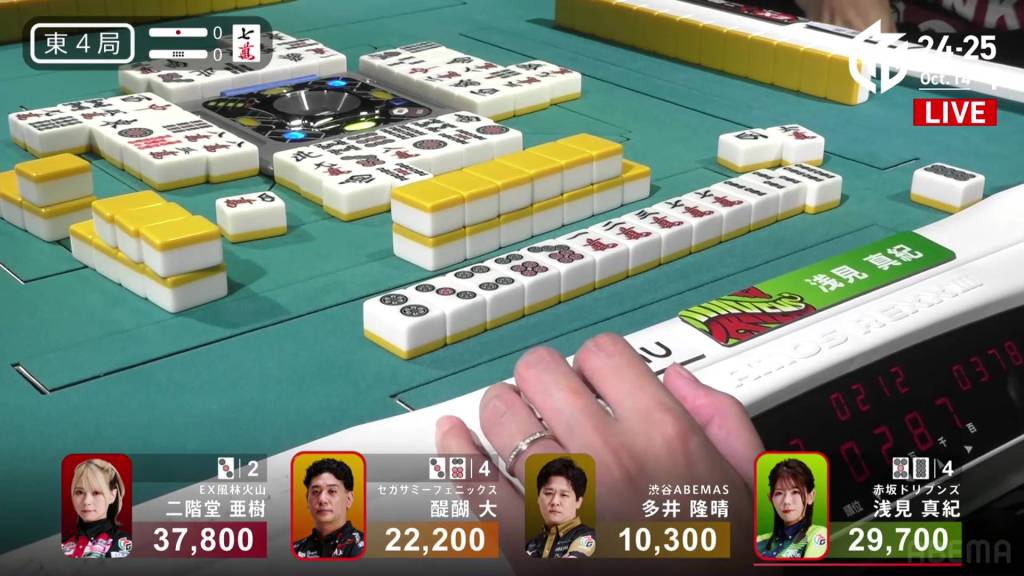
With the dealer riichi, there is a bit of hesitation at the table. Even Daigo, who had been holding a yakuless 7m kanchan tenpai, chooses to fold. However, iishanten Asami is able to hold onto her shape while drawing and discarding relatively safe tiles. With a chii at the end of the second row, she gets to tenpai on a 25s ryanmen.
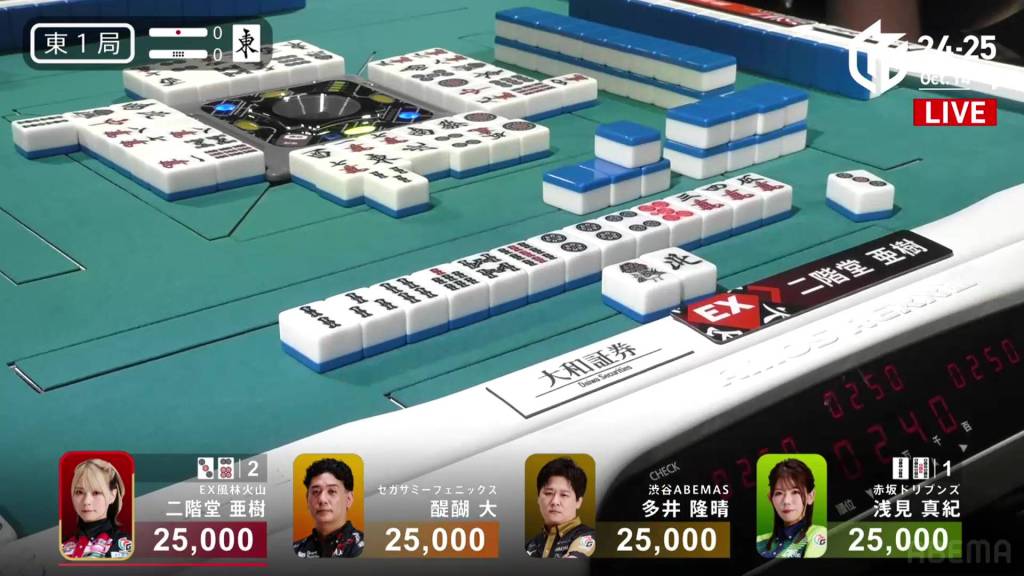
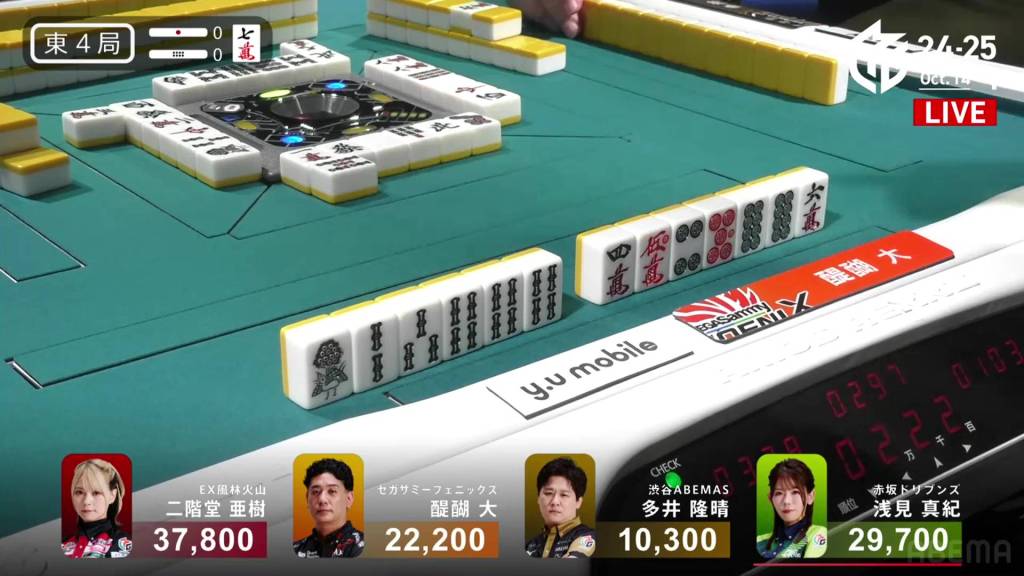
In the third row, Aki becomes the first winner as she draws her winning 3p. Hitting the uradora, Aki wins with Riichi/Tsumo/Pinfu/Aka 1/Ura 1 for 4,000 all.
Maki Mayhem
October 14, Game 1
Video: https://abema.tv/video/episode/444-1_s70_p2131
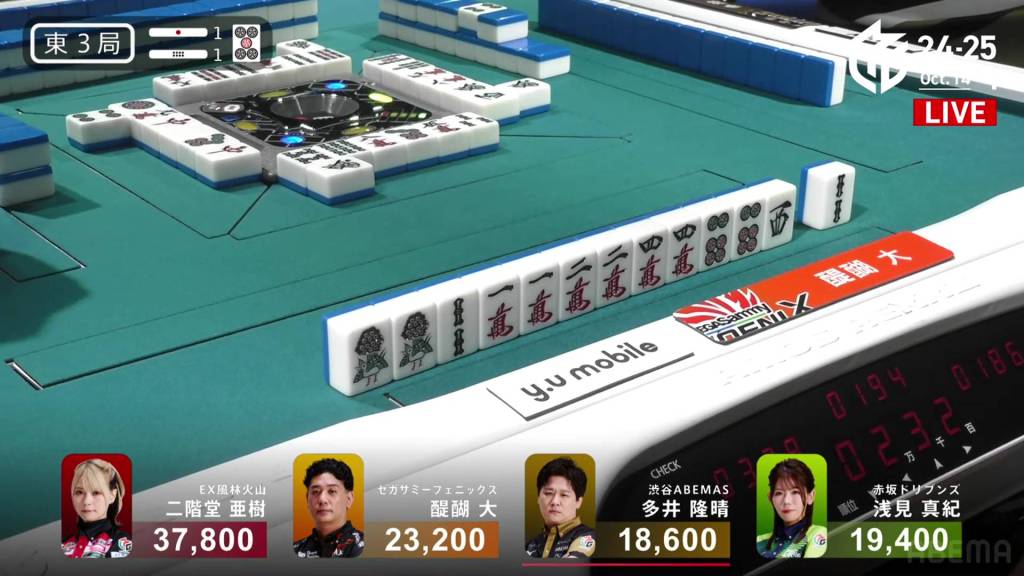
In E3-1, Asami is sitting in 3rd place, 3,800 from 2nd place Daigo and 18,400 behind 1st place Aki.
Asami’s starting hand is a mess of shapes with pairs of east and noth and a handful of strays. Sitting at 4-shanten, there are paths ranging from a simple yakuhai to honitsu (in either manzu or pinzu). In the first row, she draws a third north to get to 3-shanten, but otherwise makes no progress.
Across the table, on the other hand, Daigo is making quick work of his chiitoi. On turn 7, he gets to tenpai and calls riichi on a west tanki.
For Asami, the second row gives her a pair of white dragons and a triplet of easts. But just as things started to shake up, the table started shaking. An earthquake was happening.
The game was briefly paused while the tremors of the nearby M4.9 earthquake passed. When everything was deemed fine, the game continued.
Working around the riichi, Asami’s hand starts to shift towards a pinzu honitsu. Near the end of the second row, she is iishanten.
In the third row, she calls a 123p chii and waits on a 2p kanchan, guaranteed a mangan if she wins. A few turns later, Ooi discards the 2p and deals into Asami. Asami wins the hand with Honitsu/Chanta/East for 8,000+300 plus two riichi stick, moving into 2nd place.
In E4-0, Asami is now the dealer and has a big chance at moving into 1st place. She just has to close the 8,100 gap.
Asami starts out the hand with a strong 2-shanten hand with a ryanmen waiting to be filled. On turn 4, she gets herself to a perfect iishanten shape, guaranteed a good wait however she gets to tenpai.
As she waits, 3rd place Daigo gets to tenpai first and calls riichi on a 36p ryanmen. With a direct hit or just one more han, he will push Asami down to 3rd place.
During the ippatsu round, Asami draws the 7m dora during the ippatsu round. Over the next few turns, she holds onto it, having it being a floating tile in her ryanmen-ryanmen iishanten. In the middle of the second row, she pairs up the 7m, both giving her more value and saving her from discarding the dangerous dora.
Adding onto the danger is Aki, who is the second one to tenpai and waits on a 3p kanchan. If either Ooi or Asami discard the 3p, Aki will headbump Daigo.
At the start of the third row, Asami is finally tenpai and calls riichi on a 58p ryanmen, guaranteed at least a mangan if she wins. Two turns later, she draws the 8p and wins the hand. Asami wins with Riichi/Tsumo/Pinfu/Dora 2 for 4,000 all plus one riichi stick, jumping up to top spot.
Big Daigo
October 14, Game 1
Video: https://abema.tv/video/episode/444-1_s5_p4572
In S2-1, Daigo is falling behind. He sits in 3rd place and 15,900 behind 2nd place Aki. As the dealer, he can take the game where he wants to take it. He will get rewarded with 2,300 in bonuses if he manages to win this hand.
Daigo starts out with an annoying 5-shanten hand, but has two red fives and a dora 7s for value, giving him a path to mangan if he can get there. On turn 3, he pairs up the green dragon to give him an express ticket. A few turns later, he calls pon on it to secure the yaku.
However, as he was doing this, Aki was calling up a storm. Calling pon on the south, north and 1p, she gets to honitsu iishanten before the first row is done.
In the second row, Asami is the first to tenpai on a 6p/3s shanpon, but has no yaku.
The first one to get to tenpai with a yaku is Daigo, waiting on a 36m ryanmen. Within a round, Ooi discards the 3m and deals into Daigo. Daigo wins the hand with Green Dragon/Dora 1/Aka 2 for 12000+300 plus two riichi stick.
Video: https://abema.tv/video/episode/444-1_s5_p4573
In S2-2, Daigo is now just 1,600 behind 2nd place and 26,500 behind 1st place Asami.
Daigo’s yaku path is quite clear from the start. With just a 7m and an 8s, he will have a 789s sanshoku. With the dora 8m and the red 5p basically secured, he has the value too. In the first few turns, he makes the 5p into a triplet and pairs up 6p, leaving him iishanten and just waiting on a 7m and an 8s.
At the end of the row, he draws the 8s and calls riichi on a 7m penchan, guaranteed at least a mangan if he wins. If he can get one more han, he ups it to a haneman.
On his very next draw, he gets the 7m and wins the hand. Hitting the uradora, Daigo wins with Riichi/Ippatsu/Tsumo/Sanshoku/Dora 1/Aka 1/Ura 1 for a big 8,000+200 dealer baiman, enough to catapult him into 1st place.
Taro Time
October 14, Game 1
Video: https://abema.tv/video/episode/444-1_s5_p2076
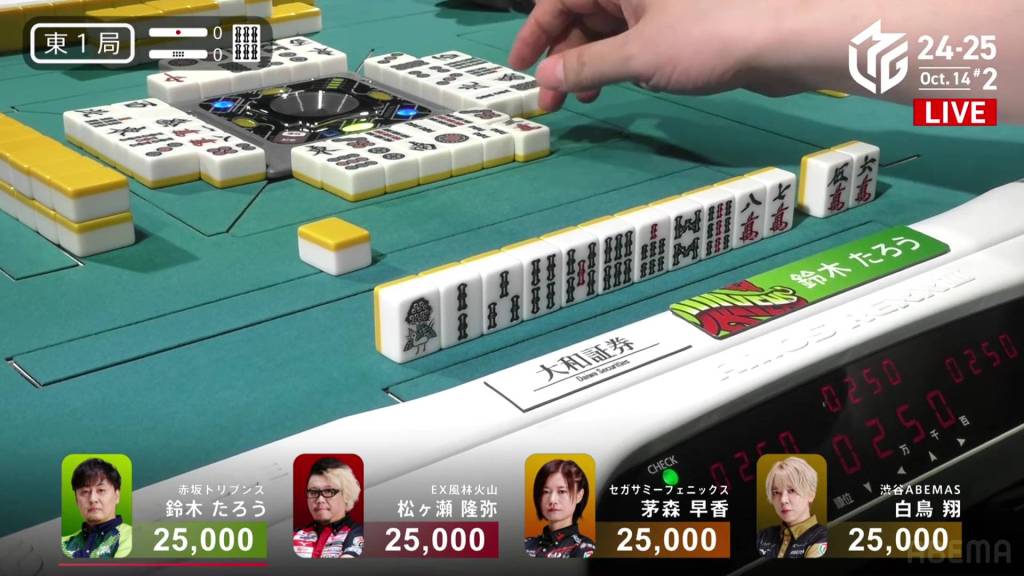
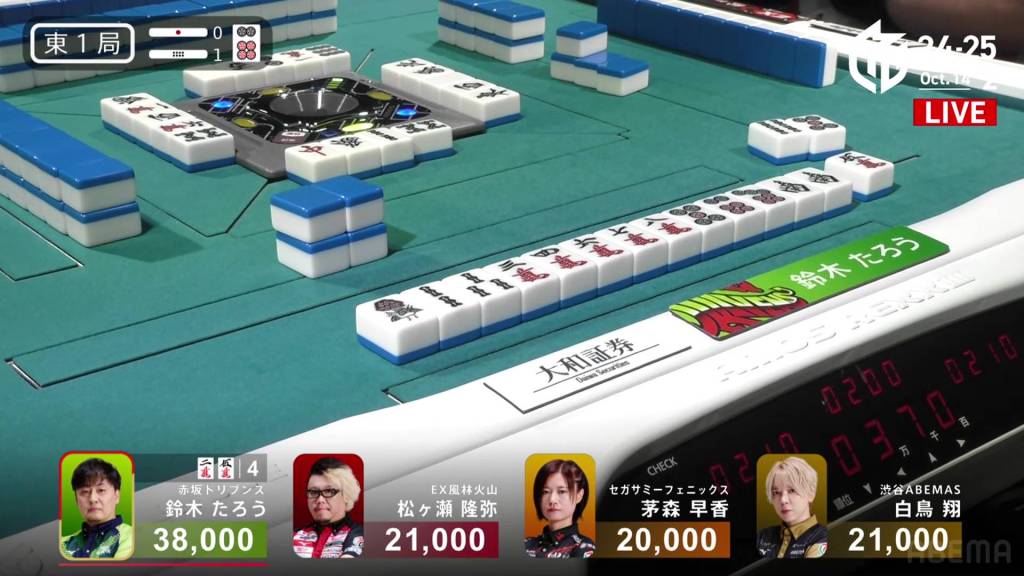
In E1-0, Taro is the starting dealer and looking for his first win of the season.
From the very start, Taro is iishanten with a secured 6s dora, wanting to fill in or convert a 3p penchan and a 4m kanchan. In the first row, he replaces a 9s pair to be part of a souzu ittsuu. By turn 3, he has ittsuu secured and sitting with a headless iishanten.
In the second row, he breaks up his penchan in favour of better shapes in manzu. Going from a double kanchan shape to a ryanmen shape, he finally gets to tenpai at the end of the row and stays dama on a 58m nobetan.
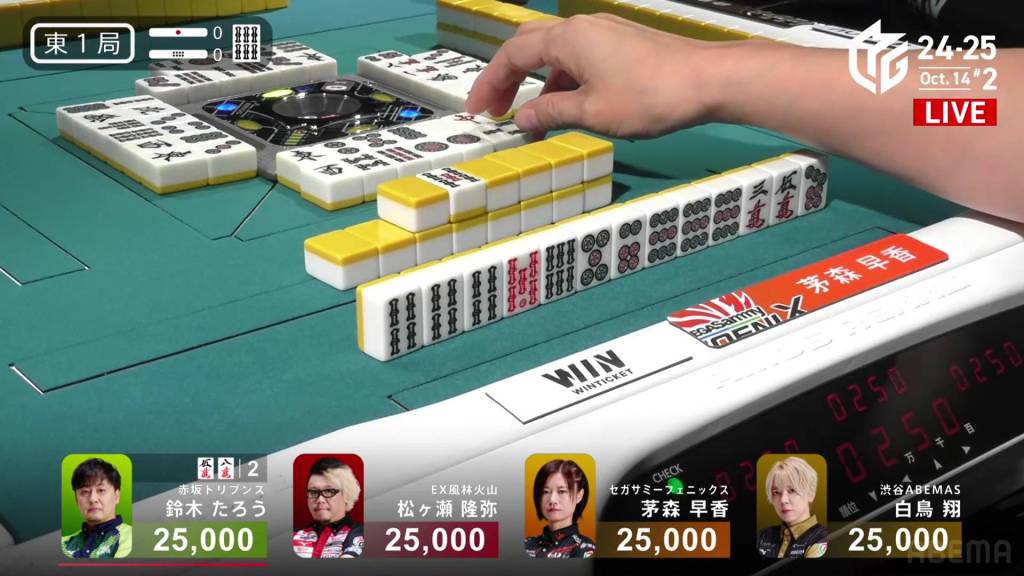
Soon after, he is challeged by Kayamori who calls riichi on a 4m kanchan.
At the start of the third row, Taro draws the 5m and wins the hand. Taro wins with Tsumo/Ittsuu/Dora 1 for 4,000 all plus Kayamori’s riichi stick.
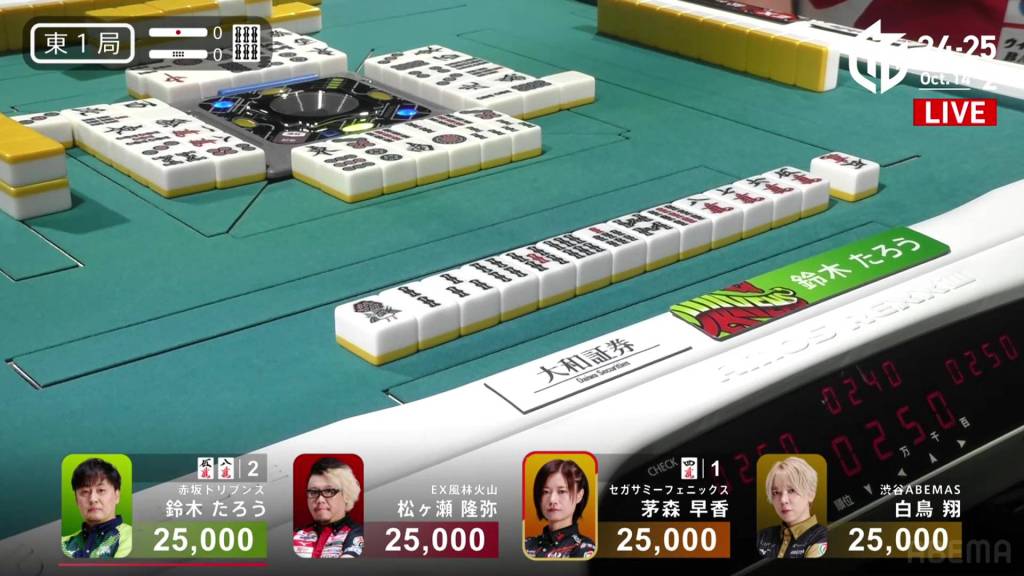
In E1-1, Taro starts off by pairing up the non-yakuhai south, getting him to 2-shanten. His hand has sequences, but still needs to fill in two kanchans to make pinfu. On turn 3, he draws the 6p dora to fill in one of them to and get to iishanten. A turn later, he draws the 7m to fill in the other and calls riichi on a 25m ryanmen.
Though his ippatsu turn is interrupted, he is still able to draw the 5m on his next turn and wins the hand. Taro wins with Riichi/Tsumo/Pinfu/Dora 1 for 2,600+100 all, putting him over 45,000.
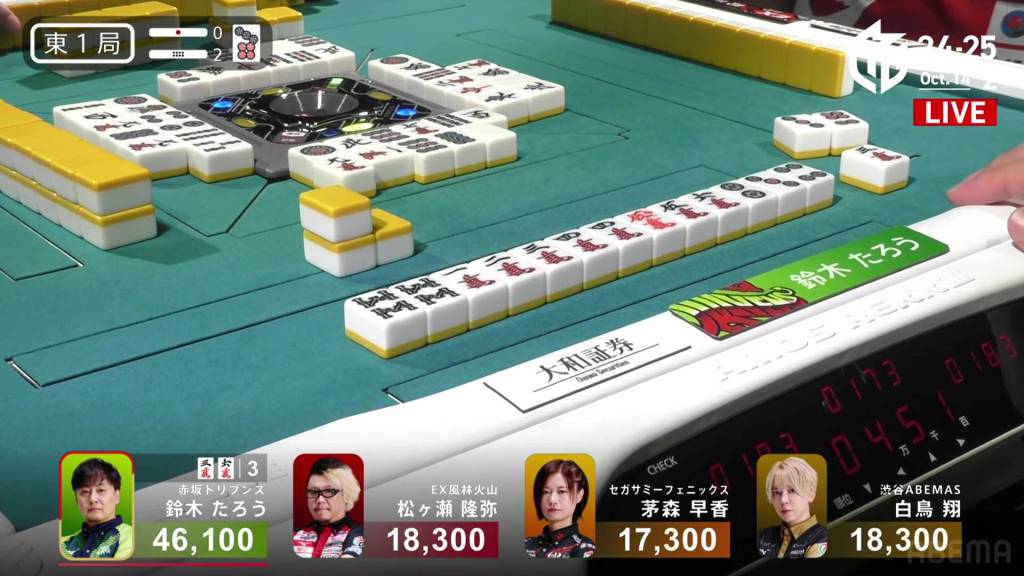
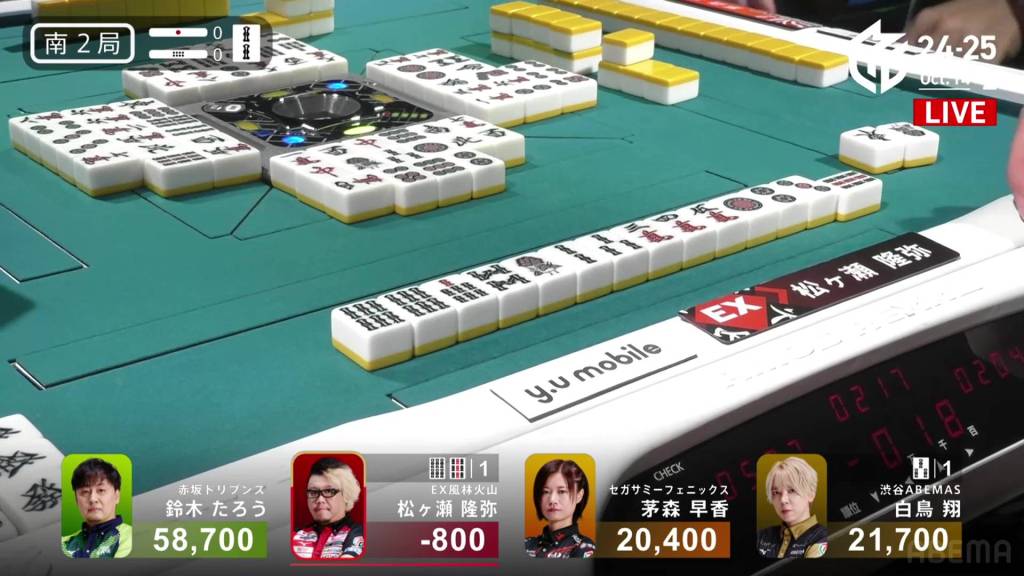
In E1-2, Taro starts out the hand 2-shanten for chiitoi (3-shanten for a standard hand) with a secured red 5m. In the first row, his adjacent manzu pairs become part of sequences and lending themselves for a potential iipeikou. By turn 5, he gets to a standard iishanten. On turn 8, he gest to tenpai and calls riichi on a 36m ryanmen. If he gets the 6m, he will get the iipeikou for mangan minimum.
At the end of the second row, Taro gets the 3m and wins the hand. Though it isn’t iipeikou, it’s balanced out with the uradora hit. Taro wins the hand with Riichi/Tsumo/Pinfu/Aka 1/Ura 1 for 4,000+200 all, bringing Taro’s score up to 58,700 with his dealership still going.
Sho Time
October 14, Game 2, E3-0
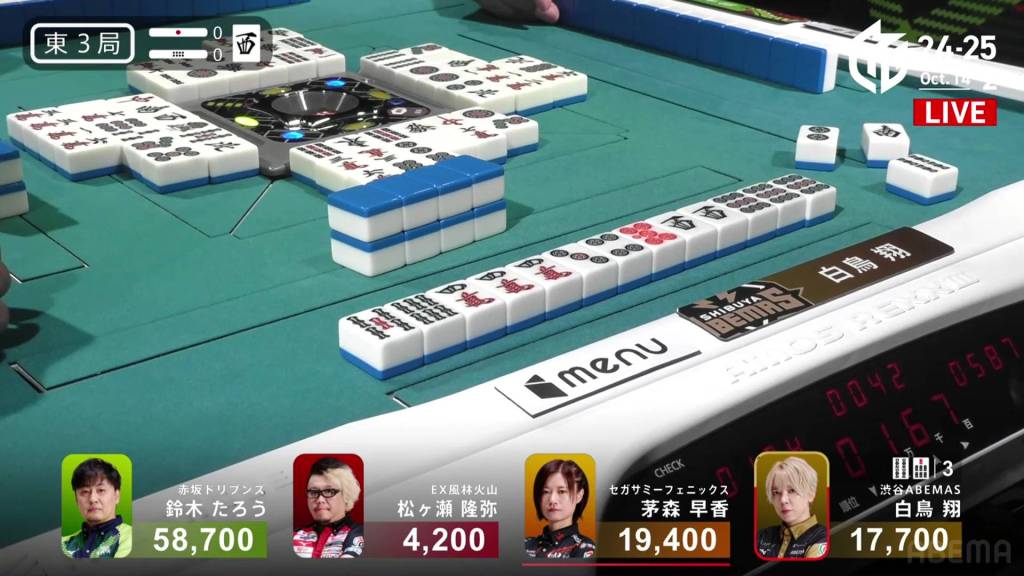
In E3-0, Shiratori is in 3rd place and 1,700 behind 2nd place Kayamori.
He starts the hand by pairing up the dora wests and getting him to 3-shanten. Though he is forced to keep a closed hand, the wests and the connected red 5p guarantees him good value if he does win. Unfortunately, the first row gets him nowhere, stuck drawing a discarding.
In the second row, he creates a 345p sequence and makes a 47s ryanmen to get to iishanten. At the end of the row, he makes a 9p triplet and calls riichi on the souzu ryanmen.
In the middle of the third row, Shiratori draws the 4s and wins the hand. Getting the uradora as well, Shiratori wins the hand with Riichi/Tsumo/Dora 2/Aka 1/Ura 1 for 3,000/6,000. WIth the win, Shiratori is now in 2nd place with more than double the score of 3rd place.
Furinkazan Fight

October 14, Game 2
In S2-0, Matsugase is in the negatives, deep in 4th place. Like Daigo in the previous game, Matsugase has a chance to make great bounds during his dealership.
Matsugase starts out the hand 3-shanten with a 2s dora as the only value. The first row for Matsugase is focused on making sequences and getting rid of stray honours and terminals. After filling in a ryanmen and making another one, Matsugase gets to 2-shanten.
For pinfu and the dora 2s to happen, he still needs to fill in the 3s penchan. On turn 8, he gets that 3s and advances to iishanten.
Across from him, Shiratori is trying to extend his 2nd place and move the game along. After calling chii on a 234m sequence and pon on the white dragon, he is the first to tenpai and waits on a 3s kanchan.
Soon after, Taro gets to tenpai on two calls as well and waits on a 25s ryanmen.
Though there are two players with two calls, Matsugase is unfazed with his dealership and good shapes. At the start of the third row, he gets to tenpai and calls riichi on a 69s ryanmen.
With the big lead and no appetite for unnecessary risk, Taro folds during the ippatsu round. On Matsugase’s second-last draw, he gets the 9s and wins the hand. Matsugase wins with Riichi/Tsumo/Pinfu/Dora 1 for 2,600 all.
Video: https://abema.tv/video/episode/444-1_s5_p2584
Though he would lose his dealership in S2-1, he still has a chance to move up with at least two hands left to go. 3rd place is just 5,600 away.
With his 2-shanten starting hand and path to tanyao, Matsugase has decent starting value. However, he still needs more to close the gap. After six turns, he brings the distance dow to iishanten, but is still lacking in value.
In the second row, he forms a 3445m shape for quite a bit of sequence flexibility. At the end of the row, though, he draws a third 8m to make his last pair into a triplet. Staying dama, he waits with his 4m tanki and hopes to upgrade.
The wait is dead anyways with none left in the wall. However, in the third row, Kayamori discards Matsugase’s winning 4m.
But, Matsugase doesn’t call ron! WIth his hand being so flexible to waste it on a cheap 1,300 hand.
Instead, Shiratori calls chii on the 4m and waits on a 5s kanchan.
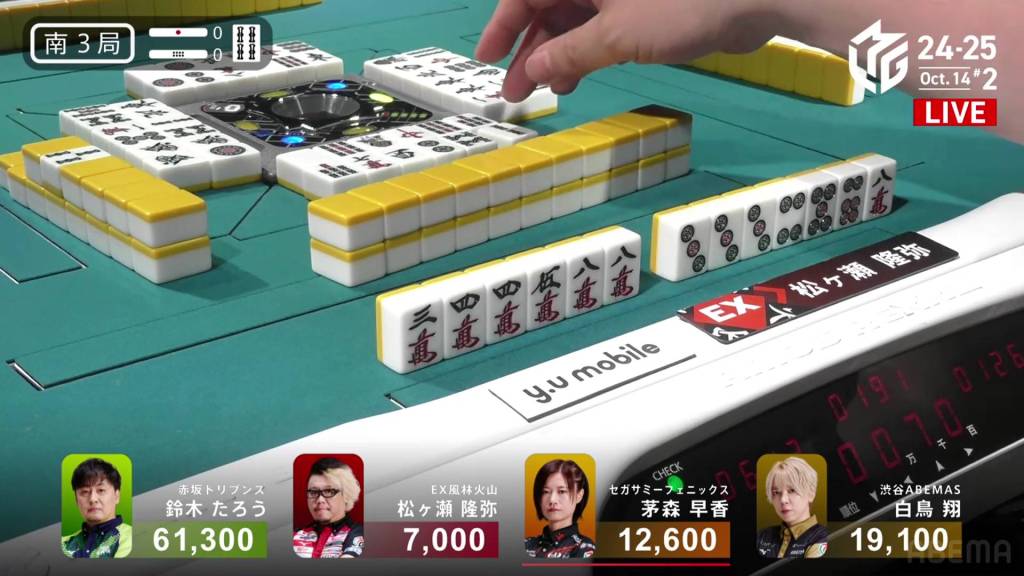
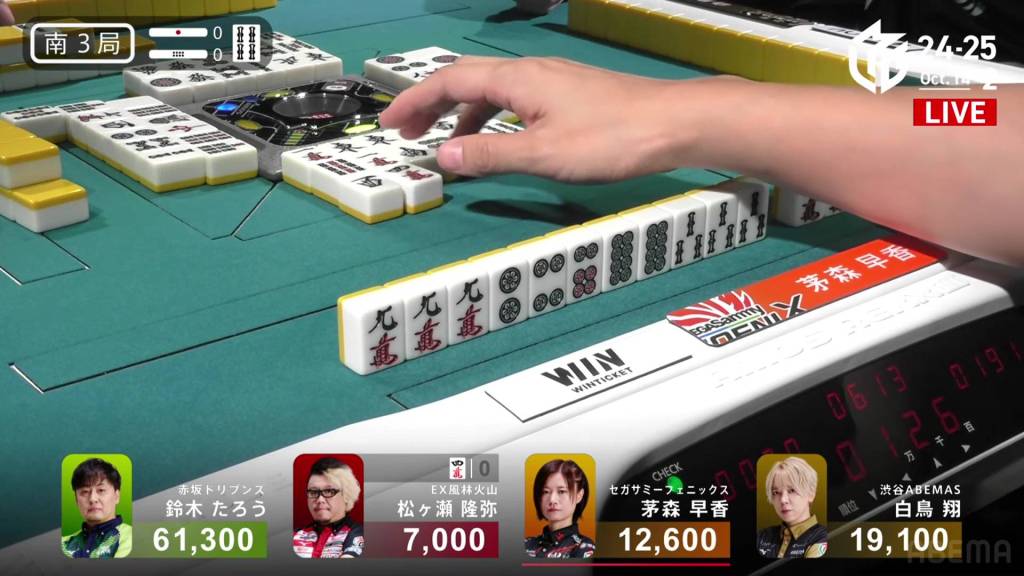
On Matsugase’s next turn, he gets to tenpai and calls riichi on a 36m ryanmen. With a the 3m, he would add iipeikou to his hand.
Sure enough, Matsugase draws the 3m two turns later and wins the hand. Matsugase wins with Riichi/Tsumo/Tanyao/Iipekou/Ura 1 for 2,000/4,000. With the win, he moves into 3rd place and just 2,100 from 2nd place.
Ura Hit
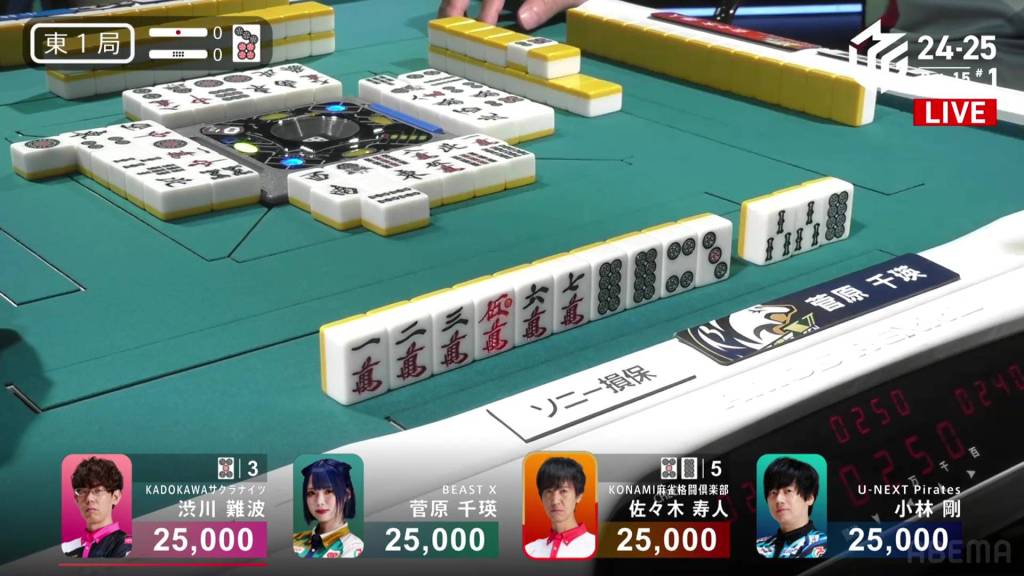
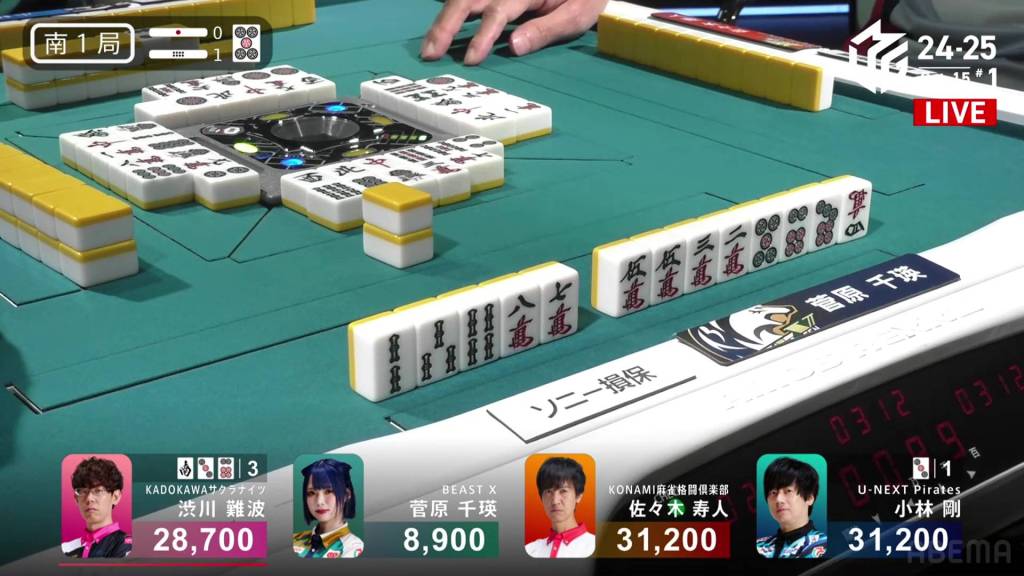
October 15, Game 1, E1-0
In E1-0, Hisato is in the starting west seat, looking to win the game and maybe continue his no-deal-in streak this season (currently at 49 hands).
Hisato starts off 3-shanten with no yaku in particular standing out. Going with the usual honour discards at first, the hand seems to lean towards just riichi. By turn 5, he has quite a wide iishanten, waiting on 12 different tile types for tenpai. At the end of the row, Hisato draws the dora 7p, the perfect tile, to get to tenpai and calls riichi on a 58p ryanmen.
Two turns later, Shibukawa gets to tenpai for chiitoi and waits dama on a 5p tanki, guaranteed at least 9,600 if he wins.
Between the two of them is Sugawara, sitting iishanten with a secured red 5m. With two ryanmens and no safe tiles, Sugawara pushes her promising hand. At the start of the third row, Sugawara gets to tenpai and calls riichi on a 25p ryanmen.
WIth three players waiting on the 5p, the ultimate headbump scenario might happen. If Kobayashi discards the 5p and all three of them call ron, then only Shibukawa would win because he’s the earliest in turn order.
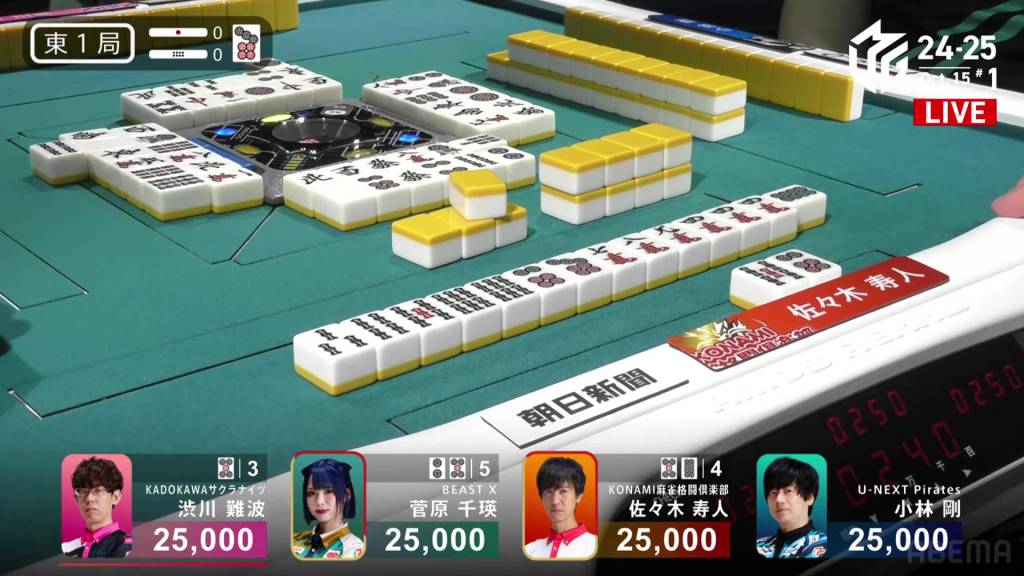
However, there’s no time for that. Right after Sugawara calls riichi, Hisato draws the 8p and wins the hand. With the uradora flip, Hisato’s 6s pair becomes dora and upgrades the hand to a mangan. Hisato wins with Riichi/Tsumo/Dora 1/Ura 2 for 2,000/4,000 plus a riichi stick.
Direct
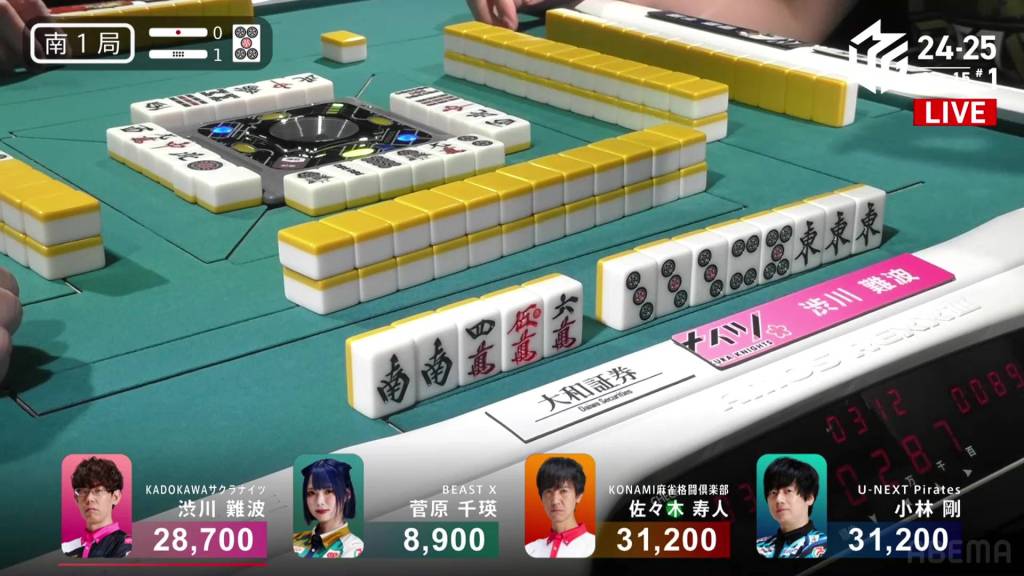
October 15, Game 1, S1-1
In S1-1, Sugawara is far behind the rest of the pack, sitting 19,800 behind 3rd place dealer Shibukawa.
Sugawara’s starting hand is fairly messy at 4-shanten lacking in value. To her left, Shibukawa is 2-shanten with pairs of east and south, as well as a connected dora 5p and a red 5m. With Shibukawa’s good shapes and value, his hand was naturally faster to build. By turn 6, he is tenpai and waits dama on a 36p/south wait, guaranteed at least 9,600 if he wins.
By this point, Sugawara has cleaned up the hand, making a kanchan into a pair and building and completing ryanmens. By the end of her first row, she is at a perfect iishanten. In the second row, things didn’t improve that much save for sliding a 678p sequence to accept the dora.
Late in the second row, Kobayashi is the second to tenpai, waiting on a 3p kanchan.
On Sugawara’s turn, she finally gets to tenpai and calls riichi on a 69p ryanmen. With a win off the 6m, she will add tanyao to her hand.
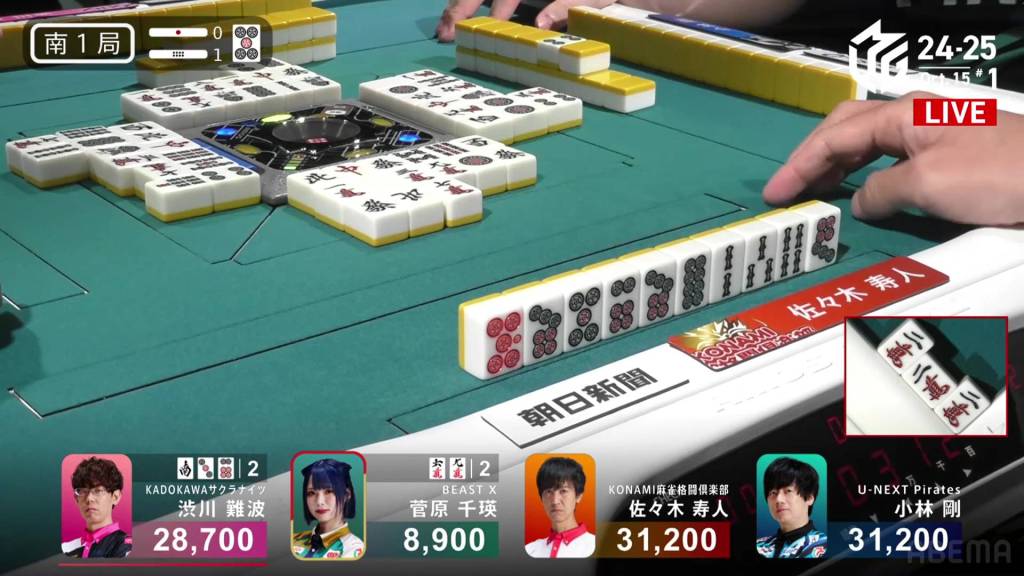
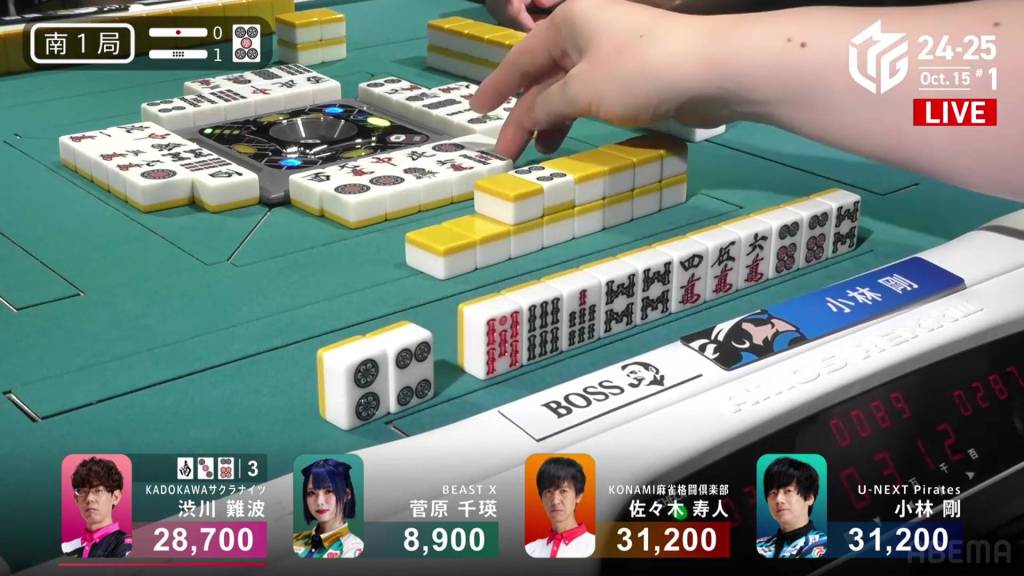
Drawing the dangerous south during the ippatsu turn, Kobayashi decides to fold his hand. Hisato, on the other hand, keeps pursuing. In the middle of the third row, he gets to tenpai on a 5p/7p shanpon.

With two tiles left for each player to draw, Shibukawa picks up the 6m. After a bit of hesitation, Shibukawa discards it and deals into Sugawara. Sugawara wins the hand with Riichi/Pinfu/Tanyao/Dora 1 for 8,000+300 plus Hisato’s riichi stick. With the win, the gap between her and 3rd place is now just 3,200.
Dora
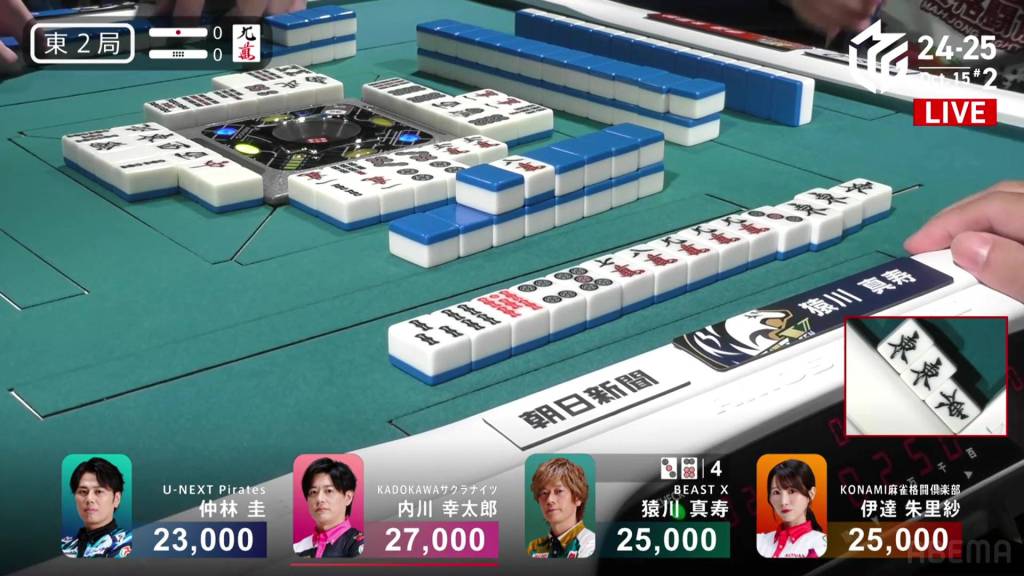
October 15, Game 2, E2-0
In E2-0, Sarukawa is playing for the Beast, looking to win his first game this season.
From the start, Sarukawa’s hand looks quite promising. With his first draw, he gets a red 5s to join his east pair and dora 9m pair. The path to a mangan couldn’t be clearer. Within the first go-around, Sarukawa calls pon on the east to get to 2-shanten. On turn 4, he fills in a kanchan and gets to iishanten.
On turn 5, he draws a third 9m. With two ryanmens and a 678999m shape, his hand is very flexible. No matter how he gets to tenpai, he is guaranteed a good wait and the ability to keep all three dora. At the end of the row, he gets to tenpai and waits on a 36p ryanmen. Near the end of the second row, Sarukawa draws the 3p and wins the hand. Sarukawa wins with East/Dora 3/Aka 1 for 2,000/4,000.
Dama
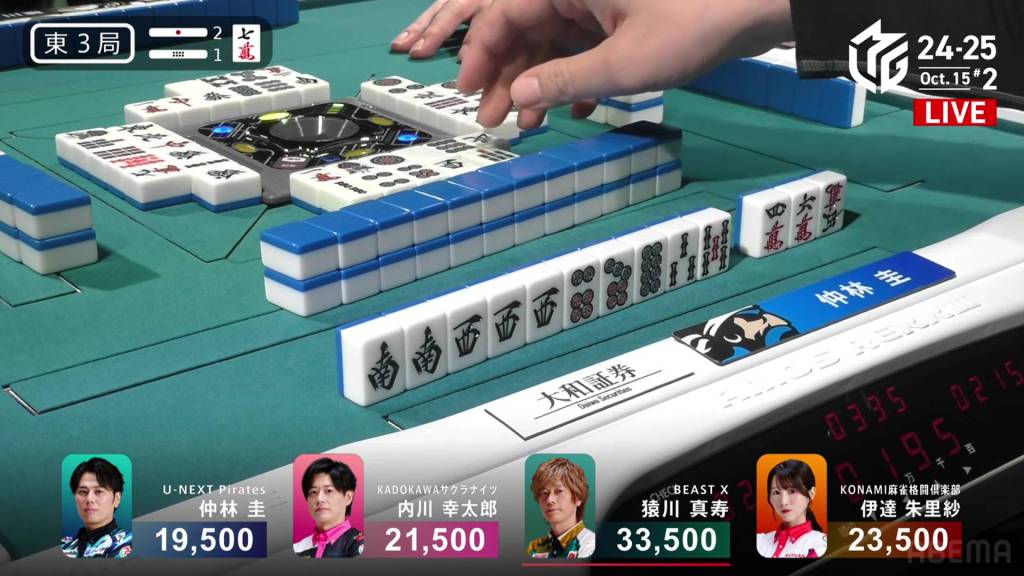
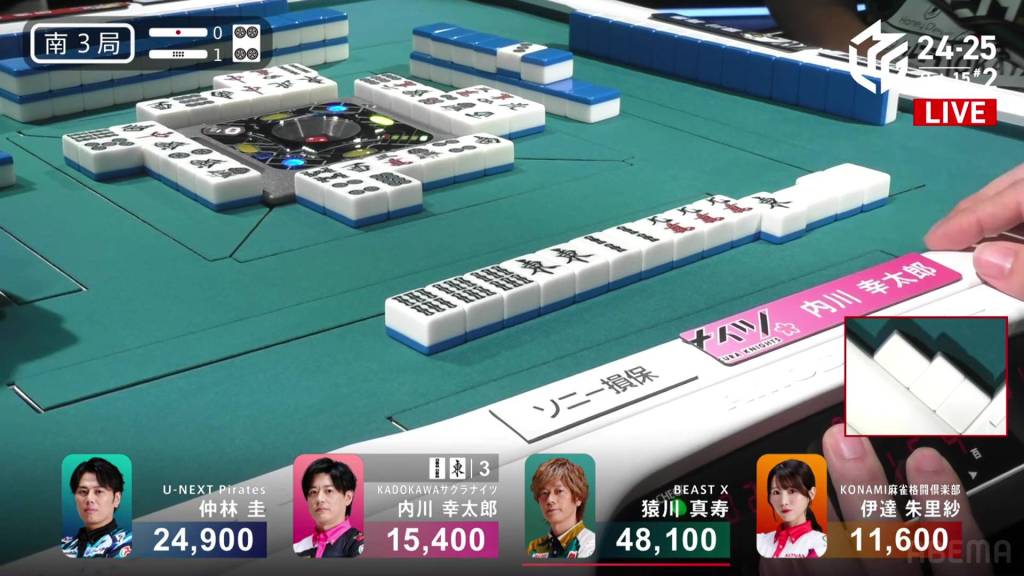
October 15, Game 2, E3-1
In E3-1, Uchikawa is in 3rd place, 2,00 behind 2nd place Date and 12,000 behind 1st place dealer Sarukawa. Two riichi sticks and a honba sit on the table after the previous hand went to a draw.
Uchikawa starts out the hand by drawing the 7m dora to get to 3-shanten. Though it’s a good spot to be in, both Date and Nakabayashi are 3-shanten as well, and Sarukawa is even closer at iishanten.
In the first row, all of the 3-shanten players take one step forward while Sarukawa is still stuck at iishanten. In the second, both Sarukawa and Date shift their hands to tanyao, with Date calling to speed it up.
Out of all the players, Nakabayashi is the first to tenpai, waiting on a 4s kanchan near the end of the second row.
In the third row, Date calls chii to be the next to tenpai, waiting on a 7p/7m shanpon.
With a relatively cheap hand and seeing no dora visible, Nakabayashi decides that he doesn’t want to risk it and starts to fold. With a chii by Sarukawa soon after, Sarukawa gets to tenpai and waits on a 14p ryanmen, only allowed to win on the 4p.

Finally, it’s Uchikawa’s turn. With a 4p draw, he is the last player to touch tenpai. He gets his hand to tanyao and waits dama on a 2m tanki. Immediately after, Sarukawa draws and discards the 2m and deals into Uchikawa. Uchikawa wins the hand with Tanyao/Dora 1/Aka 1 for 5,200+300 plus two riichi sticks, just enough to move into 1st place by 1,000.
Balance
October 15, Game 2, S1-0
In S1-0, is the dealer in 4th place, 2,000 behind 3rd place Date and 9,500 behind 2nd place Uchikawa. If he were to set his sights high, 1st place Sarukawa is just 18,500 away.
Nakabayashi starts out with a decent 3-shanten hand with two completed sequences, a ryanmen and a floating 8p. Across from him, Sarukawa is also 3-shanten with a pair of yakuhai wests. In the first row, Nakabayashi sets himself for a 234 sanshoku and Sarukawa calls pon on the west. By the end of the first row, both players are iishanten.
At the start of the second row, Sarukawa calls chii and discards the dora 8p to get to tenpai on a 25 ryanmen.
Since the very beginning, Nakabayashi has been holding onto the floating 8p dora. In the middle of the second row, Nakabayashi’s patience is rewarded as he draws another one and gets to tenpai on a 3m kanchan. Guaranteed at least a mangan, he can get a haneman and move into 1st place if he draws it himself.
Between Nakabayashi and Sarukawa, it’s a tsumogiri battle. Then, at the start of the third row, Nakabayashi draws the 5p. With no 5p visible, it’s a dangerous tile. Plus, with Sarukawa’s 8p discard right after his call, he could easily have had a 468p shape and discarded the 8p for the easier wait (since it’s further away from the dora and would be the discard of choice if someone had a 5678p shape) and has the better ability to turn into a ryanmen (with a 3p draw to create a 25p ryanmen).
After taking a bit of time to consider the risks, Nakabayashi decides to discard the 100% safe 2p. Though it cheapens his hand, it’s still worth at least 7,700, still a big win and he keeps his dealership.

Two turns later, Nakabayashi draws the 3m and wins the hand. Nakabayashi wins with Tsumo/Tanyao/Dora 2 for 4,000 all, moving into 2nd place/
Fight
October 15, Game 2, S1-1
Video: https://abema.tv/video/episode/444-1_s5_p6069
In S1-1, Sarukawa is in 1st place, but 2nd place dealer Nakabayashi is fast approaching.
Sarukawa starts out with a 4-shanten hand with quite poor shapes. In the first row, he is able to pair up the yakuhai wests and creates pairs, allowing him to pivot between a standard and a chiitoi hand. At the end of the row, he calls pon on the west to secure the yaku and the mangan path. He still has some work to do, though, sitting at 2-shanten.
As Sarukawa builds, threats come from both sides. At the start of the second row, Date calls riichi on a 7p/6m shanpon.
Two turns later, Uchikawa draws a red 5m to get to tenpai and calls riichi on a 7p kanchan.

Though Sarukawa is sitting at iishanten at this point, he would have to discard the dangerous 6p and 9s. Being in the lead and facing off against a 3rd and 4th place riichi, no one would blame him if he folds.
But he pushes. After pushing both of them, he calls chii on a 789m sequence and waits on a 14p ryanmen. Two turns later, Date draws and discards the 4p and deals into Sarukawa, Date’s first deal-in of the season. Sarukawa wins with West/Dora 3 for 8,000+300 plus two riichi sticks, extending his lead and killing Nakabayashi’s dealership.
Sanankou
October 15, Game 2, S3-1
In S3-1, Uchikawa is in 3rd place, 9,500 behind 2nd place Nakabayashi and 3,800 away from falling into 4th place.
Uchikawa starts out with a strong 2-shanten hand with a triplet of 9m and pairs of east, white dragon and 6s. When the white dragon comes out, he calls pon to get to iishanten. On turn 4, he pairs up the 2s to shift to toitoi as well. Making the 6s a triplet two turns later, Uchikawa gets to tenpai and waits on a 2s/east shanpon. If he can draw either of them himself, he will add sanankou and win with a mangan.
In the middle of the second row, Uchikawa draws the east and wins the hand. Uchikawa wins with Toitoi/Sanankou/White Dragon for 2,000+100/4,000+100.
Recovery
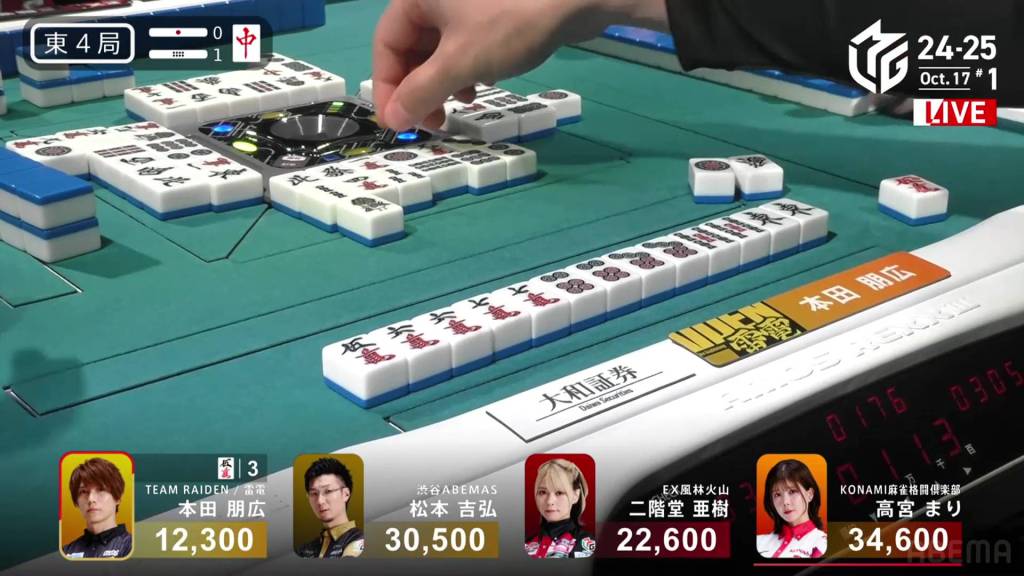
October 17, Game 1, E4-1
Video: https://abema.tv/video/episode/444-1_s5_p5073
In E4-1, Honda is in 4th place and not wanting to mess up his perfect rentai (1st+2nd) rate. CUrrently, he sits 10,300 behind 3rd place Aki.
Honda starts out the hand at 4-shanten with a pair of easts for potential yaku. In the first row, he makes some ryanmens and pairs up the 6p to get to 2-shanten, but the east is still stuck as a pair. Having rejected calling pon on the first east discard, Honda only has one more left if he wants to go for the quick and east single han win.
In the second row, Honda starts drawing pairs. He started with two pairs at the start of the hand, then up to four by the end of the first row. On turn 10, he draws his sixth pair and calls riichi on a 5m tanki with all three still left in the wall. In the third row, Honda draws the red 5m and wins the hand. Honda wins with Riichi/Tsumo/Chiitoi/Aka 1 for 2,000+100/4,000+100. With the win, he moves into 3rd place and just a dealer mangan away from 1st place.
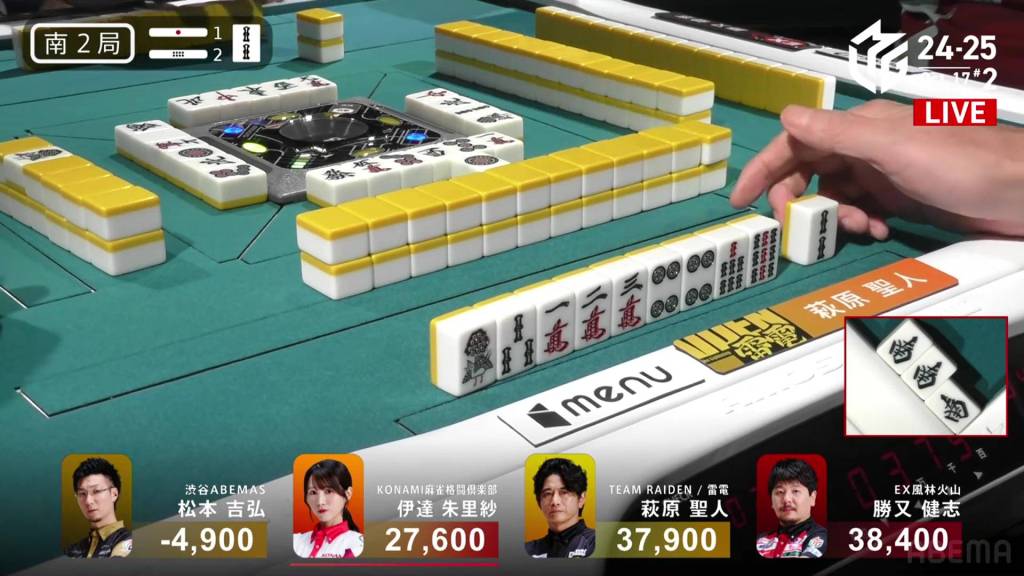
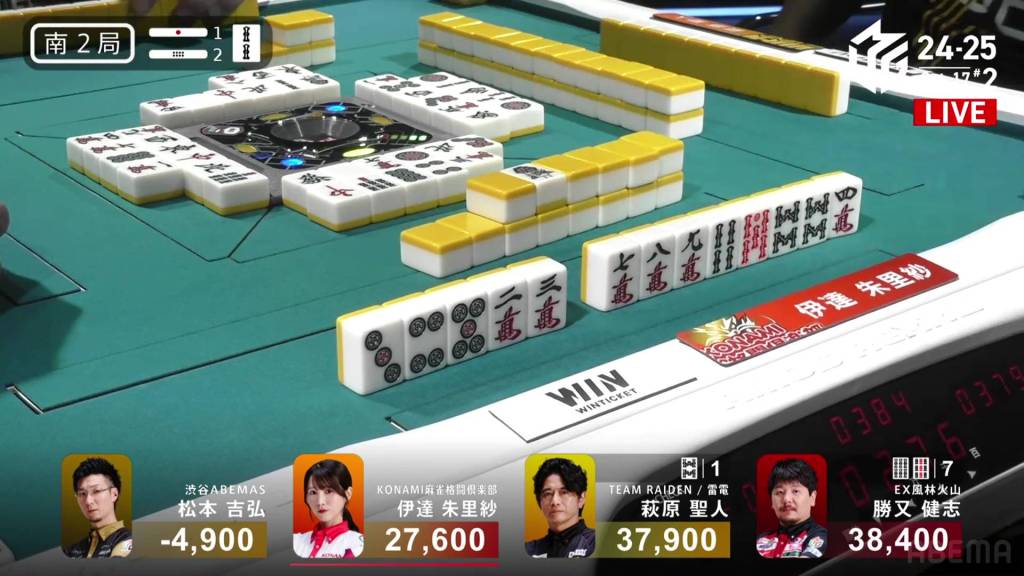
Return Of The Queen
October 17, Game 1, S2-0
Video: https://abema.tv/video/episode/444-1_s5_p3584
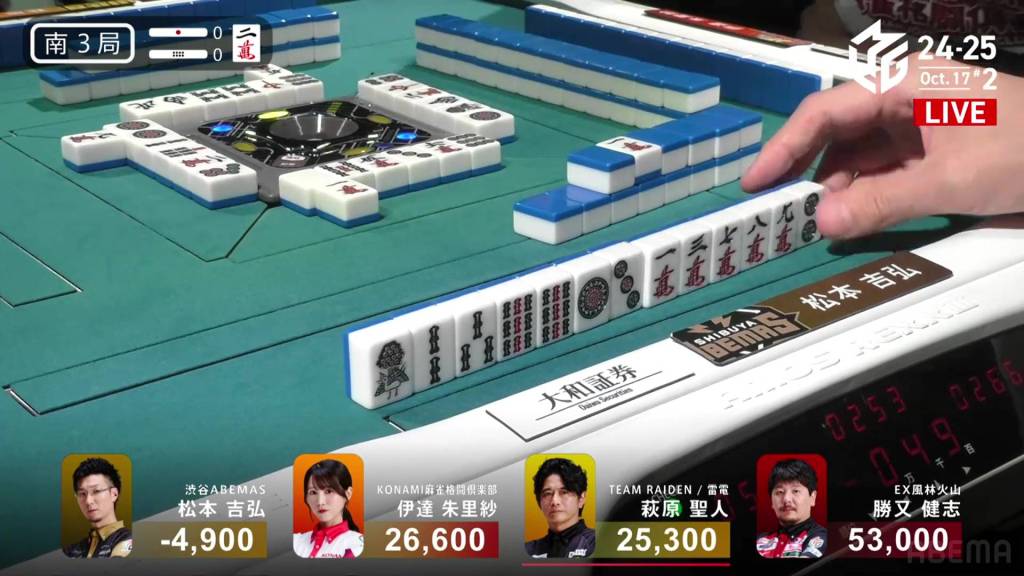
After being in 1st place in most of the east round, Takamiya is now in 3rd place going into S2-0, 4,900 behind 2nd place Matsumoto and 7,000 behind 1st place Aki.
Takamiya starts out with a 3-shanten hand with a secured red 5p. In the first row, she creates a sequence and a sequence block to get to iishanten. However, she is stuck with a kanchan and penchan, both involving terminals. If she wants to add tanyao or speed up the hand, she will need to get rid of both of them.
In the second row, Takamiya’s hand starts to shift from sequences to triplets. With two 5m draws (including the red 5m), her 456m sequence now has the potential to be a 5m triplet. Two turns after that, she is iishanten for a guaranteed tanyao after getting rid of the terminals.
As Takamiya looks for the tenpai, her opponents go on the offensive. After calling pon on the yakuhai north in the first row, Honda makes a second call in the middle of the second row to get to tenpai on a 3s kanchan.
Right after that, Matsumoto gets to tenpai and stays dama on a 6p tanki.
Finally, after drawing a third 8s, Takamiya gets to tenpai and waits on a 5p/5m wait. If she draws either of them, she will have a haneman. If she calls ron on the 5m, the shape lets it be considered a kanchan and still qualify for sanankou.
Within the go-around, Matsumoto draws and discards the 5m and deals into Takamiya. Takamiya wins the hand with Tanyao/Sanankou/Aka 2 for 8,000, putting Takamiya back into 1st place.
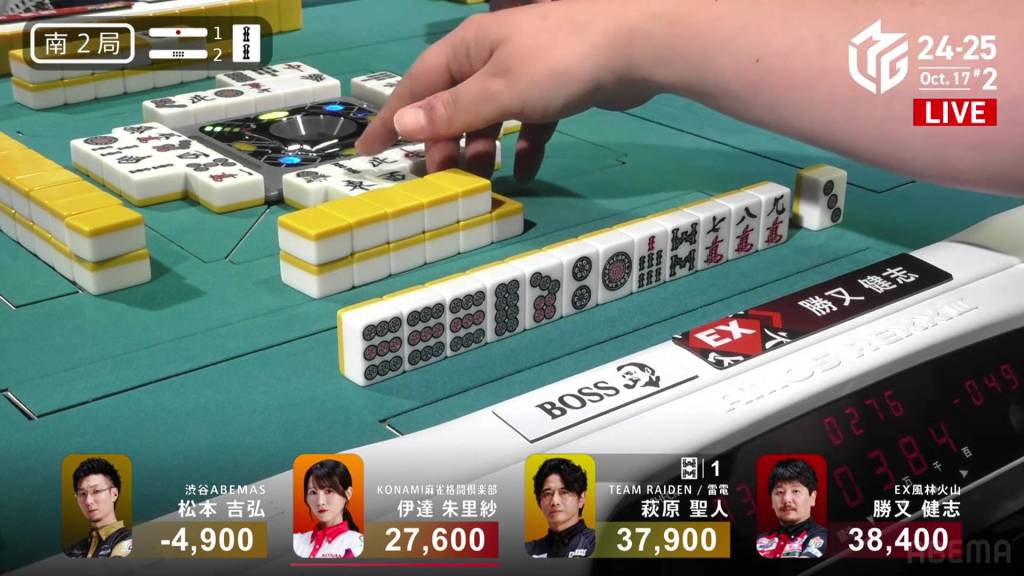
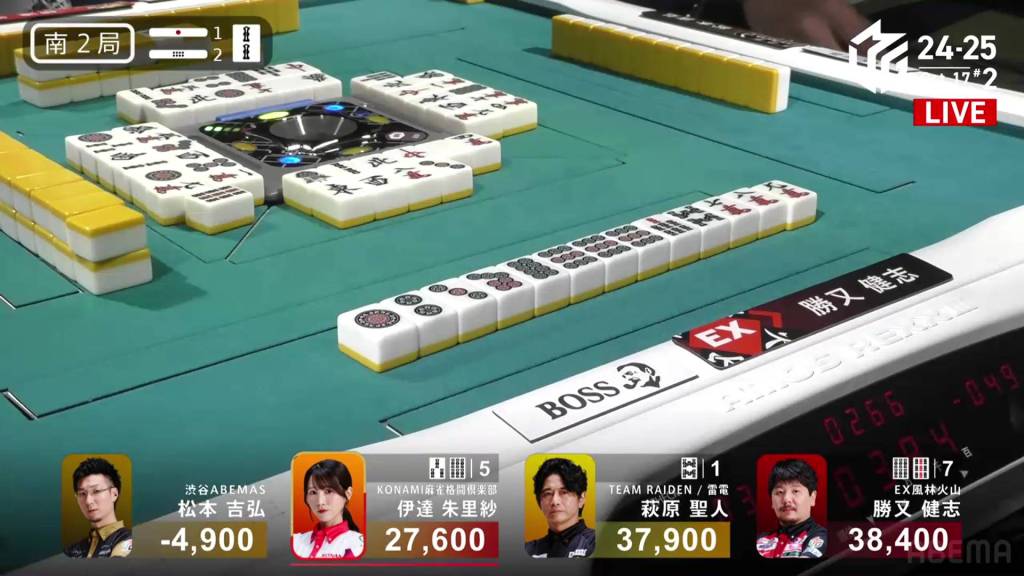
Hitman Hit
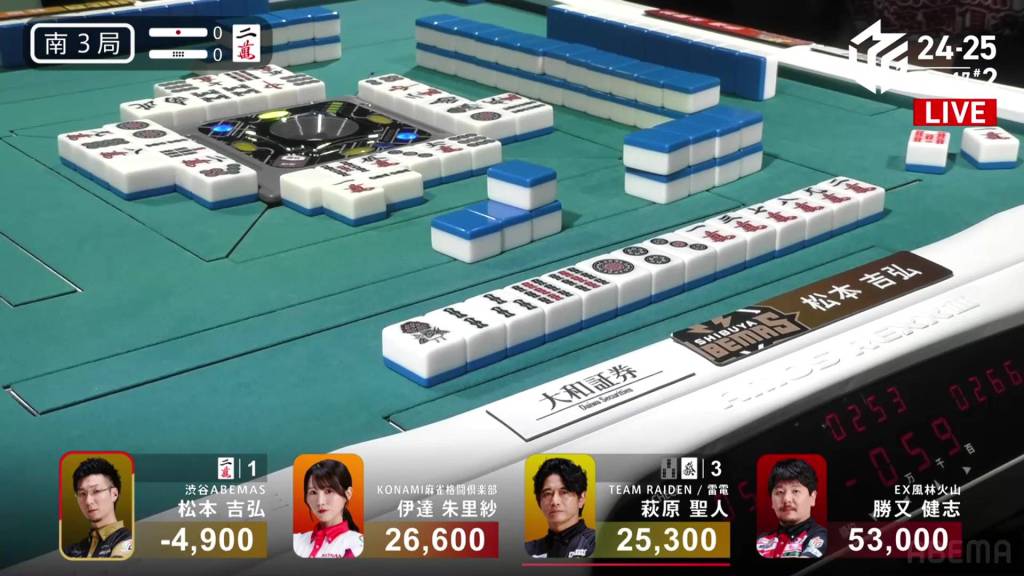
October 17, Game 1, S3-0
In S3-0, Matsumoto is in 4th place after dealing into Takamiya’s mangan the previous round. Matsumoto starts out the hand with a decent 2-shanten with a pair of souths. The first row doesn’t do much for Matsumoto, getting him to iishanten with not much value. In order to even move into 3rd place, he likely needs to stay closed and possibly call riichi.
On turn 8, he gets to tenpai and calls riichi on a south/1s shanpon. In order to make inroads, he will need to win by tsumo, win on the south, or both.
During the ippatsu round, 1st Takamiya gets to tenpai on a 25m ryanmen. However, as she draws dangerous tiles, she starts to fold. Two turns later, she’s back to tenpai. Two turns later, she folds again. A turn after that she’s back to tenpai. A rhythm of being in and out of tenpai.
Then, near the end of the third row, Matsumoto draws the 1s and wins the hand. Hitting the uradora, Matsumoto wins with Riichi/Tsumo/Ura 1 for 3 han. WIth the tsumo on the 1s and leaving the souths as the pair, Matsumoto has just enough fu to round up to 40, giving him a 1,3000/2,600 win and moving him in 3rd place and within striking distance of 1st.
Hagiwara Haneman
October 17, Game 1, E2-0
Video: https://abema.tv/video/episode/444-1_s5_p5074
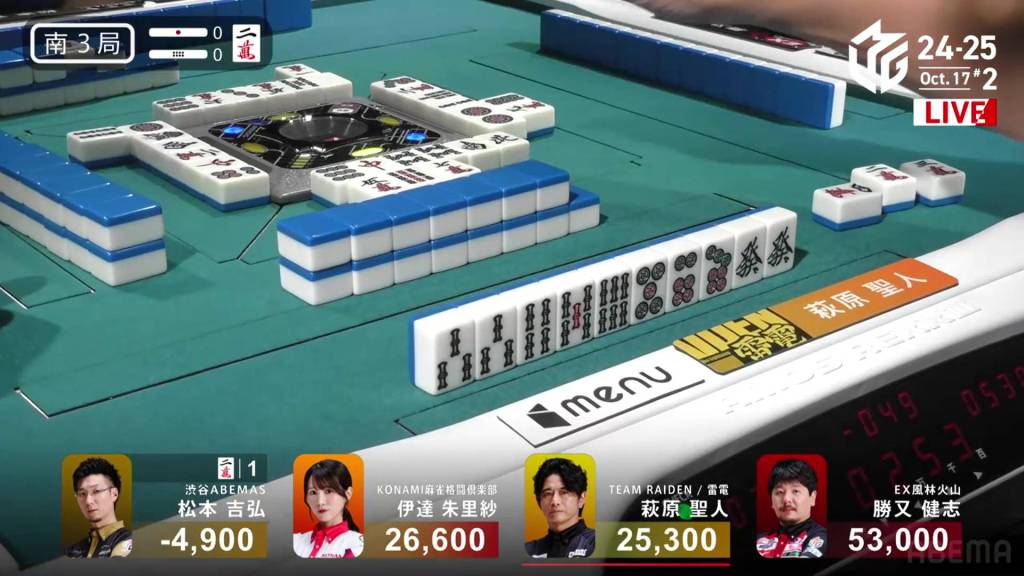
In E2-0, Hagiwara is playing for Team Raiden and trying to win his first game of the season.
Hagiwara starts out with a potentially valuable hand, being 4-shanten with two red fives and a floating 9m dora. The first row is focused mainly on making use of the doras in hand. By the end of the row, he is 2-shanten with the red 5m secured and the dora 9m loosely connected with a 7m. The red 5p is still alone.
In the first two turns of the second row, he draws a 7p to connect the red 5p and an 8m to fill in the kanchan, getting him to tenpai on a 6p. Though he has a mangan ready with no yaku, he chooses not to call riichi. If he draws an 8p or 9p, he could shift to a 789 sanshoku. If he draws a 4p, he will have a 36p ryanmen. With a 3p draw, he could set up a nakasuji trap. And with a 5p draw, he could shift to a marginally better north/5p shanpon wait.
Near the end of the row, he draws a 3p. With a riichi, he switches to a 4p kanchan and hopes to hit someone with the middle suji trap.
Within the go-around, dealer Date gets to tenpai as well and calls riichi on a 36s ryanmen.
On Hagiwara’s ippatsu draw, he draws the 4p and wins the hand. Hagiwara wins with Riichi/Ippatsu/Tsumo/Dora 1/Aka 2 for 3,000/6,000, taking the early lead.
Dealer Dama
October 17, Game 2, E4-2
In E4-2, Katsumata is the dealer in 2nd place, 8,000 behind 1st place Hagiwara. Two riichi sticks and two honba are in the pot.
Katsumata starts out with an annoying 5-shanten hand, but it at least hast tow ryanmens, a connected red 5p and a floating south dora. With the flexibility of floating middle tiles, Katsumata is readily and quickly able to get connectors and make sequences. By turn 5, he is already iishanten and waiting on five different types of tiles to get to tenpai.
However, he is not the the fastest. At the start of the second row, Matsumoto is the first to tenpai and calls riichi on a 6p kanchan.
Sitting iishanten with a sizeable pot and fairly safe tiles, Katsumata keeps pushing. After waiting a while, he finally gets to tenpai at the start of the third row stays dama on a 47s ryanmen, guaranteed at least a mangan if he wins.
In the middle of the third row, Date calls pon on the 5m and is the third to tenpai, waiting on a 5p kanchan.
With both Date and Matsumoto holding waits with none left in the wall, they are sitting ducks against Katsumata’s four. On Matsumoto’s turn, he draws and discards the 4s and deals into Katsumata. Katsumata wins with Pinfu/Tanyao/Iipeikou/Aka 1 for 12,000+600 plus three riichi sticks, bringing Katsumata above 40,000 and into 1st place.
Junchan/Sanshoku
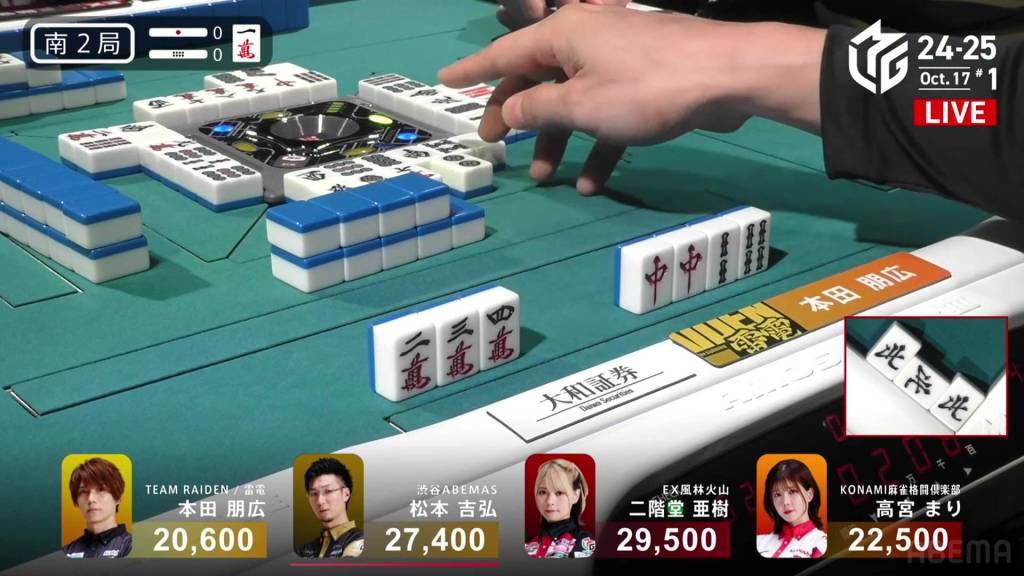
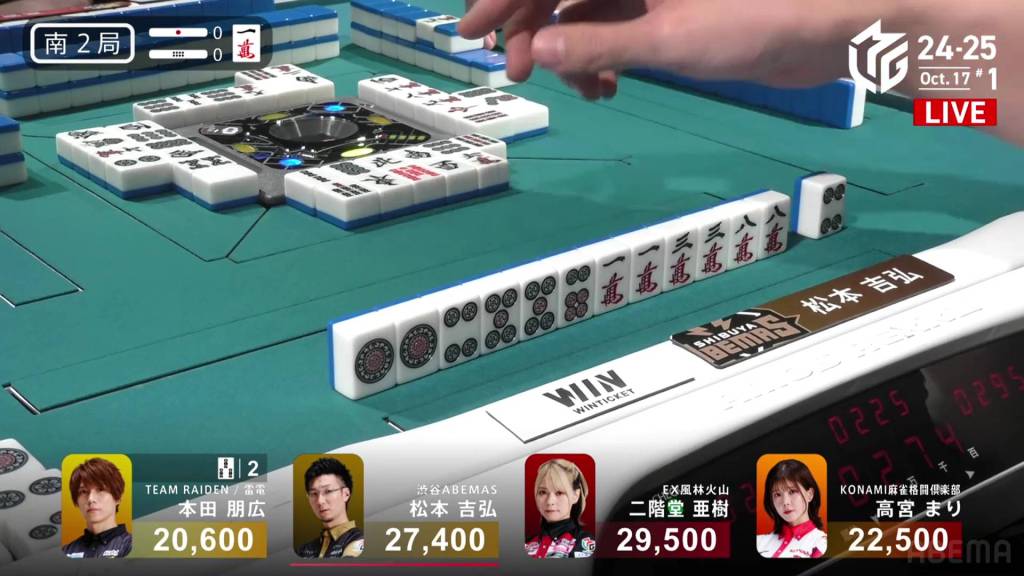
October 17, Game 2, S2-2
Video: https://abema.tv/video/episode/444-1_s5_p2585
In S2-2, Katsumata is still in 1st place, but 2nd place Hagiwara is catching up fast, just 500 behind him. 1,600 in bonus points will go to the next winner.
Katsumata starts out with a 4-shanten hand and is just a 9m and 9s away from a 789 sanshoku. Since they are both part of ryanmens, it will require a bit of luck it make it happen. In the first row, he draws the 9m to complete one sequence and shifts the hand towards junchan as well. He still needs the highly-important 9s to make any of it happen.
While he looks for it, Hagiwara gets to tenpai first and waits on an 8s kanchan.
On Katsumata’s draw, he secures a 9p pair to get to iishanten, one step closer to the big hand. A few turns later, he draws the 3p. It gets him to tenpai, but the disparity between the two waits is quite wide. With a 9s win, he will have haneman. With a 6s win, he will have just a single hand. With this disparity, he decides to stay dama, able to selectively choose his win.
Near the end of the row, Date joins in and calls riichi on a 36s ryanmen.
At the start of the third row, Hagiwara draws the 6s. Trying to switch to the wider 58s ryanmen, Hagiwara discards the valuable 9s and deals into Katsumata. Katsumata wins the hand with Junchan/Pinfu/Sanshoku for 12,000+600 plus two riichi stick, an extremely big win on his biggest rival.
Junchan/Sanshoku 2.0
October 17, Game 2, S3-0
Video: https://abema.tv/video/episode/444-1_s5_p4077
In S3-0, Matsumoto is in the negatives, more than 30,000 away from 3rd place. Having already met his “one negative game per calendar year” quota, he wants to be positive so he doesn’t break it.
From the start, he is 2-shanten with a hand appearing to lean towards a manzu ittsuu. On turn 2, he draws a 3p, putting him a 2m and a 2p away from a 123 sanshoku. However, he can’t have both. On turn 3, he pairs up the 9s. With junchan now in the mix, he chooses the sanshoku route. With the combination of the two, it’s gearing up to be like the previous hand where Katsumata won something similar.
At the start of the second row, Matsumoto draws the 2p and gets to tenpai on a 2m dora kanchan. He waits dama, wanting to win the haneman.
A few turns later, both Date and Hagiwara make calls, with Hagiwara getting to tenpai on a 3s/green dragon shanpon (only allowed to win on the green dragon).
With the calls, Matsumoto decides to challenge them by making his tenpai position clear and calling a tsumogiri riichi. Now who could foretell that it would go so well? On his very next draw, he gets the 2m dora and wins the hand. Matsumoto wins the hand with a big Riichi/Ippatsu/Tsumo/Junchan/Sanshoku/Dora 1 for a 4,000/8,000 baiman, easily moving into the positive and putting him in contention for 3rd place or even 2nd going into the final hand.
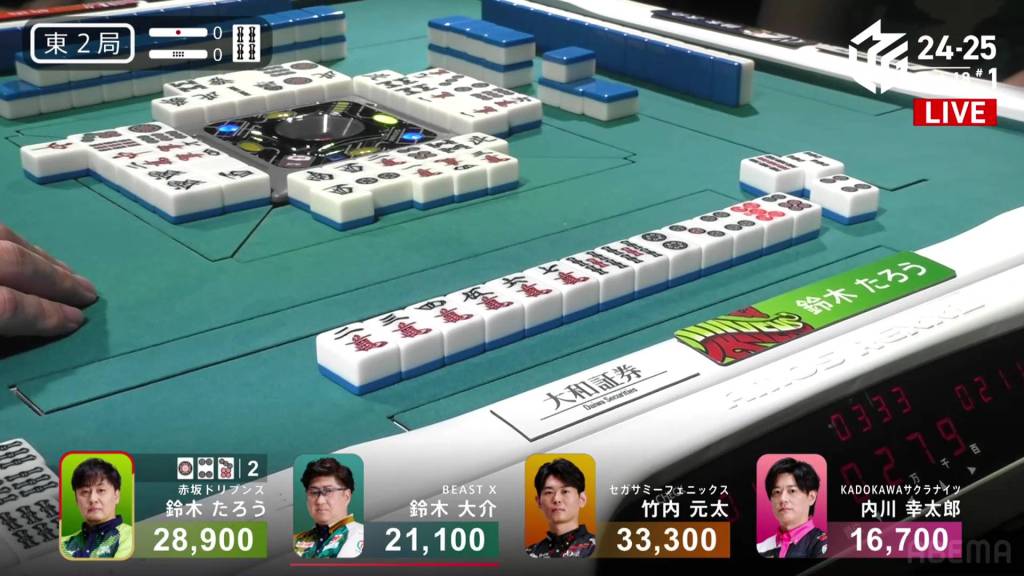
Speedy Sega Sammy Phoenix
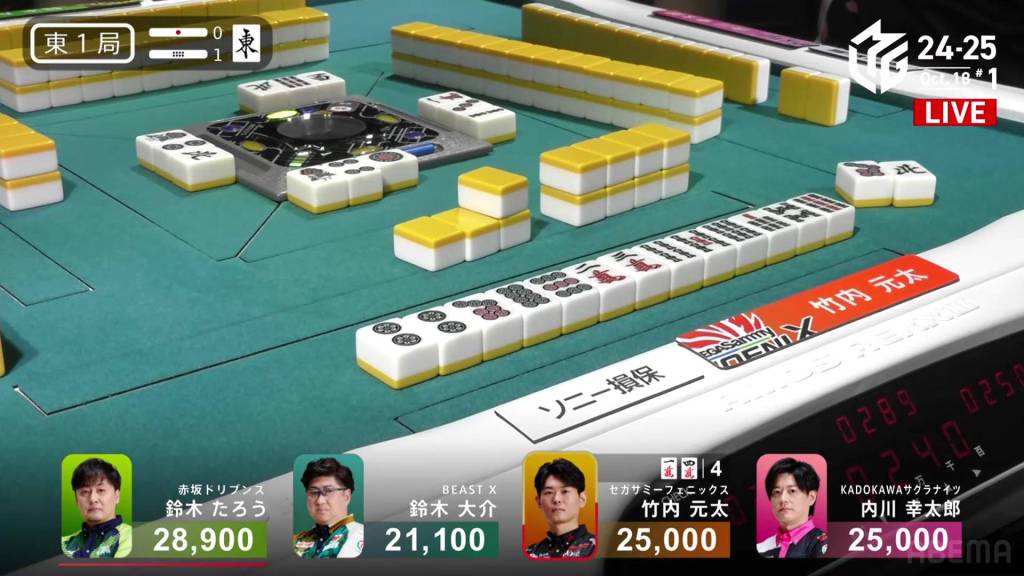
October 18, Game 1, E1-1
In E1-1, Genta is playing for the Sega Sammy Phoenix and maintain his perfect rentai (1st+2nd) rate.
His starting hand is already 2-shanten with two completed sequences and a ryanmen. With a floating 4p and 4s, the hand looks like it can develop quickly. On turn 2, he draws a 5s to create a 369s three-sided wait and get to iishanten, guaranteed a perfect wait. On his very next draw, he gets the 9s and calls riichi on a 14m ryanmen.
With few clues on what is safe and holding good potential value with a 789 sanshoku, Uchikawa simply pushes his iishanten hand. Throwing the 1m, he immediately deals into Genta. Genta wins the hand with Riichi/Ippatsu/Pinfu/Ura 1 for 8,000+300.
Taro Time (Again)
October 18, Game 1
In E2-0, Taro is playing for the Akasaka Drivens and is trying to get out of 30th place in the individual standings. He won the first hand, but was just passed by Genta right after, losing his dealership.
Taro starts out with a chiitoi 3-shanten hand (4-shanten for a standard hand), but has quite a few middle tiles that lend themselves well to good shapes. With these good middle tiles, Taro is able to shift himself more towards a standard shape, having the potential to get pinfu and tanyao. By the end of the first row, Taro is 2-shanten.
Taking just two turns in the second row, Taro gets to tenpai and calls riichi on a wide 147p three-sided wait. With a win on the 4p or 7p, he will have at least guaranteed mangan. At the end of the row, he draws the 4p and wins the hand. Taro wins with Riichi/Tsumo/Pinfu/Tanyao/Aka 1 for 2,000/4,000, taking the lead.
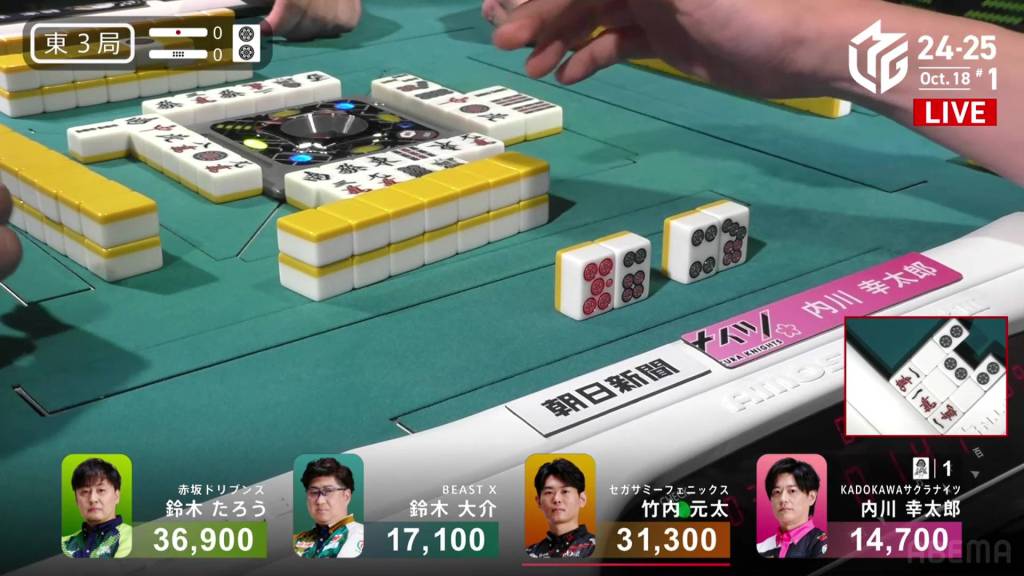
Video: https://abema.tv/video/episode/444-1_s5_p2077
In E3-0, Taro’s starts off by filling in a kanchan to get himself to 2-shanten. However, the rest of his hand is sort of a mess and is forced build a block from scratch. After making a pair of 9s and creating a 58s ryanmen with the potential for iipeikou, Taro gets to a ryanmen-ryanmen iishanten at the end of the first row.
To his left, Uchikawa is calling up a storm. With three pon calls from Daisuke (including the 2p dora), Uchikawa is setting himself up for a mangan minimum hand. In the middle of the second row, he gets to tenpai on a 1s tanki. A turn later, he upgrades the wait to a 47p nobetan.
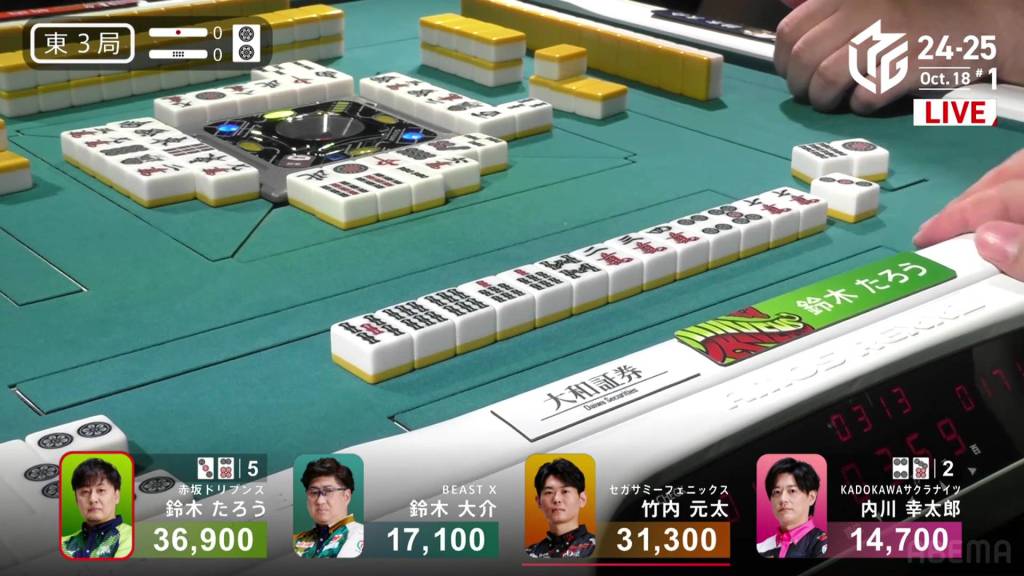
For Taro, he has made an effort to avoid dealing into Uchikawa. At the start of the second row, he broke his 9s pair in the name of safety. Even so, the right tiles kept coming to him and his hand started shifting towards a tanyao tenpai. Right after Uchikawa gets his nobetan tenpai, Taro gets to tenpai and calls riichi on a 36p ryanmen.
On Taro’s very next draw, he gets the 3p and wins the hand. Getting two uradora, Taro wins with Riichi/Ippatsu/Tsumo/Pinfu/Tanyao/Ura 2 for 3,000/6,000, moving him above 45,000.
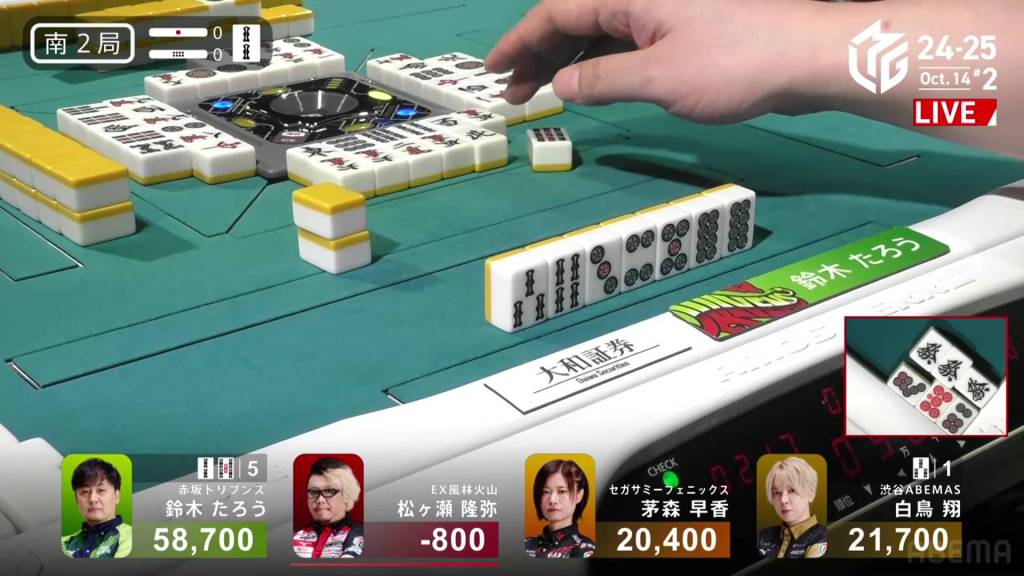
Skipping to S1-1, Taro has just won a cheap hand to start his dealership and is looking for more.
Taro’s starting hand looks promising, sitting 2-shanten for chiitoi with pairs of 1s, north, east and 6p. If he wants to speed it up, he could easily call for toitoi. On turn 2, he makes his east pair into a triplet and on his next draw, he fills in a 4m kanchan to get to a standard iishanten.
Though Taro has speed, so does Genta. With a quick pon on the red dragon on turn 4, Genta is the first to tenpai and waits on an 8s kanchan.
At the start of the second row, Taro draws the 1s to make a triplet and calls riichi on a 58p ryanmen. With the riichi by the dealer, Genta decides to step back and fold his hand. Near the end of the second row, Taro draws the 5p and wins the hand. Taro wins with Riichi/Tsumo/East for 2,600+100 all.
Video: https://abema.tv/video/episode/444-1_s5_p2078
After winning a cheap hand in S1-2 to put him above 60,000, Taro keep it going in S1-3.
Taro starts yet again with a 2-shanten hand, able to accept many tiles for advancement. He also has the value, holding a pair of dora souths that he can call and set him up for mangan. In the first row, he gets himself to a perfect iishanten, waiting on six different tiles for tenpai.
On turn 8, he gets to tenpai and calls riichi on a 58s ryanmen. At the end of the row, he draws the red 5s and wins the hand. With an uradora, Taro wins with Riichi/Tsumo/Dora 2/Aka 1/Ura 1 for a big 6,000+300 all, moving him all the way up to 80,500.

In S4-1, Taro is still dominating and has put two players into the negatives. Sitting at 77,000, he is just 3,000 away from finishing the game with a final score of +100.0pts. With a riichi stick and a honba on the table, he just needs 2 han to meet the mark.
Taro’s starting hand is very good, sitting at 3-shanten with two ryanmens and a red 5m. The first row converts one of his ryanmens to a three-sided wait, but is otherwise unable to advance. Filling in the other ryanmen on turn 7 and then the three-sided wait on turn 8, Taro gets to tenpai and calls riichi on a 1m/6p shanpon.
At first, it looks like there might be a challenge from Daisuke with his yakuless 7p tenpai, but he ends up folding. At the end of the second row, Taro gets the 1m and wins the hand. Taro wins with Riichi/Tsumo/Aka 1/Ura 1 for 2,000+100/4,000+100 plus one riichi stick, finishing the game with a score of 86,300 (+106.3), the second-best score of his career.
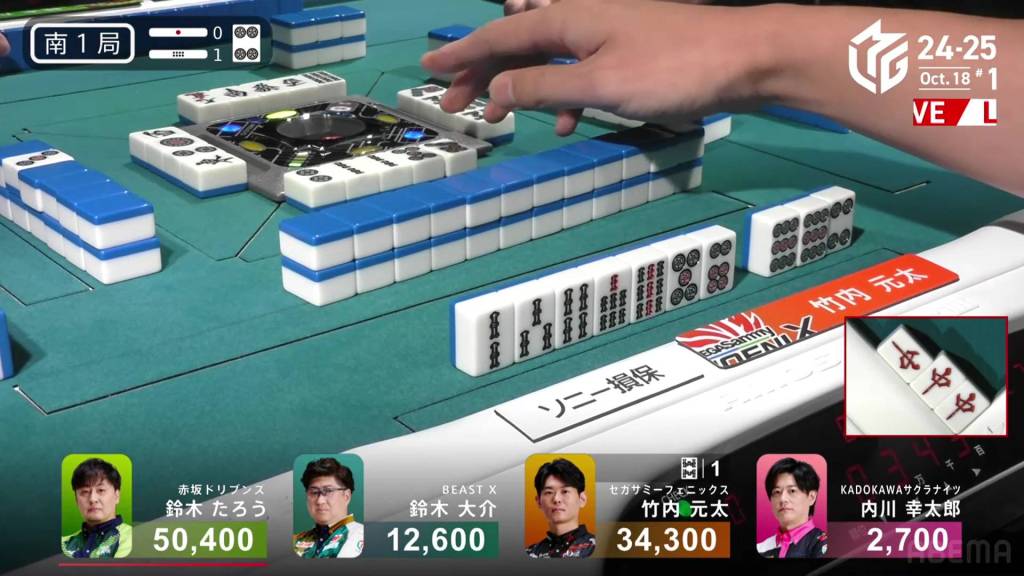
To The Limits
October 18, Game 1
Video: https://abema.tv/video/episode/444-1_s5_p6070
In E1-0, Nakada is playing for the Beast, hoping to do better than the 4th place she got two weeks ago.
Nakada starts out the hand 3-shanten with medicore shapes. In order to utilize the 9m in her hand, she needs to either pair it up or fill in the 7m penchan. In the first row, she is only able to get to 2-shanten with no progress with the dora, but she does have a flexible 4556s shape that can be the base for good waits.
In the second row, she fills in a 5m kanchan and draws a red 5s. In the middle of the row, she draws the 7m. With a tanyao tenpai, Nakada drops the 9m dora and waits on a 7p/5s shanpon. She stays dama because there are six different tiles that will give her a nice pinfu tenpai. On her next draw, she gets one of them and calls riichi on a 47s ryanmen.
A bit after, Futoshi chases her with a 7m penchan for mangan minimum.
In the third row, Nakada draws a 4s and wins the hand. With an uradora hit, Nakada wins with Riichi/Tsumo/Pinfu/Tanyao/Dora 1/Aka 1 for 3,000/6,000 haneman, a big start.
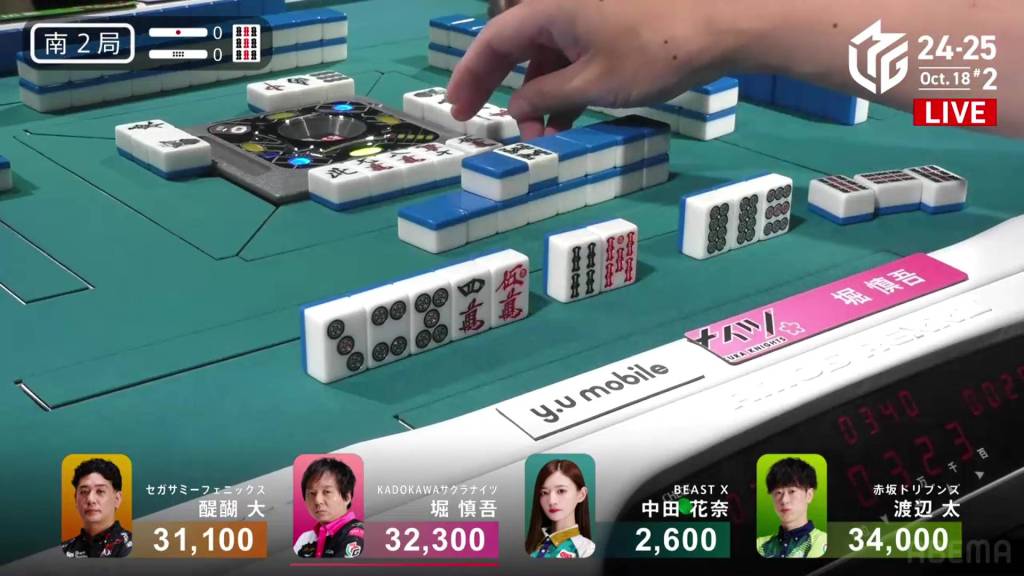
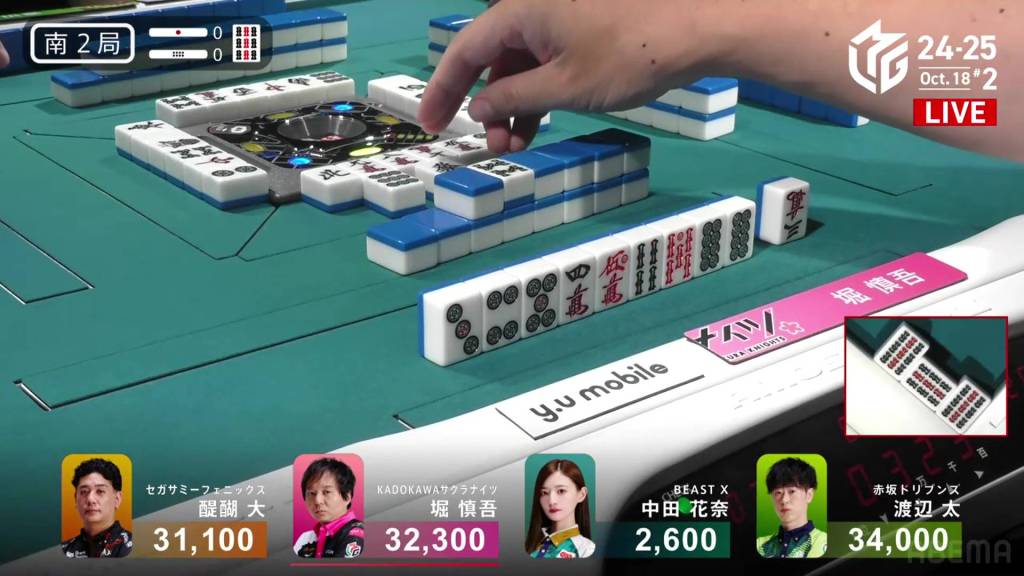
In E2-0, Hori is the dealer and looking for his fourth win in a row. After Nakada’s haneman tsumo, Hori has some work to do.
Hori has an incredible starting hand, getting to iishanten with his first draw and holding two red fives. On turn 5, he gets his ideal 6s kanchan filled and calls riichi on a 47p ryanmen, guaranteed at least a mangan if he wins.
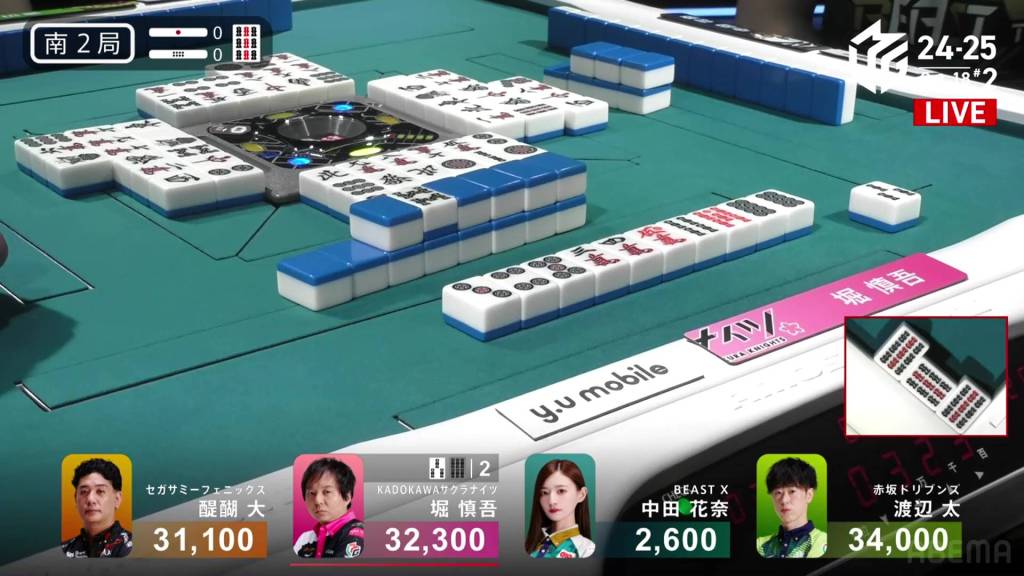
Though Nakada and Futoshi fold, 4th place Daigo is already iishanten and guaranteed a good wait. He keeps pushing and eventually reaches a potential tenpai on turn 8. But in order to take the ideal wait, he will have to discard the 7m. With a riichi declaration, Daigo discards the 7m and deals into hori. Hori wins with Riichi/Pinfu/Aka 2 for 12,000.
In E2-1, Daigo is in 4th place after dealing into Hori’s dealer mangan.
Daigo’s 4-shanten starting hand is comprised of a pair of green dragons and a secured dora 3s. On turn 2, he gets a red 5m to gain value and advance. A turn later, he secures it as part of a 456m sequence. Over the next few turns, he plays efficiently while hedging with a potential 456 sanshoku. By the end of the first row, he is iishanten and needing a 6p and a 4s to get the sanshoku.
On turn 8, Daigo gets the 4s and calls riichi on a 36p ryanmen, the latter giving him a mangan minimum hand.
During the ippatsu round, Nakada, who is iishanten with two red fives, draws and discards the 6p and deals into Daigo. Daigo wins the hand with Riichi/Ippatsu/Sanshoku/Dora 1/Aka 1 for 12,000+300, moving him back within range of the rest of the group.
Video: https://abema.tv/video/episode/444-1_s5_p2079
In E3-0, Futoshi is in 3rd place and the only player who hasn’t gotten a limit hand so far.
Futoshi’s starting hand is stacked with value, holding the red 5p and the red 5m double dora. If he uses both in his hand, he will have at least a mangan. However, he sits at 4-shanten with a 1p pair and the 5m completely disconnected.
In the first row, he completes two kanchans and, most importantly, draws a 4m to connect the red 5m double dora. By the end of the row, his hand is transformed and sits iishanten. With the floating 5s, he gives himself the option to create a 456 sanshoku or, at the very least, create a ryanmen.
At the start of the second row, he draws a 4s, putting him at a ryanmen-ryanmen iishanten. But, with his 3s discard in the first row, there is a chance that he will be furiten if he waits on a 36s ryanmen.

After seeing Daigo make a second call, Futoshi calls a 456m chii to try to speed up his hand. The call puts him tenpai and waiting on a 36s ryanmen. However, he is both furiten from the 3s discard and is only allowed to win of the 6s (since it is the only tile that gives him a 456 sanshoku).

To make matters worse for Futoshi, Daigo makes a third call near the end of the second row and calls and waits on a green dragon/5m shanpon.
Despite everything working against Futoshi, he manages to draw the 6s a few turns later and wins the hand. Futoshi wins with Sanshoku/Dora 1/Aka 2 for 2,000/4,000, moving into 2nd place.
In E4-0, Futoshi is now the dealer and just 3,000 away from 1st.
Futoshi starts off the hand pairing up the 3m dora and getting to 3-shanten. With a bunch of middle tiles, there is a path to call for tanyao and a mangan. On turn 2, he draws a red 5m for even more value. At the end of the row, he draws a red 5s, putting him iishanten for seven pairs and 2-shanten for a standard hand.
In the second row, Futoshi breaks up his 6p pair and decides that a standard hand is the better route to take. After making a triplet of 5s and calling pon on the 5m, Futoshi gets to tenpai and waits on a 25p ryanmen.
Right after, Nakada gets to tenpai and calls riichi on a 3p kanchan.
However, it will prove to be her downfall. At the start of the third row, Nakada draws and discards the 2p and deals into Futoshi. Futoshi wins the hand with Tanyao/Dora 2/Aka 2 for 12,000 plus Nakada’s riichi stick, taking Futoshi above 40,000 and into 1st place.
Terminal Pon
October 18, Game 2, S2-0
Video: https://abema.tv/video/episode/444-1_s5_p3083
In S2-0, Hori is the dealer in 2nd place and just 1,700 behind 1st place Futoshi. Almost any hand will put him on top.
Hori starts out with a strong 3-shanten hand with two red fives and the makings of a 345 sanshoku. All he needs is a 4p, 3m and 3s. In the first row, he draws the 4p and pairs up the 9s dora, advancing him to 2-shanten.
On turn 5, Hori does something quite interesting. When Futoshi discards the 9s dora, Hori calls pon! A terminal pon from an outsiders perspective usually means a yakuhai or a flush. However, Hori is going for neither of those. What’s more Hori is in a dangerous position with his two ryanmens. Draw the wrong side of either of them and he will be stuck in a dangerous situation. He needs to get the 3m and the 3s or else all will be for naught.
In the second row, Hori draws the 3m and gets to tenpai on a 36s ryanmen, only allowed to win on the 3s. However, if he manages to get it, he will have haneman.
After a lot of waiting, Hori finally gets the 3s late in the third row and wins the hand. Hori wins with Sanshoku/Dora 3/Aka 2 for 6,000 all, putting him above 50,000.
