Monday (October 28)


Game 1
Sega Sammy
Phoenix

Team Raiden

Shibuya
Abemas

Akasaka
Drivens

Hagiwara Haneman
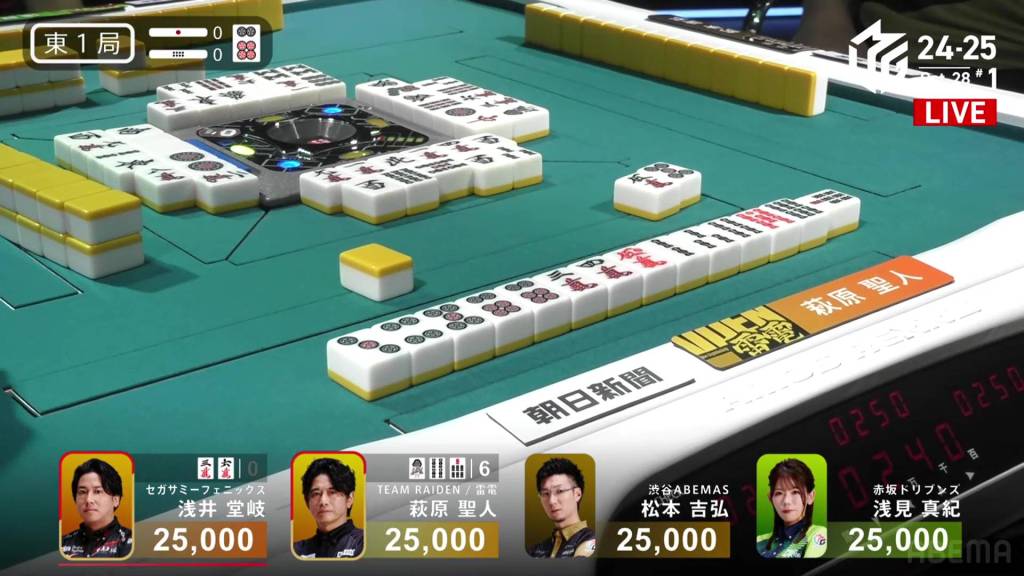
October 28, Game 1, E1-0
Video: https://abema.tv/video/episode/444-1_s5_p5076
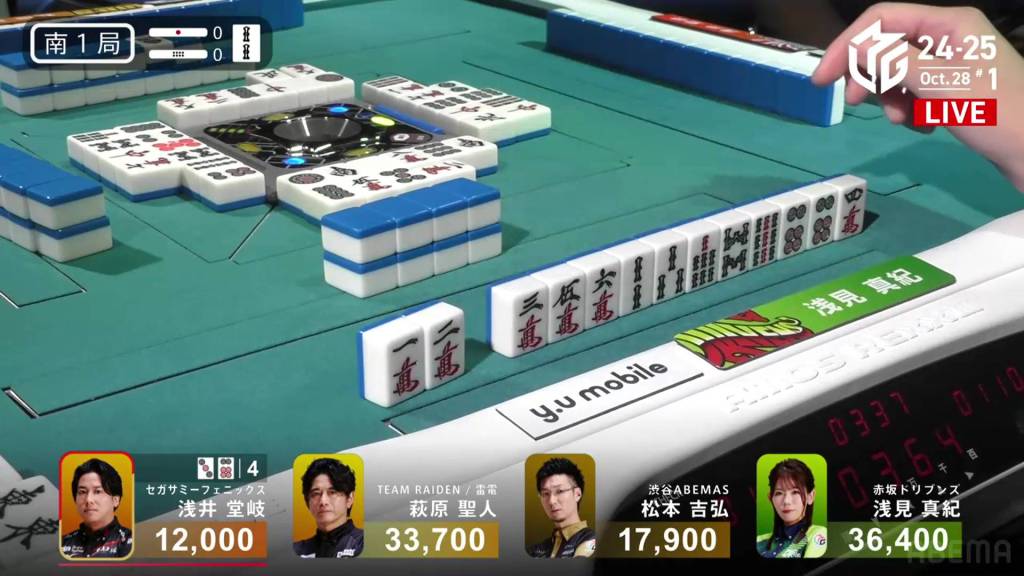
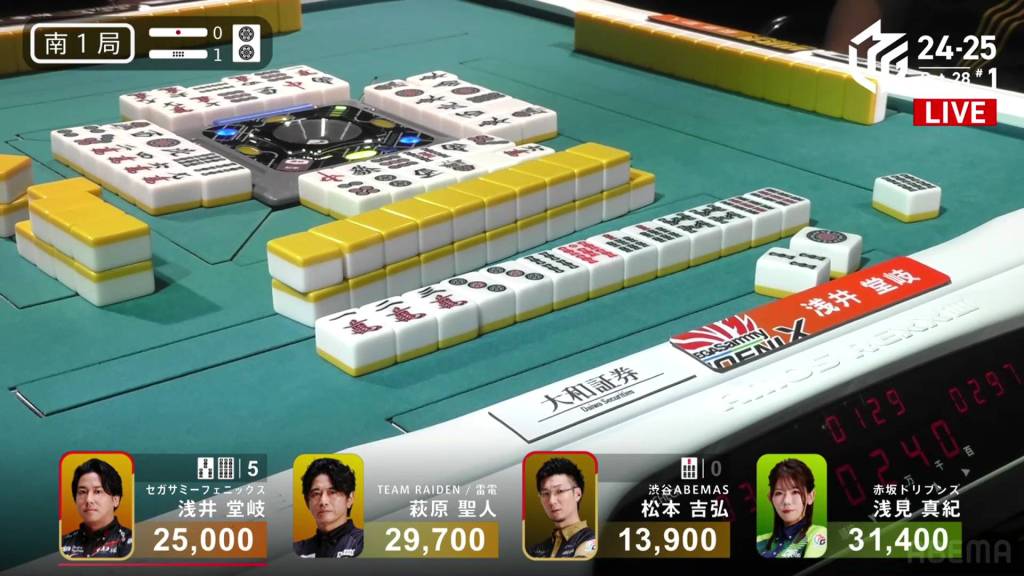
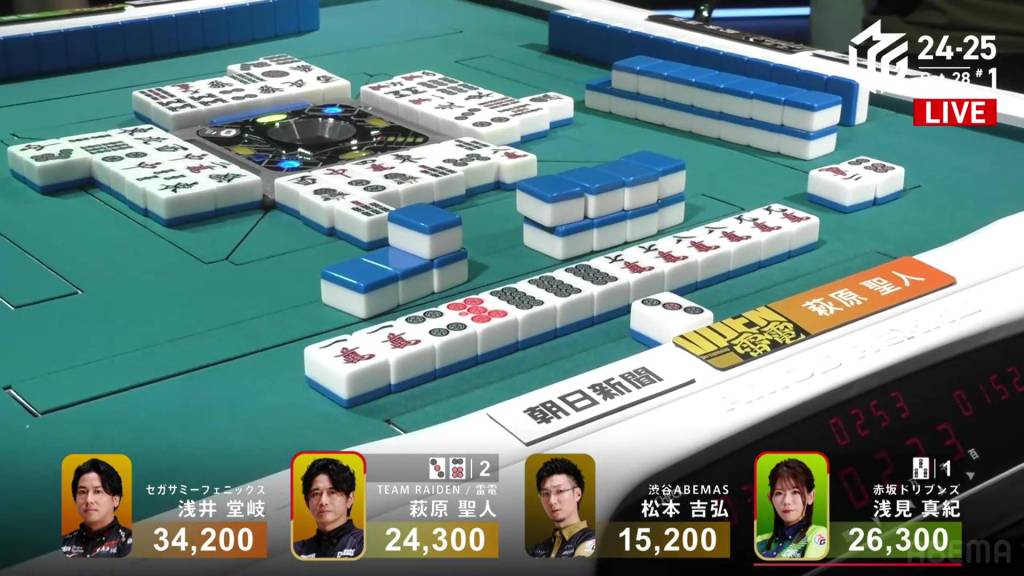
In E1-0, Hagiwara is in the starting south seat and looking for his first win of the season.
Hagiwara starts out the hand at 3-shanten with a pair of wests and the ability to connect the 6p dora. In the first row, Hagiwara makes a bunch of sequence candidates and pairs up the 6p dora. At the end of the row, Hagiwara gets to iishanten and shifts to tanyao.
At the start of the second row, Hagiwara draws a red 5s to both upgrade him to mangan minimum and give him a possible three-sided wait. On his very next draw, he draws the red 5m to get to tenpai and stays dama on a 147s wait. With the 47s, he will have a haneman. Two turns later, he decides to call a tsumogiri riichi and confirm the haneman.
To his left, Takaki the dealer is iishanten and has a fairly safe route to get to ready. Near the end of the row, Takaki gets there and calls riichi on a 36m ryanmen, guaranteed a mangan. Unfortunately, he has no tiles left compared to Hagiwara’s six.
On Takaki’s ippatsu turn, he draws and discards the 7s and deals into Hagiwara. Hagiwara wins with Riichi/Pinfu/Tanyao/Dora 2/Aka 2 for 12,000 plus Takaki’s riichi stick.
Point Pursuit
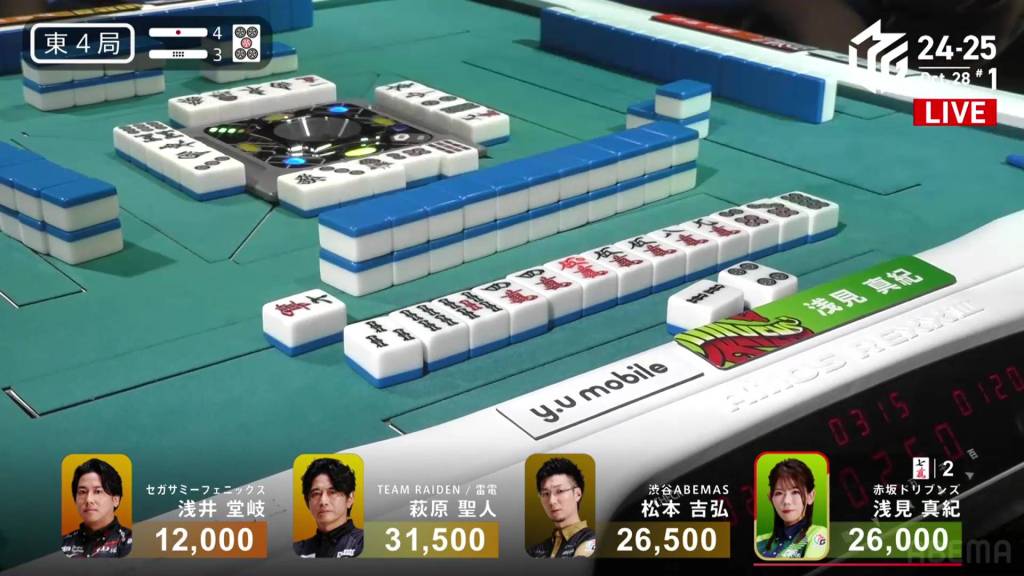
October 28, Game 1, E4-3
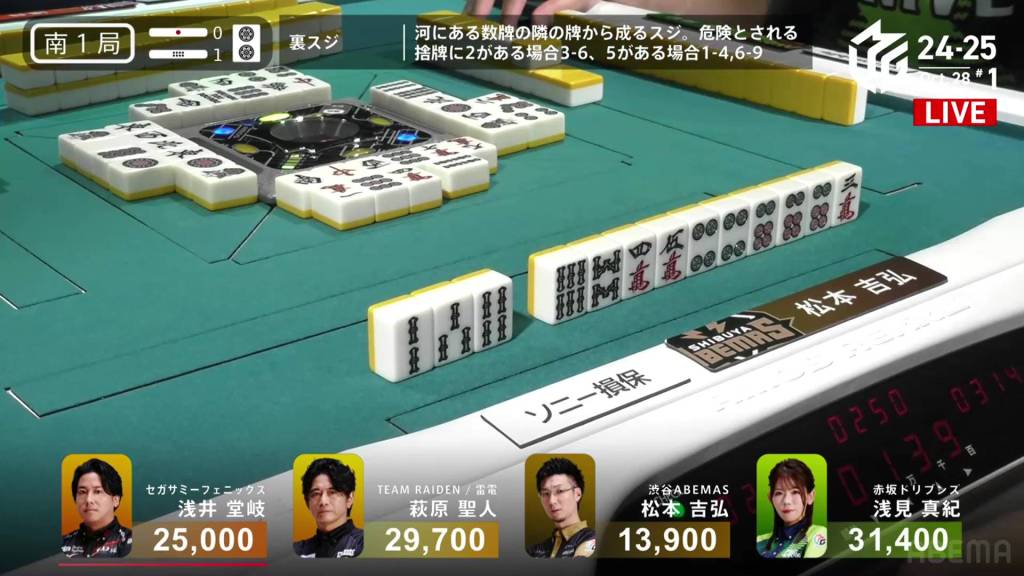
In E4-3, Asami is the dealer in 3rd place, 500 behind 2nd place Matsumoto and 5,500 behind 1st place Hagiwara. With 4 riichi sticks and 3 honba in the pot, she can win anything and move into 1st place.
Asami starts out the hand 3-shanten with a connected red 5m. Her hand develops quite quickly at the start, making a triplet of 5m and making some good sequnce candidates. By her third draw, she is already iishanten. On her fifth draw, she gets to tenpai and calls riichi on a 7m penchan.
Within two rounds, Matsumoto discards the extra 7m in his hand and deals into Asami. Asami wins the hand with Riichi/Aka 1/Ura 1 for 7,700+900 plus four riichi stick, giving her a 7,100 lead over 2nd place.
Takaki Time
October 28, Game 1
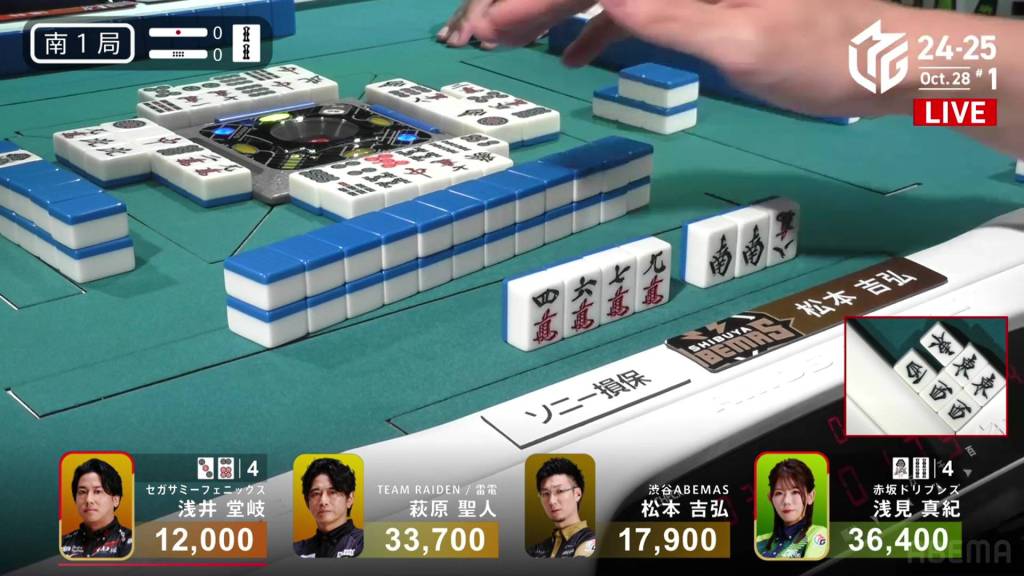
In S1-0, Takaki is the dealer in 4th place, 5,900 behind 3rd place Matsumoto.
Takaki starts off with an okay 3-shanten hand with a secured dora 2s. With two terminal blocks, it’s likely he will have to keep his hand closed. In the first row, Takaki secures himself a pair of 6s and makes a 123m sequence to get to iishanten.
After a bit of drawing and discarding in the second row (and watching Matsumoto call both the west and the east), Takaki gets to a pinfu tenpai and calls riichi on a 36p ryanmen.
During the ippatsu round, Asami gets to a pinfu tenpai as well and calls riichi on a 14s ryanmen.
A turn later, Matsumoto gets to his own tenpai and waits on a 5m kanchan.
On Takaki’s draw, he gets the 6p and wins the hand. Hitting the uradora, Takaki wins with Riichi/Tsumo/Pinfu/Dora 1/Ura 1 for 4,000 all plus one riichi stick.
Video: https://abema.tv/video/episode/444-1_s5_p4576
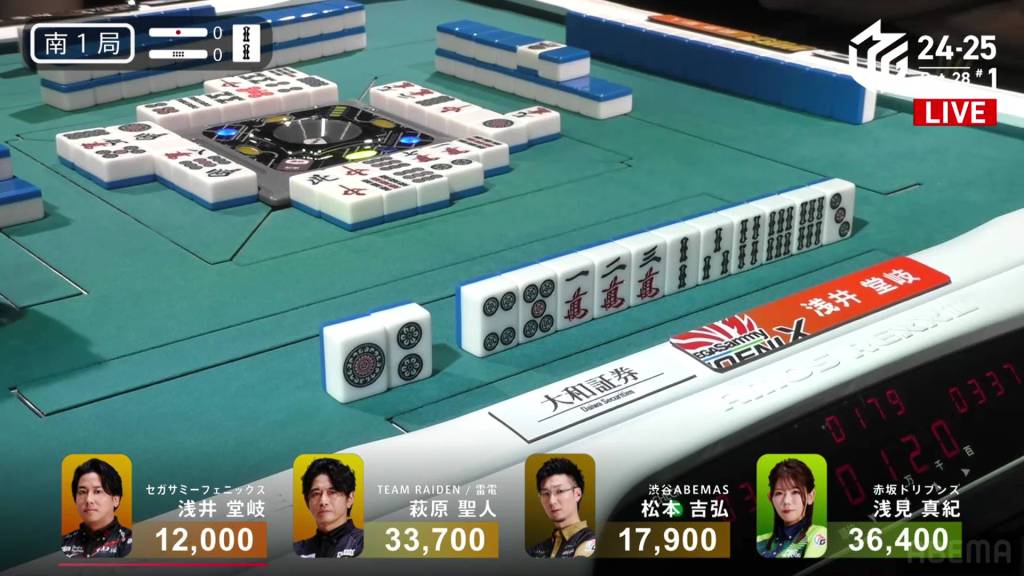
In S1-1, Takaki is now just 4,700 behind 2nd place Hagiwara and 6,400 behind 1st place Asami.
Takaki’s starting hand puts him 3-shanten from both a standard hand and seven pairs. The perfect tiles seemed to come within the first few hands, from the 2p dora to the 9s to create a 789s iipeikou to a 1m to complete a sequence. By turn 4, he is iishanten.
Through the rest of the first row and into the second, Takaki wasn’t as lucky. After discardin a 5s, he would end up drawing another 5s a few turns later, missing out on a big tenpai. In the middle of the row, Matsumoto is actually the first to tenpai and calls riichi on a 7s kanchan. However, all of the 7s are stuck.
At the end of the second row, Takaki draws a 4s to connect to the red 5s, putting him in tenpai. Takaki takes the plunce and discards the 2p dora, calling riichi on a 36s ryanmen. The risk is well worth it as he ends up drawing the 6s on his very next turn. Takaki wins the hand with Riichi/Ippatsu/Tsumo/Pinfu/Iipeikou/Dora 1/Aka 1 for 6,000+100 all plus one riichi stick, easily moving him into the lead.
Matsumoto Movement
October 28, Game 1, S1-2
Video: https://abema.tv/video/episode/444-1_s5_p4080
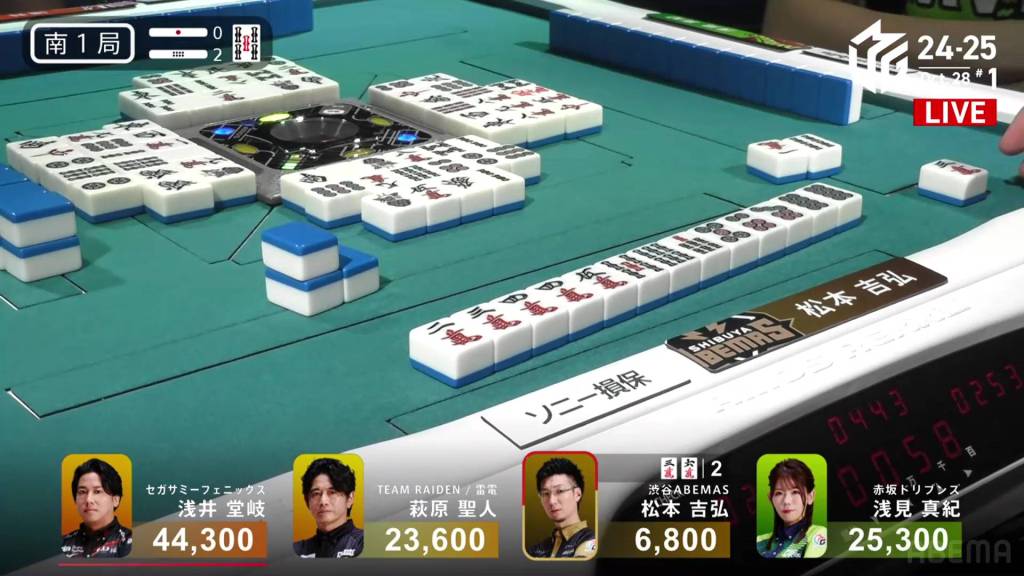
In S1-2, Matsumoto is in 4th place and 16,800 behind 3rd place Hagiwara. With a gap like that, any win will give some relief.
Matsumoto starts out the hand at 3-shanten with a loosely connected dora 5s. After the usual routine of discarding stray terminals and honours, Matsumoto gets to iishanten at the end of the row, needing to fill in a 36m ryanmen and a 6s kanchan.
At the start of the second row, Matsumoto draws the perfect tile, the 6s, to get to tenpai and calls riichi on a 36m ryanmen, guaranteed at least a mangan if he wins.
As turns go on, nobody is able to challenge him. Hagiwara is able to get to tenpai witha yakuless furiten wait, but folds late in the hand. On Matsumoto’s last draw, he plucks the 3m from the wall and wins the hand. Hitting the ura, Matsumoto wins with Riichi/Tsumo/Pinfu/Tanyao/Dora 1/Ura 1 for 3,000+200/6,000+200, bringing him within 1,000 or 3rd place.
Hagi Highlight
October 28, Game 1, S4-0
Video: https://abema.tv/video/episode/444-1_s5_p5077
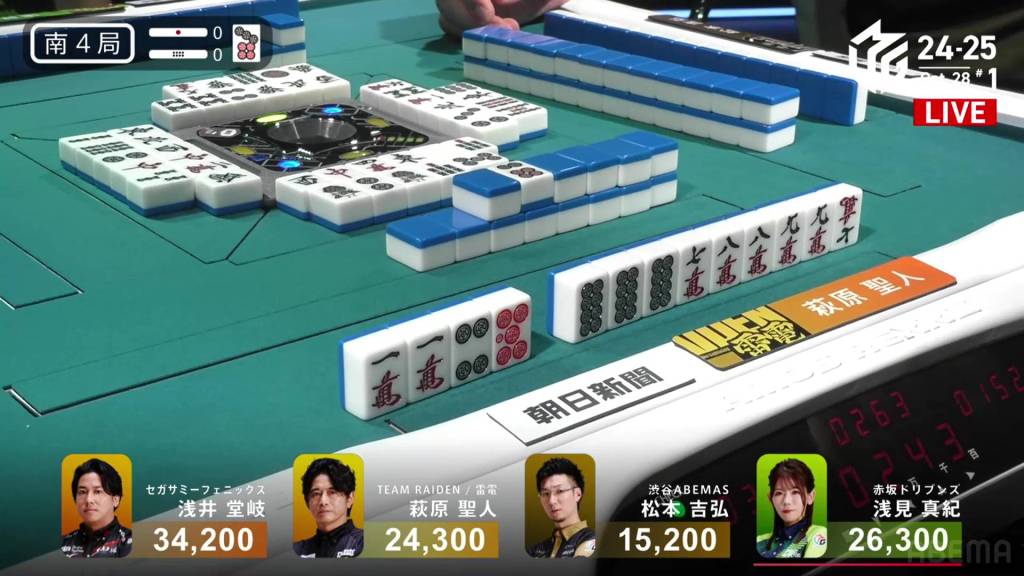
In S4-0, Hagiwara is in 3rd place, 2,000 behind 2nd place dealer Asami and 9,900 behind 1st place Takaki. To finish the game in top spot, Hagiwara needs a 3/40 direct hit, a mangan tsumo or a haneman ron.
Hagiwara’s starting hand starts off at a good 3-shanten, but lacks value. With both his manzu shapes being terminal blocks, it will be a bit difficult to to go for the standard yaku. In the first row, Hagiwara gains some value with a red 5p draw and fills in a 7m penchan to get him to iishanten. Despite the progress, he will still need one more han to go for mangan.
Holding onto a 7899m shape, Hagiwara hedges the potential to have iipeikou. On turn 8, he draws the 8m, now only missing the 7m to get that last han. Near the end of the row, Hagiwara gets the 7m and calls riichi on a 36p ryanmen. WIth a tsumo, he will win.
In the third row, Hagiwara’s comeback is challenged as Asami calls a chasing riichi and waits on a 3s kanchan.
Hagiwara isn’t worried for long as he draws the 3p during the ippatsu round and complete the comeback. Hagiwara wins with Riichi/Tsumo/Iipeikou/Aka 1 for 2,000/4,000 plus one riichi stick, winning his first game of the season.
Results
Game 49
Team Raiden
1st
33,300 (+53.3)
Sega Sammy
Phoenix
2nd
32,200 (+12.2)
Akasaka
Drivens
3rd
21,300 (-18.7)
Shibuya
Abemas
4th
13,200 (-46.8)
Game 2
Shibuya
Abemas

Sega Sammy
Phoenix

Akasaka
Drivens

Team Raiden

Taro To Top
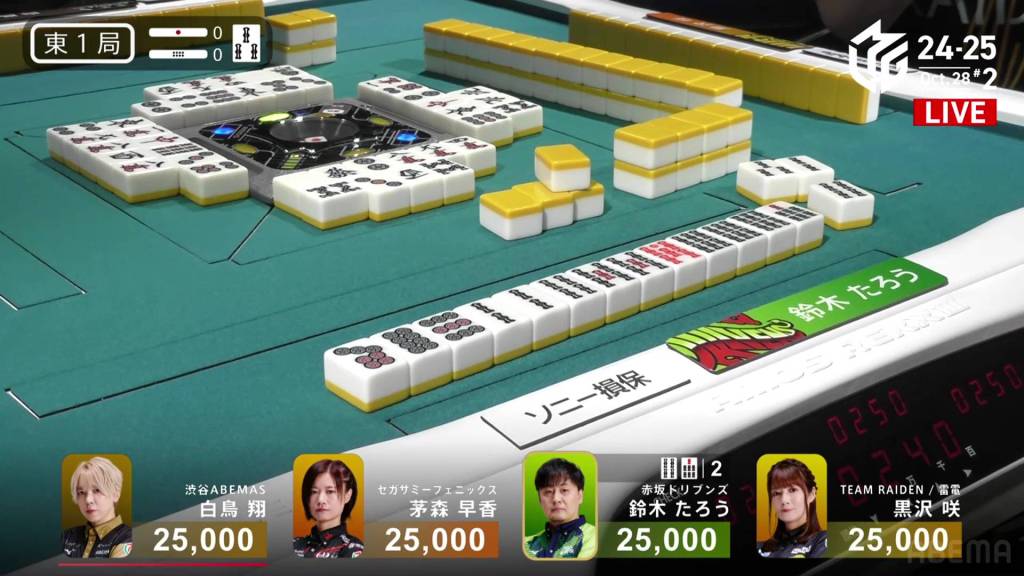
October 28, Game 2, E1-0
Video: https://abema.tv/video/episode/444-1_s70_p2196
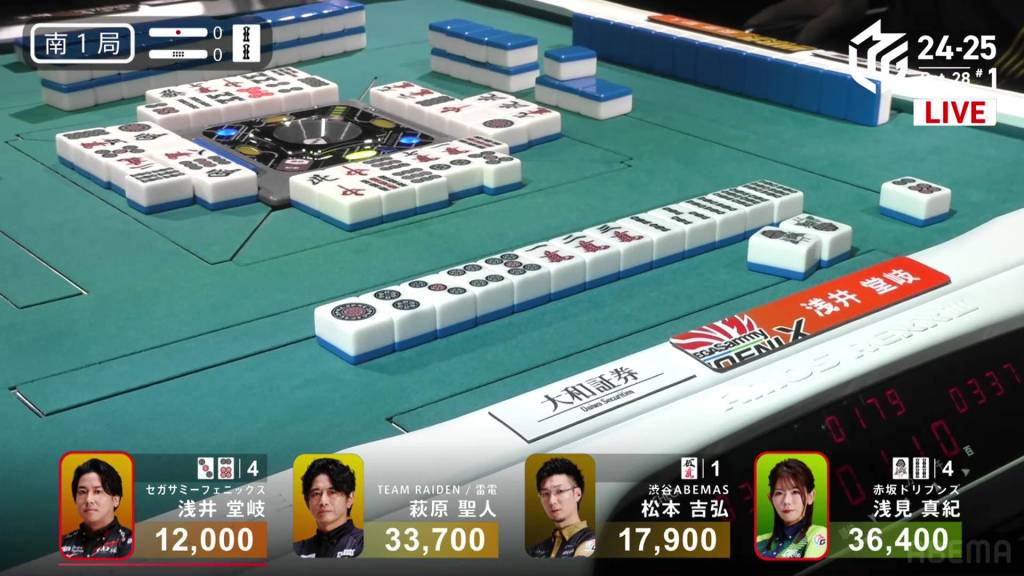
In E1-0, Taro is in the starting south seat and starts out with a 3-shanten starting hand. With two ryanmens and a route to pinfu, he gets to work With his first three draws, he gets himself to iishanten, still needing to form a ryanmen to get to pinfu tenpai. At the end of the row, he does get to tenpai, but it’s on a poor 2s/5s shanpon. With so many ways to improve, he stays dama.
A turn later, he draws a 6s and improves his hand to a 47s ryanmen with a guaranteed iipeikou. With the better wait, he calls riichi and is guaranteed at least a mangan.
Near the end of the second row, Taro draws the 4s and wins the hand. With the 4s also being uradora, Taro wins with Riichi/Tsumo/Pinfu/Iipeikou/Aka 1/Ura 2 for 3,000/6,000, giving him the early lead.
Suzuki Speed
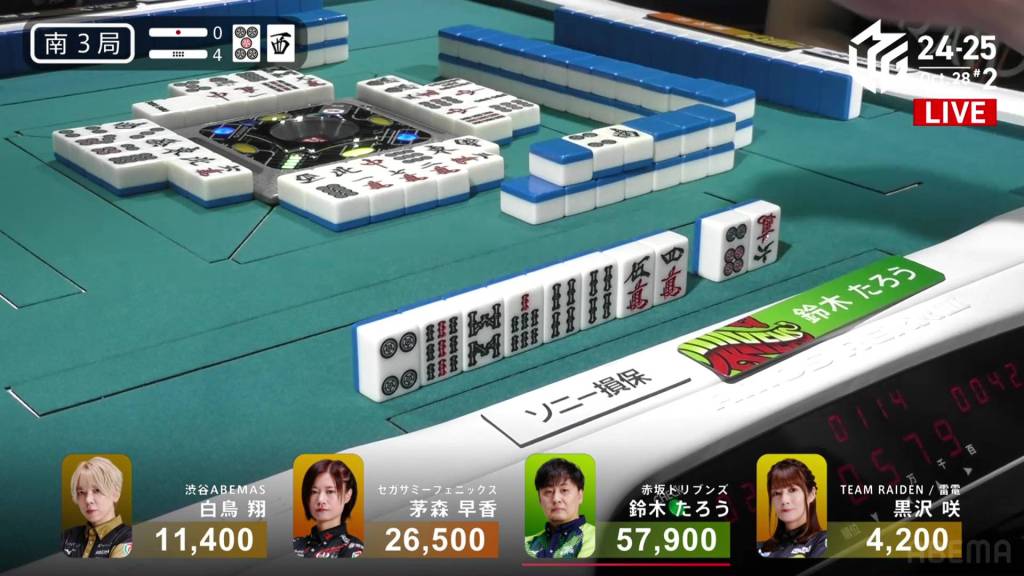
October 28, Game 2, S3-3
In S3-3, Taro still has the lead and has a chance to extend it even further with his dealership.
Taro starts out by creating a three-sided wait on his first draw, getting him to 3-shanten with a red 5s. Within a few turns, Taro is iishanten with a very likely tanyao.
Across the table from him is Kayamori, who also has a quick hand. After calling pon on the dora souths and a 789s chii, she is the first to tenpai and waits on a 25p ryanmen.
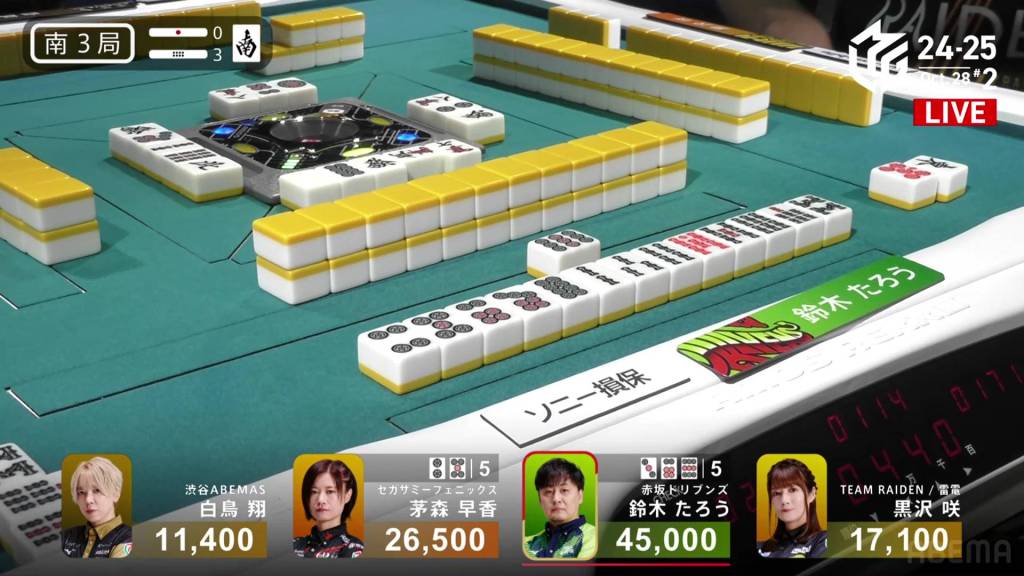
Right after, Taro gets to tenpai and calls riichi on the wide 369p wait. Two turns later, Kurosawa discards the 9p trying to call riichi and deals into Taro. Taro wins the hand with Riichi/Pinfu/Aka 1/Ura 1 for 12,000+900, taking Taro above 55,000.
Kayamori Comeback
October 28, Game 2
Video: https://abema.tv/video/episode/444-1_s5_p4577
In S3-4, Kayamori is in 2nd place and 31,400 behind 1st place Taro. With no dealership left, she only has two more hands to try and win the game.
Kayamori starts out already iishanten with her first thirteen tiles, with four different tiles giving her the chance to call a double riichi. The first draw unfortunately misses, but the hand still remains quite fast. On turn 5, she makes a triplet of 7s to expand her acceptance from 4 types to 10 types. At the end of the row, she shifts her iishanten to have a chance at a 678 sanshoku and slightly reducing her acceptance to 7 types.
In the second row, she shifts her yaku pursuit to ittsuu, only needing a 4m to complete it.
Near the end of the second row, Taro calls a concealed kan of the 3s to try and win with the rinshan. Though the rinshan misses, Taro is able to call riichi and wait on a 5p dora kanchan.
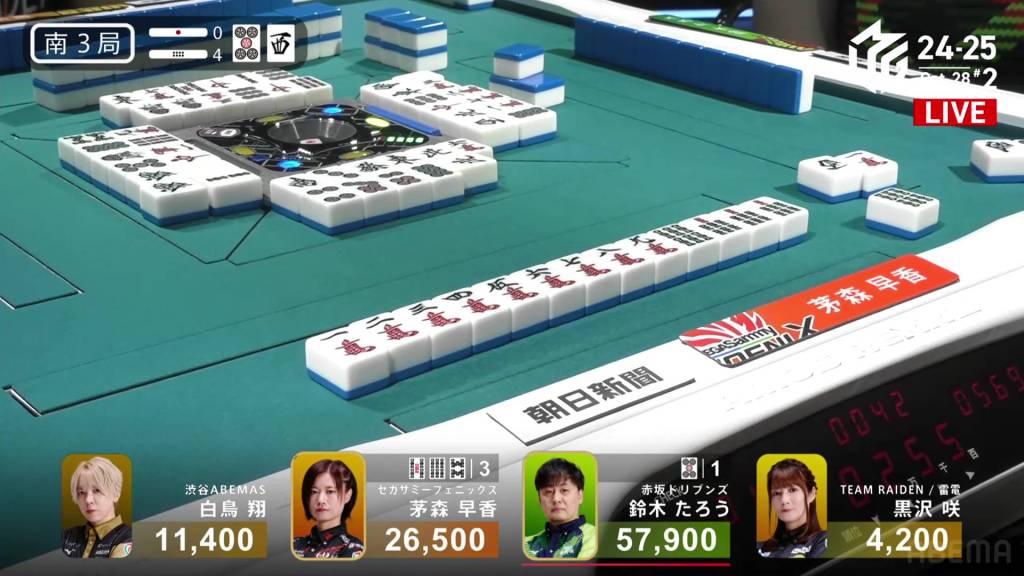
During the ippatsu round, Kayamori gets her desired 4m for ittsuu and calls riichi on a 568s wait. On her very next draw, she gets the 6s and wins the hand. Hitting an uradora, Kayamori wins the hand with Riichi/Ippatsu/Tsumo/Ittsuu/Ura 1 for 3,000+400/6,000+400.
Video: https://abema.tv/video/episode/444-1_s5_p4578
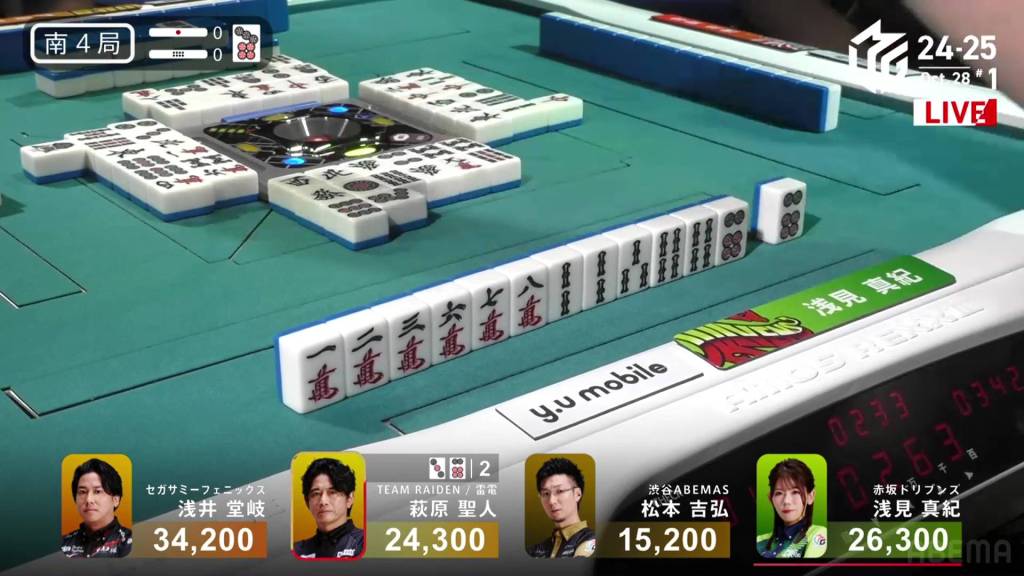
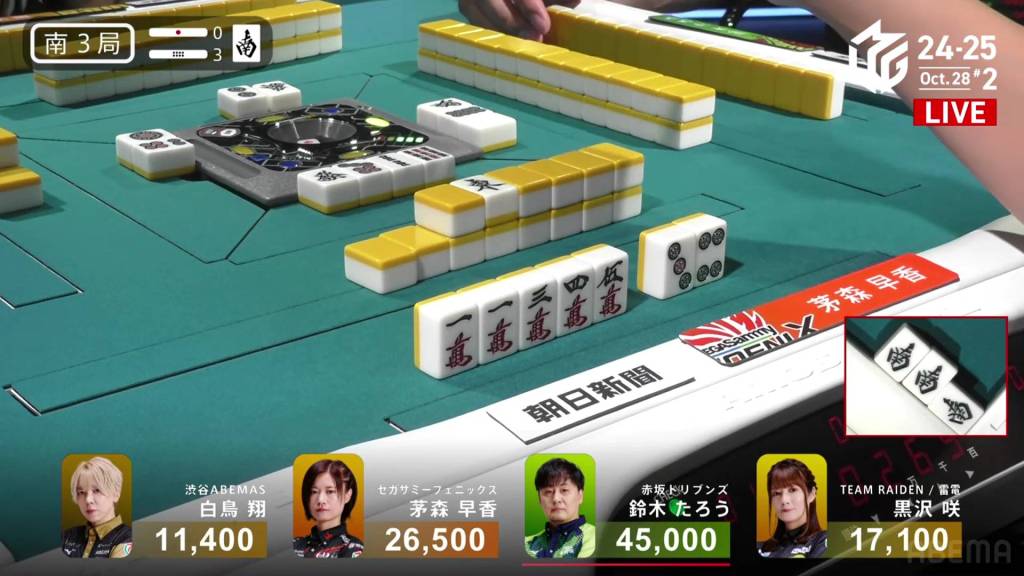
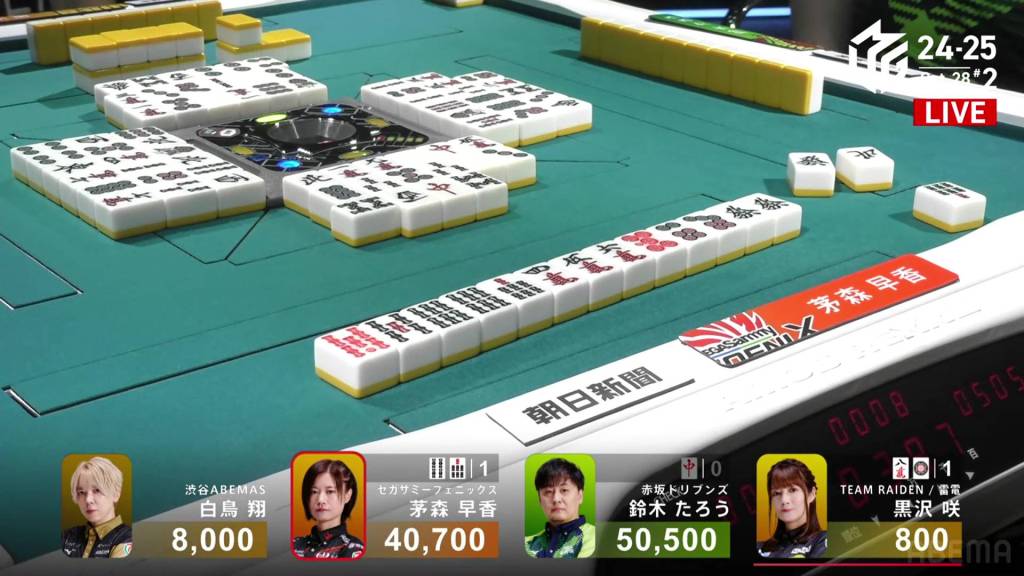
In S4-0, the gap between Kayamori and Taro is now just 9,800. With a 3/40 direct hit, a mangan tsumo or a haneman ron, she will make what seemed like an impossible comeback.
Kayamori’s starting hand has some hope with a secured red 5s and two ryanmens, but she is all the way back at 4-shanten with only three blocks.
With much of Kayamori’s time spent getting rid of stray terminals and honours while trying to make more shapes, it gives her much faster opponents time to take the game. With a tanyao hand and a pon of the 2m, Taro gets to tenpai first and waits on a 4m kanchan.
To Taro’s right, Kurosawa the dealer has called pon on the dora east and the yakuhai south, guaranteeing her a mangan if she gets to tenpai. With this danger, Taro chooses to fold when he draws the dangerous 1p.
Looking back at Kayamori, she has drawn a red 5p and a pair of green dragons. She has the base for a mangan hand, but still needs to get herself to tenpai.
At the start of the third row, Kayamori finally gets to tenpai and calls riichi on a 47s ryanmen. Two of the 7s remain in the wall (which happen to be her iipeikou wait).
With seven tiles in the wall, Taro gets to a shape tenpai, having no chance to win. With six tiles left in the wall, dealer Kurosawa gets to tenpai and waits on an 8m/1p shanpon, guaranteed a haneman if she wins.
The wall shrinks and time is running out. By this point, only one 7s remains in the wall. With the very last tile in the wall, Kayamori manages to draw the last 7s! Kayamori wins with a big Riichi/Tsumo/Haitei/Iipeikou/Aka 2 for 3,000/6,000, finishing the game in the top spot.
Results
Game 50
Sega Sammy
Phoenix
1st
52,700 (+72.7)
Akasaka
Drivens
2nd
47,500 (+27.5)
Shibuya
Abemas
3rd
5,000 (-35.0)
Team Raiden
4th
-5,200 (-65.2)
