
Thursday (October 31)


Game 1
Sega Sammy
Phoenix

Team Raiden

Akasaka
Drivens
Beast X

Takame

October 31, Game 1, E3-0
Video: https://abema.tv/video/episode/444-1_s5_p4579
In E3-0, Daigo is in 4th place, 1,400 behind 3rd place Setokuma and 2,000 behind 2nd place Futoshi.
Daigo starts out with an annoying chiitoi 4-shanten hand (5-shanten for a standard hand) with no signs of value or a way to open. In the first row, Daigo stays efficient and lets the sequences form. After securing a dora 9p at the end of the row, Daigo gets to 2-shanten, having a chance at ittsuu if he can get the 1p and the 4p.
On turn 7, Daigo draws a 4p and gives himself a chance at a three-sided wait. In the middle of the second row, Daigo gets to tenpai and calls riichi on a 147p three-sided wait, wanting the 1p for max value.
Though wide, there are few tiles left in the wall. By the start of the third row, Futoshi draws the 1p, Daigo’s last winning tile in the wall. But, Futoshi is iishanten and has a chance to discard it. Indeed, in the middle of the third row, Futoshi discards the 1p and deals into Daigo. Daigo wins the hand with Riichi/Pinfu/Ittsuu/Dora 1 for 8,000.
Fast Phoenix
October 31, Game 1, S1-0
In S1-0, Daigo is the dealer in 2nd place, 3,800 behind 1st place Sugawara.
With his first 13 tiles, he is already chiitoi iishanten (also holding a pair of 4s dora) and needing a 1p, 7p or 3m to call a double riichi. He unfortunately doesn’t get any of them and switches his lone 1p for an east. On his second draw, he makes the 3m pair and calls riichi on an east tanki.
On turn 5, Setokuma discards the east and deals into Daigo. Daigo wins the hand with Riichi/Chiitoi/Dora 2 for 12,000.
Setokuma Sanankou
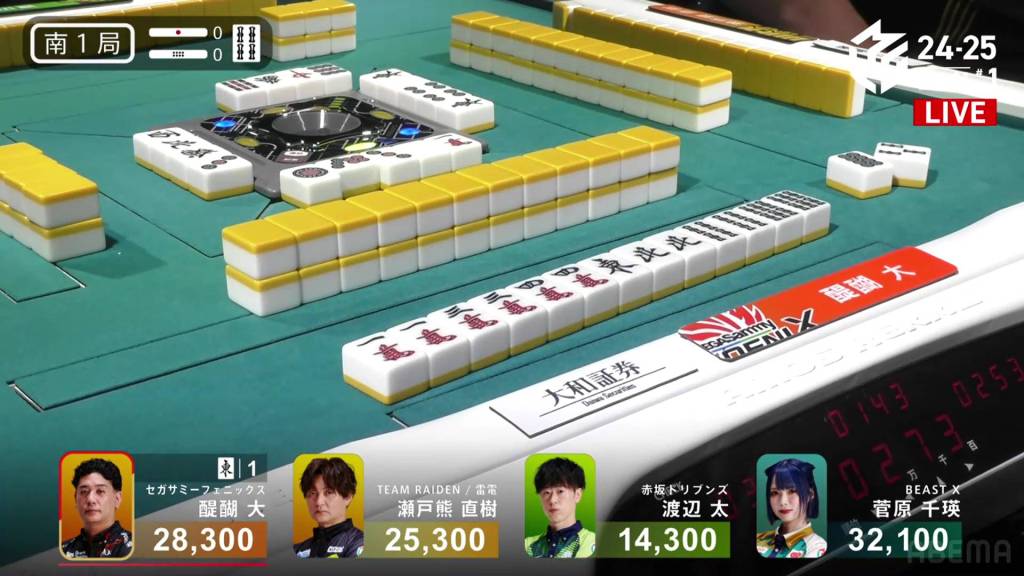
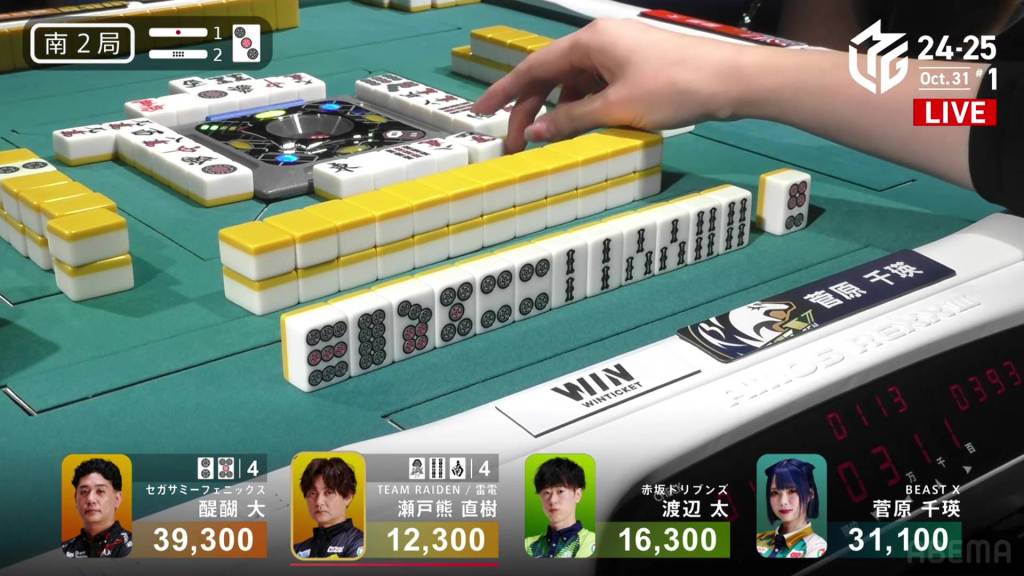
October 31, Game 1, S2-2
Video: https://abema.tv/video/episode/444-1_s5_p5078
In S2-2, Setokuma is the dealer in 4th place, 4,000 behind 3rd place Futoshi. A riichi stick and two honba are in the pot.
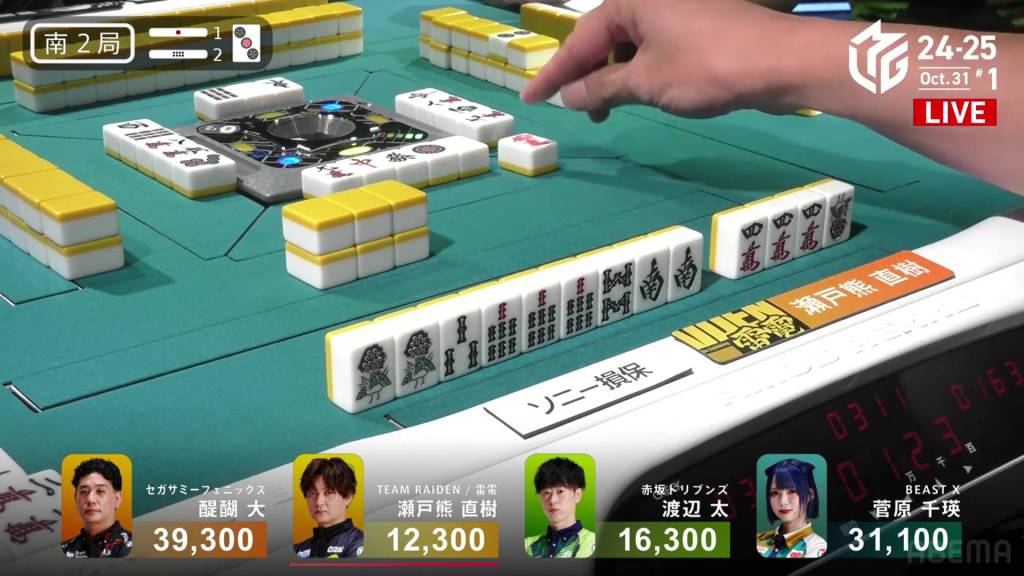
Setokuma starts off with four pairs in his hand: 1s, 7s, 4m and south. Though he is closest to seven pairs, he also has the option to speed up the hand by calling the yakuhai souths. In the first row, Setokuma makes the 7s and 4m into triplets, shifting his hand towards toitoi. In fact, he is just two more triplets away from being tenpai with a suuankou tanki. At the end of the row, Setokuma makes a 1s into a triplet to get to a yakuman iishanten.

To his left, though, danger is brewing. With a pon of the norths and a 123m chii, Daigo is already one-away from tenpai. With a 456s chii, Daigo is the first to tenpai and waits on a 36p ryanmen.
Right after, Setokuma draws a 2s. Though it doesn’t help the yakuman cause, it does get him to tenpai. Seeing that he has to time to dilly-dally, Setokuma calls riichi and waits on a 14s/south wait.
A turn later, Sugawara is the third to tenpai and waits dama on a 47p ryanmen.
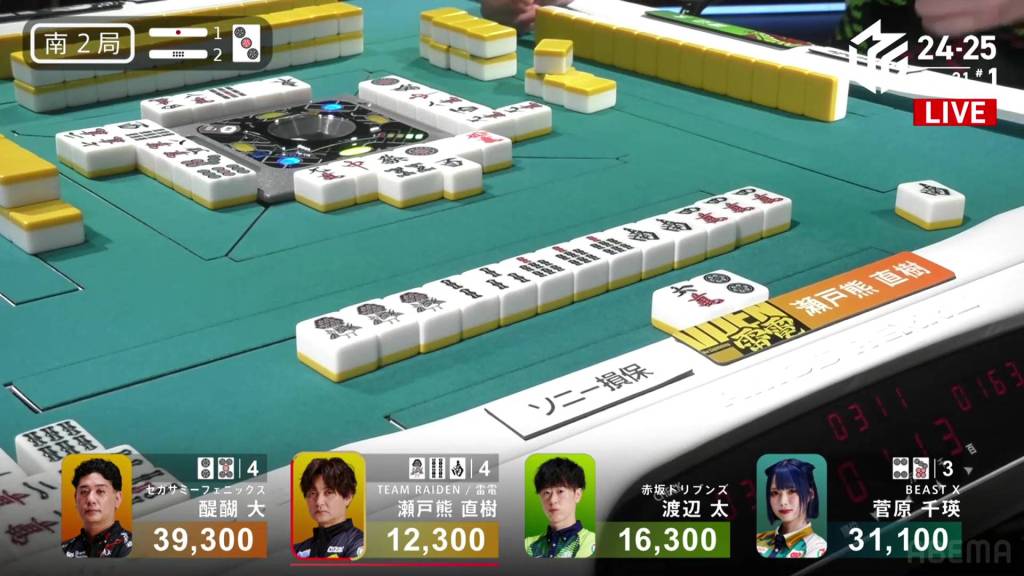
On Setokuma’s next draw, he draws the south and wins the hand. Setokuma wins with Riichi/Tsumo/South/Sanankou for 4,000+200 all plus a riichi stick, moving into 3rd place.
Kuma Kuma Time
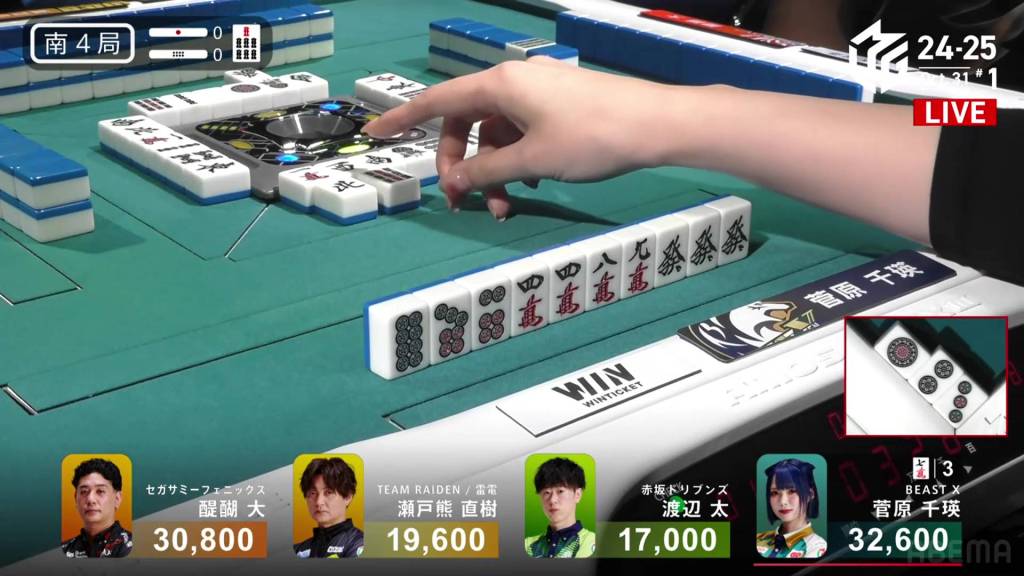
October 31, Game 1, S4-0
Video: https://abema.tv/video/episode/444-1_s5_p5079
Skipping ahead to S4-0, Setokuma is in 3rd place, 11,200 behind 2nd place Daigo and 13,000 behind 1st place dealer Sugawara. A 3/50 direct hit or a haneman ron would be enough to take 2nd place from Daigo. However, a bigger prize is in sight. With a haneman tsumo, Setokuma can move all the way up to 1st place.
With Setokuma’s first draw, he has all three of the red fives and sits 3-shanten. However, he has a bit of work to do since only the red 5m is secured. After pairing up the 9p on turn 2, Setokuma draws a 7s on turn 3 to loosely connect the red 5s and get to iishanten. At the end of the row, Setokuma draws a 3s to have the flexibility to build on either side of the red 5s.
Across from Setokuma, Sugawara is wanting to protect her lead. With a 123p chii, she gets herself to tenpai and waits on a 7m penchan.
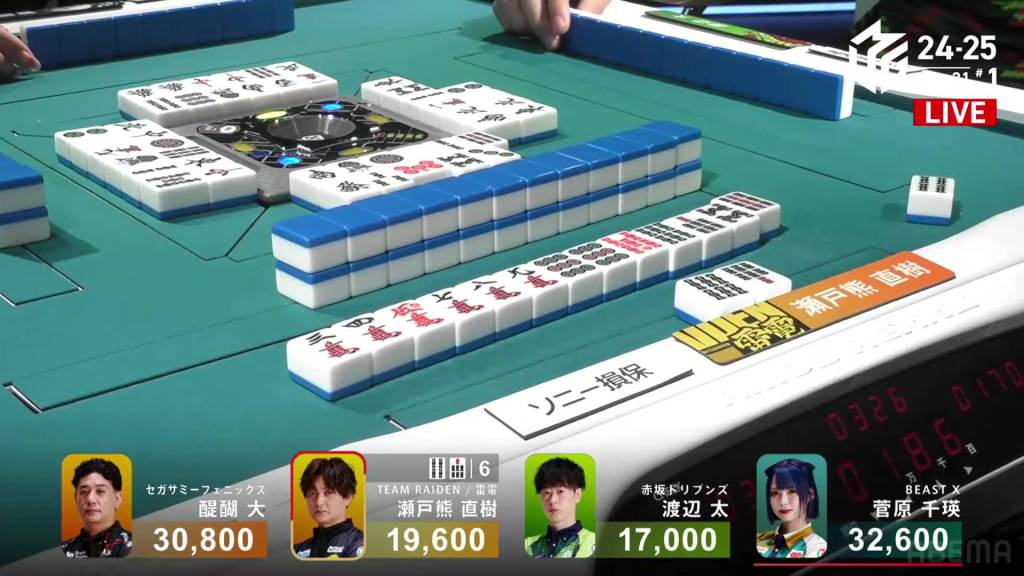
After drawing a 6s and 8s, Setokuma gets himself to tenpai in the middle of the second row, Calling riichi by throwing the red 5p, he waits on a 47s ryanmen, just needing to tsumo to win the game. Six remain in the wall.
With the danger of Setokuma’s riichi, Sugawara folds, leaving the wall to be in charge of Setokuma’s fate. At the end of the row, Setokuma nabs the 4s and wins the hand. Setokuma wins with Riichi/Tsumo/Pinfu/Dora 1/Aka 2/Ura 1 for 3,000/6,000, taking the game.
Results
Game 53
Team Raiden
1st
31,600 (+51.6)
Sega Sammy
Phoenix
2nd
27,800 (+7.8)
Beast X
3rd
26,600 (-13.4)
Akasaka
Drivens
4th
14,000 (-46.0)
Game 2
Beast X
Sega Sammy
Phoenix

Team Raiden

Akasaka
Drivens

Death By Daisuke

October 31, Game 2, E1-0
In E1-0, Daisuke is the starting dealer and starts of by making a triplet of 3s dora, getting to 3-shanten. In the first row, he gets one step closer and has a route to pivot to tanyao.
On turn 8, Daisuke shifts his terminal block to more securely have a chance at tanyao. After creating a pinzu ryanmen from thin air, Daisuke calls chii on it and gets to tenpai on a 3m kanchan, guaranteed a mangan if he wins.

Near the end of the second row, Honda gets to tenpai and calls riichi on an 8s tanki.
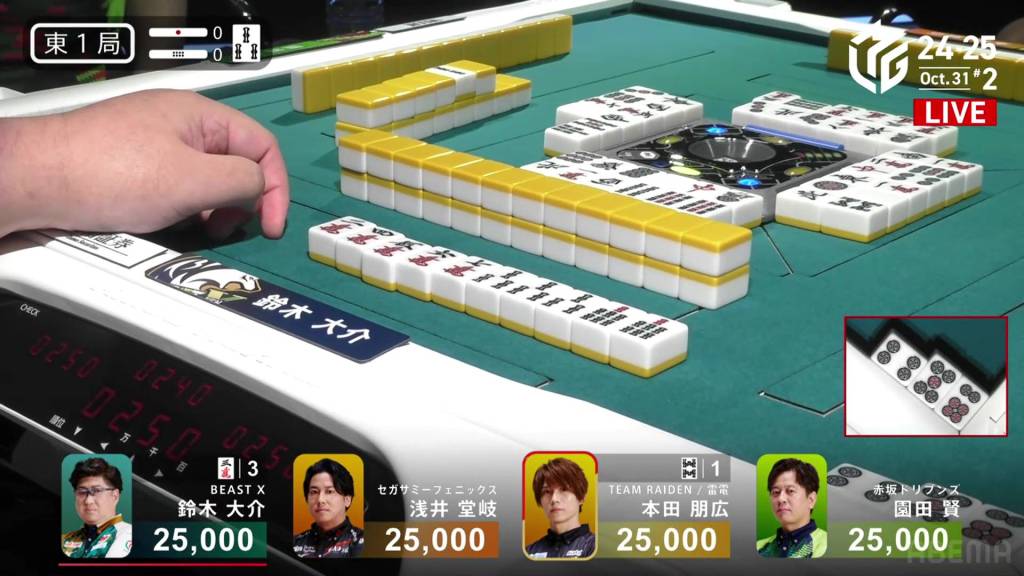
Unfortunately for Honda, he draws and discards the 3m on his ippatsu turn and deals into Daisuke. Daisuke wins the hand with Tanyao/Dora 3 for 12,000 plus one riichi stick.
Raiden Revived
October 31, Game 2
In E1-1, Honda is in 4th place after being hit by Daisuke’s dealer mangan. He has a lot of work to do in order to even be positive.
Honda starts out with a cools iishanten hand, but lacks any sort of value besides tanyao. On his second draw, he increases his tile acceptance to 13 different types of tiles. Two turns later, Honda gets to tenpai with pinfu in hand. He calls riichi and waits on a 36p ryanmen. On turn 8, Honda gets the 6p and wins the hand. Getting an uradora, Honda wins the hand with Riichi/Tsumo/Pinfu/Tanyao/Dora 1 for 2,000+100/4,000+100

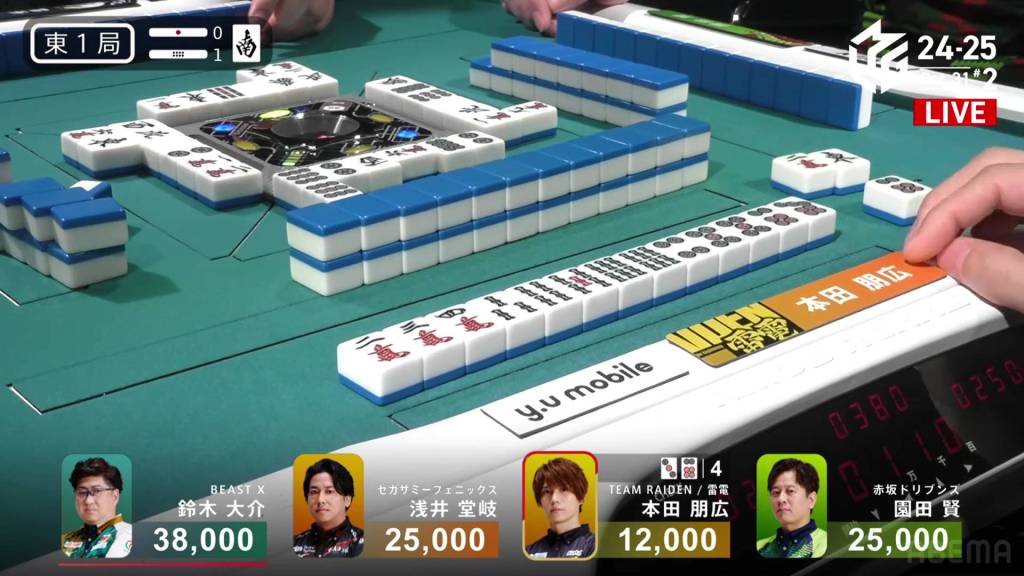
In E2-0, Honda is now just 2,600 behind the 2nd place tie and 13,600 behind 1st place Daisuke.
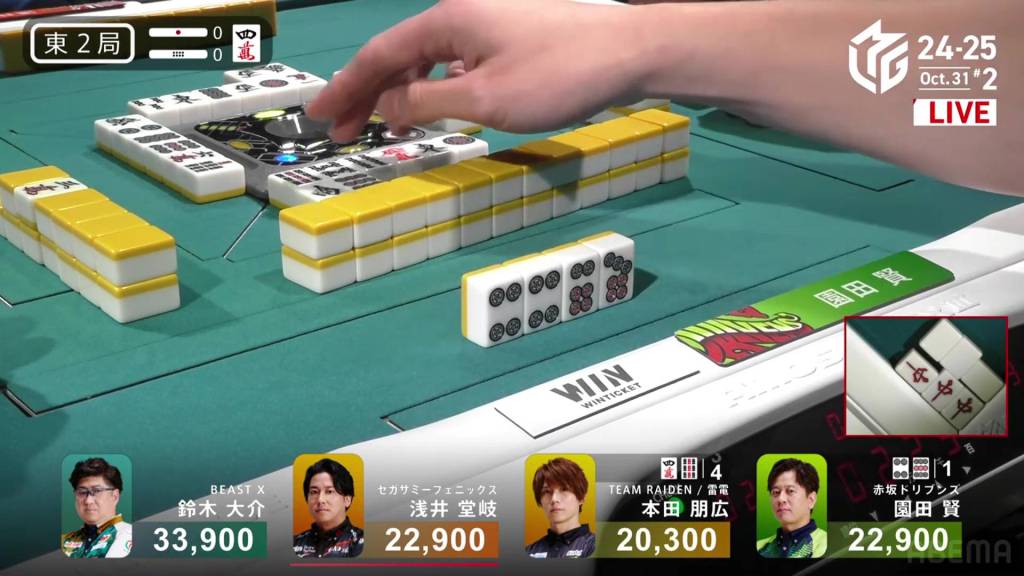
Honda starts out with a chiitoi 3-shanten hand (4-shanten for a standard hand) with a pair of 4m dora.
Early on, there is a challenge from Sonoda. With a pon of both the red dragon and white dragon, Sonoda gets to iishanten.
Back to Honda, he draws two more pairs to get to iishanten. With the potential for a 789m iipeikou, Honda has a chance to go for a standard hand as well.
The first between the two to get to tenpai is Sonoda, who waits on a 4p/9p shanpon.
Right after, Honda gets to tenpai and waits dama on a 4m/9s shanpon.
In the second row, Sonoda calls a chii to improve to a 58p ryanmen.
In the third row, Sonoda draws the 4m. Having already gone so far, Sonoda simply discards it and deals into Honda. Honda wins the hand with Iipeikou/Dora 3 for 8,000, moving into 2nd place.
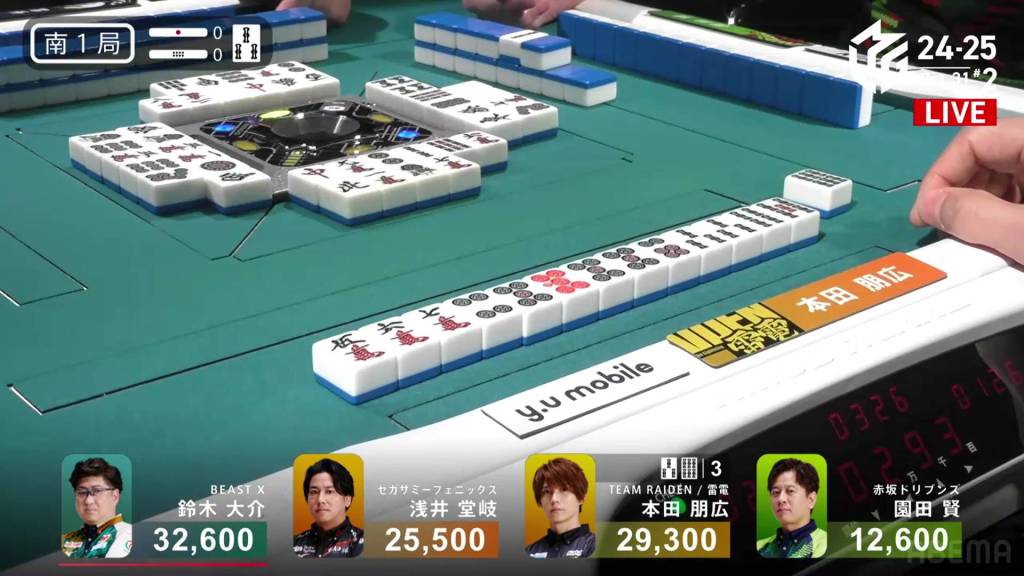
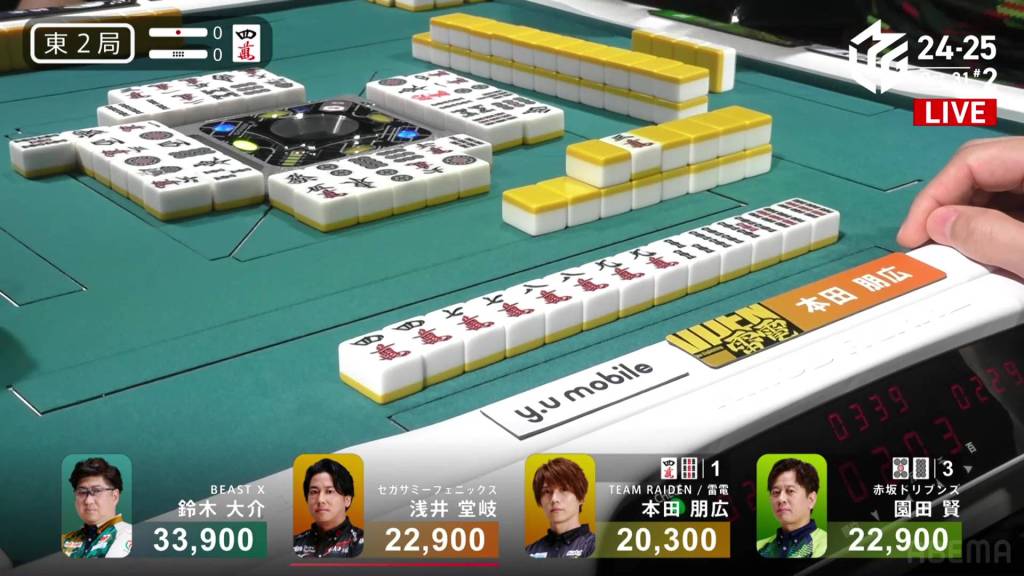
In S1-0, Honda is in 2nd place and just 3,300 behind 1st place Daisuke.
Honda starts out the hand by drawing a dora 3s and getting to 2-shanten. Getting a second 3s on his second draw, he gets to iishanten. Through the rest of the row, he looks for a way to both secure all the dora in his hand and give himself the option to call a tanyao. On turn 4, he draws a fourth 5p to create a triplet and a 456p sequence. At the end of the row, he gets to tenpai and waits on a 36s ryanmen, guaranteed at least a mangan if he wins. ‘
Near the end of the second row, Honda draws the 6s and wins the hand. Honda wins with Tsumo/Tanyao/Dora 2/Aka 1 for 2,000/4,000, putting him in 1st place, a far cry from the 4th place he started the game with.
Ken Comeback
October 31, Game 2
Video: https://abema.tv/video/episode/444-1_s5_p2082
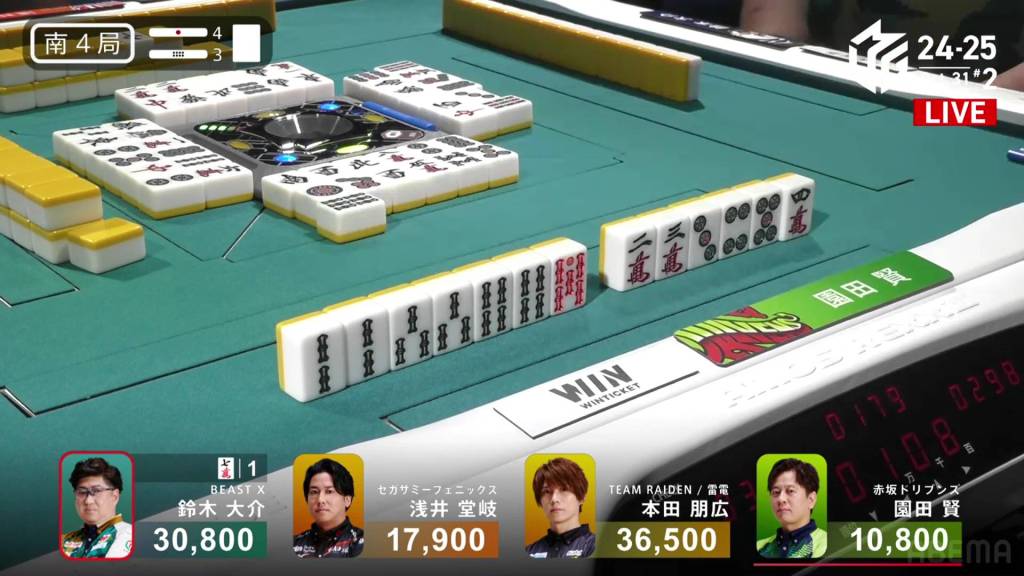
In S4-3, Sonoda is the dealer in 4th place, 7,100 behind 3rd place Takaki. With three draws in a row, there are now four riichi sticks and three honba on the table, giving the next winner 4,900 in bonuses. He can’t mess up, he has to catch up.
Sonoda starts out with a 4-shanten hand, but has a red 5s, a likely tanyao and has the framework for a 345 sanshoku. In the first row, Sonoda shifts away from the slim sanshoku chance to accept more efficient shapes. By the end of the row, he is 2-shanten with two ryanmens.
As Sonoda keeps looking to advance, 2nd place Daisuke gets to tenpai on turn 8 and calls riichi on a 7m penchan. With all the bonuses up for grabs Daisuke’s riichi nomi could win him the game.
Since Sonoda can’t go lower than 4th, he keeps pushing. In the middle of the second row, Sonoda gets to iishanten. At the start of the third row, he gets to tenpai and calls riichi on a 25s ryanmen. Guaranteed at least a mangan, drawing a 5s would give him a haneman, just enough to move into 1st place.
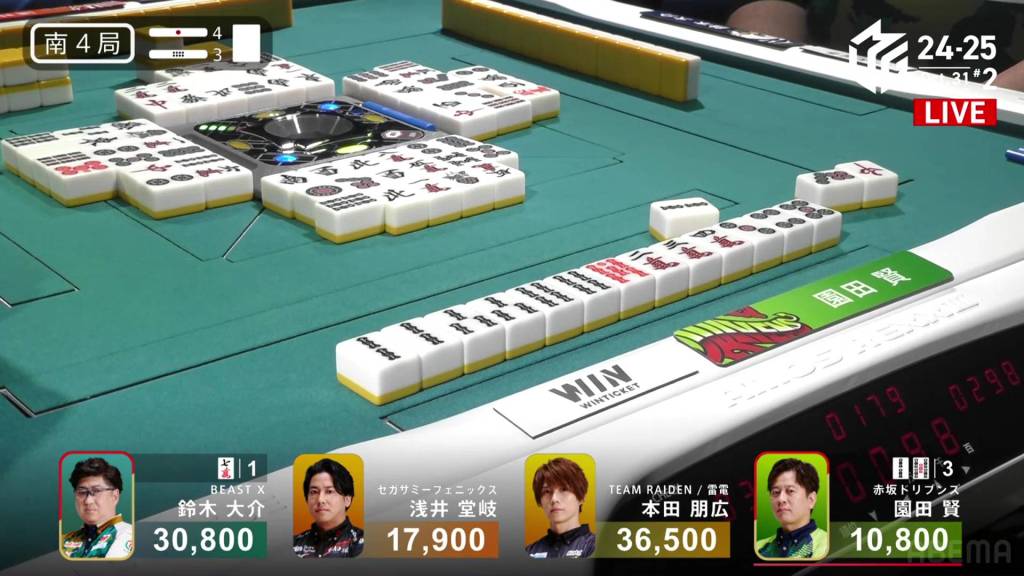
The wall winds down while Sonoda still has four of his waits in the wall. On Daisuke’s second-last draw, he draws and discards the 2s and deals into Sonoda. Sonoda wins the hand with Riichi/Pinfu/Tanyao/Aka 1 for 12,000+900 plus five riichi sticks, moving Sonoda into 2nd place.
Video: https://abema.tv/video/episode/444-1_s5_p2083
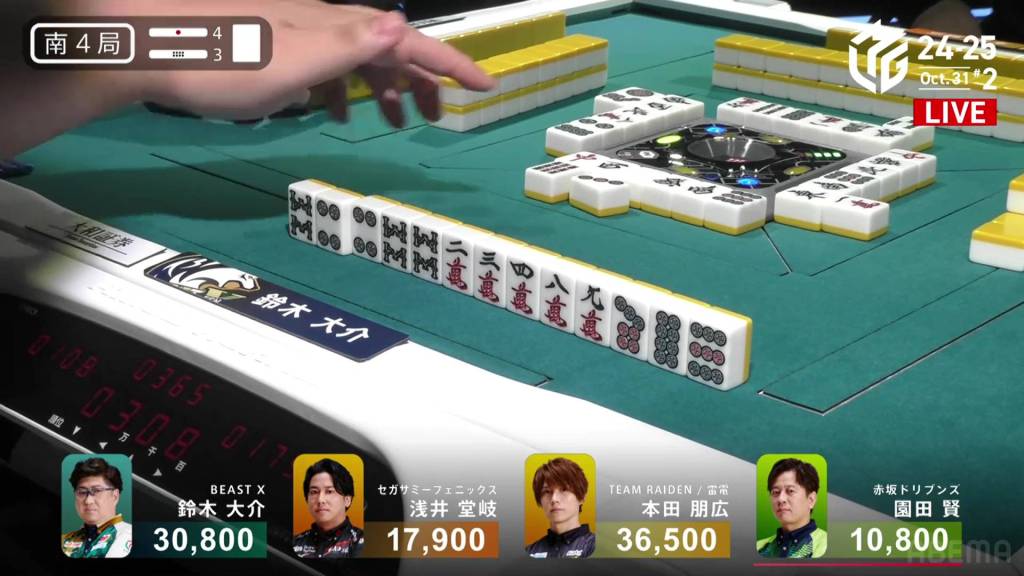
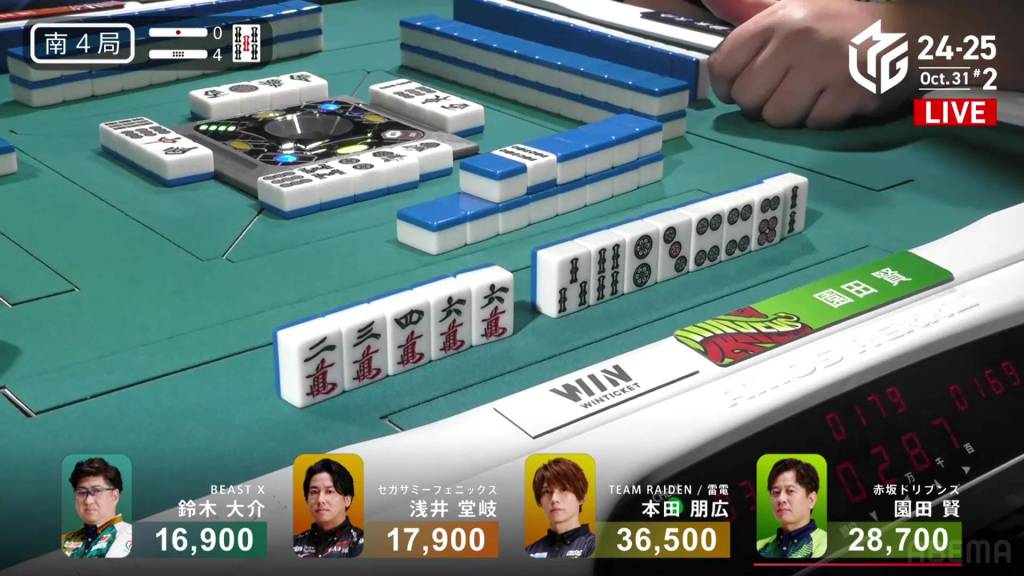
In S4-4, Sonoda is now just 7,800 from 1st place. A 3/40 ron as dealer would be enough.
Sonoda starts out with a good 2-shanten hand with two ryanmens. If Sonoda can draw the 2s and the 4m, he would have a 234 sanshoku. On his second draw, he gets the 4m and sits iishanten. By turn 5, Sonoda draws the 2s to get to tenpai and calls riichi on a 5p kanchan, guaranteed at least a mangan if he wins.
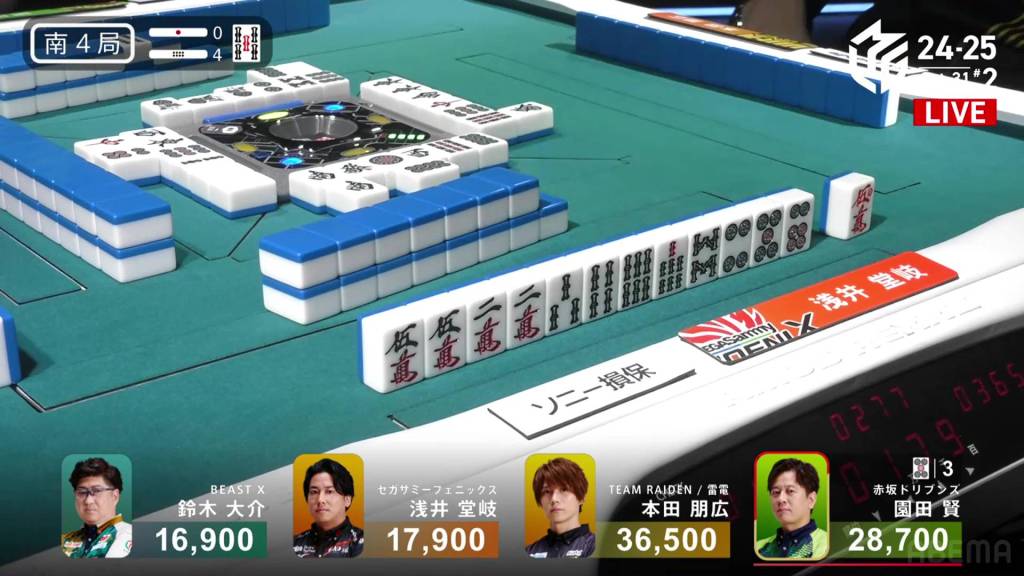
Across from Sonoda, Takaki is trying to keep his 3rd place position and possibly sneak into 2nd place. With a red 5m draw on turn 8, Takaki calls riichi and waits on a 25s ryanmen. With a 5s win or drawing either of them himself, he would take 2nd place.
It’s a battle between Takaki’s three tiles against Sonoda’s three tiles. Then, at the end of the second row, Sonoda draws the big red 5p and wins the hand. Sonoda wins with Riichi/Tsumo/Tanyao/Sanshoku/Aka 1/Ura 1 for 6,000+400 all plus one riichi stick, taking Sonoda’s score up to 48,900.
In just two hands, with us as the witness and captured on film, Sonoda went from the very bottom to the very top of the standings.
Results
Game 54
Akasaka
Drivens
1st
45,100 (+65.1)
Team Raiden
2nd
30,100 (+10.1)
Beast X
3rd
14,300 (-25.7)
Sega Sammy
Phoenix
4th
10,500 (-49.5)
