
Tuesday (November 12)


Game 1
U-Next Pirates
Sega Sammy
Phoenix
Akasaka
Drivens
Shibuya
Abemas
Dama Ooi
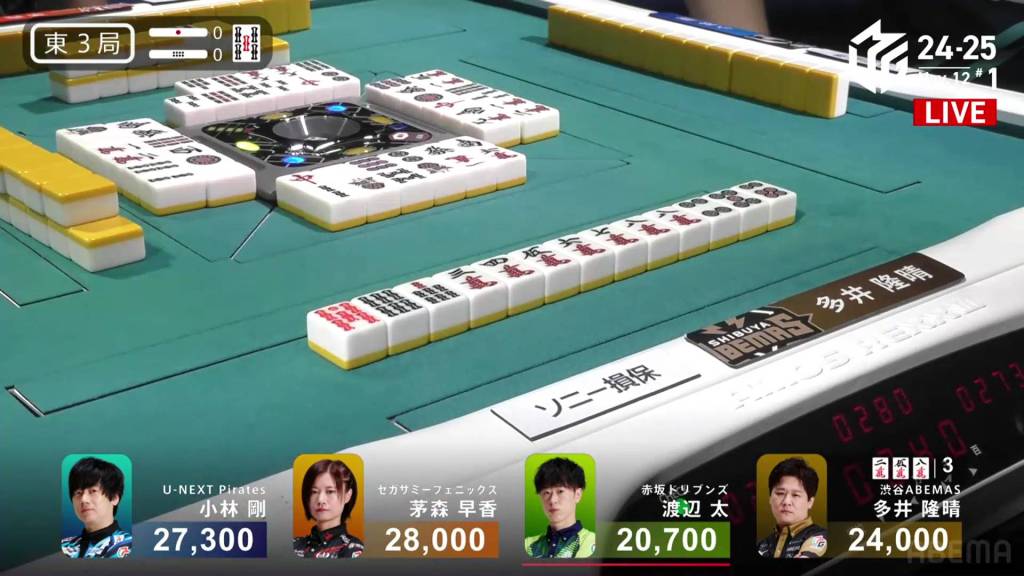
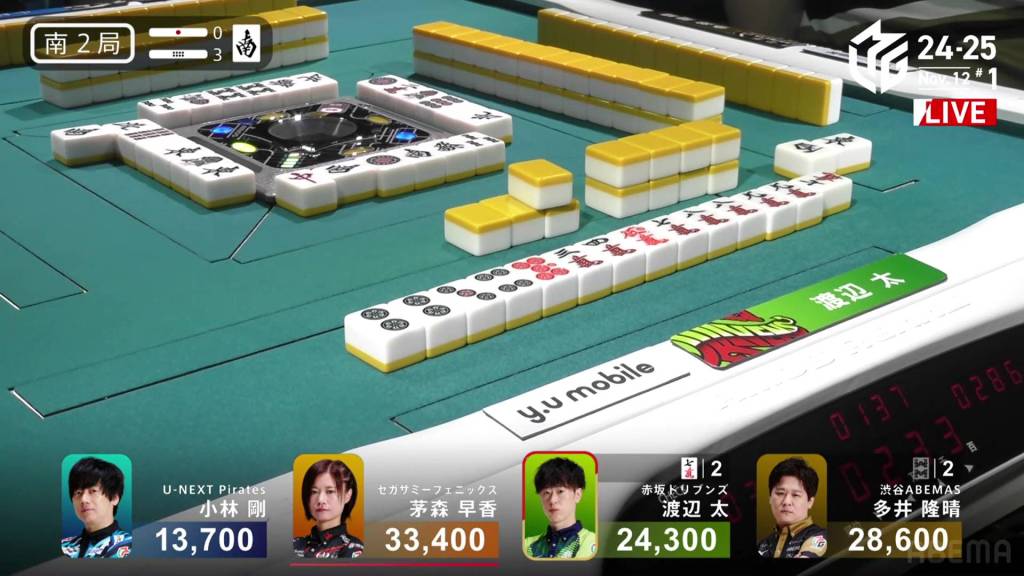
November 12, Game 1, E3-0
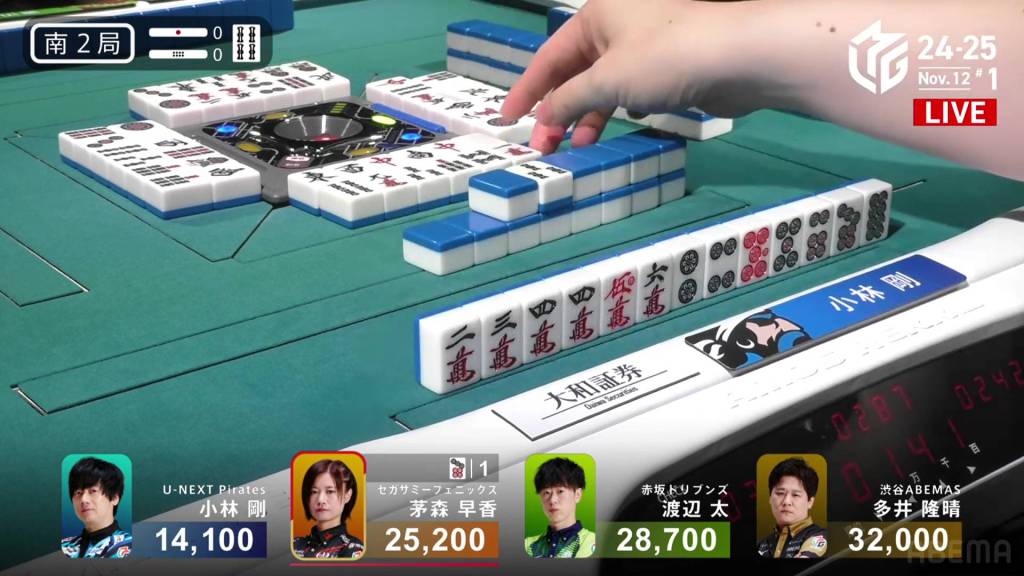
In E3-0, Ooi is in 3rd place, just within 4,000 of 1st place Kayamori.
Ooi starts out the hand strong at 3-shanten with a bunch of good shapes and the red 5s double dora. Within the first row, Ooi is able to secure the double dora to guarantee good value. However, he is only able to get the res tof the hand to 2-shanten.
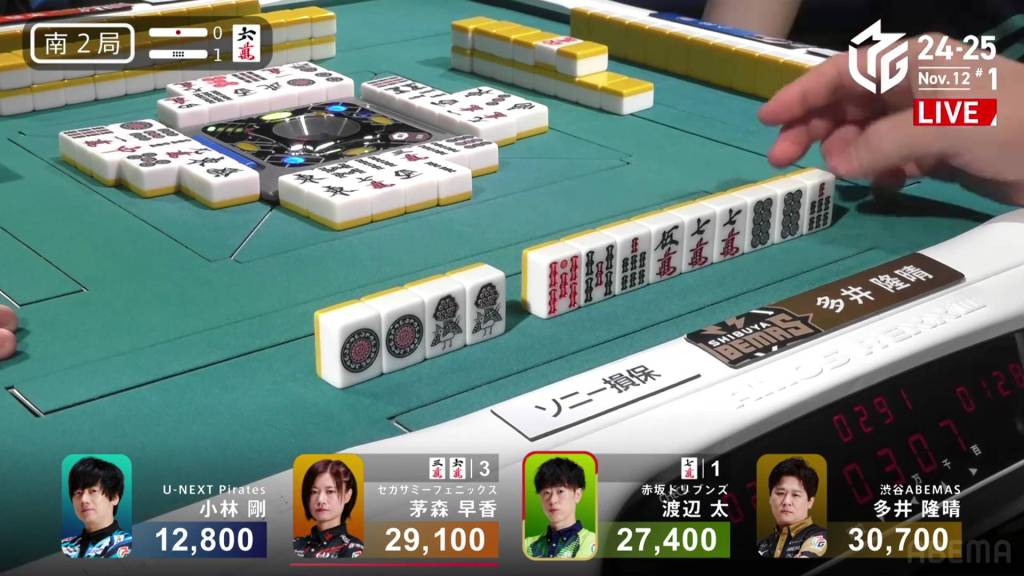
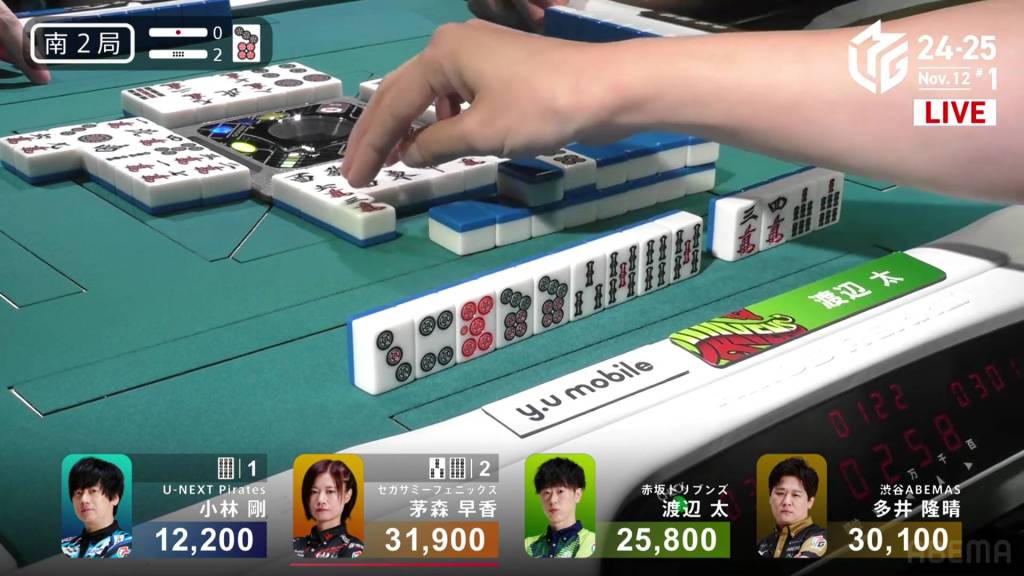
At the start of the second row, Ooi fills in the 3-sided wait and gets to iishanten, waiting on six different tiles for tenpai. In the middle of the row, he finds one of them and stays dama on a 58m ryanmen, guaranteed a mangan if he wins.
At the end of the third row, Ooi improves his wait to a wider 258m wait. Right after, Kobayashi discards the 5m and deals into Kobayashi. Ooi wins the hand with Pinfu/Tanyao/Dora 1/Aka 1 for 8,000, moving into 1st and pushing Kobayashi into 4th.
Toitoi
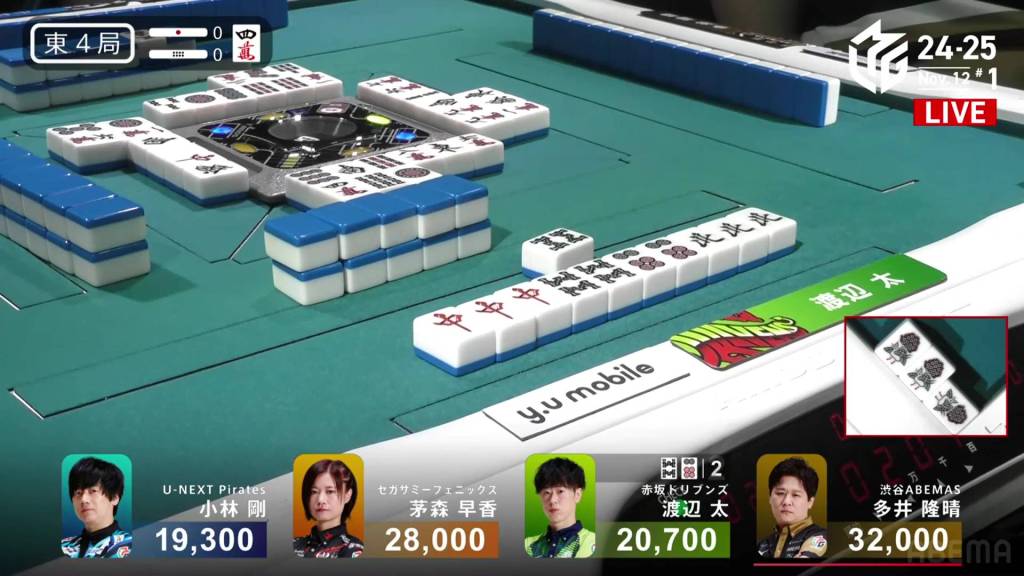
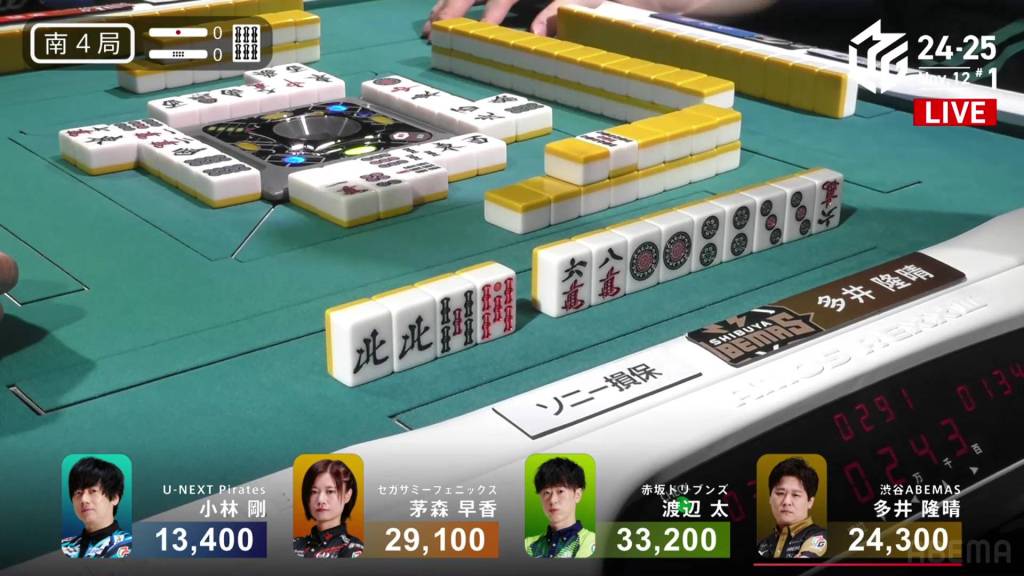
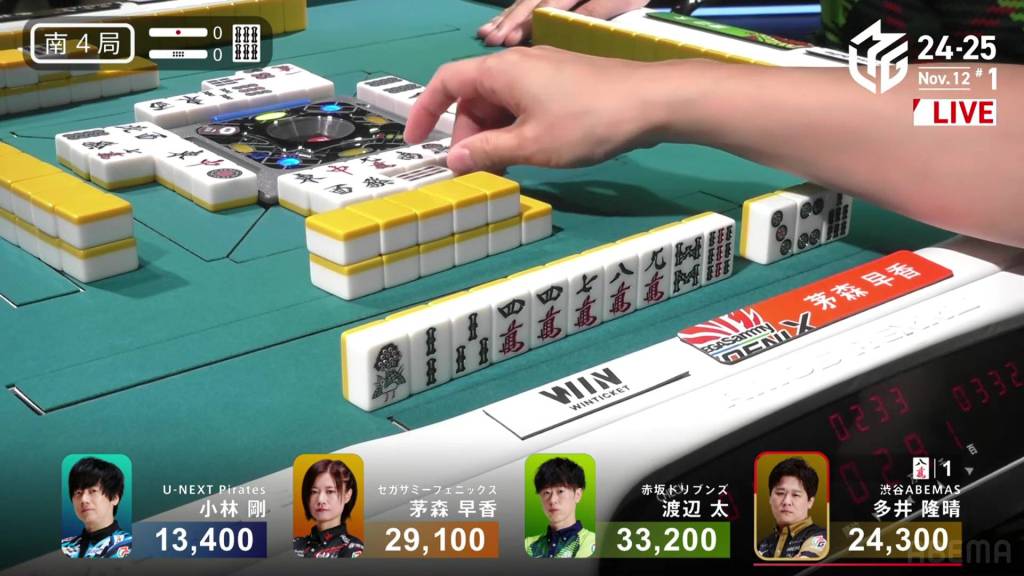
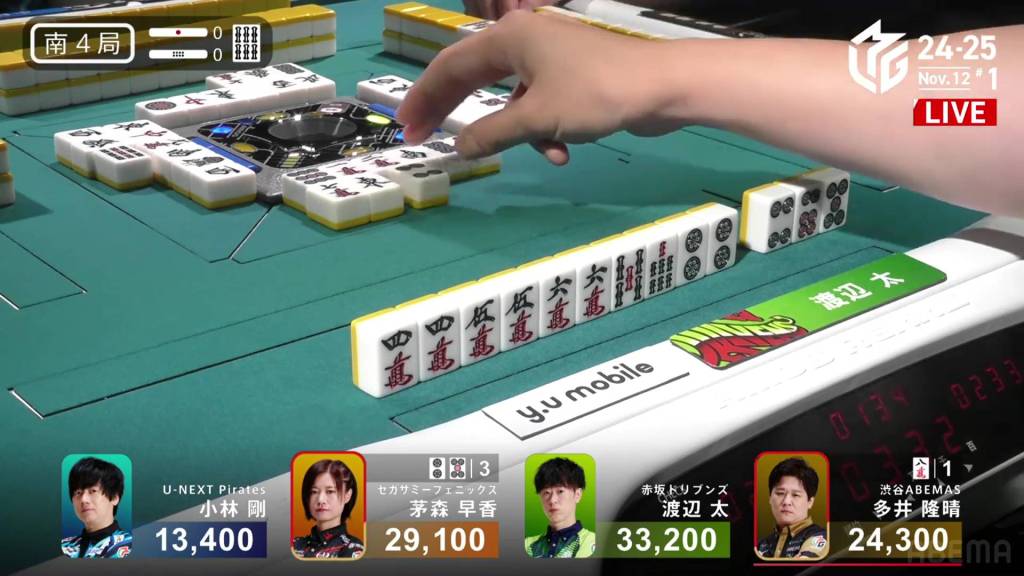
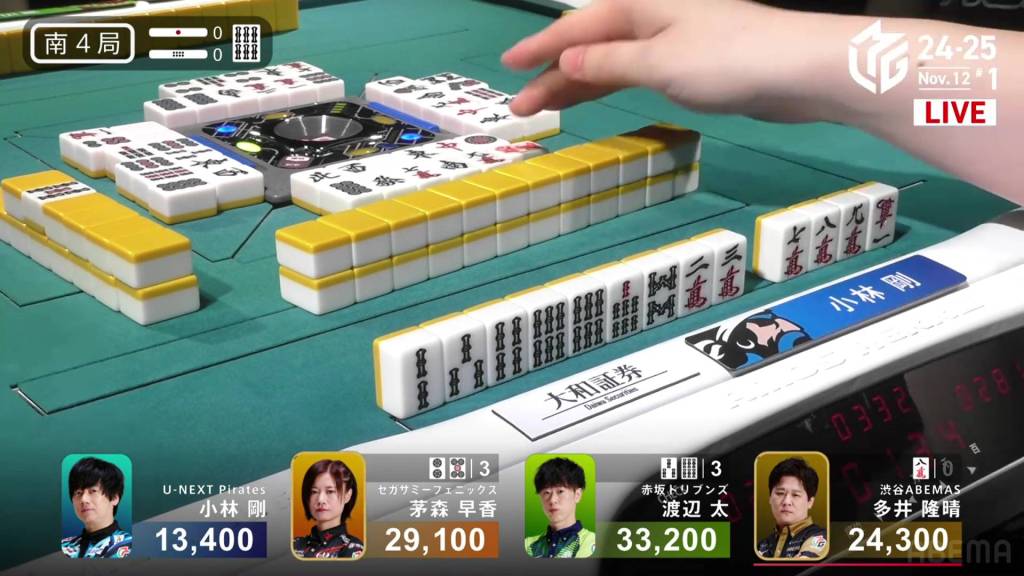
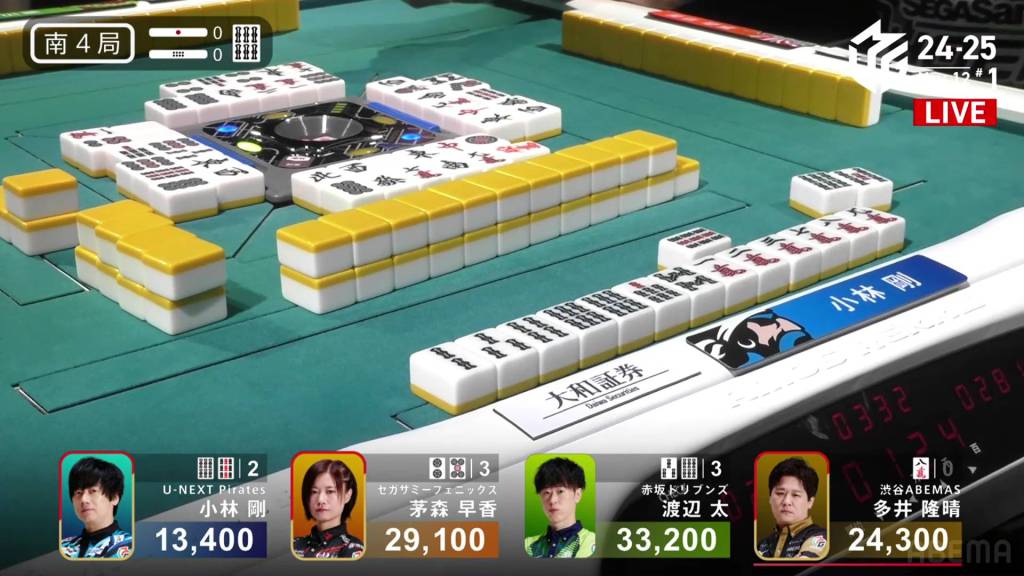
November 12, Game 1, E4-0
Video: https://abema.tv/video/episode/444-1_s5_p2087
In E4-0, Futoshi is in 3rd place, 7,300 behind 2nd place Kayamori and 11,300 behind 1st place dealer Ooi.
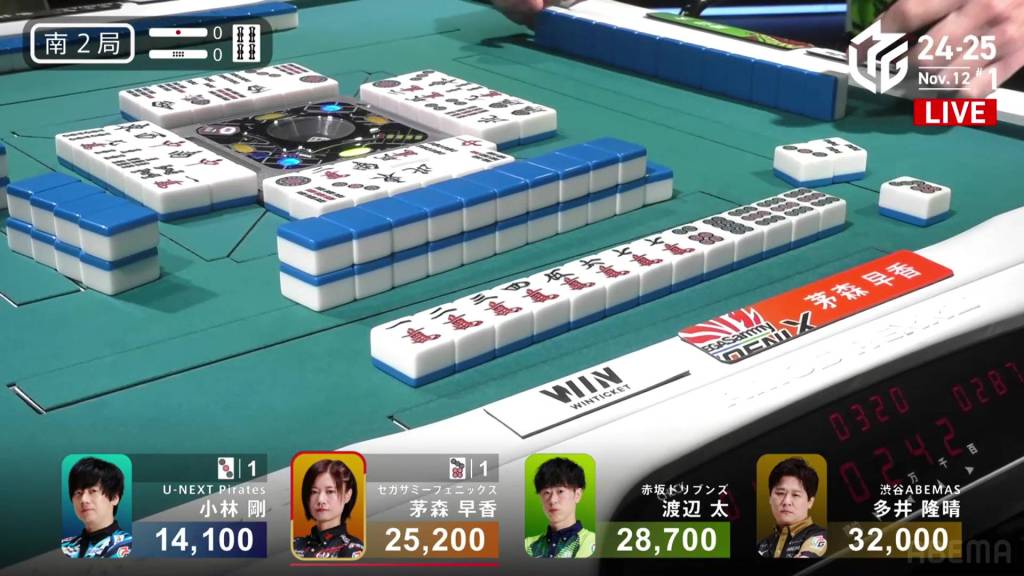
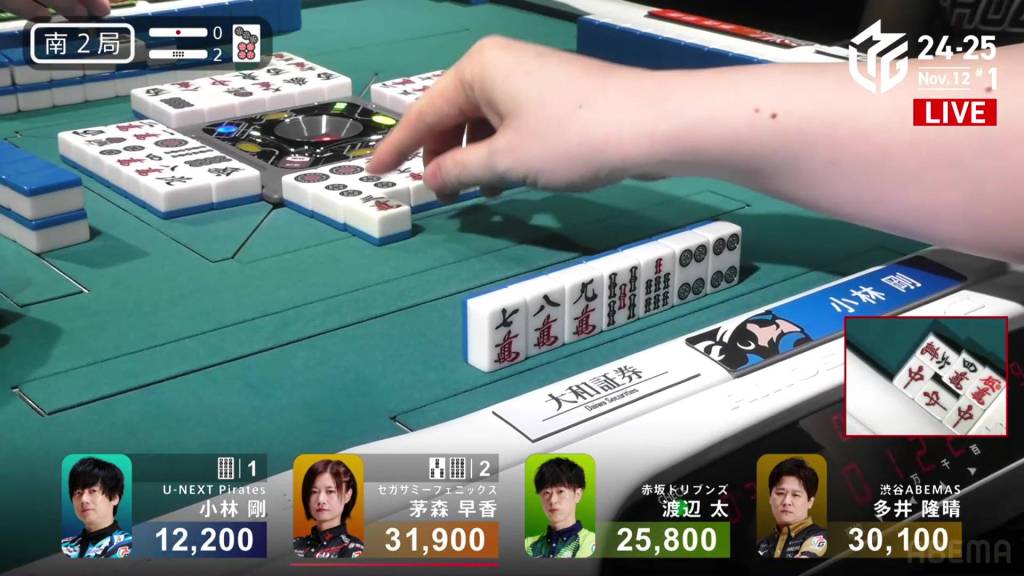
Futoshi starts off with pairs of red dragon, 1s and 6p in his hand, putting him 3-away from seven pairs. In the first row, he makes pairs of 8s and north, as well as upgrading the red dragon into a triplet. With his hand, he could go either for all triplets or all pairs.
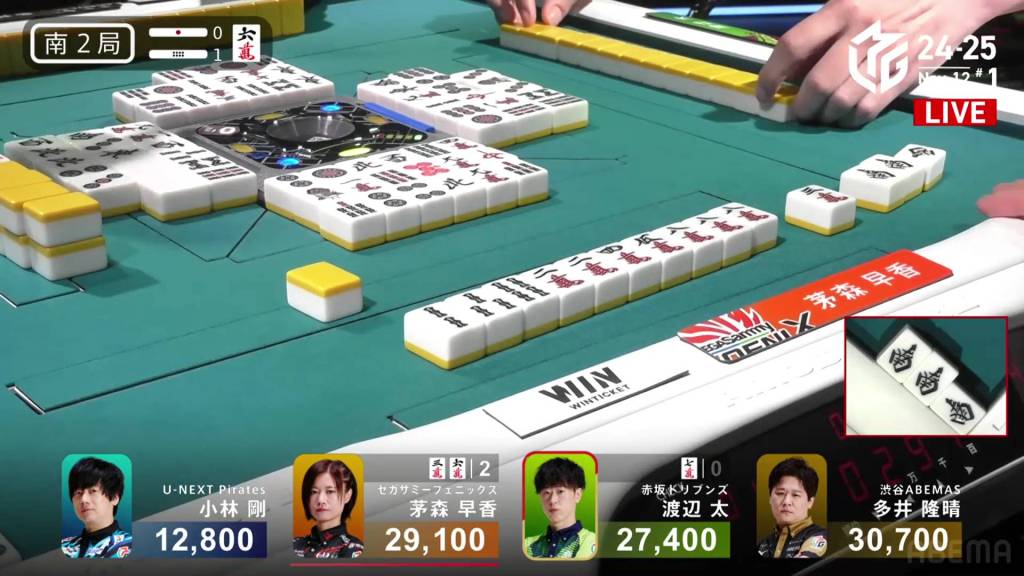
On turn 7, he draws a third north, putting him iishanten for a potential suuankou. However, his hand is already mangan and enough for at least 2nd place. When the 1s comes out, he calls pon and gets to tenpai on an 8s/6p shanpon.
In the middle of the second row, Kayamori discards the 8s and deals into Futoshi, Futoshi wins the hand with Toitoi/North/Red Dragon for 8,000.
Kayamori Competes
November 12, Game 1
In S1-0, Kayamori is in 3rd place after dealing into a mangan the previous hand. However, she is within 12,000 of 1st place, still within reach of top spot.
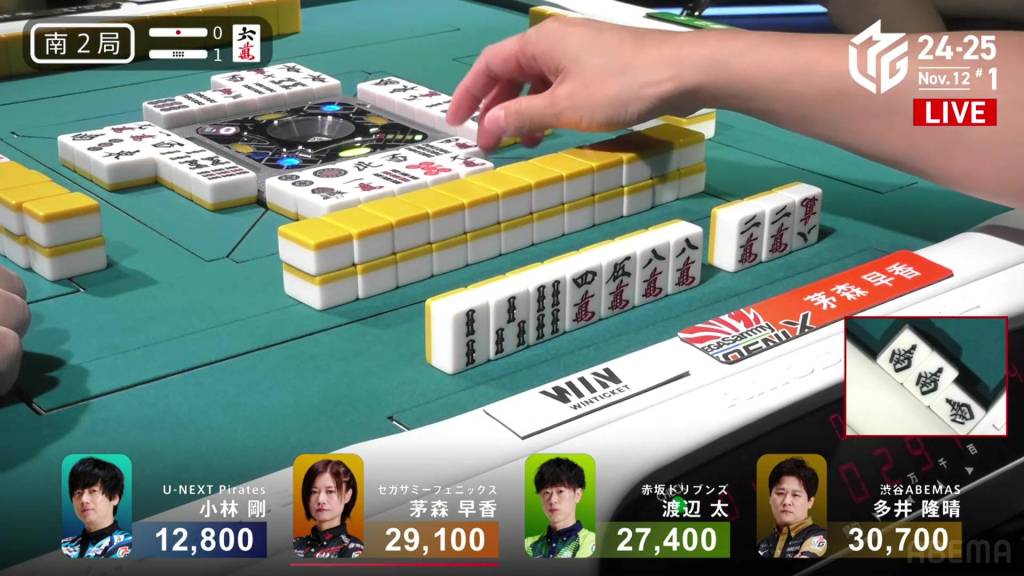
Kayamori starts out the hand at 3-shanten with a red 5s connected to a dora 6s. On turn 3, she draws another 6s dora for potentially more value. By the end of the first row, Kayamori is iishanten, but can only take two of the three dora when she gets to tenpai.
On turn 7, Kayamori draws a 7s to create a 567s sequence and calls riichi on a 25p ryanmen. Two turns later, Kobayashi draws and discards the 2p and deals into Kayamori. Kayamori wins the hand with Riichi/Dora 1/Aka 1 for 5,200.
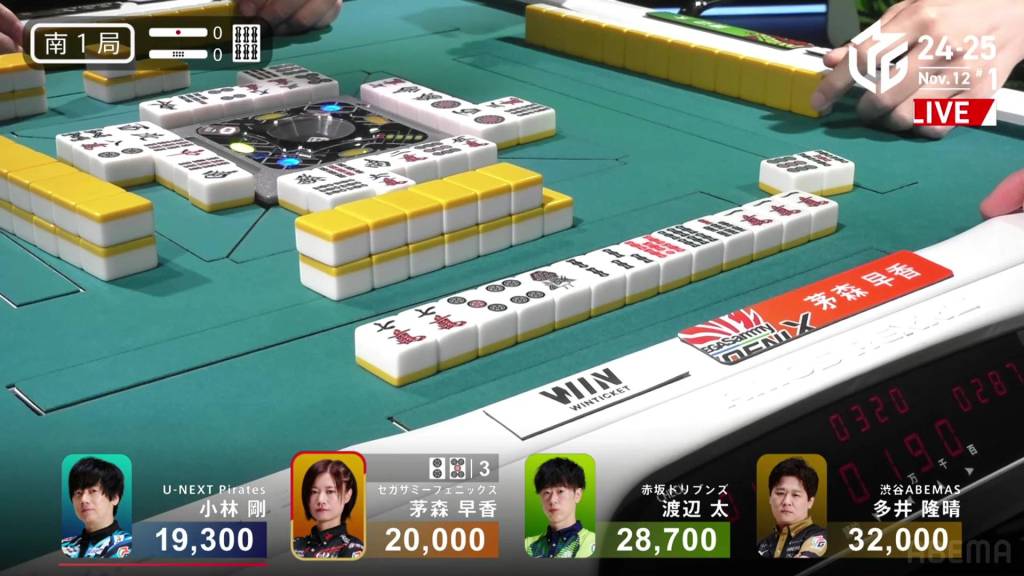
In S2-0, Kayamori is now the dealer and just 6,800 from 1st place.
Her starting hand starts off at 2-shanten with a bunch of sequence candidates. On turn 2, she pairs up a 9p to get to iishanten. On turn 4, she makes the 9p pair into a triplet and calls riichi on a 7p kanchan. The hand is cheap with no value besides the riichi.
As the turns go by, we see as Kayamori’s winning tile count drops from 3 to 2 to 1. At the end of the second row, Kobayashi makes a challenge by getting to tenpai on a safe 3p kanchan.
Despite Kayamori being in a bad position, she only needs that one 7p. On her next draw, she gets it and wins the hand. Revealing Kobayashi’s final 3p as the uradora, Kayamori wins with Riichi/Tsumo for 1,300 all, moving her into 2nd place.
In S2-1, Kayamori can win any hand and move into 1st place.
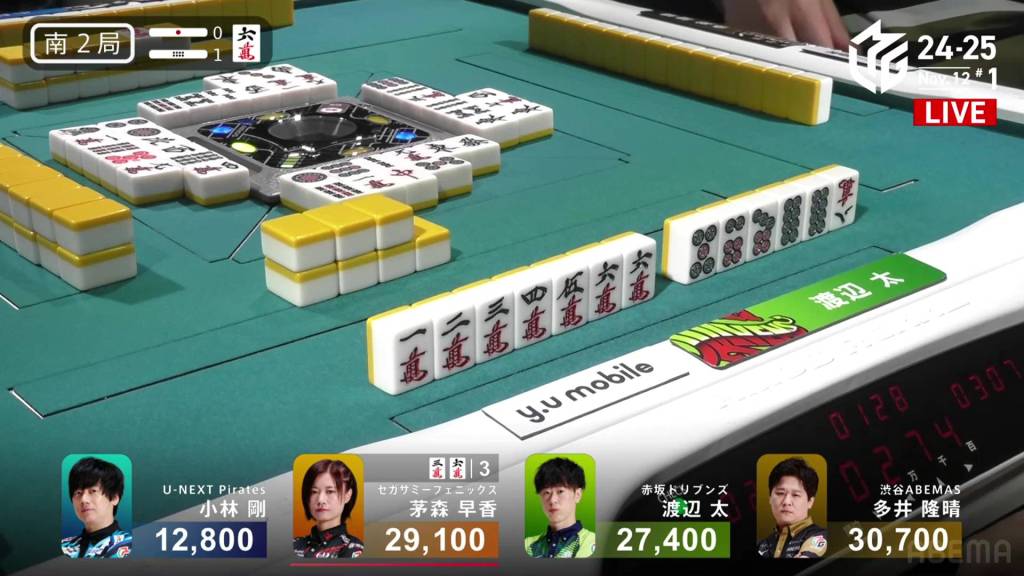
Kayamori starts out with a 3-shanten hand with a pair of souths. Though all but three of her tiles are manzu or honours, she forms a souzu ryanmen on turn 2 and makes it into a sequence on turn 3, edging her away from honitsu.
In the second row, she finally makes progress by calling pon on the south and getting to iishanten. Making a triplet of 8m near the end of the row, Kayamori get to tenpai and waits on a 36m ryanmen, wanting the dora 6m for extra value.
Right after, Futoshi gets to tenpai and calls riichi on a 7m kanchan.
RIght after him, Ooi gets to tenpai on a 5m tanki. Unfortunately, it’s completely dead.
Drawing a dangerous 7p on his next turn, Ooi chooses to fold. As the hand winds down, Futoshi’s waits are all taken, leaving just Kayamori’s waits still alive. On Kayamori’s last draw, she gets the 3m and wins the hand. Kayamori wins with South only for 500+100 all plus one riichi stick, enough for 1st place.
Futoshi Forgot
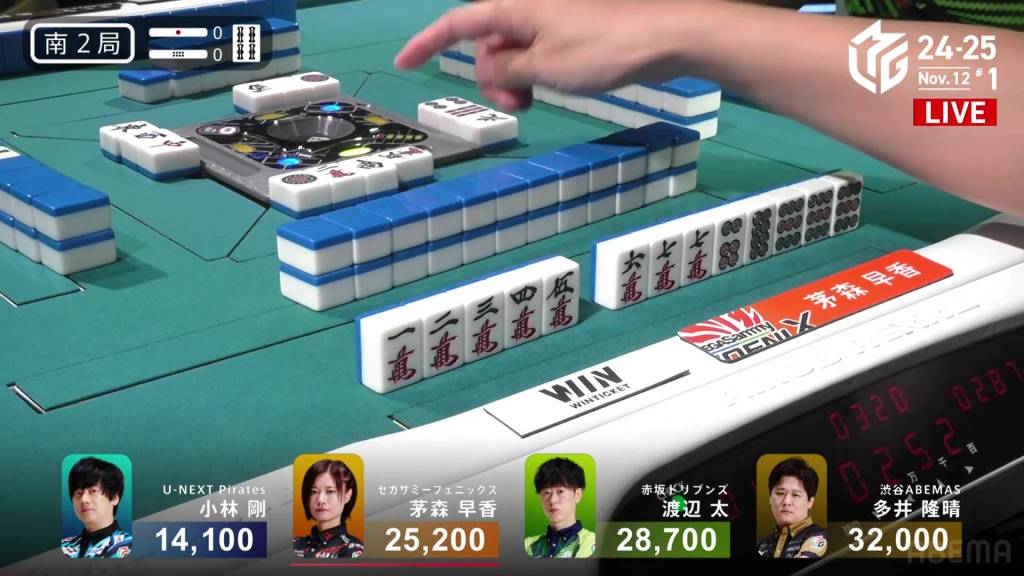
November 12, Game 1, S2-2
Video: https://abema.tv/video/episode/444-1_s70_p2268
In S2-2, Futoshi is in 3rd place, 6,100 behind 1st place dealer Kayamori.
Futoshi starts hand at 2-shanten with a clear route to tanyao. WIth a secured red 5p, he also has extra value. In the first row, though, he manages to pair up the red dragon to have a yakuhai route as well.
In the second row, Futoshi mananges to pair up the 7p dora and shifts back to tanyao. With the red dragon freed, Kobayashi is able to call pon and advance his own hand. To Futoshi’s right, Kayamori is alos progressing well with her east pon from earlier. At the end of the second row, she is the first to tenpai, first with a 6m dora and then to a 36s ryanmen.
Kobayashi advances well as well, getting to tenpai with a chii and waiting on a 6s kanchan.
At the start of the third row, Futoshi cuts a 3m from his 334m shape to go for maximum efficiency.
Soon after, Kobayashi draws and discards the 3m.
Across the table, we hear a pon. For a moment, commentator Ishibashi thought it was a normal call. Even the Akasaka Drivens’ manager thought it was the right call. But then, everyone realized that Futoshi doesn’t have a 3m pair to call pon with! Futoshi called pon with no ability to complete it!
With the referee chiming in on the speaker, Futoshi’s hand was declared dead because of the empty pon and the game continued. WIth the dead hand, he is not allowed to make any calls (including winning calls) nor declare himself tenpai at a draw.
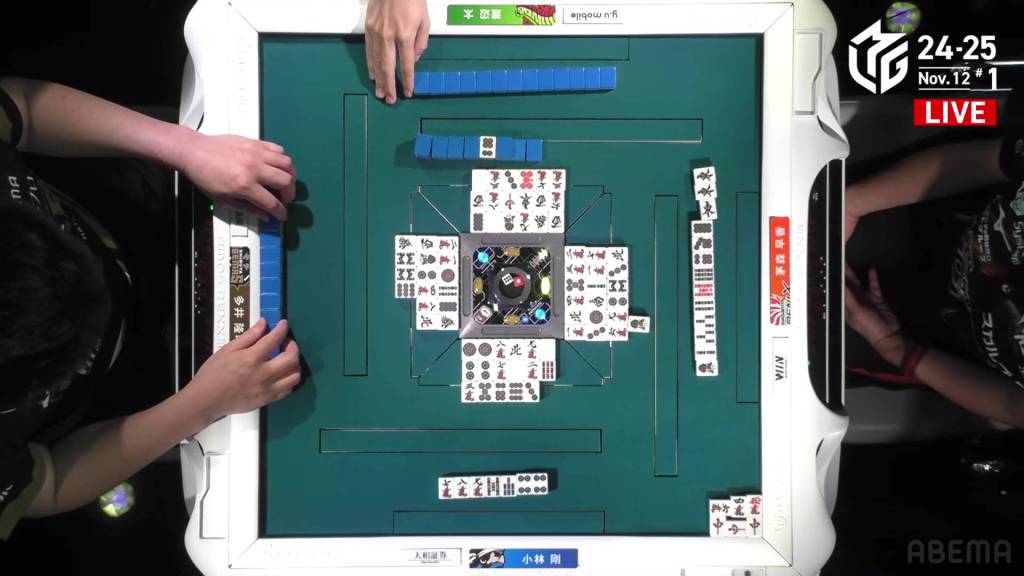
In the end, the hand went to a draw with Kobayashi and Kayamori in tenpai.
Fast Futoshi
November 12, Game 1, S2-3
In S2-3, 3rd place Futoshi is 9,300 behind 1st place dealer Kayamori and is hoping to redeem himself after the mistake he made the previous game.
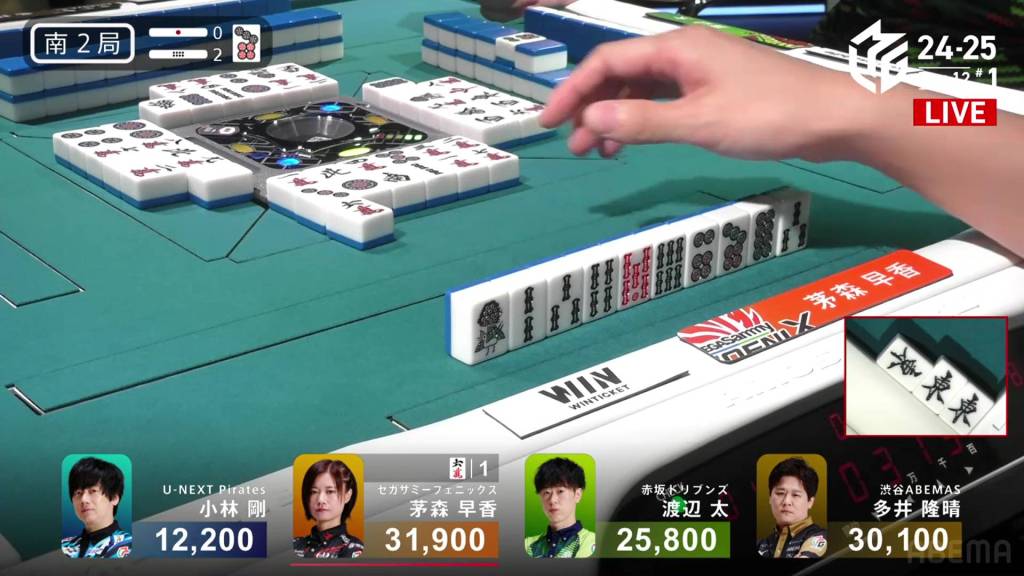
As if taking pity on him, Futoshi gets to iishanten with his very first draw, holding a red 5m and is a 7m away from iipeikou. On turn 2, he draws a red 5p and calls riichi on a 7m penchan, guaranteed at least amangan if he wins.
Though Ooi tries to challenge Futoshi with a yakuless 8s wait, nothing can match Futoshi’s speed and value. At the start of the second row, Futoshi draws the 7m and wins the hand. Futoshi wins the hand with Riichi/Tsumo/Iipeikou/Aka 2 for 2,000+300/4,000+300, enough for 1st place.
Kobayashi Comeback
November 12, Game 1, S4-0
Video: https://abema.tv/video/episode/444-1_s5_p5592
In S4-0. Kobayashi is in 4th place and 10,900 behind 3rd place dealer Ooi. With a 3/50 or 4/25 direct hit, a mangan tsumo or a haneman ron, he would move ahead of Ooi. In fact, a haneman ron off either Kayamori or Futoshi would bring Kobayashi up to 2nd place.
Kobayashi starts out the hand at 5-shanten with a floating 6s dora and a loosely connected red 5m. Despite being so far, Kobayashi does have three ryanmens for a small boost of speed. In the first row, she fills in one of the ryanmens, connects the 5m with an extra 7m and pairs up the 6s dora to get to 2-shanten.
On both sides of him, Ooi and Kayamori have faster hand, both sitting at iishanten. Soon after, Futoshi joins in at iishanten as well. In the middle of the second row, dealer Ooi is the first to tenpai and calls riichi on an 8m tanki.
During the ippatsu round, Kobayashi gets to iishanten. With a lot of value and not being able to fall further than 4th, Kobayashi fights.
Right after, Kayamori gets to tenpai and calls riichi on a 25p ryanmen.
After her, Futoshi gets to tenpai on a 6s dora kanchan. A turn later, he upgrades to a 36s ryanmen.
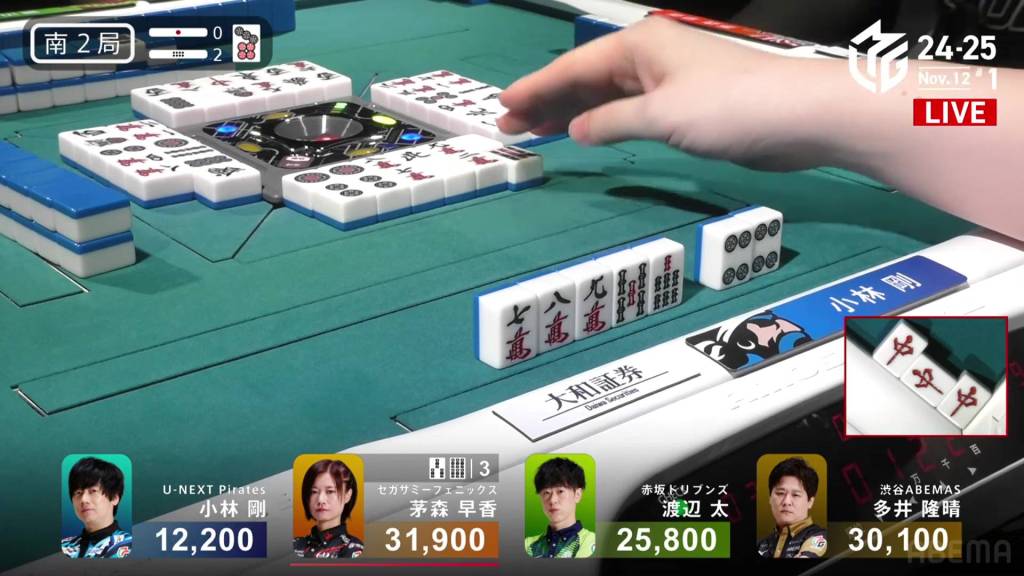
At the end of the second row, Kobayashi finally gets to tenpai. He cuts the red 5m and calls riichi on a 69s ryanmen. Because of the riichi calls, he can win off either of them to get into at least 3rd place. With a tsumo, he would also get into 2nd place. Because of Futoshi’s wait, he won’t be able to win with the 6s off either Futoshi or Kayamori, but he will get 2nd place with the 9s ron off Kayamori.

Immediately after Kobayashi calls riichi, Kayamori draws and discards the 9s, dealing into Kobayashi.
Kobayashi wins with Riichi/Ippatsu/Pinfu/Dora 2/Ura 1 for 3,000/6,000 plus two riichi sticks, finishing the game in 2nd place.
Results
Game 67
Akasaka
Drivens
1st
33,200 (+53.2)
U-Next Pirates
2nd
27,400 (+7.4)
Shibuya
Abemas
3rd
23,300 (-16.7)
Sega Sammy
Phoenix
4th
16,100 (-43.9)
Game 2
Sega Sammy
Phoenix

Akasaka
Drivens
Shibuya
Abemas
U-Next Pirates

Daigo the Destroyer
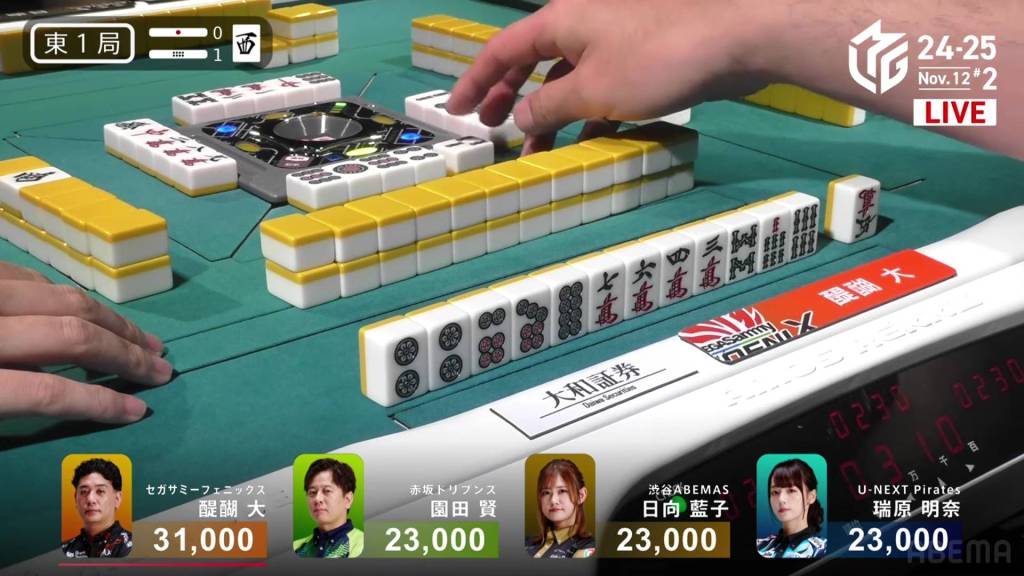
November 12, Game 2, E1-1
Video: https://abema.tv/video/episode/444-1_s5_p4582
In E1-1, Daigo is already off to a good start after winning the first hand as the dealer.
Daigo’s starting hand is already 2-shanten, but doesn’t have much value to it. Wanting value, he breaks up his 9p pair and aims for tanyao. On turn 4, he gets to a ryanmen-ryanmen iishanten. If he can get the 8m, he will have a 678 sanshoku in the bag. On his next turn, he draws a 5m and calls riichi on a 258m three-sided wait.

Having already called pon on the west dora, Hinata pushes against the dealer riichi. With a chii, Hinata gets to tenpai and waits on a 3p tanki.

With a chii, Mizuhara is the third to tenpai and waits on a 6s kanchan.
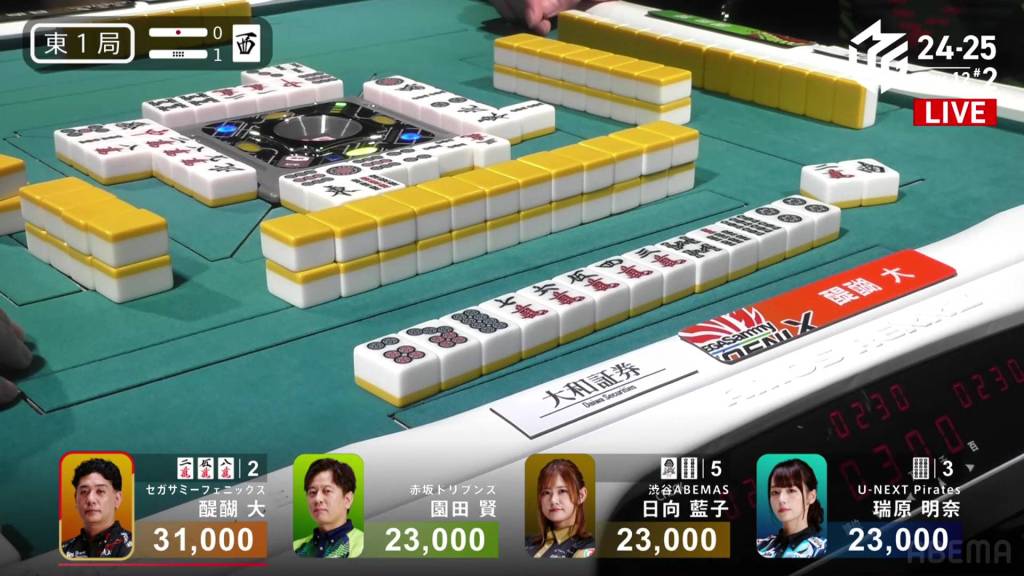
Drawing a 1s on her next turn, Hinata improves to a 14s ryanmen. Then, on Mizuhara’s next turn, Mizuhara draws and discards Daigo’s vital 8m and deals in. Daigo wins the hand with Riichi/Tanyao/Pinfu/Sanshoku/Ura 1 for 18,000+300, pushing Daigo to 49,300.
Hinata Highlight
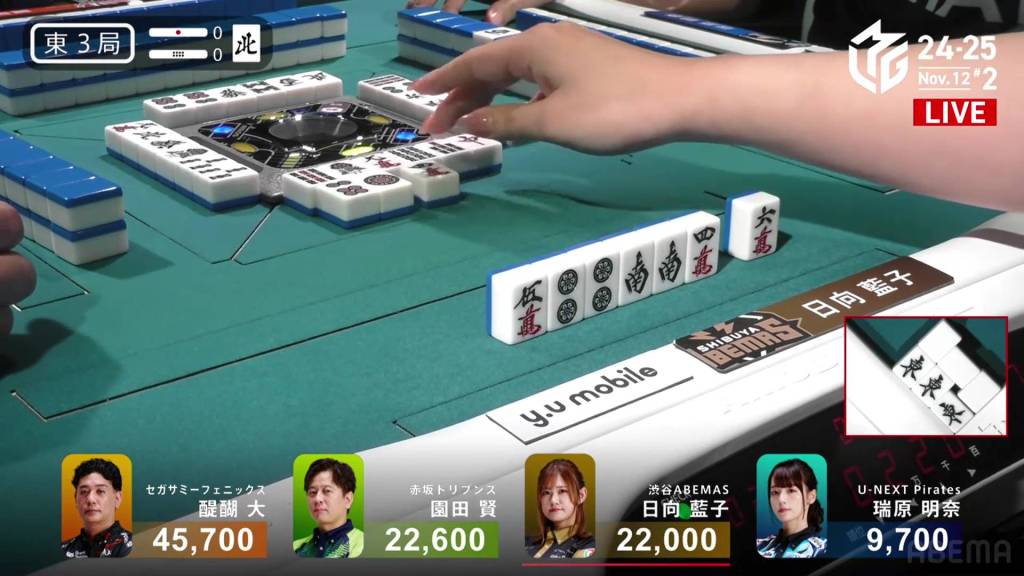
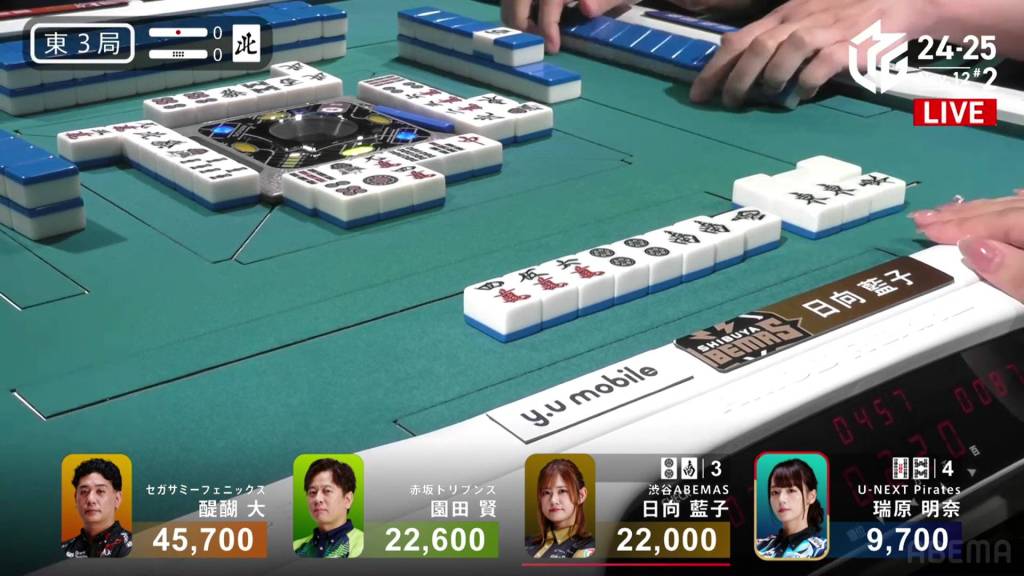
November 12, Game 2, E3-0
In E3-0, Hinata is the dealer in 2nd place, 600 behind 2nd place Sonoda.
From the start, Hinata has pairs of east, south and 2p, allowing her to go for a standard or a pairs route. Early on, she decides to go standard by calling on pon the double east. Soon after, she pairs up the white dragon and calls pon on it to get to iishanten. Creating a 456m chii in the middle of the second row, she gets to tenpai and waits on a 2p/south shanpon.
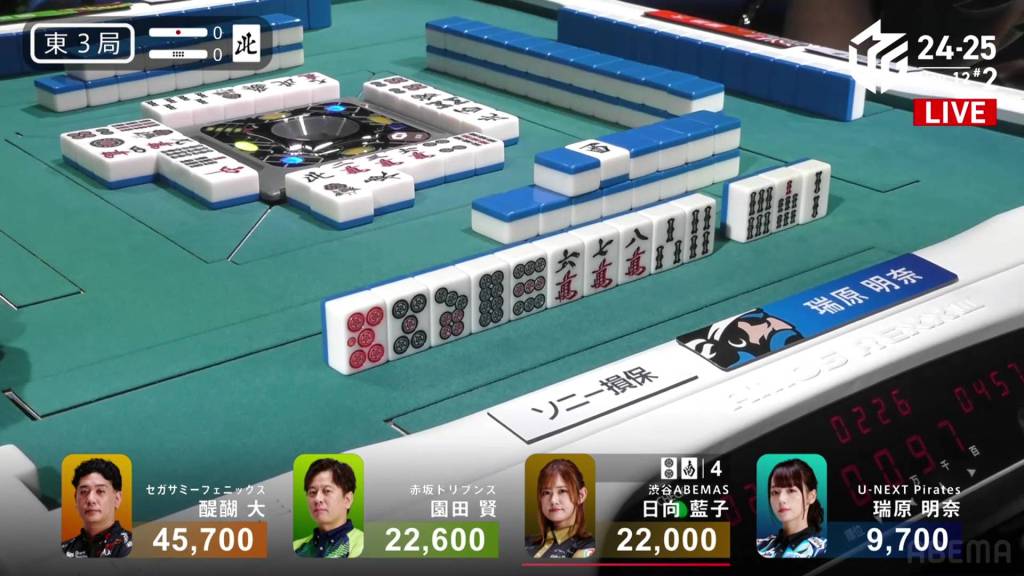
Right after, 4th place Mizuhara gets to tenpai and calls riichi on a 58s ryanmen.
However, Hinata makes sure that Mizuhara doesn’t even get an ippatsu draw. On Hinata turn, she draws the south and wins the hand. Hinata wins with Double South/White Dragon for 2,600 all plus Mizuhara’s riichi stick, moving into 2nd place.
Steely Sonoda

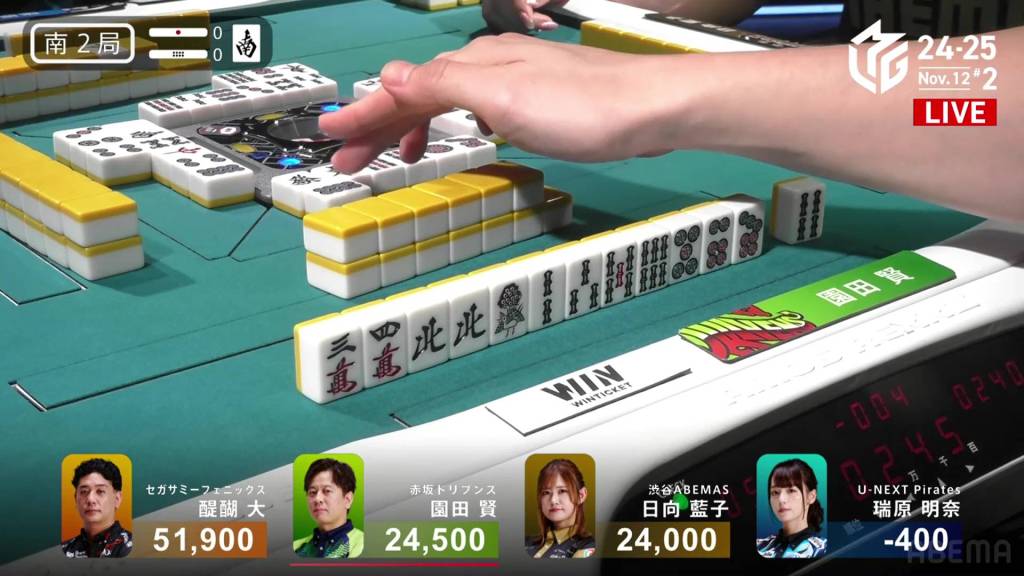
November 12, Game 2, S2-0
Video: https://abema.tv/video/episode/444-1_s70_p2270
In S2-0, Sonoda is the dealer in 2nd place, 27,400 behind 1st place Daigo. More urgently, he is only 500 ahead of 3rd place Hinata.
Sonoda starts out with a 5-shanten hand and lacking in value. With his first two discards, the 1m and red dragon, Mizuhara and Hinata make calls to try to go for a manzu honitsu. With good draws for Sonoda, he manages to get to a ryanmen-ryanmen iishanten at the end of the first row.
In the second row, both the callers continue to call. After Mizuhara calls pon on the 8m, for iishanten, Hinata calls pon on the discarded green dragon and gets to iishanten as well.
From an outsider’s view, the green and red dragon calls smells like it could be a dangerous daisangen yakuman. As such, there is a bit of hesitation on the table.
But, not for Sonoda. When Sonoda gets to tenpai, he instantly calls riichi and waits on a 25m ryanmen.
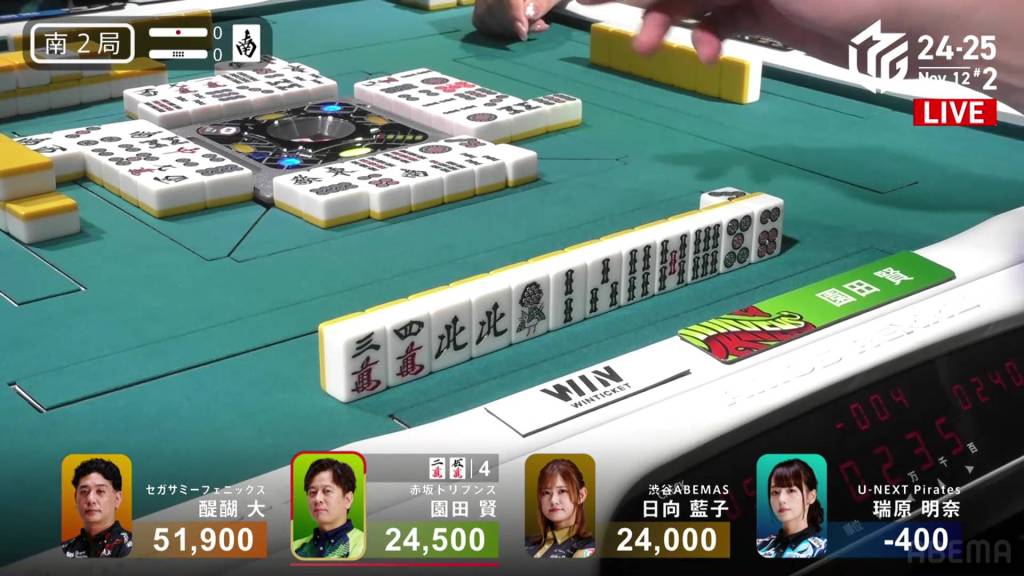
As the hands go on, only Daigo’s discarded white dragon (and for Mizuhara, her own single white dragon) is visible on the table. With three unaccounted white dragons for Sonoda, the stress of dealing into daisangen is real. In the third row, he draws the white dragon. With quite a bit of stress, he discards it and accidentally knocks down a tile from his own hand.
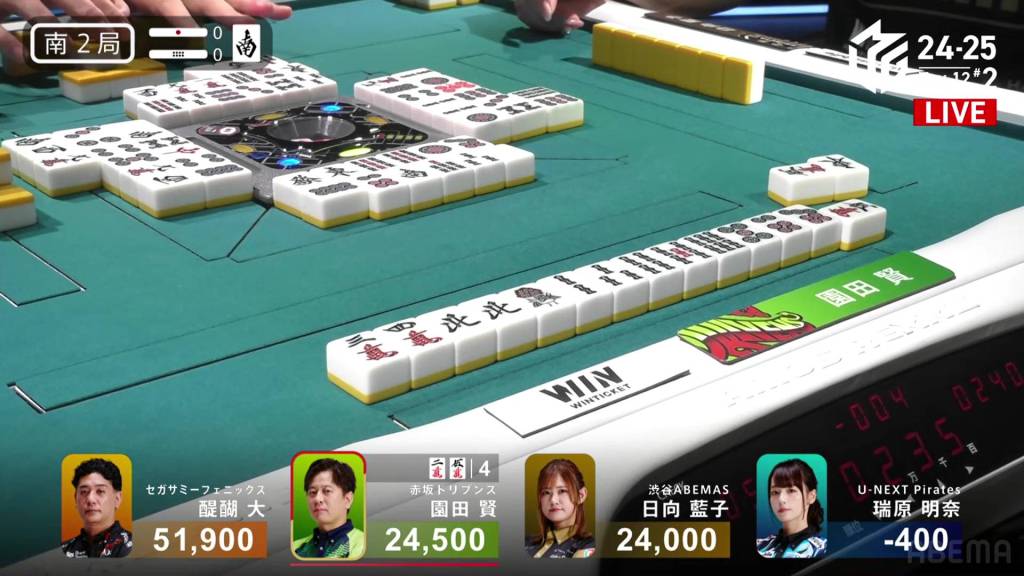
After the threat has passed, Mizuhara safely discards her own white dragon, bringing a bit of relief to Sonoda. The very next turn, Sonoda draws the 5m and wins the hand. Sonoda wins with Tsumo/Pinfu/Dora 1 for 1,3000 all.
Results
Game 68
Sega Sammy
Phoenix
1st
47,200 (+67.2)
Akasaka
Drivens
2nd
34,400 (+14.4)
Shibuya
Abemas
3rd
23,600 (-17.4)
U-Next Pirates
4th
-4,200 (-64.2)
