Monday (November 18)


Game 1
EX Furinkazan

Team Raiden

Akasaka
Drivens

Beast X

Shortcut to Haneman
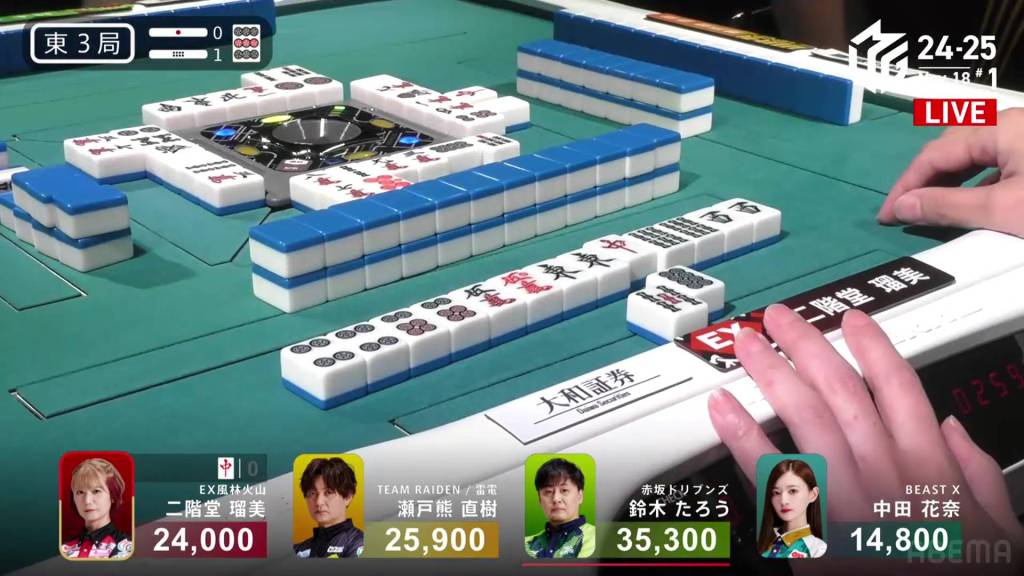
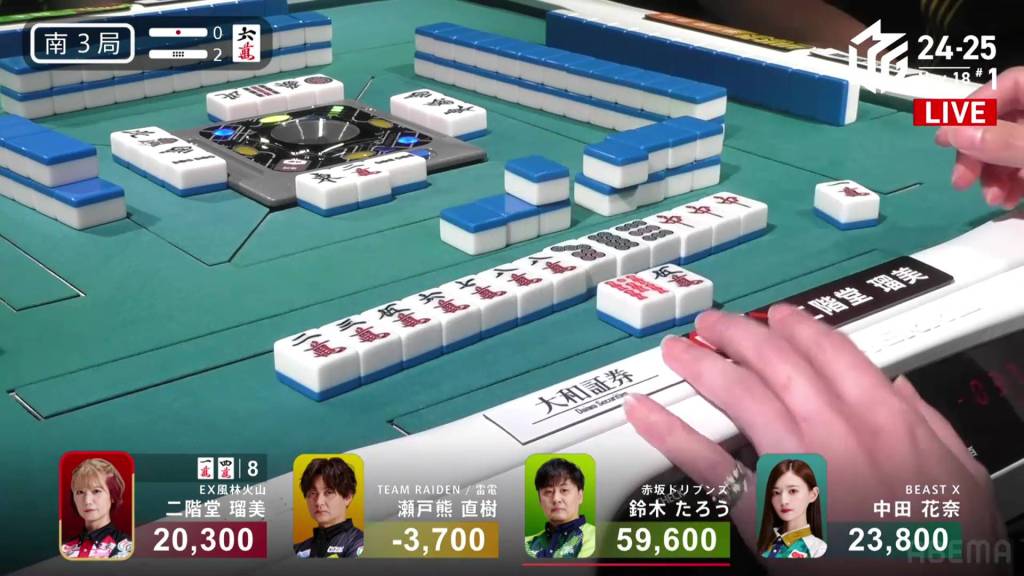
November 18, Game 1, E3-1
In E3-1, Rumi is in 3rd place, 1,900 behind 2nd place Setokuma and 11,300 behind 1st place dealer Taro.
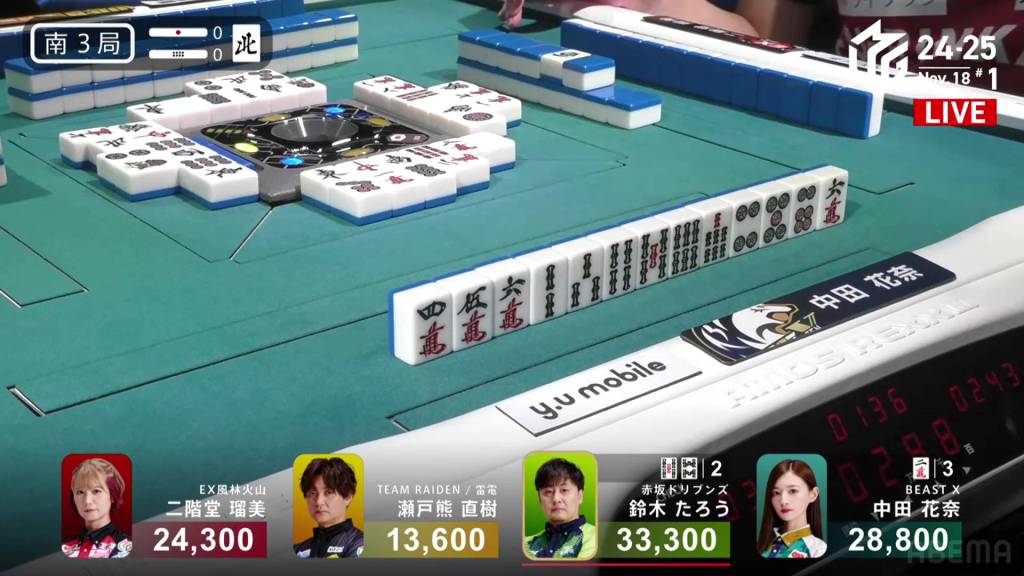
Rumi starts out 3-shanten from both the standard and pairs route holding pairs of 6p, east and 6s. Over her first four turns, she pairs up the 4p and red 5m in her hand to push her towards chiitoi. On turn 5, she pairs up the west and calls riichi on a red dragon tanki.
Though none remain in the wall, it’s still possible that one of her opponents discards it. To her right, Setokuma pairs up the 9p dora and gets to 2-shanten. Sitting in his hand is a lone red dragon. As he cuts the white dragon pair for safety, he draws a third 9p, pushing him to push. A turn later, he gets to iishanten and discards the red dragon, dealing into Rumi.
Getting the uradora, Rumi wins with Riichi/Chiitoi/Aka 1/Ura 2 for 12,000+300, moving into 1st.
Kana Comeback

November 18, Game 1
In S1-0, Nakada is in 4th place after dealing into three hands in the east round. Her first step is 3rd place which is 2,800 away.
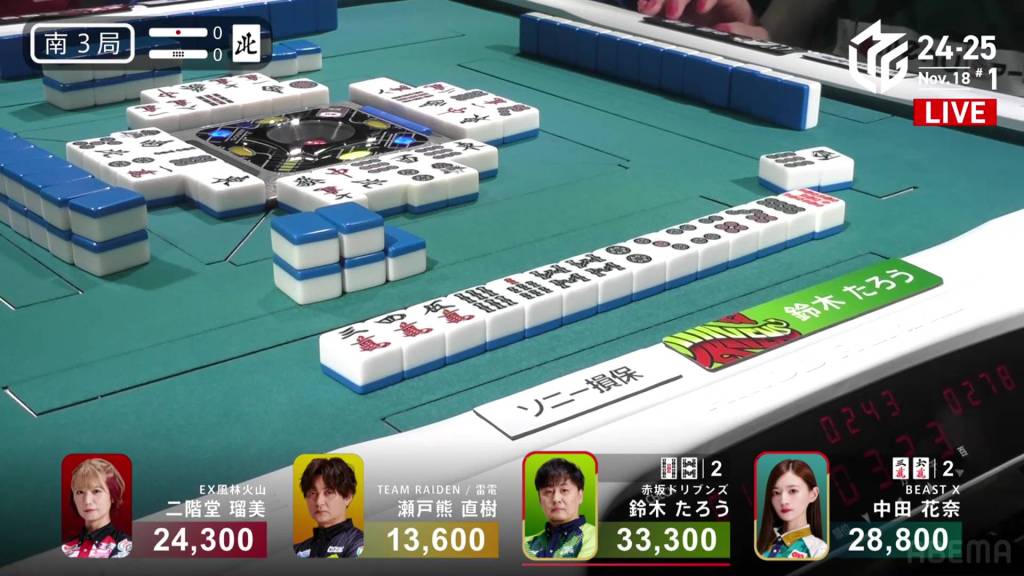
Nakada starts the hand off at 3-shanten with a pair of red dragon doras. When the red dragon comes out on turn 4, she calls pon to secure a mangan minimum hand. Through the rest of the first row, she calls a 789p sequence and fils in a 2p kanchan to get to iishanten.
At the start of the second row, she pairs up the 4s to get to tenpai and waits on a 36m ryanmen. On her very next draw, she gets the 6m and wins the hand. Nakada wins with Red Dragon/Dora 3 for 2,000/4,000, easily moving into 3rd place.
Video: https://abema.tv/video/episode/444-1_s70_p2291
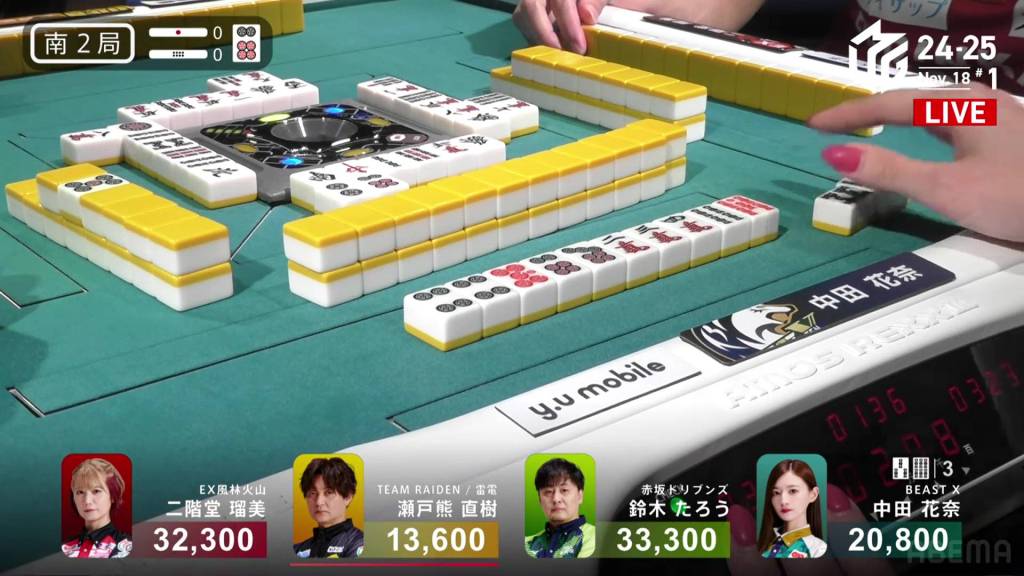
In S2-0, Nakada is now just 11,500 behind 2nd place Rumi and 12,500 behind 1st place Taro.
Nakada starts out with another good starting hand, sitting 3-shanten with a pair of 6p dora and a connected red 5s. In the first row, she focuses on making the hand tanyao so that she can call. By turn 4, she is rid of all terminals and honours and gets to 2-shanten.
At the start of the second row, Nakada draws a red 5p, converting the dora pair into a possible sequence and gets to iishanten. Within the go-around she calls pon on the 8s and waits on a 36s ryanmen. Right after, Rumi discards the 6s and deals into Nakada. Nakada wins the hand with Tanyao/Dora 1/Aka 2 for 8,000, getting to 2nd.
Taro Time
November 18, Game 1
Video: https://abema.tv/video/episode/444-1_s5_p2090
In S3-0, Taro is the dealer and holds a 4,500 lead over 2nd place Nakada.
Taro starts out the hand with a 4-shanten hand with three ryanmens and a lean towards tanyao. Even as he pairs up the 9p on turn 3, he breaks it to keep with the all simples. By the end of the row, Taro is iishanten with both pinfu and tanyao guaranteed.
On turn 8, he fills in a ryanmen and calls riichi on a 58s ryanmen, wanting the ideal red 5s win.
Within the go-around, Nakada gets to tenpai and waits dama on a 2m tanki. 13 different tiles will improve her wait. Two turns later, she gets one of those tiles and calls riichi on a 36m ryanmen, holding the same combination of yaku as Taro.
But, Taro doesn’t give Nakada an ippatsu draw as he picks the red 5s from the wall and wins the hand. Taro wins with Riichi/Tsumo/Pinfu/Tanyao/Aka 1 for 4,000 all plus a riichi stick, bringing Taro above 45,000.
In S3-1, Taro starts out with another 3-shanten tanyao hand but this time with a loosely connected red 5p for value and the ability to accept the 5s dora.
Taro spends the first row discarding his loose honours, but is taking longer than expected. Within that time, Setokuma gets to tenpai first and calls riichi on a 58p ryanmen.
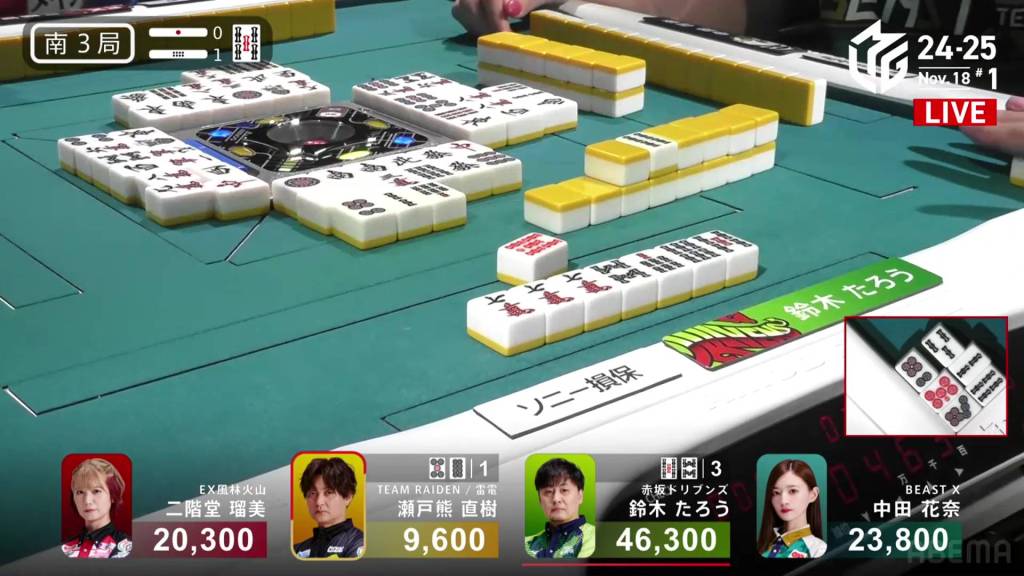
With Setokuma’s 6p riichi tile, Taro calls chii to secure the red 5p and advance to iishanten. At the start of the second row, he pairs up the white dragons for a yakuless tenpai chance, but sticks to the tanyao path. With a 234s chii soon after, Taro gets to tenpai on a 2s tanki.
In the third row, Taro is able to draw the dora 5s and improve to a 58s nobetan. Two turns later, Setokuma draws and discards the red 5s double dora and deals into Taro. Taro wins the hand with Tanyao/Dora 2/Aka 2 for 12,300 plus a riichi stick, getting Taro to 59,600 and Setokuma into the negatives.
Rumi Runs
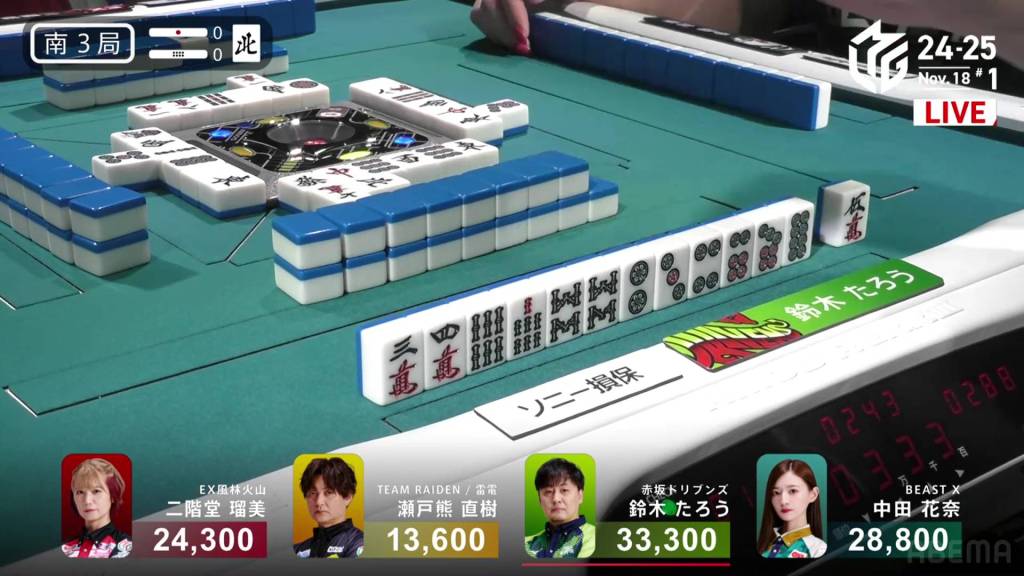
November 18, Game 1, S3-2
Video: https://abema.tv/video/episode/444-1_s5_p2592
In S3-2, Rumi is in 3rd place and 3,500 behind 2nd place Nakada.
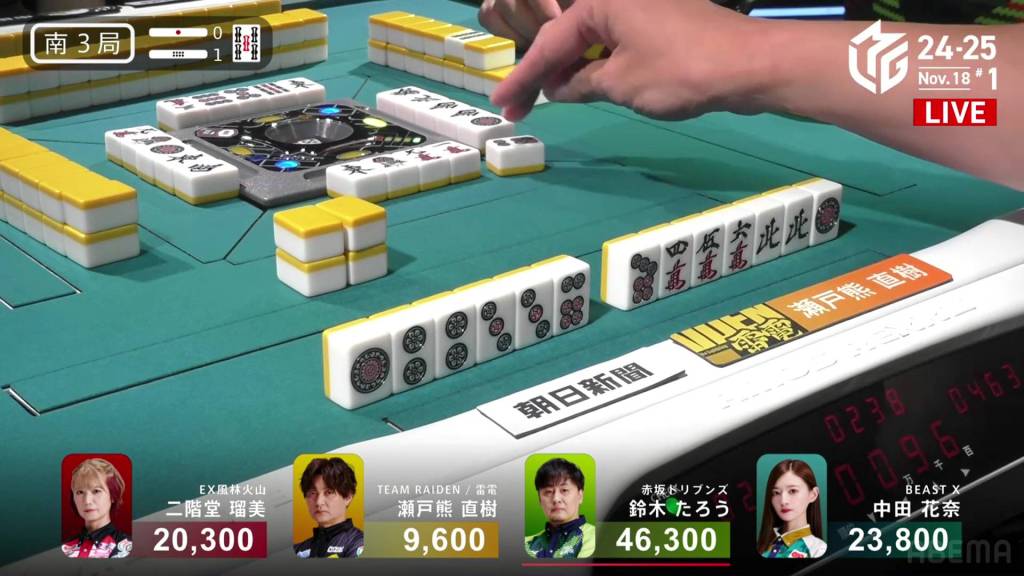
With Rumi’s very first draw, she is iishanten with a secured 6m dora and a pair of red dragons. If she can get any of the 158m/red dragon, she will be tenpai. On turn 3, she draws a third red dragon and calls riichi on a 14m ryanmen. All eight of her winning tiles are in the wall.
On her very next draw, she gets the 1m and wins the hand. Rumi wins with Riichi/Ippatsu/Tsumo/Red Dragon/Aka 1 for 2,000+200/4,000+200.
Results
Game 73
Akasaka
Drivens
1st
55,400 (+75.4)
EX Furinkazan
2nd
28,900 (+8.9)
Beast X
3rd
13,600 (-26.4)
Team Raiden
4th
2,100 (-57.9)
Game 2
Akasaka
Drivens

EX Furinkazan

Beast X

Team Raiden

Revenge
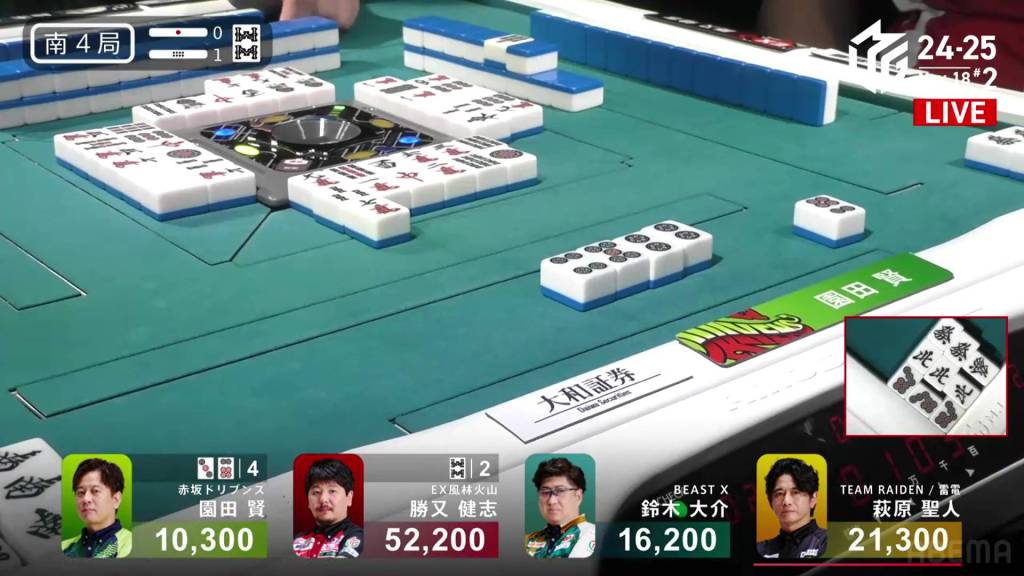
November 18, Game 2, E1-0
Video: https://abema.tv/video/episode/444-1_s70_p2293
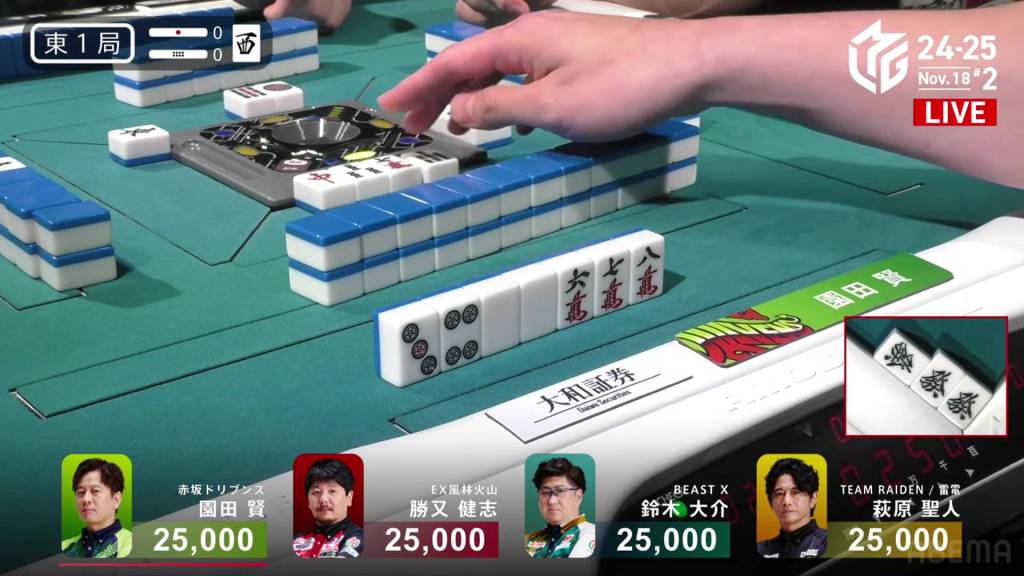
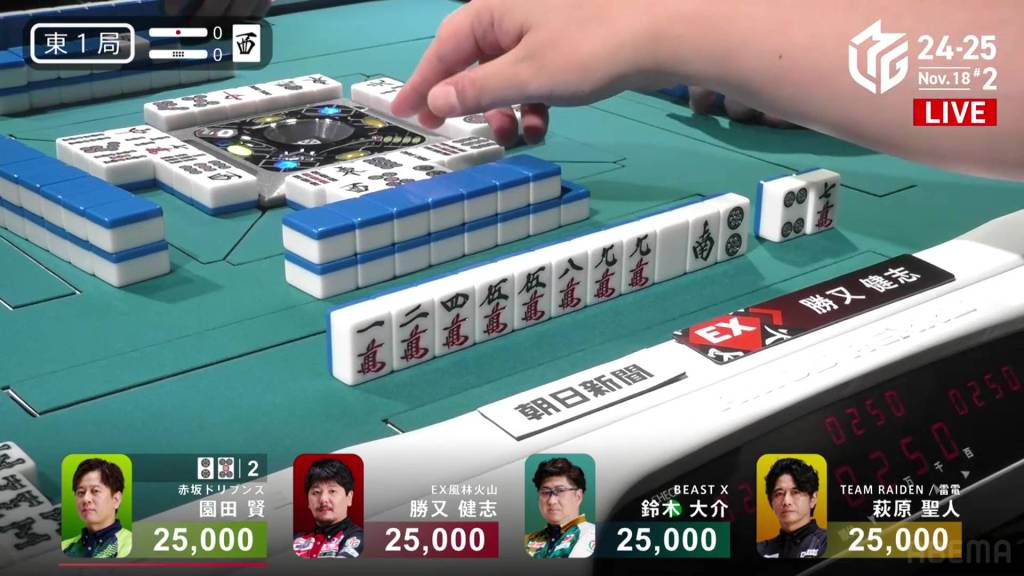
In E1-0, Sonoda is the starting dealer and trying to keep the winning momentum going.
Sonoda starts the hand off at 3-shanten with a pair of green dragons and a bunch of good shapes. On turn 2, he pairs up the white dragon to have another choice at a yakuhai. On turn 3, he calls pon on the green dragon to get to one away. With a pon on the 8s, he gets to tenpai and waits on a 25p ryanmen for a single han.
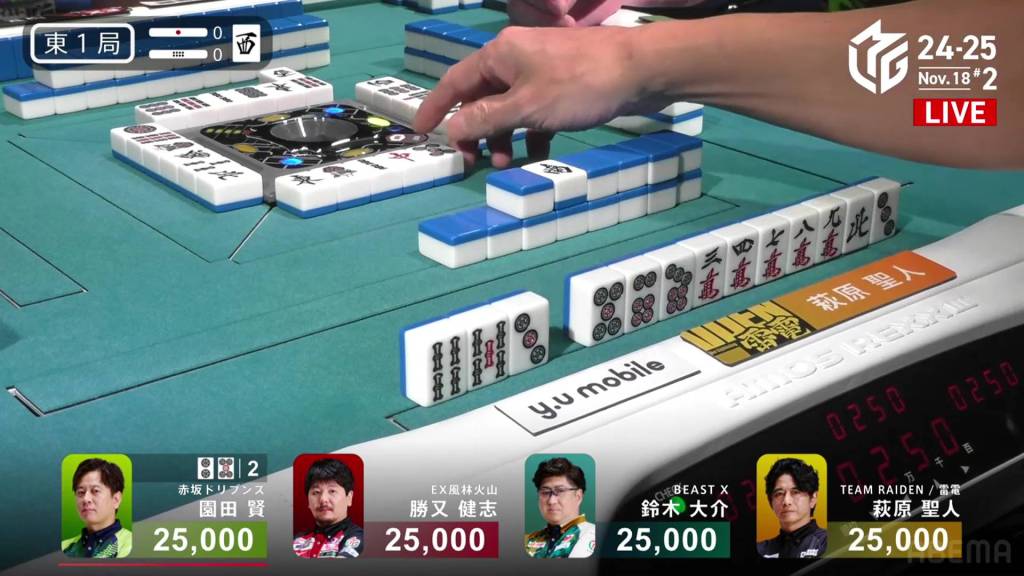
Near the end of the first row, Hagiwara discarded the 5p and we expected the hand to end.

But the hand did not end! Sonoda passes on the ron and keeps the hand going. The commentators were bewildered by the decision, especially as the dealer with a winning hand.
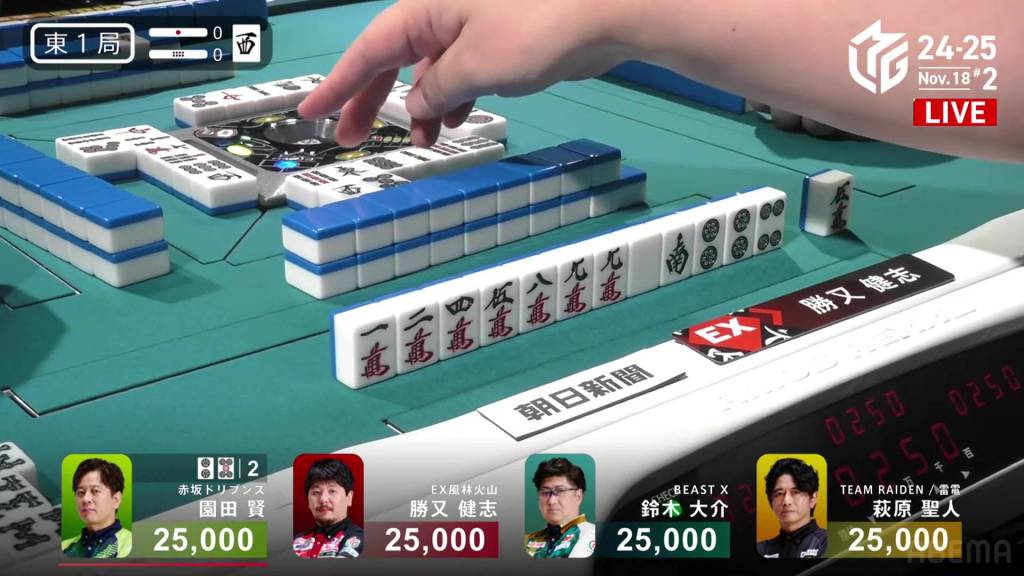
After Sonoda discarded, he was no longer in furiten. Following Hagiwara’s lead, Katsumata discards the 5p, giving Sonoda another chance to win.
But yet again, Sonoda passes!
On Katsumata’s next turn, he discards the 2p, Sonoda’s third chance to win.
Finally, Sonoda calls ron with Green Dragon only for 1,500.
In the post-game interview, Sonoda explained that the hand had the potential to be more expensive with either the red 5p or a white dragon pon and that he could afford to wait since it was so early.
He also referenced a hand from the last week of the 2021-22 season when Katsumata passed on a 2p ron from Matsumoto, Katsumata called a tsumogiri riichi, then called ron on Sonoda’s discarded 2p. In that case, it was also on a 25p ryanmen wait. In a sense, today’s hand was revenge for that.
Katsu. Mata.
November 18, Game 2
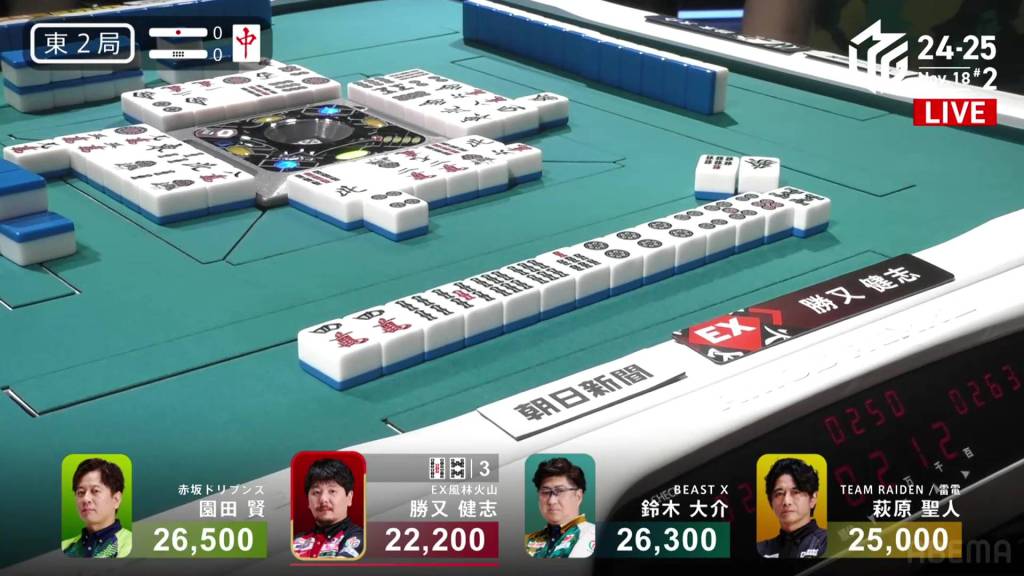
In E2-0, Katsumata is in 4th place after Sonoda’s shenanigans in E1-0. With his dealership, he can easily overcome the 4,300 gap from 1st place.
Katsumata starts out the hand at 2-shanten with two pairs, a ryanmen and a kanchan. The first row provides Katsumata with almost no help, but he does replace the north pair with a 2p pair to shift him to tanyao.
In the second row, Katsumata creates a ryanmen in souzu and fills in the pinzu ryanmen to get to iishanten. At the end of the second row, Katsumata gets to tenpai and calls riichi on a 58s ryanmen. Just two turns later, he gets the 8s and wins the hand. With the 8s also being the uradora, Katsumata wins with Riichi/Tsumo/Tanyao/Ura 1 for 4,000 all, going from the bottom to the top.
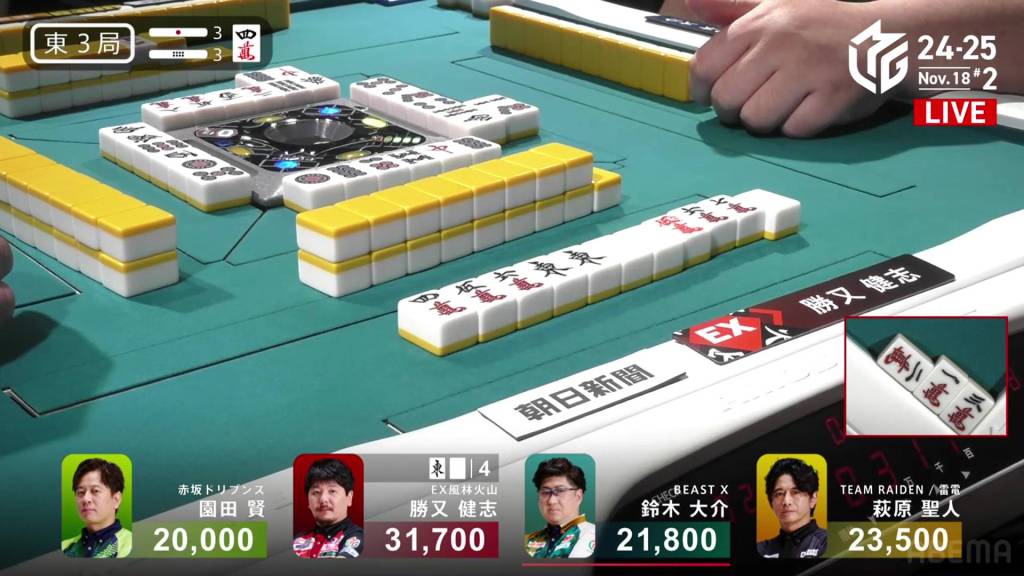
In E3-3, three riichi sticks and three honba are in the pot after the last two hands went to a draw. Katsumata remains in 1st place with an 8,200 lead.
Katsumata starts out the hand at 3-shanten with a bunch of manzu and honours, including a dora 4m connected to a red 5m. With all but three tiles being manzu or honours, honitsu is the easy way to go. After pairing up the white dragon and calls a 123m sequence, Katsumata gets to iishanten in the middle of the first row. On his very next turn, he pairs up the east and waits on an east/white dragon shanpon, guaranteed a mangan if he wins.
At the start of the second row, Katsumata draws the white dragon and wins the hand. Katsumata wins with Honitsu/White Dragon/Dora 1/Aka 1 for 2,000+300/4,000+300 plus the three riichi sticks, moving Katsumata up to 43,600.
Video: https://abema.tv/video/episode/444-1_s5_p2593
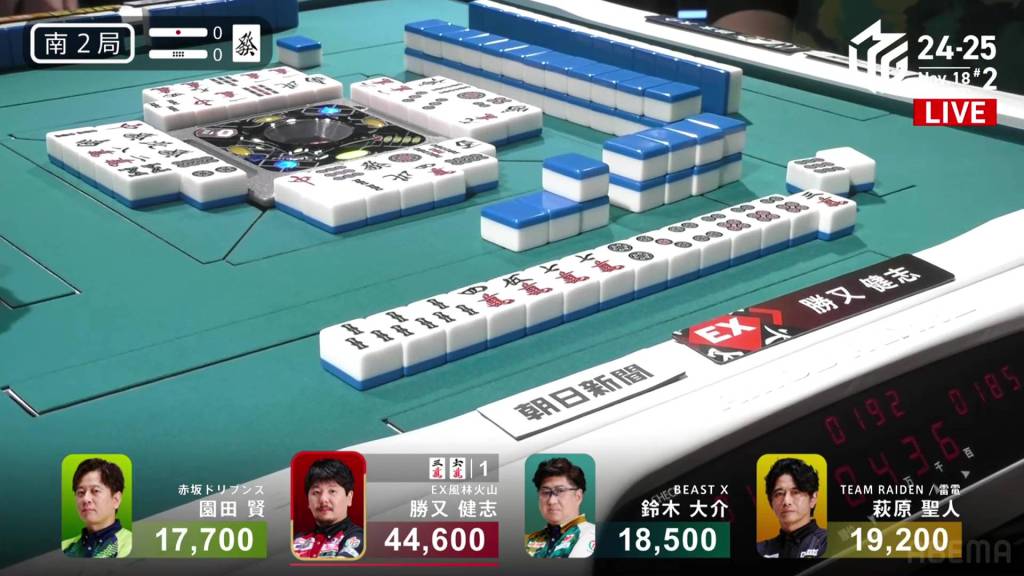
Moving ahead to to Katsumata’s next dealership in S2-0, his score is now more than double the score of 2nd place.
Katsumat starts off with another 3-shanten tanyao-leaning hand with two ryanmens. In the first row, he create a triplet of 3s and gets himself to 2-shanten. At the start of the second row, he fills in one of the ryanmens and gets to iishanten, waiting on five different tiles to get him to tenpai. Near the end of the second row, he creates a 6p triplet and waits on a 25m ryanmen.
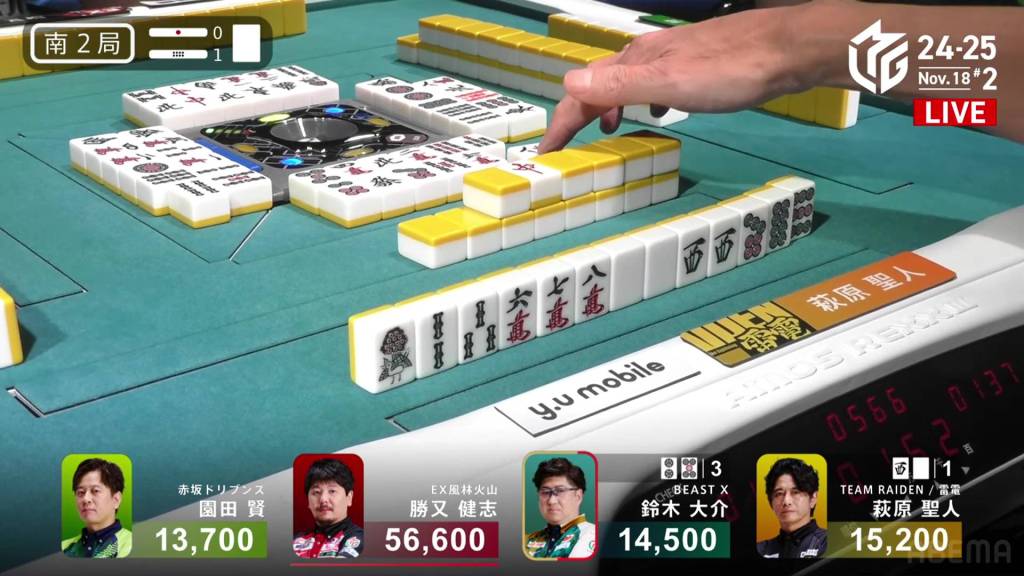
On Katsumata’s ippatsu draw, he gets the 3m and wins the hand. Katsumata wins with Riichi/Ippatsu/Tsumo/Tanyao for 4,000 all, taking Katsumata’s score all the way up ot 56,600, approaching quadruple that of 2nd place.
Haitei
November 18, Game 2, S2-1
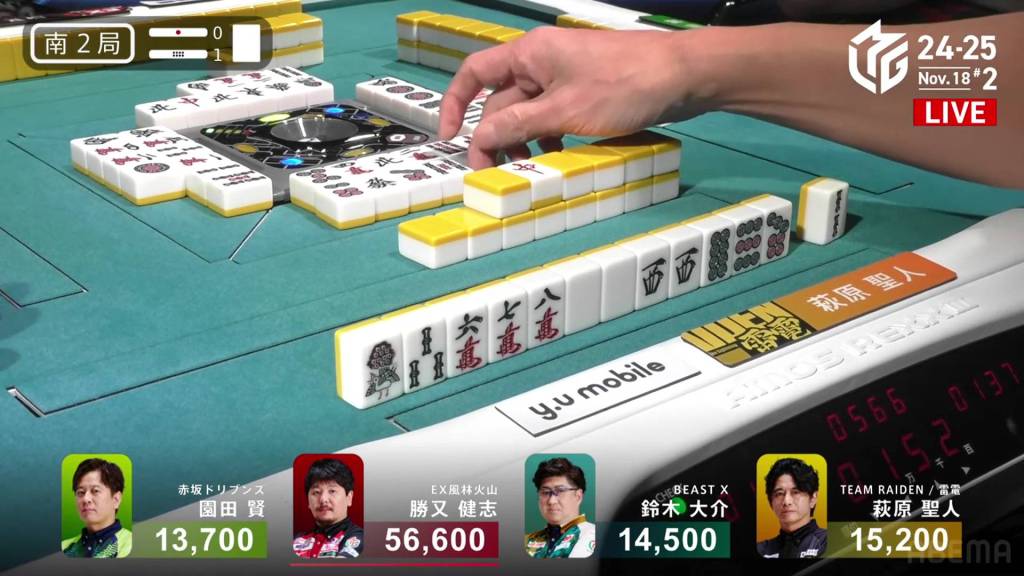
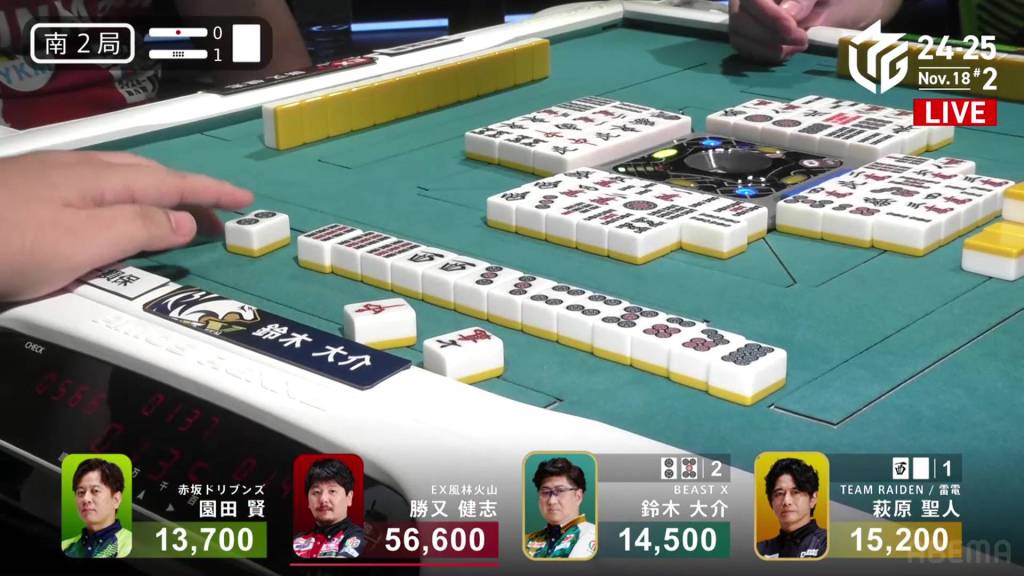
In S2-1, Daisuke is in a close race for 2nd, sitting just 700 behind 2nd place Hagiwara, but only 800 ahead of 4th place Sonoda.
Daisuke starts off at 3-shanten with no good shapes nor any source of value. Playing with efficiency, he manages to get to iishanten on turn 3, but is still lacking in value.
As Daisuke looks for the elusive iishanten, 2nd place Hagiwara is looking to defend his position. By the end of the first row, he was already iishanten with a pair of both the white dragon and west yakuhai. In the middle of the second row, Hagiwara fills in a 2s kanchan and waits on the honour shanpon.
At the end of the second row, Daisuke finally gets to tenpai and calls riichi on a 25p ryanmen. If he wins on the 5p, he will have a 345p iipeikou.
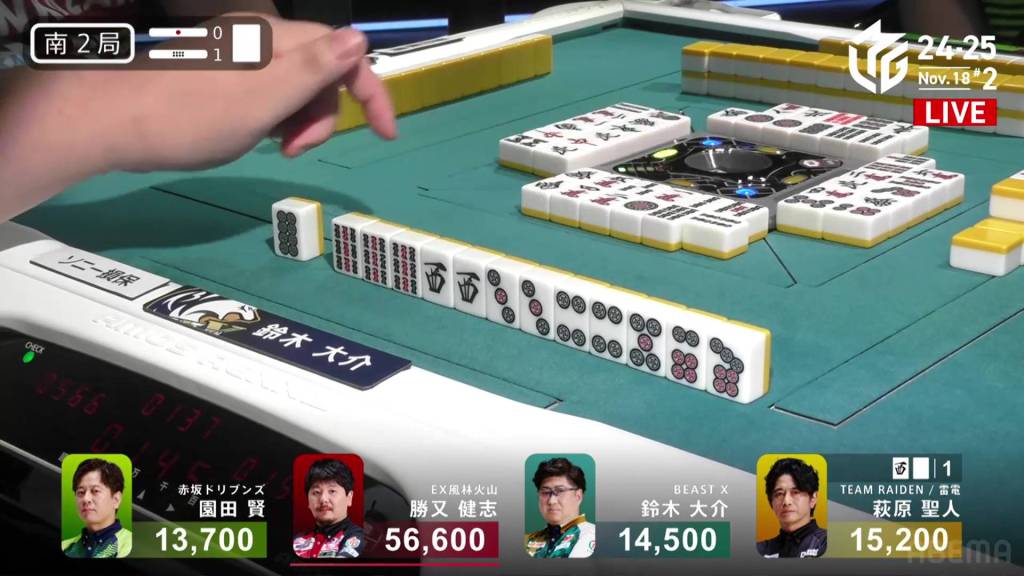
With the riichi by Daisuke, Hagiwara decides to chase with a riichi of his own.
Three tiles remain for Daisuke while only a single white dragon is in the wall for Hagiwara. With each turn, the players wondered where their winning tiles are. On the third-last tile in the wall, Sonoda gets the 2p, leaving Daisuke with just two.
As Daisuke draws the final tile in the wall, he gets the 2p and wins the hand! Daisuke wins with Riichi/Tsumo/Haitei for 1,000/2,000 plus Hagiwara’s riichi stick, moving into 2nd.
Into 2nd
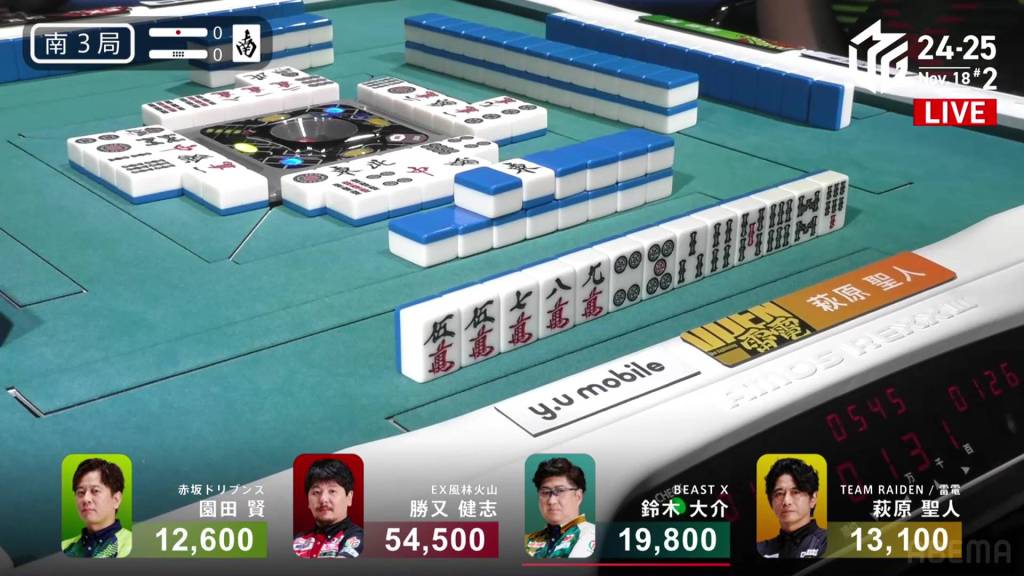
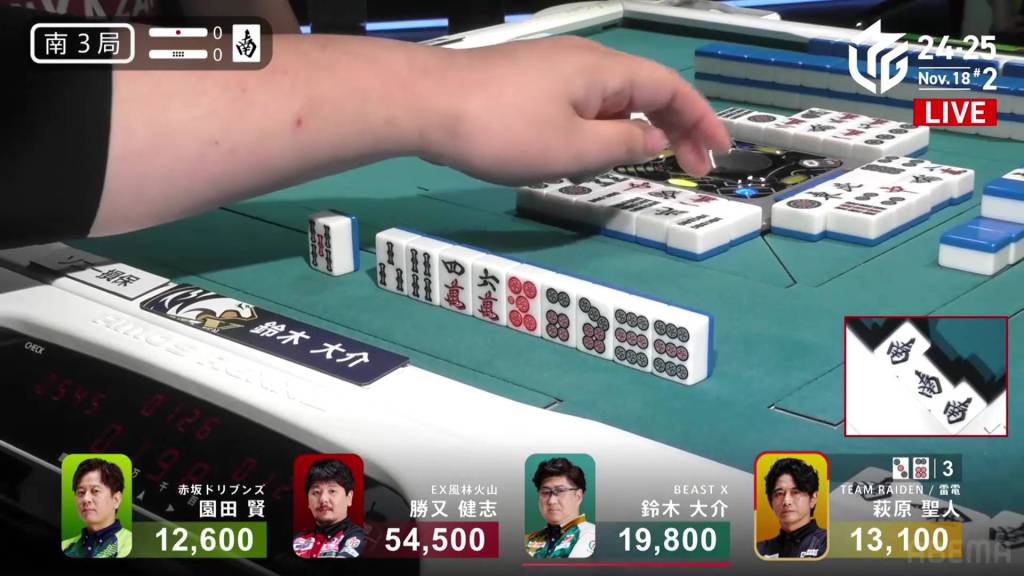
November 18, Game 2, S3-0
In S3-0, Hagiwara is in 3rd place after being passed by Daisuke in the previous hand. To retake 2nd place, he has to overcome a 6,700 gap.
Hagiwara starts off the hand at 4-shanten with two ryanmens. Though the hand does lean towards sequence and possibly tanyao, he will have to stay closed to gain any value. He nurtures the sequence candidates to get to 2-shanten at the end of the row, but he has an 89m block that ruins the tanyao.
At the start of the second row, Hagiwara fills in the 7m penchan and gets to iishanten. In the middle of the row, he fills in a 7s kanchan and calls riichi on a 36p ryanmen.
To his left, 2nd place dealer Daisuke is sitting at iishanten with a pon of the south dora, guaranteeing him at least a mangan. With big value, Daisuke pushes. At the end of the second row, he gets to tenpai and waits on a 5m kanchan. Only the red 5m remains in the wall, meaning a win by tsumo will give him a dealer haneman.
At the start of the third row, Hagiwara gets the 3p and wins the hand. Hitting the uradora, Hagiwara wins with Riichi/Tsumo/Pinfu/Ura 1 for 1,300/2,600, enough to move into 2nd.
Escaping 4th
November 18, Game 2, S4-1
In S4-1, Sonoda is in 4th place, 5,900 behind 3rd place Daisuke and 11,000 behind 2nd place dealer Hagiwara. With one honba, Sonoda needs a 2/50 or 3/25 direct hit, a 3/40 tsumo, or a 3/50 or 4/25 general ron. For 2nd place, he needs a mangan tsumo or a haneman ron.
Sonoda starts out with a very messy chiitoi 4-shanten hand (a whole 6-shanten from a standard hand) with a lone 9s dora as the hand’s only silver lining.
In the first few turns, Sonoda pairs up the north and draws a 4p. With the 5-shanten pinzu honitsu as the best chance for value, Sonoda chooses to go all in and discards the 9s dora. After pairing up the 2p and green dragon, and calling pon on the 7p, Sonoda gets to 2-shanten. In order to get enough value, Sonoda needs to complete the green dragon triplet.
In the second row, Sonoda calls pon on the north and gets to iishanten. Near the end of the second row, Katsumata draws and discards the green dragon, allowing Sonoda to call pon and get to tenpai on a 36p ryanmen. All he needs is a direct hit off Daisuke or to draw it himself. Five remain in the wall.
Though Katsumata is already ahead by a wide margin, he is able to get to tenpai on an 8s dora tanki soon after Sonoda.
Then, on Sonoda’s next turn, he gets the 6p and wins the hand. Sonoda wins with Honitsu/Green Dragon for 1,300+100/2,600+100, just enough to beat Daisuke by 1,000 and finish in 3rd place.
Results
Game 74
EX Furinkazan
1st
50,800 (+70.8)
Team Raiden
2nd
18,600 (-1.4)
Akasaka
Drivens
3rd
15,800 (-24.2)
Beast X
4th
14,800 (-45.2)
