Tuesday (November 19)


Game 1
Shibuya
Abemas

Kadokawa
Sakura Knights

Konami Mahjong
Fight Club
Sega Sammy
Phoenix
Dora Dora Aka Aka Aka Ura
November 19, Game 1
Video: https://abema.tv/video/episode/444-1_s5_p3593
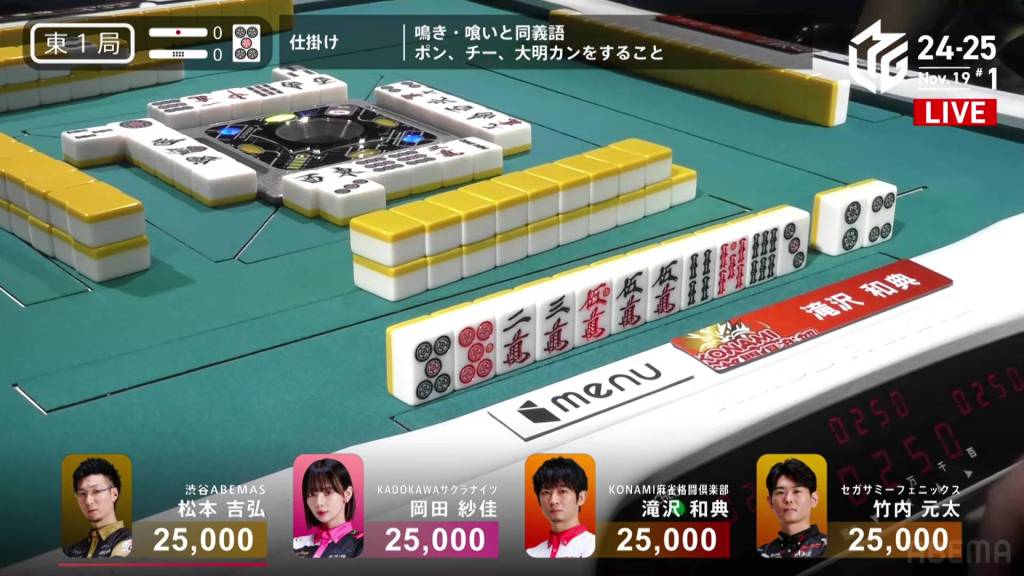
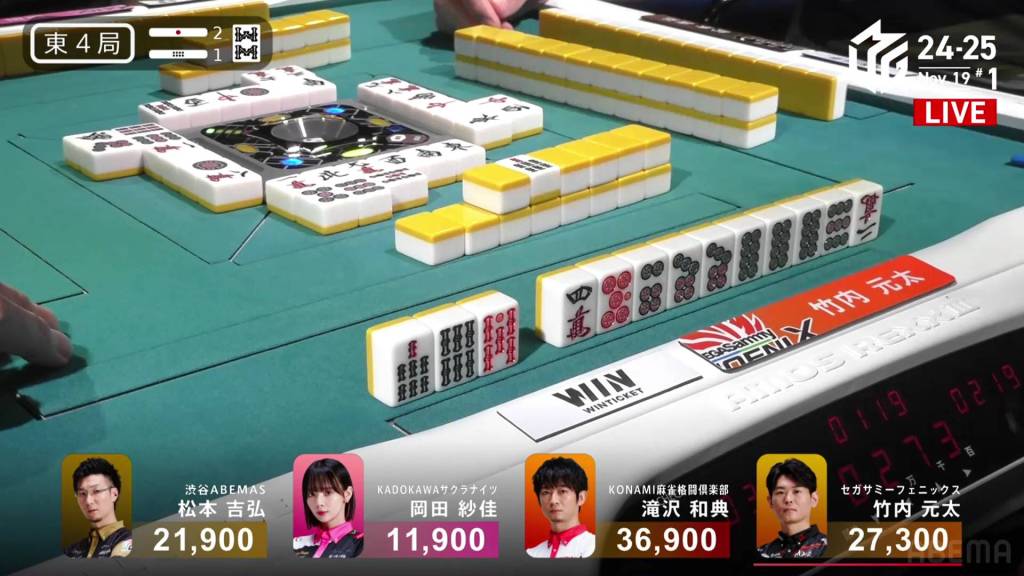
In E1-0, Takizawa is starting for the Konami Mahjong Fight Club and is hoping to move his team up into 3rd place.
Takizawa starts out with an amazing starting hand at 3-shanten with all three red fives, three ryanmens and a pair of the 5p dora. With how the hand is right now, he is guaranteed at least a haneman if he wins. He focuses his energy in the first row to forcing tanyao, allowing him to call and speed up his hand. By the end of the row, Takizawa is iishanten and waiting with a perfect iishanten.
At the start of the second row, Takizawa gets to tenpai and calls riichi on a 14m ryanmen. If he draws the 4m, he will have a baiman.
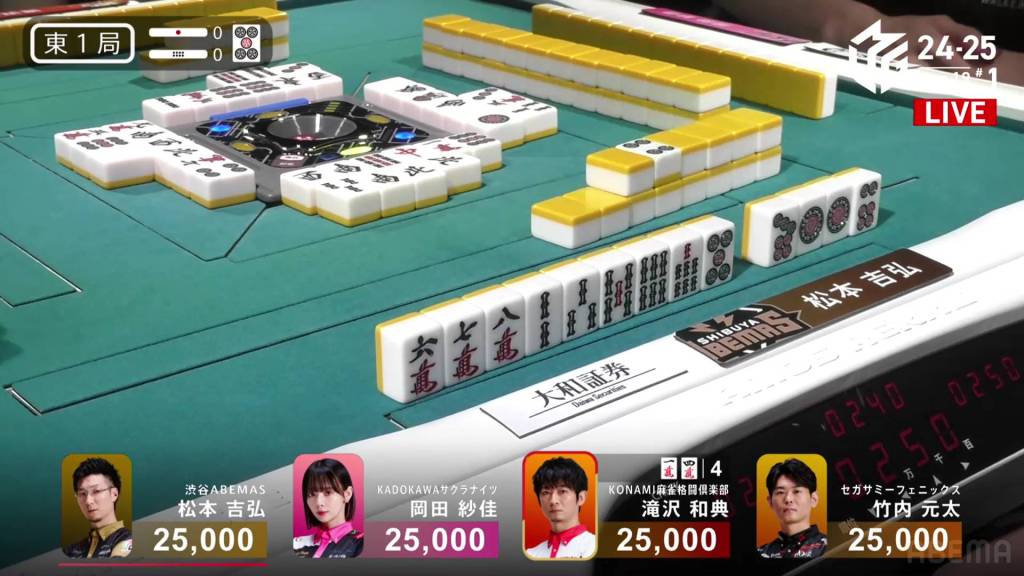
However, there are challengers at the table. In the middle of the second row, Matsumoto gets to tenpai as well and calls riichi on a 14s ryanmen.
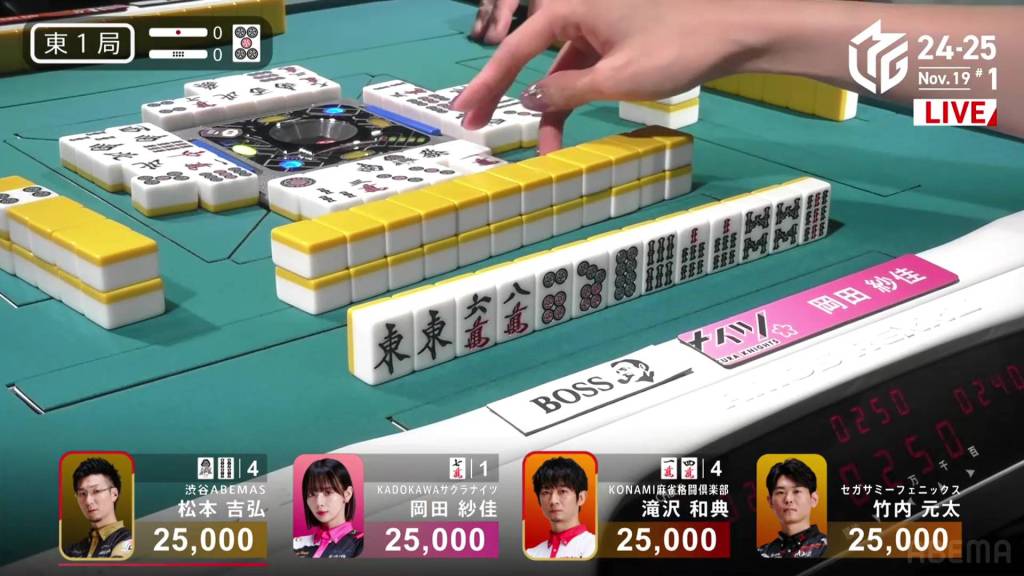
Right after, Okada gets to tenpai and stays dama on a 7m kanchan. Unfortunately, she draws and discards the 1m on her very next turn and deals into Takizawa.
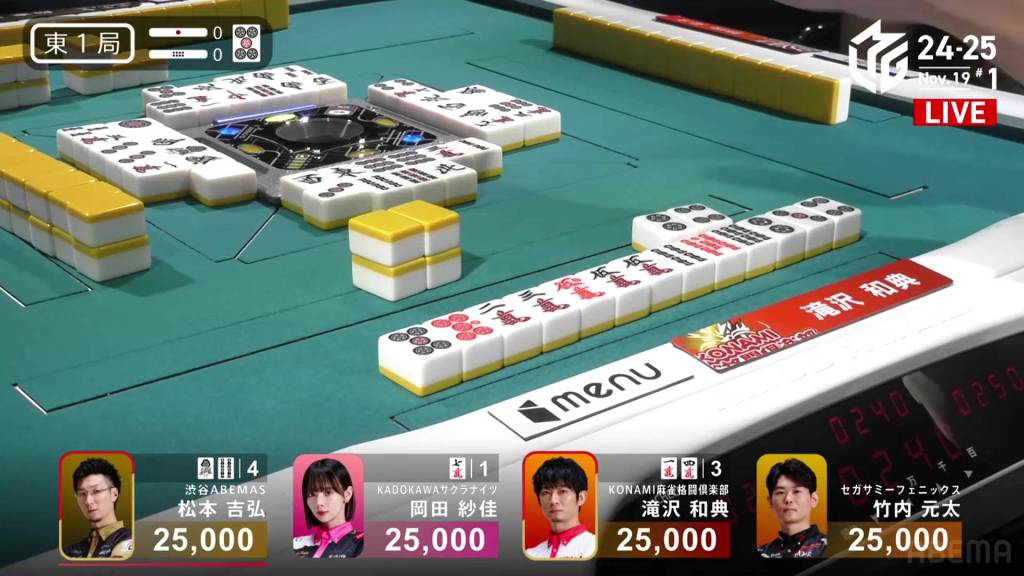
Takizawa wins the hand with Riichi/Dora 2/Aka 3/Ura 1 for 12,000 plus a riichi stick for the early lead.
Matsumoto Mangan
November 19, Game 1, E4-1
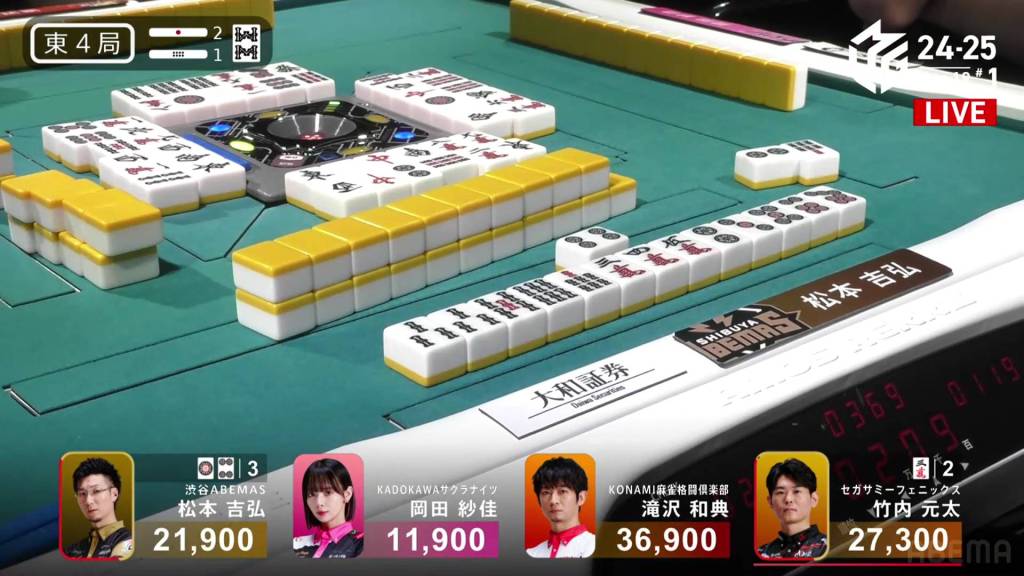
In E4-1, Matsumoto is in 3rd place, 5,400 behind 2nd place dealer Genta and 15,000 behind 1st place Takizawa. Two riichi sticks and a honba are on the table.
Matsumoto starts out the hand at 3-shanten and leaning slightly towards tanyao, but doesn’t have much value beyond that. The first row gives Matsumoto a bunch of sequence candidates and gets him to 2-shanten, but is still missing one more block to have his basic shapes. Holding onto a floating 5m, he wants to build around it to get the tanyao.
To his left, Genta is also at 2-shanten with two red fives. In the middle of the second row, Genta is the first to tenpai and calls riichi on a 3m kanchan.
After drawing a 3m and then a 4m, Matsumoto gets to tenpai soon after Genta and calls riichi on a 14p ryanmen. Two turns later, Genta draws and discards the ideal 4p and deals into Matsumoto. Hitting the uradora, Matsumoto wins with Riichi/Pinfu/Tanyao/Ura 1 for 8,000+300 plus three riichi sticks to move into 2nd place.
Menhon
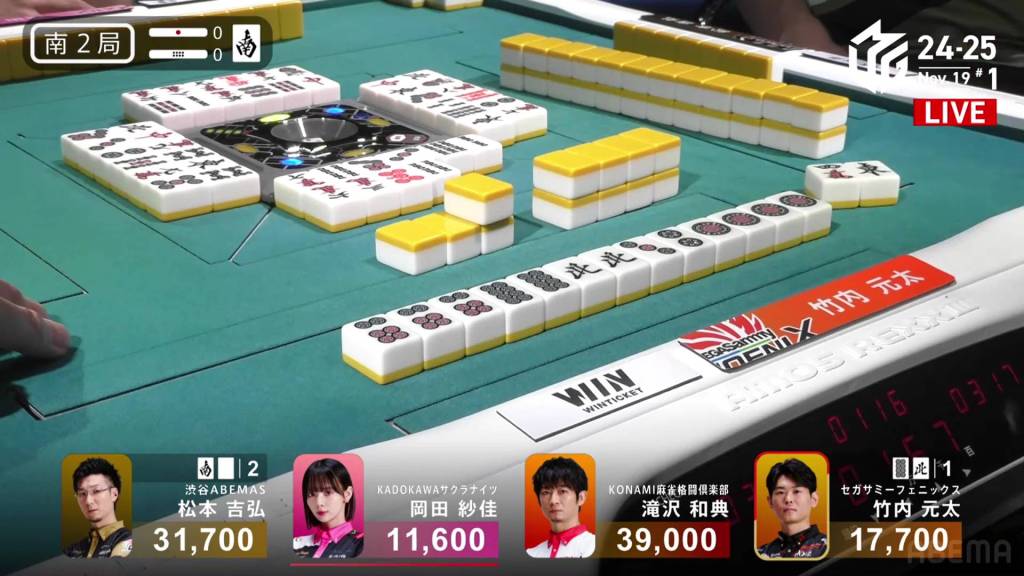
November 19, Game 1, S2-0
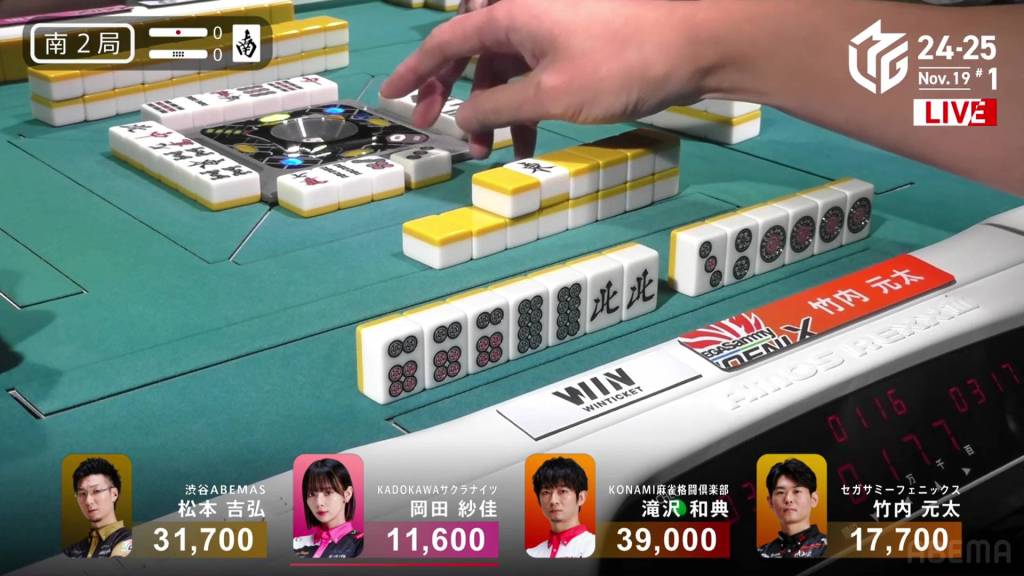
In S2-0, Genta is in 3rd place, 14,000 behind 2nd place Matsumoto and 21,300 behind 1st place Takizawa.
From Genta’s first draw, he is one-away from seven pairs. With all but three of his tiles being either pinzu or honours, he can easily go for a half flush as well. By his fourth discard, Genta’s hand is iishanten for a closed honitsu. Two turns after that, he gets to tenpai and calls riichi on an 8p/north shanpon, guaranteed at least a mangan.
To his right, Matsumoto has already done some early calling work, calling two sequences off of Genta. By the time Genta calls riichi, Matsumoto is at 2-shanten with a pair of souths. In the second row, he pairs up the white dragon and completes a 123m sequence to get to tenpai, waiting with a mangan on a south/white dragon shanpon.
It’s mangan vs. mangan, Matsumoto vs. Genta. Then, at the end of Matsumoto’s second row, Matsumoto draws and discards the north and deals into Genta. Genta wins the hand with Riichi/Honitsu for 8,000, taking Genta up to 2nd place.
Passing Ron
November 19, Game 1, S4-0
Video: https://abema.tv/video/episode/444-1_s5_p4084
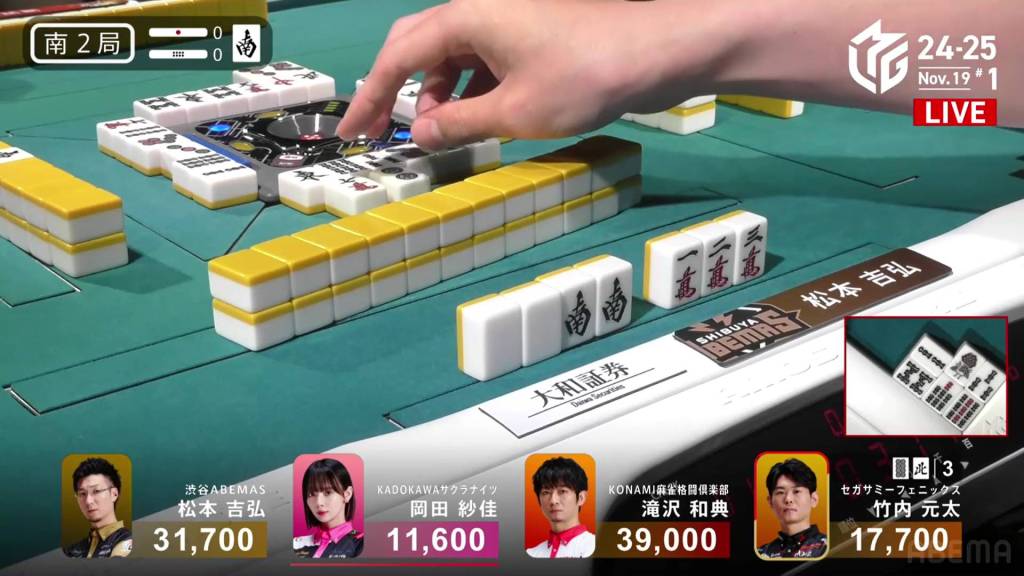
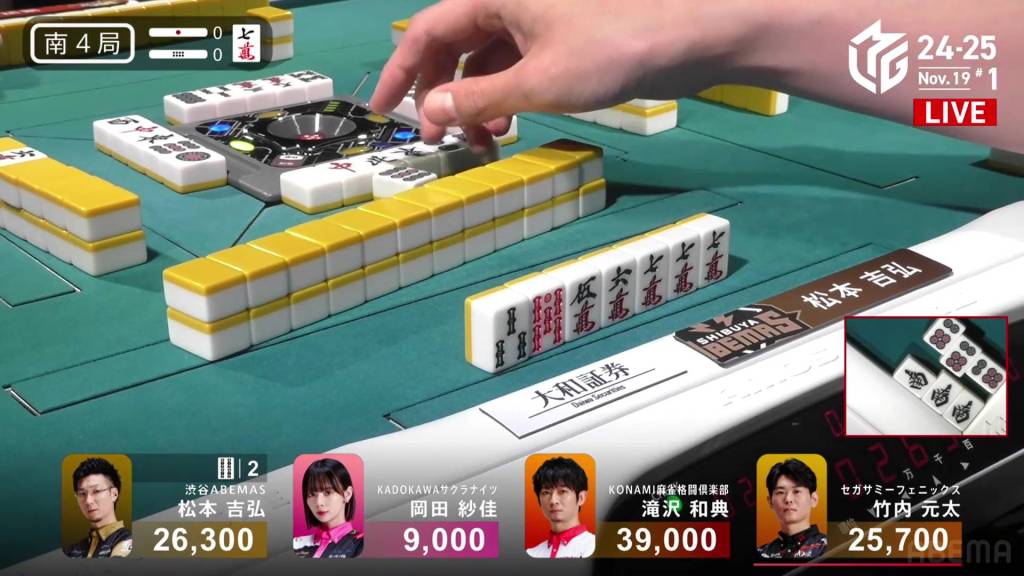
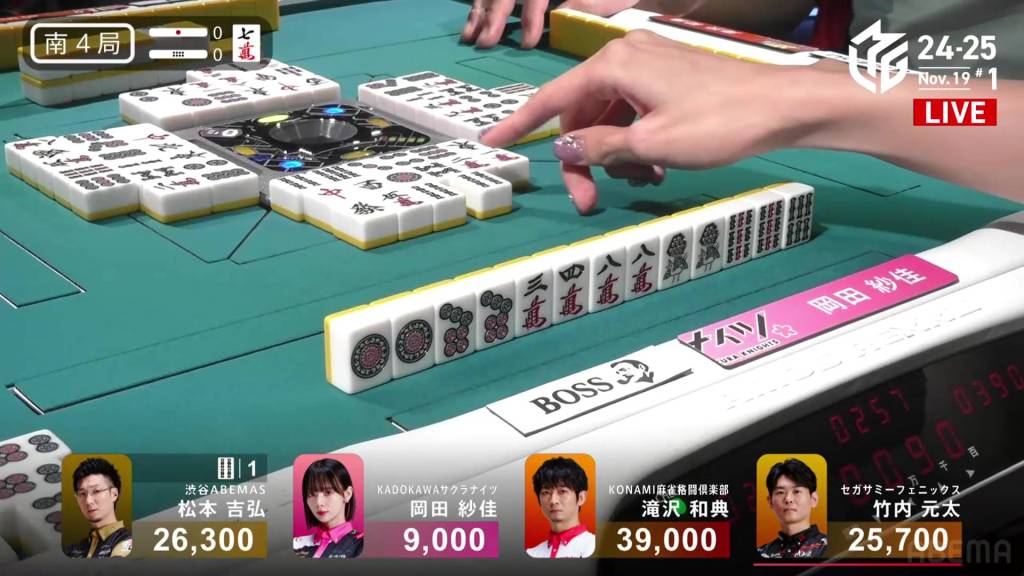
In S4-0, Matsumoto is back in 2nd place and 12,700 behind 1st place Takizawa. To finish the game in 1st place, Matsumoto needs a 3/50 or 4/25 direct hit, a haneman tsumo or a baiman ron.
Before we even see Matsumoto’s starting hand, we hear him calling pon on the double south. We we catch sight of his hand, we see that he already has three of the 7m dora and a loosely connected red 5s. Just like that, Matsumoto has a haneman in sight. Just two more good draws to get him to tenpai.
On turn 2, he gets to iishanten. He just needs to fill a 4s kanchan and a 7p kanchan. On turn 5, he draws a second 6p for extra support and right after, he calls pon on it to get to tenpai on a 4s kanchan. A tsumo will put him in 1st place. Two 4s remain in the wall.
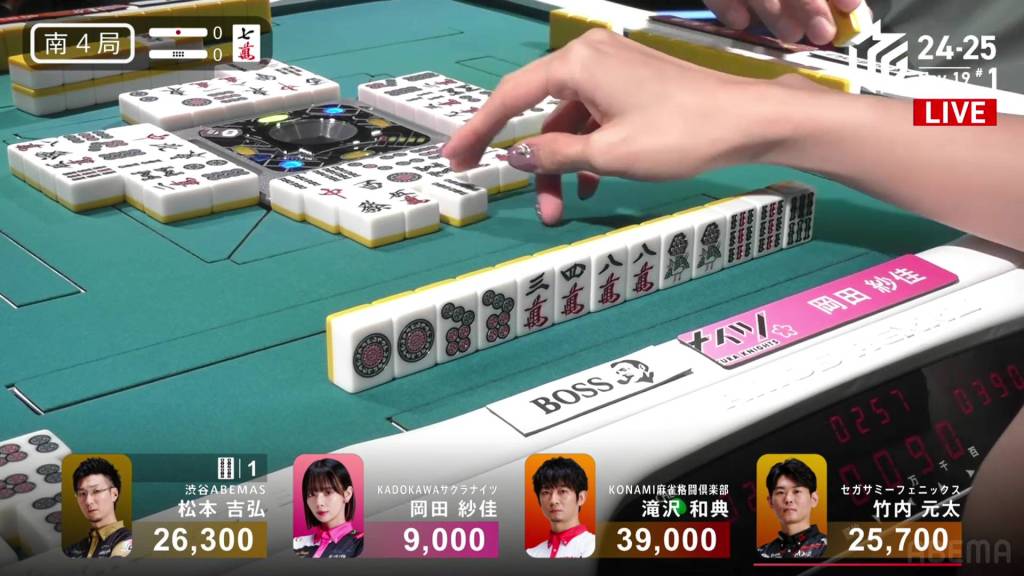
Fans keep track of the 4s count as the rest of the players push their own hands forward. The second row turns into the third row. Okada is moving towards seven pairs, Genta is stuck at iishanten. In the middle of the third row, Okada draws the 4s. Having alraedy discarded the 4s on her first turn, she discards it, Matsumoto’s winning tile.
But Matsumoto does not call ron! Even with a few turns left, Matsumoto takes the gamble, hoping to draw the 4s himself or hit Takizawa directly for 1st place.
On Okada’s very next turn, she draws the 4s again and discards it yet again.
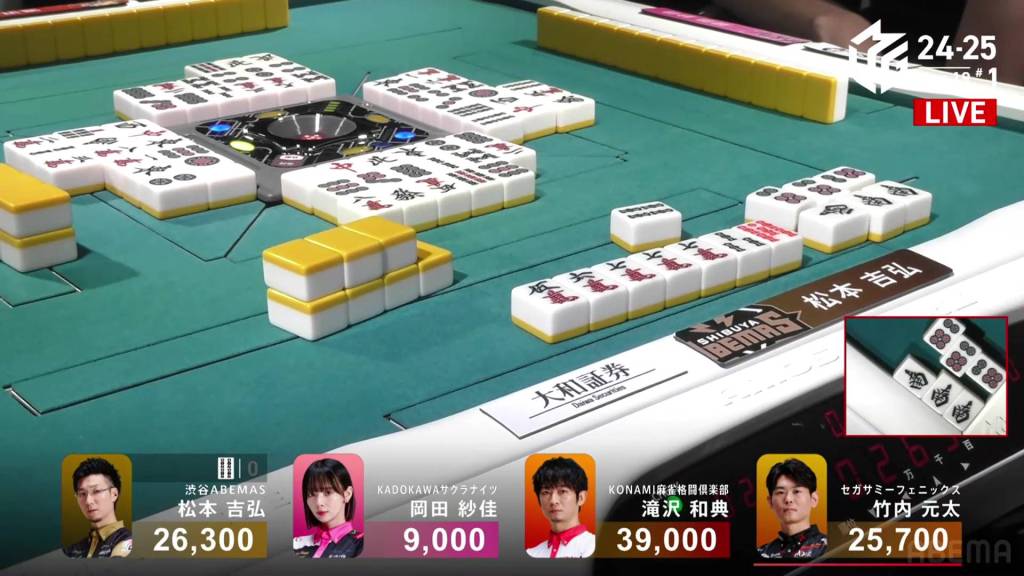
This time, Matsumoto has too little time to wait and decides to call ron. Matsumoto wins the hand with Double South/Dora 3/Aka 1 for 12,000, finishing in 2nd place and leaving him just 700 shy of 1st place.
Results
Game 75
Konami Mahjong
Fight Club
1st
39,000 (+59.0)
Shibuya
Abemas
2nd
38,300 (+18.3)
Sega Sammy
Phoenix
3rd
25,700 (-14.3)
Kadokawa
Sakura Knights
4th
-3,000 (-63.0)
Game 2
Kadokawa
Sakura Knights
Shibuya
Abemas
Sega Sammy
Phoenix
Konami Mahjong
Fight Club
Donation
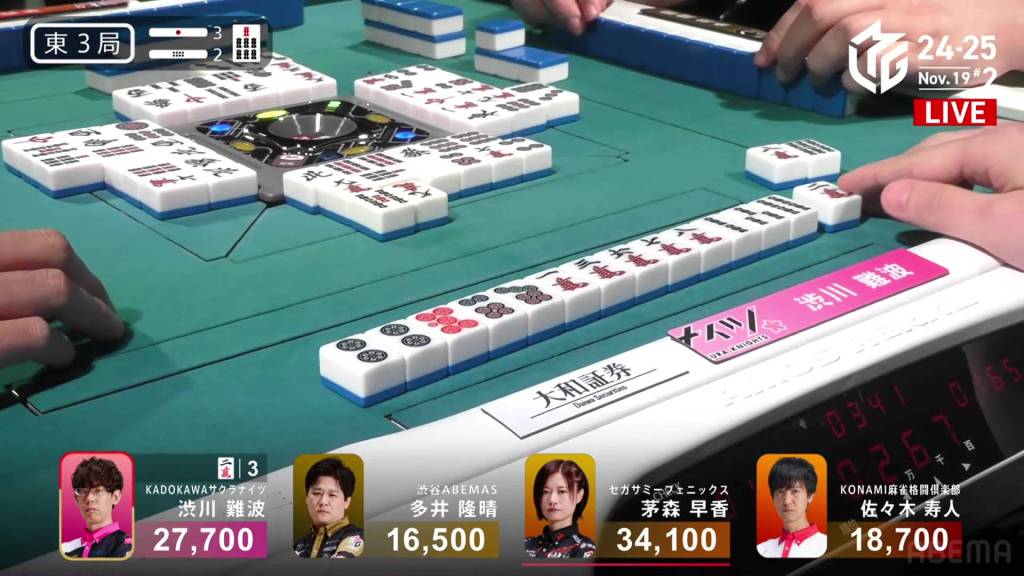
November 19, Game 2, E2-0
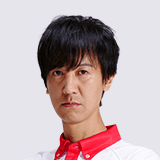
In E2-0, Kayamori is in 2nd place and 4,100 behind 1st place Shibukawa.
Kayamori starts out the hand at 3-shanten with a loosely connected red 5s for value. Her hand has a bunch of potential sequences, but only a single ryanmen. By turn 5, she already has a secured pair and fills in a kanchan to get to iishanten. At the start of the second row, she fills in her last kanchan and calls riichi on a 14m ryanmen, pinfu in tow.

During the subsequent turns, 4th place dealer Ooi draws and discards honours to maintain his iishanten. Near the end of the second row, Ooi gets to tenpai and calls riichi on a 8s/2p shanpon.
Unfortunately for him, the riichi is merely a donation as Kayamori draws her winning 4m immediately after to win the hand. Kayamori wins the hand with Riichi/Tsumo/Pinfu/Aka 1 for 1,300/2,600 plus a riichi stick, moving into 1st place.
Shibukawa Sticks
November 19, Game 2, E3-2
In E3-2, Shibukawa is in 2nd place and 6,400 behind 1st place Kayamori. There are three riichi sticks and two honba in the pot after the last two hands went to a draw.
Shibukawa starts off the hand at 2-shanten, but holding two terminal blocks and lacking in value. Shibukawa plays efficiently through the first row, creating a sequence and breaking his 9p pair on turn 5 for iishanten. On turn 8, he draws a red 5p to get to tenpai and calls riichi on a 2m kanchan. All four remain in the wall.
Going into the third row, all four of the 2m still remain unseen, increasing Shibukawa’s chances of winning. In the middle of the row, he draws the 2m and wins the hand. Shibukawa wins with Riichi/Tsumo/Aka 1 for 1,000+200/2,000+200 plsu the three riichi sticks to get back into 1st place.
Maou Mangan
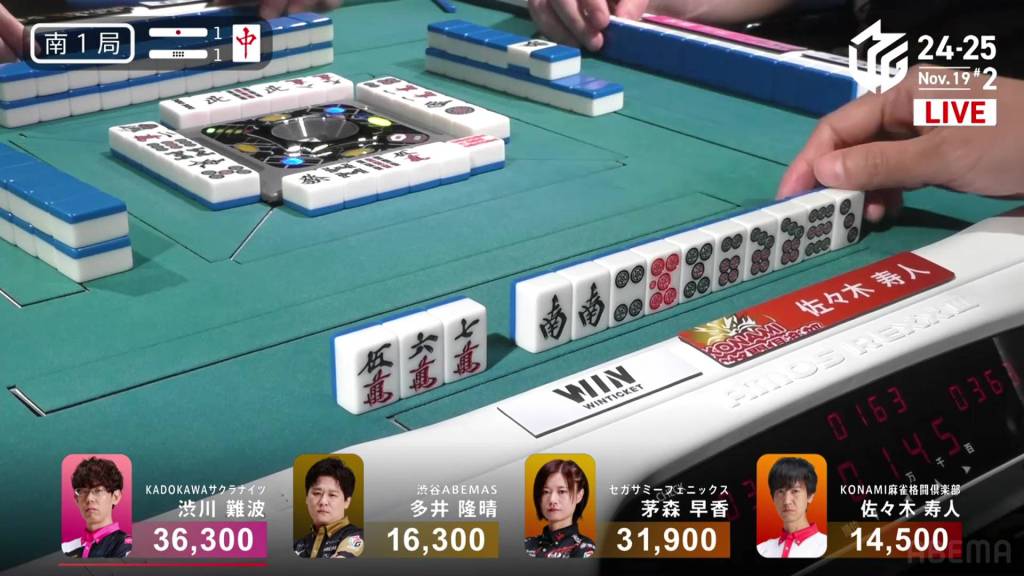
November 19, Game 2, S1-1
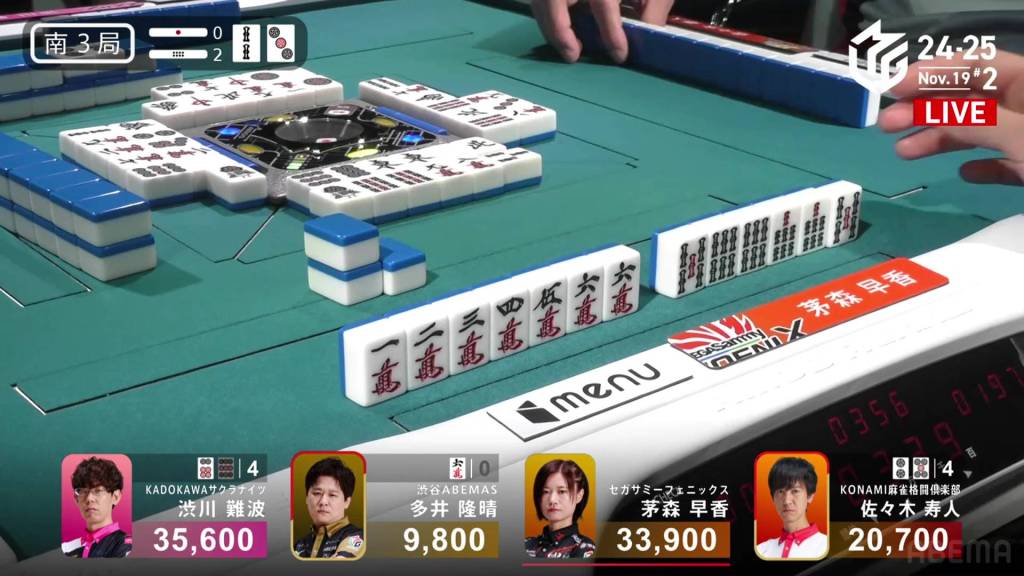
In S1-1, Hisato is in 4th place, 1,800 behind 3rd place Ooi. 1,300 in bonuses will go to the next winner.
With his first draw, he is already iishanten with a 7s penchan and an 8p kanchan waiting to be filled. While he has a secured red 5p for value, he has alternative routes with a floating red 5s and a pair of souths. Seeing this value, he breaks his penchan in favour of a 5m, hoping to build a better shape around it. On turns 3 and 4, he draws a few pinzu to create a 36p ryanmen chance as well. At the end of the row, he draws a 3p to get to tenpai and calls riichi on an 8p kanchan.
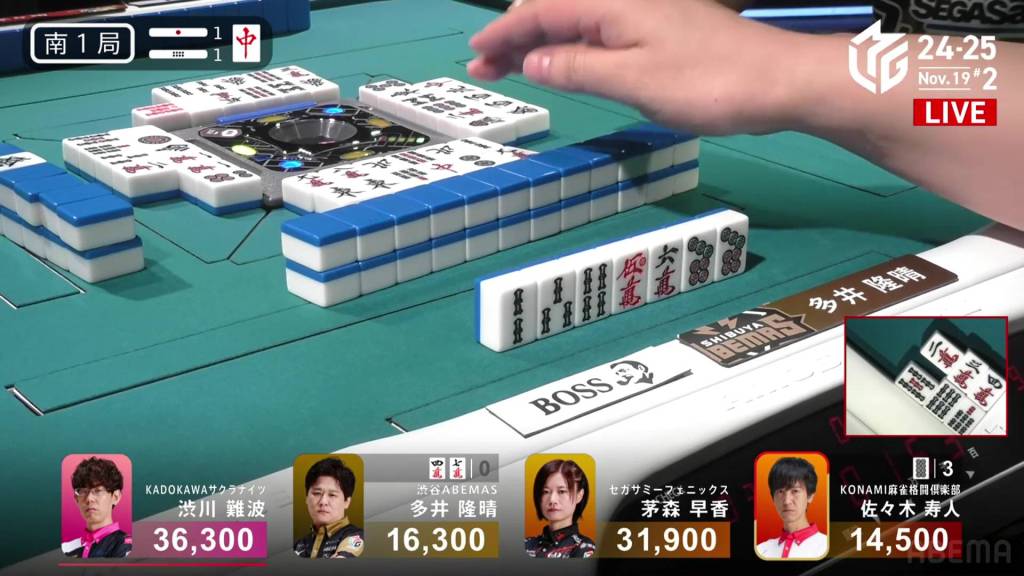
Not wanting to be passed, Ooi tries to work around the riichi, breaking his east pair and shifting towards tanyao. Near the middle of the second row, he makes a call for iishanten. Soon after, he makes yet another call to get to tenpai on a 47m ryanmen. Unfortunately, none remain in the wall.

Even as Ooi draws dangerous tiles, he pushes through to maintain his tenpai. On HIsato’s second-last draw, he manages to get the 8p and wins the hand. With the 5p being the uradora, he gets two extra han and upgrades his hand to mangan. Hisato wins with Riichi/Tsumo/Aka 1/Ura 2 for 2,000+100/4,000+100 plus a riichi stick to comfortably move into 3rd place.
Shibukawa Sticks (Again)
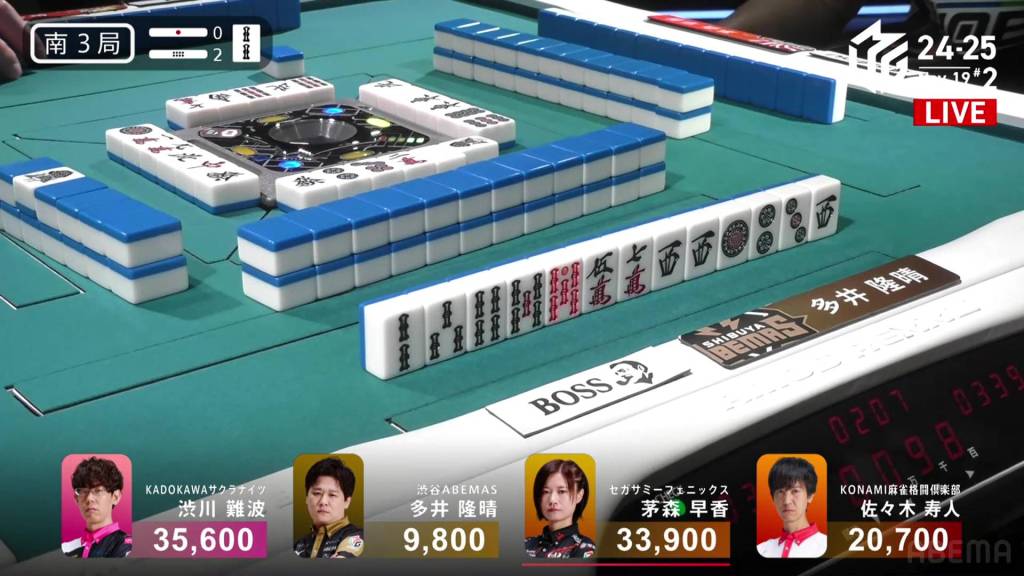
November 19, Game 2, S3-2
Video: https://abema.tv/video/episode/444-1_s5_p3091
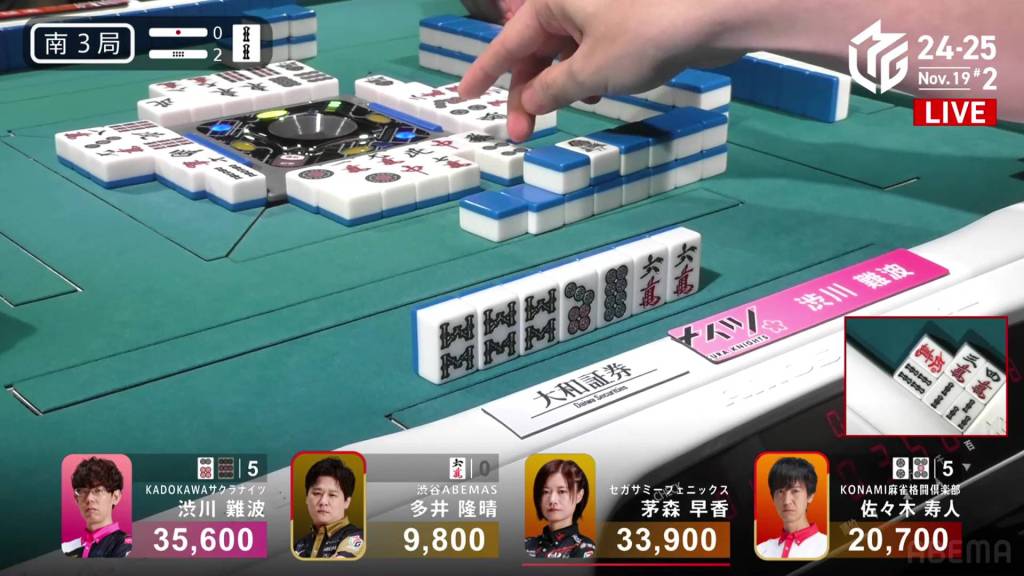
In S3-2, Shibukawa is still in 1st place, but his lead is getting smaller. Chasing behind him is 2nd place dealer Kayamori, just 1,700 away.
Shibukawa starts out the hand at 3-shanten with a dora 2s as part of a ryanmen. Across the table, however, his rival Kayamori is at 2-shanten. With a potential three-sided wait. By turn 3, Kayamori is iishanten with a chance at ittsuu. Around the table, actually, everyone is progressing faster than Shibukawa, with Ooi and Hisato getting to iishanten by turn 4. Wanting to force a faster hand, Shibukawa calls a 234s sequence to get to 2-shanten, aiming for tanyao.
At the end of the first row, Ooi is the first to tenpai and calls riichi on a 6m kanchan. Unbeknownst to him, all of his 6m are stuck.

During the ippatsu round, Hisato gets to tenpai as well and calls riichi on a 25p ryanmen.
Having held a white dragon, Shibukawa uses it as his safe tile to avoid the ippatsu as he gets to iishanten. A few turns later, he calls the red 5m to make a 345m sequence and gets to tenpai on a 69p ryanmen. With no other yaku besides tanyao, he is only allowed to win off the 6p.
Near the end of the second row, Ooi calls a concealed kan of the west. With the 3p being the new dora, he adds one more hand to his own winningless hand and adds one more to Hisato’s hand as well.
Soon after, Kayamori calls the third riichi on the table and waits on a 36m ryanmen.
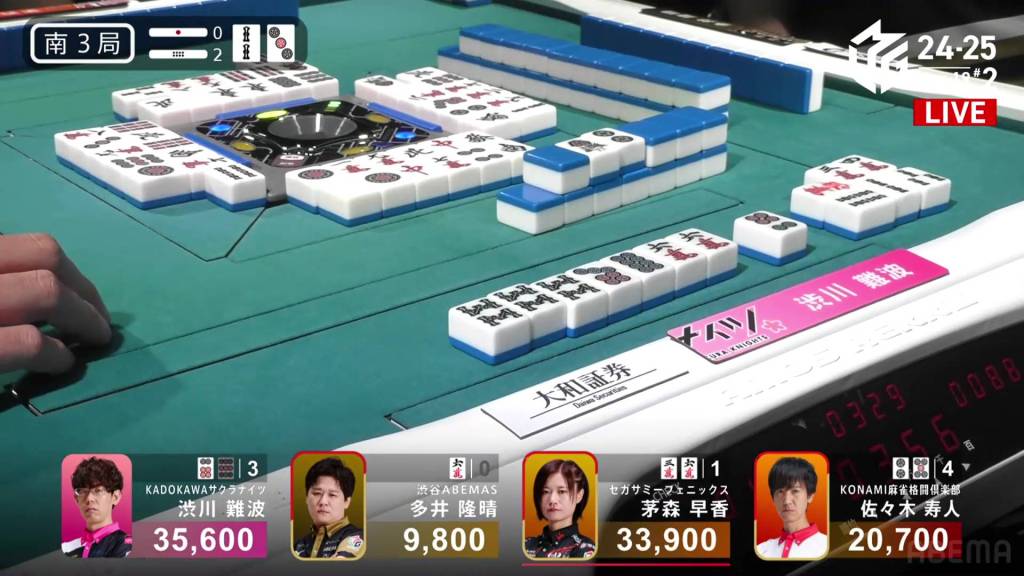
With three riichi calls on the table, Shibukawa is in dangerous territory. The best way to avoid the riichi calls is to win himself. After luckily drawing and discarding a south during the ippatsu round, Shibukawa gets the 6p on his next turn and wins the hand. Shibukawa wins with Tanyao/Dora 1/Aka 1 for 1,000+100/2,000+100, stealing his opponents’ riichi sticks in the process.
Results
Game 76
Kadokawa
Sakura Knights
1st
43,900 (+63.9)
Sega Sammy
Phoenix
2nd
28,200 (+8.2)
Konami Mahjong
Fight Club
3rd
22,800 (-17.2)
Shibuya
Abemas
4th
5,100 (-54.9)
