Friday (November 21)
Table A

Table B


Table A, Game 1
Shibuya
Abemas

Konami Mahjong
Fight Club

Beast X

Kadokawa
Sakura Knights
Dora Dora Dora Aka
November 21, Table A, Game 1, E2-0
Video: https://abema.tv/video/episode/444-1_s5_p11019
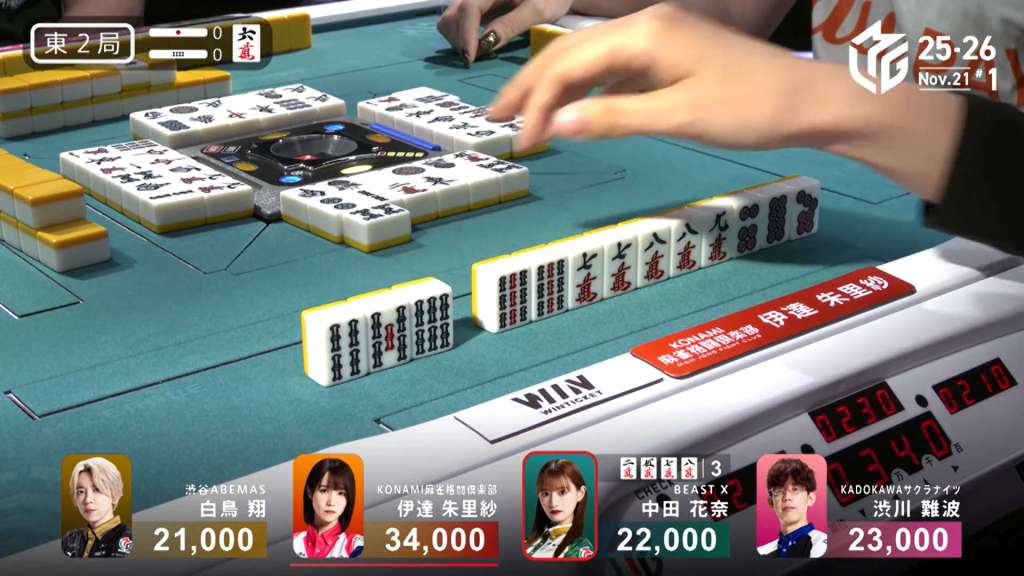
In E2-0, Nakada is in 3rd place, 1,000 behind 2nd place Shibukawa and 12,000 behind 1st place dealer Date.
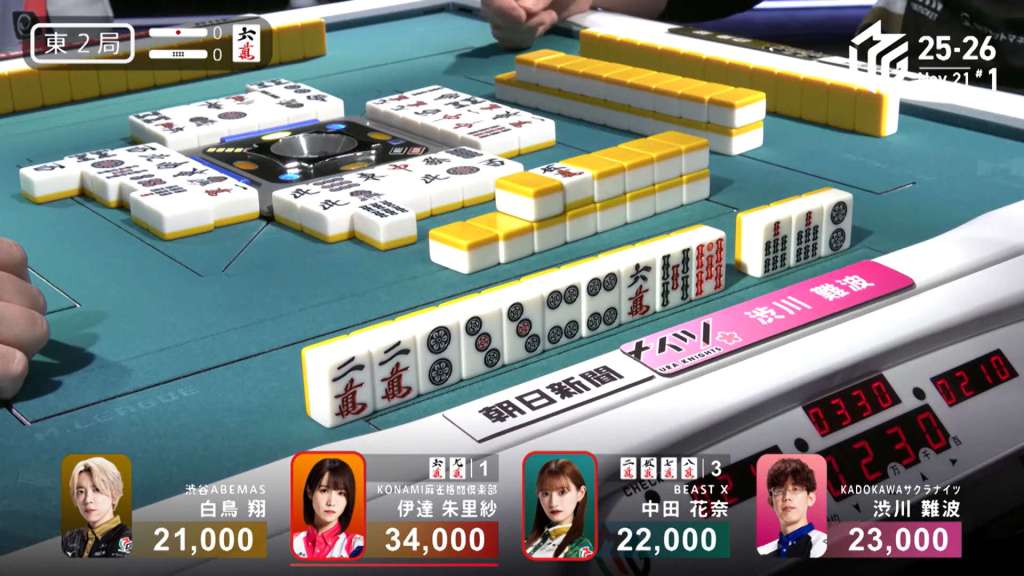
Nakada starts out with only a 566p block and a 6m pair block, putting her 4-shanten for a pairs ahnd and 6-shanten for a standard hand. The only bright side of this hand is the fact that the 6m is the dora. Though when you start so far back, your tile acceptance is very wide. By the end of the first row, she is 3-shanten with a third 6m and a bunch of ryanmen shapes.
In the second row, She makes a pair of green dragons, then draws a red 5m to set up for an incredible 4-sided wait. In the middle of the second row, she draws a third green dragon and calls riichi on the 2578m three-sided wait.
To her left, 1st place Date Is able to stay the course while staying safe. At the start of the third row, she gets to tenpai and calls riichi on a 69m ryanmen.
Within the go-around, Shibukawa gets to tenpai on a 6m tanki wait.
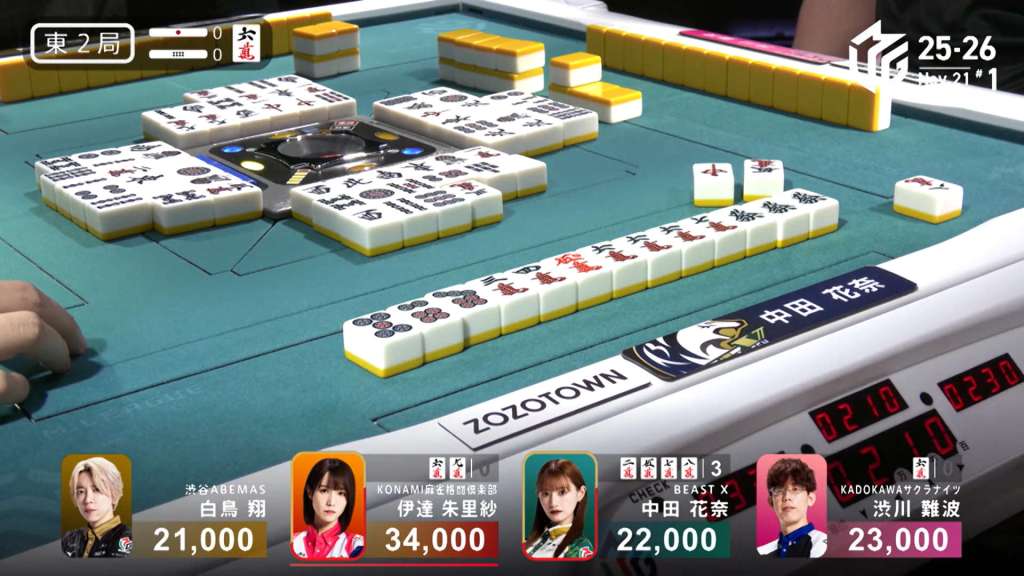
However, Shibukawa and Date’s waits are exhausted, leaving Nakada as the only possible winner. On her second-last draw, she gets the 8m and wins the hand. Nakada wins with Riichi/Tsumo/Green Dragon/Dora 3/Aka 1 for 3,000/6,000 plus a riichi stick, moving into 1st.
Results
Game 113
Beast X
1st
48,900 (+68.9)
Konami Mahjong
Fight Club
2nd
36,400 (+16.4)
Shibuya
Abemas
3rd
9,700 (-30.3)
Kadokawa
Sakura Knights
4th
5,000 (-55.0)
Table B, Game 1
Team Raiden
U-Next Pirates

Sega Sammy
Phoenix

Akasaka
Drivens
U-Next Up
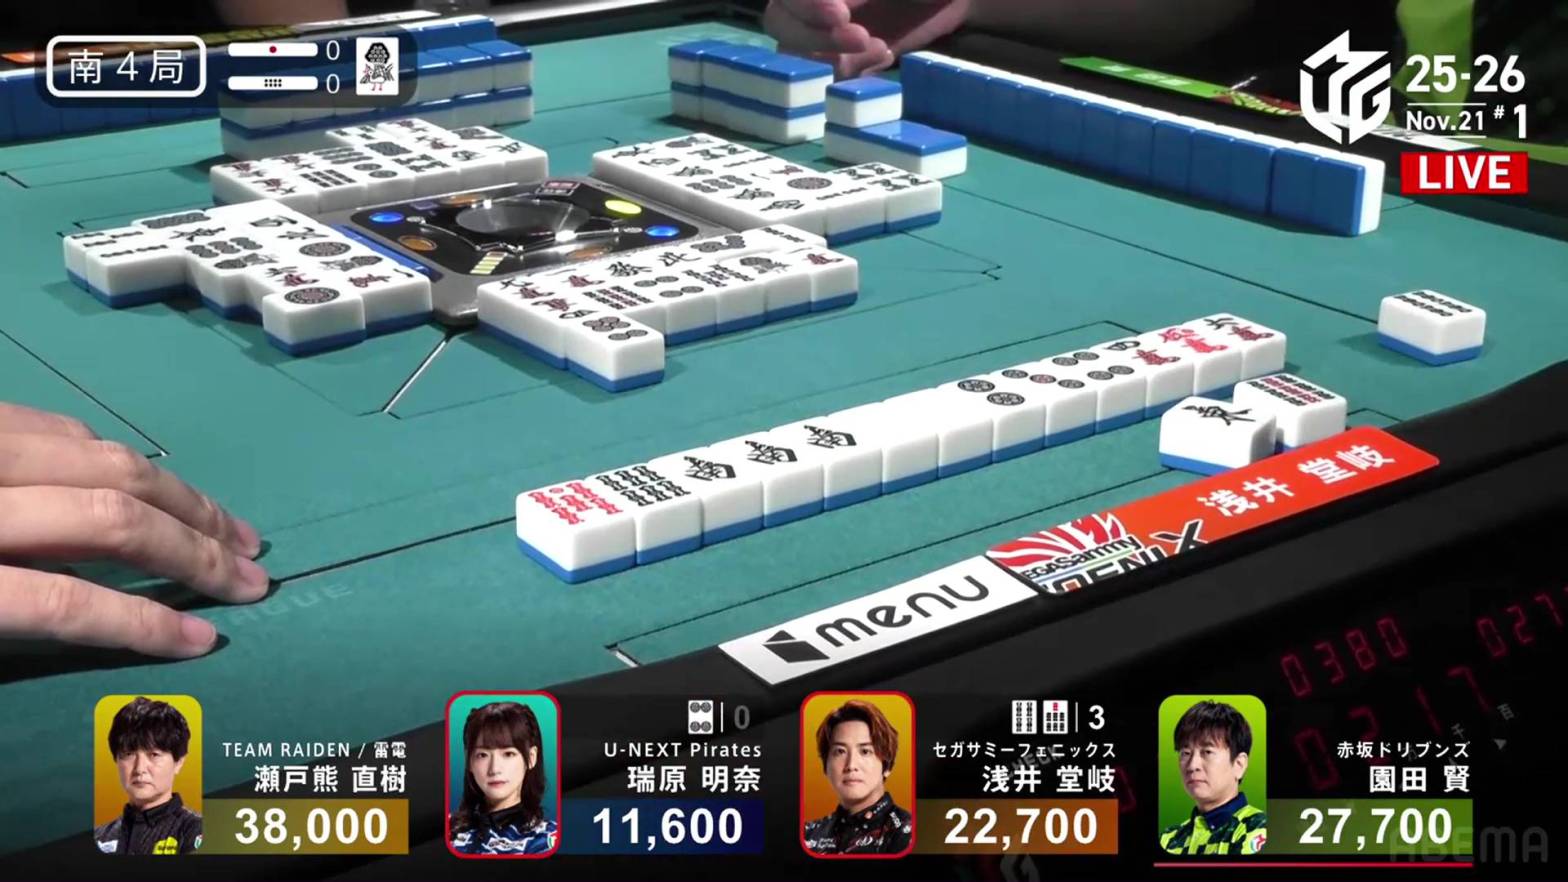
November 21, Table B, Game 1, S2-1
Video: https://abema.tv/video/episode/444-1_s5_p10527
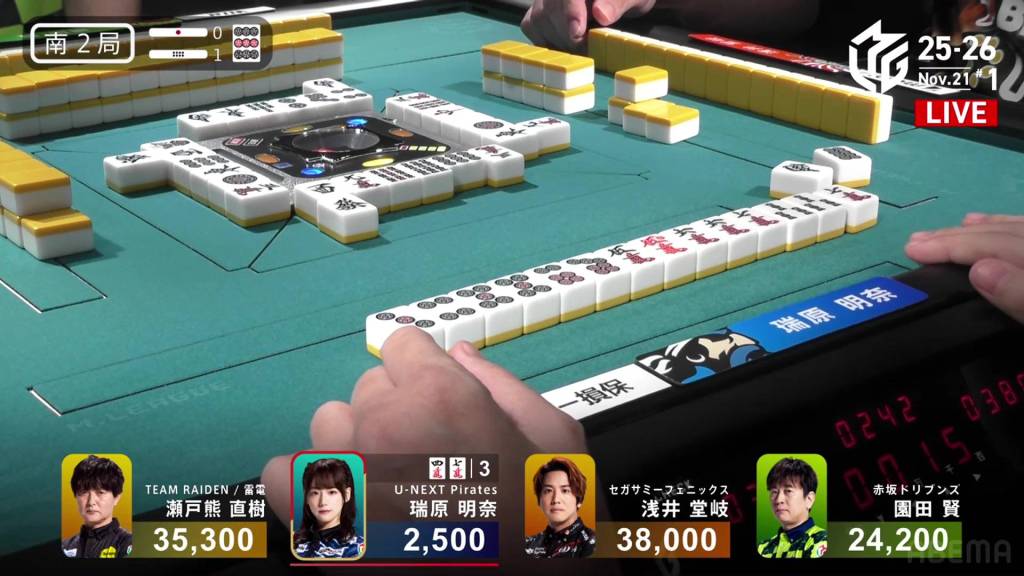
In S2-1, Mizuhara is the dealer and deep in 4th place. A gap of 21,900 separates her from 3rd place Sonoda.
Mizuhara starts out the hand incredibly, getting to a ryanmen-ryanmen iishanten on her first draw. One ryanmen is a 47p wait, while the other is a 47m wait, wanting the 7m in particular to complete a 567m iipeikou. With a hand so good, all she has to do is wait. On turn 5, she draws the 7p and calls riichi on the 47m ryanmen. Three turns later, she gets the valuable 7m and wins the hand. Mizuhara wins with Riichi/Tsumo/Pinfu/Tanyao/Iipeikou/Aka 1 for 6,000+100 all, enough to move her into 3rd place.
Comeback

November 21, Table B, Game 1, S4-0
Video: https://abema.tv/video/episode/444-1_s5_p9519
In S4-0, Takaki is in 3rd place, 5,000 behind 2nd place dealer Sonoda. To move up one rank, Takaki needs a 2/40 direct hit, a 3/30 tsumo, or a 3/40 ron. However, if he wants to aim even bigger and try to pass 1st place Setokuma (who is 15,300 ahead), he would need a mangan direct hit, or a baiman ron or tsumo.
Takaki starts out the hand at 3-shanten with a pair of souths and a connected red 5s. It’s not much, but there is a route to get to a 3/40 hand if he can stay closed. On turn 3, his job is made much easier as he gets the red 5s to complete a 456m sequence. This guarantees him at least 3 han and gives him the freedom to call pon on the south and win by tsumo for 2nd. On turn 4, he pairs up the white dragon for another yakuhai option and gets to iishanten. On his very next turn, he draws a third south.
Guaranteed to have enough to move into 2nd place, Takaki could choose to stay dama. But, he chooses to set his sights high and calls riichi on the 47s ryanmen. If he wins by tsumo and hits the ura 3, he can move into 1st place. It’s a small chance, but there is a chance.
Sitting in 4th place is Mizuhara, 11,100 behind Takaki. Because of Takaki’s riichi, Mizuhara can win a mangan tsumo and move into 3rd place. And with the riichi, Takaki is vulnerable, unable to defend. Mizuhara tries ot move forward quickly, but the tiles don’t come too easily. Then, near the end of the second row, Mizuhara gets to tenpai and calls riichi on a 4p kanchan. If Mizuhara draws it herself and hits a booster, she will move up.
Unfortunately, none remain in the wall.

All eyes return to Takaki. With Mizuhara’s riichi, Takaki’s win conditions have now gotten easier. Instead of the hefty task of getting three uradora, he only needs one if he wins by tsumo.
Near the middle of the third row, Takaki gets the 4s! All he needs is one uradora. He makes the flip and gets…
…three uradora! Even without the help of Mizuhara, Takaki was destined to win. Takaki wins the hand with Riichi/Tsumo/South/Aka 2/Ura 3 for 4,000/8,000 plus a riichi stick, making an incredible 3rd to 1st comeback to end the game.
Results
Game 114
Sega Sammy
Phoenix
1st
39,700 (+59.7)
Team Raiden
2nd
34,000 (+14.0)
Akasaka
Drivens
3rd
19,700 (-20.3)
U-Next Pirates
4th
6,600 (-53.4)
Table A, Game 2
Kadokawa
Sakura Knights

Beast X
Shibuya
Abemas
Konami Mahjong
Fight Club
Dora Dora Aka Aka
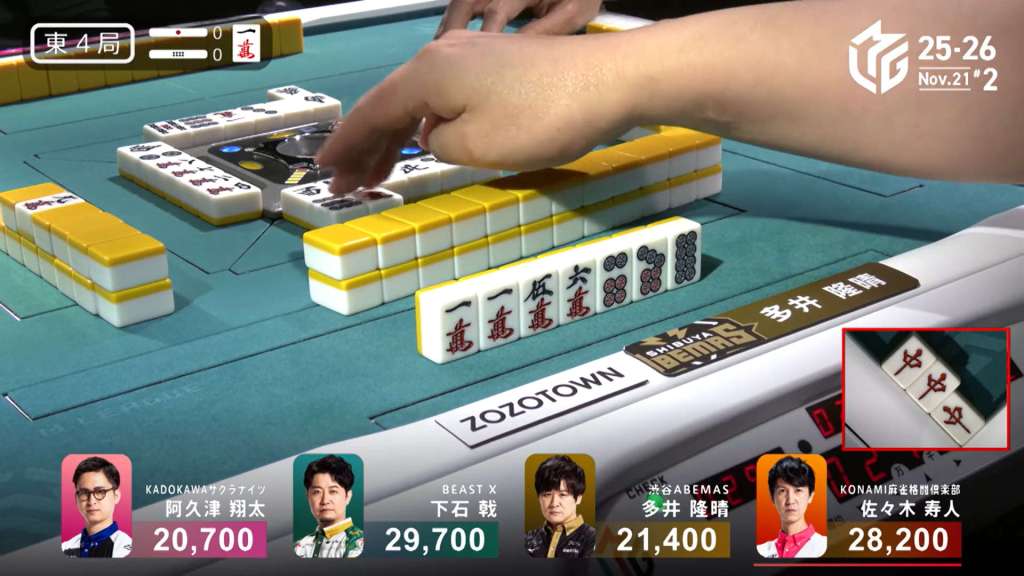
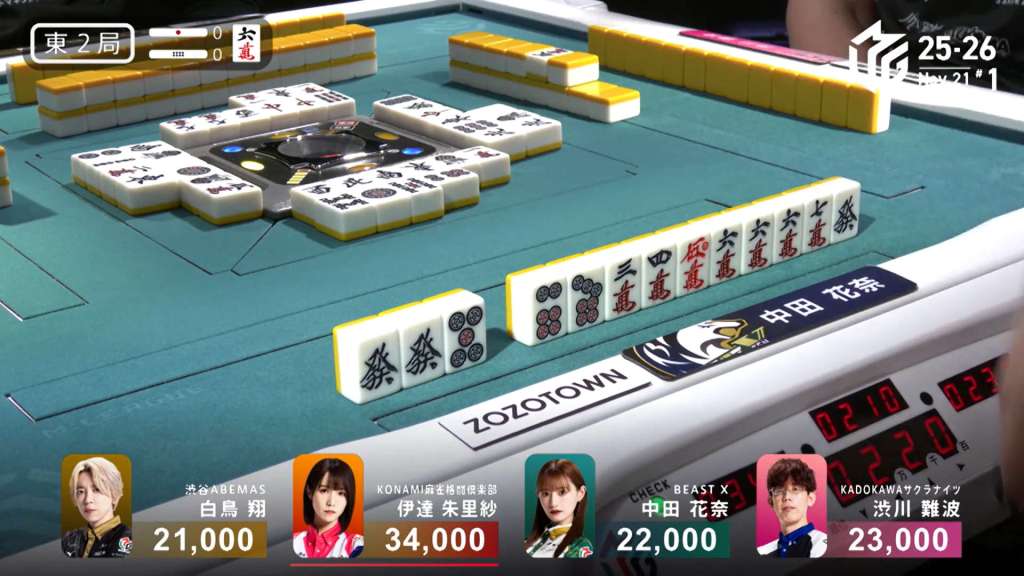
November 21, Table A, Game 2, E4-0
Video: https://abema.tv/video/episode/444-1_s5_p9024
In E4-0, Ooi is in 3rd place, 6,800 behind 2nd place dealer Hisato and 8,300 behind 1st place Shimoishi.
Ooi starts out the hand at 4-shanten with a lot of value, holding a triplet of the 1m dora and a connected red 5s. In the first row, Ooi creates a 789p sequence from a single 9p and pairs up the red dragon to get to a ryanmen-ryanmen iishanten. To try to speed up the hand, Ooi calls pon on the red dragon, widening his acceptance from 4 types to 8 types. Within the go-around, Ooi calls a 456s chii, discards an extra 1m dora and gets to tenpai on a 47m ryanmen. Later on, he adds a red 5p to his hand.
Across the table, 4th place Akutsu is iishanten with a secured red 5m. After making a triplet of 3s and pairing up the 5p, Akutsu gets to tenpai and calls riichi on a 3m kanchan. Unfortunately, none remain in the wall.

With Ooi holding a valuable hand, he doesn’t back down. In fact, Ooi adds even more potential value by creating a 456 sanshoku possibility, needing that 4m for a haneman. There is a small scare with Hisato calling a concealed kan on the east and revealing it as the new kandora, but Ooi isn’t afraid for long as Akutsu discards the 4m and deals in. Ooi wins the hand with Red Dragon/Sanshoku/Dora 2/Aka 2 for 12,000 plus a riichi stick, jumping up to 1st.
Dora Pon
November 21, Table A, Game 2, S1-0
Video: https://abema.tv/video/episode/444-1_s5_p8531
In S1-0, Hisato is in 3rd place, 1,500 behind 2nd place Shimoishi and 6,200 behind 1st place Ooi.
Starting out, Hisato has pairs of the 8s dora, the red dragon, the 4p and the 4m. He sits 2-shanten from a pairs hand and 3-shanten for a standard hand.
Though Hisato seems to be ahead on pairs, it’s actually Ooi who advances on it fastest. Starting with 3 pairs, he gets to 6 pairs on turn 5 and waits dama on a 3p kanchan, guaranteed at least a mangan if he wins.
Back to Hisato, he adds a 9m pair to the mix to get to iishanten. But, going for pairs puts you at the whim of the wall. Adding value and trying to speed things up, Hisato calls pon on the 8s dora for iishanten. Over the next few turns, he breaks both the 9m and red dragon pairs to aim for tanyao, even as the red dragon becomes the new dora after Akutsu’s closed kan on the 1m. At the end of the second row, Hisato gets to tenpai on a 4p/4m shanpon.
At the start of the third row, Akutsu calls riichi on a 58m ryanmen. On Akutsu’s next turn, he draws a fourth 5p and calls a concealed kan, though the kandora nor rinshan help.
In the third row, Hisato draws the 4m and wins the hand. Hisato wins with Tanyao/Dora 3 for 2,000/4,000 plus a riichi stick, moving into 1st place.
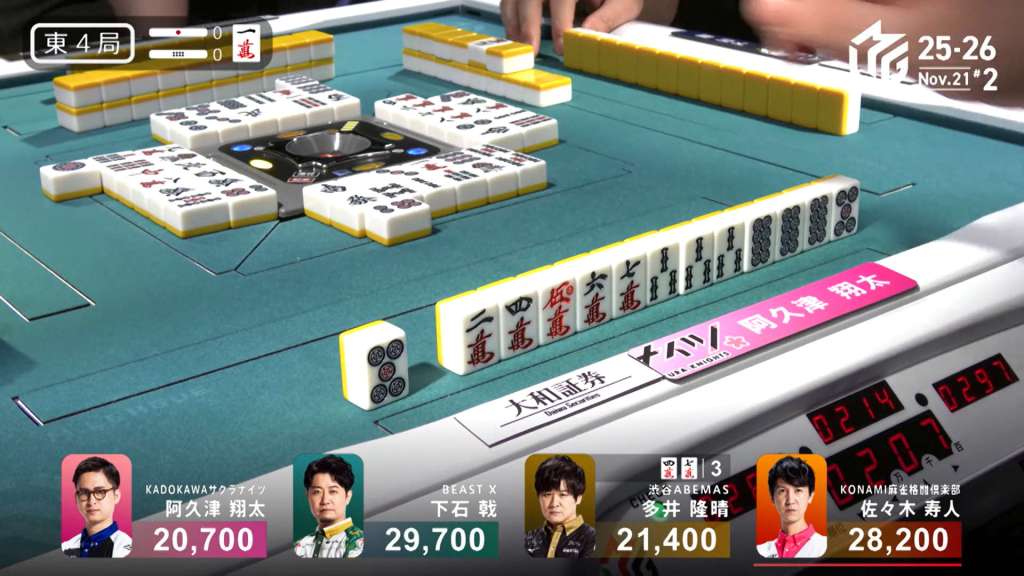
South 4
November 21, Table A, Game 2, S4-0
Video: https://abema.tv/video/episode/444-1_s5_p11020
In S4-0, Shimoishi is in 2nd place and 1,100 behind 1st place dealer Hisato. Any win is enough so long as it’s not a 1/30 ron off Akutsu or Ooi.
Akutsu starts off with pairs of 3s, 5p, 7s and 9s, as well as a single white dragon dora. On turn 3, he draws a second white dragon. On turn 5, Shimoishi gets to a standard iishanten as well, hinging on the white dragon to be called. At the end of the row, Shimoishi breaks the 5p pair in favour for a 345p sequence.
At the start of the second row, Shimoishi calls pon on the white dragon and gets to tenpai on an 8s kanchan. Two turns later, Akutsu discards the 8s and deals into Shimoishi. Shimoishi wins the hand with White Dragon/Dora 3 for 8,000.
Results
Game 115
Beast X
1st
44,700 (+64.7)
Konami Mahjong
Fight Club
2nd
37,800 (+17.8)
Shibuya
Abemas
3rd
24,800 (-15.2)
Kadokawa
Sakura Knights
4th
-7,300 (-67.3)
Table B, Game 2
Akasaka
Drivens
Team Raiden

U-Next Pirates
Sega Sammy
Phoenix

Dama
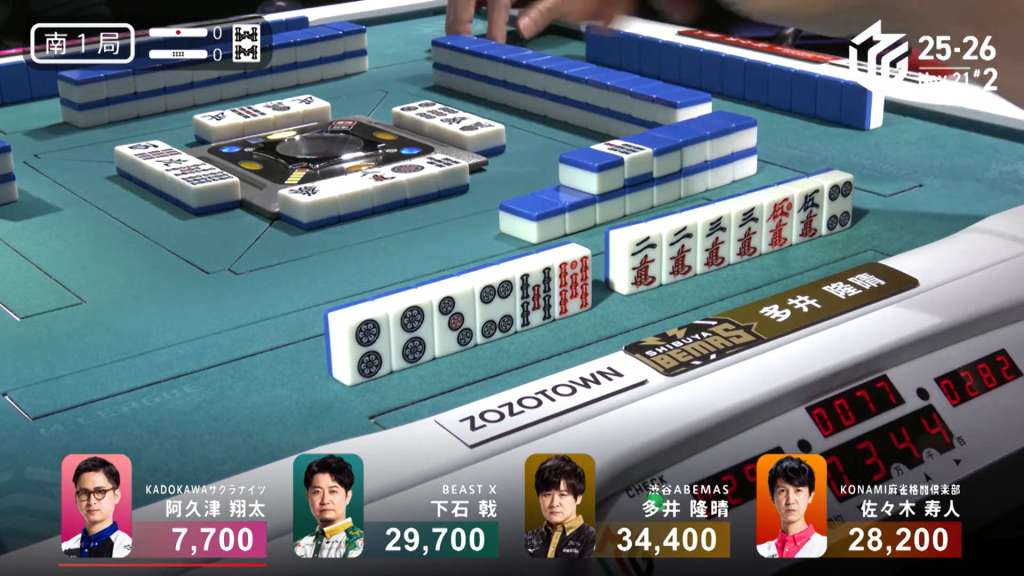
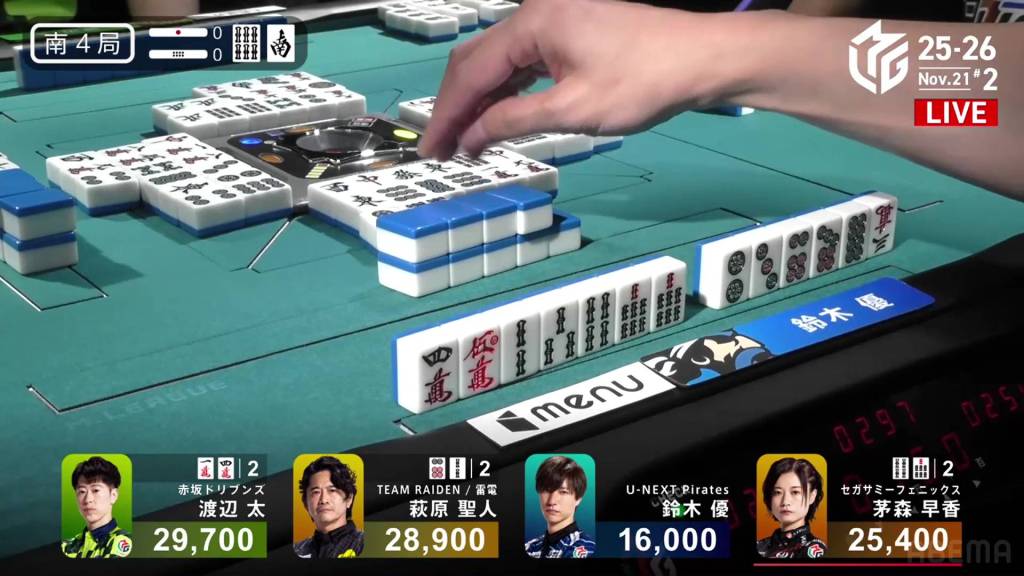
November 21, Table B, Game 2, S4-0
Video: https://abema.tv/video/episode/444-1_s5_p10026
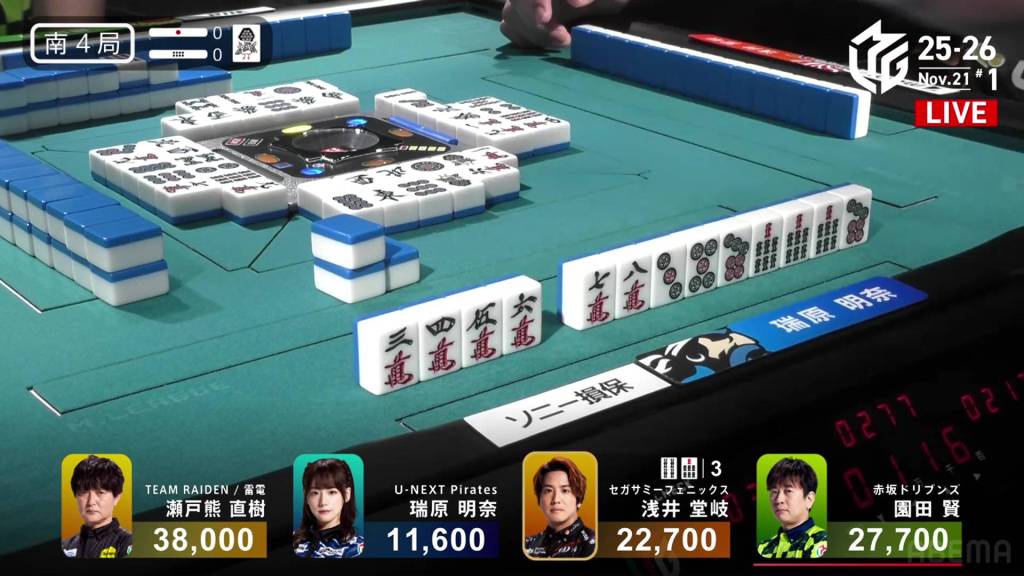
In S4-0, Hagiwara is in 4th place and is 800 behind 1st place Futoshi. He just needs to win anything to finish in 1st place.
Hagiwara starts out the hand at 3-shanten with a callable tanyao. However, his opponents also have callable hands, with Futoshi holding a pair of white dragons and Kayamori a pair of green dragons. As Hagiwara gets to 2-shanten, Kayamori calls pon on the green dragon to get there as well. In the middle of his first row, Hagiwara gets to iishanten, holding two kanchans that need to be resolved.
Kayamori continues to be aggressive, calling a 678m chii. Right after, Futoshi calls pon on the white dragon. Everyone at the table is iishanten. The first player to get to tenpai is Kayamori, who draws a red 5s to connect to the 6s dora and waits on a 47s ryanmen, holding enough value to move into 1st.
Hagiwara is next to follow. Initially getting to a 7p kanchan tenpai, he later switches to a 5p kanchan, then a 6p/2s shanpon. With any win, he will have a mangan.
In the third row, Futoshi gets to tenpai on a 14m ryanmen.
And rounding out the table, Yu calls riichi on a 14p ryanmen. If he can somehow tsumo the 4p and hit a booster, he will miraculously go from 4th to 1st.
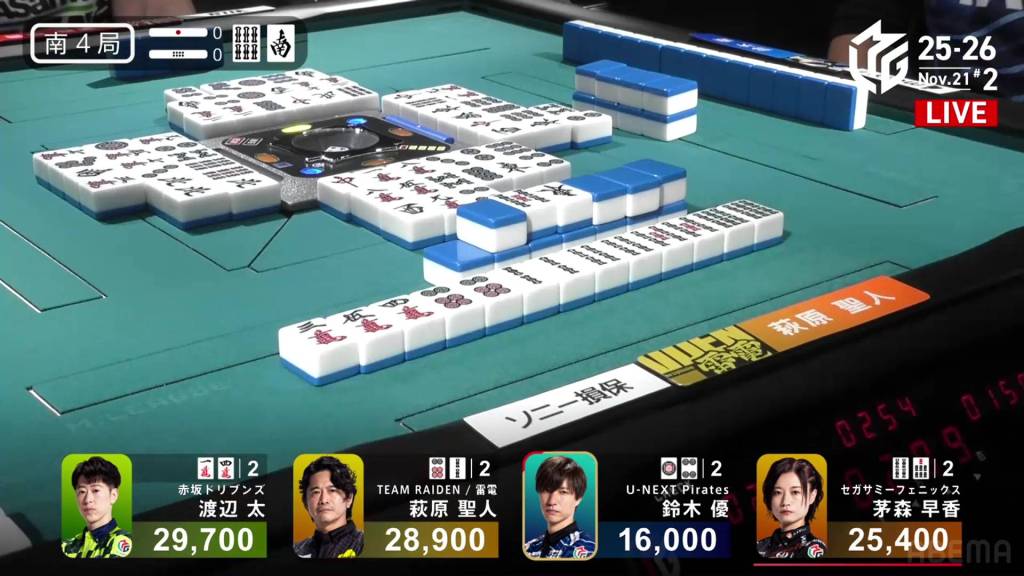
All four player tenpai, all four players have two winning tiles left in the wall. Right after the riichi, Futoshi draws Hagiwara’s winning 6p. He drops it and deals in. Hagiwara wins the hand with Tanyao/Iipeikou/Dora 2 for 8,000 plus a riichi stick, winning the game.
Results
Game 116
Team Raiden
1st
37,900 (+57.9)
Akasaka
Drivens
2nd
29,700 (+9.7)
Sega Sammy
Phoenix
3rd
17,400 (-22.6)
U-Next Pirates
4th
15,000 (-45.0)
