Highlights
Mangan Everywhere
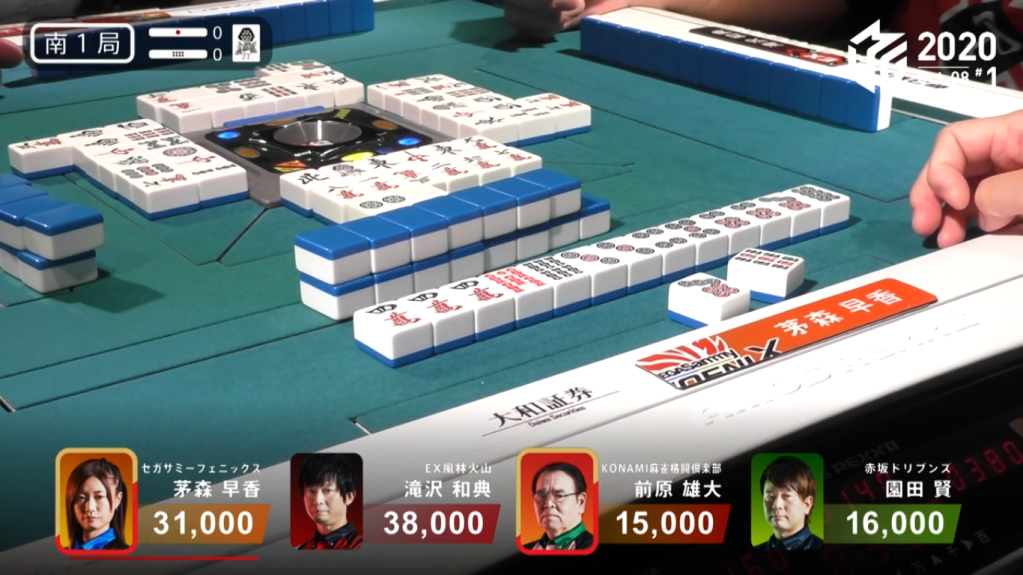
October 5, Game 1
Video: https://abema.tv/video/episode/444-7_s30_p1
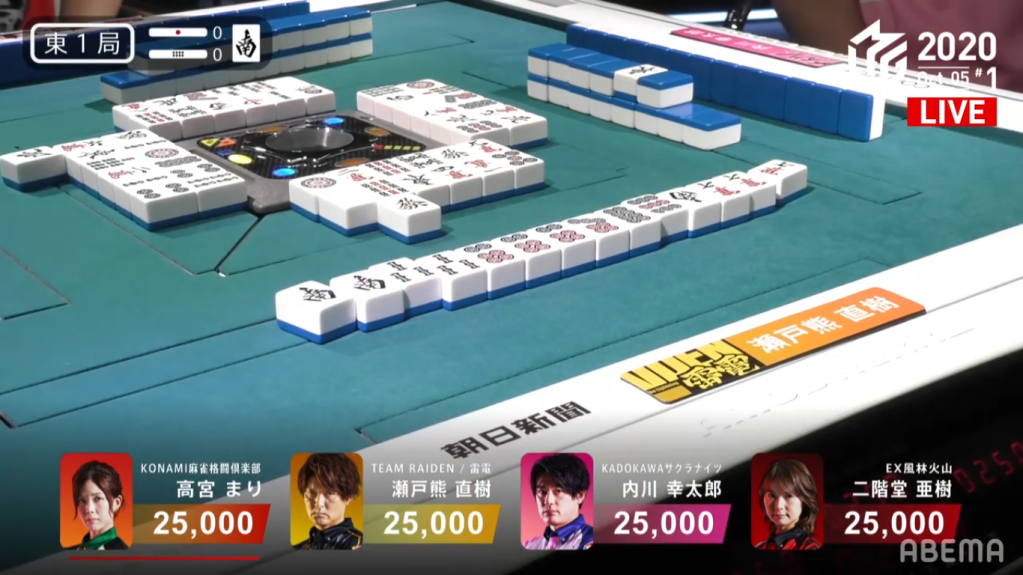
In E1-0 in the very first game of the season, Setokuma wins the hand with a kata-agari South/Dora 3 for 8,000 points, starting the season off with a mangan.
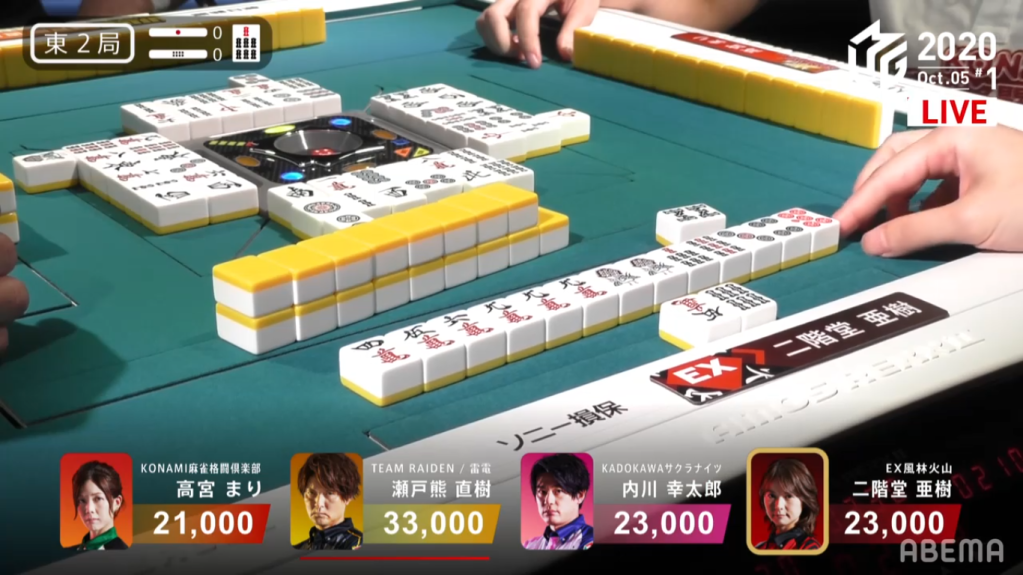
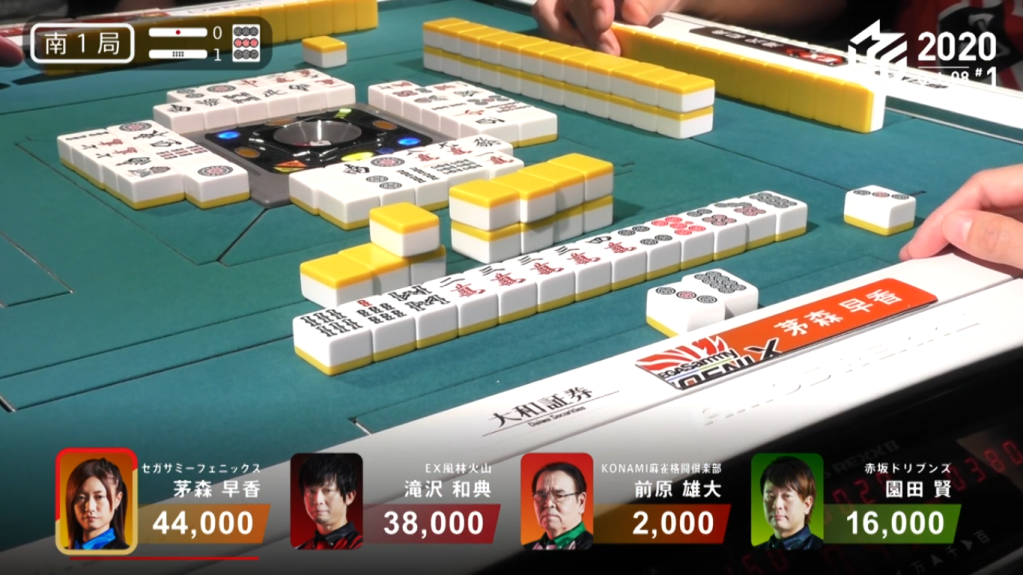
In E2-0, Aki gets her revenge on Setokuma, winning a mangan off of him with a Riichi/Dora 1/Aka 1/Ura 1 for 8,000.
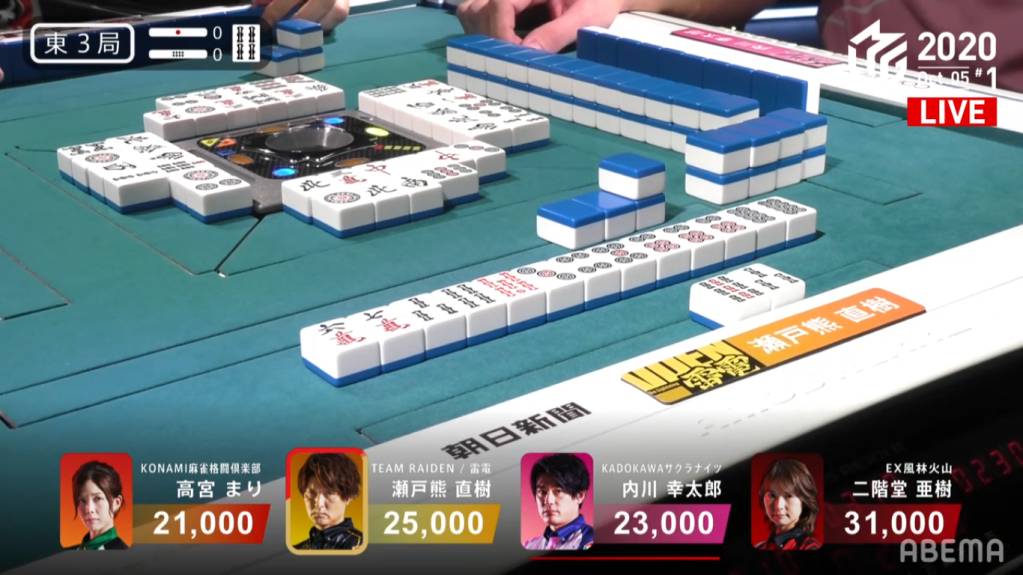
In E3-0, Setokuma wins yet another mangan with a Riichi/Ippatsu/Tanyao/Dora 1/Aka 1 for 8,000
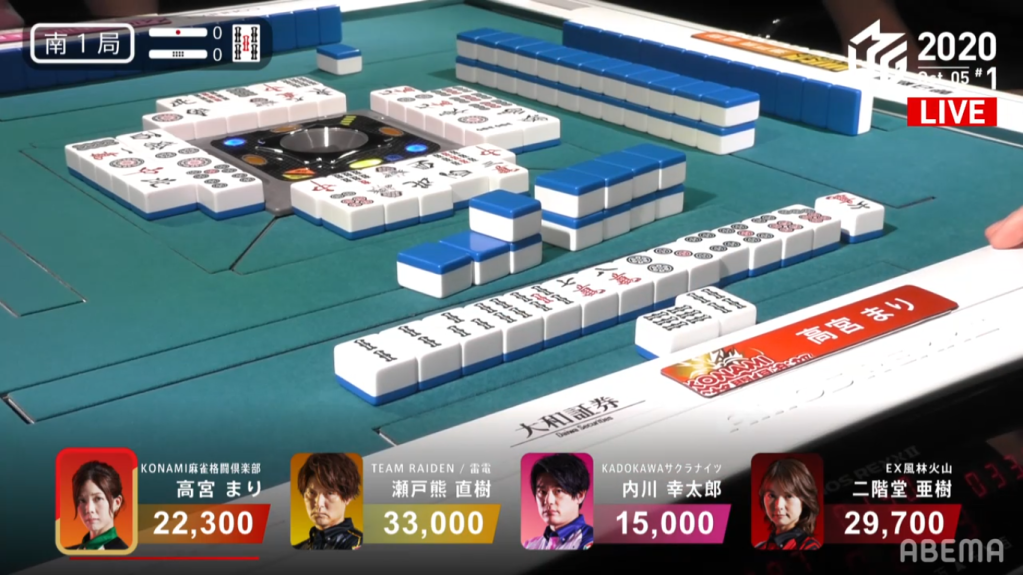
In S1-0, Takamiya wins a mangan for Riichi/Tsumo/Pinfu/Tanyao/Dora 1 for 4,000 from all
In the first five hands, four of them were mangan, giving an explosive and exciting start to the season.
Rinshan!
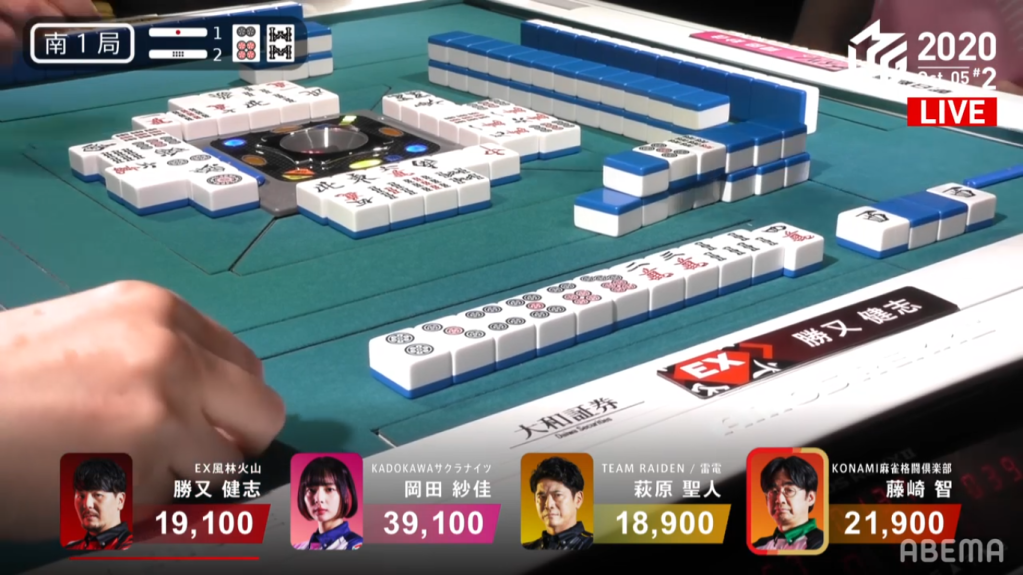
October 5, Game 2, S1-2
Video: https://abema.tv/video/episode/444-7_s30_p3
In S1-2, Katsumata is in 3rd place, very close to last place. With his last dealer turn, he needs to win some points before he loses his chance at first. His haipai doesn’t start out very well, being 3-shanten and only a single dora providing value. As the hand progresses, he wills in some of the blocks, including a west triplet. Even when Fujisaki calls riichi, he continues to push his hand. Katsumata draws a 4th west, but holds onto it, waiting for a good time to call kan or for potential bailing fodder. As Katsumata draws to tenpai, He calls kan on the west. As luck would have it, he draws his winning tile to win the hand for Rinshan/Tsumo/Dora 1. With the west ankan, he brings the fu up to 60 to give him kiriage mangan for 4000 all.
Houtei, Dora 1
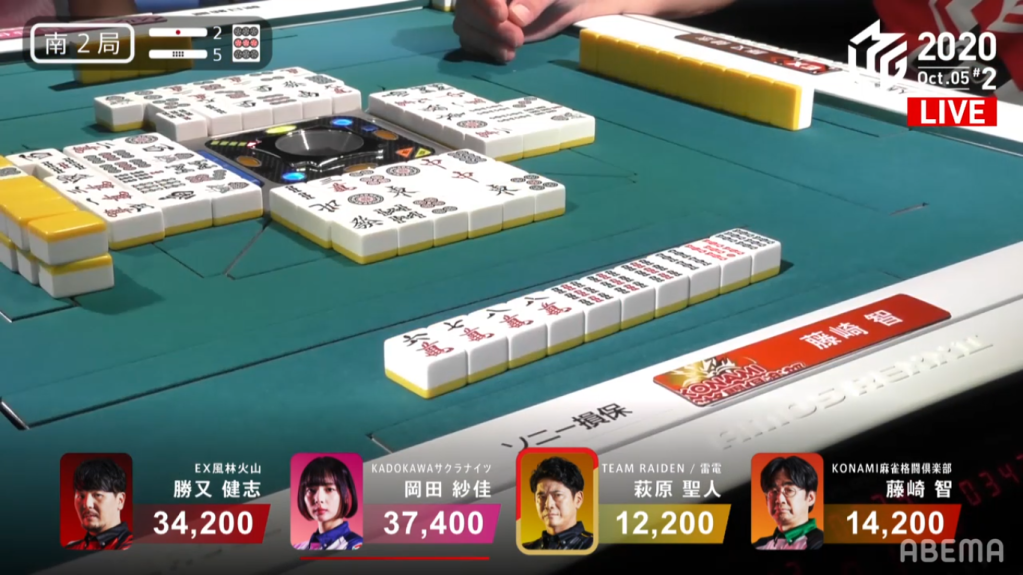
October 5, Game 2, S2-5
Video: https://abema.tv/video/episode/444-7_s30_p4
In S2-5, Fujisaki is only 2,000 points from last place. With two riichi stick and five honba on the table, whoever wins the next hand will win an extra 3,500 points.
Fujisaki’s haipai starts out with a few good blocks, but no clear yaku to go for other than riichi. Within the first few turns, his terminal pair becomes an ankou and he pairs up a white dragon, giving his a potential callable yaku. In the middle of the second row, Fujisaki chooses to discard his white dragon pair in favour of safety against other players while still advancing his hand. In the turns afterwards, Okada gets to tenpai with a 36s wait, and Hagiwara calls riichi on a 47m wait. Fujisaki himself manages to get to tenpai but rejects calling riichi. He breaks his tenpai to progress safely, but manages to get back into tenpai with a 58m ryanmen wait.
Hagiwara draws the 8m as the haitei and deals Fujisaki the houtei. Fujisaki wins the hand for Houtei/Aka 1 and 2000, plus 1,500 in honba and 3,000 in riichi sticks.
First Haneman
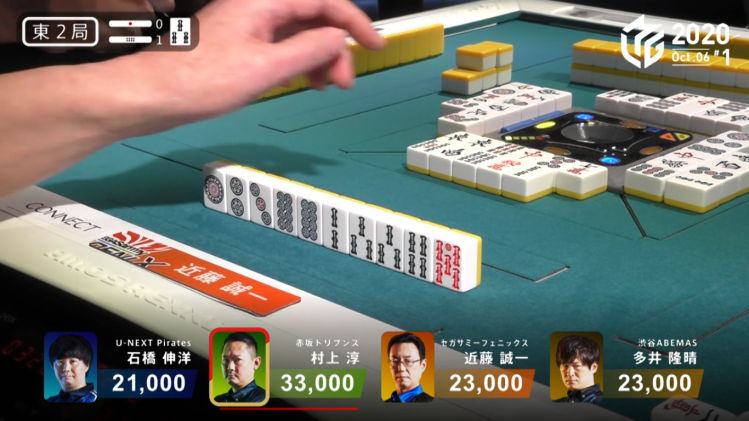
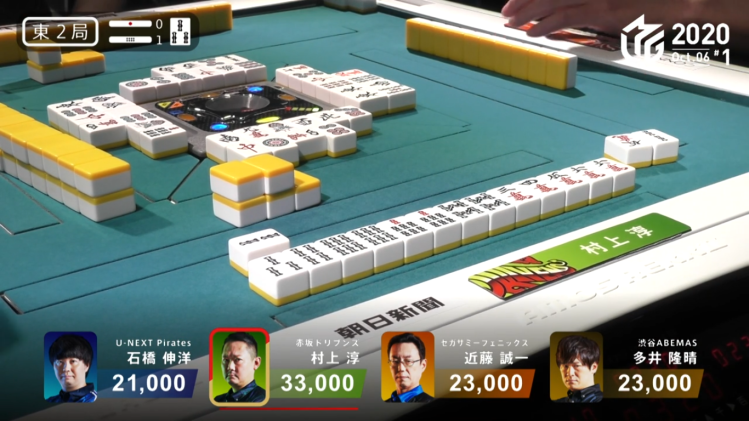
October 6, Game 1 E2-1
Video: https://abema.tv/video/episode/444-7_s30_p6
In E2-1, Murakami was in the lead and looking to increase his lead with his dealer turn. Murakami starts with an easy callable hand with a dora. With his opponents not giving him any of the tiles he needed, Murakami continued to improve his closed hand. Eventually, Murakami gets to tenpai, stays dama on a 25s ryanmen wait for mangan. However, as Kondo continued to call and push, Murakami decided to call riichi to slow him down. Kondo didn’t stop, discarding a red 5m right after. The turn after, Kondo drew and discarded the 2s, dealing into Murakami. With two ura dora, Murakami’s hand went up to a haneman. Murakami wins the hand with Riichi/Pinfu/Tanyao/Iipeikou/Dora 1/Ura 2 and 18,000+300.
Don’t Count Kondo Out
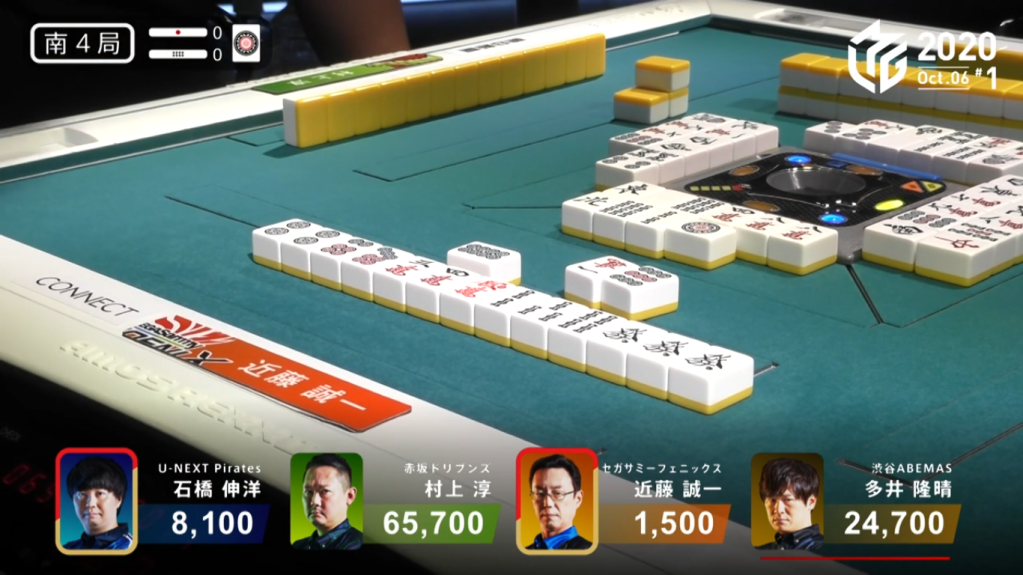
October 6, Game 1, S4-0
In S4-0, Kondo is in last place, 6,600 points behind 3rd place Ishibashi. He needs to win a 4/30 indirect hit or tsumo, or a 3/30 direct hit. Kondo’s haipai starts out strong, holding a green dragon ankou and four clear blocks. Unfortunately, the hand doesn’t have much value in order to move placement. He proceeds as one usually proceeds, discarding honours and work with tile efficiency. Drawing a red dora and holding a regular dora, his hand reaches 2-shanten, but still not enough value to open his hand. Completing other blocks, he eventually reaches tenpai with a closed hand. He calls riichi with a 58p wait, but has to give up the regular dora. With only three han, Kondo puts his hopes into drawing the tile himself, getting Ippatsu or getting ura dora to bring it up to four. Ishibashi, who had been staying dama with a good 69s wait, calls riichi after him since he has nothing to lose. The riichi battle ends quickly, with Murakami dealing the 8p to Kondo during his ippatsu turn. Kondo wins the hand with Riichi/Ippatsu/Green Dragon/Aka 1 for 8,000, surpassing Ishibashi and taking his riichi stick with him. It goes to show that Kondo didn’t win the 4th place avoidance prize last season for nothing.
Easy Haneman
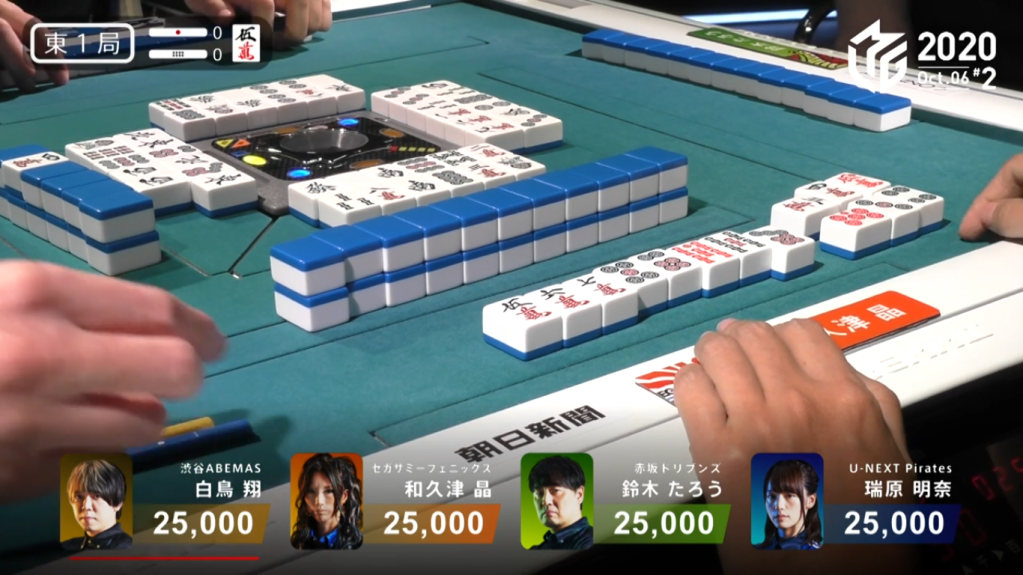
October 6, Game 2, E1-0
Video: https://abema.tv/video/episode/444-7_s30_p8
In E1-0, Wakutsu’s haipai starts out full of dora, with two red dora and two regular dora. With five blocks laid out already, the path of calling for tanyao was laid out. Her first call is a chi on Shiratori’s red 5p. Her second call puts her in tenpai, waiting on the 47p. When Shiratori draws the 7p, he successfully avoids disaster. However, a few turns later, Wakutsu draws the 7p herself, giving her the win. Wakutsu wins the hand for Tanyao/Dora 2/Aka 3 for 3,000/6,000 to start the game off with a bang.
Kayamori’s Rampage
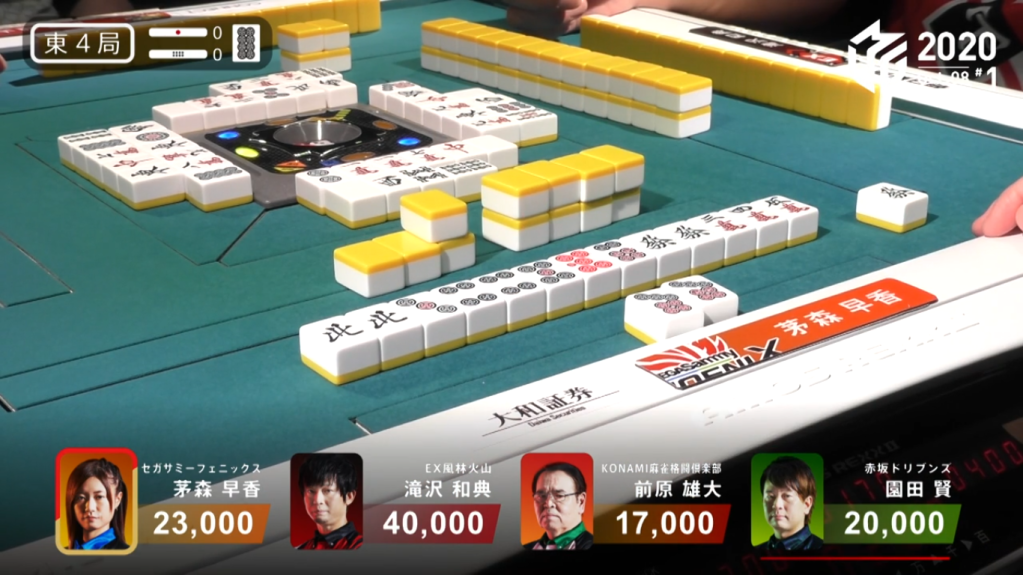
October 8, Game 1, E4-0
Video: https://abema.tv/video/episode/444-7_s30_p11
In E4-0, Kayamori starts off with two yakuhai pairs and a red dora,indicating an easy callable hand. However, Kayamori manages to stay closed and calls riichi on the Green Dragon/North shanpon. With honour waits, the north easily came out and Kayamori won with a Riichi/Ippatsu/Green Dragon/Aka 1 for 8,000 points.
In S1-0, Kayamori’s hand develops quickly, being iishanten by turn 2. With a penchan and some time, she got rid of it to try to get a ryanmen. In this pursuit for ryanmen, Maehara calls riichi on a 14s. Despite this, Kayamori continued to push, After many turns, she got to tenpai and called riichi with a 47s wait. Two turns later, Maehara deals in and Kayamori wins with a Riichi/Tanyao/Aka 1/Ura 1 and 12,000 points, plus Maehara’s riichi stick.
In S1-1, Kayamori manages to get a sanmenchan, calls riichi and wins by tsumo for Riichi/Tsumo/Pinfu/Tanyao/Aka 1/Ura 1. for 6,000+100 all, a dealer haneman.
From 23,000 to 62,300, Kayamori managed to get 39,300 point in just 3 hands.
The Fastest Mangan
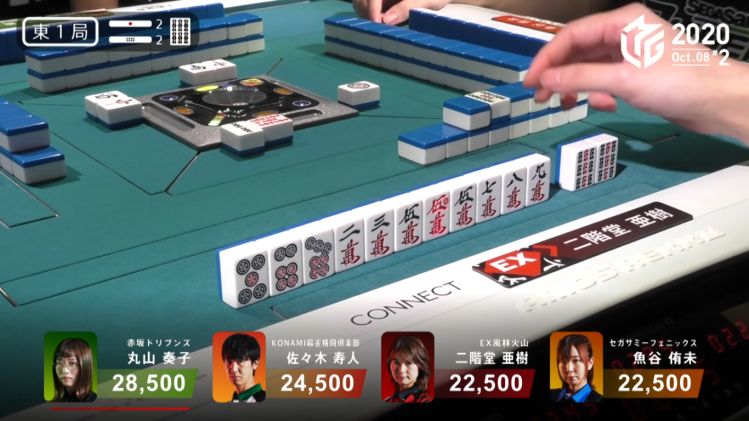
October 8, Game 2, E1-2
In E1-2, Aki’s hand start out as iishanten and gets to tenpai on turn 2. Aki calls riichi on turn 2, waiting on a 14m ryanmen wait. However, Uotani didn’t let Aki’s early riichi get the best of her, she calls chii on the red 5s that Aki discarded and pon on the white dragon a bit later. With the white dragon call, she became tenpai on the 47s. On the 13th discard Sasaki discards the 4s and gives Uotani a White Dragon/Dora 2/Aka 1 for 8,000+600, as well as three riichi stick.
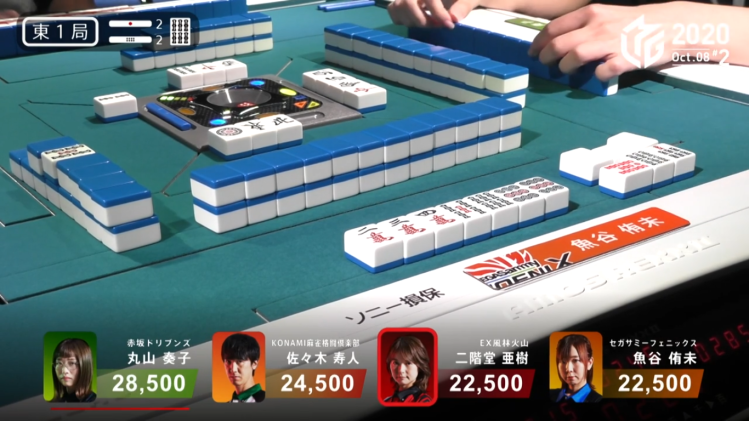
The Fall and Rise of Sasaki Hisato
October 8, Game 2
Video: https://abema.tv/video/episode/444-7_s30_p13
After the pain from Uotani’s fast mangan, the pain didn’t stop for Sasaki. In E2-0, Sasaki deals in to Aki’s closed Honitsu/Chiitoi on turn 5 and loses 8,000.
After losing some more points to tsumo loss and ryuukyoku, Sasaki only has 4,900 but his luck would soon change in his dealer turn.
In S2-1, Sasaki’s haipai starts out with two complete blocks and a red dora. As his hand progresses, he draws another red dora and develops more ryanmen. Even with these good shapes, Sasaki’s hand stays iishanten for multiple turns. Uotani calls riichi near the end of the 2nd row while Sasaki continues to wait for tenpai. After much waiting, Sasaki finally gets to tenpai and calls riichi, waiting on the 36s ryanmen. Sasaki didn’t have to wait much longer, as he draws the 6s on his ippatsu turn. Sasaki wins with Riichi/Ippatsu/Tsumo/Aka 2 for 4,000+100 all, plus 2,000 in riichi sticks.
In S2-2, Sasaki does some standard speedy efficiency to continue his dealer turn and win the hand with a Riichi/Tsumo/Pinfu/Dora 1 for 2,600+200 all.

After losing his dealership and suffering a decent loss of points from a haneman tsumo in S2-3, Sasaki continued his march forward in S3-0. His starting hand was geared for efficiency, being 2-shanten and holding a ryanmen. As he draws more tiles, he makes his pair and form another ryanmen. Standing in his way of his comeback is Uotani, who calls riiichi on a 4m kanchan. Sasaki manages to calls riichi with a 47m ryanmen wait soon after, with an iipeikou if he wins on the 7m. As luck always has it, Uotani ends up dealing the takame 7m to Sasaki for Riichi/Pinfu/Iipeikou and 3,900, plus Uotani’s riichi stick.
In S4-1, Sasaki has a shot of taking top spot, being only 4,700 points from first. He would need to get a 3/40 general ron, a 3/30 tsumo or a 2/40 direct hit. His hand starts out 3-shanten and full of poor shapes. He discards his penchan and isolated terminals first, holding onto a single south in hopes to pair it up and increase his hand value. As he made these standard discards, tiles began to fall into place; His 5m pair became an ankou, his isolated 3m became a 14m ryanmen. Soon after, he was in tenpai with a 2p kanchan. Sasaki instantly calls riichi, with the hopes of drawing the tile himself, getting a direct hit off Aki or finding an uradora. Two turns later, Sasaki draws the 2p, getting the gyakuten and making an incredible comeback. Sasaki win the hand with Riichi/Tsumo/Aka 1 for 1,100/2,200, beating Aki by only 700 points.
From 4900 at the start of S2-1 to 1st place for Sasaki, it was truly an amazing comeback. With that and the big and fast wins from all the players, Game 2 of October 8 (Game 6 of the season) goes on my list of highly recommended M-League games to watch.
The Battle Between Kobayashi and Sawazaki
October 9, Game 2
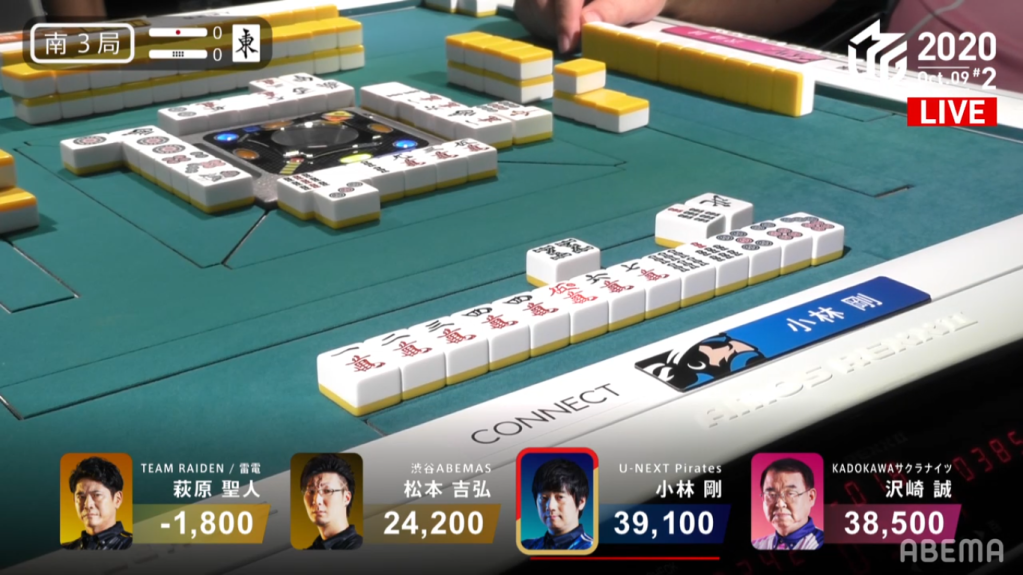
In S3-0, the score between Sawazaki and Kobayashi is close, with Sawazaki in second with 38,500 and Kobayashi in 1st with 39,100. As Kobayashi the dealer, he looks to increase his lead and widen the gap between him and Sawazaki. His starting hand has the potential for ittsuu or pinfu, with a red dora increasing its value. As his hand progresses, his hand shifts from an ittsuu to a sanshoku. At the start of the 2nd row, Kobayashi calls riichi on a 58s ryanmen wait, holding a guaranteed pinfu and a getting sanshoku if he draws the 5s. On the ippatsu turn, 3rd place Matsumoto decides to push in order try to get closer to the two leaders. He discards the 8s, putting him farther away from the lead pack and Kobayashi further in the lead. Kobayashi wins the hand for Riichi/Ippatsu/Pinfu/Aka 1/Ura 1 for a 12,000 mangan.
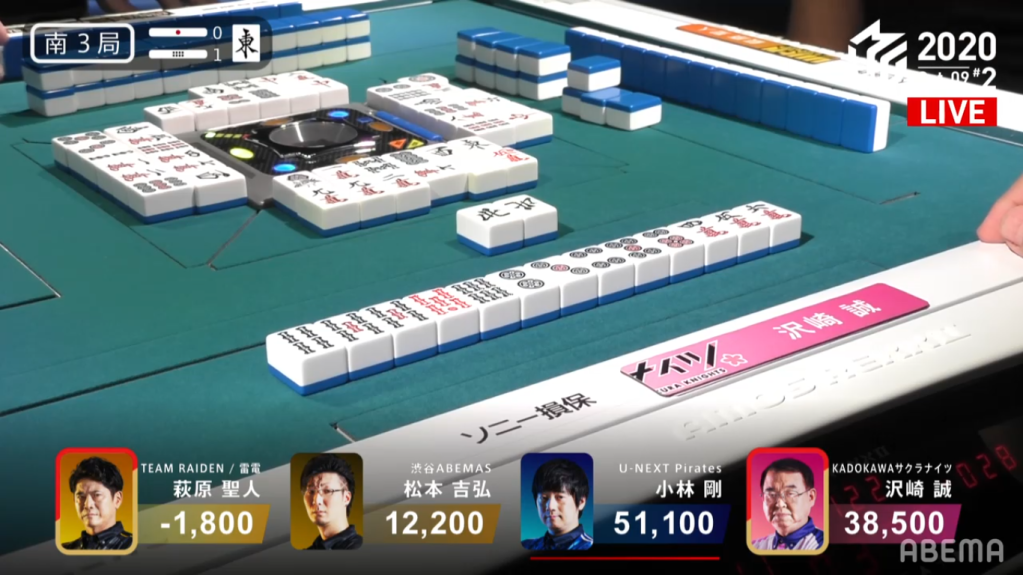
In S3-1, it’s Sawazaki’s turn to try to catch up. Sawazaki progresses his hand in the normal fashion, along with Hagiwara who is trying to catch up to Matsumoto in 3rd. Sawazaki is the first of the two to reach tenpai, calling riichi with a 147p sanmenchan. Hagiwara later chases with a 58s ryanmen. Luck was again not with Hagiwara, as he deals the 1p on his ippatsu turn. Sawazaki wins the hand with Riichi/Pinfu/Sanshoku/Aka 1 for 8,000+300, plus Hagiwara’s stick.
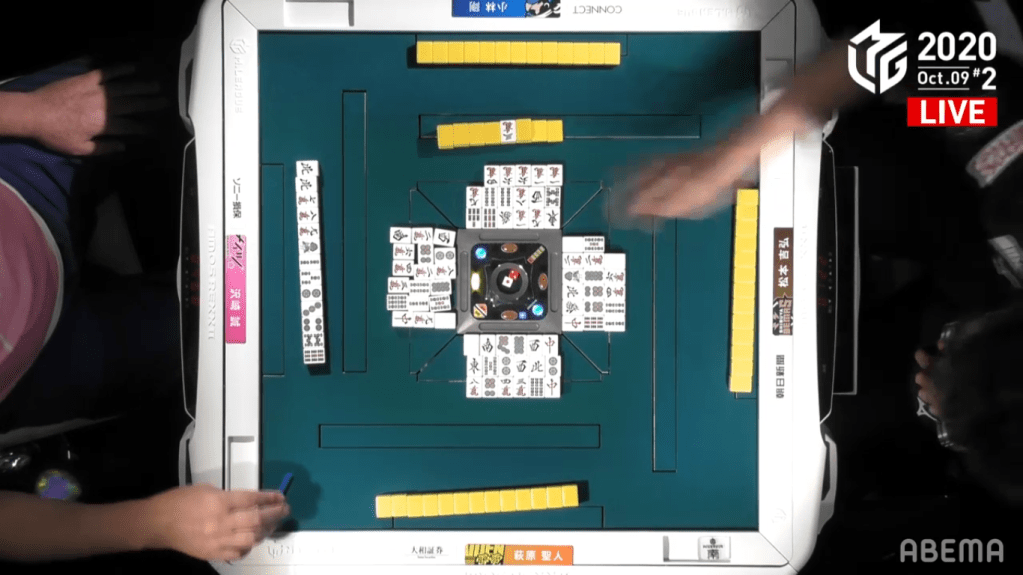
In both S4-0 and S4-1, Sawazaki takes the slow and steady approach to gain points. In S4-0, he calls a dealer riichi in order to scare everyone away, giving him 3,000 in payments. With such a close score between 1st and 2nd, tenpai payments are a significant source of points, even if it takes a 1,000 riichi to get there. In S4-1, both Sawazaki and Matsumoto are tenpai near the end of the hand, but with Matsumoto’s haitei draw of the dora, he is forced to bail and go to noten. Sawazaki brings in another 3,000 in points, putting him in the lead.
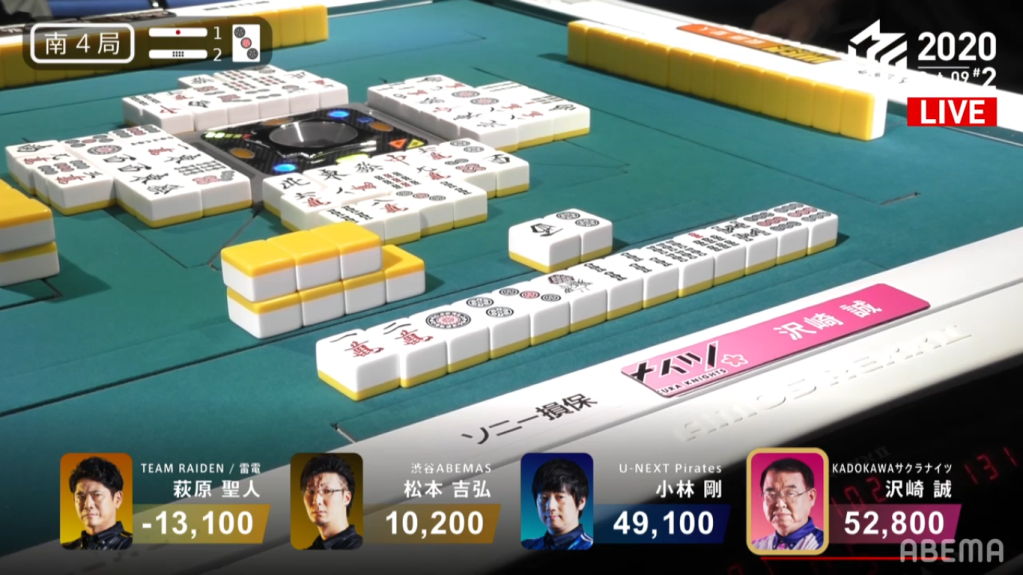
In S4-2, Sawazaki is 3-shanten and holding poor shapes. However, with Kobayashi only 3,700 points behind, he cannot afford to sit back and relax. Kobayashi, on the other hand, holds two red dora and a yakuhai pair, enough to go for a fast open hand and win the game. At the end of the 1st row, Kobayashi calls pon to make a white dragon triplet and be in iishanten. At the start of the 2nd row, Sawazaki beats Kobayashi to the tenpai race. Sawazaki calls riichi on a 3m penchan, a poor wait but holding a high-value dealer mangan potential. Though this is Kobayashi’s best chance to overtake Sawazaki and win the game, Kobayashi hedges his bets on the next hand, discarding safe tiles. However, the safe tiles eventually ran out for Kobayashi. With a 6m in Sawazaki’s discards and no other safer tiles, Kobayashi discards the suji 3m and deals straight into Sawazaki’s mangan. Sawazaki wins the hand for Riichi/Sanshoku/Dora 1/Aka 1 for 12,000+600, along with a riichi stick.
With Kobayashi winning a 1,000+900 point hand the next hand, the game finished with Sawazaki wins what was a close battle between Kobayashi and himself, and thus wins the game.
